TIT ENG TP9100 ID CARD PRINTER User Manual
TIT ENG Co.,Ltd. ID CARD PRINTER Users Manual
UserManual.wiki
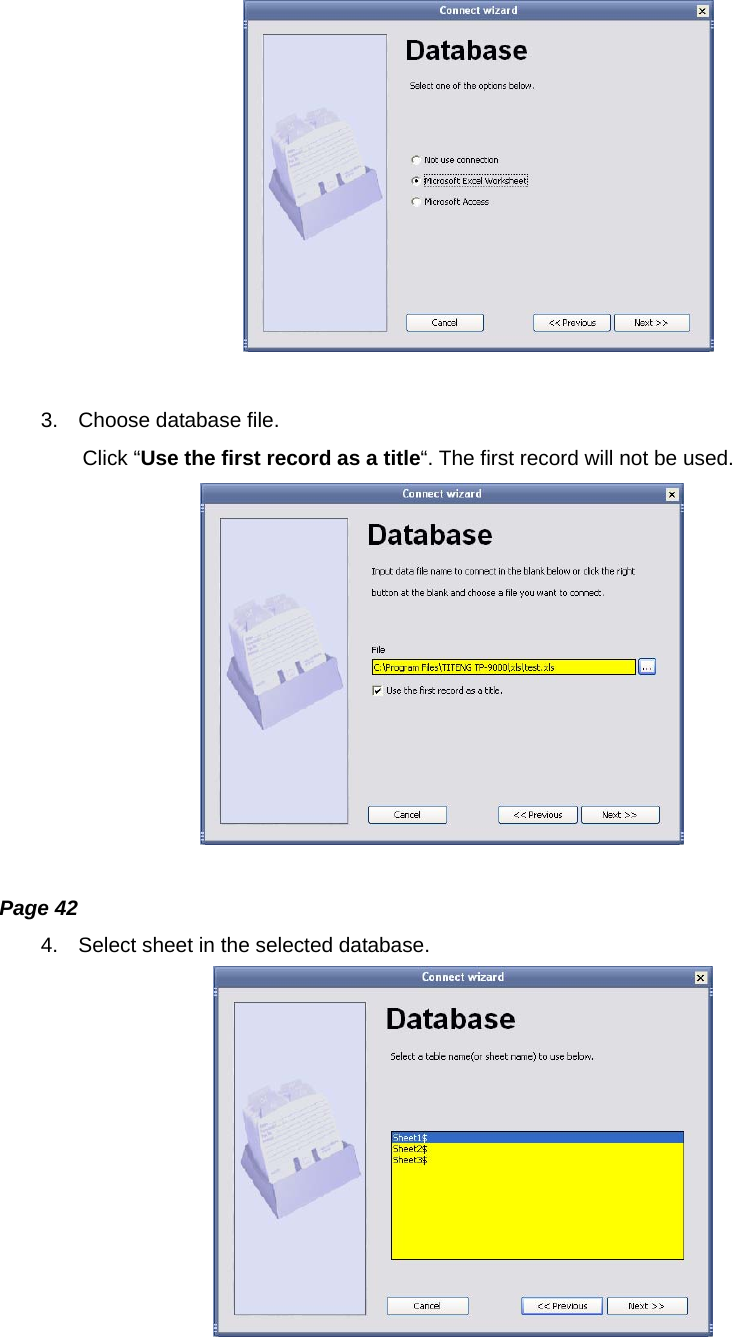
>
TIT ENG
>
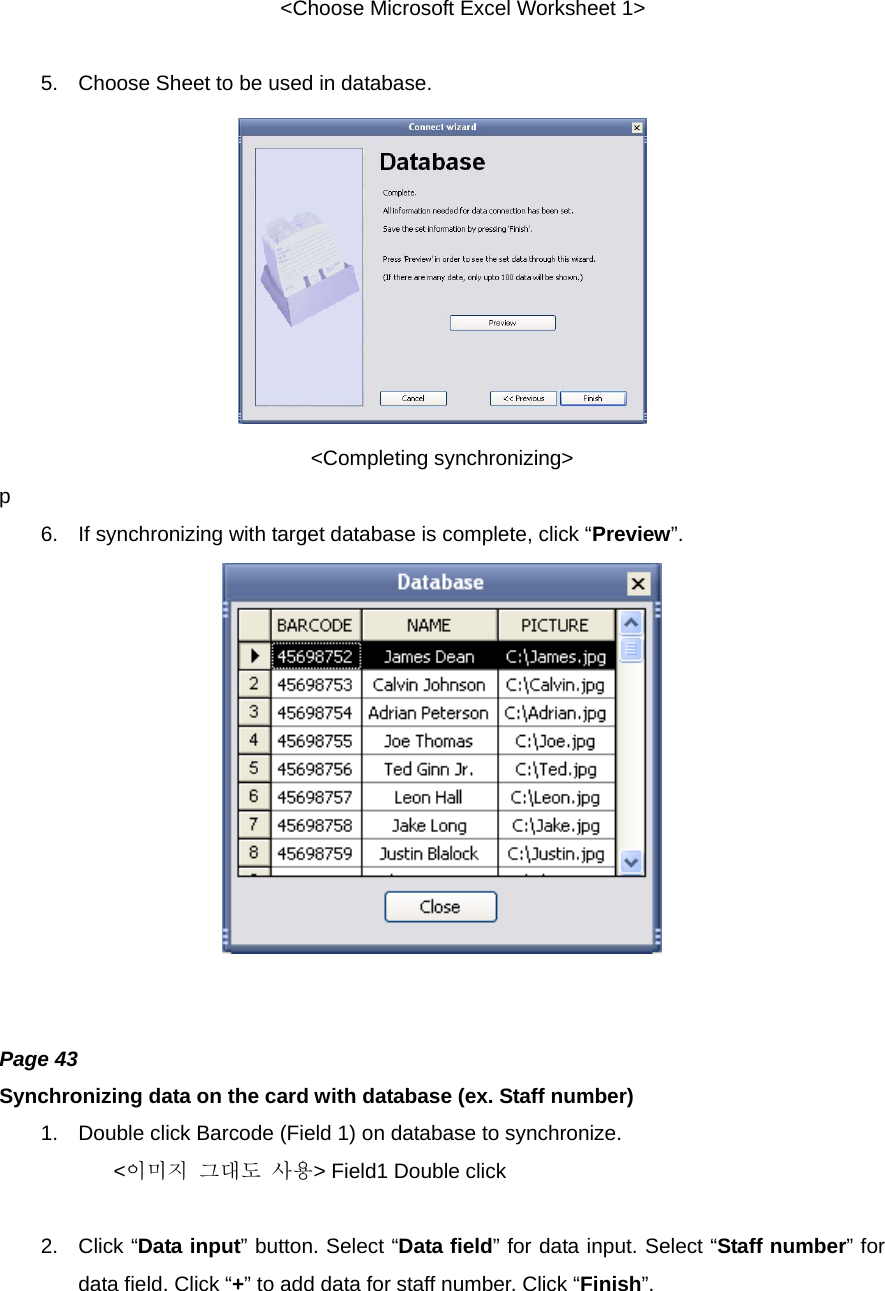
TP9100 User Manual
Users Manual
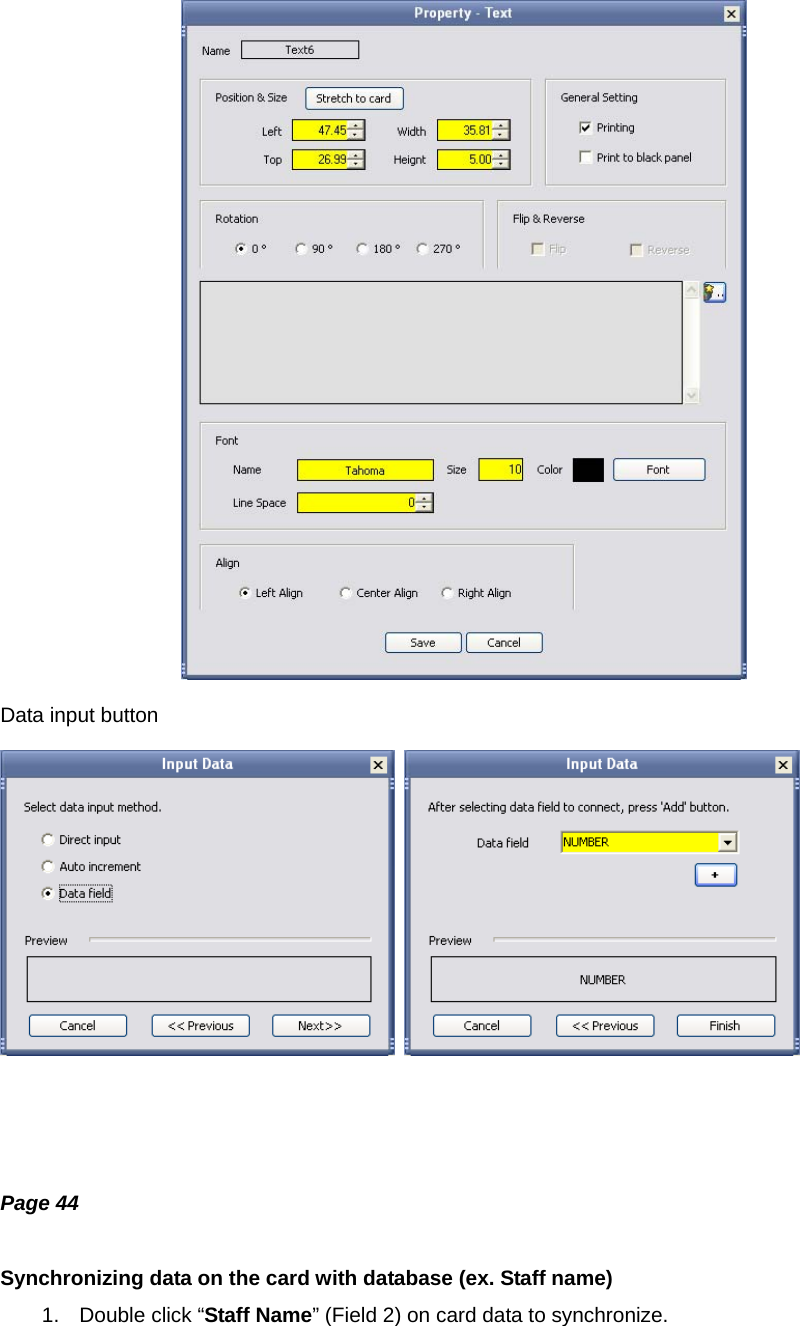
Navigation menu
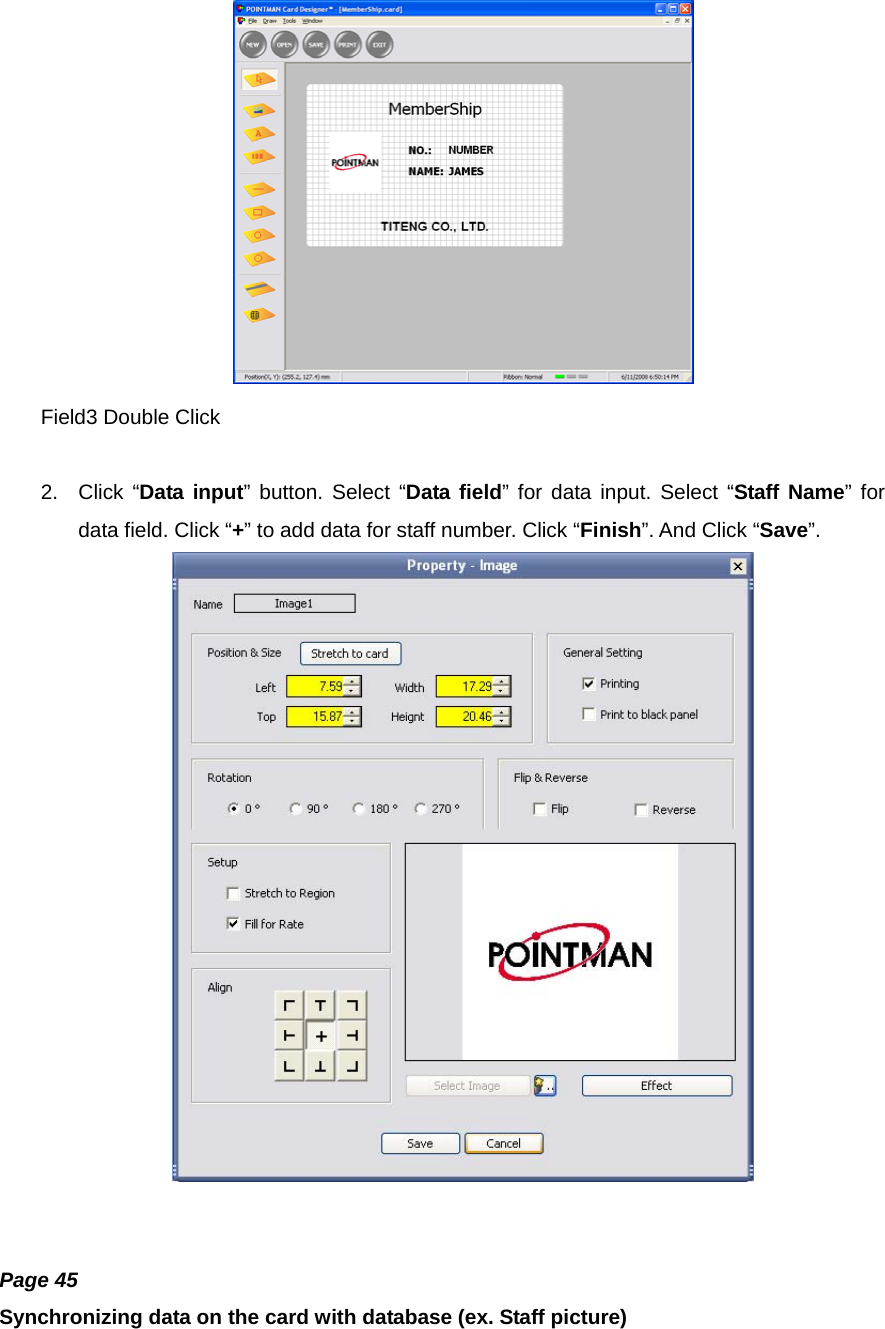
Upload a User Manual
Namespaces
Wiki Guide
HTML
PDF
Info
Views
User Manual
Discussion / Help
Navigation

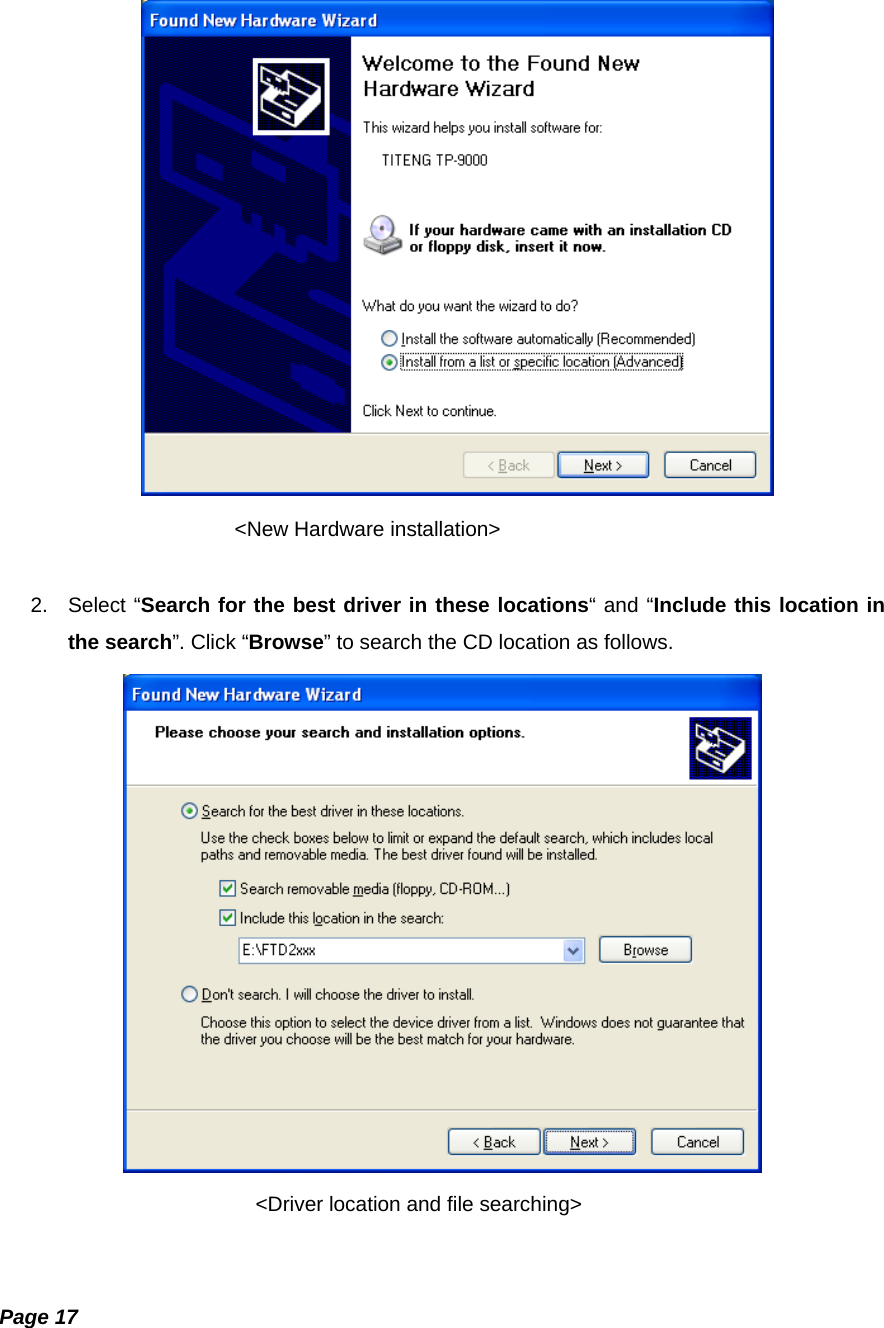
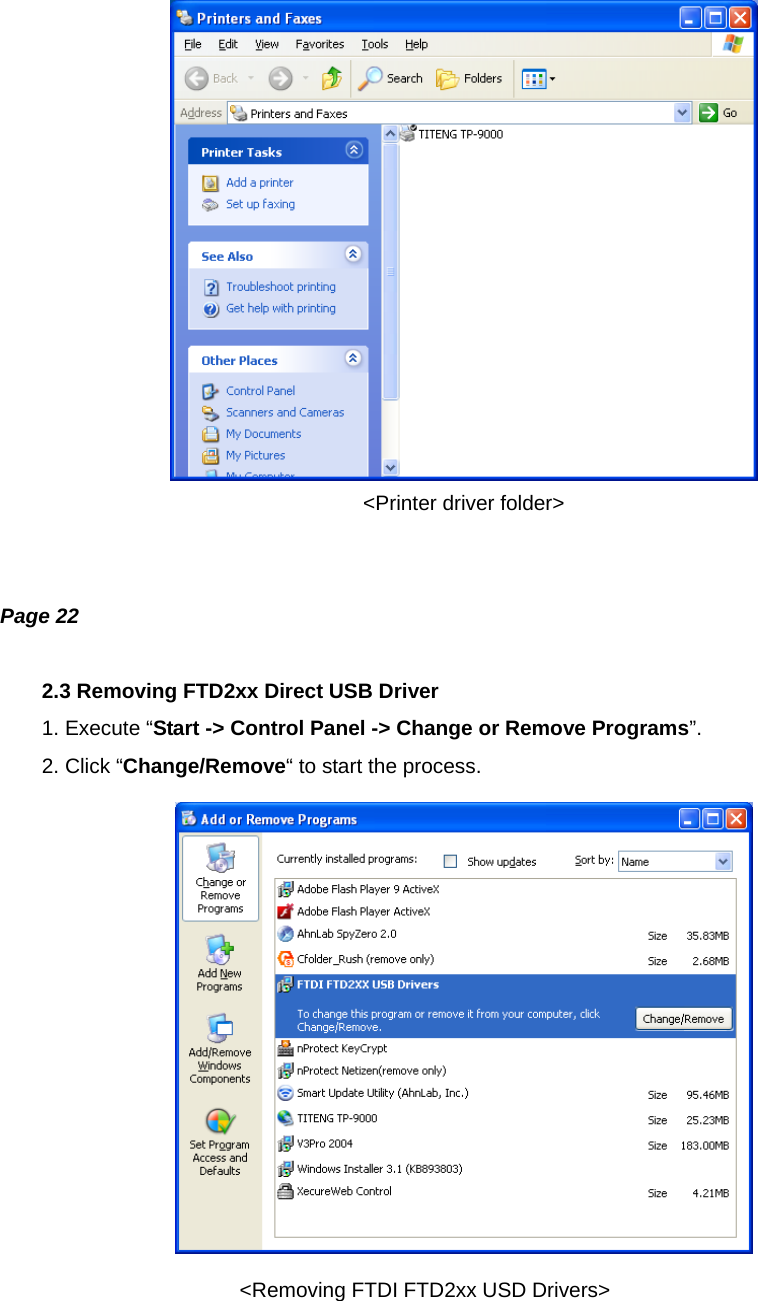
![Page 15 2. Software Installation PC Systems requirement * Check out minimal PC operating environment. * MS Widows: Windows 2000/XP (32bit), Windows Vista * Computer - CPU : Pentium Ⅲ 1GHz above (Pentium Ⅳ1.5 GHz recommended) - Memory 128 MB above (512 MB recommended) - HDD 1 GB above (5 GB recommended) - Internet Explorer 5.5 above (6.0 recommended) Note: For windows 2000/XP users, only administrator with authority can install and remove the program after log-on. Page 16 2.1 Installing FTD2xx Direct USB Driver Installing Close all windows in operation. (Recommended). (Explanation is based on windows XP. Picture and sequence can differ in Windows 2000.) 1. Attach USB cable to computer and place the printer’s power switch in the ON position. The [New Hardware installation] window will open. Select “Install from a list or specific location”, then click “Next>”.](https://usermanual.wiki/TIT-ENG/TP9100/User-Guide-1383069-Page-8.png)