TP Link Technologies T9E AC1900 Wireless Dual Band PCI Express Adapter User Manual Archer T9E 1 0 UG rev2
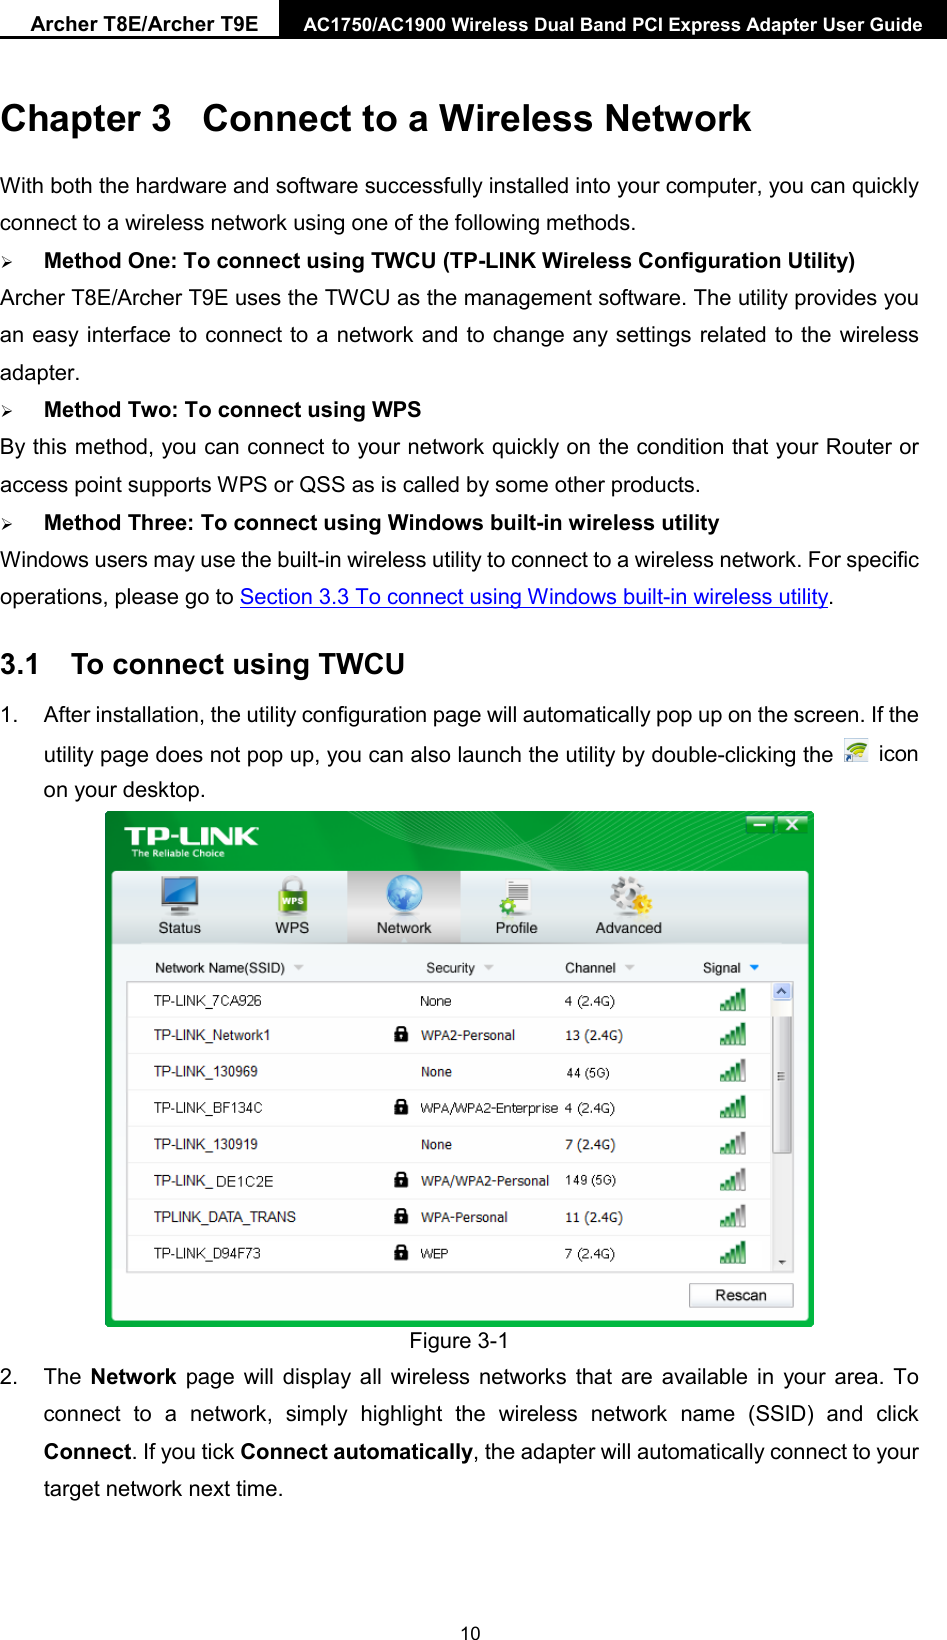
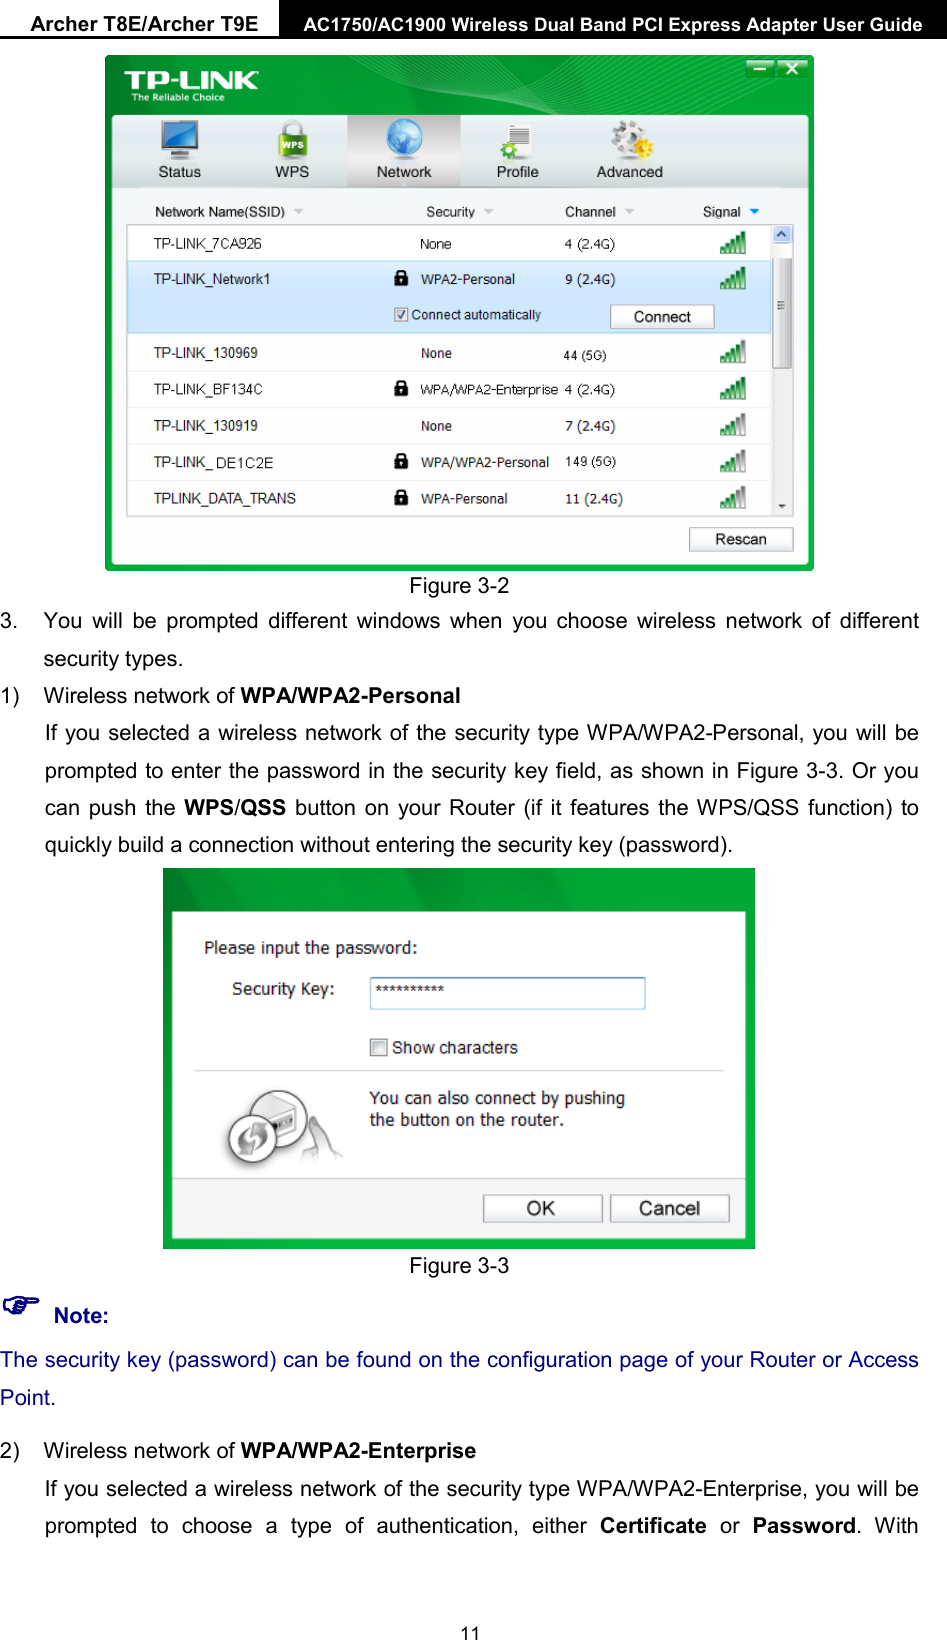
TP-Link Technologies Co., Ltd. AC1900 Wireless Dual Band PCI Express Adapter Archer T9E 1 0 UG rev2
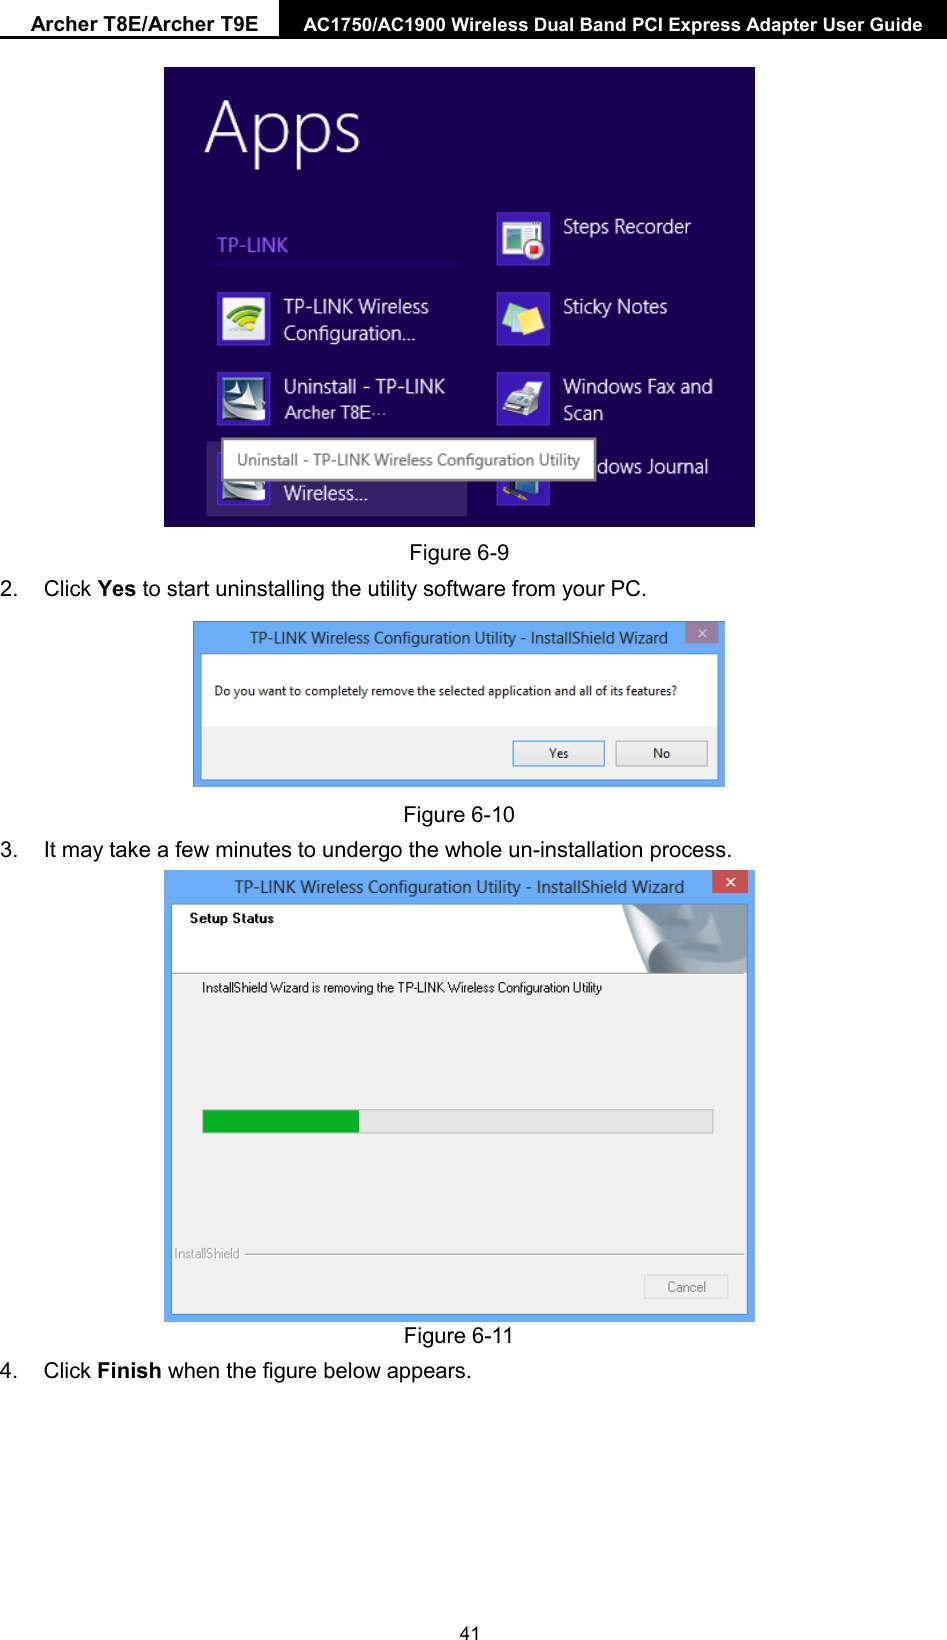
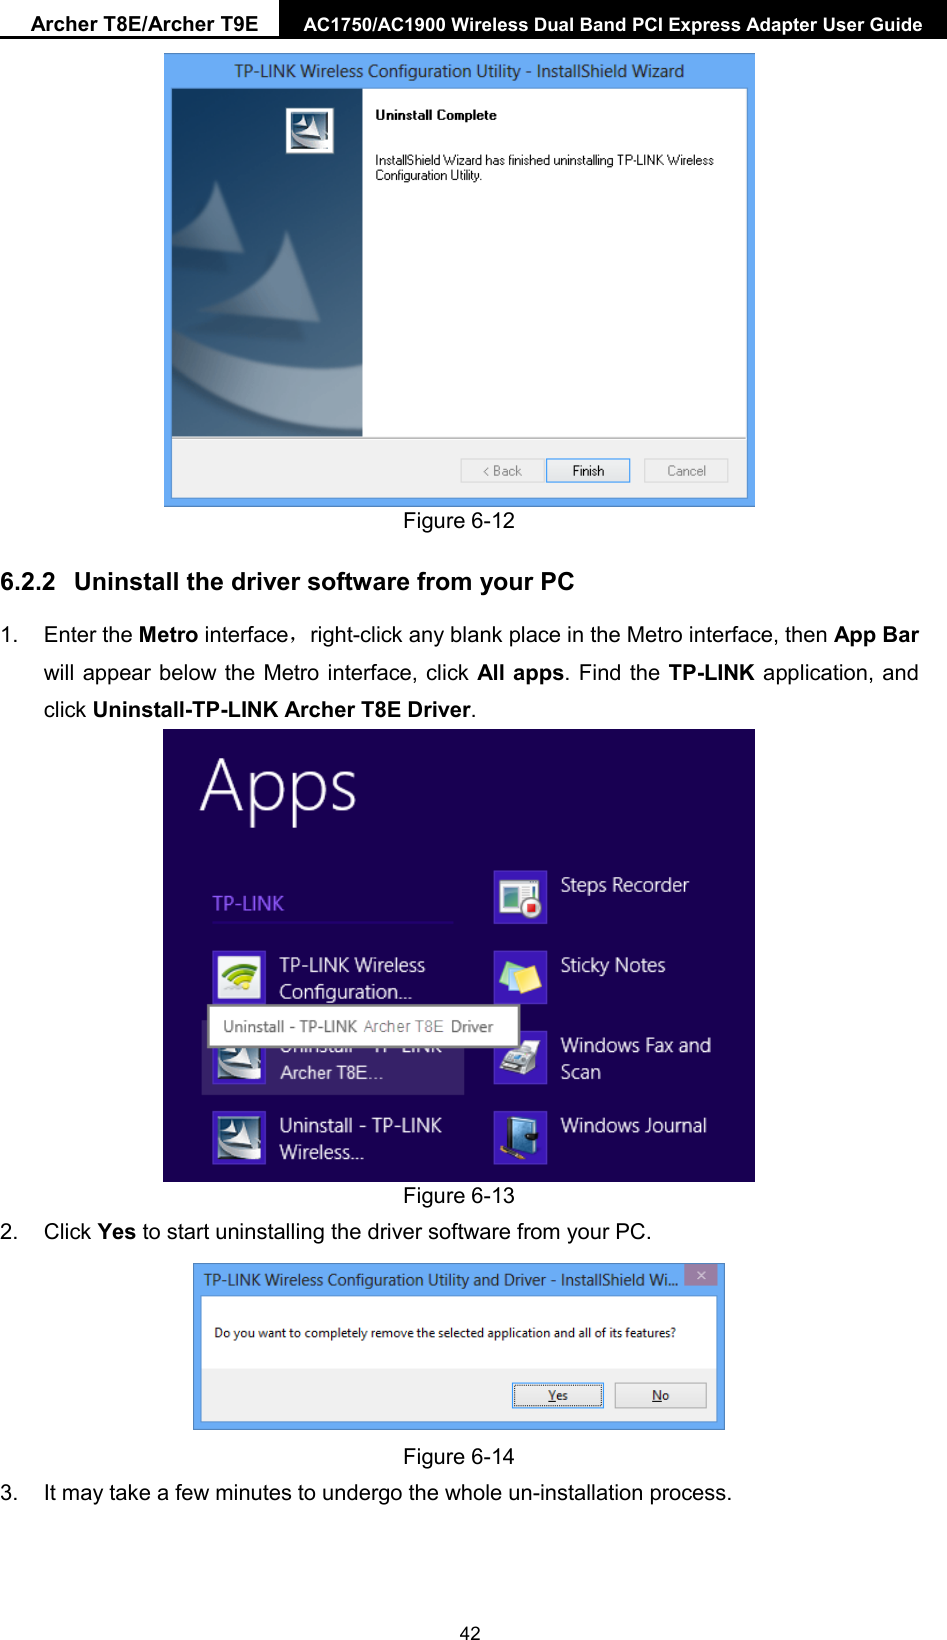
Contents
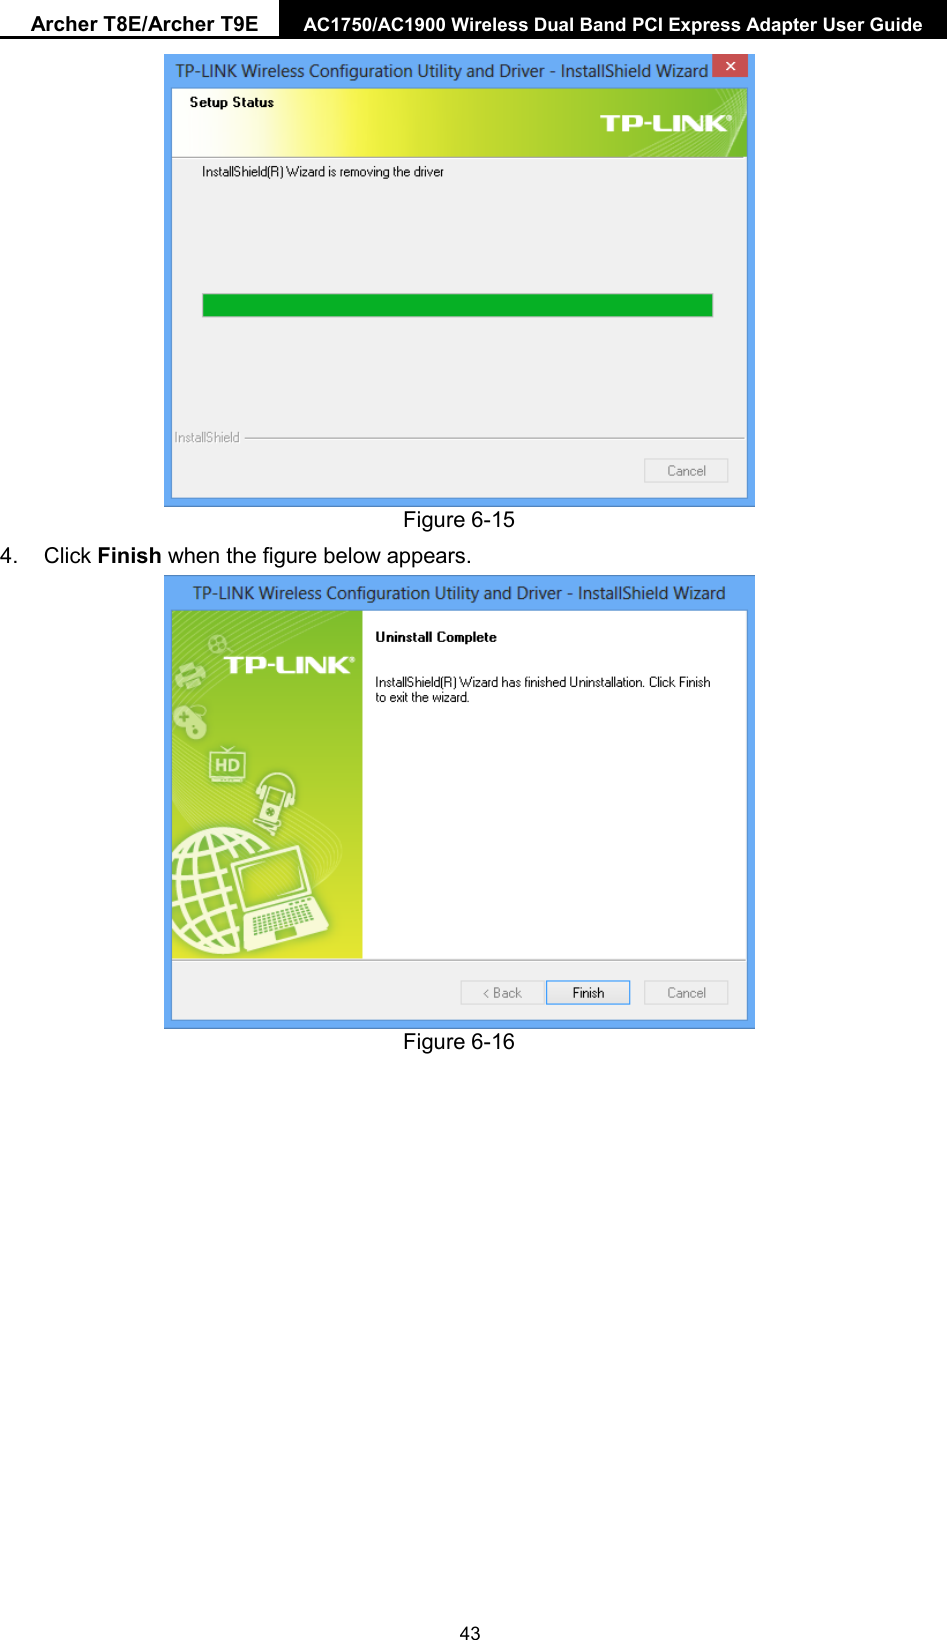
- 1. Archer T9E 1.0 UG-rev2
- 2. User Manual_rev 2
Archer T9E 1.0 UG-rev2