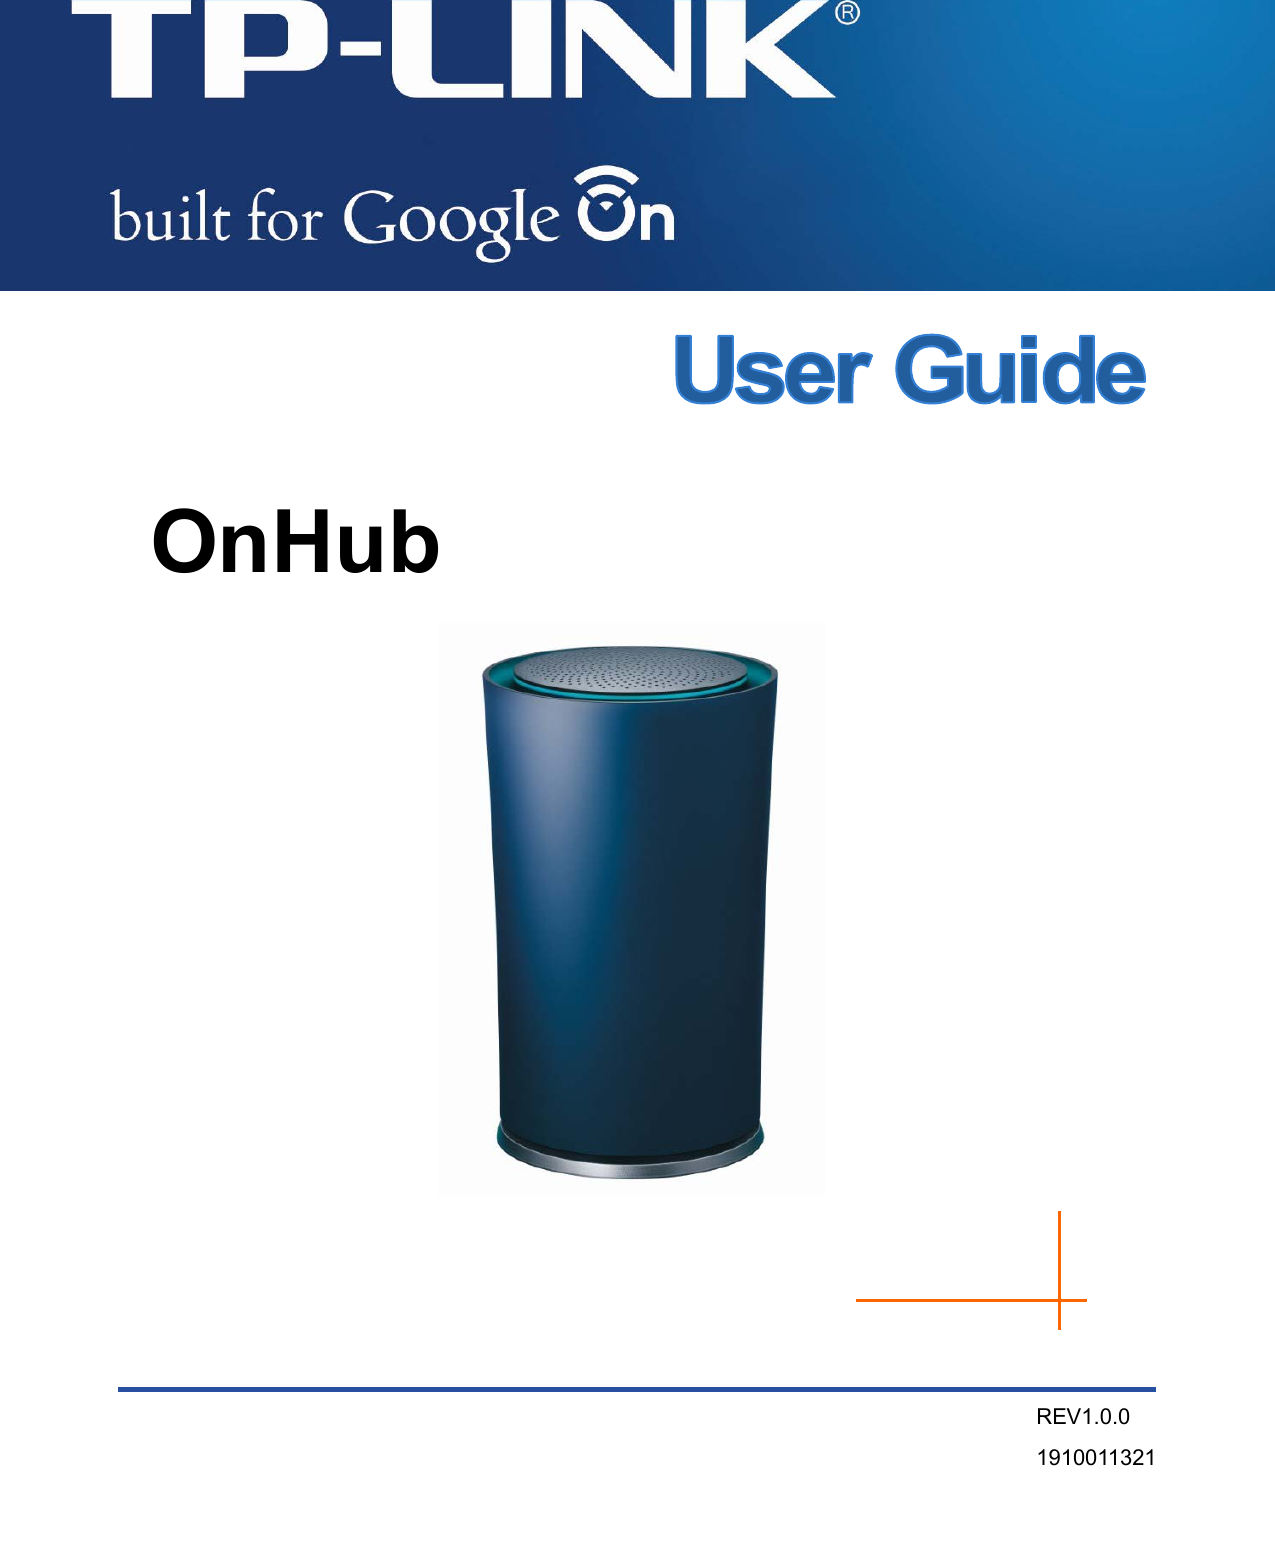
TP Link Technologies TGR1900 OnHub User Manual TGR1900 SetupGuide V1

TP-Link Technologies Co., Ltd. OnHub TGR1900 SetupGuide V1

TGR1900 SetupGuide_V1

    OnHub  REV1.0.0 1910011321
 COPYRIGHT & TRADEMARKS Specifications are subject to change without notice.      is a registered trademark of TP-LINK TECHNOLOGIES CO., LTD. Google, Google On, OnHub and other trademarks are owned by Google Inc. Other brands and product names are trademarks of their respective holders. Copyright © 2015 TP-LINK TECHNOLOGIES CO., LTD. All rights reserved. http://www.tp-link.com
 FCC STATEMENT  This equipment has been tested and found to comply with the limits for a Class B digital device, pursuant to part 15 of the FCC Rules. These limits are designed to provide reasonable protection against harmful interference in a residential installation. This equipment generates, uses and can radiate radio frequency energy and, if not installed and used in accordance with the instructions, may cause harmful interference to radio communications. However, there is no guarantee that interference will not occur in a particular installation. If this equipment does cause harmful interference to radio or television reception, which can be determined by turning the equipment off and on, the user is encouraged to try to correct the interference by one or more of the following measures: • Reorient or relocate the receiving antenna. • Increase the separation between the equipment and receiver. • Connect the equipment into an outlet on a circuit different from that to which the receiver is connected.  • Consult the dealer or an experienced radio/ TV technician for help. This device complies with part 15 of the FCC Rules. Operation is subject to the following two conditions: 1) This device may not cause harmful interference. 2) This device must accept any interference received, including interference that may cause undesired operation. Any changes or modifications not expressly approved by the party responsible for compliance could void the user’s authority to operate the equipment. Note: The manufacturer is not responsible for any radio or TV interference caused by unauthorized modifications to this equipment. Such modifications could void the user’s authority to operate the equipment. FCC RF Radiation Exposure Statement: This equipment complies with FCC RF radiation exposure limits set forth for an uncontrolled environment. This device and its antenna must not be co-located or operating in conjunction with any other antenna or transmitter. “To comply with FCC RF exposure compliance requirements, this grant is applicable to only Mobile Configurations. The antennas used for this transmitter must be installed to provide a separation distance of at least 31 cm from all persons and must not be co-located or operating in conjunction with any other antenna or transmitter.”
 Canadian Compliance Statement This device complies with Industry Canada license-exempt RSS standard(s). Operation is subject to the following two conditions:  (1) This device may not cause interference, and  (2)This device must accept any interference, including interference that may cause undesired operation of the device. Cet appareil est conforme aux norms CNR exemptes de licence d’Industrie Canada. Le fonctionnement est soumis aux deux conditions suivantes:  (1) cet appareil ne doit pas provoquer d’interférences et  (2) cet appareil doit accepter toute interférence, y compris celles susceptibles de provoquer un fonctionnement non souhaité de l’appareil. Industry Canada Statement Complies with the Canadian ICES-003 Class B specifications. Cet appareil numérique de la classe B est conforme à la norme NMB-003 du Canada.  This device complies with RSS 210 of Industry Canada. This Class B device meets all the requirements of the Canadian interference-causing equipment regulations. Cet appareil numérique de la Classe B respecte toutes les exigences du Règlement sur le matériel brouilleur du Canada. Safety Information  When product has power button, the power button is one of the way to shut off the product; when there is no power button, the only way to completely shut off power is to disconnect the product or the power adapter from the power source.  Don’t disassemble the product, or make repairs yourself. You run the risk of electric shock and voiding the limited warranty. If you need service, please contact us.  Avoid water and wet locations.
 OnHub  Table of Contents Welcome What’s In the Box What You Need Plug in OnHub Get the App Set-Up WiFi  Welcome to OnHub We use the Internet for so much more than we used to. We stream movies, watch TV, download music. OnHub keeps up with all the ways you're enjoying the Internet, easily and securely. Let's plug it in and get started.  What’s in the Box ● OnHub wireless router with housing ● 2x ethernet cables  ● 1 power adapter  What You Need The Google On App on Android or iOS mobile device:  Android 4.0 and above iOS 7 and above   A broadband Internet account via Ethernet connection—typically through a DSL or cable modem. Contact your local Internet Service Provider (ISP) for details.   Plugging in the OnHub  Twist left and lift the plastic housing to find the power and ethernet ports at the base of the port.  Connect one end of the provided ethernet cable to the OnHub ethernet WAN port (SYMBOL) and the other end to one of the ethernet ports of your DSL or model cable.  Connect the cable from your power adapter to your OnHub and plug your OnHub into a power outlet.  Important: Use only the AC adapter that came with your OnHub.  The status light will pulse blue when OnHub is ready for setup.   Open the Google On app on your mobile device to set up your OnHub and wireless network.  What color is the OnHub? ● White ○ Solid: OnHub is ready to go. ● Blue ○ OnHub is ready for setup or, if flashing, setting up. 1
 ● Teal / Green ○ OnHub has successfully completed a command. ● Deep Orange / Red ○ Something is wrong. Check the Google On app for more details.   Set-Up WiFi  To get started, open the Google On app.  On  iOS, the app will prompt you to sign-in with your Google Account or ask you to create a new account.  On Android, your OnHub will automatically be associated with the Google account used with your Android phone.   What's a Google Account? A Google Account gives you access to Google products like Gmail, Google+, YouTube, and more with a single username and password. To create a new account, visit https://accounts.google.com   Follow the on-screen instructions to set up your OnHub and WiFi network.   ● Connect to the onHub ○  [Android] The Google On app will detect your OnHub.  ○  [iOS] Follow the onscreen instructions to connect to your network in the connection manager. ○ Note: You may be asked to enter the setup code. Find these on a label under the base of your OnHub. ● Create WiFi network, name (SSID), and password  ○ Note: Your OnHub may automatically update software at this time. While it’s updating, the status light on the OnHub will have a quick blue pulse. This should only take about 5 minutes.] ● Follow the onscreen instructions to complete setup. Your OnHub will slowly pulsate a blue light when setup is in process. ● Once you see the on-screen confirmation and the light on the OnHub is solid white, OnHub has successfully completed setup.  Warranty TP-LINK 2 Year Warranty 2

Navigation menu