TP Link Technologies WN323G 54M Wireless USB Adapter User Manual
TP-Link Technologies Co., Ltd. 54M Wireless USB Adapter
UserManual.wiki
>
TP Link Technologies
>
WN323G User Manual
User Manual
Navigation menu
Upload a User Manual
Namespaces
Wiki Guide
HTML
PDF
Info
Views
User Manual
Discussion / Help
Navigation


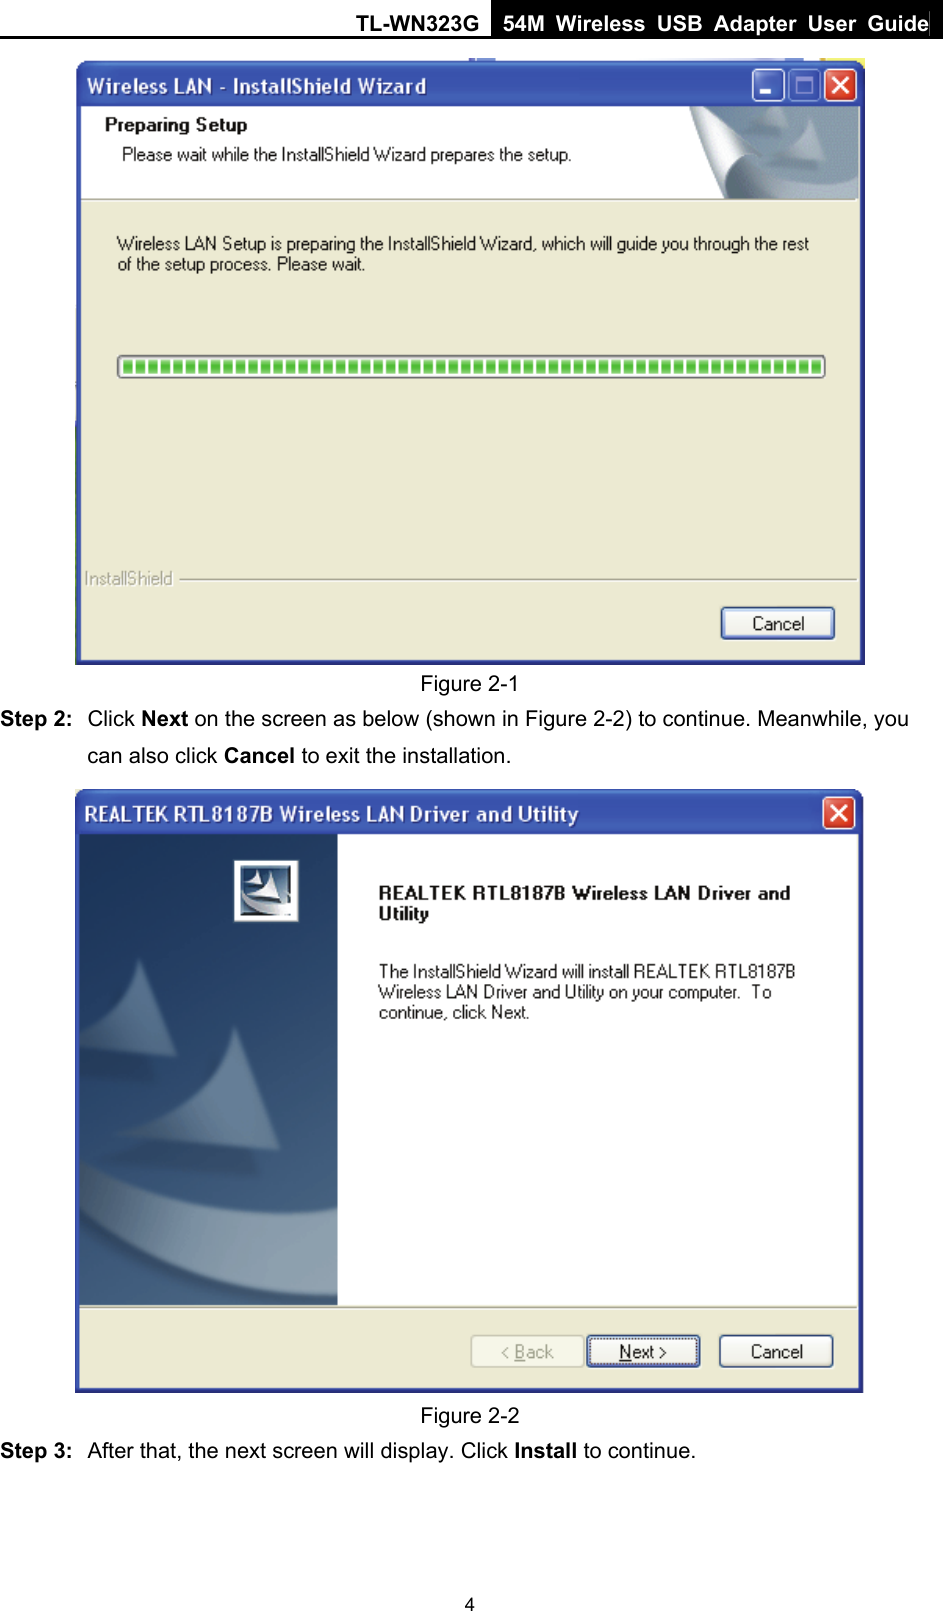
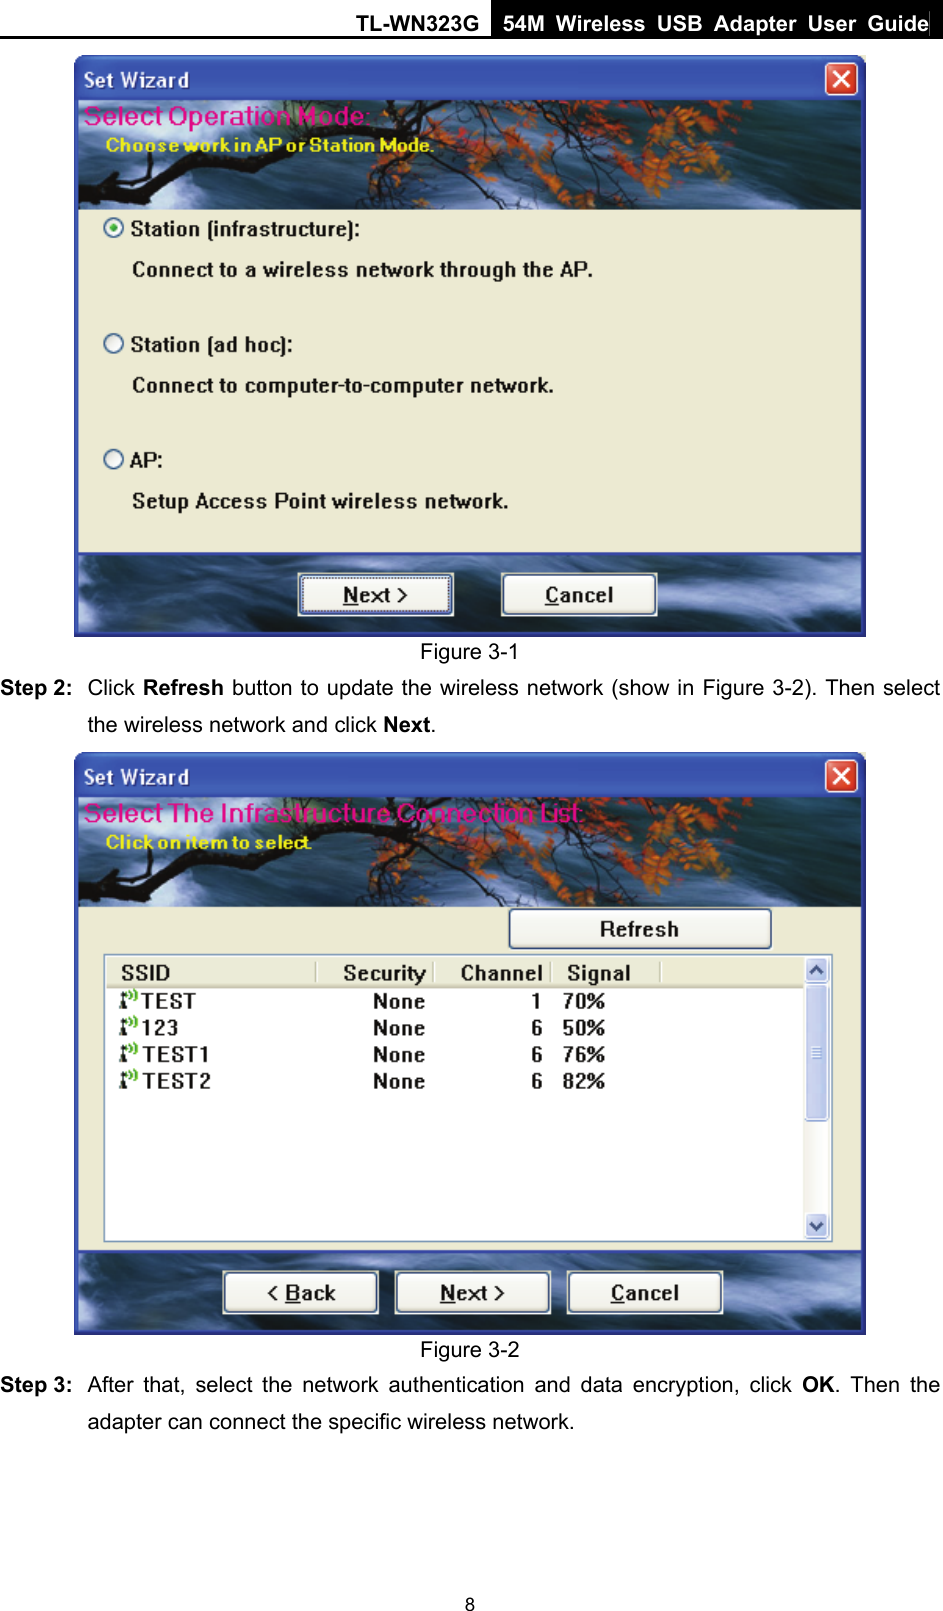
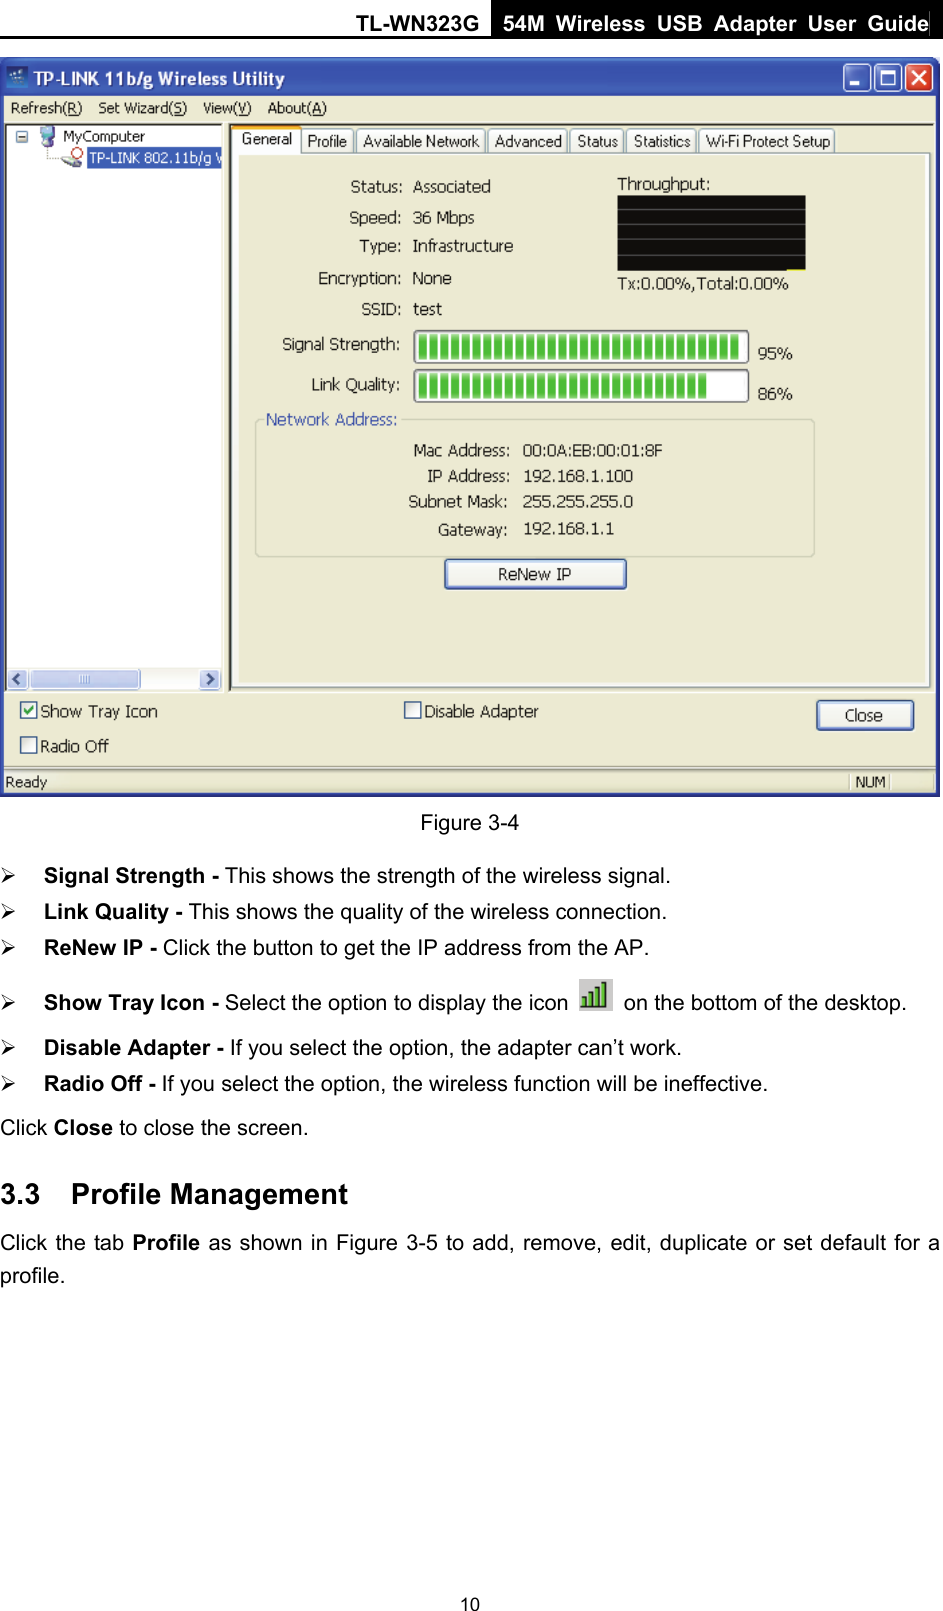
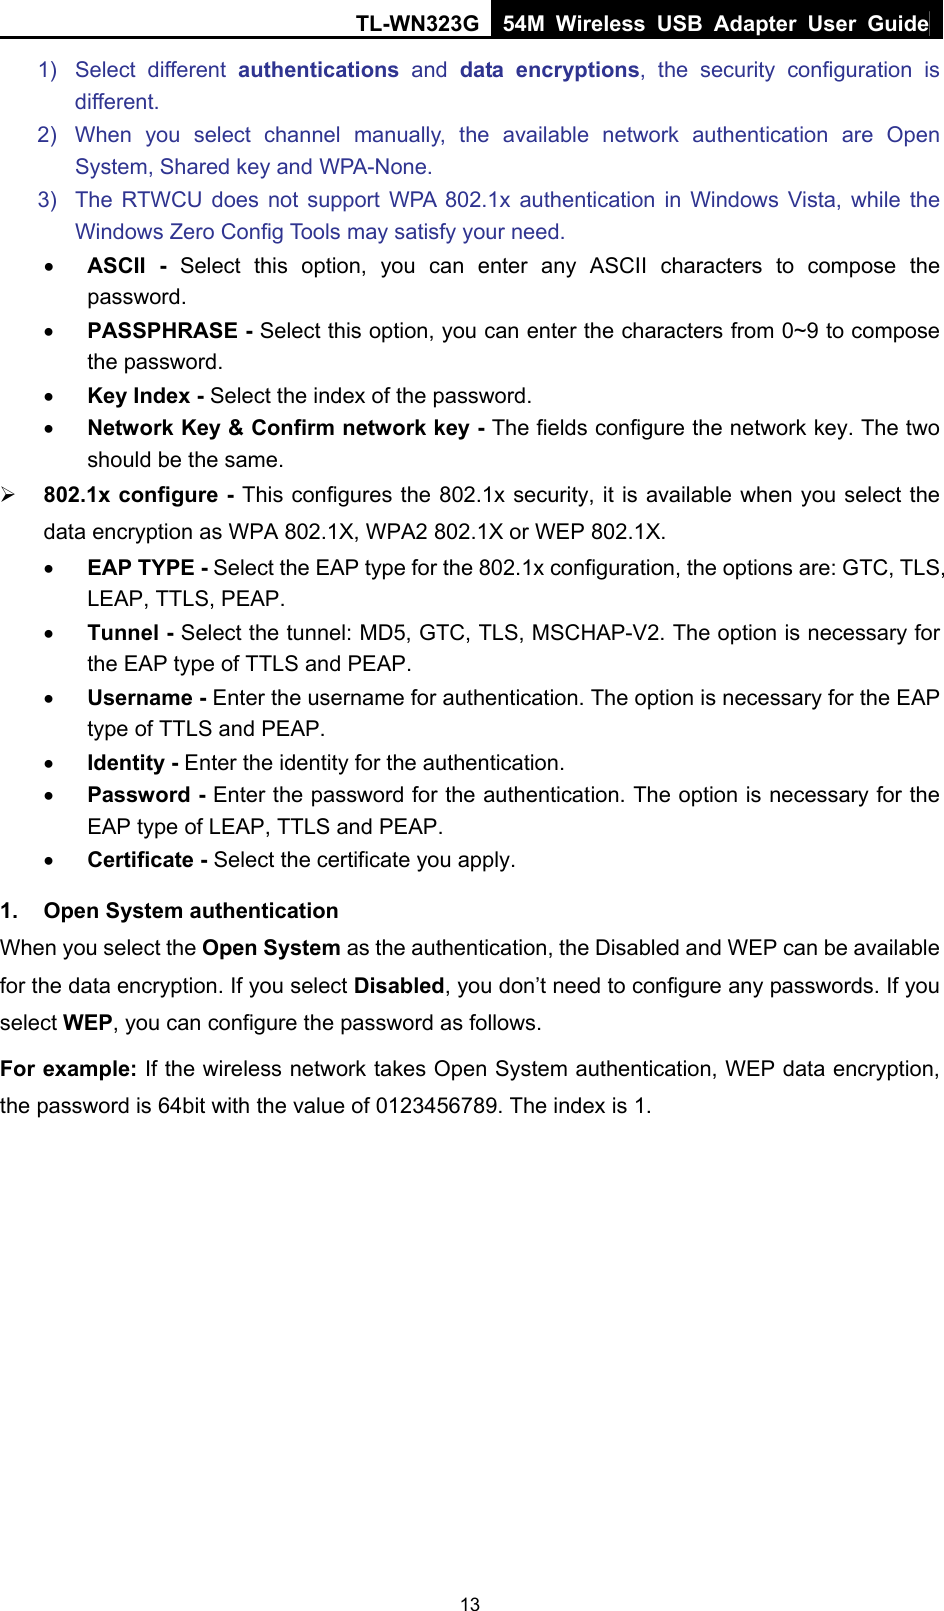
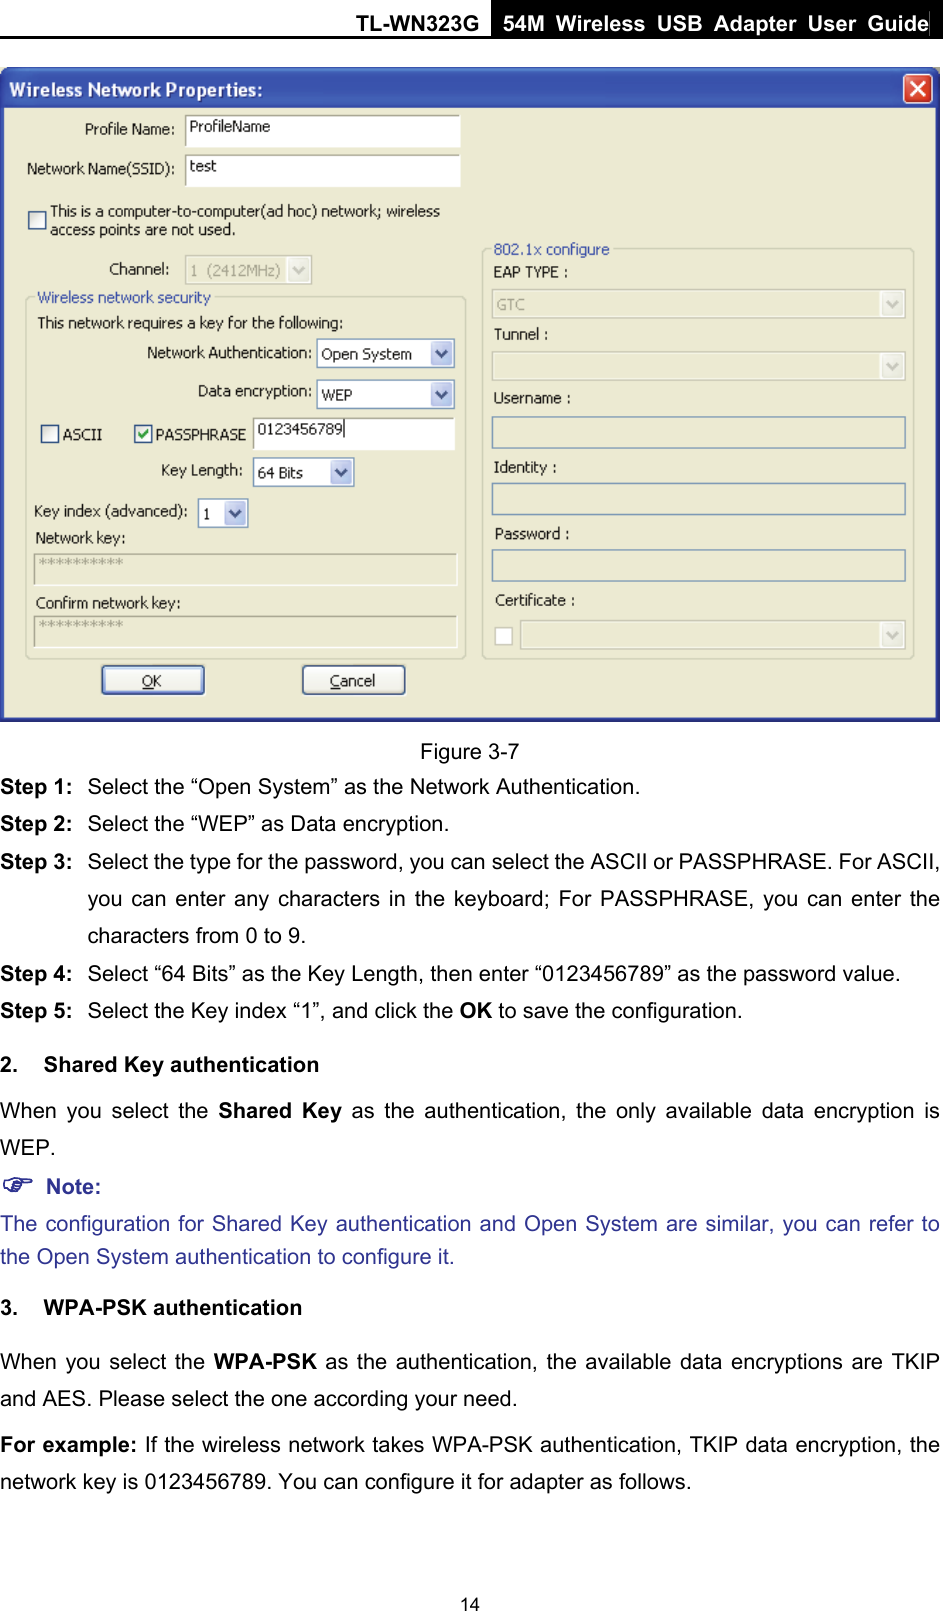
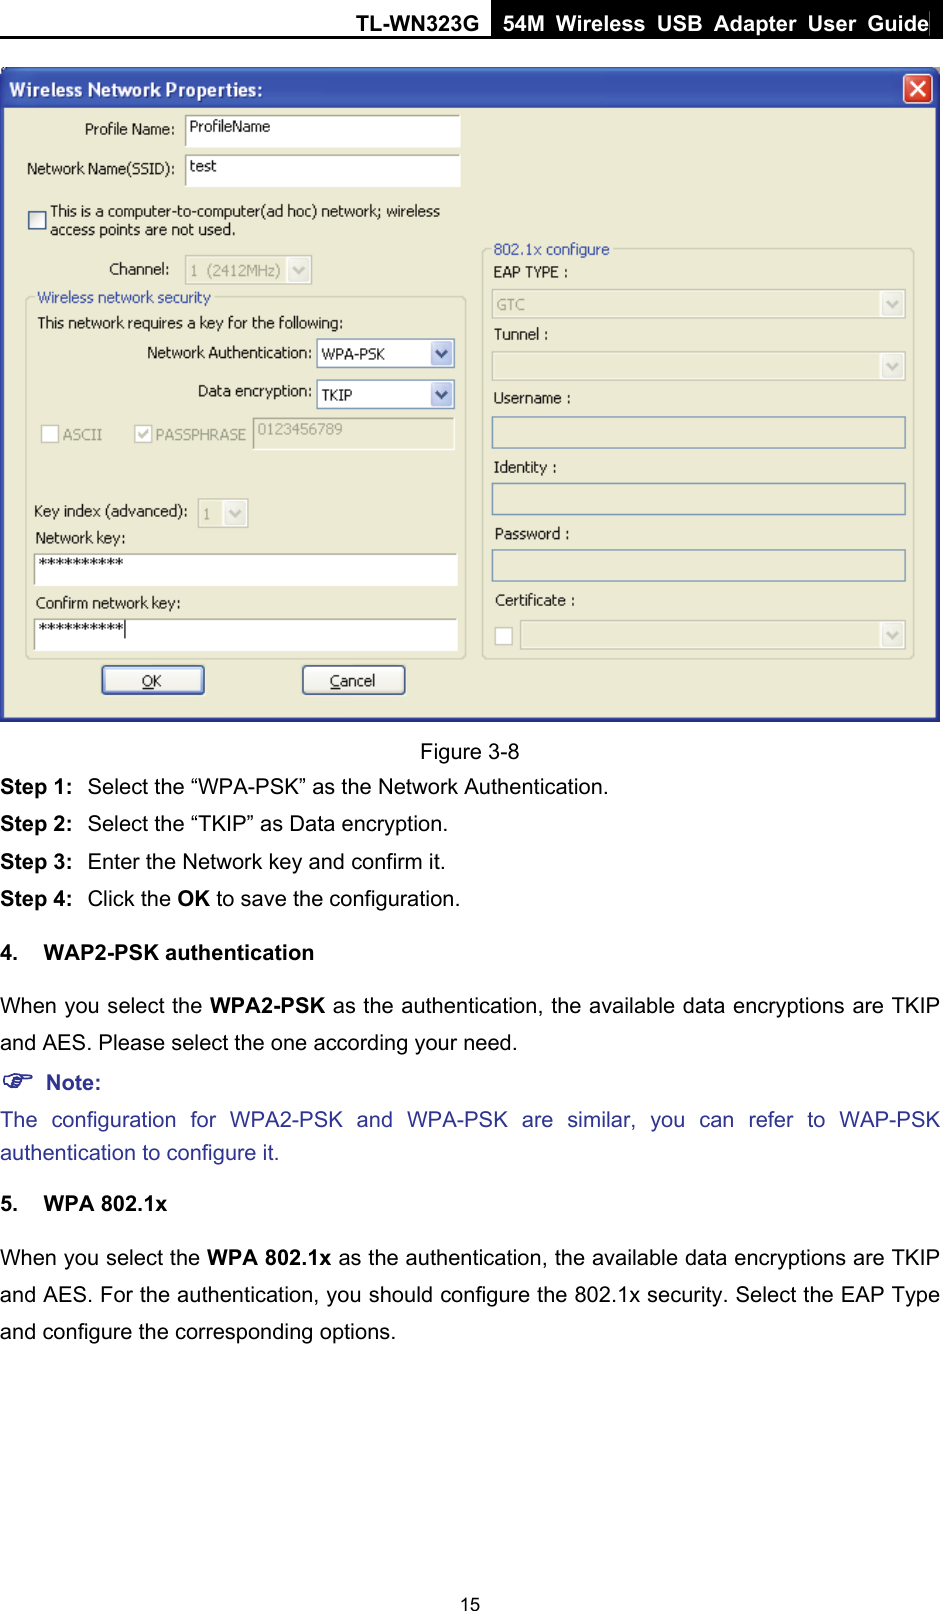
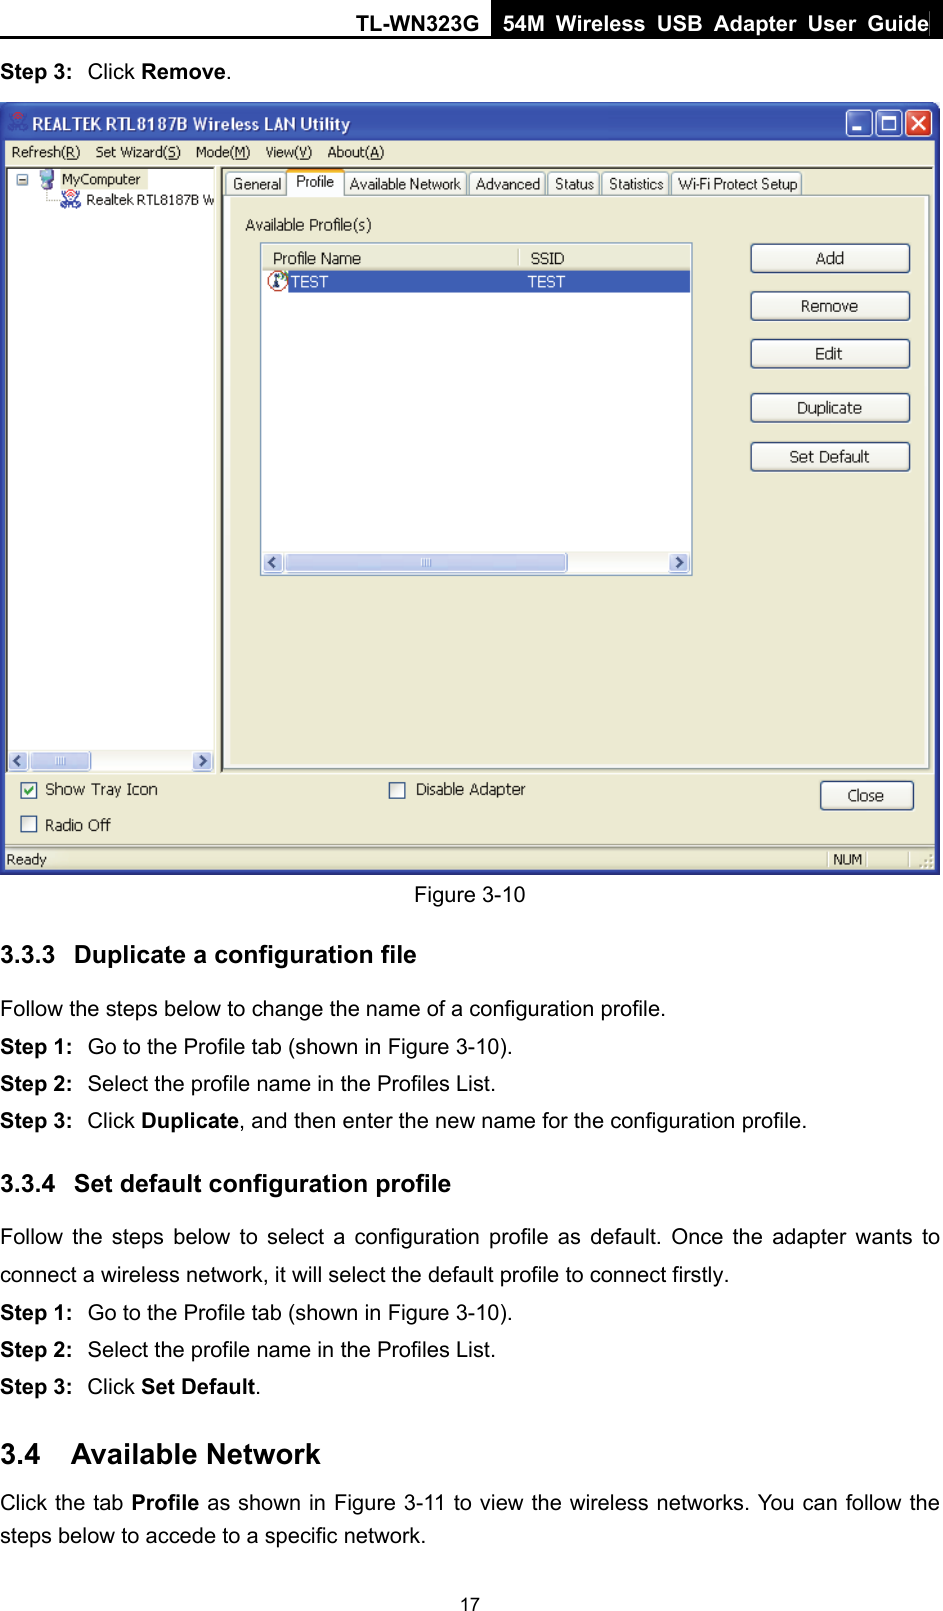
![TL-WN323G 54M Wireless USB Adapter User Guide 7Chapter 3. Configuration The Wireless USB Adapter TL-WN323G can be configured by REALTEK RTL8187B Wireless LAN Utility. This chapter describes how to configure your TL-WN323G Wireless USB Adapter for wireless connectivity on your Wireless Local Area Network (WLAN) and use the data security encryption features. After Installing the Adapter, the Adapter’s tray icon will appear in your system tray. It appears at the bottom of the screen, and shows the signal strength using color and the received signal strength indication (RSSI). If the icon is gray, there is no connection. If the icon is red, there is poor signal strength and the RSSI is less than 5dB. If the icon is yellow, there is poor signal strength and the RSSI is between 5dB and 10dB. If the icon is green, there is good signal strength and the RSSI is between 10dB and 20dB. If the icon is green, there is excellent signal strength and the RSSI is more than 20dB. Double-click the icon and the REALTEK RTL8187B Wireless LAN Utility will run. You can also run the utility by clicking the Start>Programs>RTWCU>REALTEK RTL8187B Wireless LAN Utility. The utility provides an integrated and easy tool to: ¾ Display current status information ¾ Edit and add configuration profiles ¾ Display current statistics information The sections below take Windows XP for example to introduce these above capabilities. 3.1 Set Wizard Choose the menu Set Wizard on the top of the utility screen; you can select the operation mode for the adapter (we select the infrastructure mode for example). Step 1: Select Station [infrastructure] (show in Figure 3-1). Then click Next.](https://usermanual.wiki/TP-Link-Technologies/WN323G/User-Guide-1001130-Page-12.png)