TPL Communications 2-2AC RF Power Amplifier User Manual
TPL Communications Inc RF Power Amplifier
User Manual
I
I
~ e~~~~
I
I USER
MANUAL
I MID-BAND VHF
I CONTINUOUS DUTY
I POWER AMPLIFIERS
I
I
I
I
I3370 SAN FERNANDO ROAD., #206
I LOS ANGELES, CA 90065
TEL: (323)256-3000 FAX: (323)254-3210
I www.tplcom.com
I
IL-P A2- 2AX -RXRPS/RSPS- L5
I
I
-
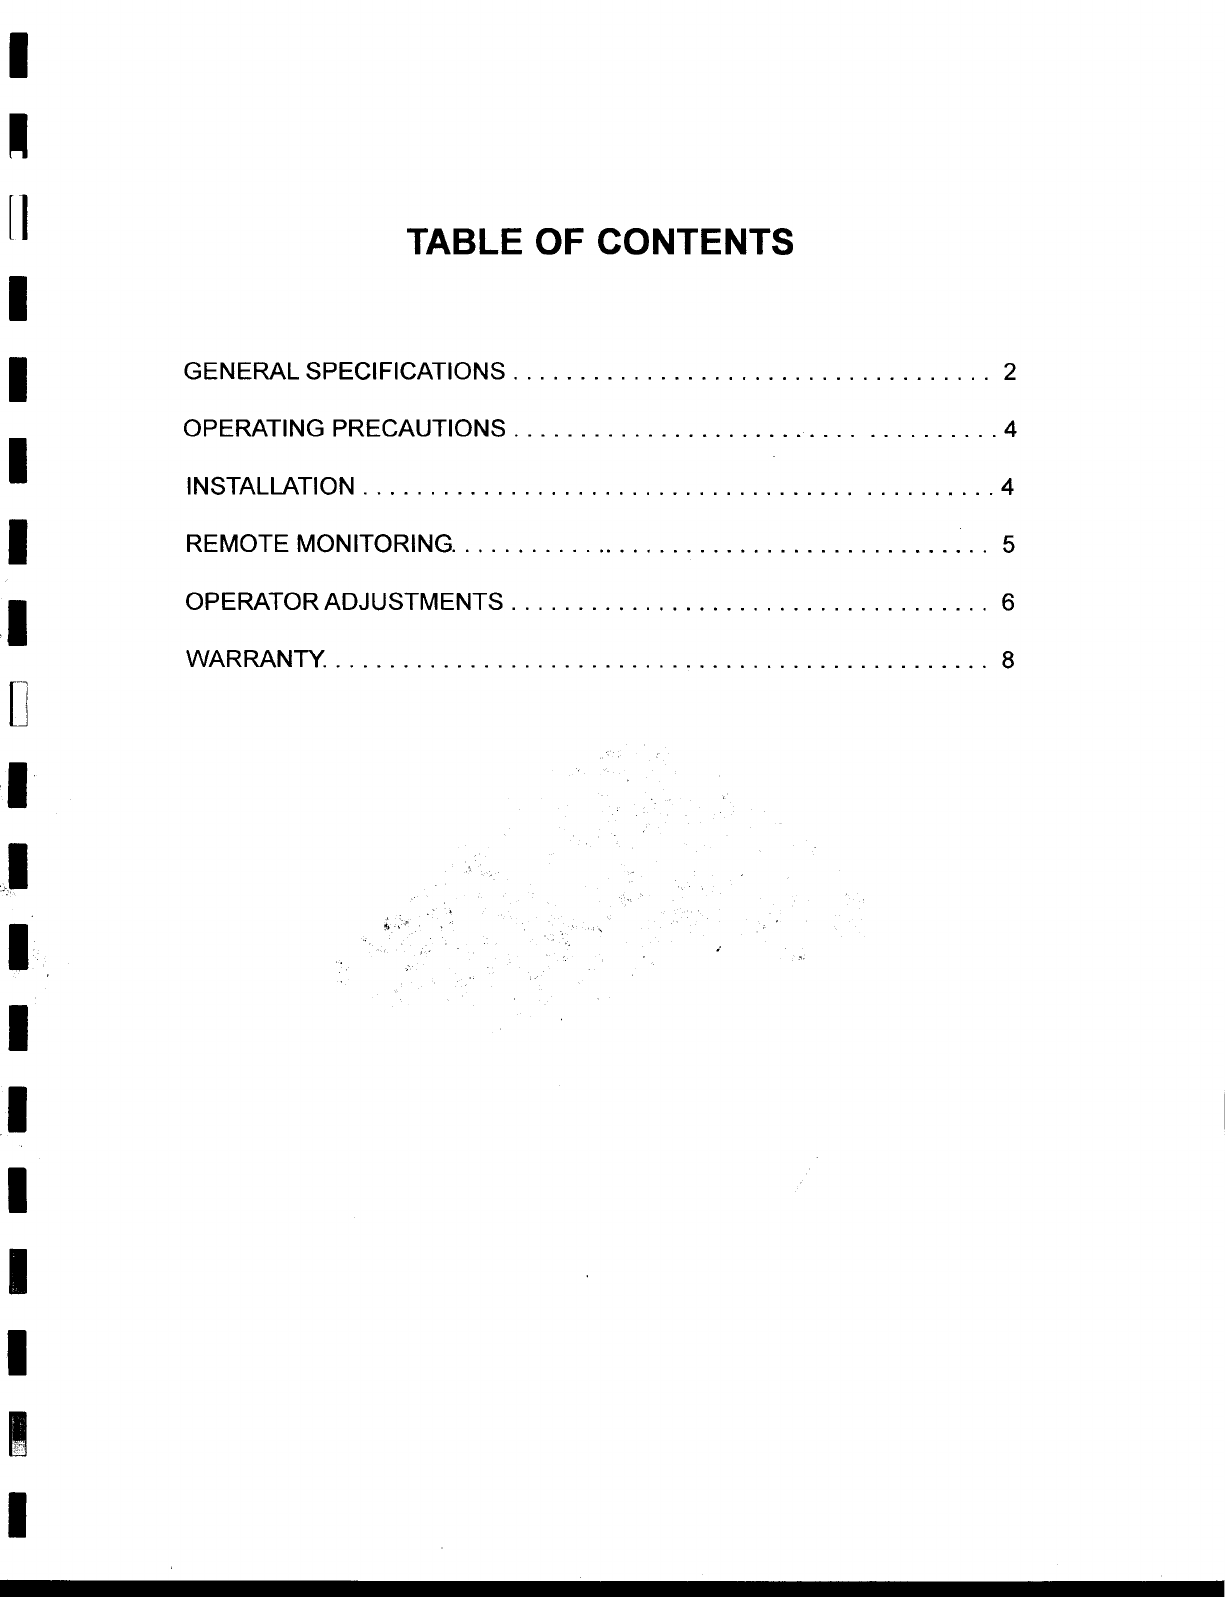
~l TABLE OF CONTENTS
I
I .GENERAL SPECIFICATIONS 2
OPERATING PRECAUTIONS 4
IINSTALLATION 4
I REMOTEMONITORING 5,1
OPERATOR ADJUSTMENTS 6
.WARRANTY 8
D
I
,I
,- c
I .'
,
I
I
I
I
I
I
I
I
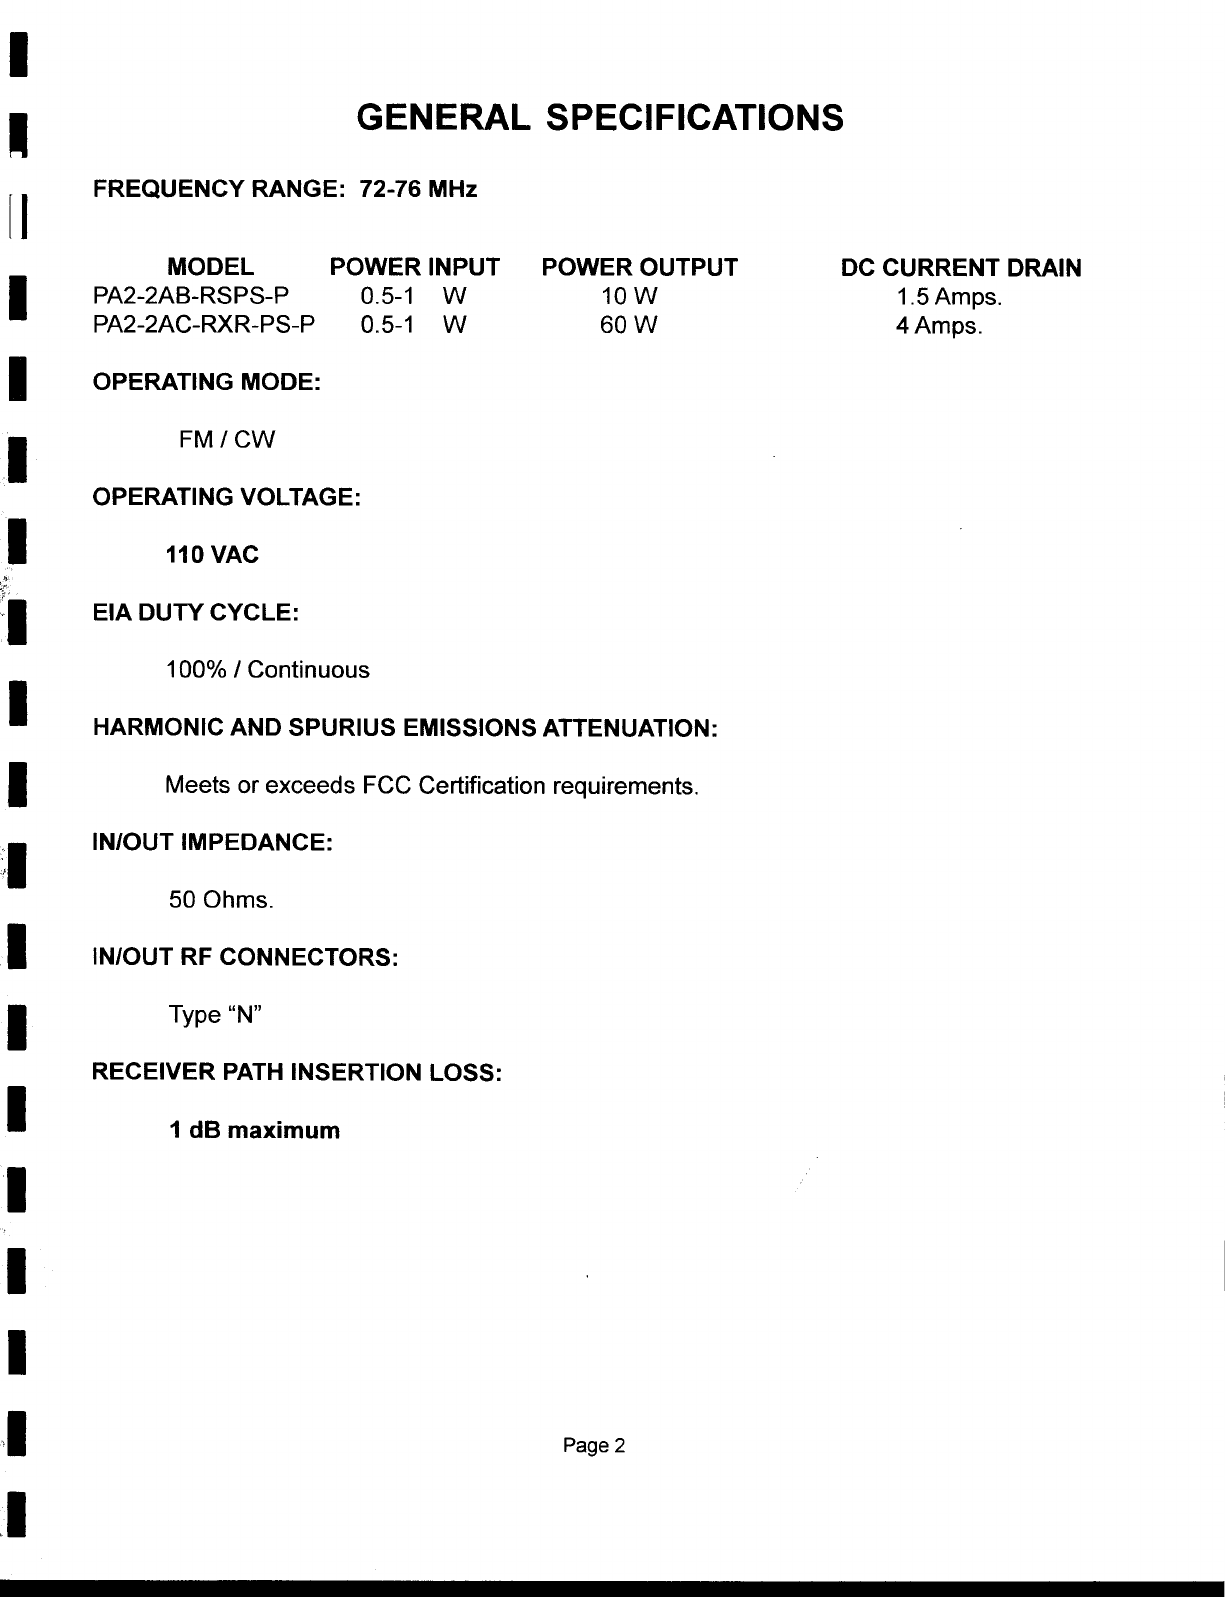
-GENERAL SPECIFICATIONS
[ I FREQUENCY RANGE: 72-76 MHz
MODEL POWER INPUT POWER OUTPUT DC CURRENT DRAIN
I PA2-2AB-RSPS-P 0.5-1 W 10 W 1.5 Amps.
PA2-2AC-RXR-PS-P 0.5-1 W 60 W 4 Amps.
I OPERATING MODE:
.I FM/CW
OPERATING VOLTAGE:
I 110 VAC
"
c,
,.:1 EIA DUTY CYCLE:
100% I Continuous
I HARMONIC AND SPURIUS EMISSIONS ATTENUATION:1
Meets or exceeds FCC Certification requirements.:1
IN/OUT IMPEDANCE:
50 Ohms.
1 IN/OUT RF CONNECTORS:
1 Type "N"
RECEIVER PATH INSERTION LOSS:1
1 dB maximum11
I
,I Page 2.1
I
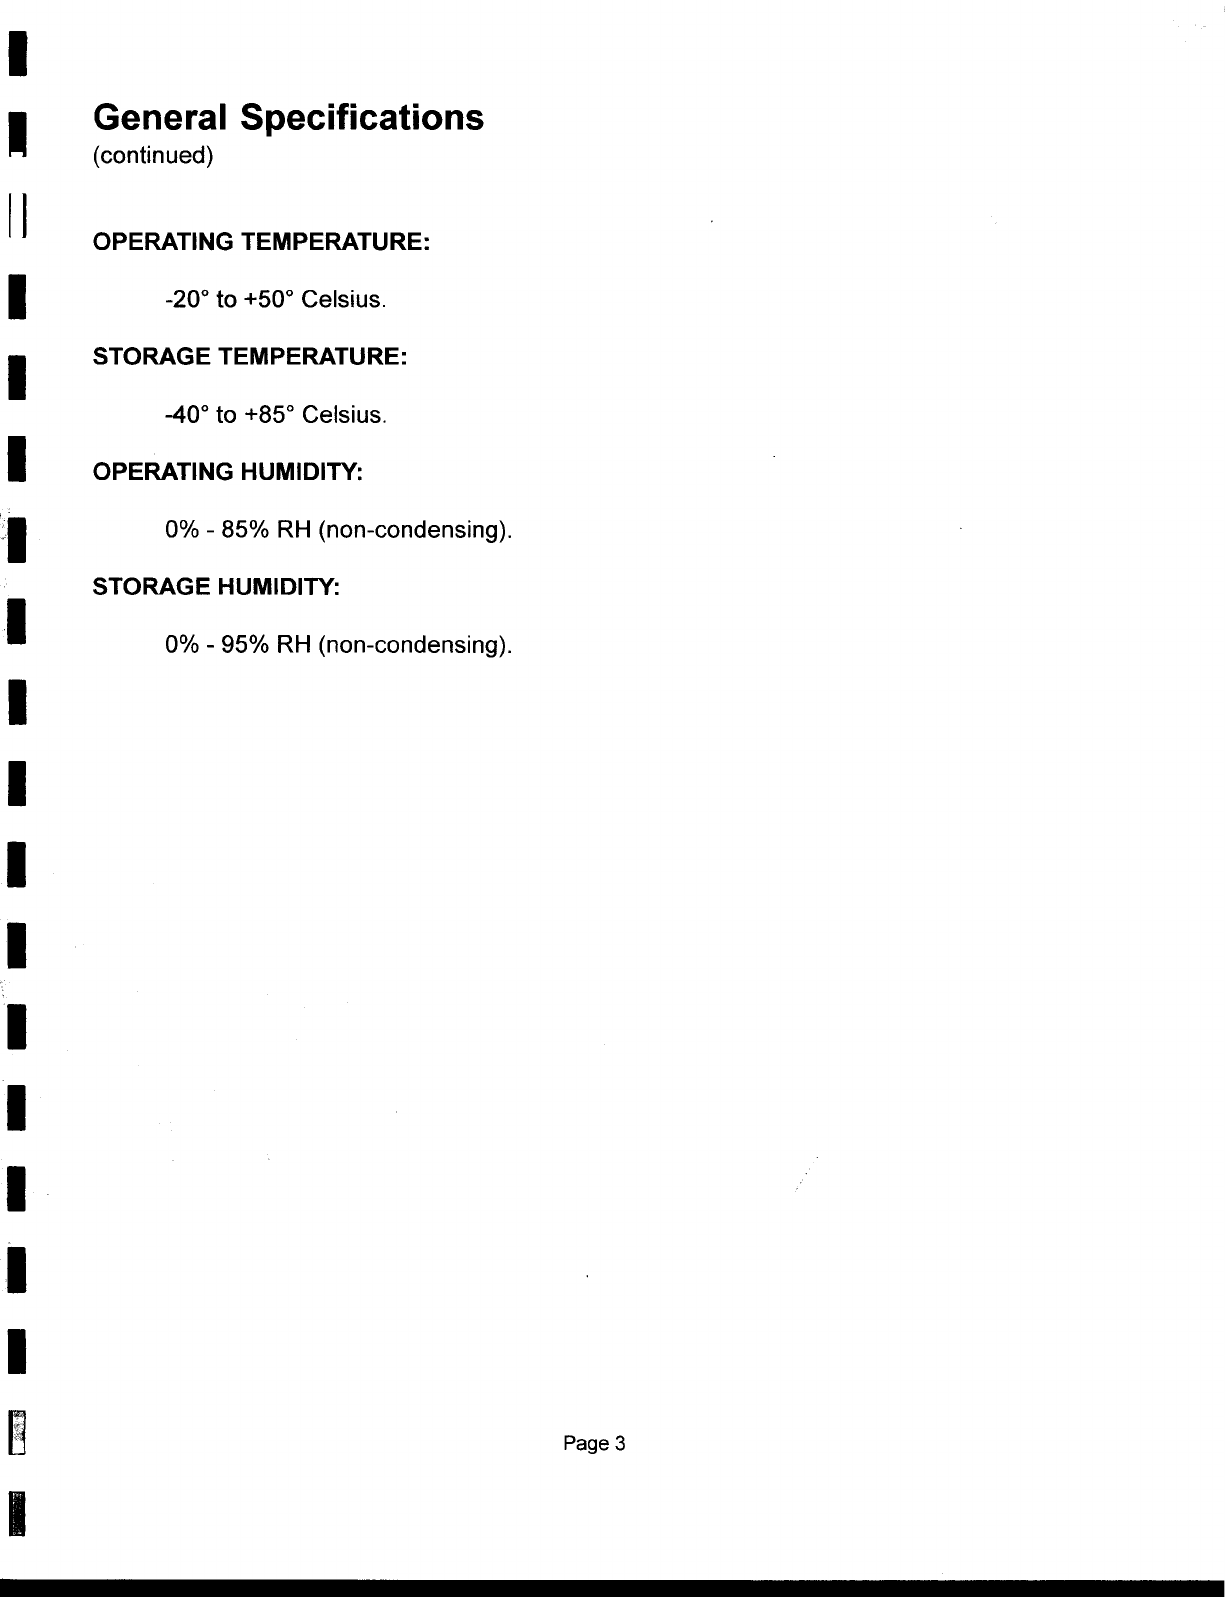
IGeneral Specifications
(continued)
II OPERATING TEMPERATURE:
I -200 to +500 Celsius.
I STORAGE TEMPERATURE:
-400 to +850 Celsius.
I OPERATING HUMIDITY:':1
0% -85% RH (non-condensing).
STORAGE HUMIDITY:
I 0% -95% RH (non-condensing).
I
I
I
I
I
I
I
I
I
~ Page 3
I
I
-OPERATING PRECAUTIONS
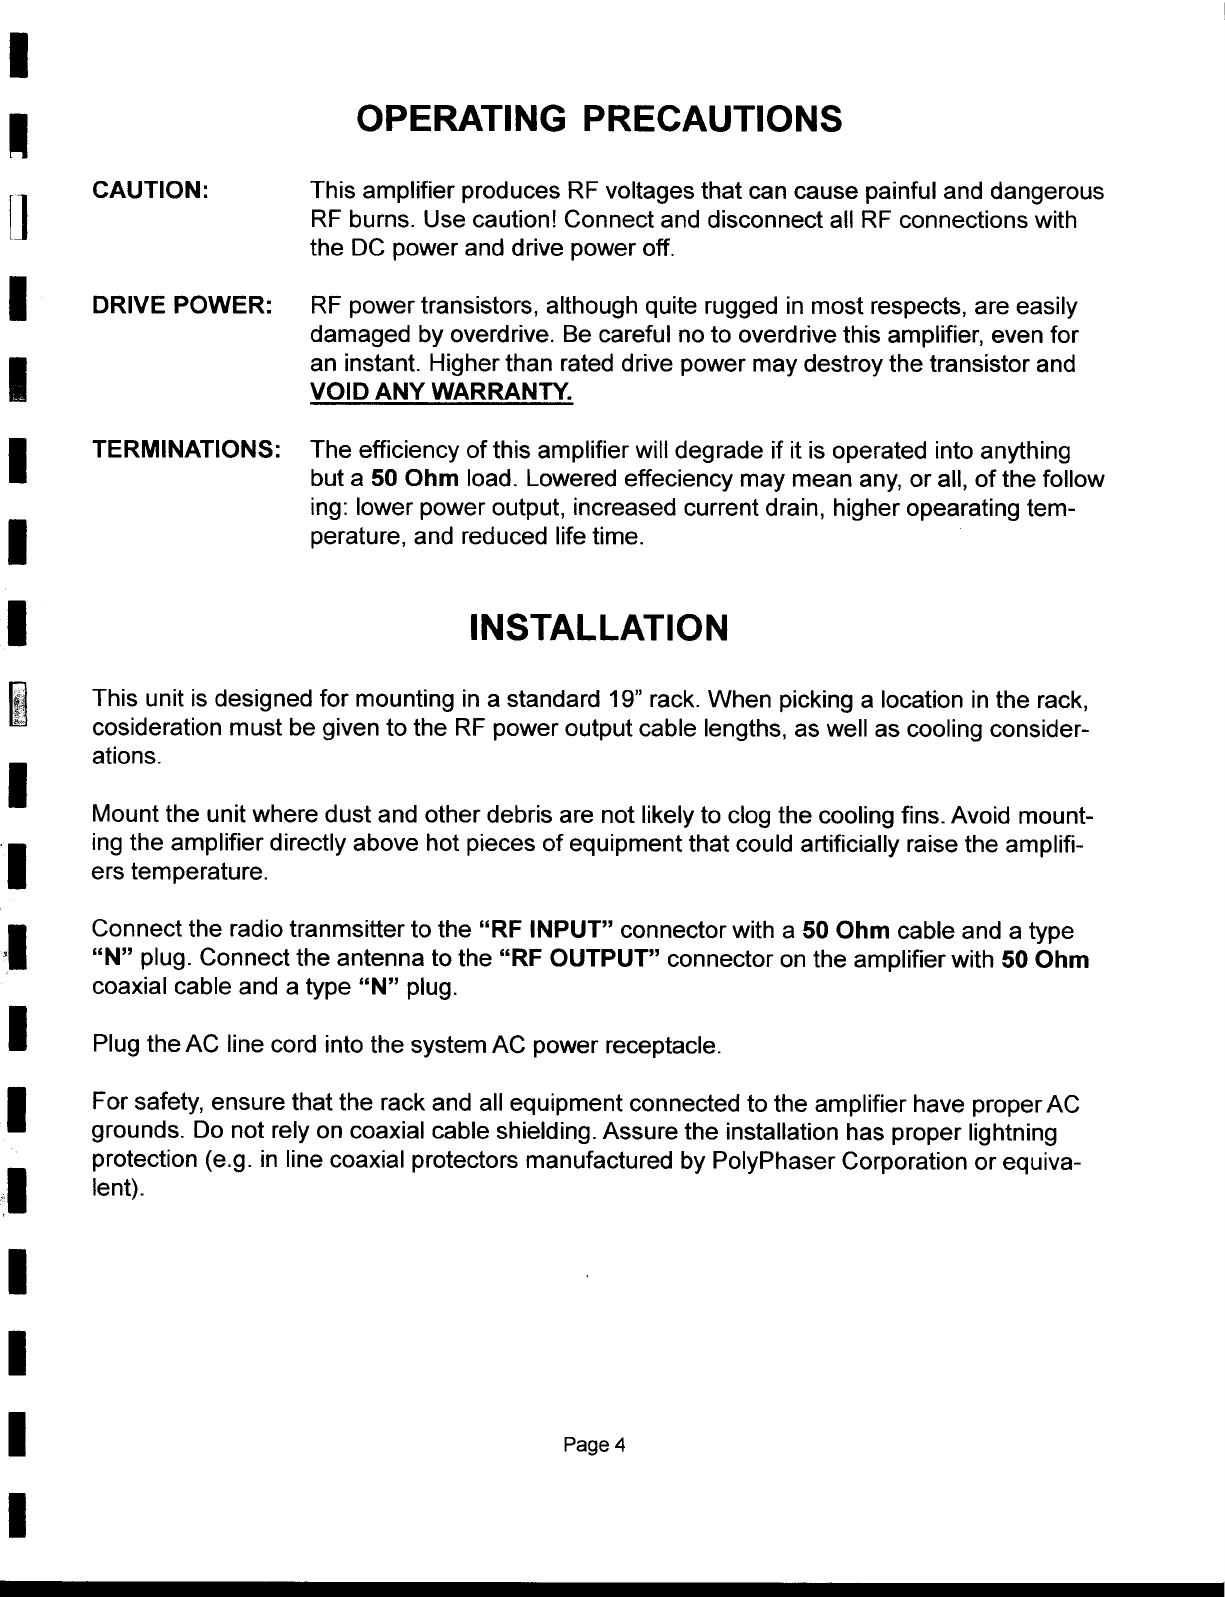
fJCAUTION: This amplifier produces RF voltages that can cause painful and dangerous
l RF burns. Use caution! Connect and disconnect all RF connections with
the DC power and drive power off.
I DRIVE POWER: RF power transistors, although quite rugged in most respects, are easily
damaged by overdrive. Be careful no to overdrive this amplifier, even for
Ian instant. Higher than rated drive power may destroy the transistor and
VOID ANY WARRANTY.
ITERMINATIONS: The efficiency of this amplifier will degrade if it is operated into anything
but a 50 Ohm load. Lowered effeciency may mean any, or all, of the follow
ing: lower power output, increased current drain, higher opearating tem-
1 perature, and reduced life time.
1 INSTAllATION
~ This unit is designed for mounting in a standard 19" rack. When picking a location in the rack,
cosideration must be given to the RF power output cable lengths, as well as cooling consider-
I ations.
Mount the unit where dust and other debris are not likely to clog the cooling fins. Avoid mount-
ling the amplifier directly above hot pieces of equipment that could artificially raise the amplifi-
ers temperature.
IConnect the radio tranmsitter to the "RF INPUT" connector with a 50 Ohm c.~ble ~nd a type
, "N" plug. Connect the antenna to the "RF OUTPUT" connector on the amplifier with 50 Ohm
coaxial cable and a type "N" plug.
I Plug the AC line cord into the system AC power receptacle.1
For safety, ensure that the rack and all equipment connected to the amplifier have properAC
grounds. Do not rely on coaxial cable shielding. Assure the installation has proper lightning
protection (e.g. in line coaxial protectors manufactured by PolyPhaser Corporation or equiva-::1
lent).
I
I
I Page 4
I
I
-REMOTE MONITORING
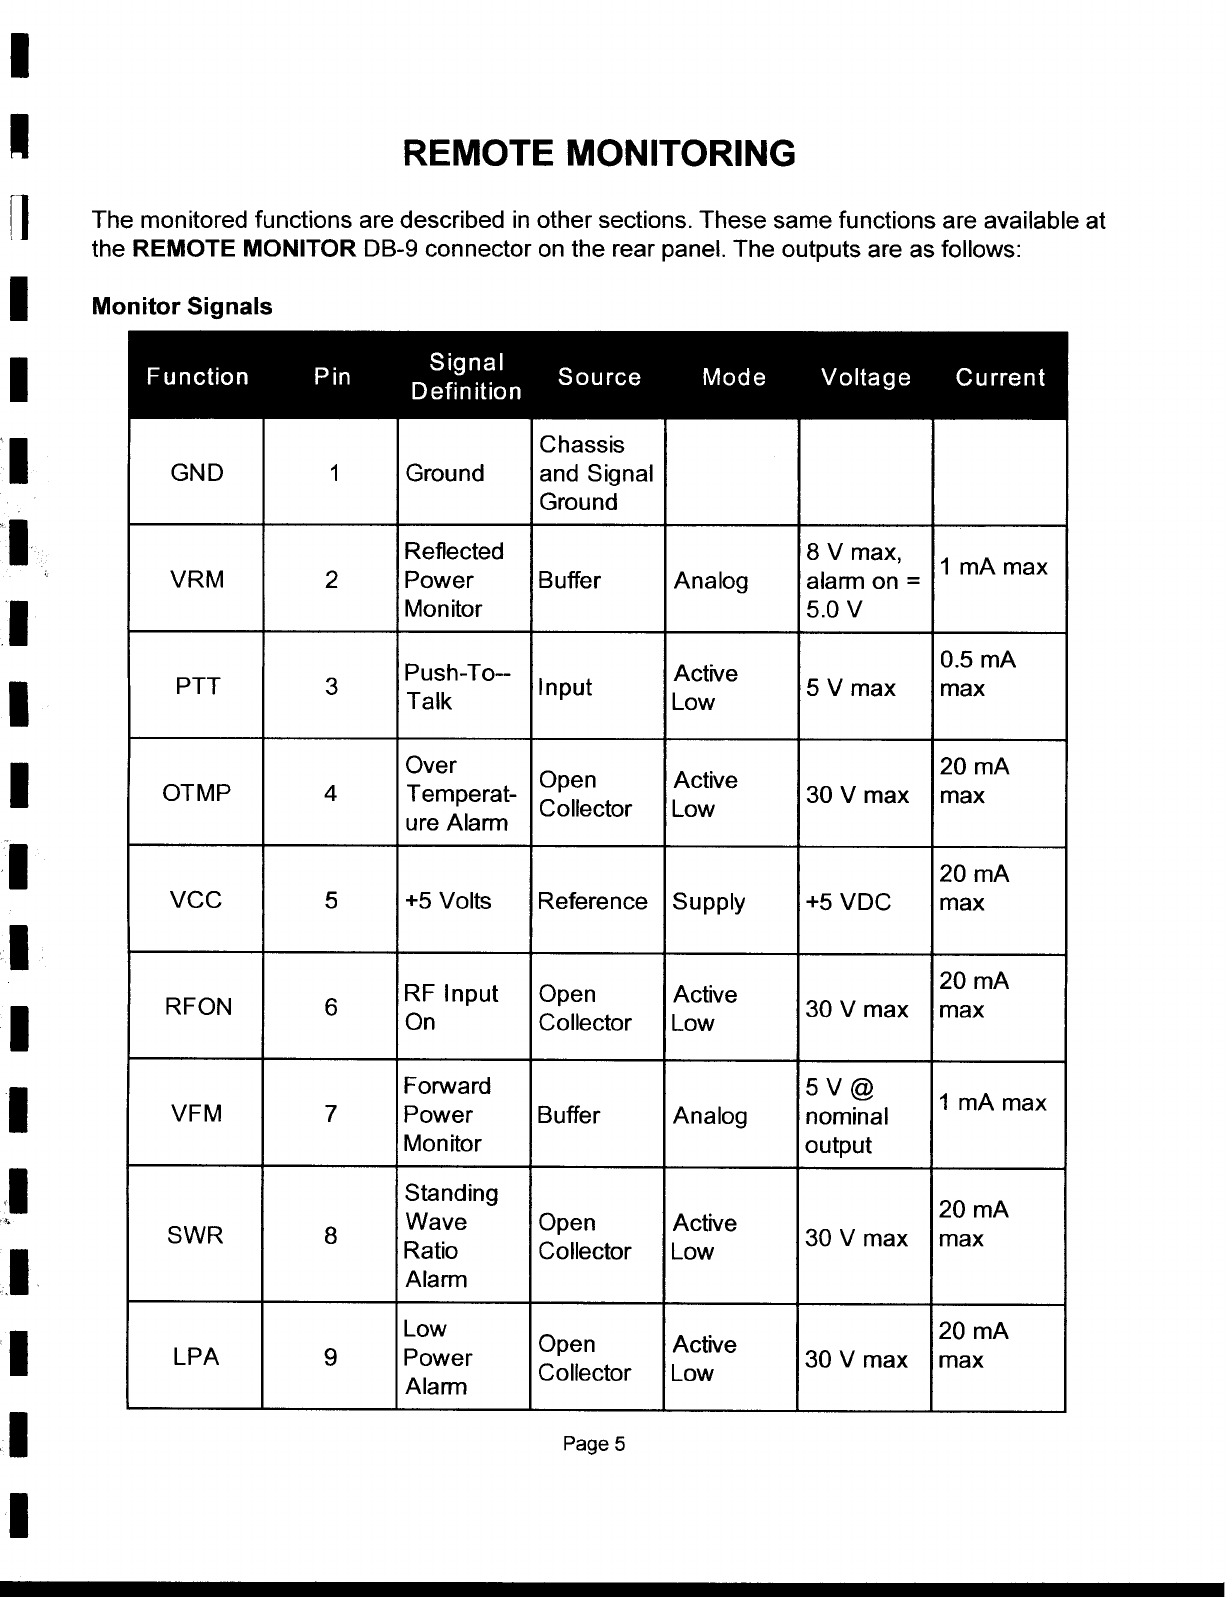
11 The monitored functions are described in other sections. These same functions are available at
the REMOTE MONITOR OB-9 connector on the rear panel. The outputs are as follows:
I Monitor Signals
I
IChassis
GNO 1 Ground and Signal
Ground
'I Reflected 8 V max, 1Am max
VRM 2 Power Buffer Analog alarm on =
I Monitor 5.0 V
P h T A t" 0.5 mA
us -0-- c lVe
I PTT 3 Talk Input Low 5 V max max
IOver 0 A t.20 mA
en c lVe
OTMP 4 Temperat- CPII t L 30 V max max
AI 0 ec or ow
ure arm
I 20 mA
VCC 5 +5 Volts Reference Supply +5 VOC max
I.20mA
RFON 6 RF Input Open ActIVe 30 V max max
I On Collector Low
IForward 5 V @ 1A" m max
VFM 7 Power Buffer Analog nominal
Monitor output
I Standing 20 mA".
Wave Open Active
SWR 8 R t. C II t L 30 V max max
I a 10 0 ec or ow
., Alarm
ILow 0 A t.20 mA
pen c lVe
LP A 9 Power C II t L 30 V max max
Alarm 0 ec or ow
I Page 5
I
I
I
I OPERATOR ADJUSTMENTS
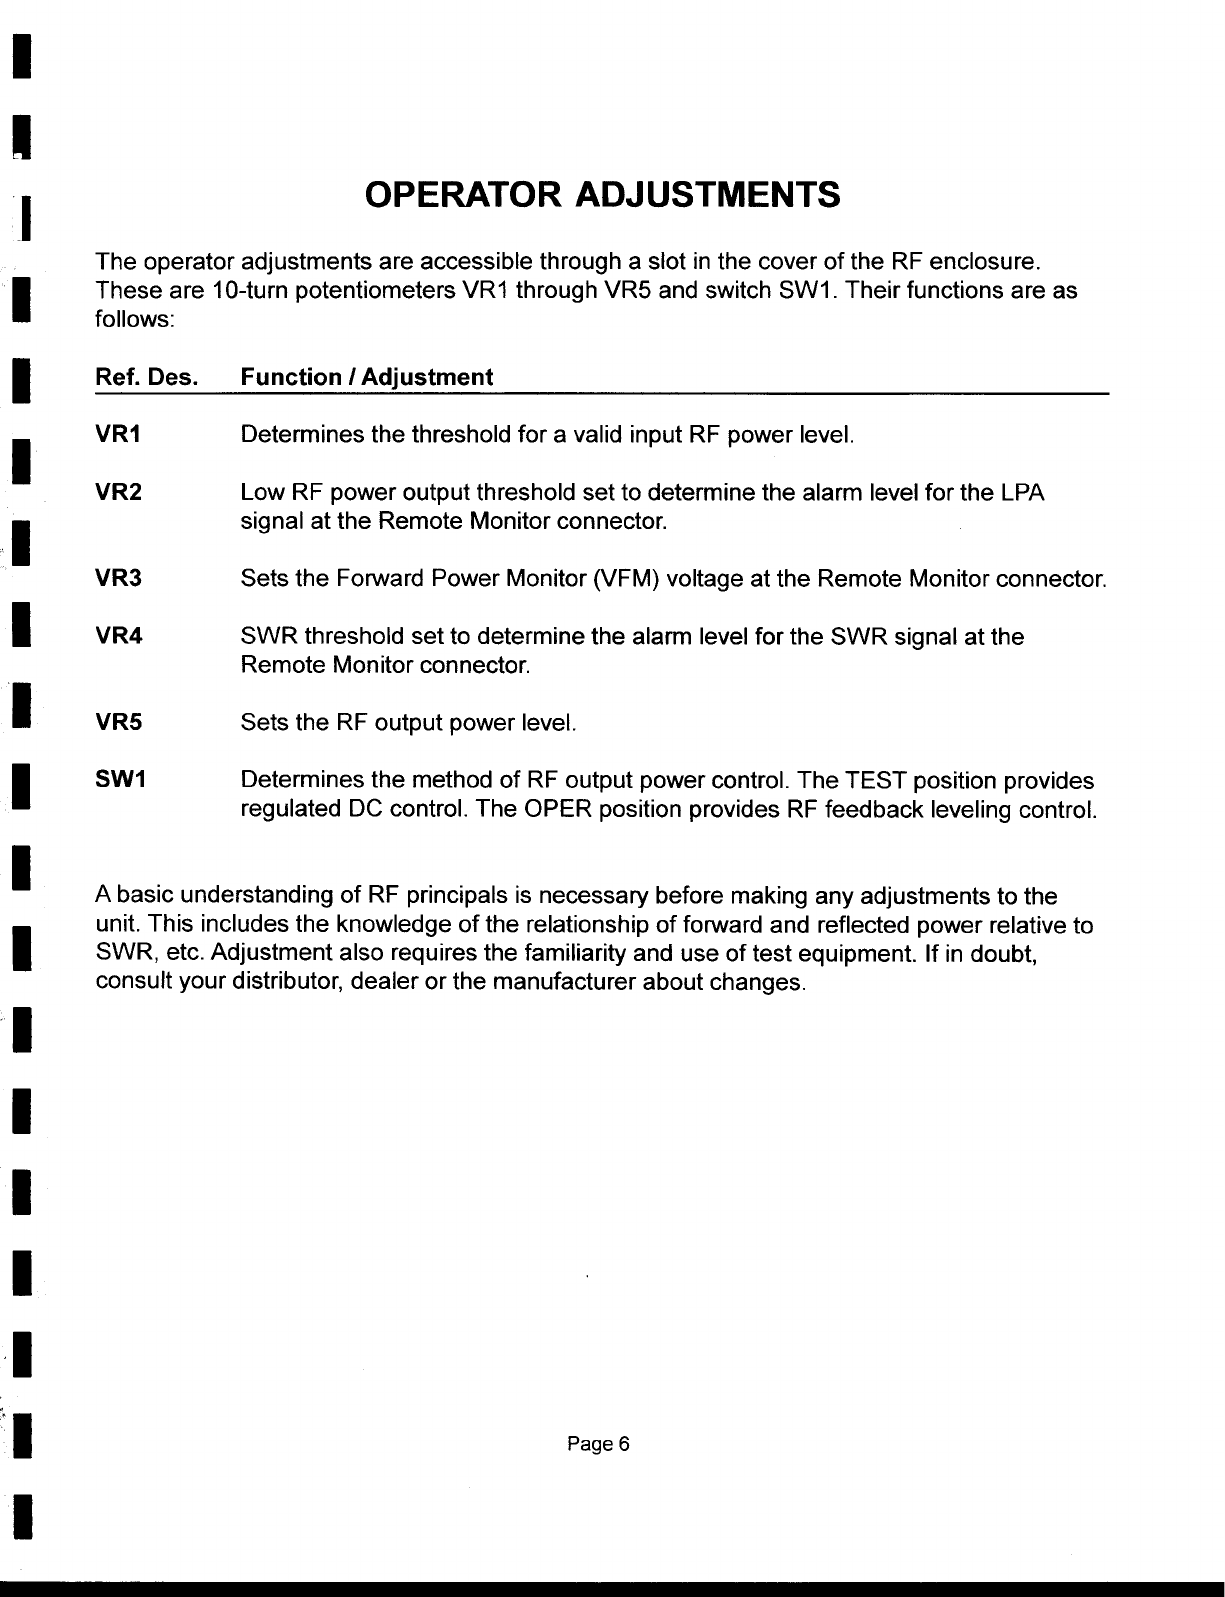
The operator adjustments are accessible through a slot in the cover of the RF enclosure.
IThese are 10-turn potentiometers VR1 through VR5 and switch SW1. Their functions are as
follows:
I Ref. Des. Function I Adjustment
I VR1 Determines the threshold for a valid input RF power level.
VR2 Low RF power output threshold set to determine the alarm level for the LPA
I signal at the Remote Monitor connector.
VR3 Sets the Forward Power Monitor (VFM) voltage at the Remote Monitor connector.
I VR4 SWR threshold set to determine the alarm level for the SWR signal at the
Remote Monitor connector.
I VR5 Sets the RF output power level.
I SW1 Determines the method of RF output power control. The TEST position provides
regulated DC control. The OPER position provides RF feedback leveling control.
I A basic understanding of RF principals is necessary before making any adjustments to the
Iunit. This includes the knowledge of the relationship of forward and reflected power relative to
SWR, etc. Adjustment also requires the familiarity and use of test equipment. If in doubt,
consult your distributor, dealer or the manufacturer about changes.
I
I
I
I
'I
"1Page 6
I
I
I OPERATOR ADJUSTMENTS
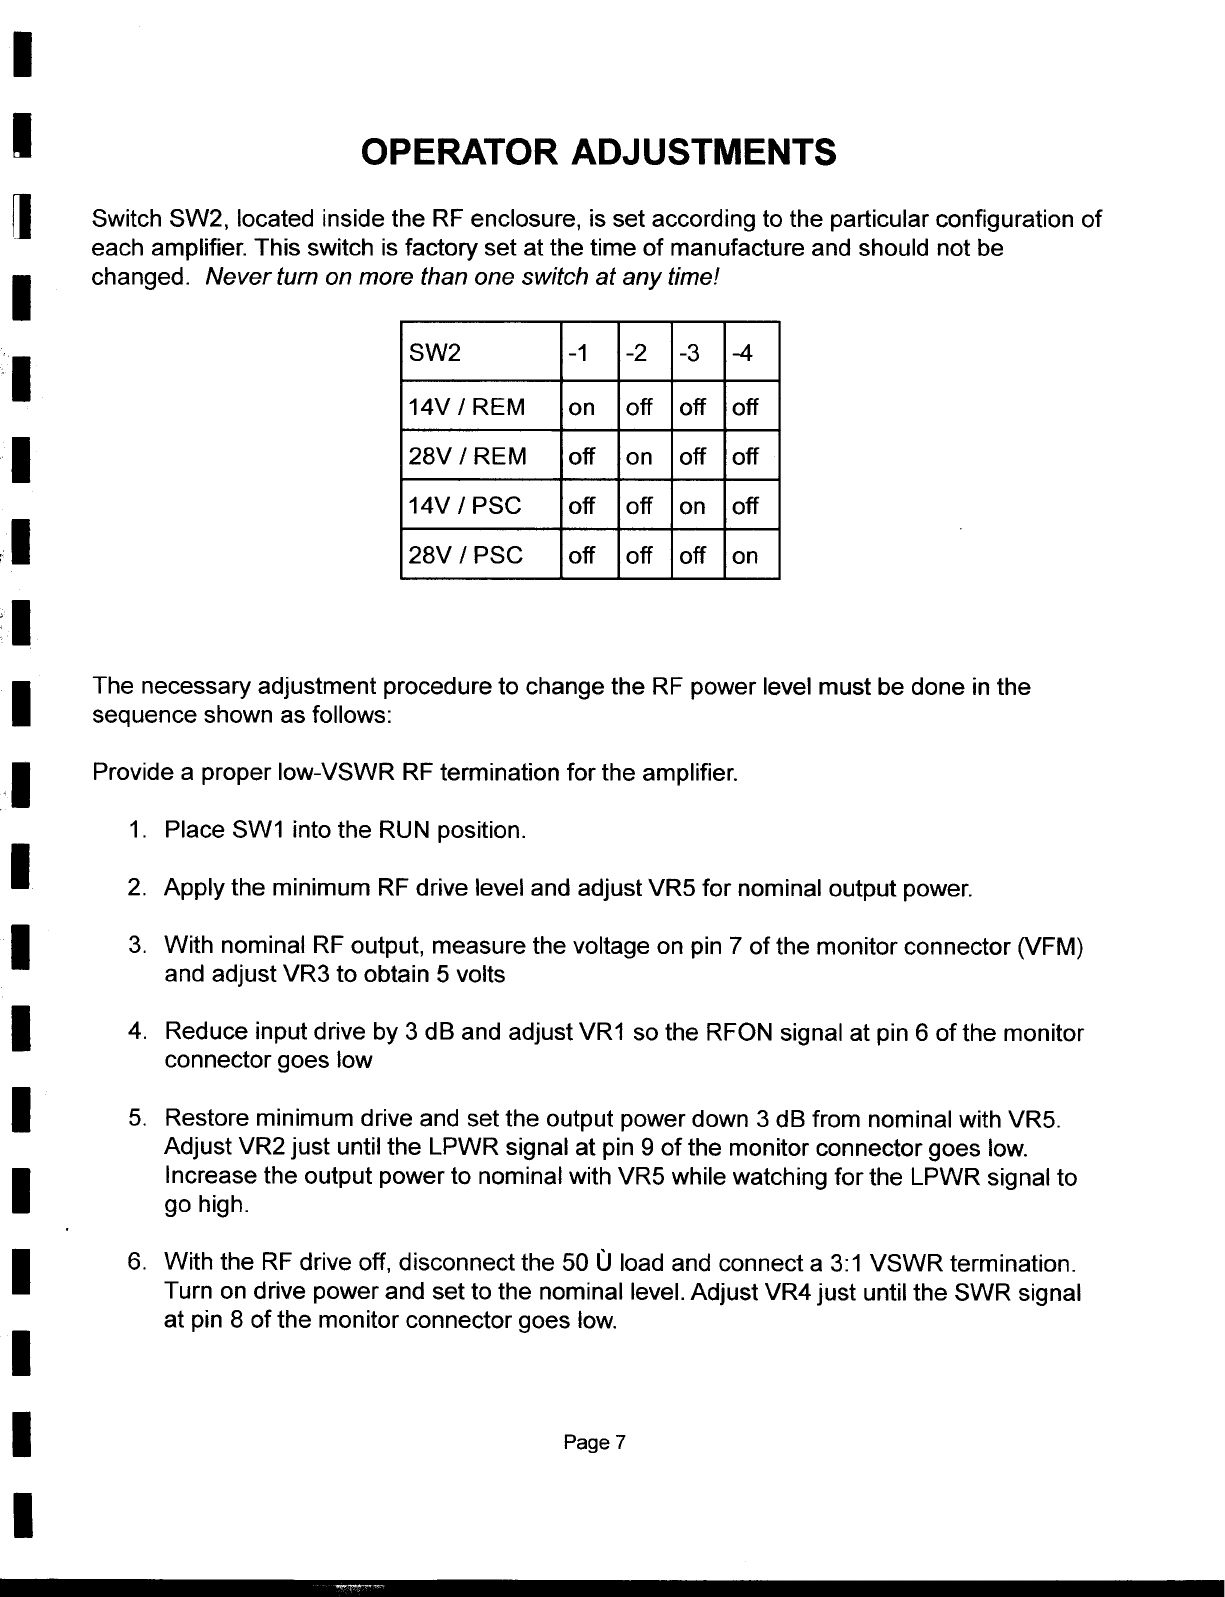
~ Switch SW2, located inside the RF enclosure, is set according to the particular configuration of
each amplifier. This switch is factory set at the time of manufacture and should not be
I changed. Never turn on more than one switch at any time!
I SW2 -1 -2 -3 -4
14V / REM on off off off
I 28V / REM off on off off
14V/PSC off off on off
r I 28V / PSG off off off on
I
IThe necessary adjustment procedure to change the RF power level must be done in the
sequence shown as follows:
,I Provide a proper low-VSWR RF termination for the amplifier.
1. Place SW1 into the RUN position.
I 2. Apply the minimum RF drive level and adjust VR5 for nominal output power.
I 3. With nominal RF output, measure the voltage on pin 7 of the monitor connector (VFM)
and adjust VR3 to obtain 5 volts
I 4. Reduce input drive by 3 dB and adjust VR1 so the RFON signal at pin 6 of the monitor
connector goes low
I 5. Restore minimum drive and set the output power down 3 dB from nominal with VR5.
Adjust VR2 just until the LPWR signal at pin 9 of the monitor connector goes low.
IIncrease the output power to nominal with VR5 while watching for the LPWR signal to
go high.
I6. With the RF drive off, disconnect the 50 U load and connect a 3:1 VSWR termination.
Turn on drive power and set to the nominal level. Adjust VR4 just until the SWR signal
at pin 8 of the monitor connector goes low.
I
I Page 7
I
,--
I
I WARRANTY
r I TPL COMMUNICATIONS has tested and found this unit to function properly and to operate
within the parameters of its stated specifications.
I TPL COMMUNICATIONS warrants that this product is free from defects in material and work-
manship. If found to be defective within two (2) years from the date of purchase, the factory at
Iits discretion, will either repair or replace the unit at no cost provided the unit is delivered by
the owner to the factory intact. Warranty does not apply to any product which has been sub-
jected to misuse, neglect, accident, improper installation or used in violation of instructions
Ifurnished by us, nor does it extend to units which have been repaired or altered outside our
service department, nor where the serial number has been removed, defaced or changed.;-
SERVICE1
For service on this amplifier, contact:
,. TPL COMMUNICATIONS
-I Customer Service Department
PHONE (323) 256-3000
IPHONE: (800) HI POWER -(800) 447-6937
, FAX: (323) 254-3210
E-Mail: sales@tplcom.com
IFor information on other TPL products
visit our website at
www.tplcom.com"
II, " ;. '.
,
.-' "
~ ':;
.-'il
l;'II,
I
I;"1:1
Page 8
I