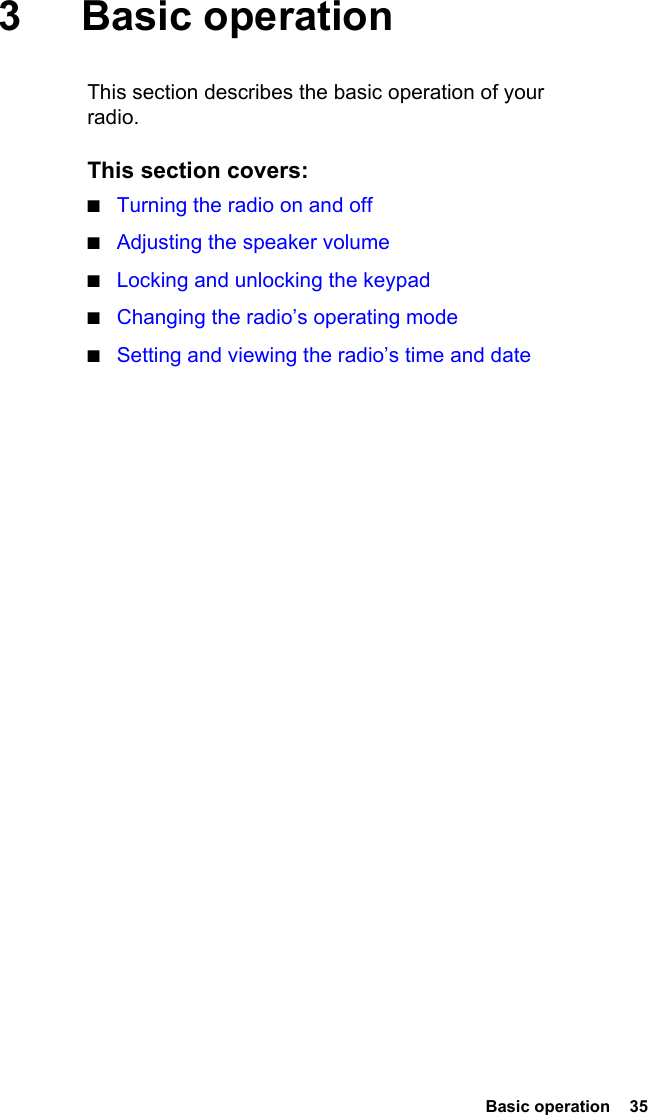
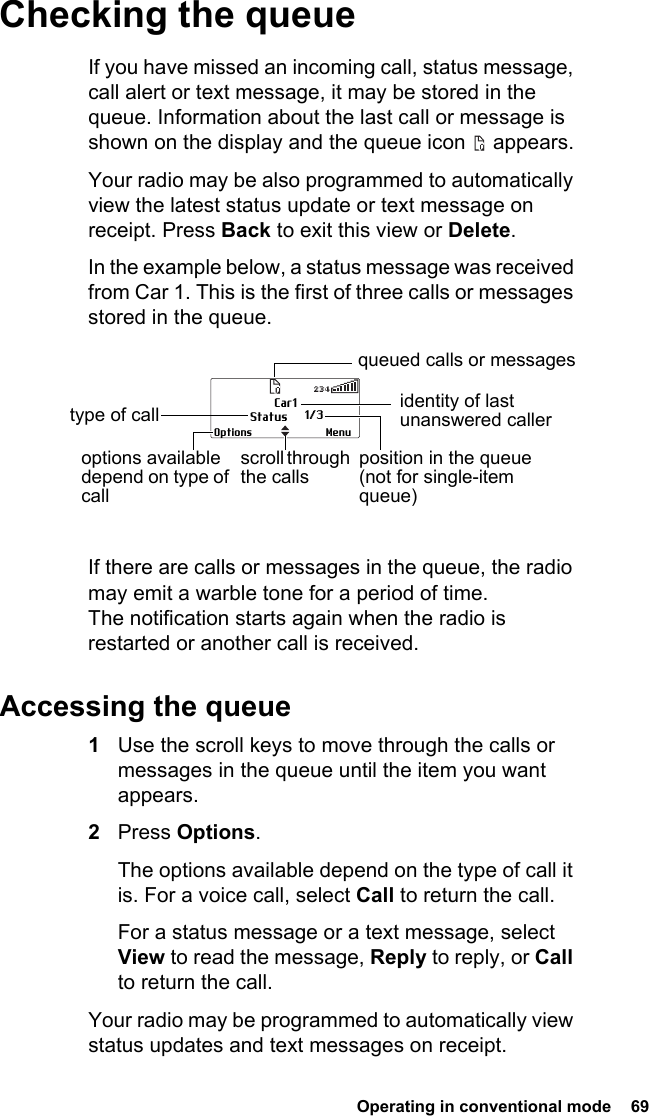
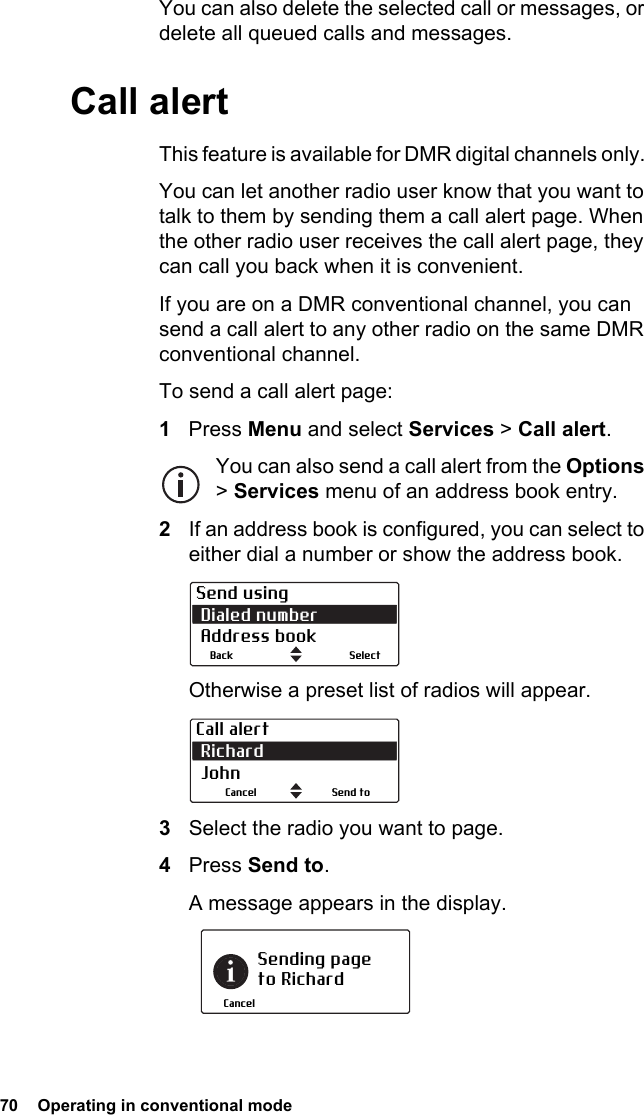
Tait TMBC0A 25W MOBILE TRANSCEIVER User Manual TM9300 User s Guide
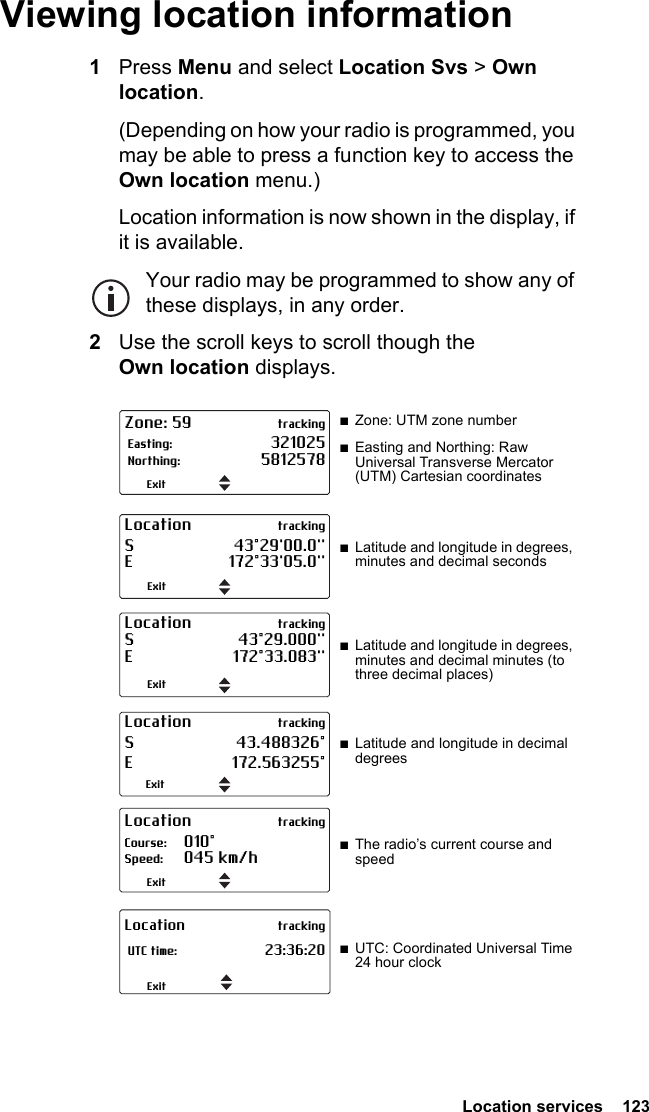
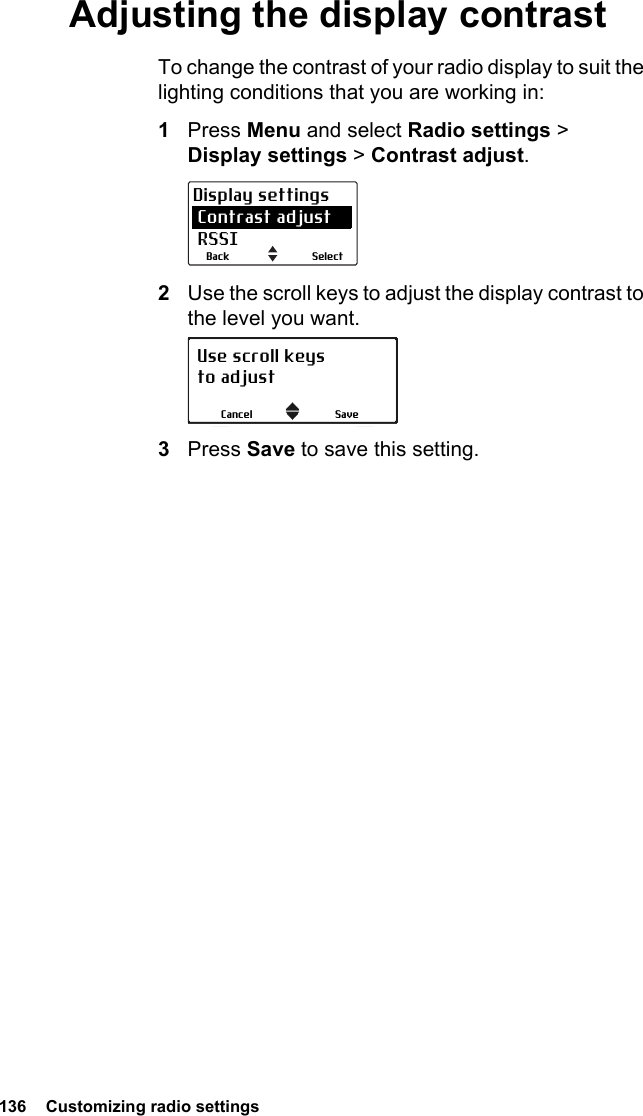
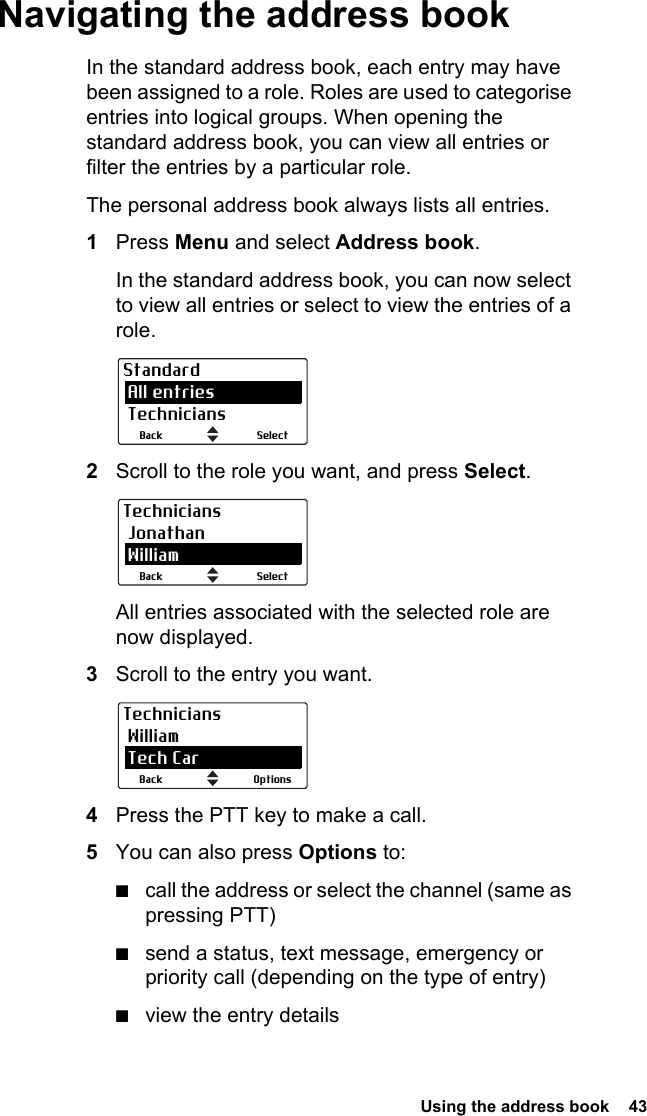
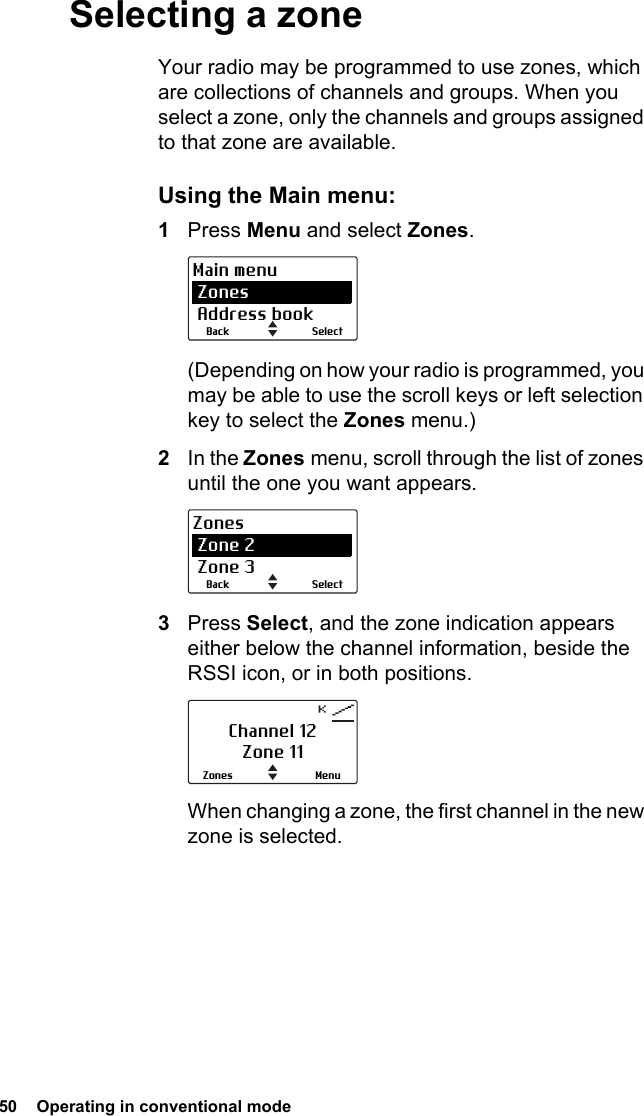
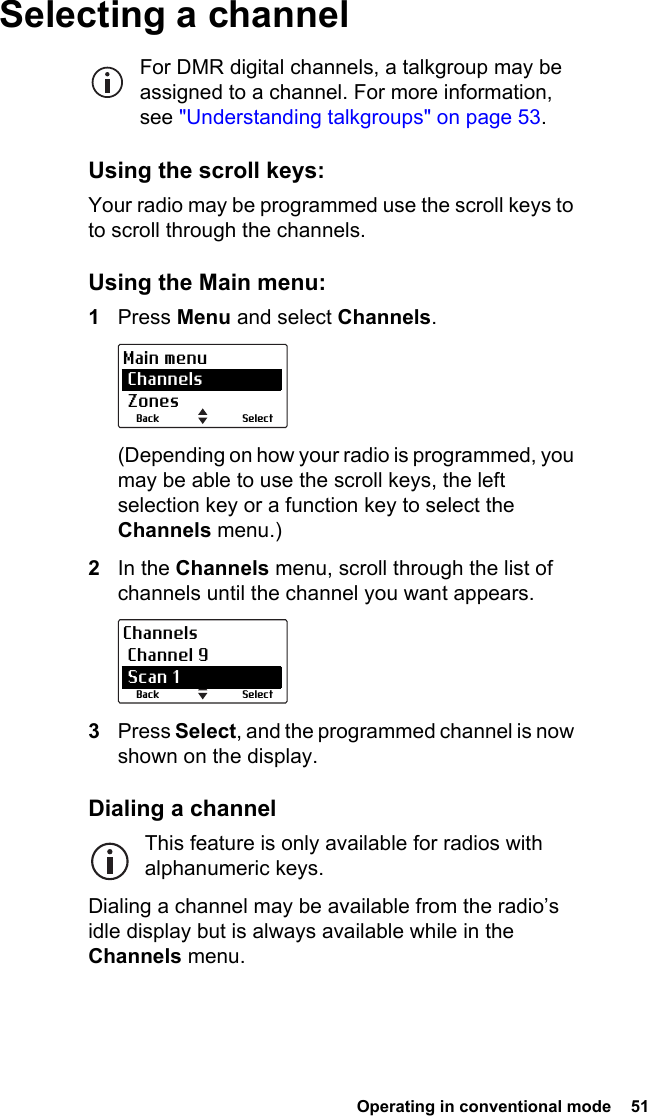
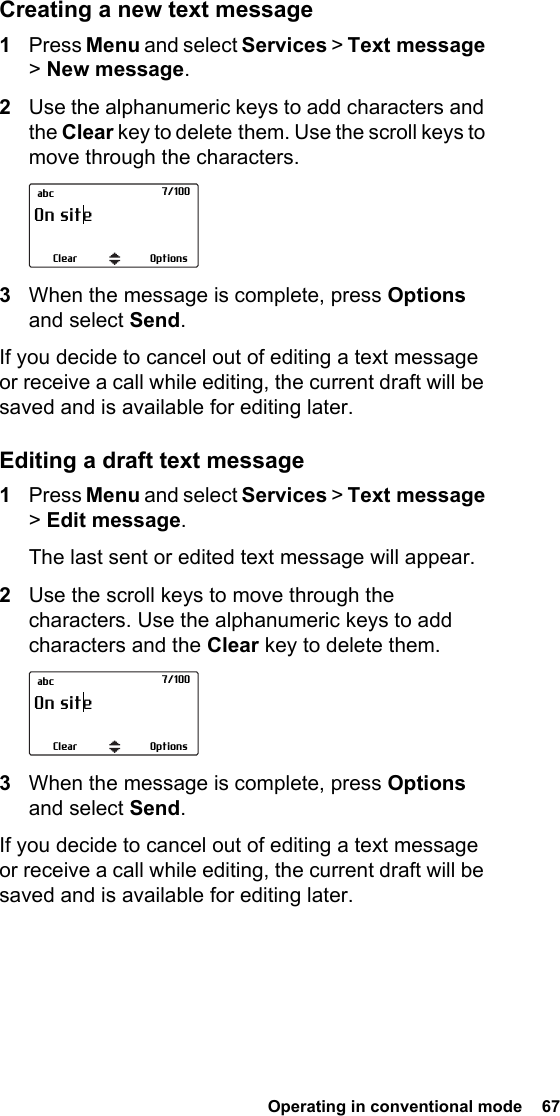
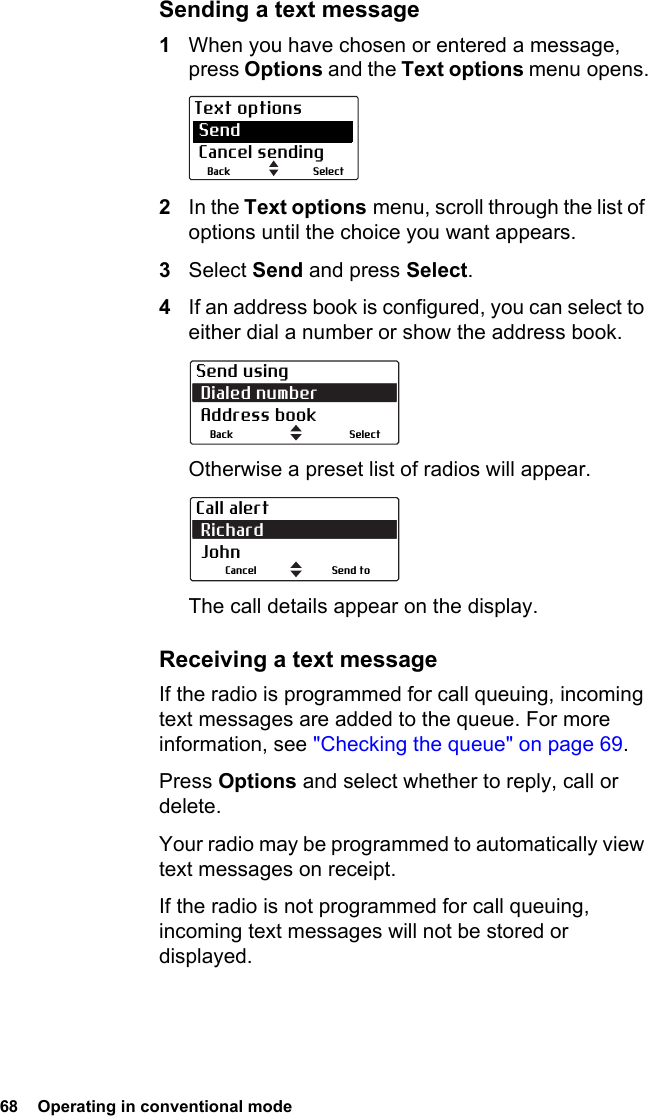
Tait Limited 25W MOBILE TRANSCEIVER TM9300 User s Guide
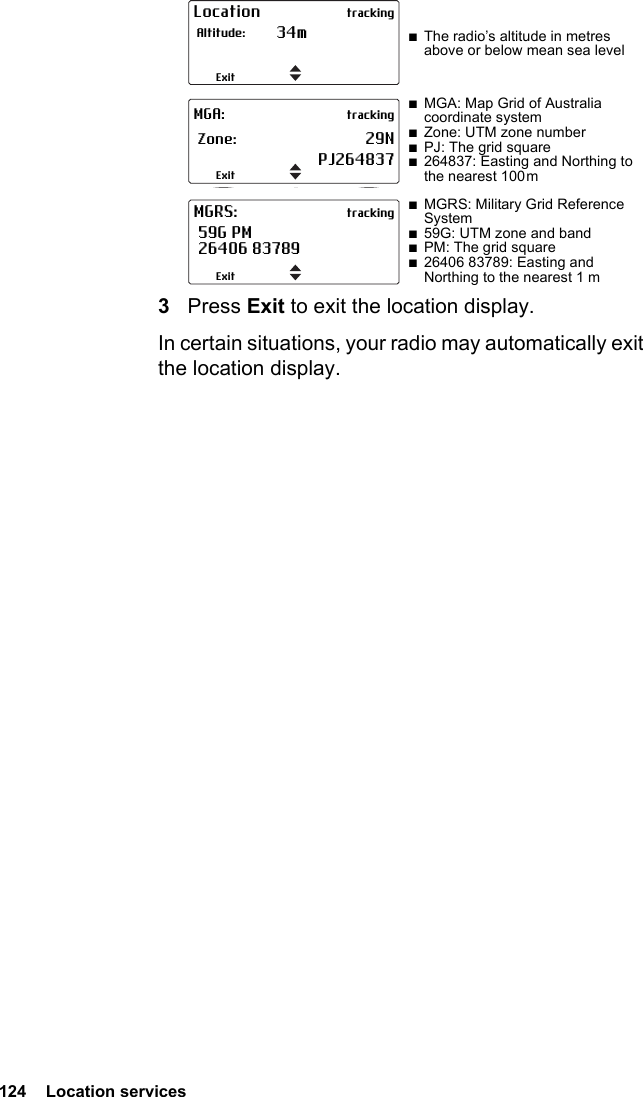
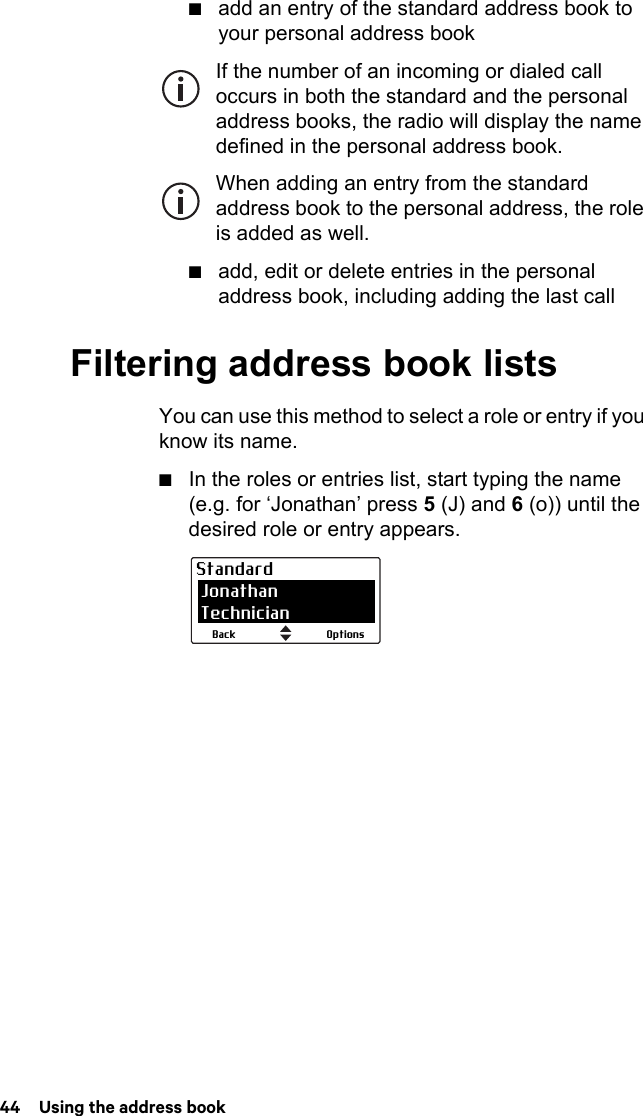
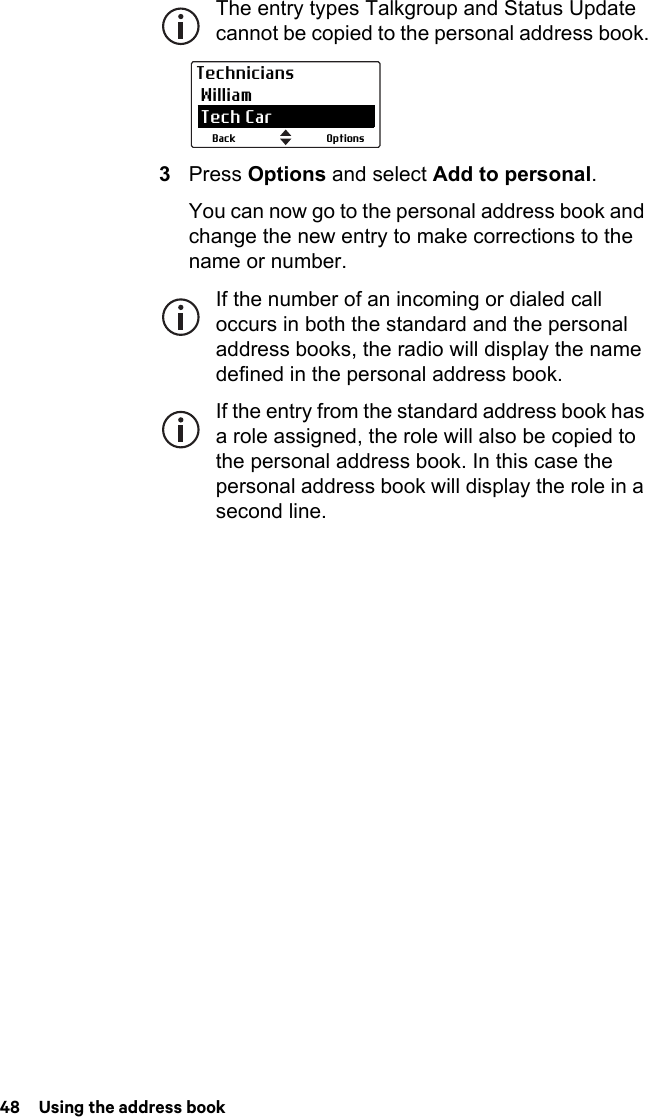
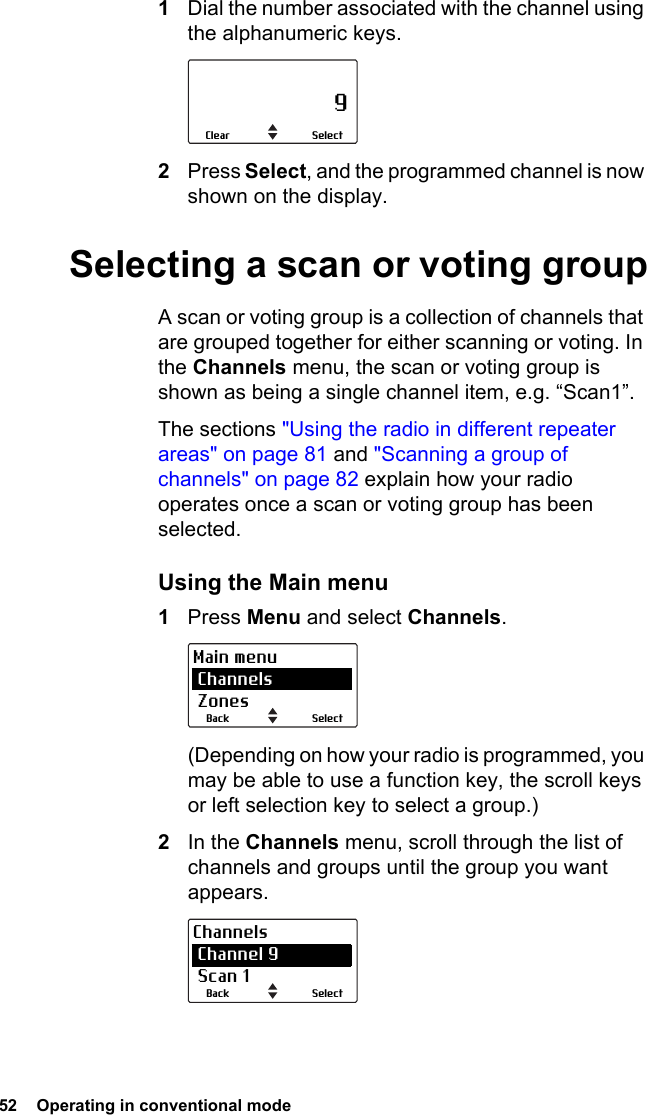
UserManual.wiki
>
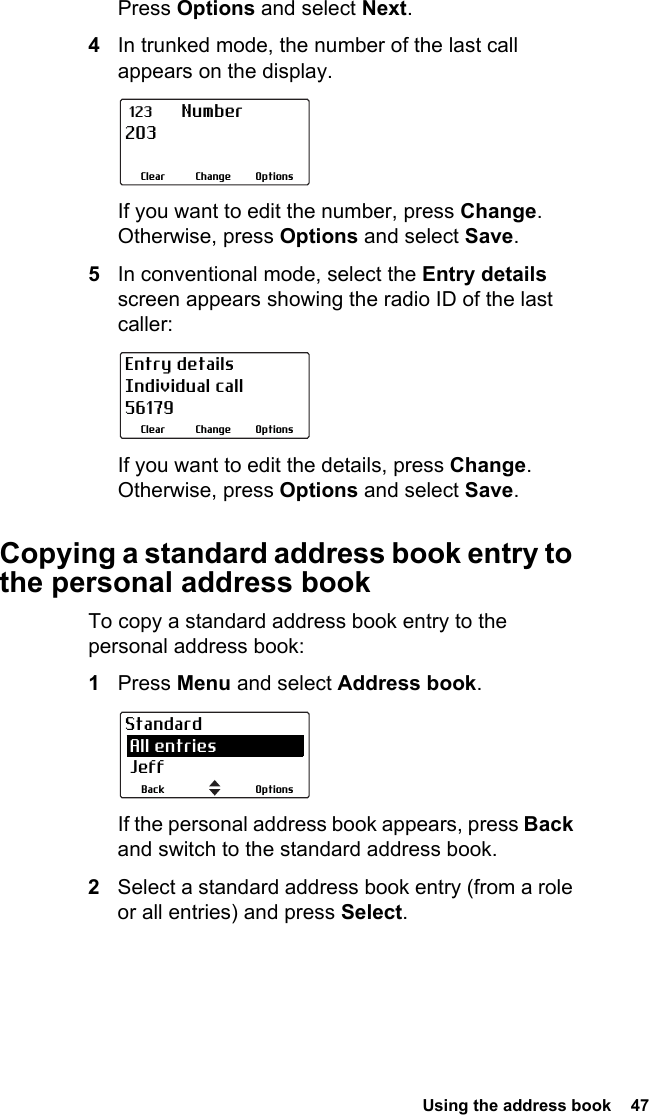
Tait
>
TMBC0A User Manual
User Guide
Navigation menu
Upload a User Manual
Namespaces
Wiki Guide
HTML
PDF
Info
Views
User Manual
Discussion / Help
Navigation


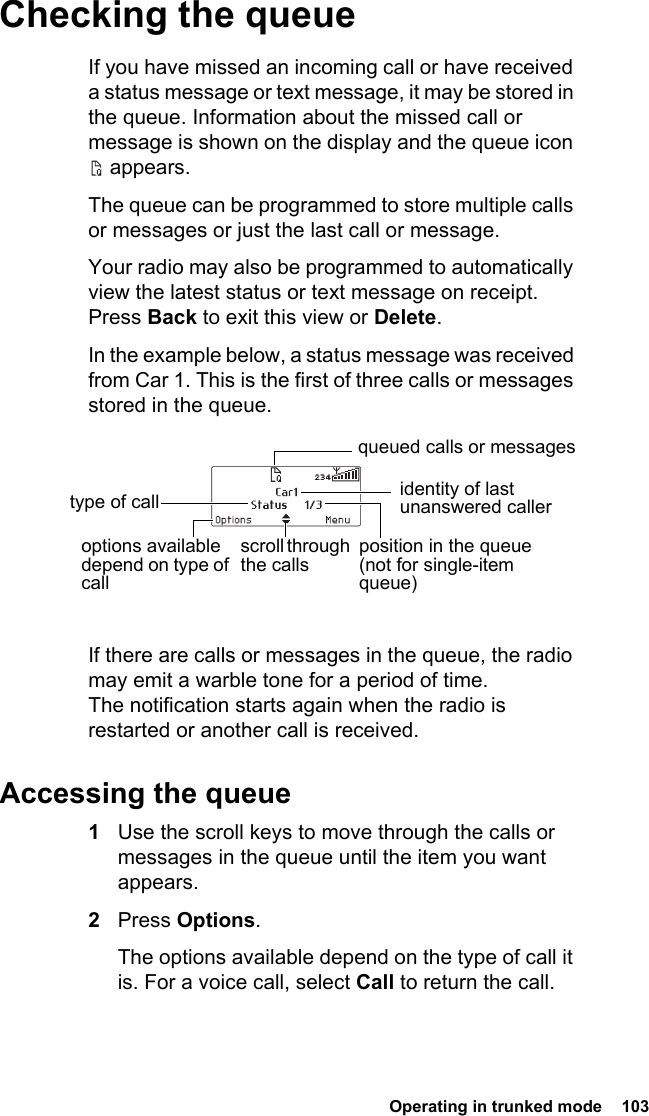
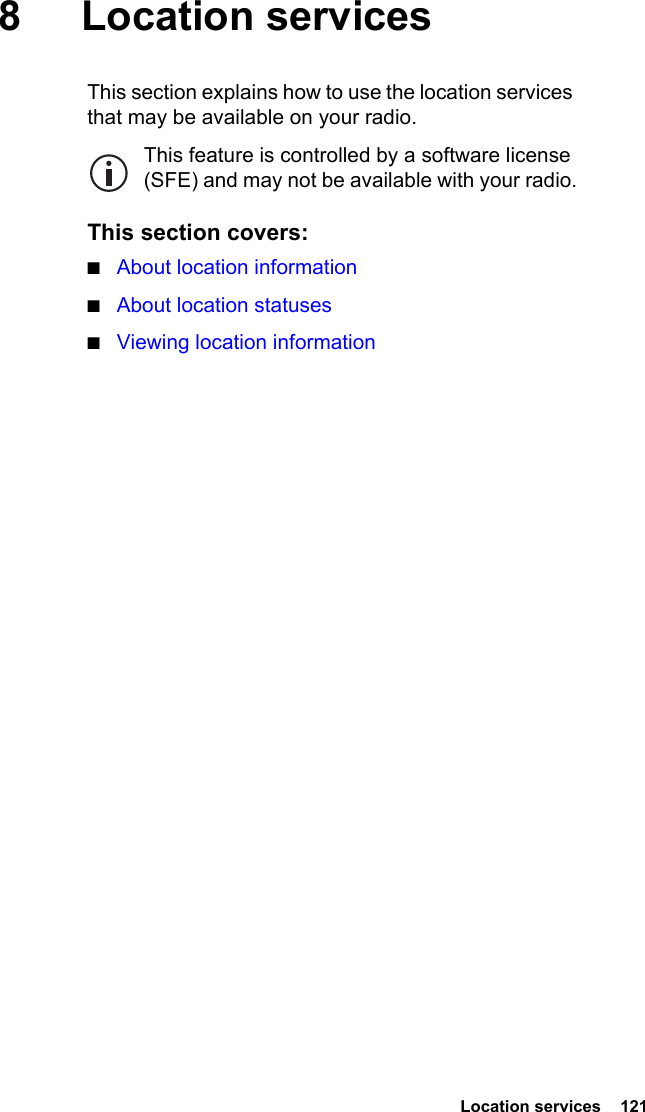
![122 Location services About location informationWhile you may be able to view your location information on analog channels, sending location information is only available for digital channels.If your radio is connected to the receiver of a satellite navigation system, you can view location information such as latitude and longitude, true course, speed, and coordinated universal time. Your radio can also display universal transverse mercator (UTM) information such as the UTM zone, and northing and easting coordinates.Your radio may also be set up to send or receive and log location information.About location statusesIn the Own location screen, location status information appears at the top right of the display. Status information shown on a hand-held control head is shown in brackets [ ].■tracking [Trk]: the receiver is displaying up-to-date satellite information.■stored: the receiver is having trouble connecting to satellites and the radio is displaying stored information that may not be current.■lost cnx [no cnx]: the radio has lost serial com-munications with the receiver.Your radio configuration may include the Send option. This option is a digital feature, and is only available on digital channels.Zone: 55 trackingEasting: 321025Northing: 5812578SendExitlocation status information](https://usermanual.wiki/Tait/TMBC0A/User-Guide-3564299-Page-122.png)