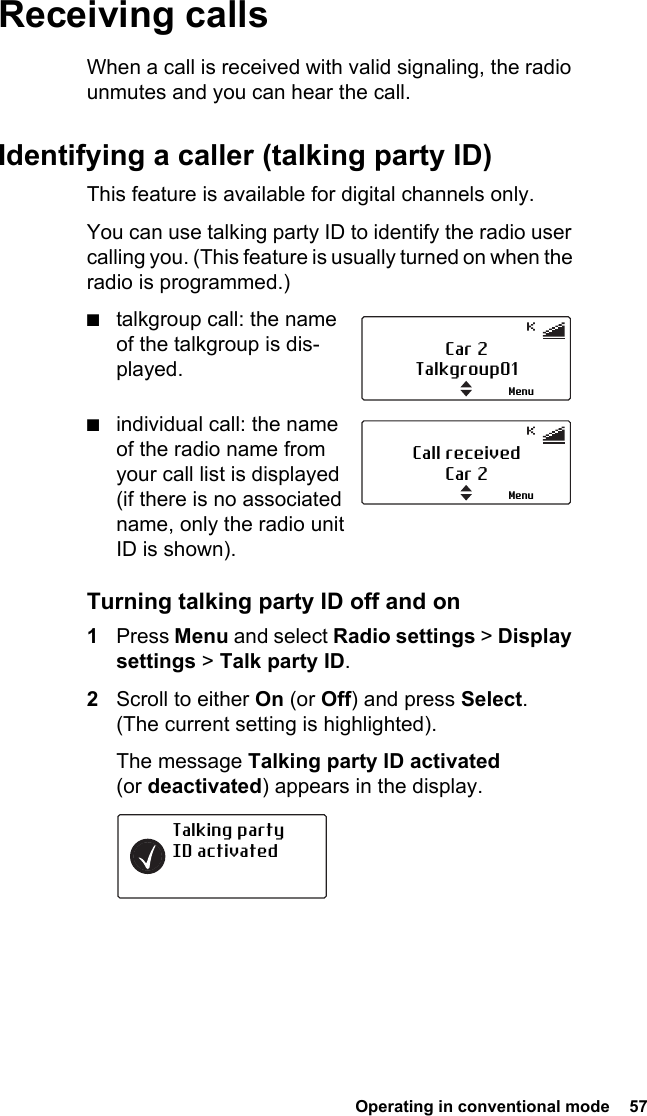
Tait TPDH7A Handheld Portable Transceiver with Bluetooth User Manual TP9400 User s Guide
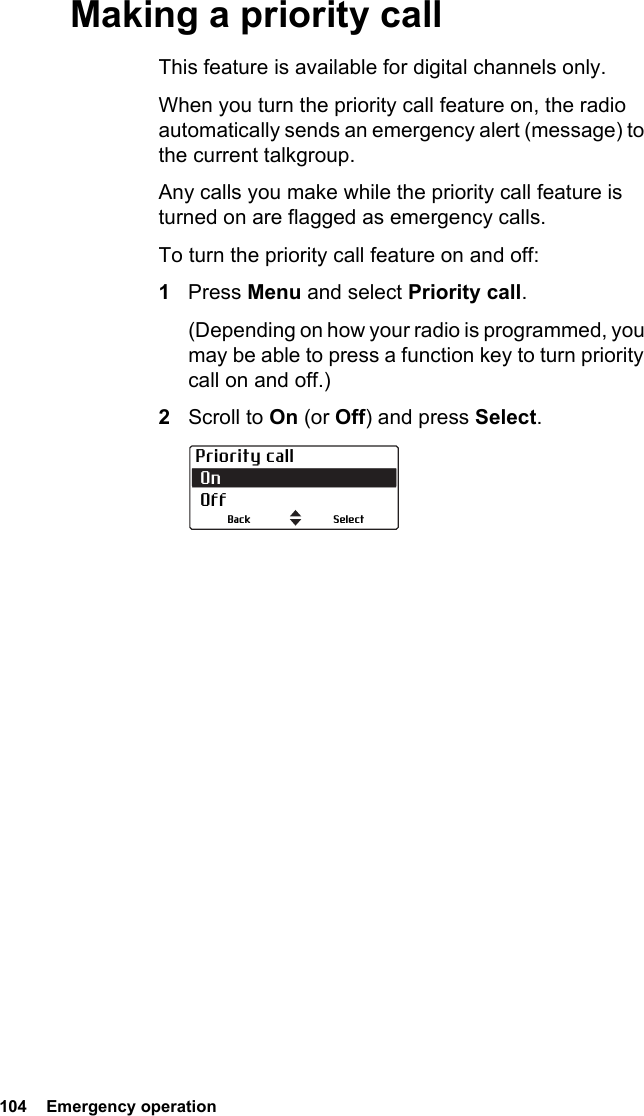
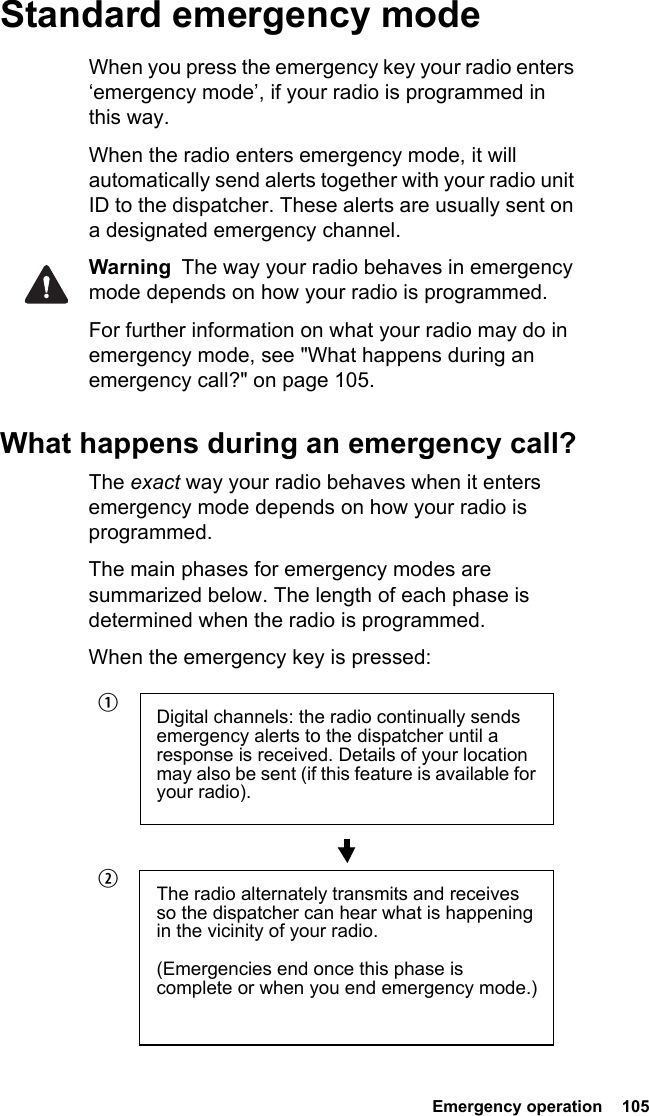
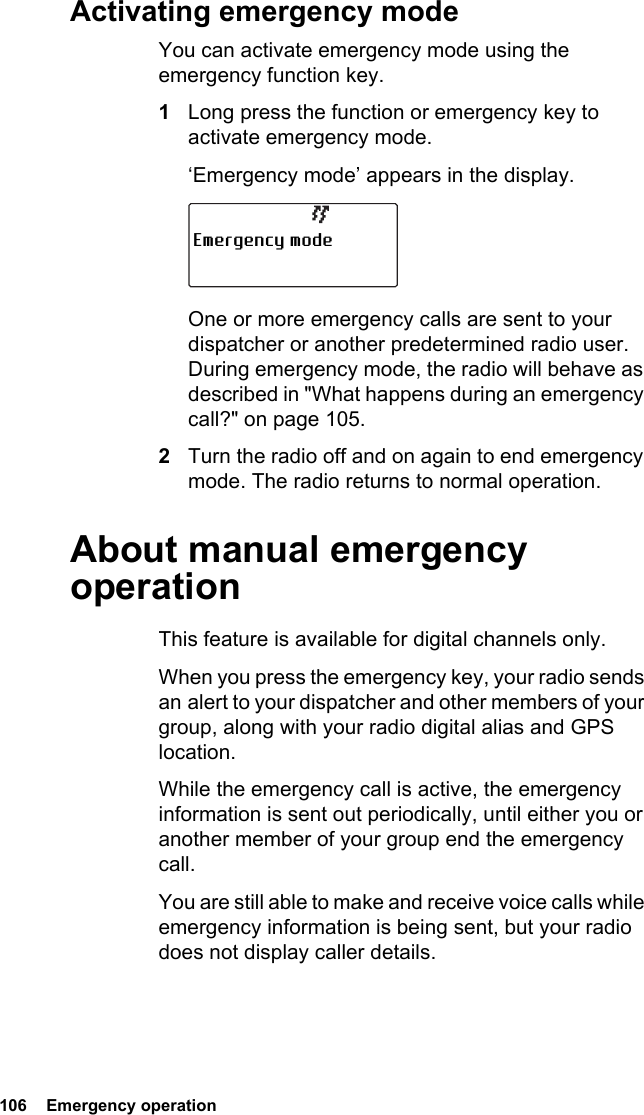
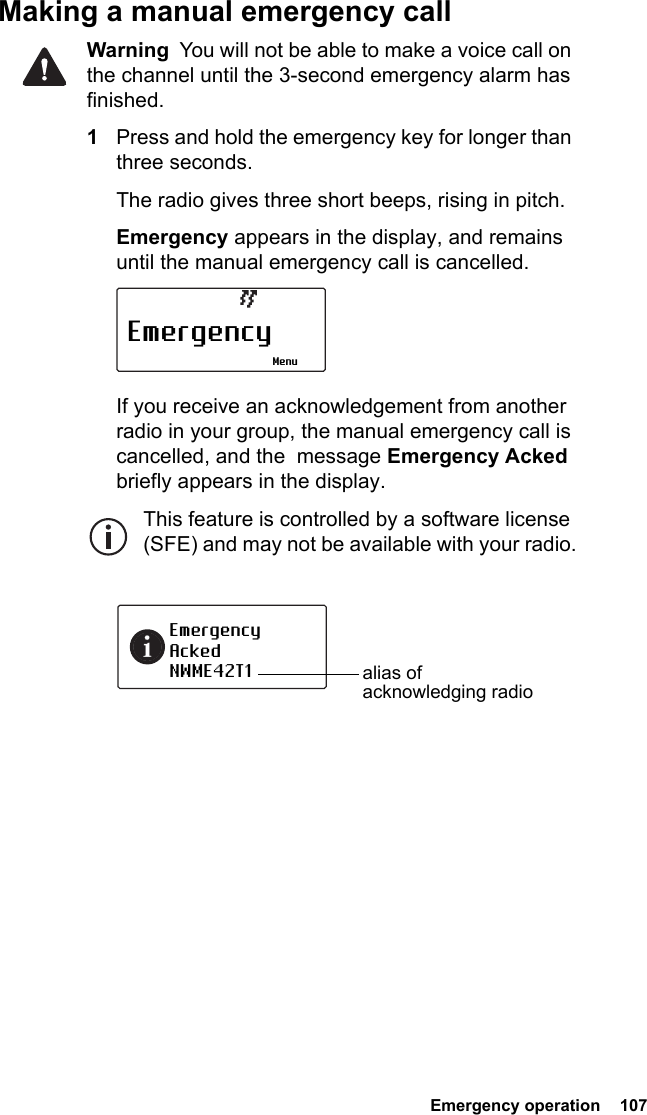
Tait Limited Handheld Portable Transceiver with Bluetooth TP9400 User s Guide
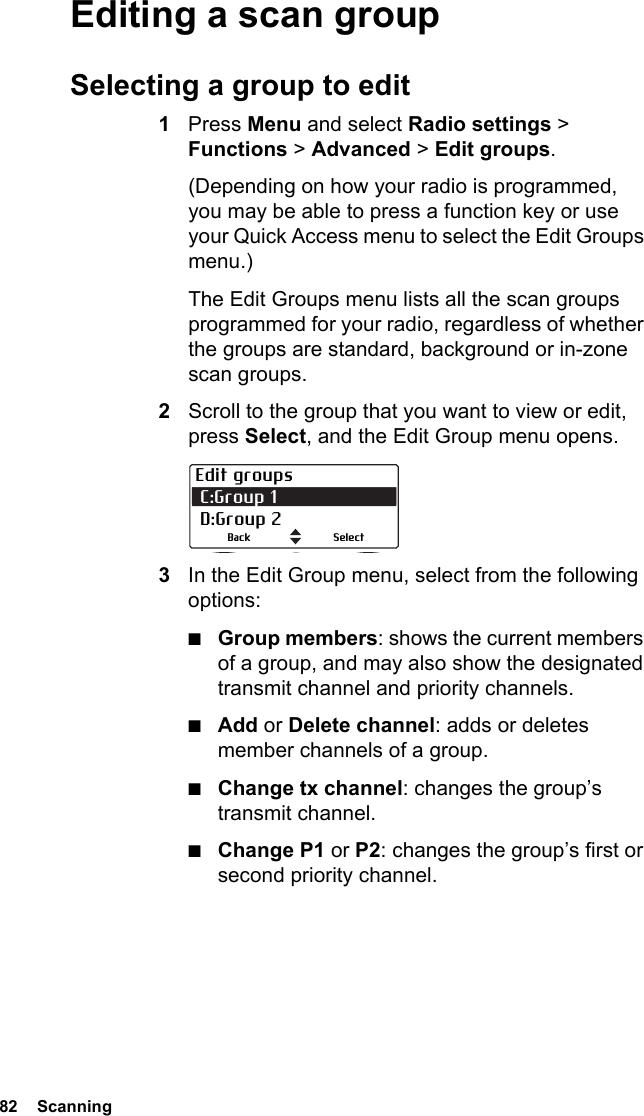
Tait >
Contents
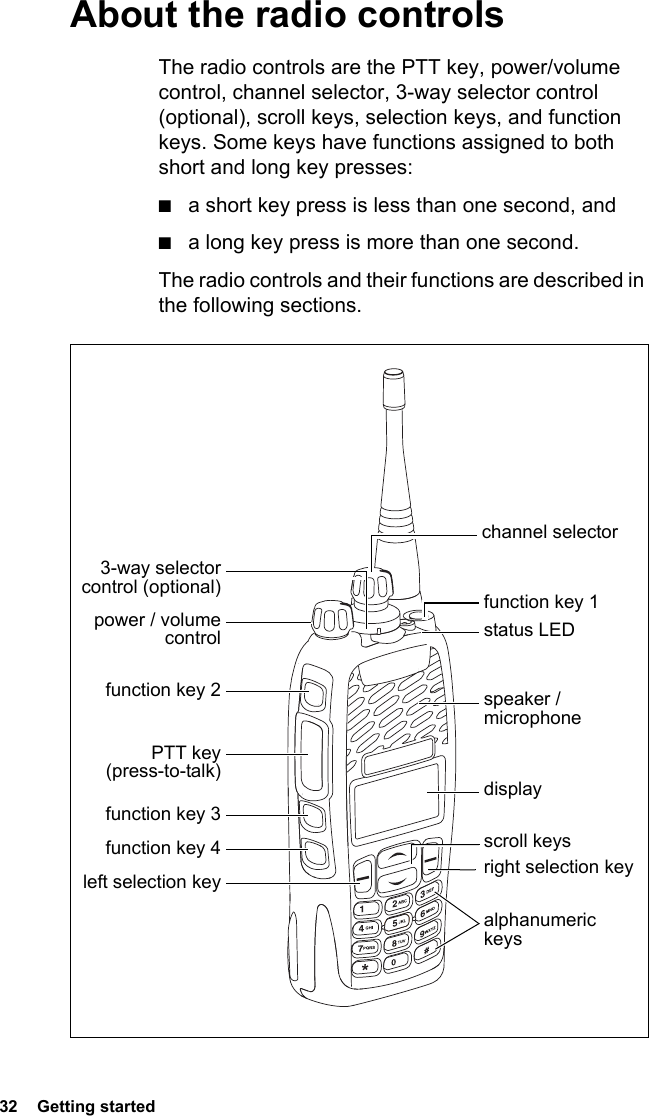
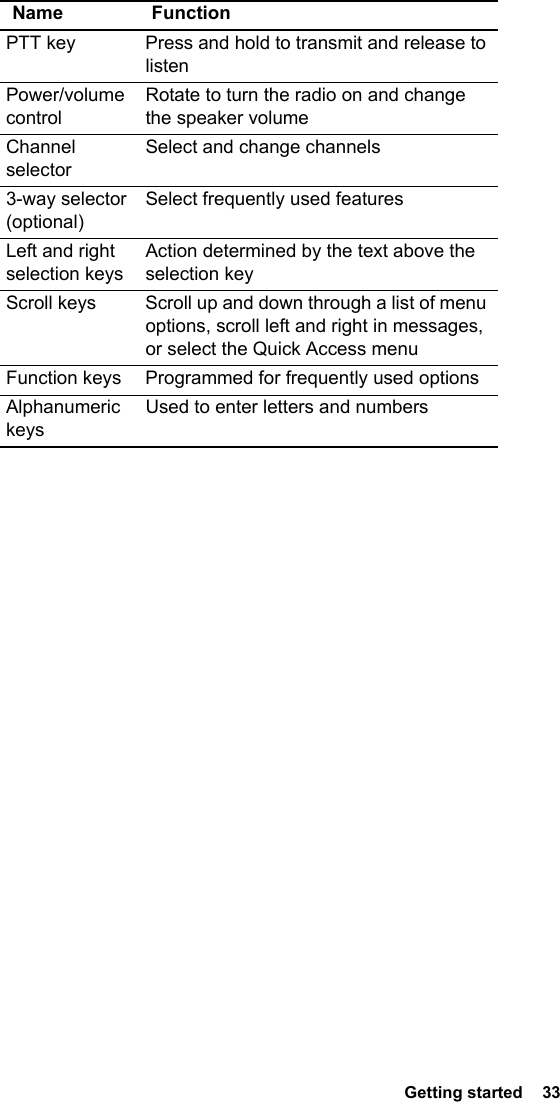
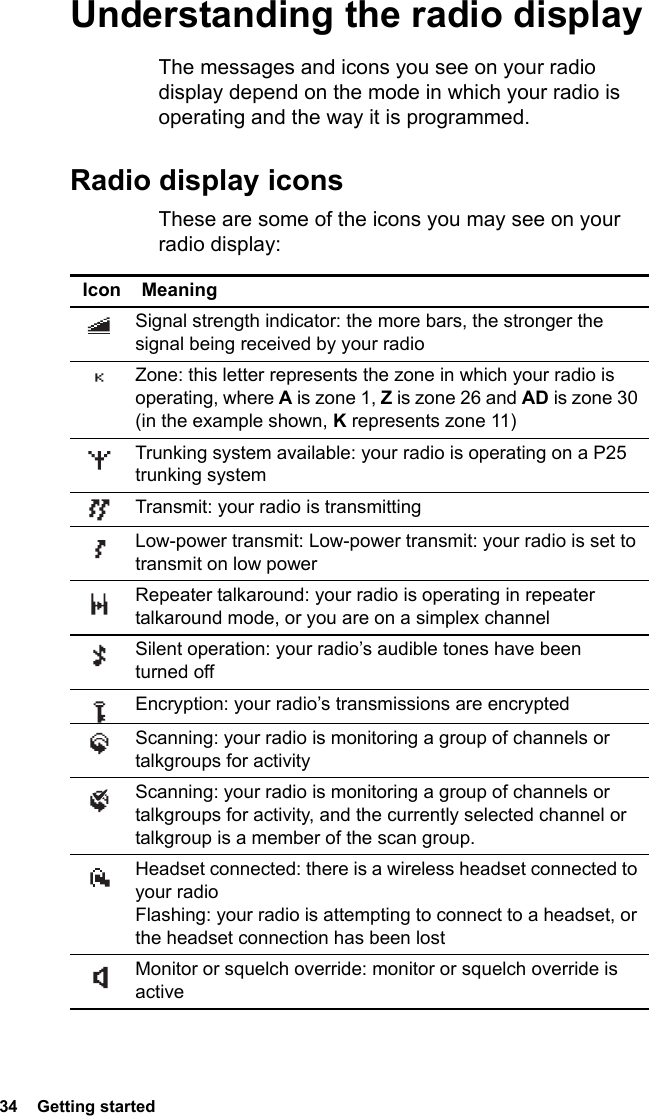
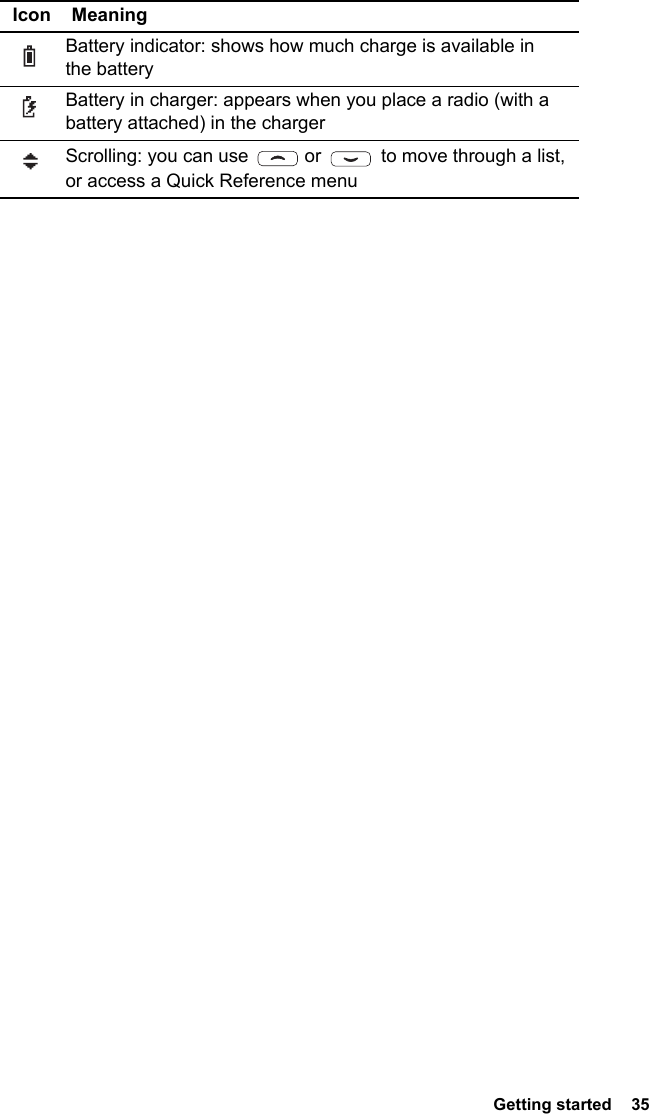
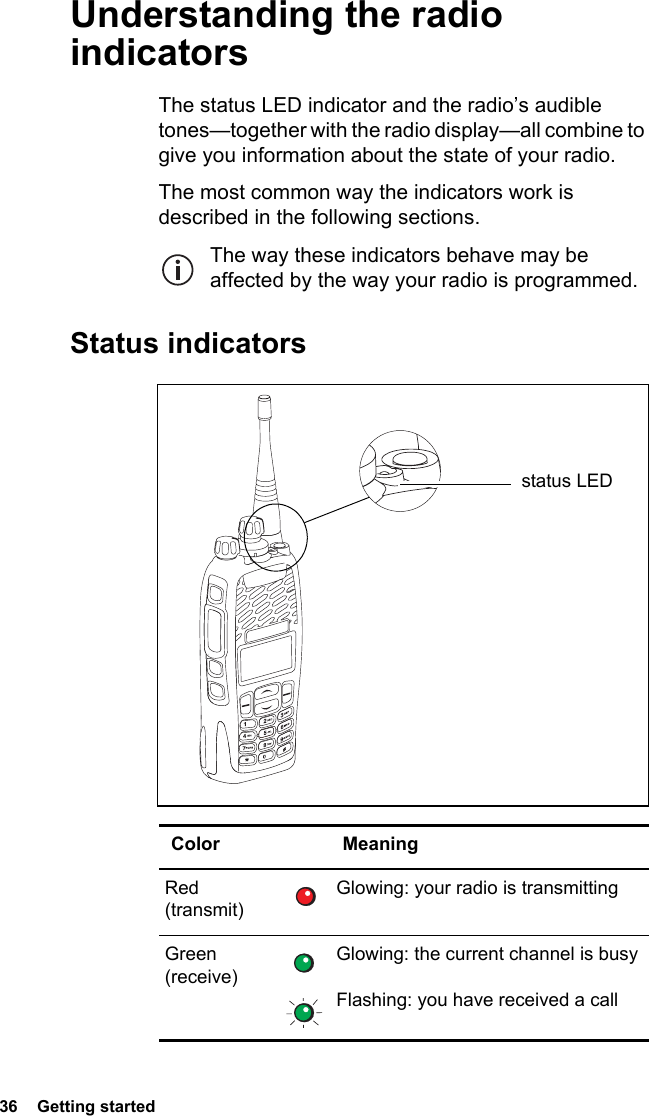
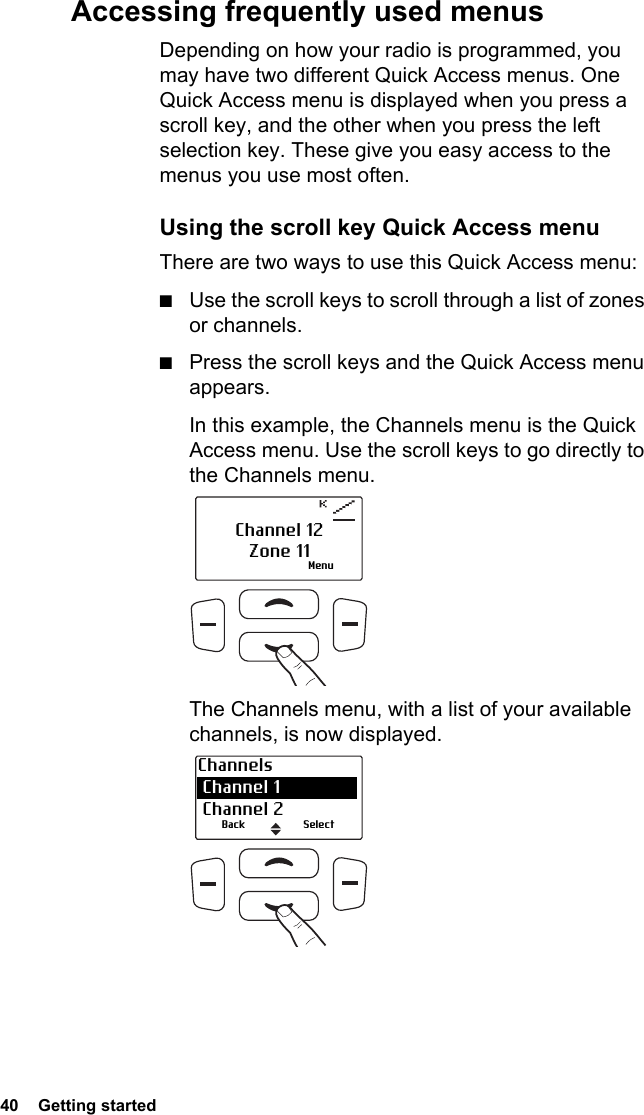
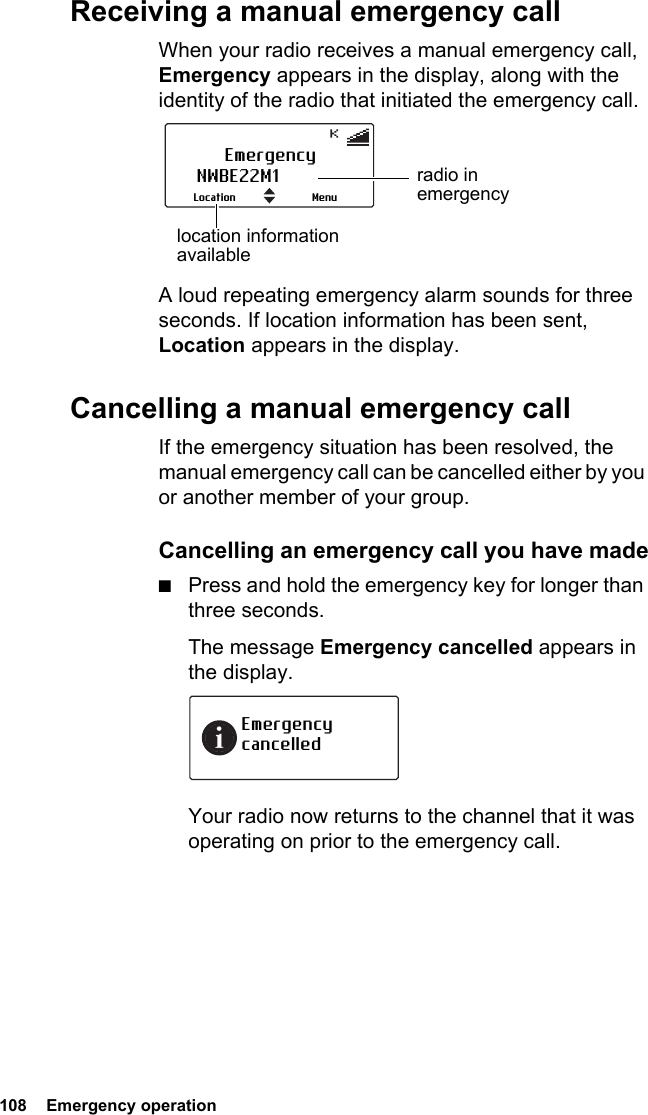
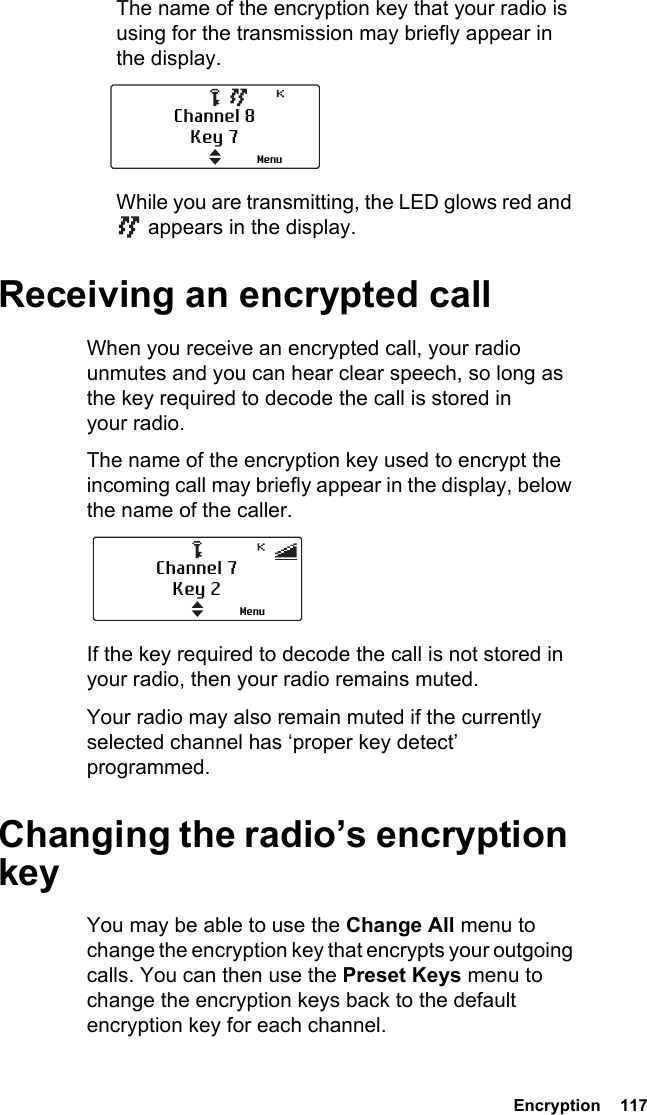
- 1. User Manual DMR
- 2. User Manual P25
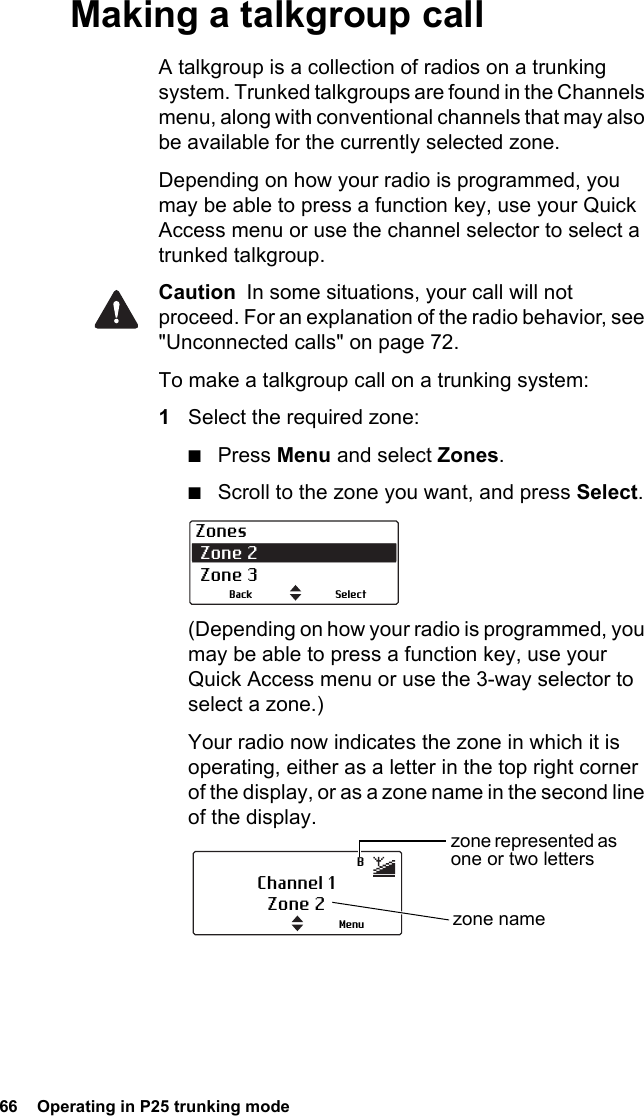
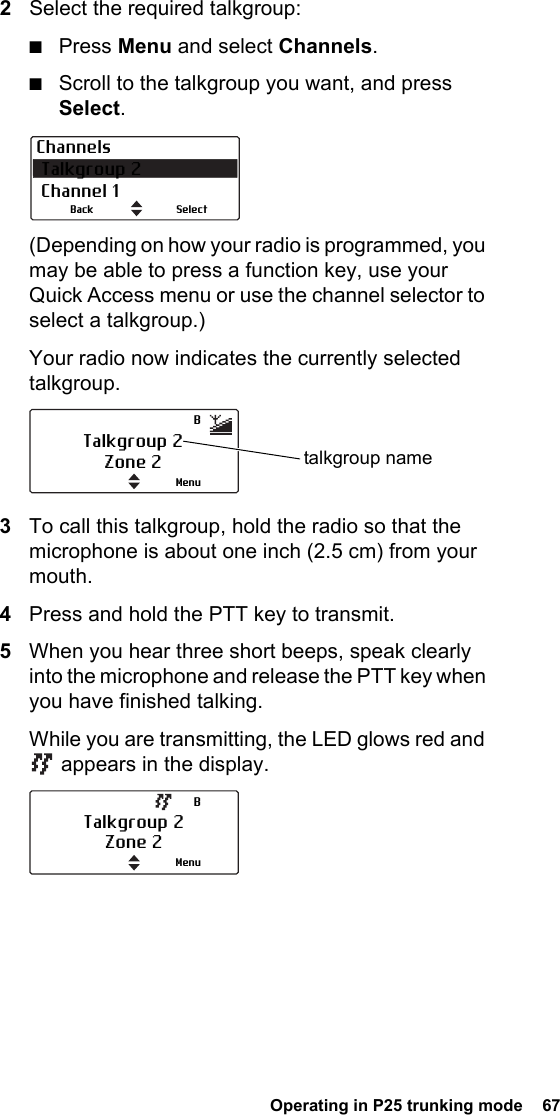
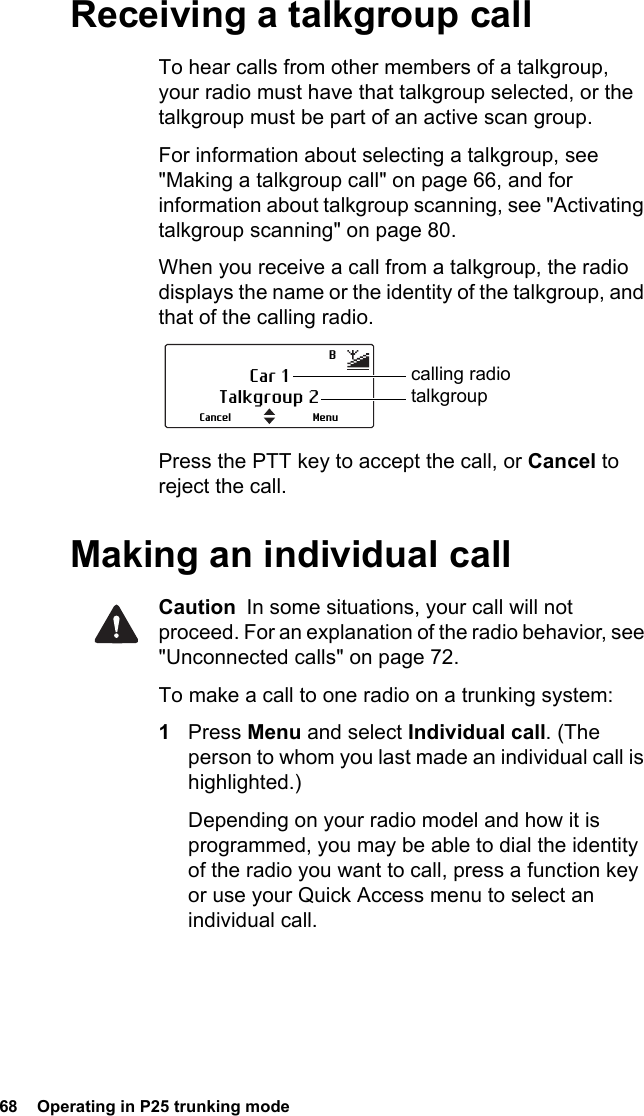
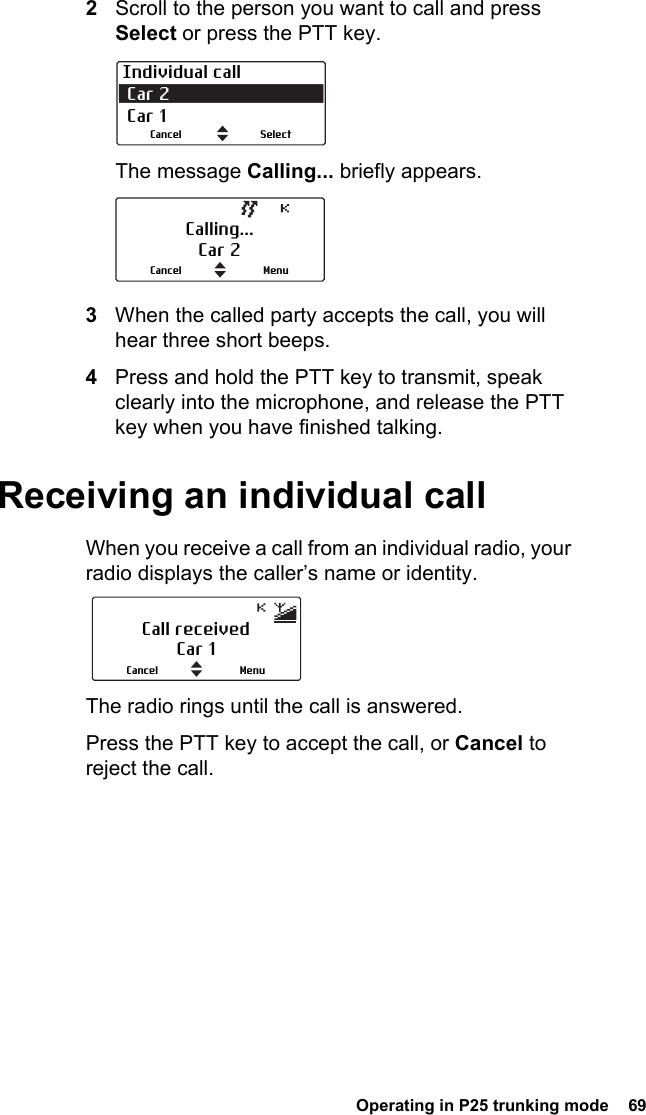
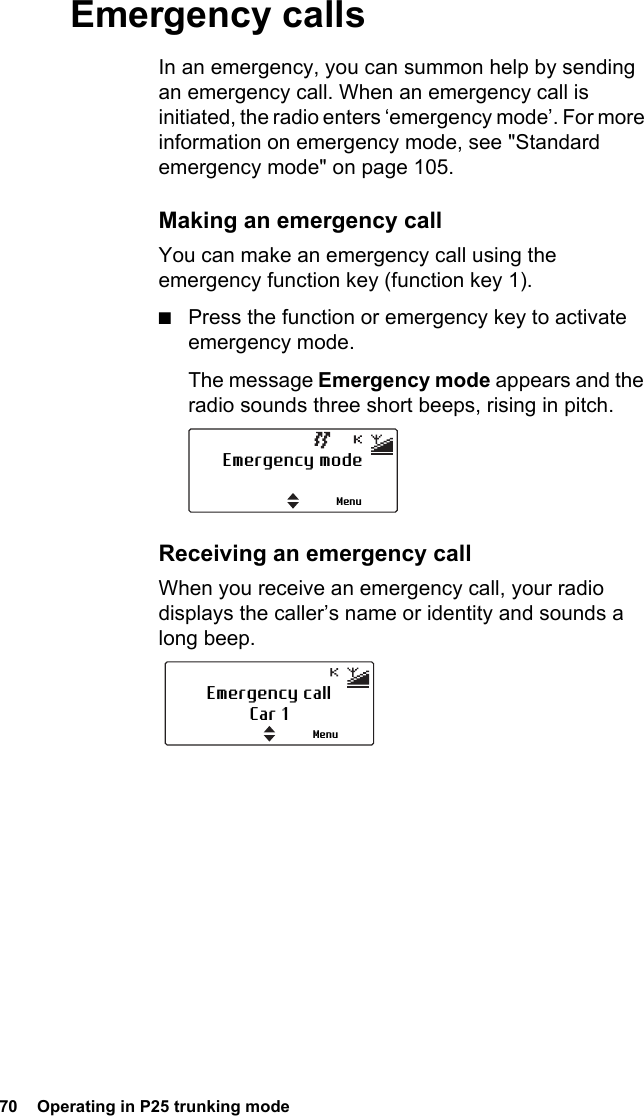
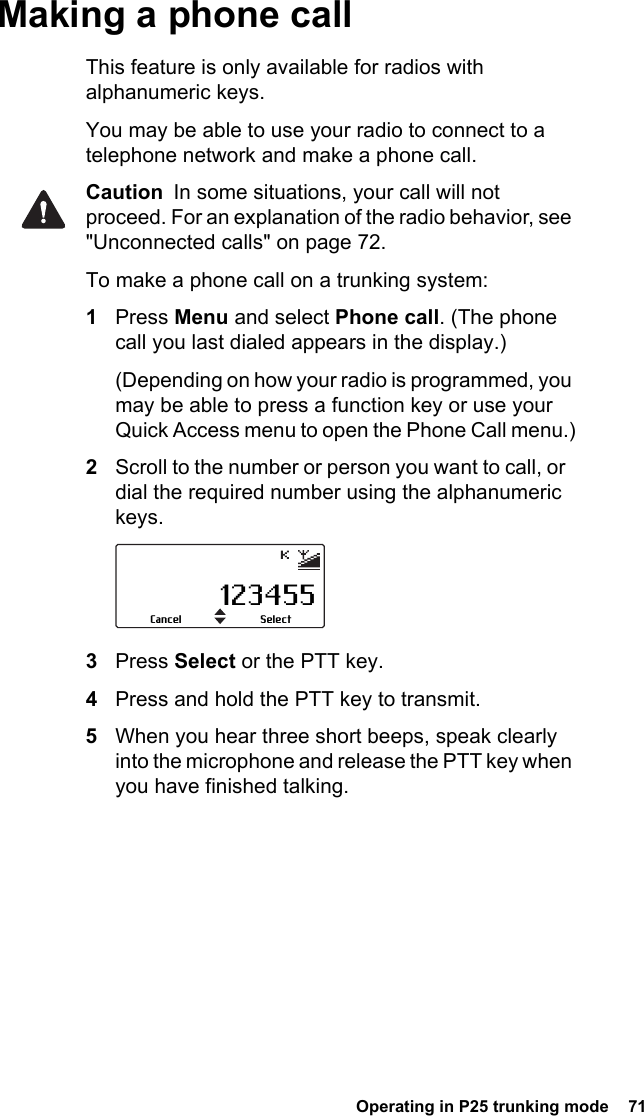
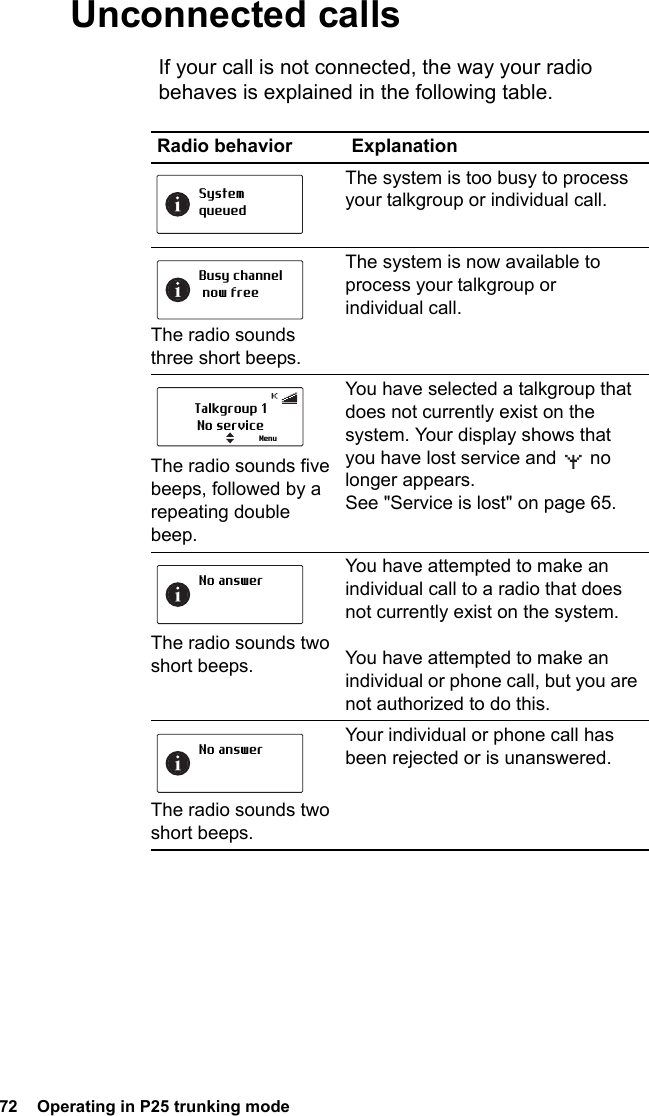
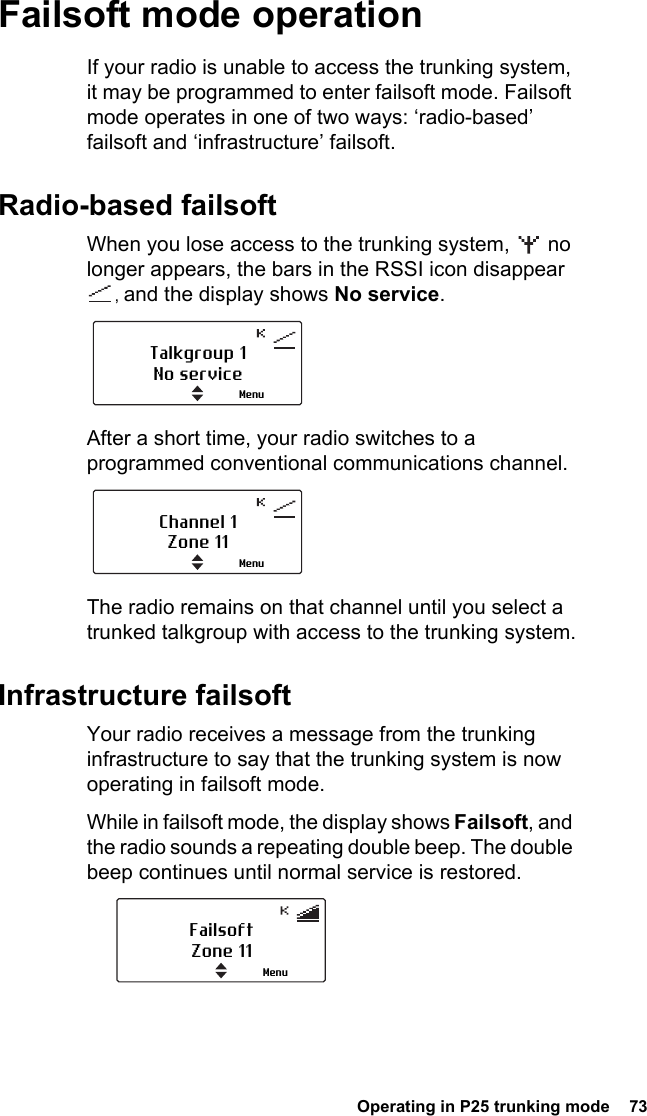
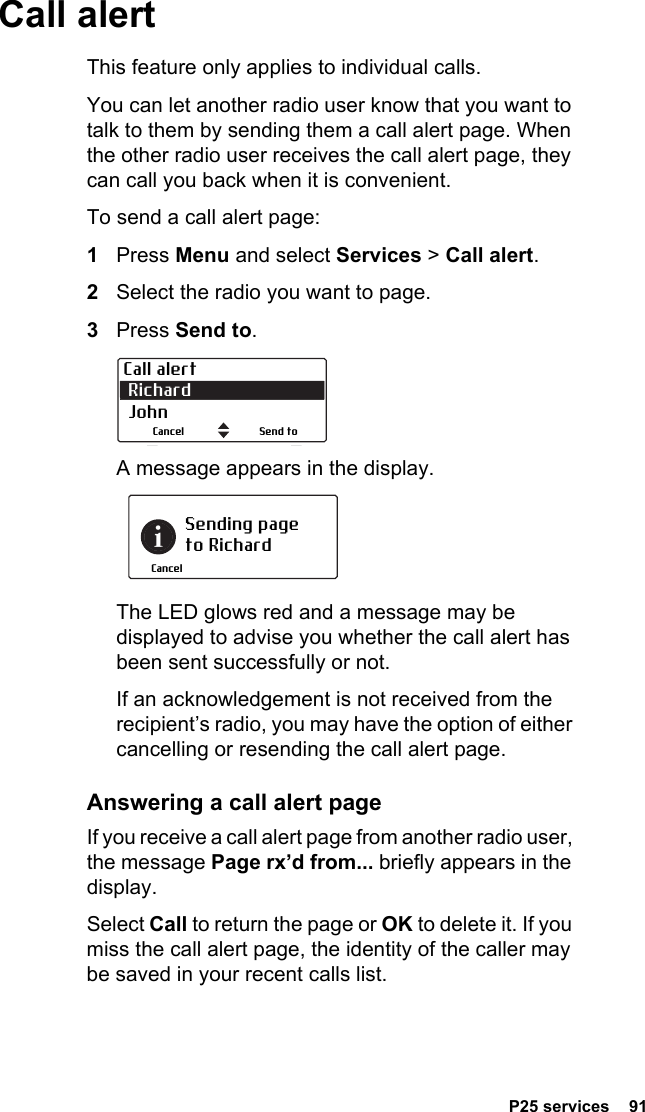
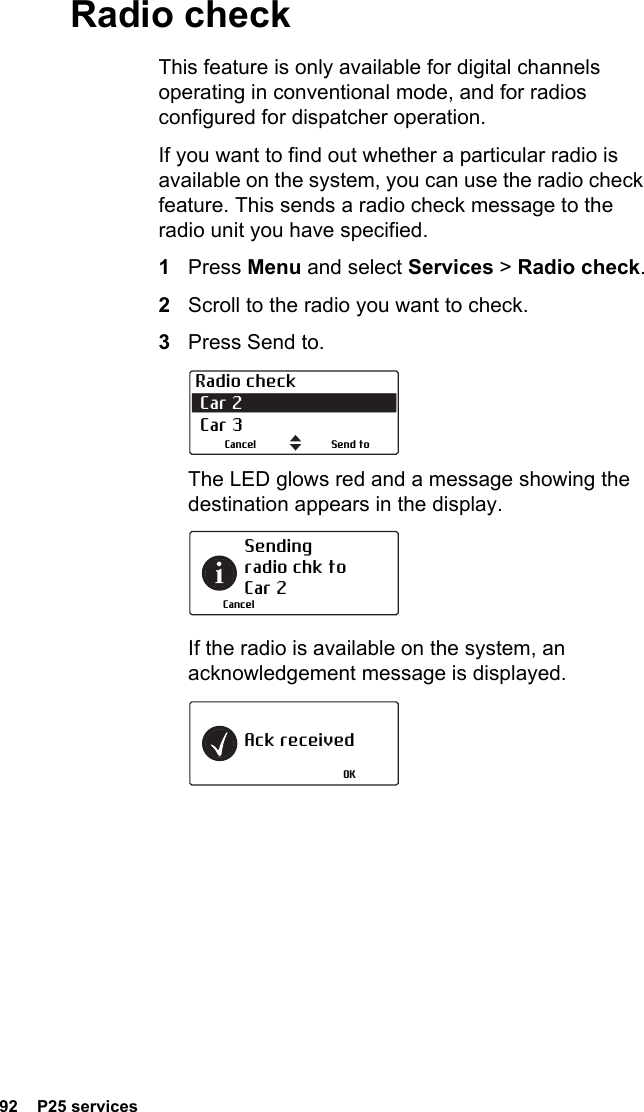
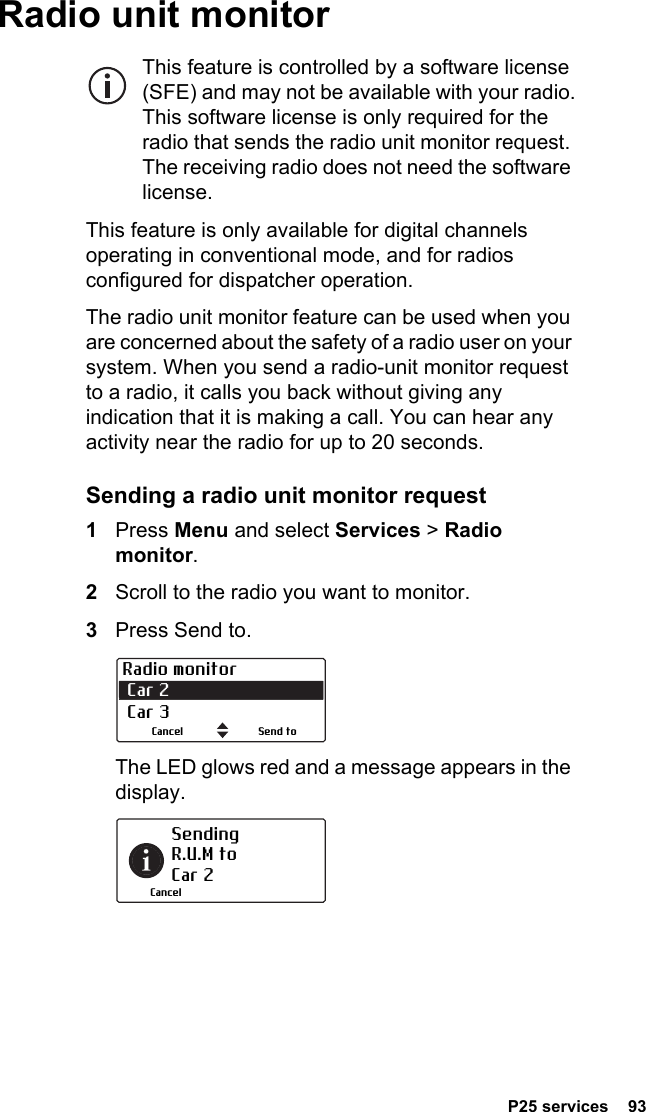
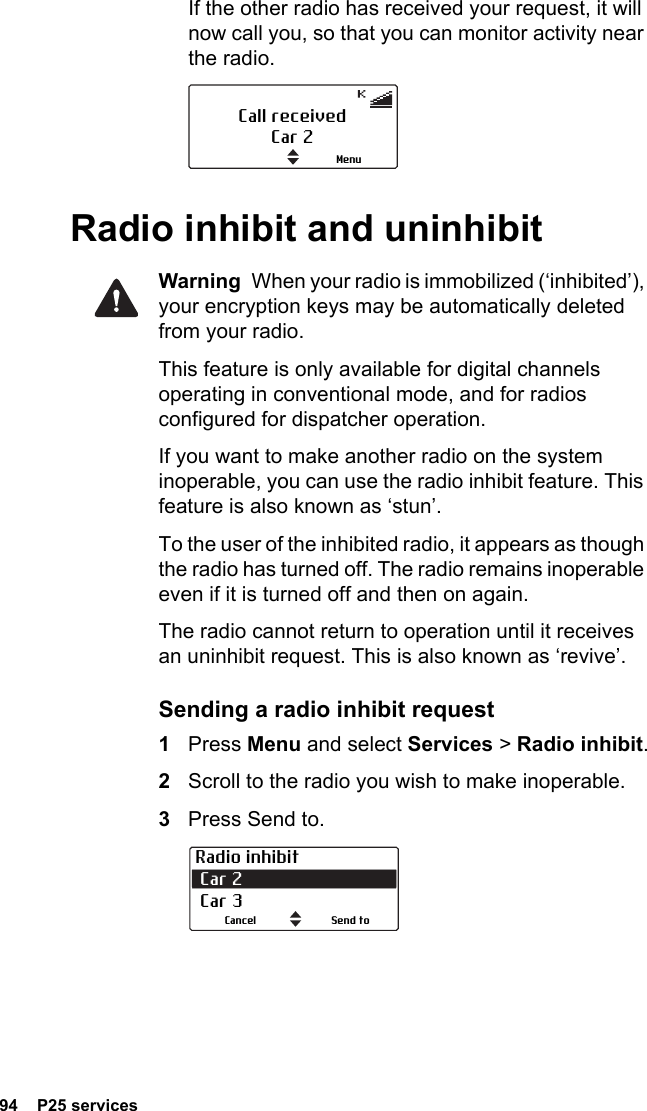
User Manual P25