Tait TPDK5B Handheld Portable User Manual TP9300 User s Guide
Tait Limited Handheld Portable TP9300 User s Guide
Tait >
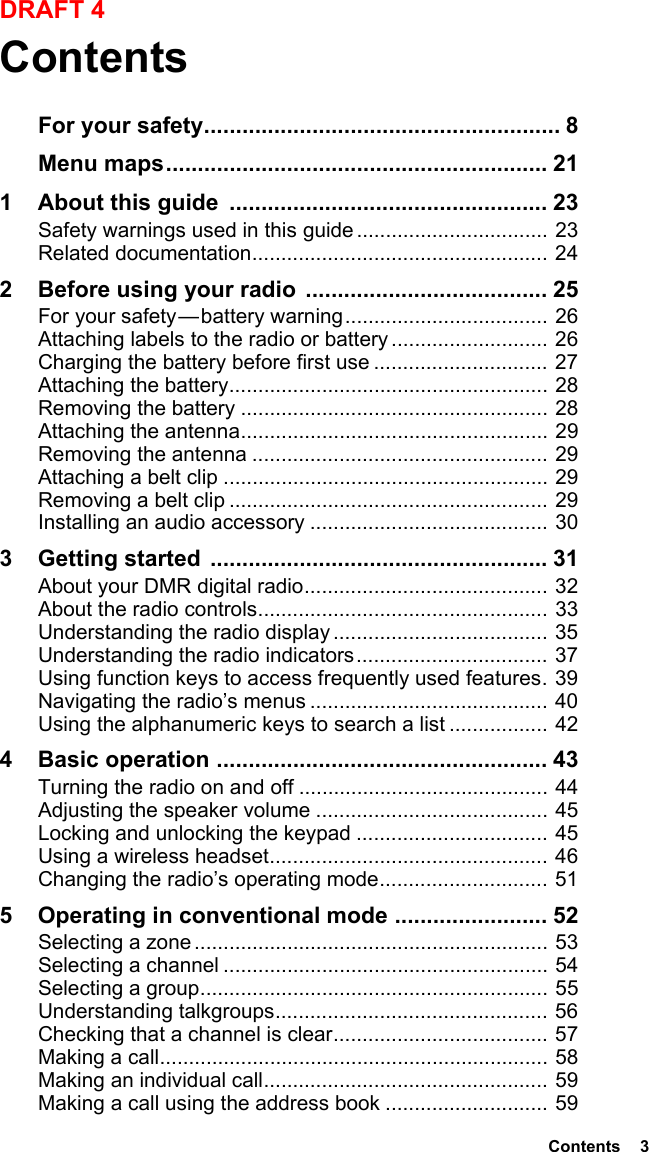
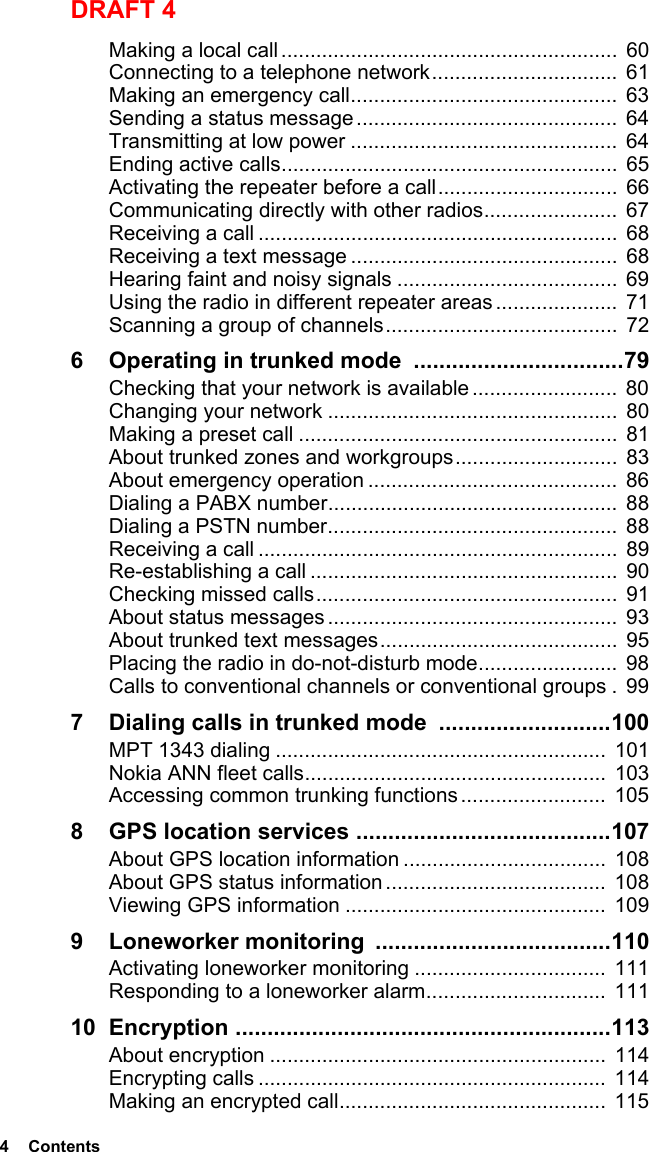
Contents
- 1. Exhibit D Users Manual per 2 1033 c3
- 2. Exhibit D Users Manual per 2 1033 b3
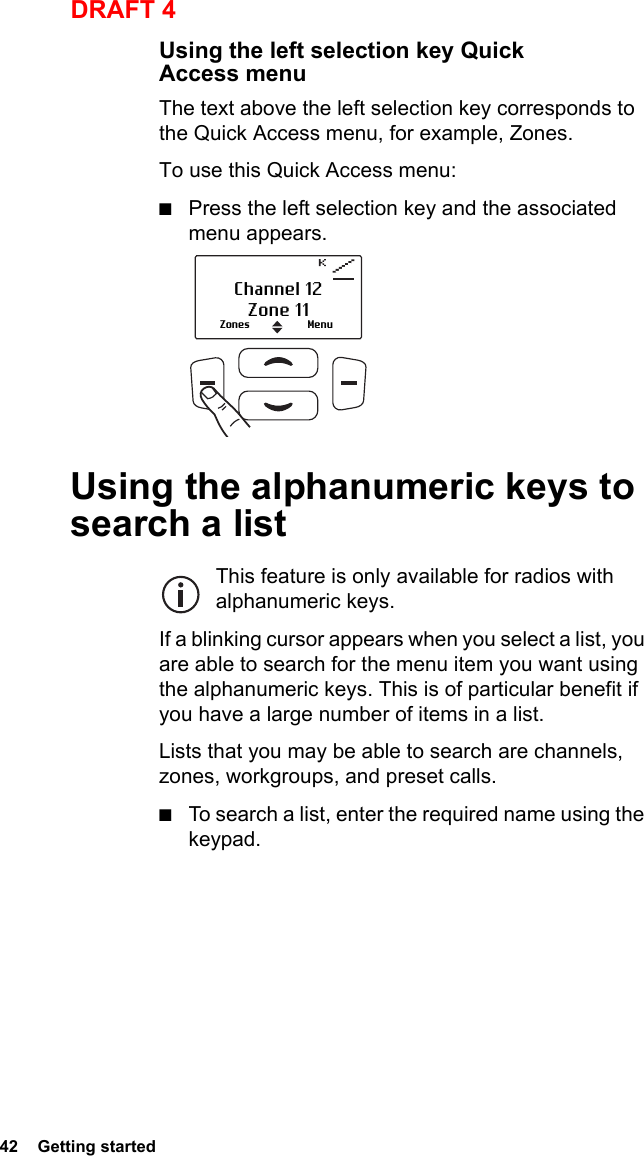
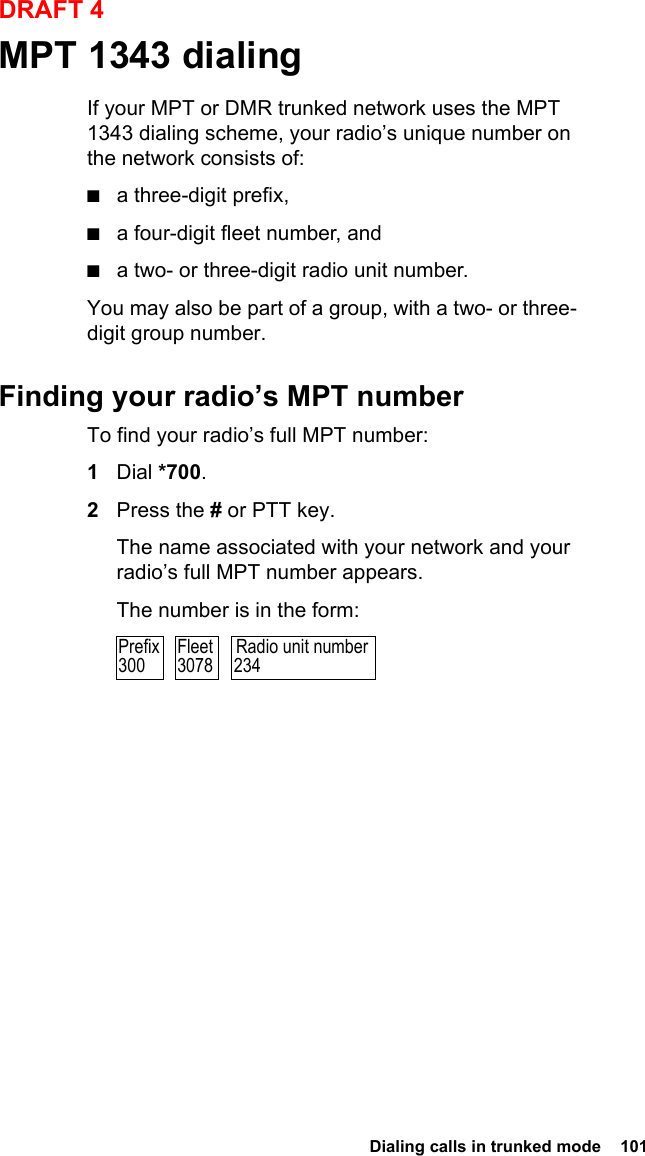
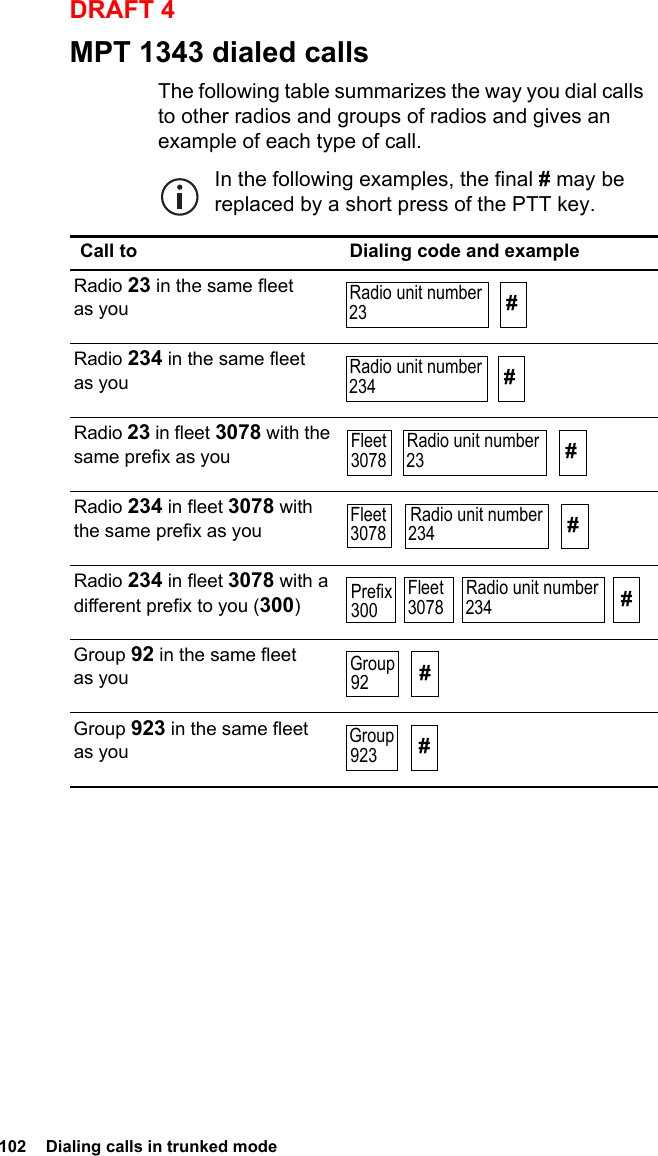
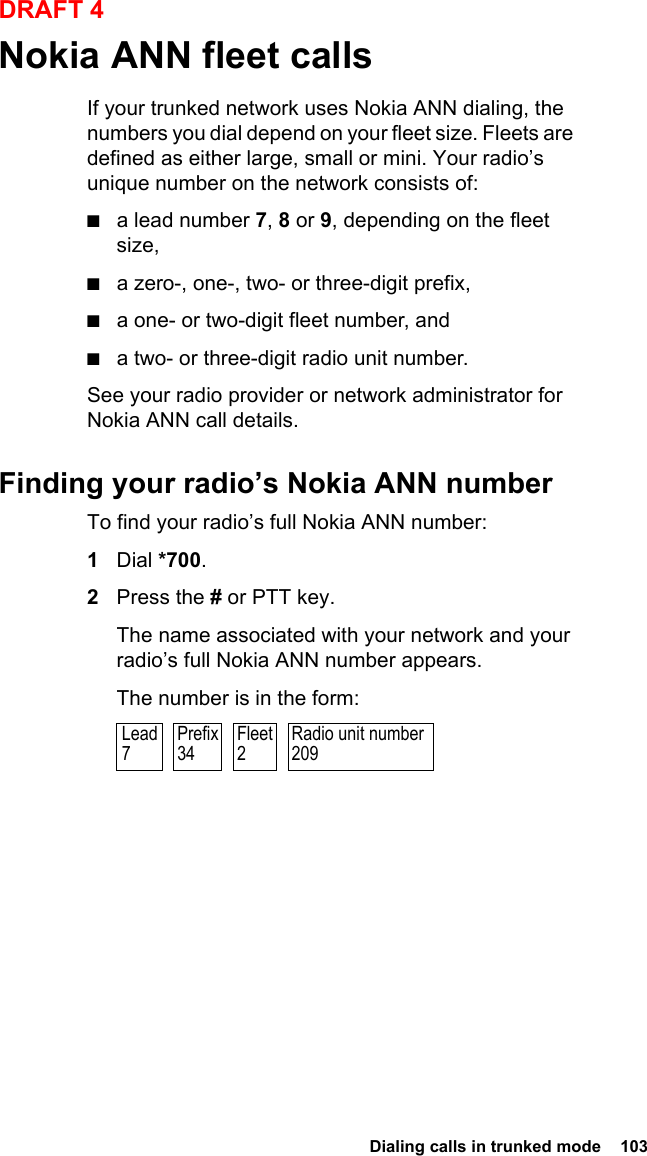
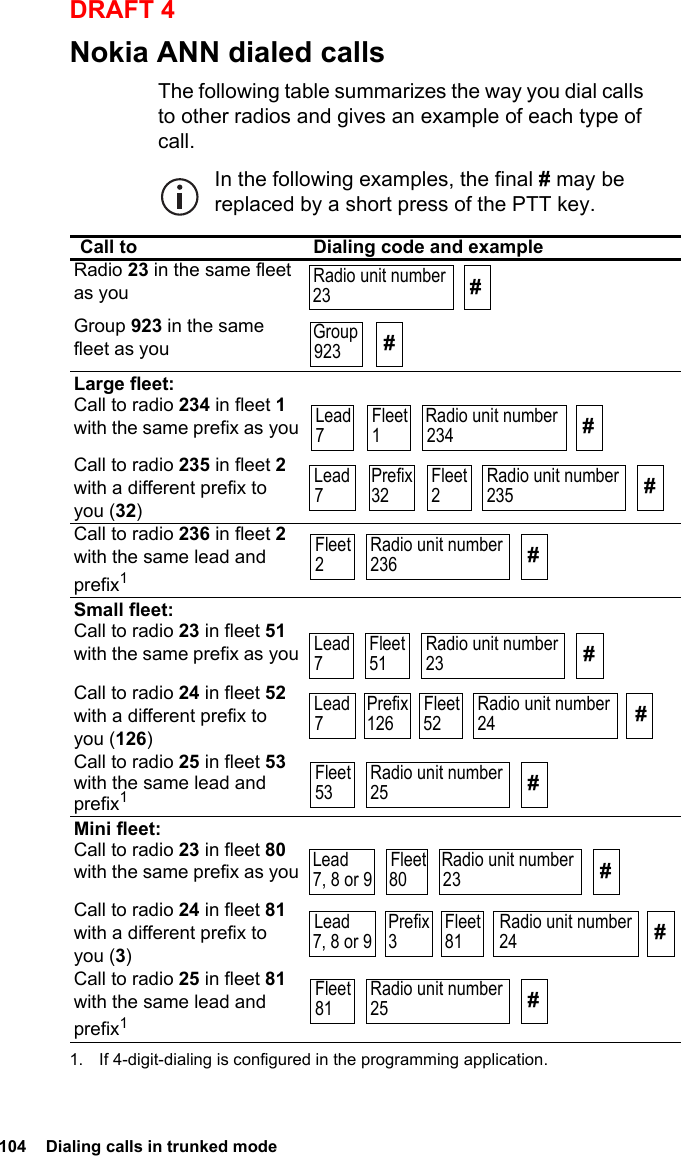
Exhibit D Users Manual per 2 1033 c3