Tatung ICONNECT Solus Series iConnect User Manual iConnect US IB 00 080602b
Tatung Company Solus Series iConnect iConnect US IB 00 080602b
Tatung >
UserManual

Solus Series iConnect
USER MANUAL
iConnect

Important InformatIon
Caution: To reduce the risk of electric shock, do not remove cover (or
back). No user serviceable parts inside. Refer servicing to qualified
service personnel.
WARNING: To reduce the risk of fire or electric shock, do not expose
this product to rain or moisture. The apparatus shall not be exposed
to dripping or splashing. No objects filled with liquids, such as vases,
shall be placed on the apparatus.
Important Safety Instructions
1 Read these instructions.
2 Keep these instructions.
3 Heed all warnings.
4 Follow all instructions.
5 Do not use this apparatus near water.
6 Clean only with dry cloth.
7 Do not block any ventilation openings. Install in accordance with
the manufacturer’s instructions.
8 Do not install near any heat sources such as radiators, heat
registers, stoves, or other apparatus (including amplifiers) that
produce heat.
9 Protect the power cord from being walked on or pinched
particularly at plugs, convenience receptacles, and the point where
they exit from the apparatus.
10 Unplug this apparatus during lightning storms or when unused for
long periods of time.
11 Refer all servicing to qualified service personnel. Servicing is
required when the apparatus has been damaged in any way, such
as power-supply cord or plug is damaged, liquid has been spilled
or objects have fallen into the apparatus, the apparatus has been
exposed to rain or moisture, does not operate normally, or has
been dropped.
FCC Information
FCC Regulations state that unauthorized changes or modifications to
this equipment may void the user’s authority to operate it.
This device complies with Part 15 of the FCC rules. Operation is
subject to the following two conditions: (1) This device may not cause
harmful interference and (2) this device must accept any interference
received, including interference that may cause undesired operation.

GettInG Started
Step 1: UNPACKING
Make sure you find the following pieces in your iConnect package:
Plus:
ٛ Combo USB/standard power adapter cable
ٛ 3.5mm stereo audio cable

Step 2: DOCKING
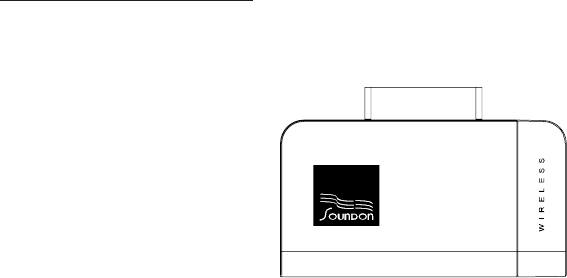
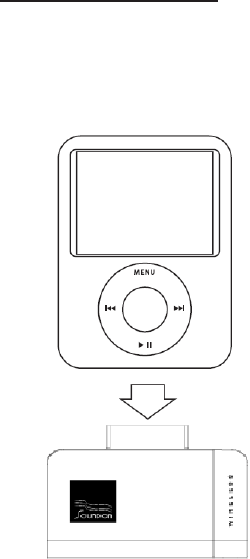
Plug the iConnect transmitter’s dock connector into your iPod’s 30-pin
connector.
iPod is a registered trademark of Apple Inc.

GettInG Started
Step 3: LINKING
The iConnect dock and receiver usually link automatically once
you’ve docked your iPod and plugged in the receiver. A solid blue
LED on the dock and the receiver indicates that the two pieces are
linked.
If you get a blinking blue LED on the dock and/or receiver, try the
following steps to link the two manually:
1 Take the iConnect dock and iPod next to the receiver—keep the
dock and iPod connected.
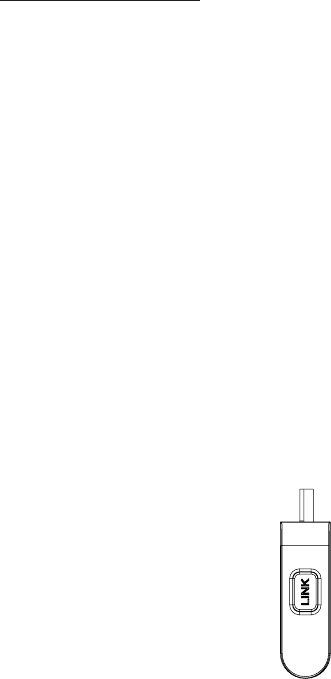
2 Find the LINK buttons on the back panel of the receiver and on the
side of the dock.
iConnect dock, side view
3. Press and hold the LINK buttons on the receiver and dock for
5 seconds. The blue LEDs on each blink while the two pieces
are linking. These LEDs stay solid blue when the two have
linked.
Now you’re ready to enjoy music from your iPod over your home
stereo with no wires attached! Just use your iPod like you normally
would to select songs, playlists, etc. And enjoy!

IConnect Buttons and Jacks
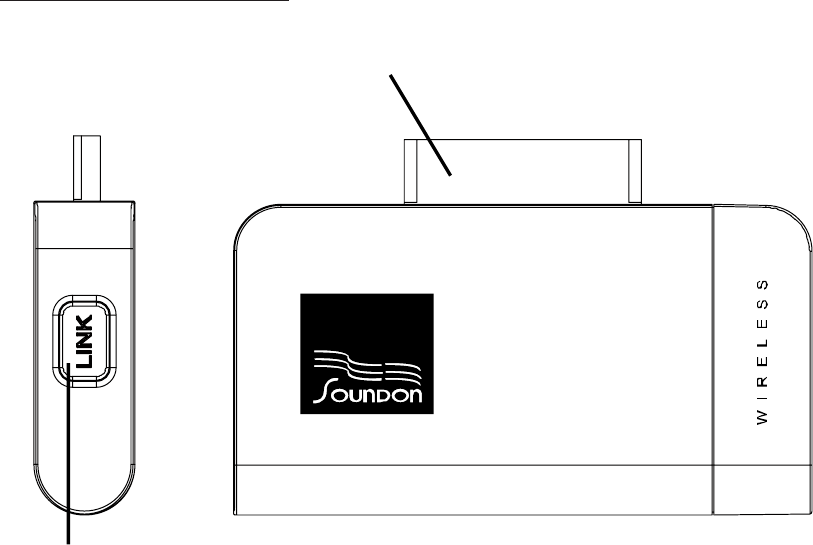
Dock Buttons and Jacks
iConnect dock: connects to iPod models with 30-pin
dock connector
Link button: manually
links the dock to the
receiver