Technovare Systems OPSDRD Embedded Computer User Manual
Technovare Systems, Inc. Embedded Computer
UserManual.wiki
>
Technovare Systems
>
OPSDRD User Manual
User manual
Navigation menu
Upload a User Manual
Namespaces
Wiki Guide
HTML
PDF
Info
Views
User Manual
Discussion / Help
Navigation
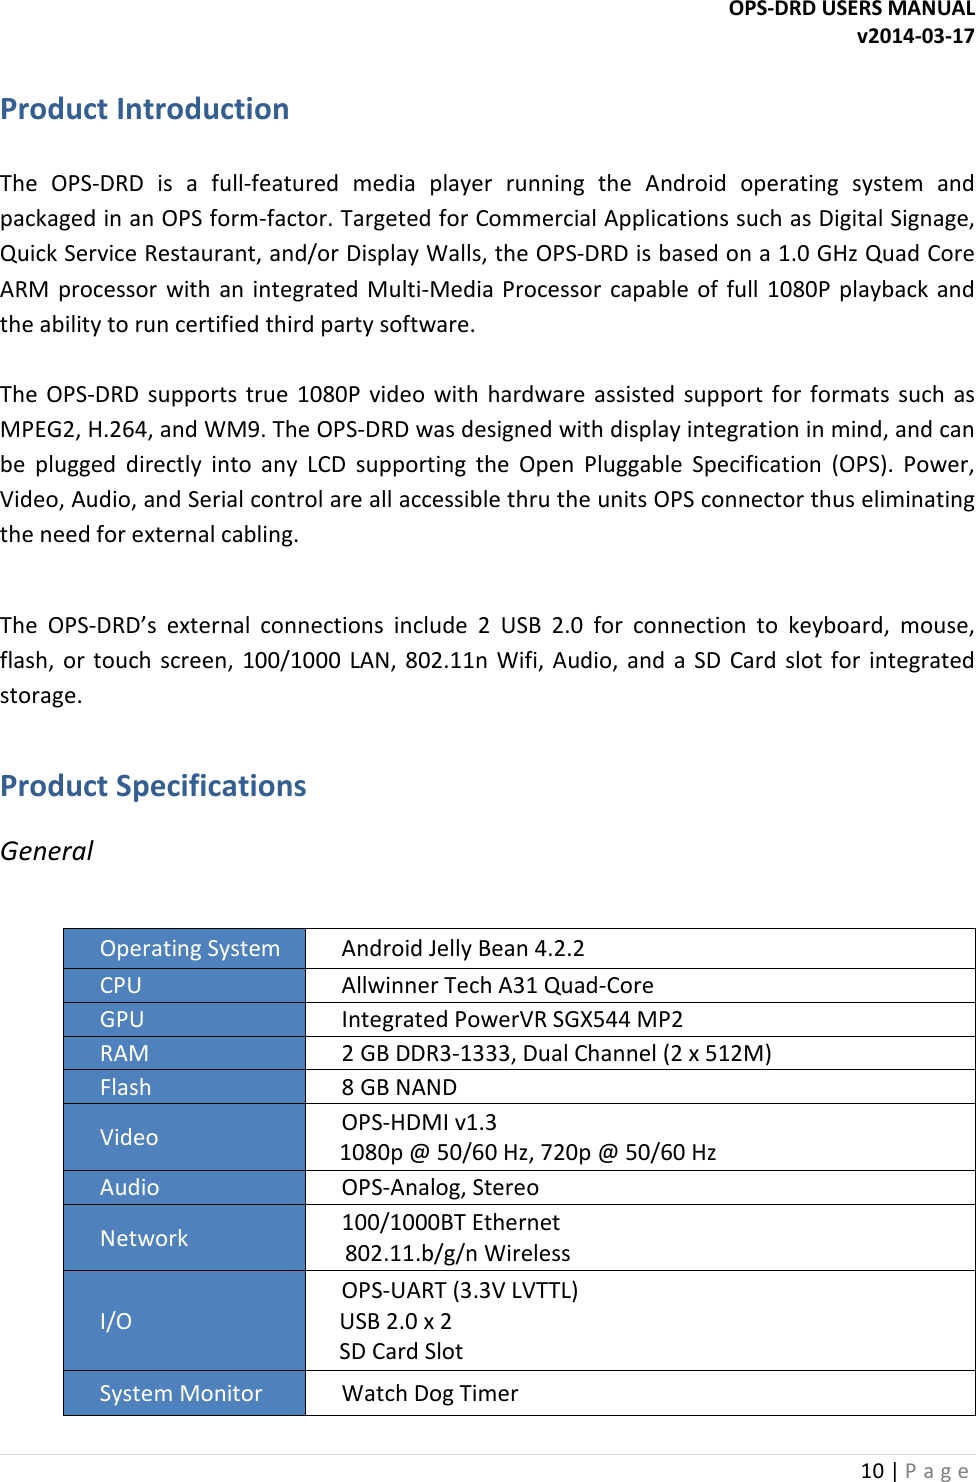

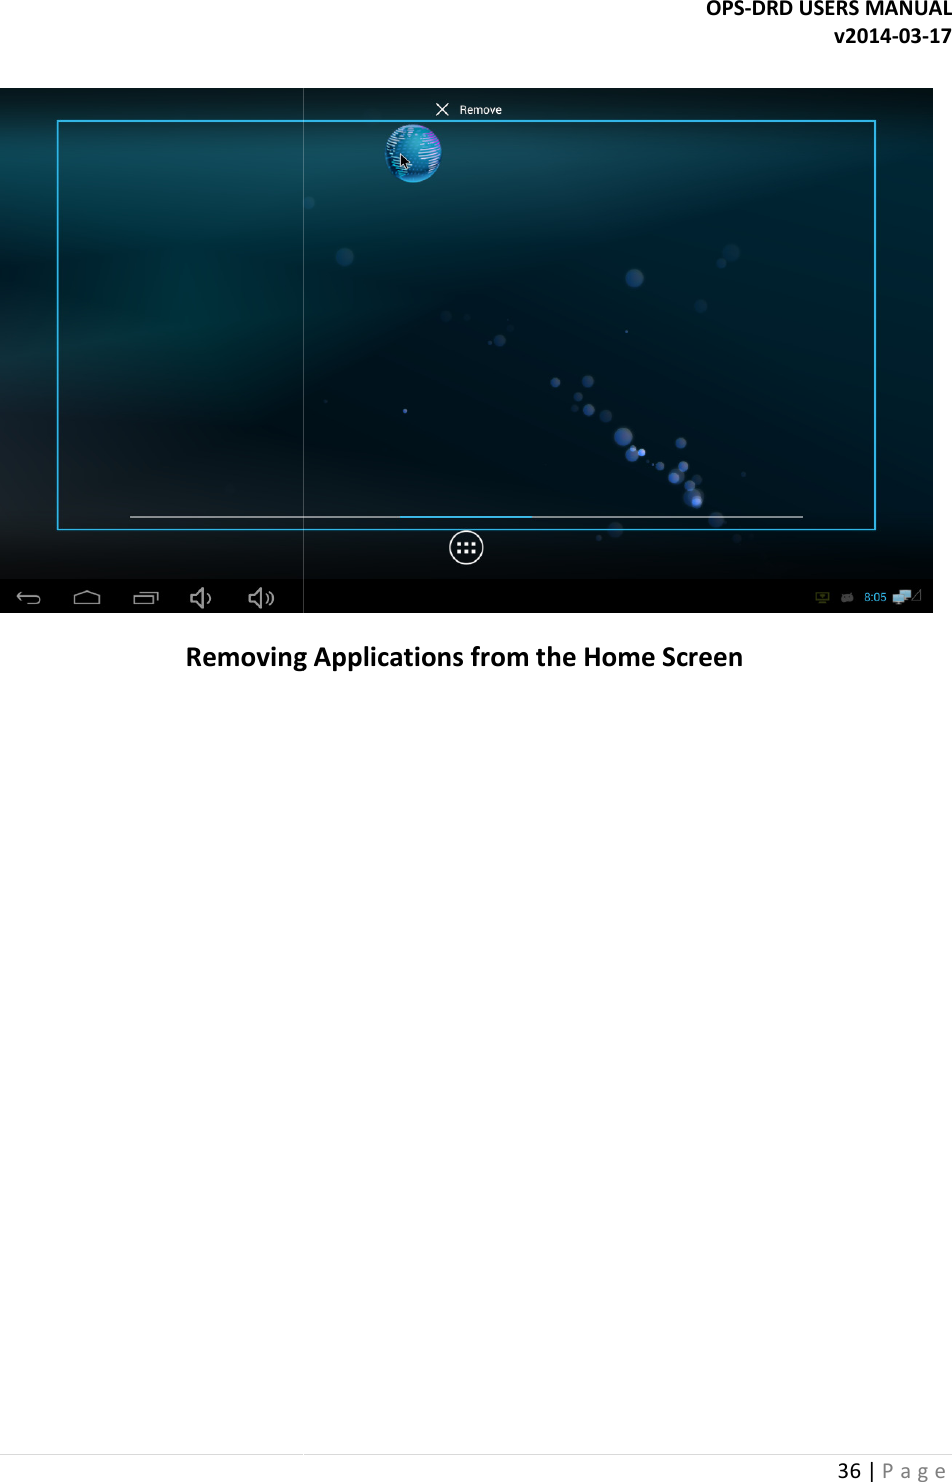
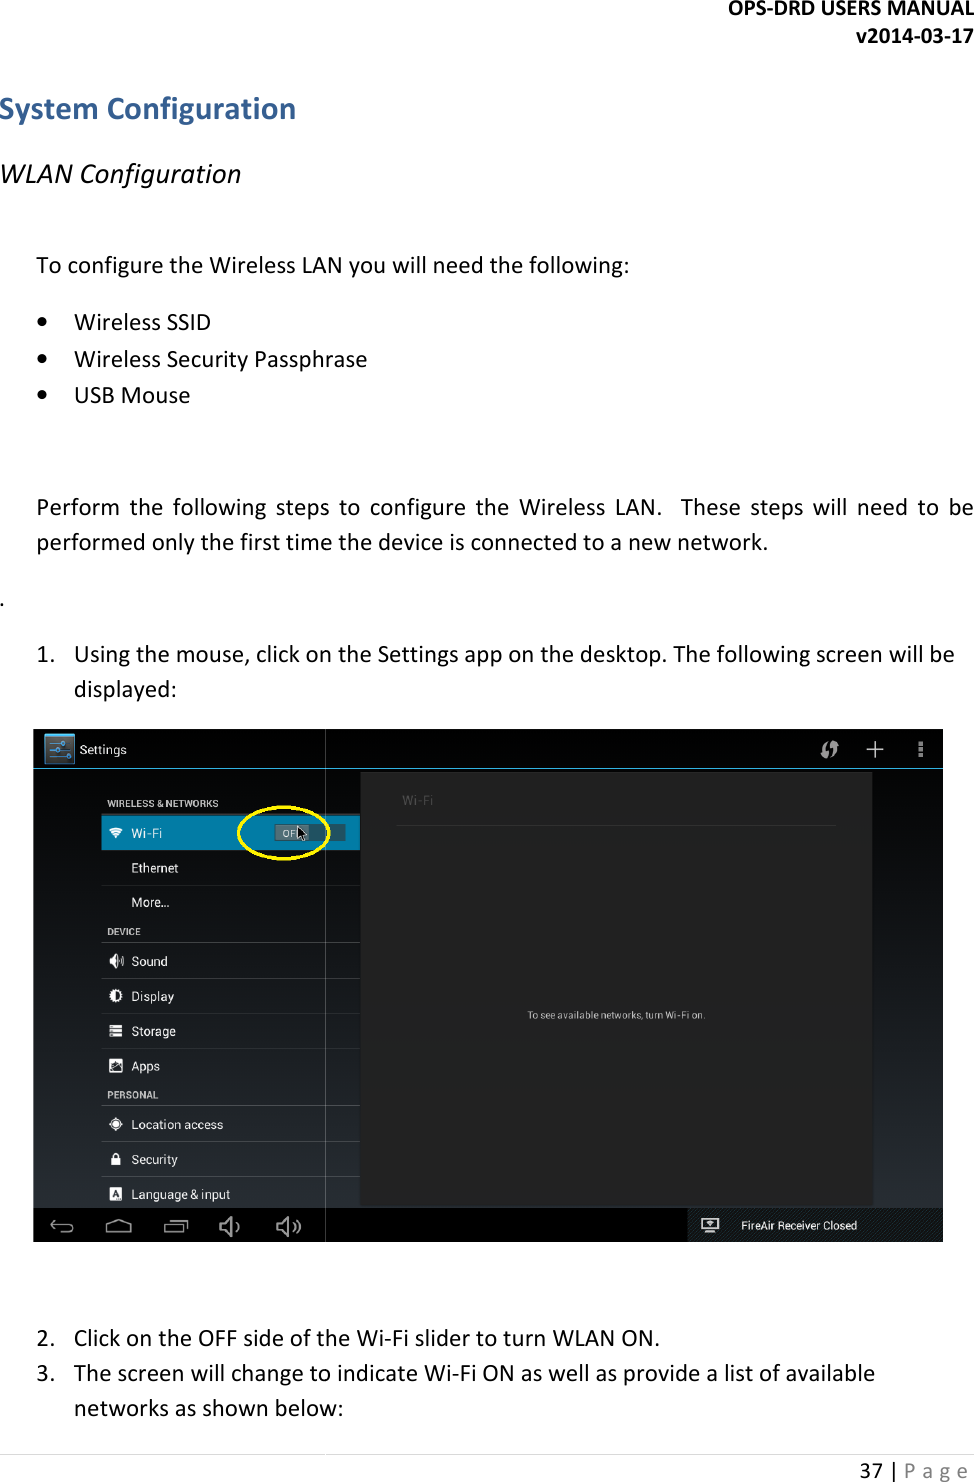
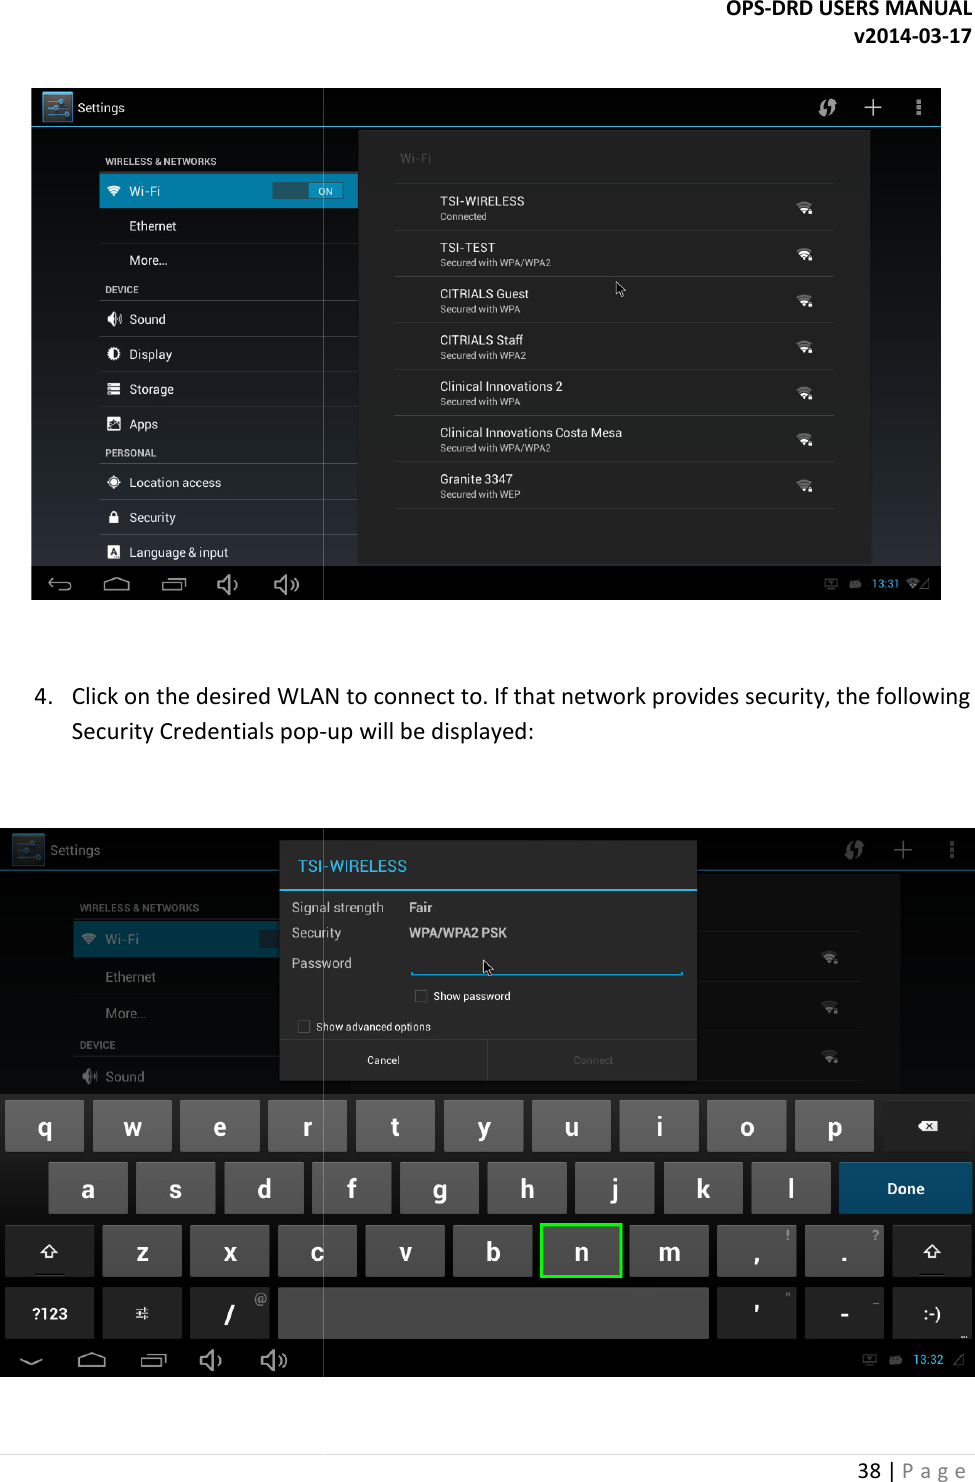
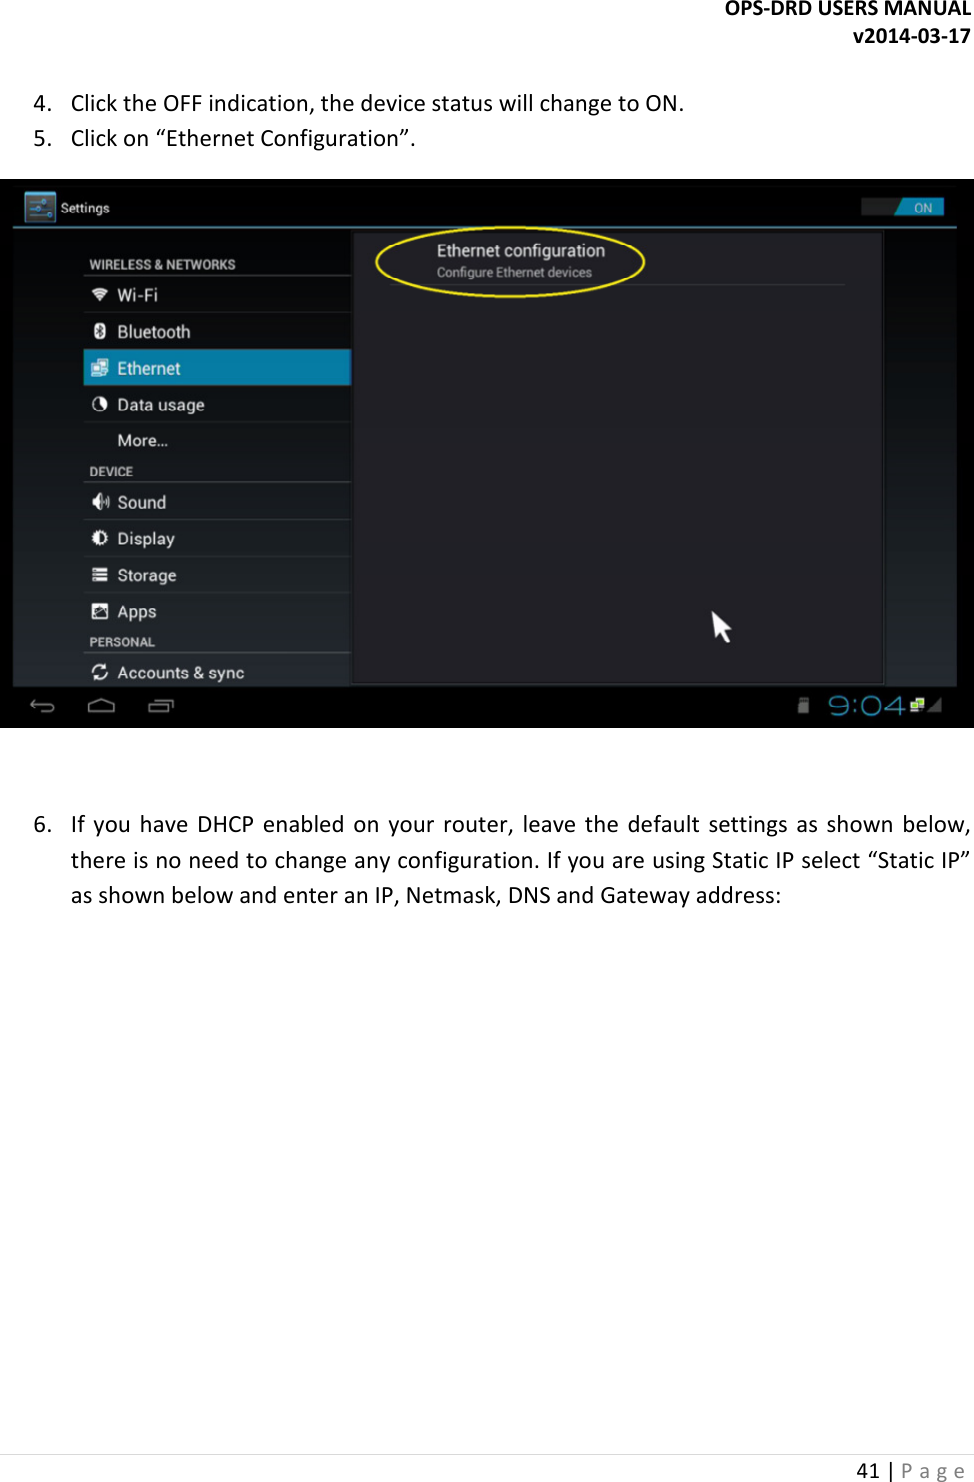
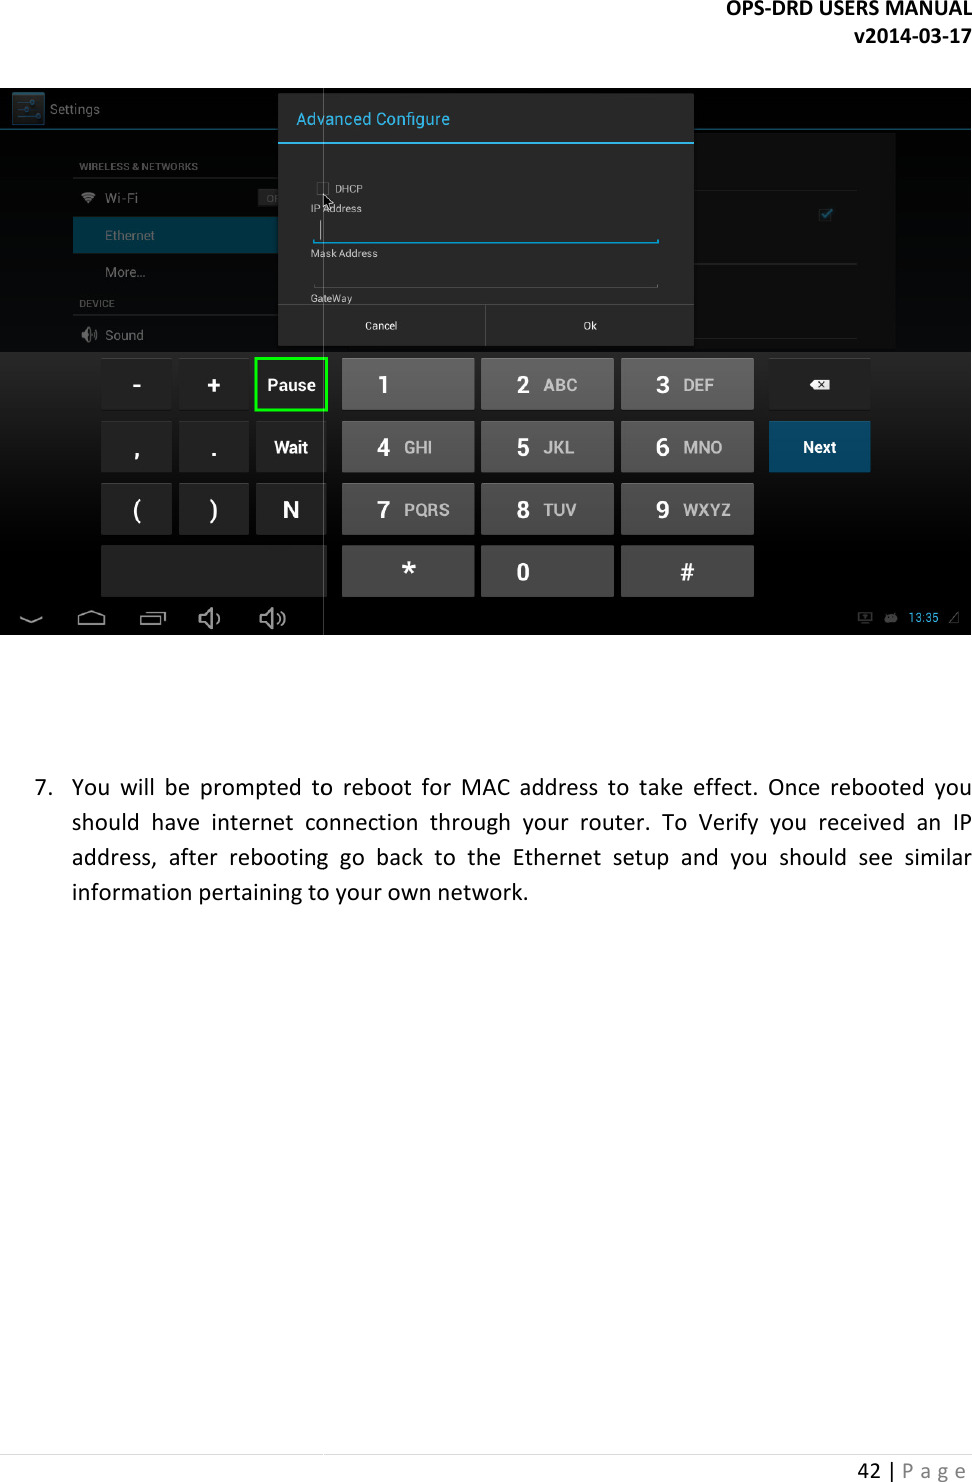
![5. Use the on-screen keyboard to enter your networks security passphrase.6. Click [DONE] when complete.7. After successfully connecting the WLAN, the Settinstatus as shown below: LAN Configuration To configure the LAN you will need the following:• Ethernet Cable • USB Mouse Perform the following steps to configure the LAN. These steps will need to be performed only the first time the device is connected to a new network. 1. Using the mouse, click on the Settings app on the desktop. The following screen will be displayed: OPS-DRD USERS MANUALscreen keyboard to enter your networks security passphrase.Click [DONE] when complete. After successfully connecting the WLAN, the Setting screen will show a “Connected” To configure the LAN you will need the following: Perform the following steps to configure the LAN. These steps will need to be performed only first time the device is connected to a new network. Using the mouse, click on the Settings app on the desktop. The following screen will be DRD USERS MANUAL v2014-03-17 39 | P a g e screen keyboard to enter your networks security passphrase. g screen will show a “Connected” Perform the following steps to configure the LAN. These steps will need to be performed only Using the mouse, click on the Settings app on the desktop. The following screen will be](https://usermanual.wiki/Technovare-Systems/OPSDRD/User-Guide-2227933-Page-38.png)