TeleEpoch WI921 Mobile Phone User Manual VM2090PDKIT User Guide20110815
TeleEpoch Limited Mobile Phone VM2090PDKIT User Guide20110815
UserManual.wiki
>
TeleEpoch
>
WI921 User Manual
manual
Navigation menu
Upload a User Manual
Namespaces
Wiki Guide
HTML
PDF
Info
Views
User Manual
Discussion / Help
Navigation

![3 ► Refer to - pages with related information; for example: ► p.12 (represents “see page 12”). Followed by - the order of options or menus you must select to perform a step; for example: Home screen, open the application list and select Messaging →New message (represents Messaging, followed by New message). [ ] Square brackets-device keys; for example: [ ] (represents the Power key). Copyright information Rights to all technologies and products that comprise this device are the property of their respective owners: • This product has an Android platform based on Linux which can be expanded by a variety of JavaScript-based software. • Google™, Android Market™, Google Mail™, and YouTube™ are trademarks of Google, Inc. • Java™ is a trademark of Sun Microsystems, Inc. • Wi-Fi ®, the Wi-Fi CERTIFIED logo, and the Wi-Fi logo are registered trademarks of the Wi-Fi Alliance.](https://usermanual.wiki/TeleEpoch/WI921/User-Guide-1525314-Page-3.png)
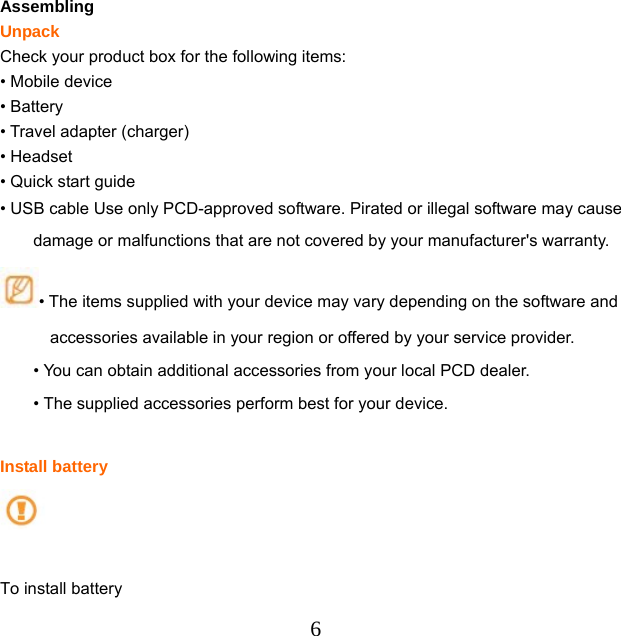
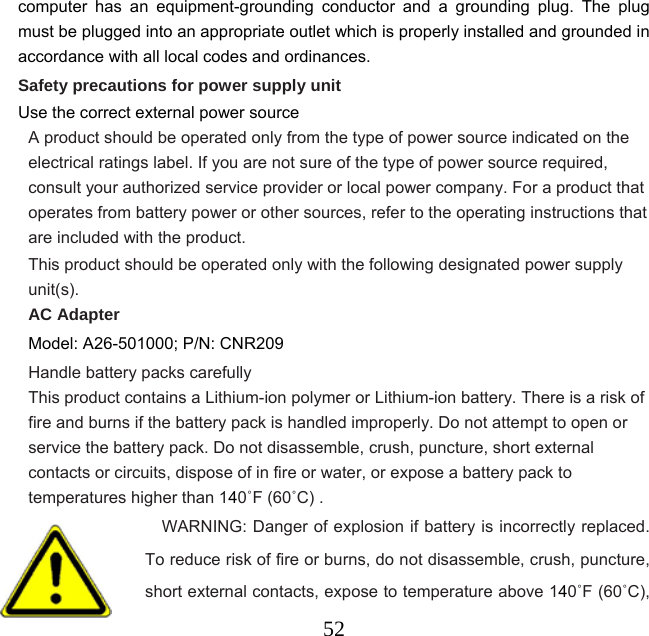
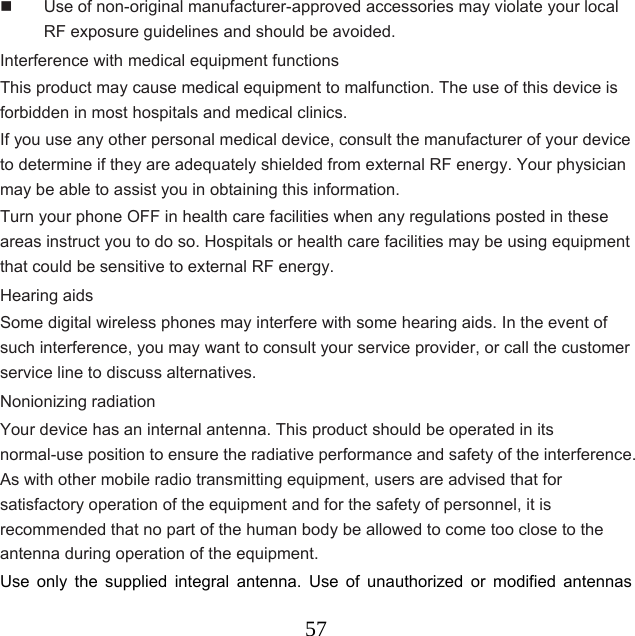
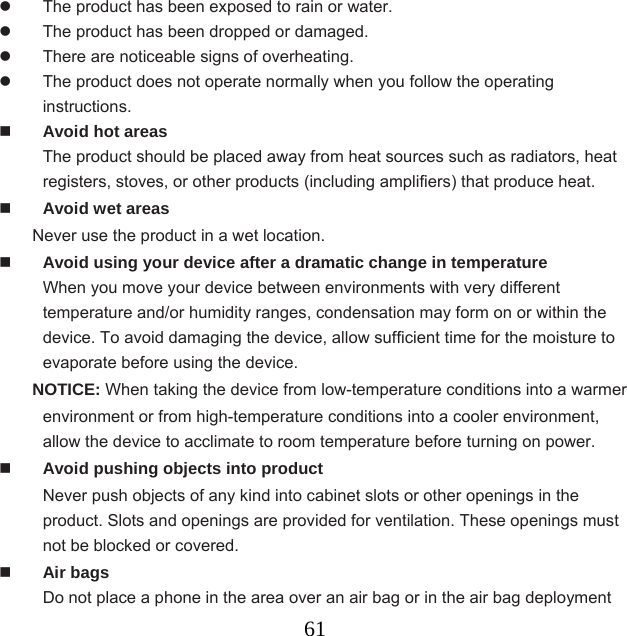
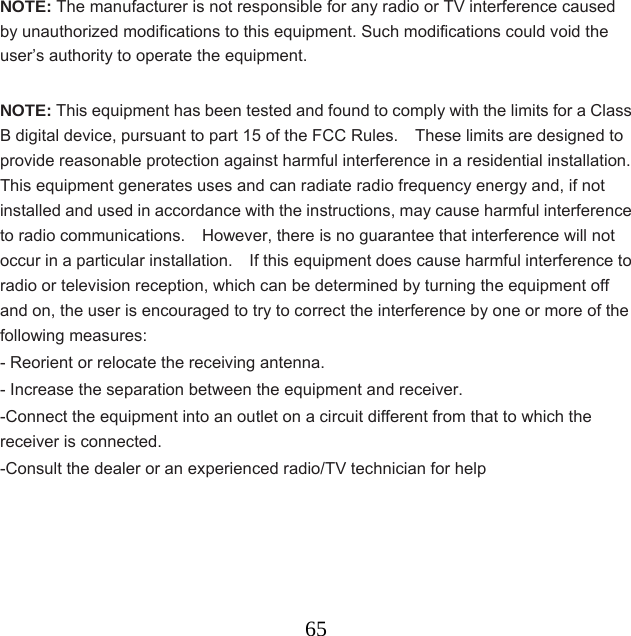
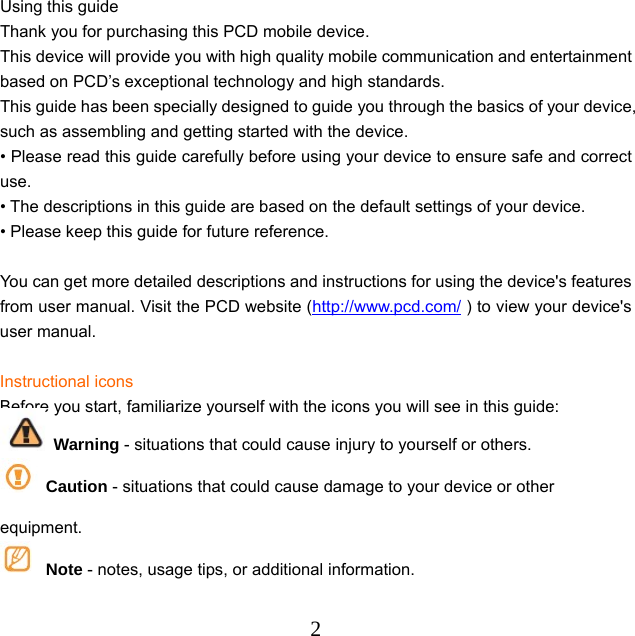
![71. If the device is on, press and hold [ ] and select Power off to turn it off. 2. Remove the back cover. Be careful not to damage your fingernails when you remove the back cover. 3. Insert the battery. 4. Replace the back cover.](https://usermanual.wiki/TeleEpoch/WI921/User-Guide-1525314-Page-7.png)

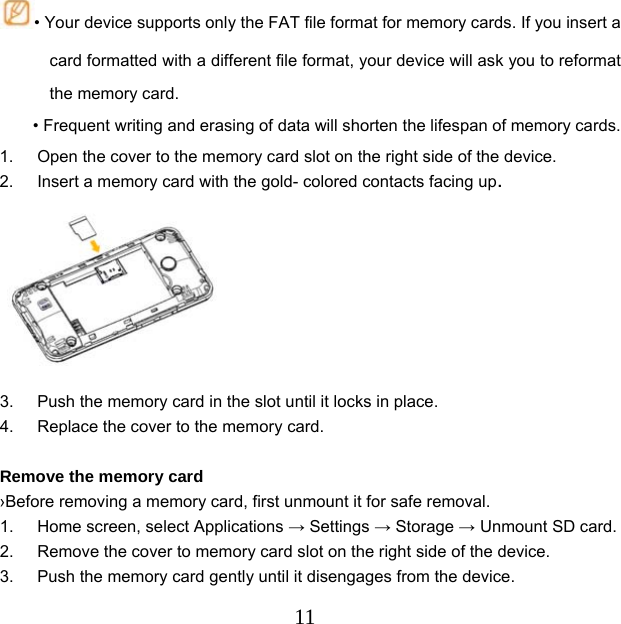
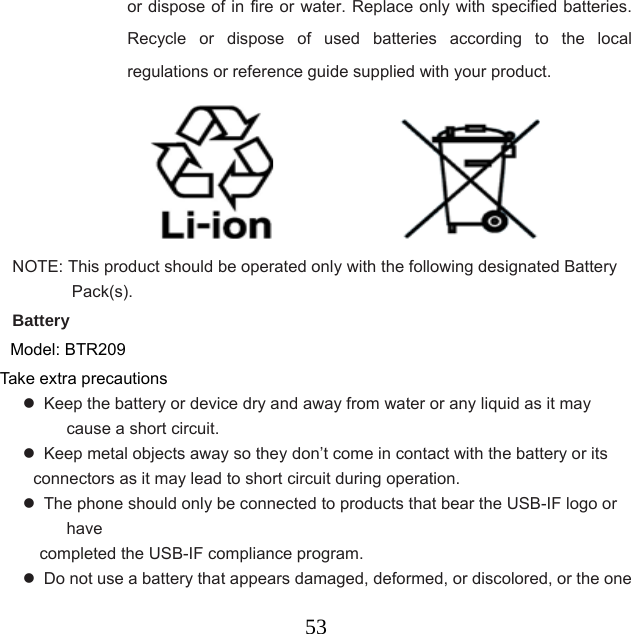
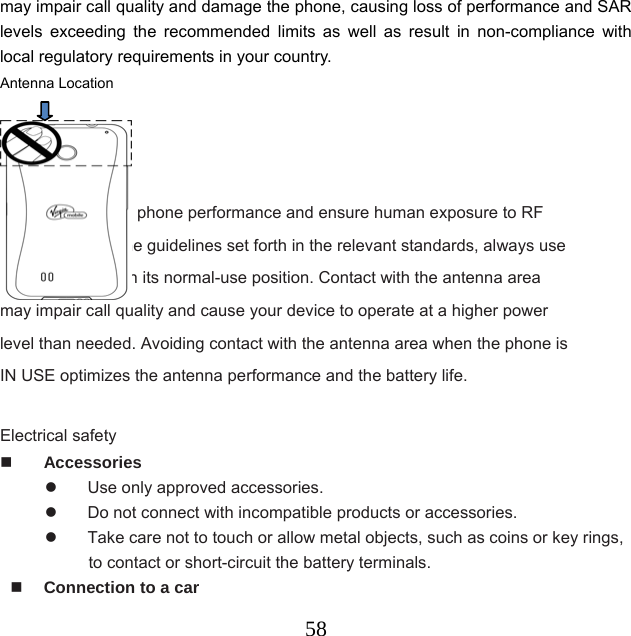
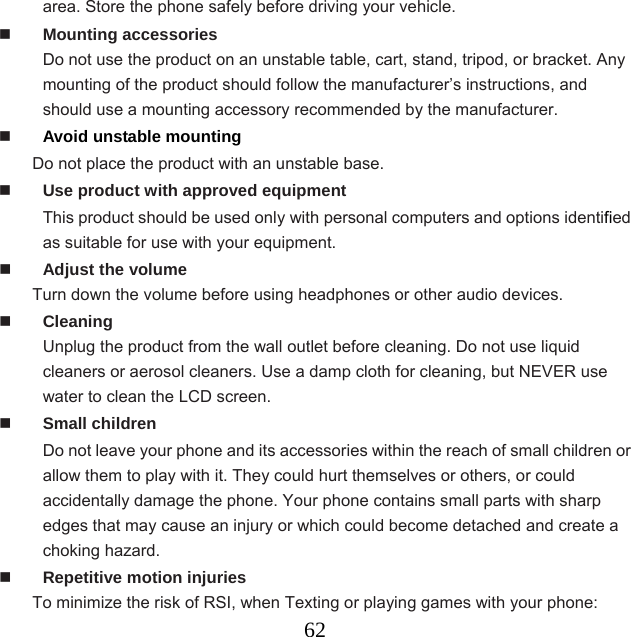
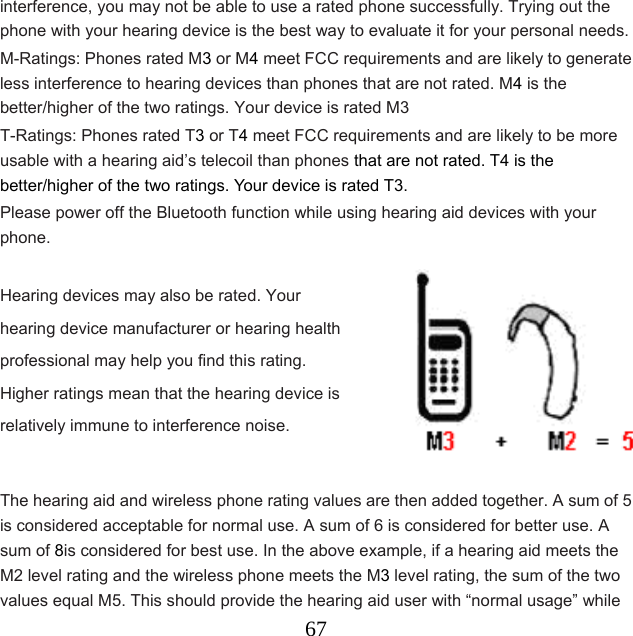
![124. Pull the memory card out of the memory card slot. 5. Remove the memory card. 6. Replace the cover to memory card slot. Do not remove a memory card while the device is transferring or accessing information, as this could result in loss of data or damage to the memory card or device. Erase the memory card > Erasing your memory card on a PC may cause incompatibilities with your device. Erase the memory card only on the device. Home screen, select Applications → Settings → Storage → Erase SD card. Before erasing the memory card, remember to make backup copies of all important data stored on your device. The manufacturer’s warranty does not cover loss of data resulting user actions. Getting started Turn your device on and off To turn on your device, press and hold [ ].Your device will automatically connect to the cellular network.](https://usermanual.wiki/TeleEpoch/WI921/User-Guide-1525314-Page-12.png)
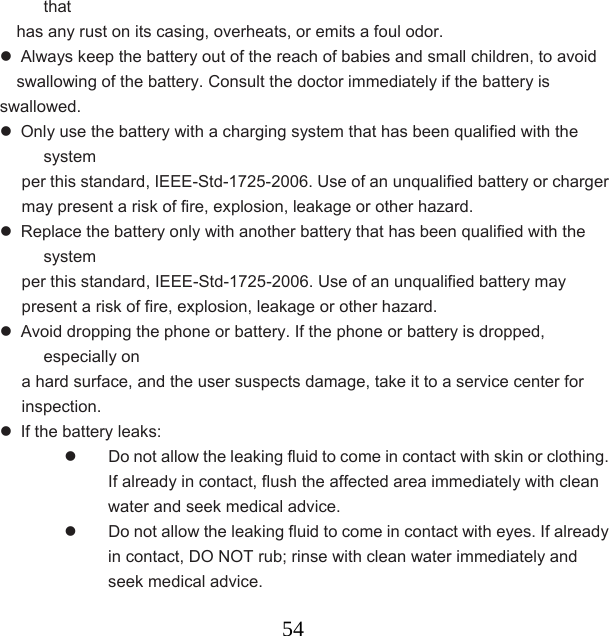
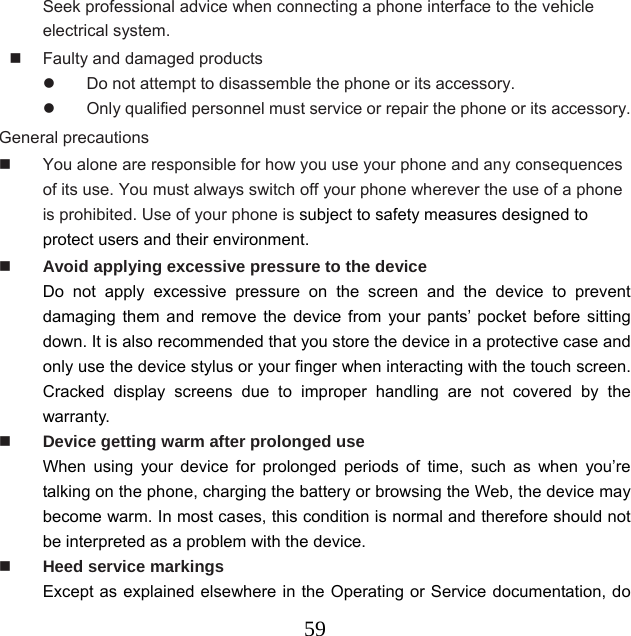
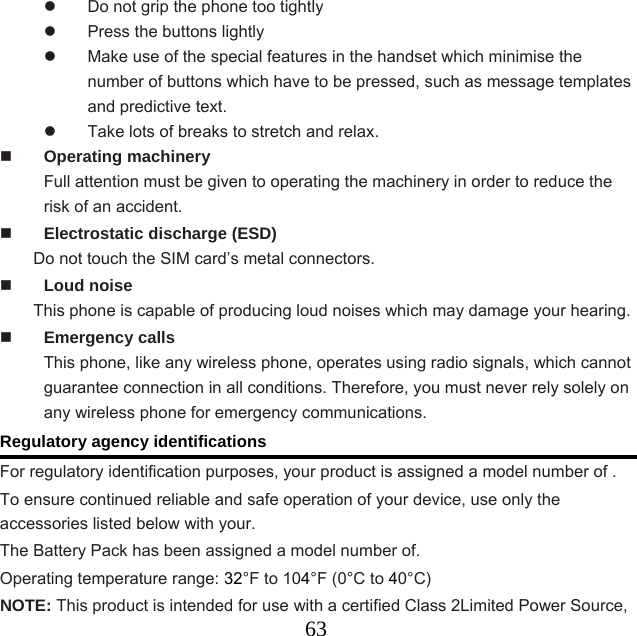
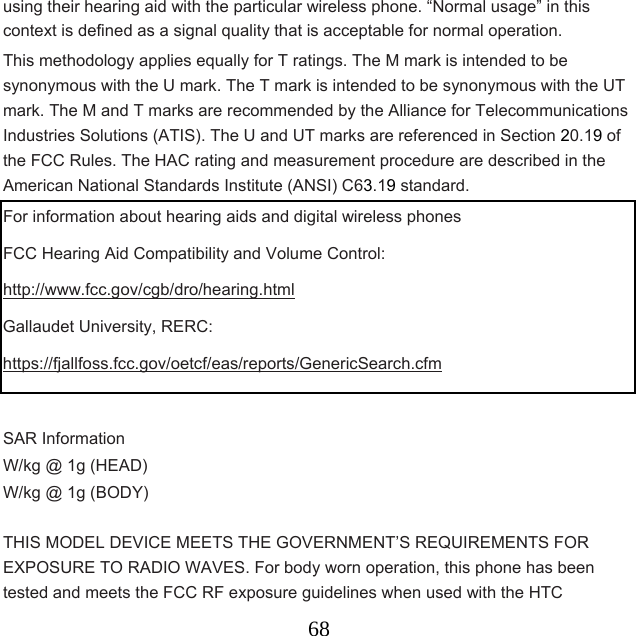
![13 If you turn on your device for the first time, tap the Android image on the screen and follow the on-screen instructions to set up your device for its first use To turn off your device, press and hold [ ] and then select Power off. • Follow all posted warnings and directions from official personnel when in areas where the use of wireless devices is restricted, such as aeroplanes and hospitals. •To use your device's non-network services only, switch to Flight mode. Press and hold [ ] and select Flight mode. Get to know your device .> Device layout](https://usermanual.wiki/TeleEpoch/WI921/User-Guide-1525314-Page-13.png)


![18Control your touch screen with the following actions: • Tap: Tap once with your finger to select or launch a menu, option, or application. • Tap and hold: Tap an item and hold it for more than seconds to open a pop-up option list. • Scroll: Tap and drag your finger up, down, left, or right to move to items on lists. • Drag and drop: Tap and hold your finger on an item, and then drag your finger to move the item. • Double-tap: Tap twice quickly with your finger to zoom in or out while viewing photos or web pages. • Your device turns off the touch screen when you do not use the device for a specified period. To turn on the screen, press [ ].You can also adjust the backlight time. Home screen, open the application list and select Settings → Display → Screen timeout. Lock or unlock the touch screen and keys You can lock the touch screen and keys to prevent any unwanted device operations. To lock, press [ ].To unlock, turn on the screen by pressing [ ], and then flick the grey window with your finger.](https://usermanual.wiki/TeleEpoch/WI921/User-Guide-1525314-Page-18.png)
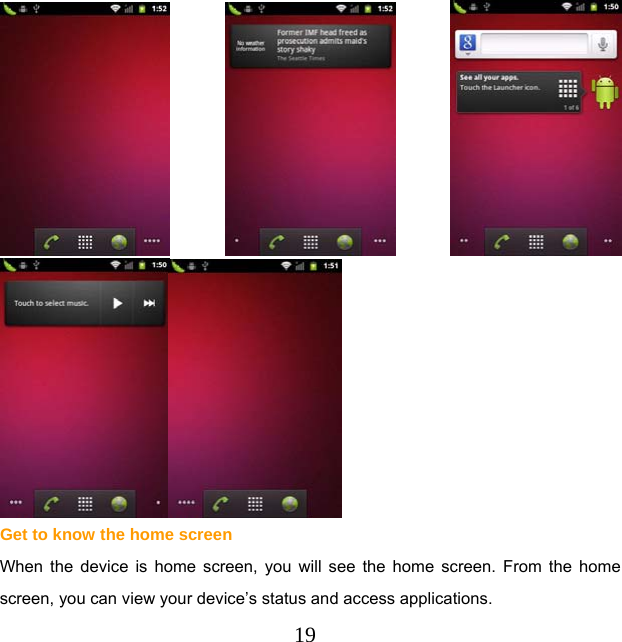
![20The home screen has 5 panels. Scroll left or right to a panel of the home screen. You can also select a dot on the top of the screen to move to the corresponding panel of the home screen directly. > Add items to the home screen You can customise the home screen by adding shortcuts to applications or items in applications, widgets, or folders. To add items to the home screen 1. Press [ ] → Add or tap and hold the empty area on the home screen. 2. Select the item category → an item: • Shortcuts: Add shortcuts to items, such as applications, bookmarks, and contacts. • Widgets: Add widgets to the home screen. • Folders: Create a new folder or add folders for your contacts • Wallpapers: Set a background image.](https://usermanual.wiki/TeleEpoch/WI921/User-Guide-1525314-Page-20.png)
![22• Account sync: Activate or deactivate the Account synchronization. • Brightness: Adjust the brightness. Available options may vary depending on your region or service provider. Add or remove panels to the home screen You can add or remove panels of the home screen to organize widgets according to your preferences and needs. 1. Home screen, press [ ] → Edit. 2. Select to remove a panel or to add new panels. 3. Press [ ] → Save.](https://usermanual.wiki/TeleEpoch/WI921/User-Guide-1525314-Page-22.png)
![23Access applications To access your device’s applications, 1. Home screen, select Applications to access the application list. 2. Scroll up or down to another application screen. You can also select a dot on the top of the screen to move to the corresponding main menu screen directly. 3. Select an application. • When you use applications provided by Google, you must have a Google account. If you do not have a Google account, sign up for a Google account. • You can add a shortcut to an application by tapping and holding the application icon from the application list. You can move the icon to the location you want on the home screen. 4. Press [ ] to return to the previous screen; Press the Home key to return to the home screen. Your device has a built-in motion sensor that detects its orientation. If you rotate the device while using some features, the interface will switch to landscape view automatically. To set the interface to keep the orientation when you rotate the device, select Settings → Display → Auto-rotate screen.](https://usermanual.wiki/TeleEpoch/WI921/User-Guide-1525314-Page-23.png)
![24 > Access recent applications 1. Press and hold the Home key to open the list of applications you have accessed recently. 2. Select an application to access. Customize your device Get more from your device by customizing it to match your preferences. > Set the current time and date 1. Home screen, open the application list and select Settings → Date and time. 2. Set the time and date and change other options. > Turn on or off the touch tone Home screen, open the application list and select Settings → Sound → Audible touch tones. > Adjust the volume of the ringtones Press the Volume key up or down to adjust the ringtone volume. Switch to the silent mode To mute or unmute your device, do one of the followings: • Home screen, press and hold [ ] and select Silent mode. • Home screen, open the application list and select Settings → Sound → Silent mode Change your ringtone 1. Home screen, open the application list and select Settings → Sound → Phone](https://usermanual.wiki/TeleEpoch/WI921/User-Guide-1525314-Page-24.png)
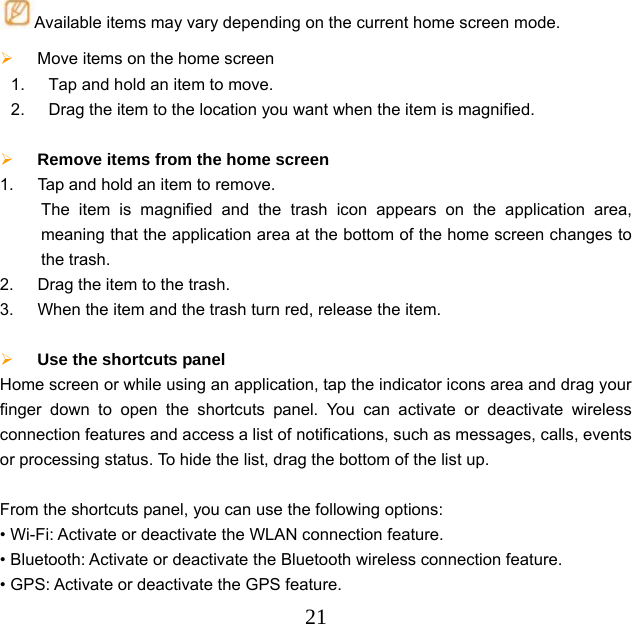
![25ringtone 2. Select a ringtone from the list and select OK. Activate animation for switching windows Home screen, open the application list and select Settings → Display → Animation → Some animations or All animations. Select a wallpaper for the home screen 1. Home screen, press [ ] → Wallpaper → an option. 2. Select an image. 3. Select Save or Set wallpaper. PCD is not responsible for any use of default images or wallpapers provided on your device. Adjust the brightness of the display You can quickly adjust the display brightness by scrolling left or right on the indicator line of the screen. To adjust the brightness in the setting menu, 1. Home screen, open the application list and select Settings → Display → Brightness. 2. Clear the check box next to Automatic brightness adjustment. 3. Drag the slider to adjust the level of brightness. 4. Select OK.](https://usermanual.wiki/TeleEpoch/WI921/User-Guide-1525314-Page-25.png)
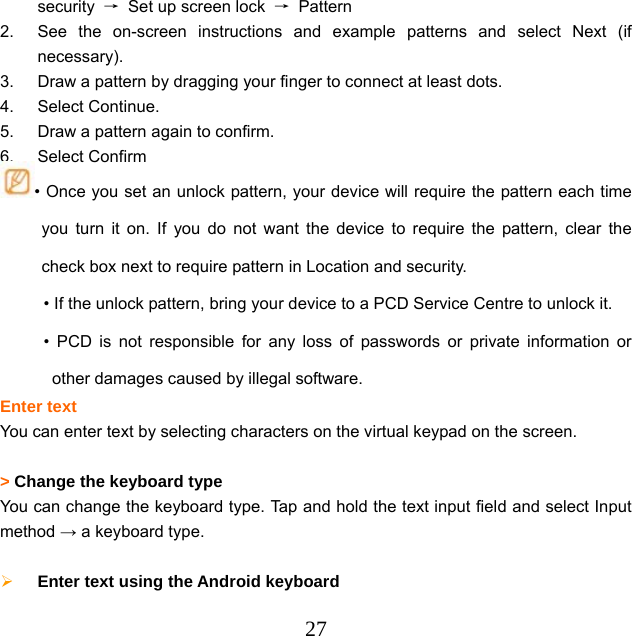
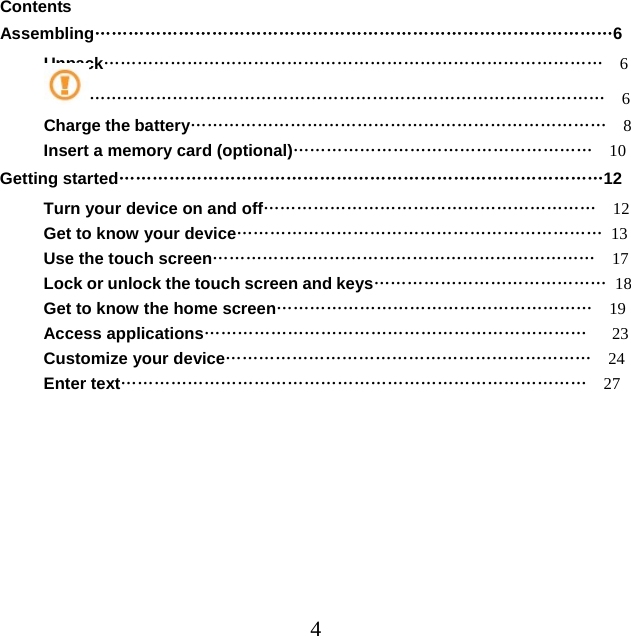
![29To hide the Android keyboard, press [Menu]. To view help information for using the Android keyboard, tap and hold. Calling Learn to make or answer a call or access logs. For more information, see the "Calling" section of the user manual. Make a call 1. Home screen, open the application list and select Phone → Keypad, and enter an area code and a phone number.](https://usermanual.wiki/TeleEpoch/WI921/User-Guide-1525314-Page-29.png)
![302. Select to make a voice call. 3. To end the call, select End call > Answer a call 1. When a call comes in, drag right until Answer appears. When the device is ringing,press the Volume key to mute the ring tone. 2. End the call, select End call. View call logs You can view logs of your calls filtered by their types. 1. Home screen, open the application list and select Phone → Call log. 2. Press [ ] → View by → an option to sort the call logs. From the call logs, you can make a call or send a message directly to a contact by quickly flicking the contact to the left or right. 3. Select a log to view its details.](https://usermanual.wiki/TeleEpoch/WI921/User-Guide-1525314-Page-30.png)

![325. Select Save to add the contact to memory. You can also create a contact from the dialing screen. 1. Home screen, open the application list and select Phone → Keypad. 2. Enter a phone number. 3. Select-Add to Contacts → Create contact. 4. Select a memory location. 5. Enter contact information. 6. Select Save to add the contact to memory. Find a contact 1. Home screen, open the application list and select Contacts. 2. Scroll up or down on the contact list. Select a contact’s name. 3. Select a contact’s name. Once you find a contact, you can: • call the contact by selecting Call or Video call • send a message by Send Message. • edit the contact information by pressing [ ] → Edit. Messaging Learn to send and view text, multimedia, or email messages. For more information, see the "Messages" section of the user manual. >Send a text message 1. Home screen, open the application list and select Messaging → New message](https://usermanual.wiki/TeleEpoch/WI921/User-Guide-1525314-Page-32.png)
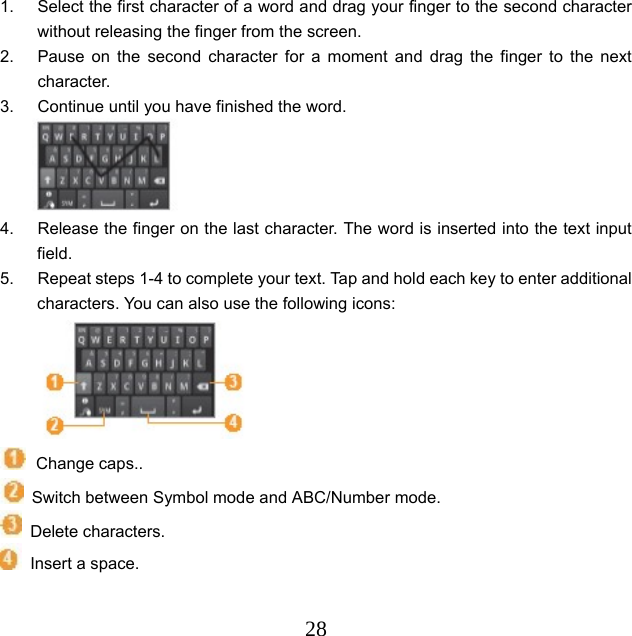
![332. Select Contacts. You can enter a number manually or select one from the recent recipients or contact groups by selecting another button. 3. Select the check boxes next to contacts and select Add 4. Select Type to compose and enter your message text. To insert emoticons, press [] → Insert smiley. 5. Select Send to send the message. > Send a multimedia message 1. Home screen, open the application list and select Messaging → New message. 2. Select Contacts. You can enter a number manually or select one from the recent recipients or contact groups by selecting another button. 3. Select the check boxes next to contacts and select Add. When you enter an email address, the device will convert the message as a multimedia message. 4. Select Type to compose and enter your message text. To insert emoticons, press [] → Insert smiley. 5. Press [ ] → Attach → an option and add an item. You can select a file from the file list or create a new photo, video, or sound. 6. Press [ ] → Add subject and add a subject for the message. 7. Select Send to send the message. > Send an email message 1. Home screen, open the application list and select Email → an email account. 2. Press [ ] → Compose.](https://usermanual.wiki/TeleEpoch/WI921/User-Guide-1525314-Page-33.png)
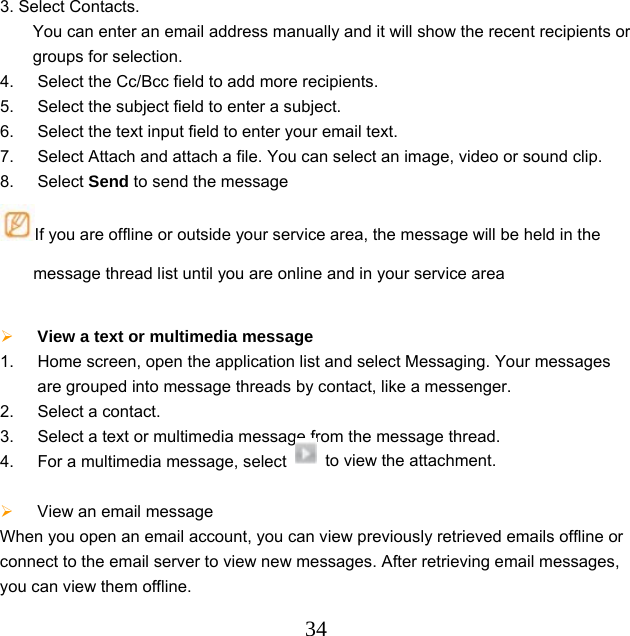
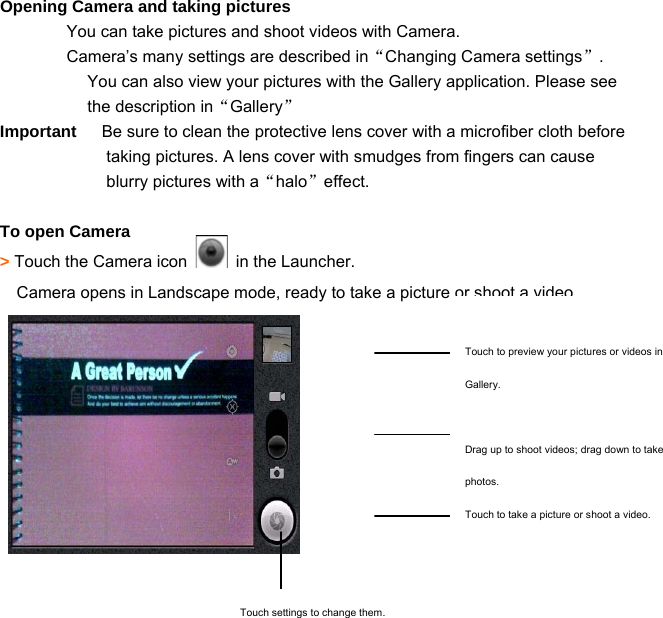
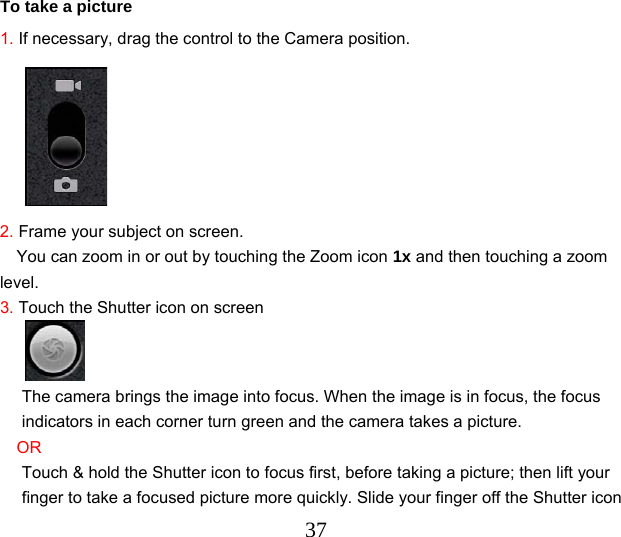
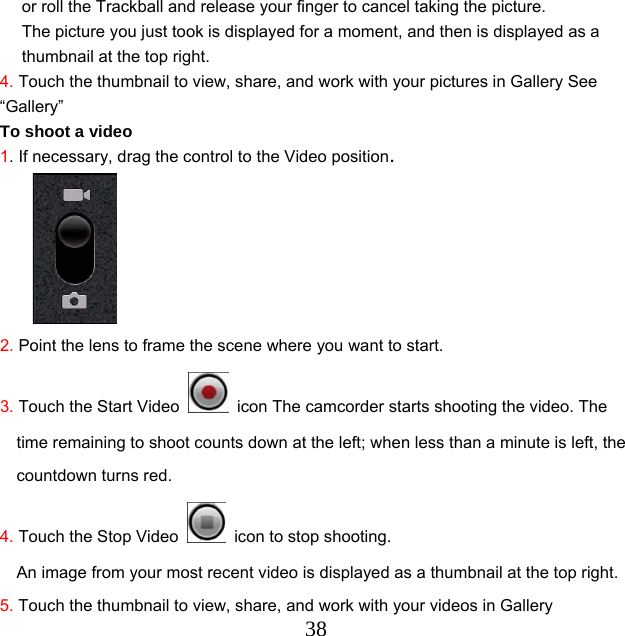
![351. Home screen, open the application list and select Email → an email account. 2. Press [ ] → Refresh to update the message list. 3. Select an email message from the message thread list. Listen to voice mail messages If you have set missed calls to be diverted to the voice mail server, callers may leave voice when you do not answer incoming calls. To access your voice mail inbox and listen to voice mail messages. 1. Home screen, open the application list and select Phone → Keypad and then tap and hold 2. Follow the instructions from the voice mail server. You must save the voice mail server number before accessing the server. Your service provider can give you the number. Camera Camera is a combination camera and camcorder that you use to shoot and share pictures and videos. Pictures and videos are stored on the phone’s memory card, so you must install one to use Camera, as described in your phone’s owners’ guide. You can copy your pictures and videos from the memory card to a PC, as described in “Connecting to a computer via USB”. You can view your pictures and videos on the phone, edit them, share them, and so on with Gallery. See “Gallery”. In this section “Opening Camera and taking pictures”](https://usermanual.wiki/TeleEpoch/WI921/User-Guide-1525314-Page-35.png)
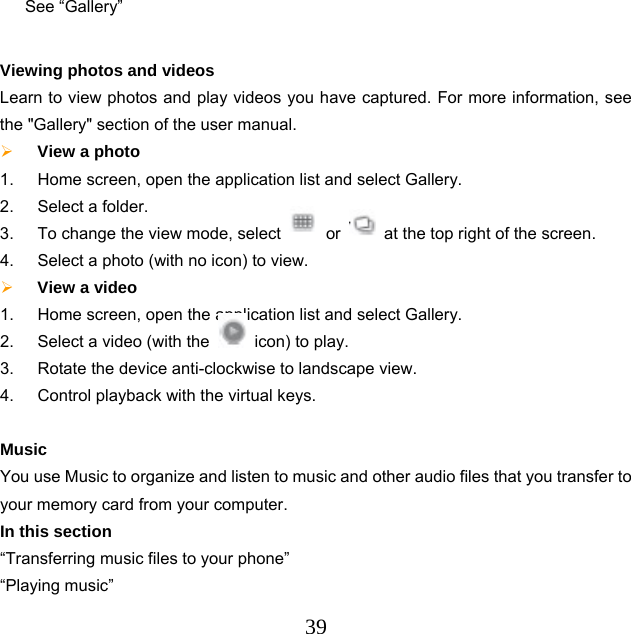
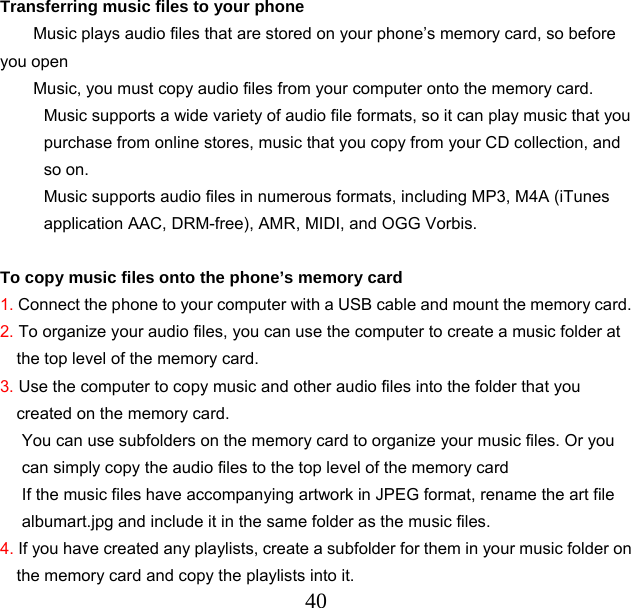
![415. Unmount the memory card from the computer and disconnect the phone. Warning! To prevent damage to the files on your memory card, follow your computer’s instructions and the instructions in “Connecting to a computer via USB”. Playing music You can listen to music by using the phone’s built-in speaker, through a wired headset, or through a wireless Bluetooth stereo headset that supports the A2DP profile. See “Connecting to Bluetooth devices” and refer to your phone’s owner’s guide for more information about the headset that comes with your phone. To play music > Touch a song in your library to listen to it. OR > While viewing a list of tracks in an album, press [ ] and touch Play all. The Playback screen opens and the song you touched or the first song in the album or other playlist starts to play. The tracks in the current playlist play in order until you reach the end of the playlist (unless you choose a repeat option). Otherwise, playback stops only if you stop it, even when you switch applications or receive a phone call.](https://usermanual.wiki/TeleEpoch/WI921/User-Guide-1525314-Page-41.png)
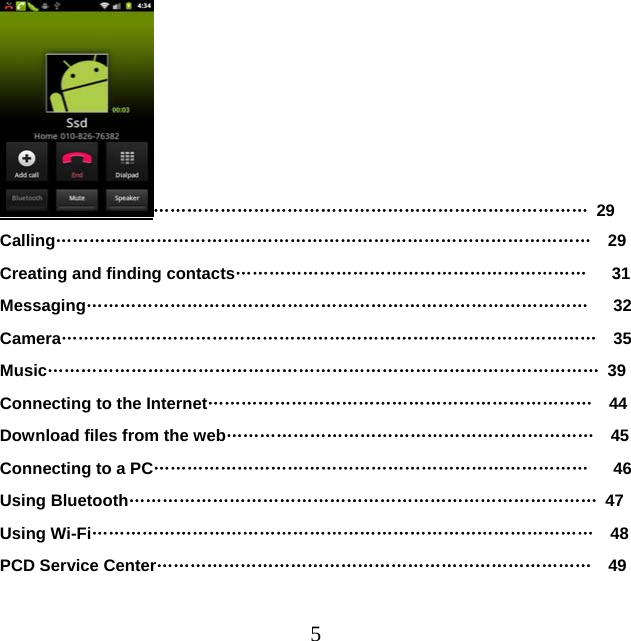
![42 You can return to the Playback screen from most other screens in the Music application by pressing [ ] and touching Playback. You can return to the Playback screen from any other application by opening the Notifications panel and touching the ongoing music notification. See “Managing Touch to open the current playlist Touch to shuffle the current playlist. Touch to repeat the current playlist; touch again to repeat the current track. Touch & hold to search for information. kip tracks, or pause and resume playback. Drag the slider to go directly to a section of a track](https://usermanual.wiki/TeleEpoch/WI921/User-Guide-1525314-Page-42.png)
![43notifications”. To control playback The Playback screen contains several icons that you can touch to control the playback of songs, albums, and playlists: Touch to pause playback. Touch to resume playback. Touch to skip to the next track in the album, playlist, or shuffle. Touch to skip to the previous track in the album, playlist, or shuffle. Touch to open the current playlist. Touch to play the current playlist in shuffle mode (tracks are played in random order). Touch to toggle repeat mode: Don’t repeat, Repeat the playlist, or Repeat the current track. To use a song as a ringtone You can use a song as your phone ringtone, in place of one of the ringtones that come with the phone. > Touch & hold a song in a library list. In the [ ] that opens, touch Use as phone ringtone. OR](https://usermanual.wiki/TeleEpoch/WI921/User-Guide-1525314-Page-43.png)
![44> On the Playback screen, press [ ] and touch Use as ringtone. For details about using the Settings application to view and set the phone’s ringtone, see “Sound settings” Connecting to the Internet Learn to access the Internet and browse web pages. For more information, see the "Internet" section of the user manual. To create your own connection profile for accessing the web, see the user manual. Browse web pages 1. Home screen, open the application list and select Internet to launch a specified homepage. 2. Navigate web pages with the following keys: Number Function Enter an web address of the web page to access.](https://usermanual.wiki/TeleEpoch/WI921/User-Guide-1525314-Page-44.png)
![45 Open a list of saved bookmarks, frequently visited pages and recent internet history. Bookmark your favourite web pages If you know the web address of the web page, you can manually add a bookmark. To add a bookmark, 1. Home screen, open the application list and select Internet. 2. Select → Bookmarks. 3. Select Add. To bookmark the web page you were viewing, press [ ] → Bookmark last-viewed page. 4. Enter a page title and a web address (URL). 5. Select OK. Download files from the web When you download files or web applications from the web, your device saves them in a memory card. Files you download from the web can include viruses that will damage your device. To lessen your risk, only download files from sources you trust. Some media files include Digital Rights Management to protect copyrights. This protection may prevent you from downloading, copying, modifying, or transferring some files. To download files from the web, 1. Home screen, open the application list and select Browser. 2. Search for a file or application and download it.](https://usermanual.wiki/TeleEpoch/WI921/User-Guide-1525314-Page-45.png)