TeleEpoch ZMAM120 GSM MOBILE PHONE - USB PORTION User Manual ME3usermanual
TeleEpoch Limited GSM MOBILE PHONE - USB PORTION ME3usermanual
UserManual.wiki
>
TeleEpoch
>
ZMAM120 User Manual
USERS MANUAL
Navigation menu
Upload a User Manual
Namespaces
Wiki Guide
HTML
PDF
Info
Views
User Manual
Discussion / Help
Navigation

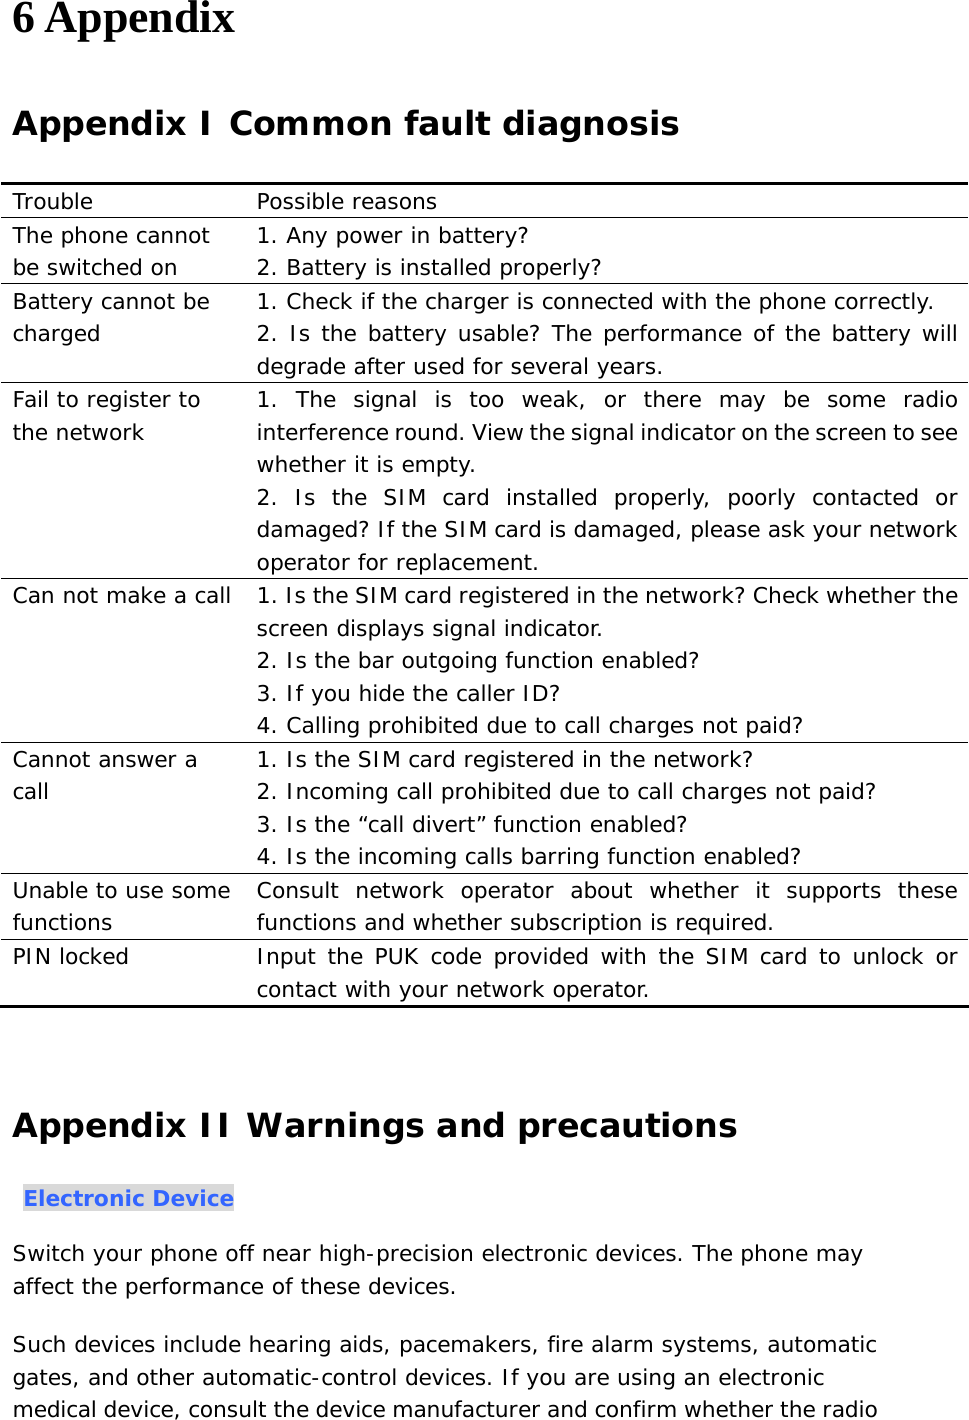
![• Best grades: You can see the highest score of the game. • Game help: View the specific operations of the game. • Setting You can set the background music on/off, sound effect on/off, game vibration on/off. Messages SMS SMS function is a network service. You require to subscribe to your network operator. Your phone have a function of sending/receiving text messages. A text message is sent to the message center of the network, then to the target user by the network. If the target user does not switch on his phone, the network will store the Text message temporarily. The deadline depends on the user’s setting and the service operator. If the text message box is full, it will have an icon glittery on the top of the screen. You need to delete some messages in the inbox. If the party receives a text message, you will get a message received report if the text message report is set on. Note: The phone may give a prompt if the text message has already been sent. It means the text message has been sent to the information center. But it does not mean the receiver has received the text message. In order to get more information about this, please consult the network provider. Write message You can create a text message in this menu. Every text message has a capacity of 612 characters.[EMS4.0] • Send: Send text message. • Save and send: Send text message and save it to outbox. • Send to many: Send text message to others (up to 10 numbers).](https://usermanual.wiki/TeleEpoch/ZMAM120/User-Guide-1144179-Page-18.png)


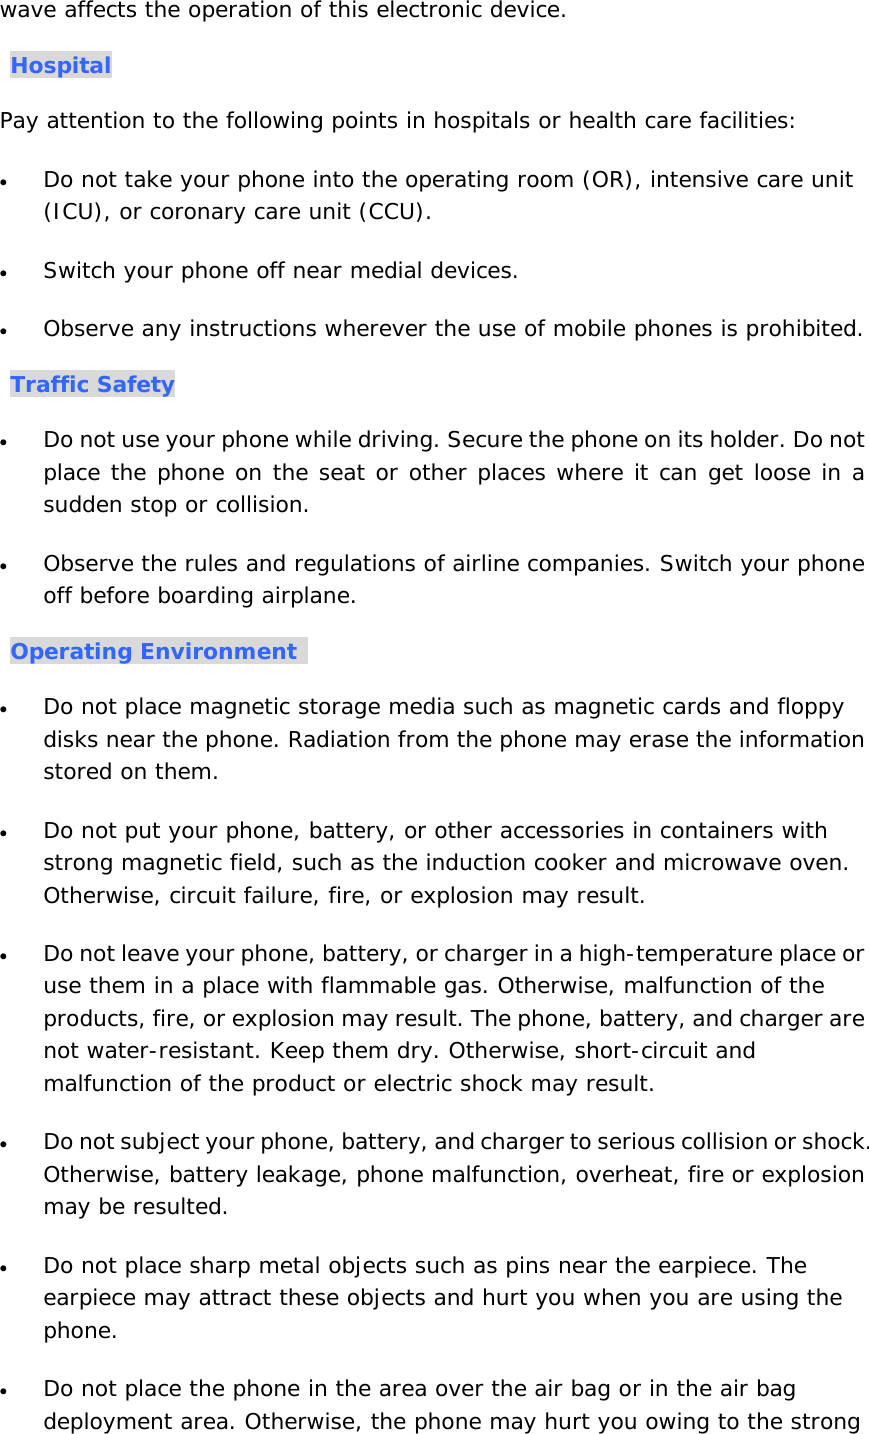
![¾ Clear up bookshelf: Clear all the bookshelves you have set. ¾ Global settings: Clear up E-book. ¾ Book info: View the information of E-book. ¾ Delete: Delete the E-book ¾ Delete all files: Delete all E-book files. ¾ Sort: Sort E-book by name, type, time, size or none. ¾ Apply global settings: Execute the global settings. ¾ Help: Explain how to browse the E-book. In the reading interface, you can enter the shortcuts function by pressing corresponding numbers. In the E-book previewing window, chose “Option”, you can: ¾ Find: Find the appointed word. It’s different between inputting capital and lowercase when you select “Case sensitive” or “Case insensitive”. ¾ Jump to: Jump to the appointed page. ¾ Go to bookmark: Go to the page you have set. ¾ Add bookmark: Add the current page as a new bookmark. ¾ Remove bookmark: Remove the selected bookmark. ¾ Book info: View the information of E-book. ¾ Settings: Set the parameter of E-book, including font style, font size, scroll mode, auto scroll on/off, scroll speed, full screen on/off and encoding mode. The default is ASC [western windows]. If the Ⅱlanguage of the text is English, please choose this option. ¾ Apply global settings: If you enter the option “settings” of E-book to set the parameters, you need to perform this function to make the settings effectively. ¾ Help: Explain how to use the shortcut key of E-book. ¾ Close: Exit-book. Blue tooth ¾ Power: you can activate or deactivate bluetooth.](https://usermanual.wiki/TeleEpoch/ZMAM120/User-Guide-1144179-Page-38.png)