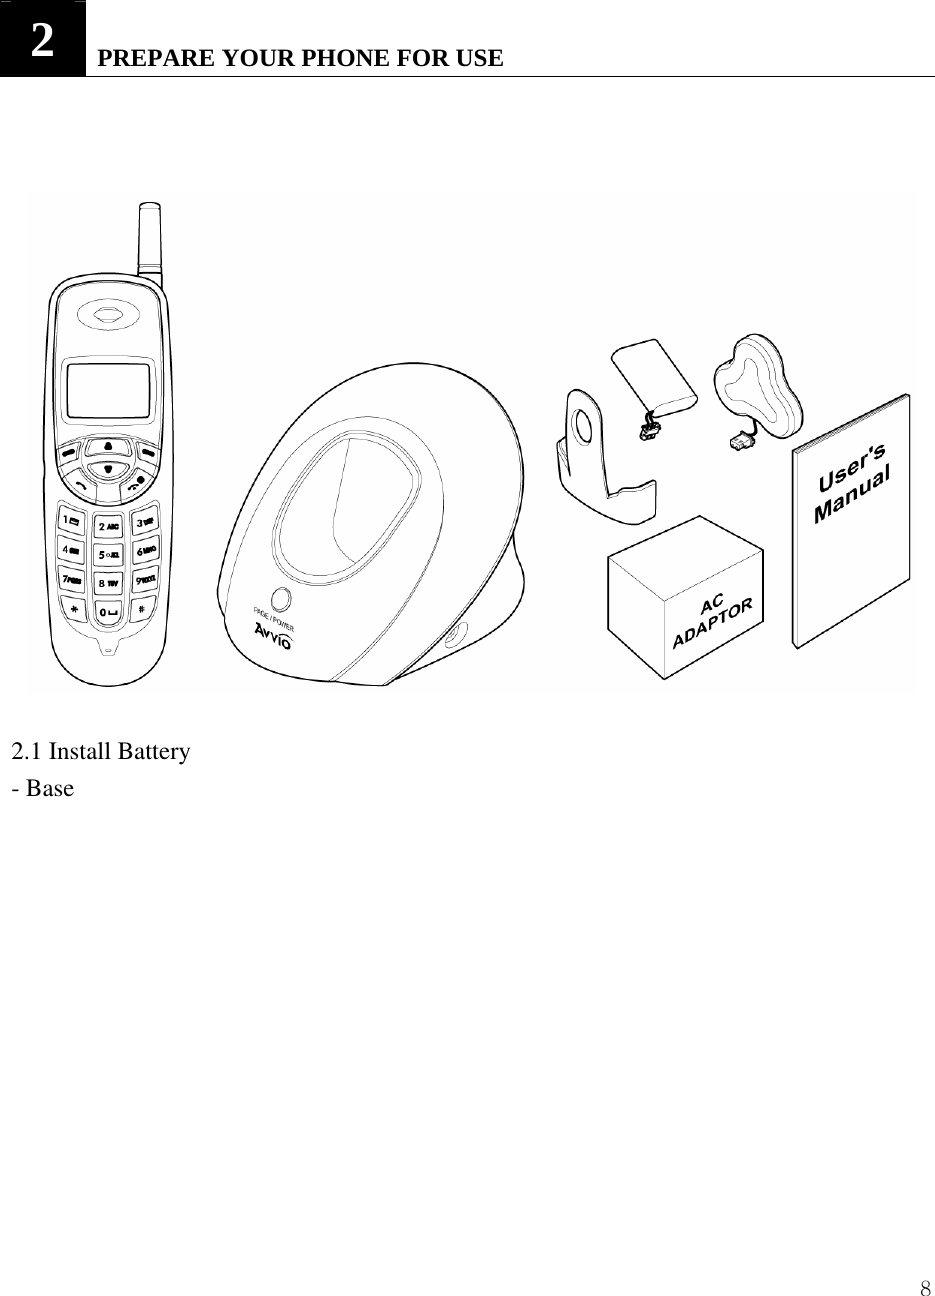
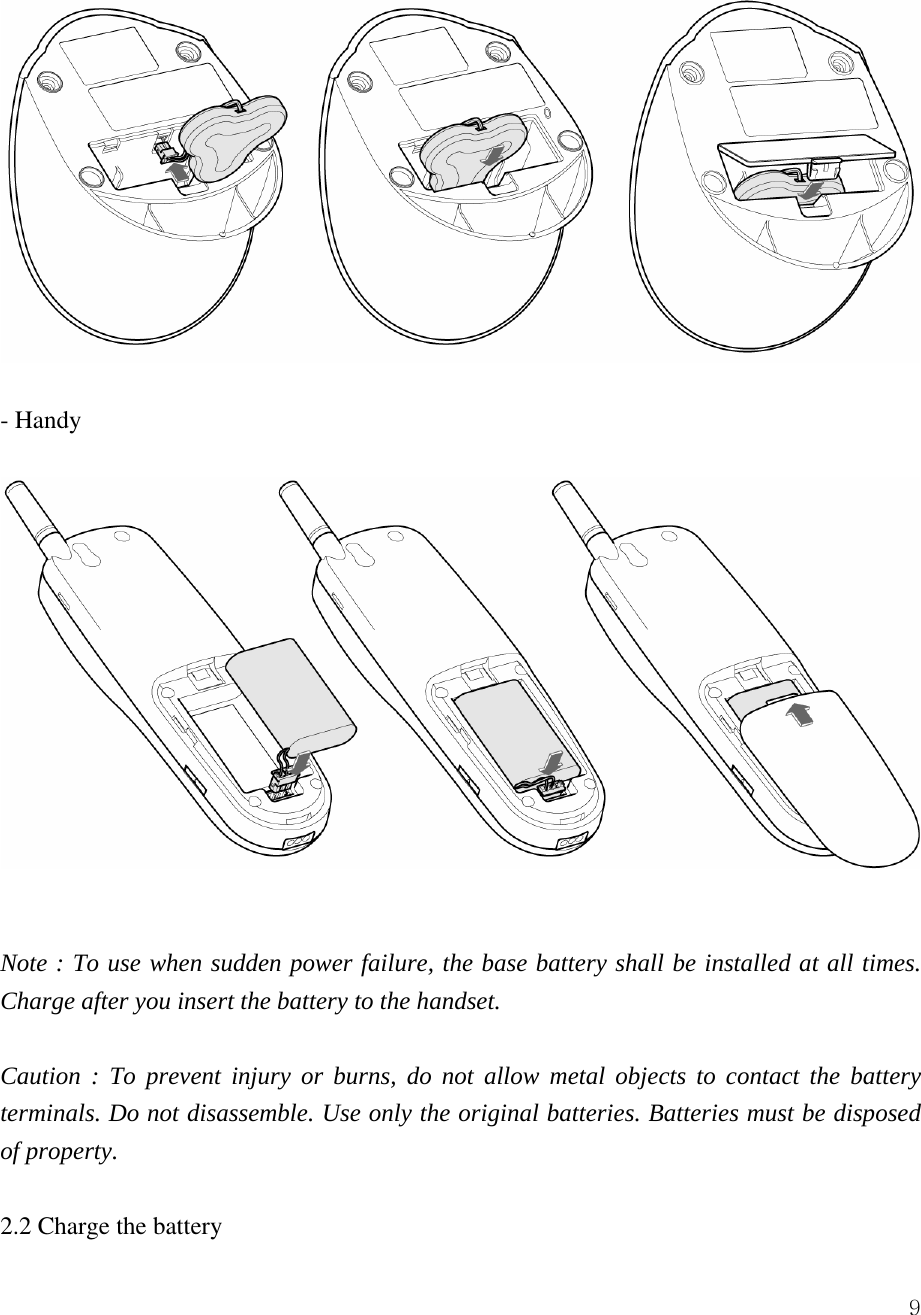
Telian FCS8900 Single-Band Cellular Phone (CDMA) User Manual FCS8900
Telian Corporation Single-Band Cellular Phone (CDMA) FCS8900
UserManual.wiki
>
Telian
>
FCS8900 User Manual
Users Manual
Navigation menu
Upload a User Manual
Namespaces
Wiki Guide
HTML
PDF
Info
Views
User Manual
Discussion / Help
Navigation
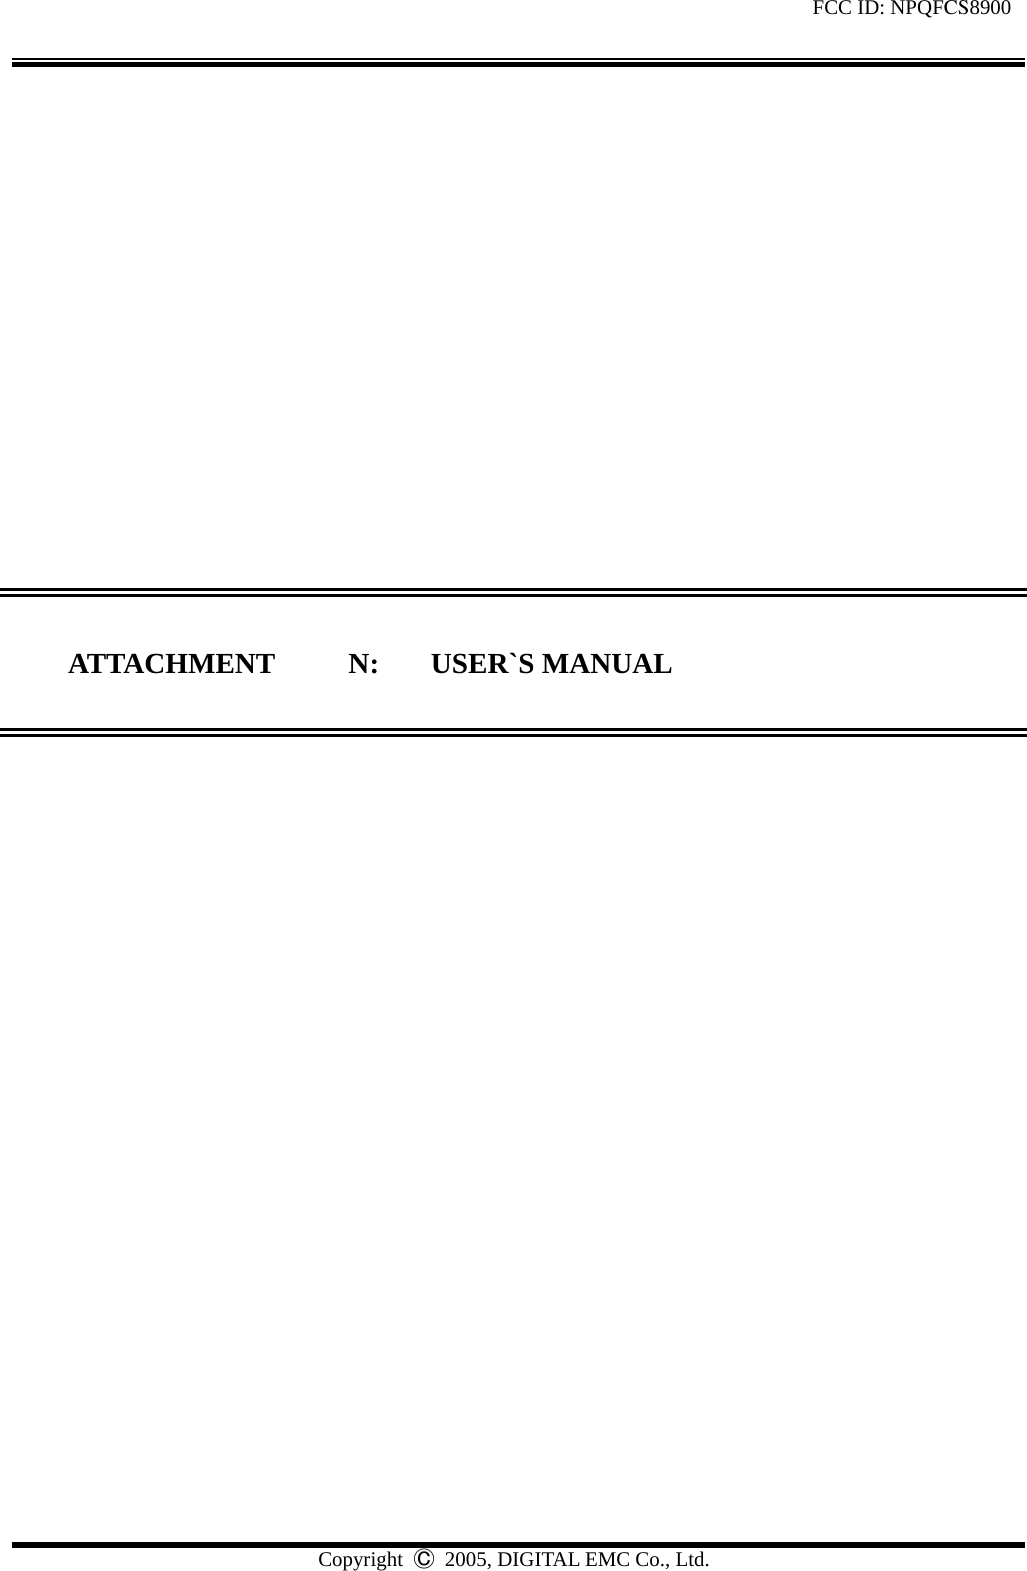


![25 Key Characters Key Characters 1 . @ - ' , / : ? ( P Q R S 7 A B C 2 T U V 8 D E F 3 W X Y Z 9 G H I 4 Enter an empty space J K L 5 Changes "Abc", "ABC", "abc" M N O 6 Changes "Abc", "123", Special character as below ! @ # % & * < > - ; \ ? . , { } $ [ ] ^_+ = : " ' ( ) / ~ Press a key once or several times to enter the letter(s) you want. For example, press three times to enter the letter C. 7.1.1 Edit name To edit a name in the phone book: z Use to scroll the cursor to the left. z Use to scroll the cursor to the right. z Press Clear to correct any mistakes. 7.1.2 Change case of letters and numbers You can switch the mode among uppercase and lowercase letters and numbers by pressing .](https://usermanual.wiki/Telian/FCS8900/User-Guide-586937-Page-27.png)

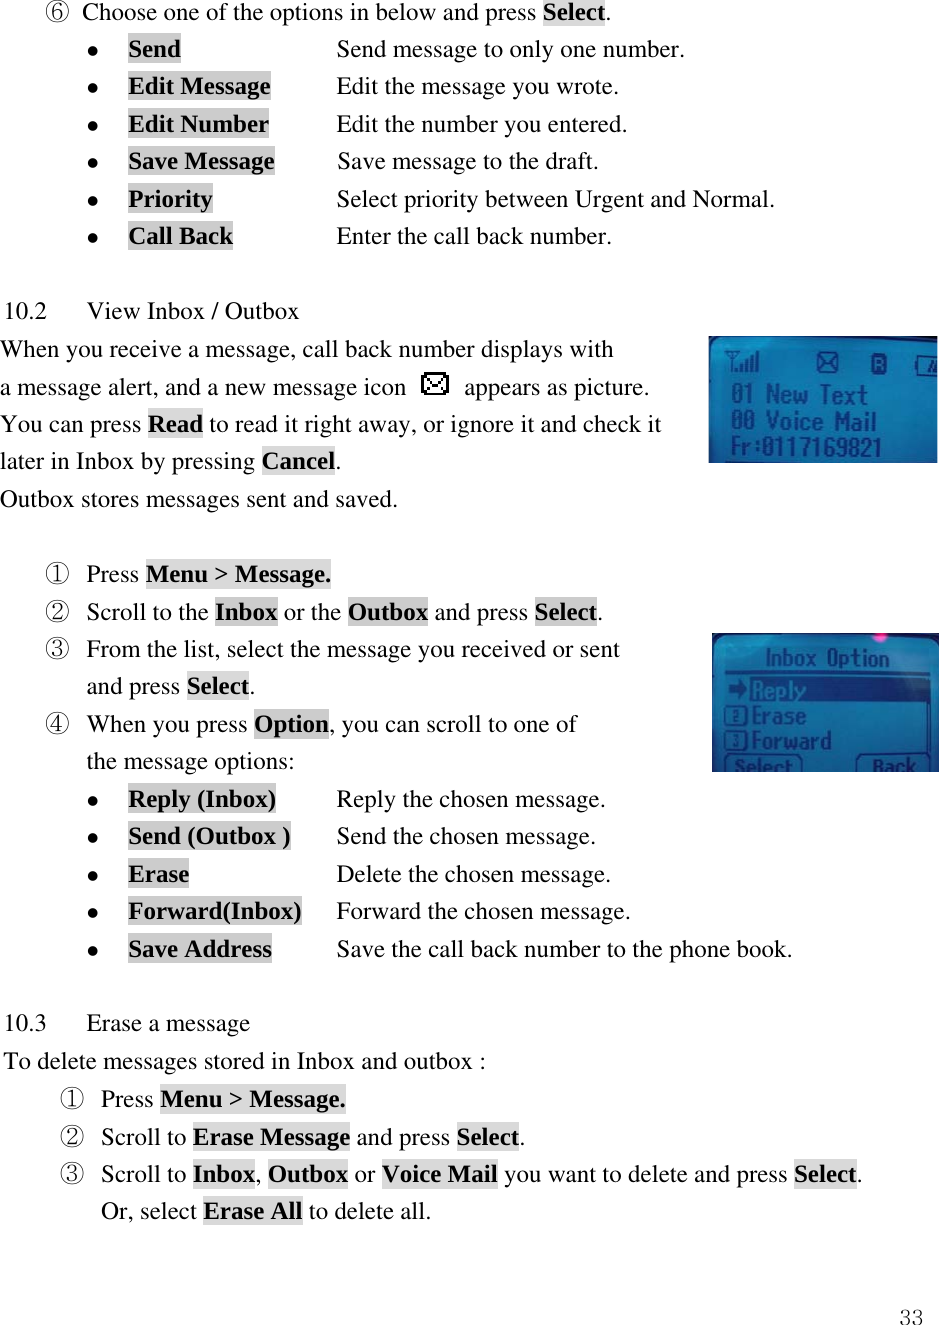
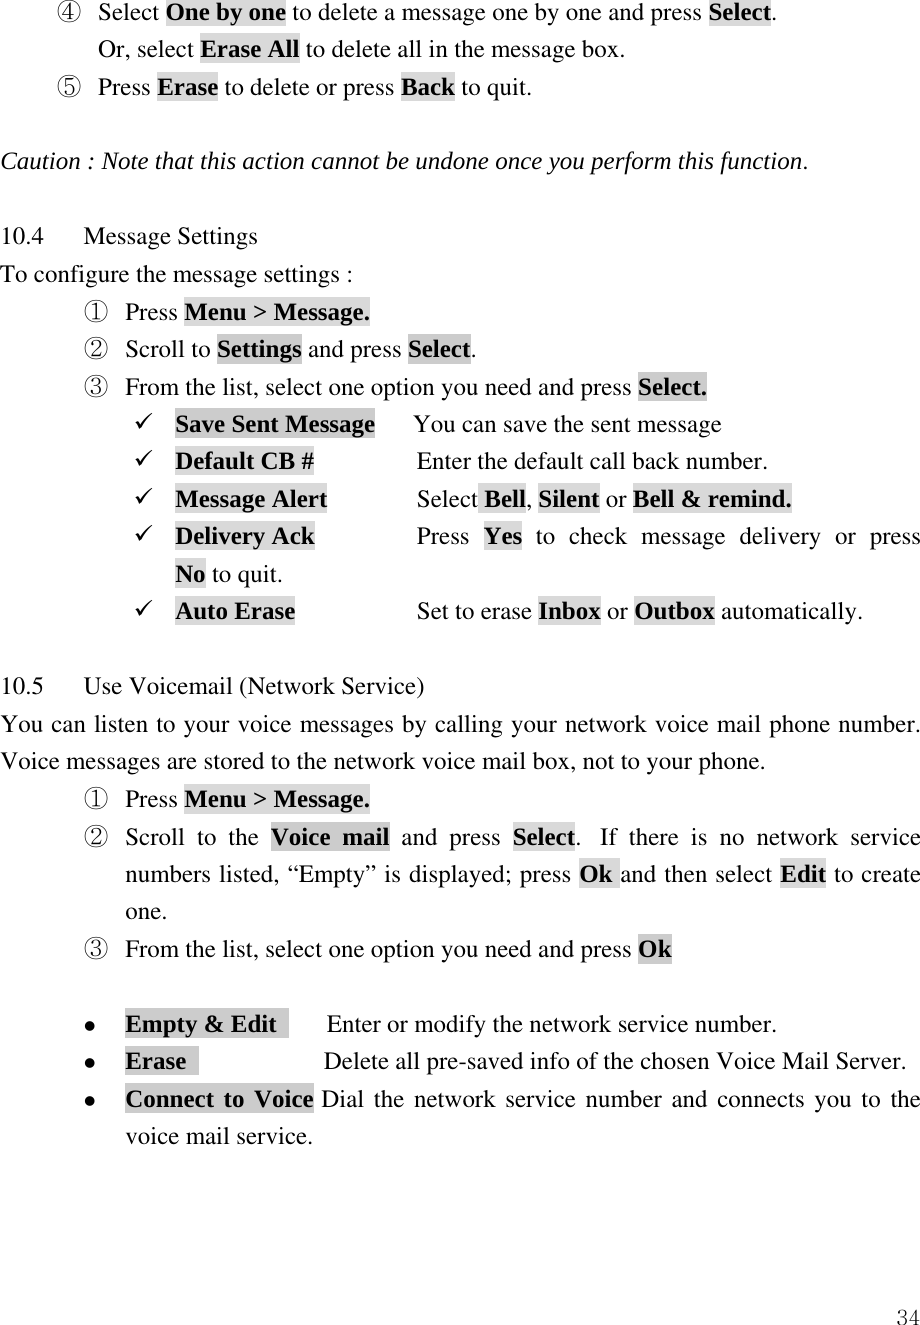
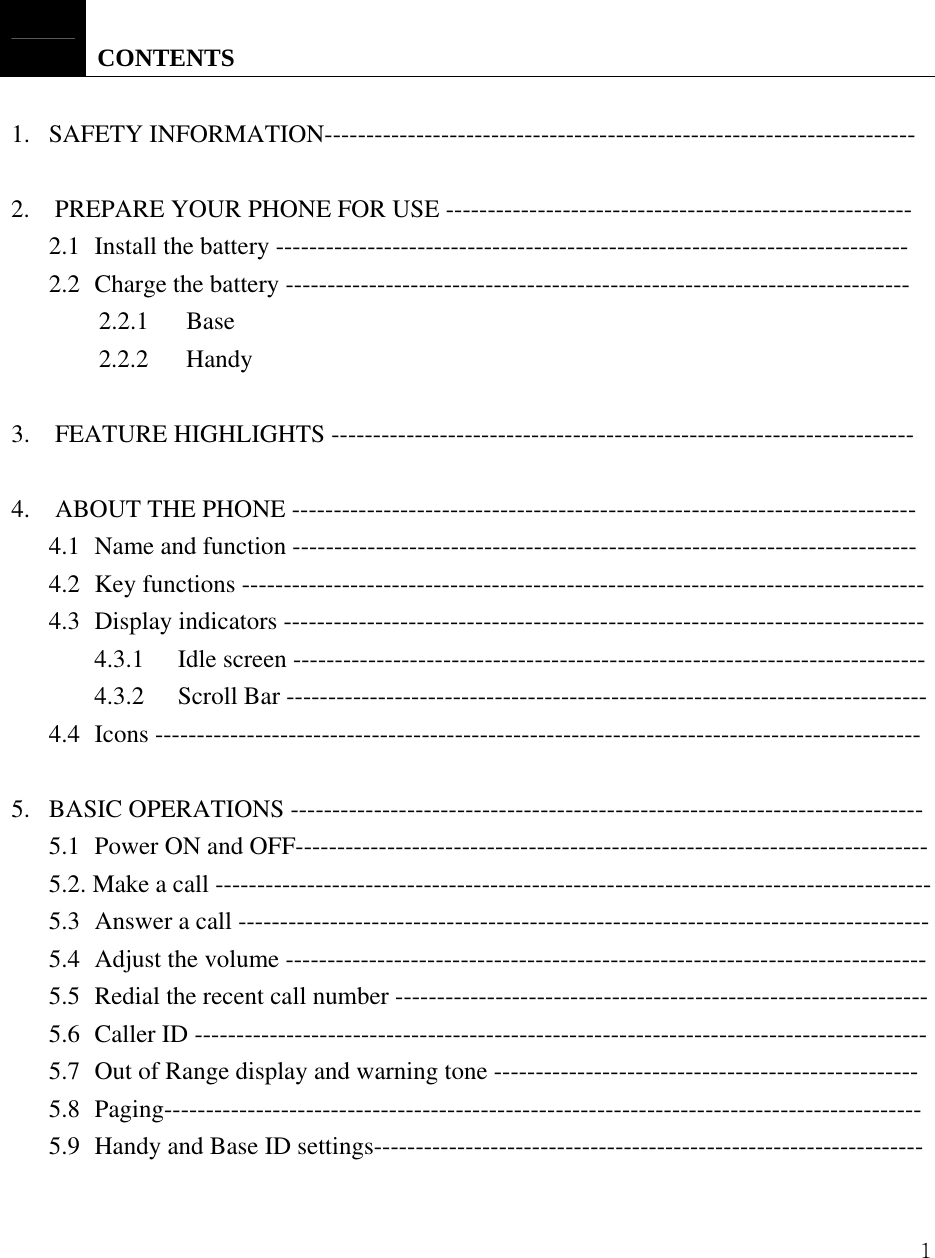
![31You can check the call time in below: z Last Calls Check the call duration of the last call. z All Calls Check the total call times and call duration of all outgoing calls. z Received Calls Check the total times and call duration of all received calls. z Dialled Calls Check the total times and call duration of all dialed calls. ① Press Menu > Call Logs. ② Scroll to Last Calls, All Calls, Received Calls or Dialled Calls and press Select. 10 USE SMS (SHORT MESSEAGE SERVICE) Your phone can send or receive text message. It supports 20 messages with 160 characters per each and you can use Template (already installed in your phone) to shorten the editing time. After completion of a message, you can choose to send it out right away, or to save it as a draft. z Write Messages z Inbox [00/00]](https://usermanual.wiki/Telian/FCS8900/User-Guide-586937-Page-33.png)
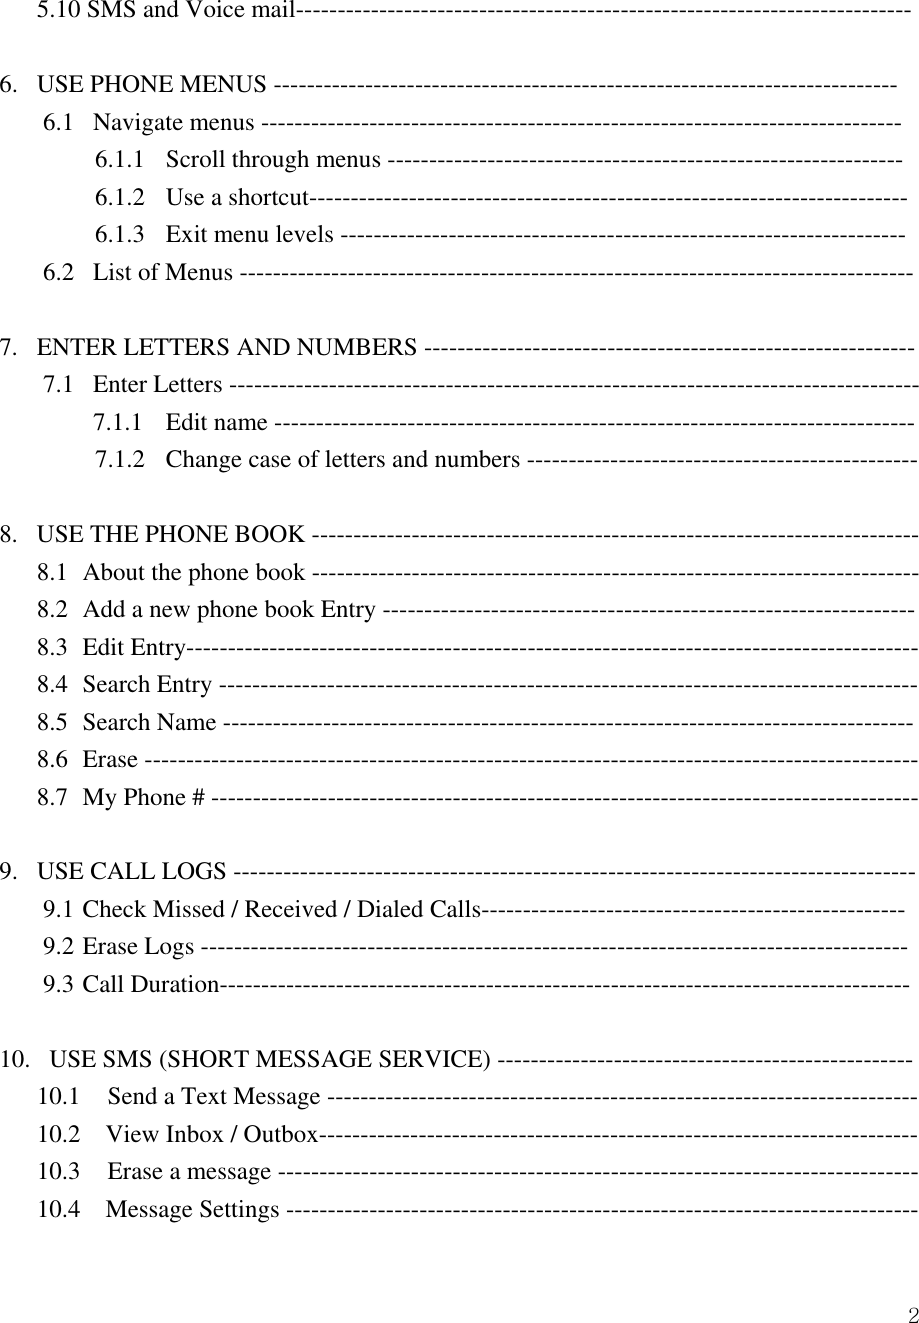
![32z Outbox [00] z Erase Message z Settings z Voice Mail [00] 10.1 Send a Text Message You can send a text message to one or more recipients. You can manually enter each recipient’s phone number, or you can select the number from the phone book. Note: The maximum length of a text message differs depending on the capabilities of the network from which it originated. Also, text messages may be delayed according to network service condition because messages can be originated in networks. Contact your service provider for more information. ① Press Menu > Message. ② Scroll to Write Message and press Select. ③ You can enter text, numbers and special characters to create a message. A maximum 160 characters is supported to send a message. Or, press Temp to use template stored in the phone and select one of the message templates in below. - Where are you? - Hello, How are you? - Tell me, urgently. - I will call you later. - Contact me when available. - I will be late. - Received message. Will reply later. - What are you doing? - When can I see you? - What time is the meeting? ④ Press Next to complete the message. ⑤ Press Search to find the number stored in the phone book. Or, manually enter the number and press Next.](https://usermanual.wiki/Telian/FCS8900/User-Guide-586937-Page-34.png)