Telian K1000 GSM850/PCS1900 Dual Band GPRS Terminal Equip. w/BT User Manual
Telian Corporation GSM850/PCS1900 Dual Band GPRS Terminal Equip. w/BT
UserManual.wiki
>
Telian
>
K1000 User Manual
User Manual
Navigation menu
Upload a User Manual
Namespaces
Wiki Guide
HTML
PDF
Info
Views
User Manual
Discussion / Help
Navigation


![3. Phone Layout and Key Description Function Keys Description Left Soft Key [Basic Function] Performs the functions as indicated on the left-bottom line of the display screen. Usually works as a 'selection' key [Idle Mode] Enter main menu [MPEG4 Mode] Enter option menu Right Soft Key [Basic Function] Performs the functions as indicated on the right-bottom line of the display screen. Usually works as a ‘back’ key [Idle Mode] Enter Phonebook menu list [MPEG4 Mode] Back key Function Keys (continued) Makes or answers a call. In idle mode, launches the Call Logs menu. Ends a call. Press and hold to switch off the phone. In the menu, returns to idle mode or cancels an input.](https://usermanual.wiki/Telian/K1000/User-Guide-894288-Page-10.png)
![Navigation Keys [Idle Mode] Initiates the WAP browser (press and hold the OK button) Initiates the Audio Player (short press) [Text Input Mode] Switch between text input methods [Basic Function] Moves the cursor up between selections [Idle Mode] Initiates the Audio Player. [Camera Mode] Zooms in, magnifying the image (Digital Zoom Function) [Audio Player Mode] Play & Pause MP3 files [Basic Function] Moves the cursor down between selections [Idle Mode] Enter the Alarm menu. [Camera Mode] Zooms out, reducing the size of the image (Digital Zoom Function) [Audio Player Mode] Stop playing MP3 file [Basic Function] Move the cursor left between selections [Idle Mode] Enter the User Profiles menu. Set up alert tones. [Camera Mode] Adjust the Exposure Level [Audio Player Mode] Go to previous MP3 file [Video Player Mode] Rewind the video file [Basic Function] Move the cursor right between selections [Idle Mode] Enter the Tone Setup menu](https://usermanual.wiki/Telian/K1000/User-Guide-894288-Page-11.png)
![[Camera Mode] Adjust the Exposure Level [Audio Player Mode] Go to next MP3 file [Video Player Mode] Fast forward the video file Alphanumeric Keys [Press] Enter number and string [Press and Hold] : Press and Hold '+' (international call) : On and Off silent mode (long press) [Video Play Mode] Wide screen view Side Keys [Basic Function] Move up between selections [Idle Mode] Increase the ring tone volume [Audio/Video Player Mode] Increase the volume [Basic Function] Move down between selections [Idle Mode] Decrease the ring tone volume [Audio/Video Player Mode] Decrease the volume [Short Press] Enter Camera mode [Press and Hold] Enter Video Recorder mode 4. LCD Icon Description Fixed Icon Area Network Status Area User Setting Screen Area](https://usermanual.wiki/Telian/K1000/User-Guide-894288-Page-12.png)


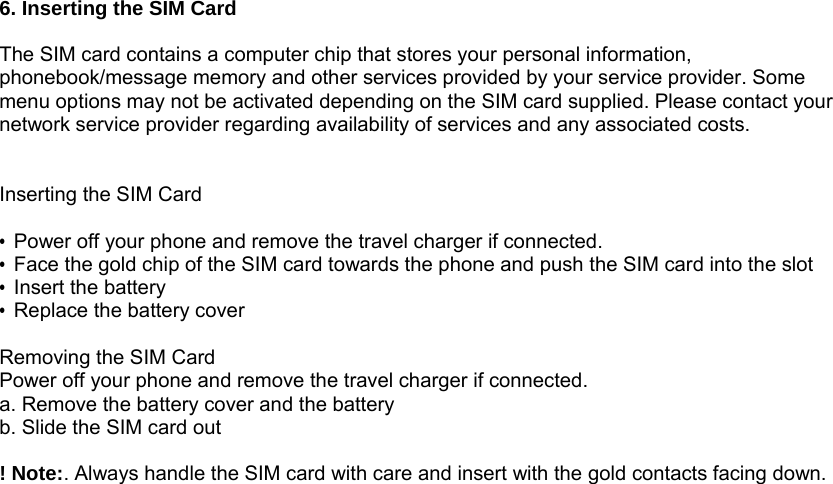
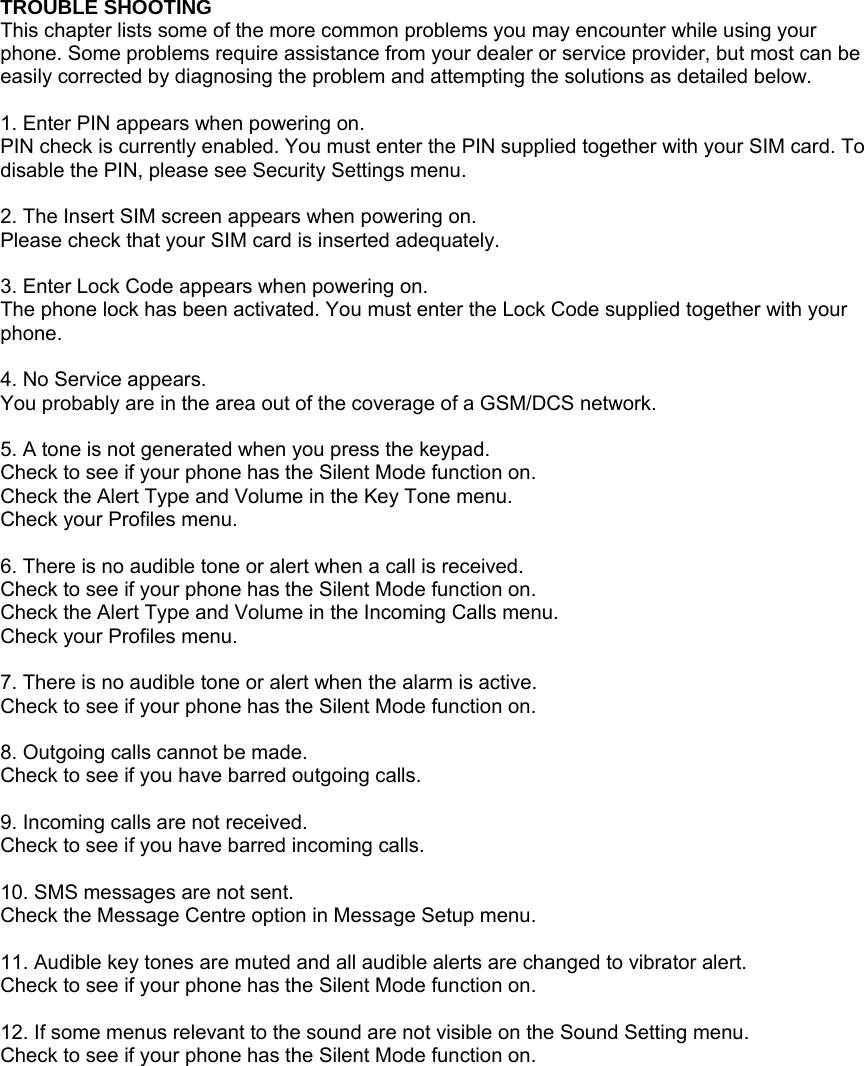
![7. Power On/Off Prior to switching on your phone, ensure the battery is in place. 1. To switch ON the phone, press and hold the [END] key for at least 2 seconds. 2. To switch OFF your phone, press and hold the [END] key again for at least 2 seconds. ! Note: Some SIM cards may be PIN protected. If prompted, enter your PIN and press [Ok}. For more details, please see Security Setup in the Settings menu. Inserting the SD Card (Optional)](https://usermanual.wiki/Telian/K1000/User-Guide-894288-Page-18.png)
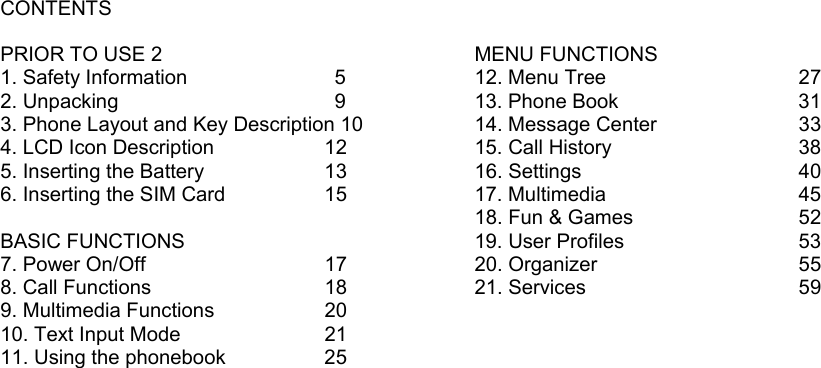
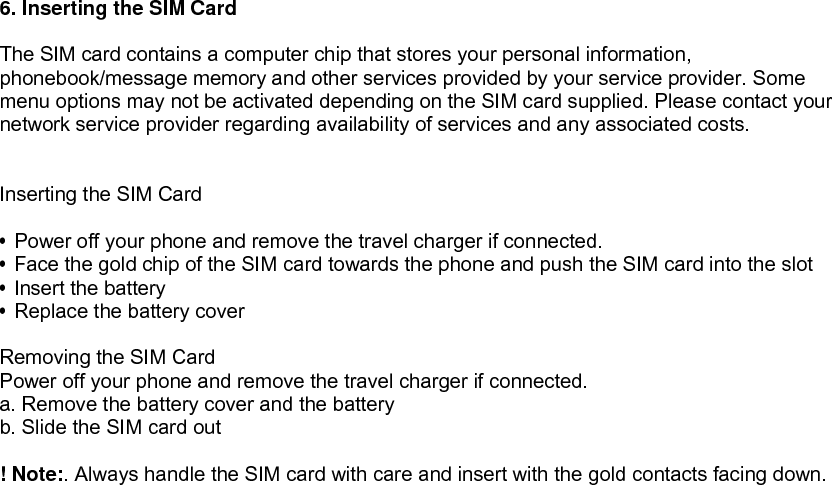
![8. Call Function Making a Call 1. Enter the area code and phone number while in standby mode 2. Press the Send key. A connect tone can be activated setting the Connect tone to ON in the Extra Tone menu Making International Calls 1. Press and hold the number 0 key until the + symbol displays on screen. 2. Enter the country code, area code, and phone number after the symbol. 3. Press the Send key to make the call. Edit a Phone Number Key Description [Press] Delete a digit on the left side of cursor [Press and Hold] Delete the whole digit Move cursor to the digit you want to edit Using the Phonebook Store names and numbers in your contacts list and later retrieve to make a call. Information can be stored in both the SIM card and phone. View the Contact List: 1. Press the right soft key in Idle mode to enter Contacts. 2. The contacts list is displayed. 3. Select a phone number using the navigation keys up or down and press the Send key to make a call. Press the left soft key to view the Option menu. Search Contacts: You can search for a phone number from the Contacts list by inputting the first letter or name of the person. 1. Press the right soft key in Idle mode to enter Contacts. 2. The text field at the bottom of the screen displays a blinking cursor. 3. Enter a character or part of the name. All the names that contain the entered characters are displayed. 5. Press the Send key to make a call or press the left soft key to view the Option menu. Making a Call from a Message 1. Press the left soft in Idle mode to enter Message Center. 2. Select Messages from the menu of options. 3. Select Inbox from the menu of options 4. Highlight the message you’d like to call using the navigation keys and press OK 5. Press the Send key to make the call. Redialing the last Number The phone stores the last 30 numbers dialed. To recall any of these numbers: 1. Press the Send key to display the list of recently dialed numbers.](https://usermanual.wiki/Telian/K1000/User-Guide-894288-Page-19.png)
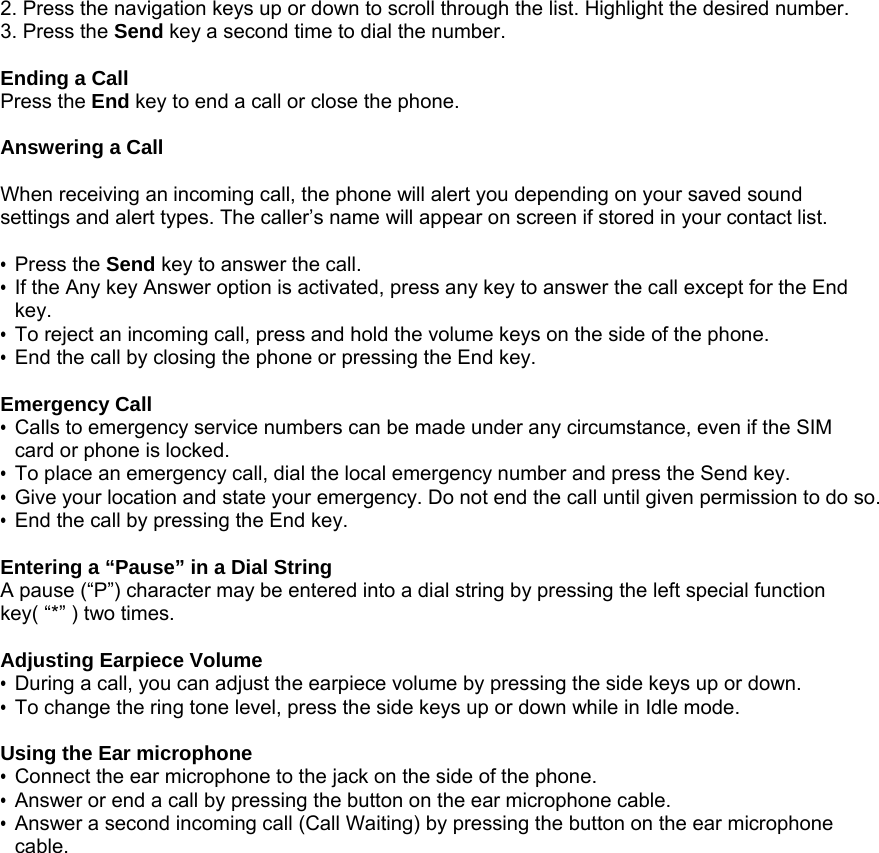
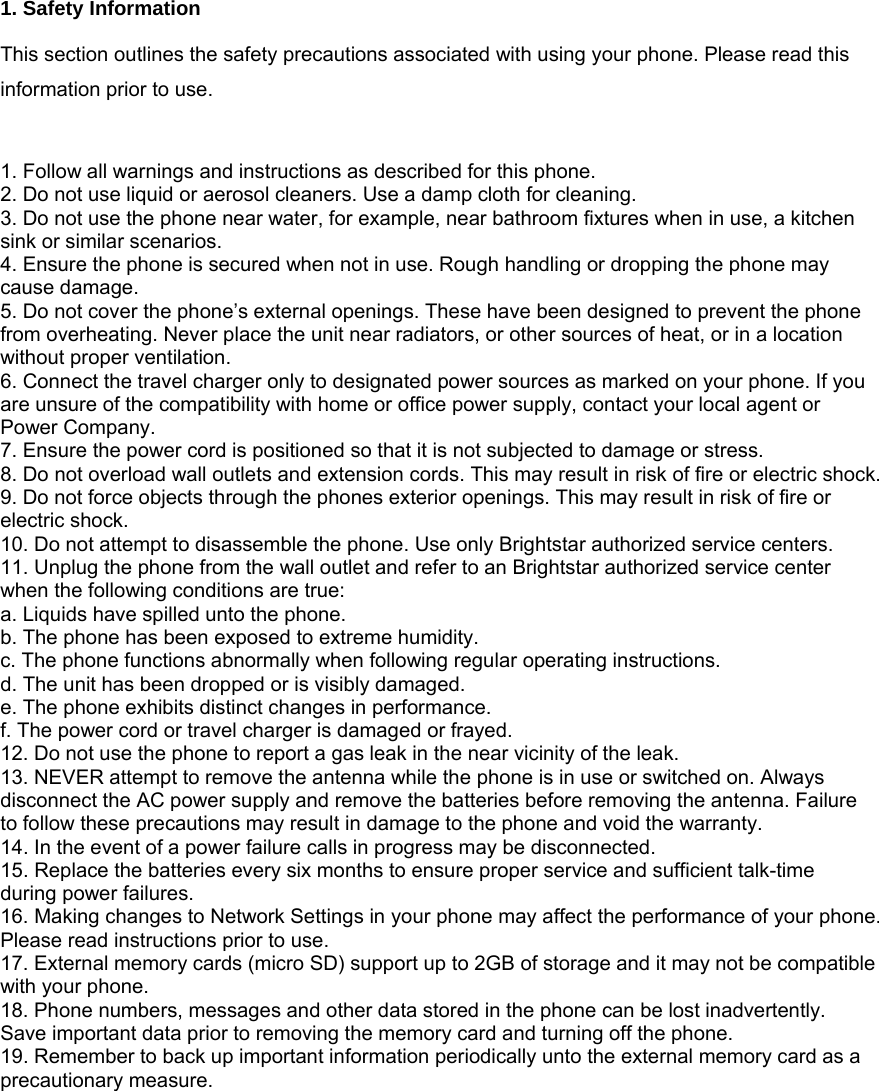
![10. Text Input Mode This function enables the user to write and edit text for various phones functions. • Write and edit a SMS/MMS message • Enter a Name in the Contact List • Use the Search mode • Add a name to photos stored in the phone • Input web address and store favorite sites Text Input Methods Multitap ABC Multitap abc Multitap 123 Multitap ES Multitap es T9 ABC T9 abc T9 ES T9 es Key Description [Left Soft Key Options] Go to option menu screen [Right Soft Key] Go back to the previous screen [Press] Move the cursor to the left one character at a time [Press and Hold] Scroll left through the characters. [Press] Move the cursor to the right one character at a time [Press and Hold] Scroll right through the characters. [Press] Move the cursor one line up [Press and Hold] Scroll the cursor upward](https://usermanual.wiki/Telian/K1000/User-Guide-894288-Page-22.png)
![[Press] Move the cursor one line down [Press and Hold] Scroll the cursor downward Go back to the idle screen Insert a blank space or the number “0” Insert symbols ( . , - ? ! ' @ : # $ / _ 1 ) Select characters from the alphanumeric keys from 2 to 9. Select symbols Switch between input methods. ~](https://usermanual.wiki/Telian/K1000/User-Guide-894288-Page-23.png)

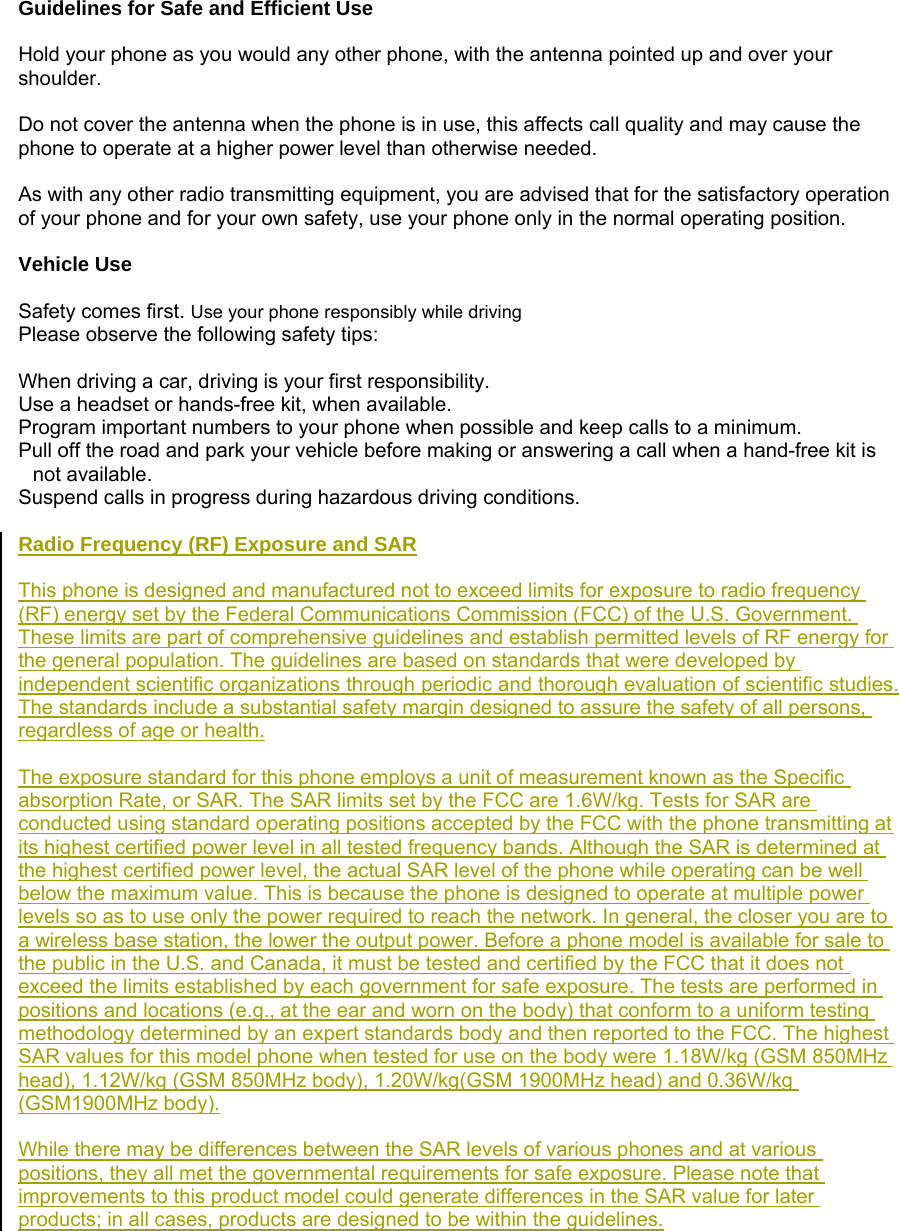
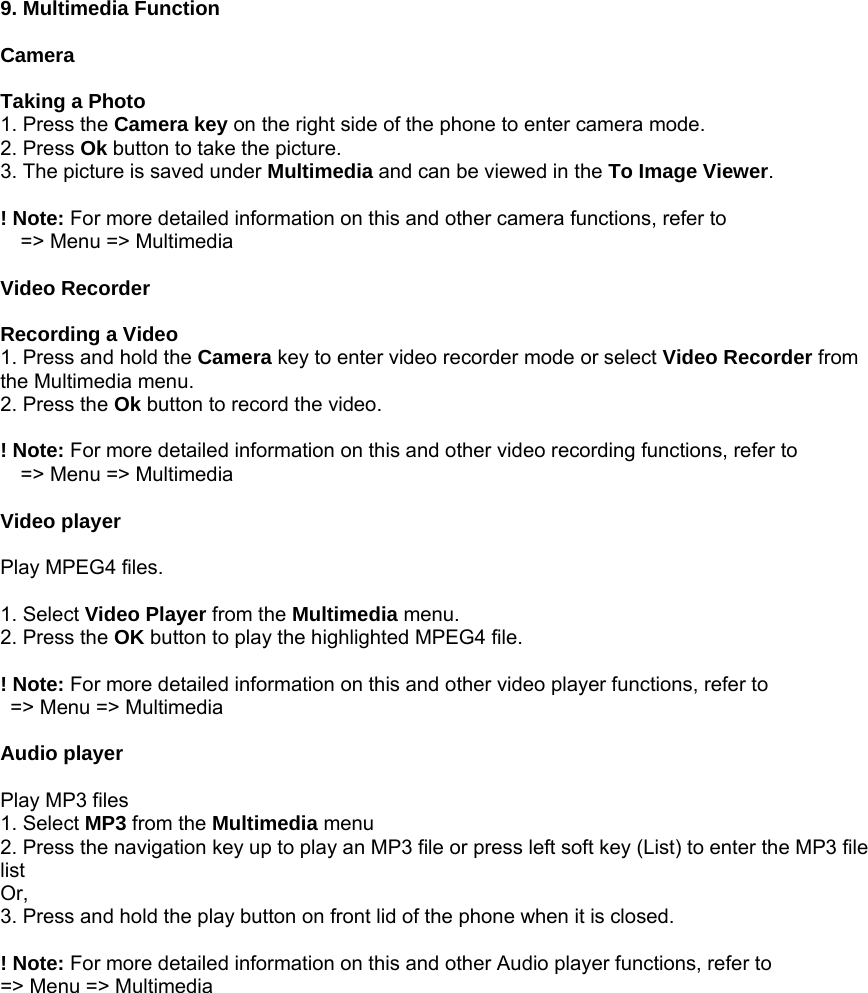
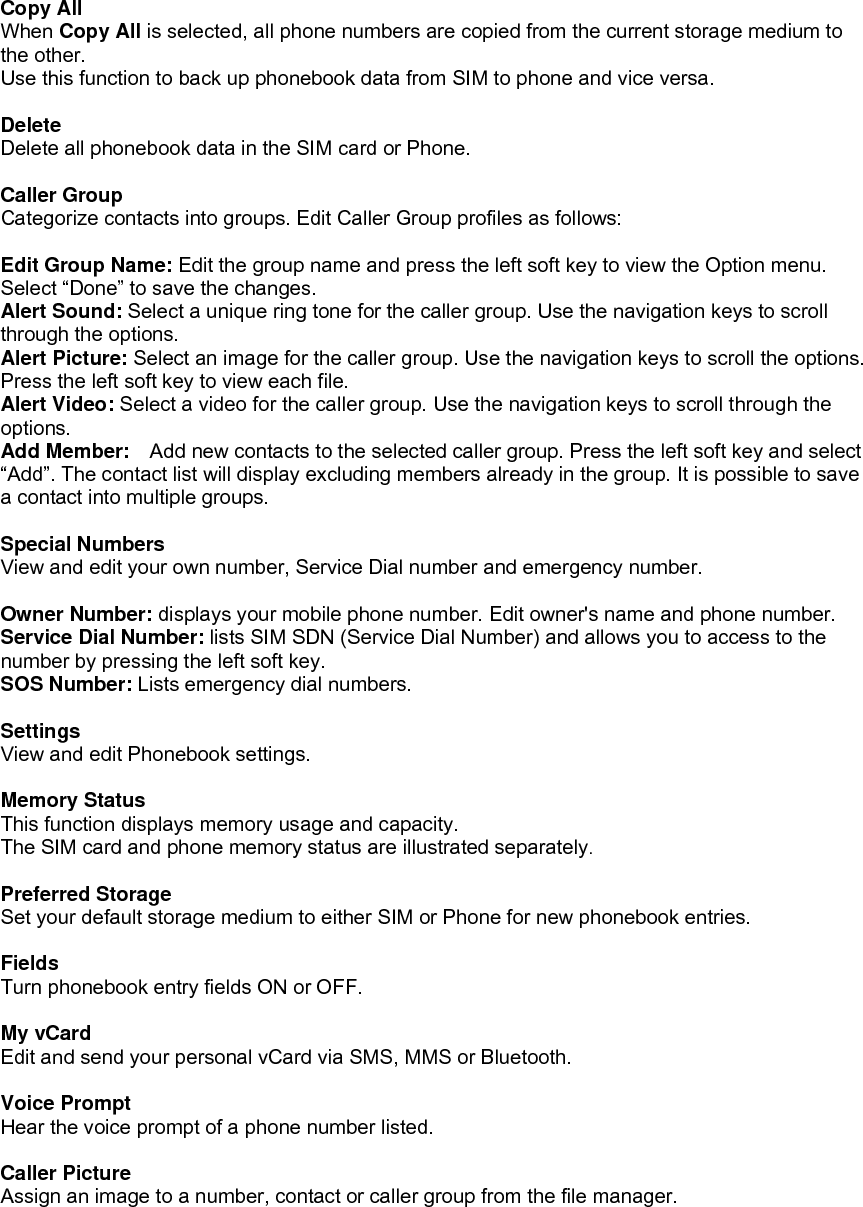
![13. Phone Book The Phonebook menu allows you to search and save new contacts, send messages direct from the phonebook, make changes and send contact information to others. To access the phonebook, select Phonebook from the Main menu. Quick Search Select Quick Search to view the complete Contact list. Use the navigation keys to scroll through the contact list. The text field at the bottom of the screen also allows you to search for a phone number from the Contact list by inputting the first letter or name of the person. The names containing the entered characters are displayed. Highlight the name and press the left soft key for menu options. Send SMS: Send an SMS to a contact. Send MMS: Send an MMS to a contact. View: View selected contact’s information. Edit: Edit contact information. Delete: Delete the contact. Copy: Copy the selected number and store from SIM to phone or vice versa. Move: Move the selected number from SIM to phone or vice versa. Duplicate: Duplicate the selected number to the same storage device, SIM or phone. Send vCard: Send the selected number to others via SMS, MMS or Bluetooth. Search Entry • Select Search Entry to find a number by name or character. • Enter the first few letters or numbers of the contact and press the left soft key, Options, to search for matching contacts. • Select a contact by using the navigation keys to highlight the number. • Press the Send key to make a call. Highlight the contact name or number and press the left soft key for menu options. Send SMS: Send an SMS to a contact. Send MMS: Send an MMS to a contact. View: View selected contact’s information. Edit: Edit contact information. Delete: Delete the contact. Copy: Copy the selected number and store from SIM to phone or vice versa. Move: Move the selected number from SIM to phone or vice versa. Duplicate: Duplicate the selected number to the same storage device, SIM or phone. Send vCard: Send the selected number to others via SMS, MMS or Bluetooth. Add New Entry Please see [Storing a Number using the Phonebook Menu].](https://usermanual.wiki/Telian/K1000/User-Guide-894288-Page-30.png)
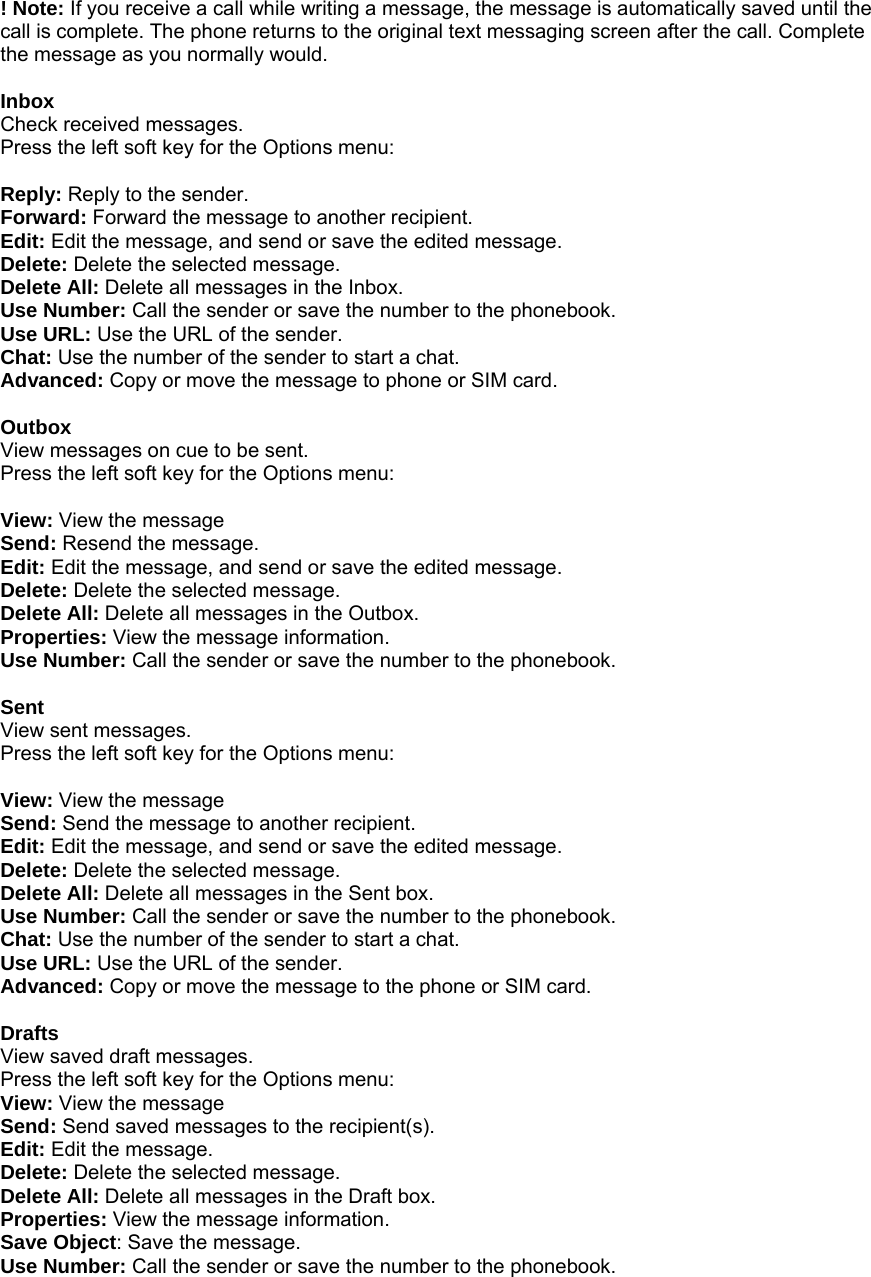
![14. Message Center Use messaging to send, receive, and edit text and picture messages. The K1000 supports various messaging types including Short Messaging Service (SMS), Multimedia Message (MMS), Chat and Broadcast messages. Please note, availability is dependent on your service provider. Contact your service provider for more details. Messages Write a Message [Text Message] Text messages are sent via SMS (Short Message Service) and are dependent on your network service provider. You can send text messages to a fax, pager, E-mail account and to another mobile phone subscriber. Contact your network service provider for service availability and messaging settings. The text message icon appears on screen when you have received a new message. Note: SMS service may not be available on all networks or may not function properly outside your network. Text messaging enables the user to write and send new messages. 1. Select Text Message from the Write a Message Menu. 2. Enter the text message and press the left soft key to enter the Options menu. 3. The Options menu allows you to select or insert a Template, Object, text formatting, phonebook number and change the input method. 4. Press the left soft key when the message is complete and select Done. 5. Choose from the following message options: Send Only Save and Send Save Send to Many Send to Group 6. Input the number directly or press the left soft key to Search the phonebook. ! Note: If you receive a call while writing a message, the message is automatically saved until the call is complete. The phone returns to the original text messaging screen after the call. Complete the message as you normally would. [Multimedia Message] Multimedia messaging (MMS), also called Picture Messaging, is a service that enables you to send messages inclusive of images, animations and sound in addition to text. Send messages to mobile phones and e-mail recipients. Multimedia messaging availability is dependent on your service provider. The recipient of a MMS message must also subscribe to the service. Write a message and insert images, sound and other attachments from the file manager. 1. Select Multimedia Message from the Write a Message Menu. 2. Enter the recipient and subject information. You can also include other CC and BCC recipients, up to 20 each. 3. Press the left soft key to Edit and input your message. Add video, audio or picture files. 4. Press the left soft key when the message is complete and select Done. 5. Choose from the following message options: Send Only Save and Send Save to Drafts Send Options Exit](https://usermanual.wiki/Telian/K1000/User-Guide-894288-Page-33.png)
![Delete Message Delete messages from the Inbox, Outbox, Sent messages, Drafts or all Messages. Template [Text Message] Use stored message templates to send quick text messages or as part of a new message. Store up to 10 frequently used messages, up to 40 characters within each template. 1. Select Template from the Messages Menu 2. Select Text Message 3. Choose a message template from the list 4. Press the left soft key, OK, to accept and view options: Edit: Edit the template. Erase: Delete the template. Write Message: Write a message with the selected template ¾ Input message recipient ¾ Input the From, CC and BCC fields ¾ Input the subject heading ¾ Edit the content – allows you edit images and sound, add new attachments and slides and preview the completed message. Message Settings [Text Message] Set the default values for several messaging options including: Profile Settings, Common Settings, Memory Status, Preferred Storage and Preferred Bearer. Profile Settings • Set messaging profile settings. Consult your network service provider for availability and network settings. • Profile Name: Edit the profile name. • SC Address: Obtain the SC address from your service provider • Validity Period: Set the storage period for unsent messages. Choose from maximums of 1 hour, 12 hours, 1 day or 1 week • Message Type: choose from Fax, Page, E-mail or Text Common Settings Set various messaging options including: delivery reports, validity reports and proxy server. Delivery Report Requests a status report to verify whether a message has been delivered. On: Reports whether or not the sent message was delivered. Off: Does not request a report. Reply Path This option allows the recipient of your message to send a reply via your message center. Press On to activate. Press Off to deactivate. Memory Status This function displays memory usage and capacity. The SIM card and phone memory status are illustrated separately. Preferred Storage](https://usermanual.wiki/Telian/K1000/User-Guide-894288-Page-35.png)
![Set the preferred storage location for SMS messages: to SIM or Phone. Preferred Bearer Set your preferred Bearer for SMS. Bearer options include: GPRS, GSM, or GSM only. [Multimedia Message] Set the default values for several multimedia messaging options. Set MMS related parameters for sending and retrieving the MMS messages. Compose Set parameters when composing MMS messages. Creation Mode: Select the creation mode. Image Resizing: Select the image size Auto Signature: Activate auto signature. Send Set parameters when sending MMS messages. Validity Period: Set the period the message center attempts to deliver unsent messages. When the validity period expires, the message center stops further attempts. Deliver Report: Requests a status report to verify whether a message has been delivered. On: Reports whether or not the sent message was delivered. Off: Does not request a report. Read Report: Requests a status report to verify whether a message has been read. On: Reports whether or not the sent message was read. Off: Does not request a report. Priority: Set MMS message priority. Sliding Timing: Input the MMS message timing for each file. Enter number(s) in seconds. Delivery Time: Select the delivery timeframe for MMS messages. Retrieve Set default parameters when retrieving MMS messages. Home Network Roaming Read Report Delivery Report Filter Select MMS filters for received messages. Anonymous Advertisement Server Profile Select and edit server profiles. Rename profile: edit the profile name. Homepage: Enter URL Data Account: Select data account from the list. Connection Type: WAP: Edit the IP Address HTTP: Edit the Proxy Address and Proxy Port Username: Enter your ID Password: Enter your password Memory Status](https://usermanual.wiki/Telian/K1000/User-Guide-894288-Page-36.png)