Tenvis Technology Co IPROBOT3 IP CAMERA User Manual Iprobot3W
Tenvis Technology Co Ltd IP CAMERA Iprobot3W
Users Manual
USER MANUAL
Manual Book for H264.P2P
1. Download the search tool and install SETUP.EXE from CD
2. After installation, then restart your computer. After restarts you will find an
Icon for "Iproboot3 Search.exe" on your desktop. Double click to open the
application.
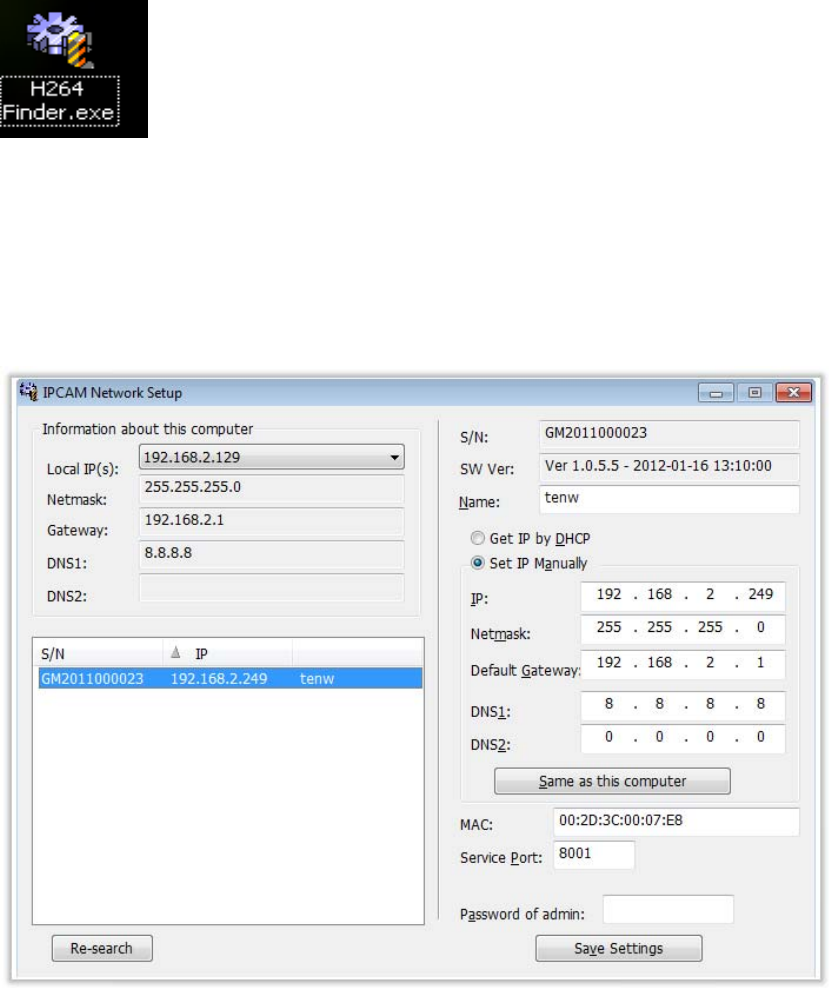
3. Click the "H264 Finder" software. Option Two:
a. Please make sure the subnet matches between your computer and the
IP Camera .
b. If subnet does not match, please click "Set IP manually" to modify or
"Get IP by DHCP"
Automatically
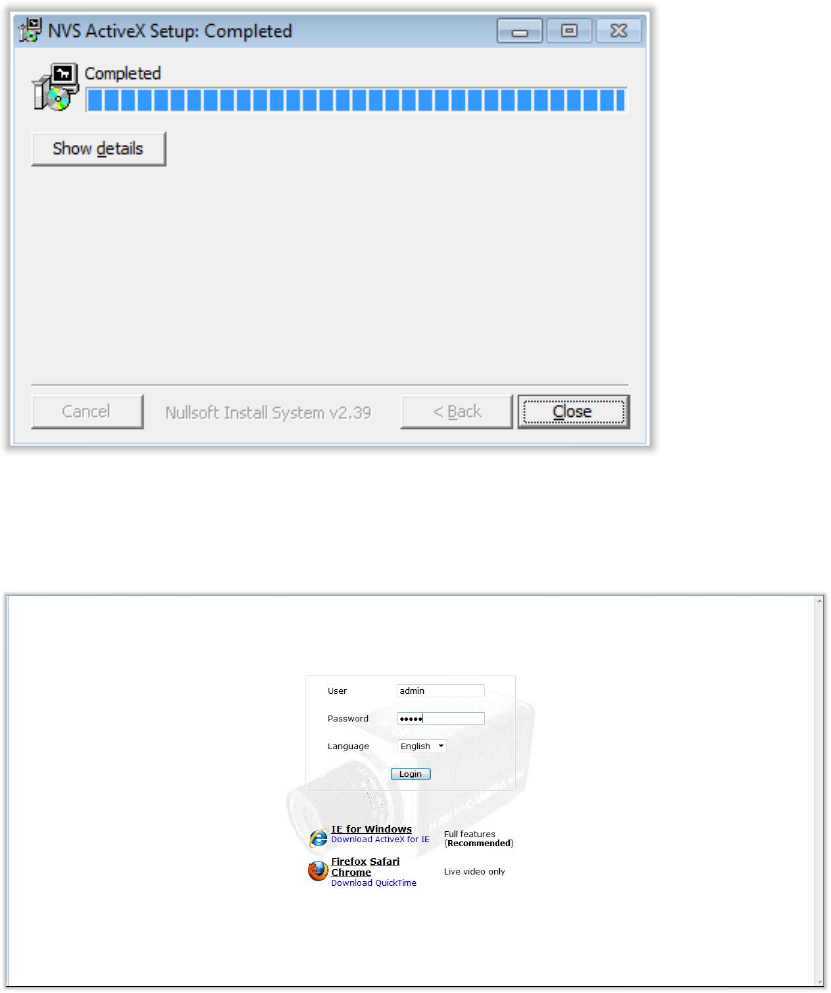
4. Please install Active X the first time you use this application; it is safe.
Please click "Active X for IE" and install it.

5. Please enter the default user: " admin" and password: "admin" to log in to
the software.
6. You will see a very clear video image. Above the video image you will see
the "Live Video", "Setup", "Playback", "View picture", "Reboot" and "Exit"
buttons.
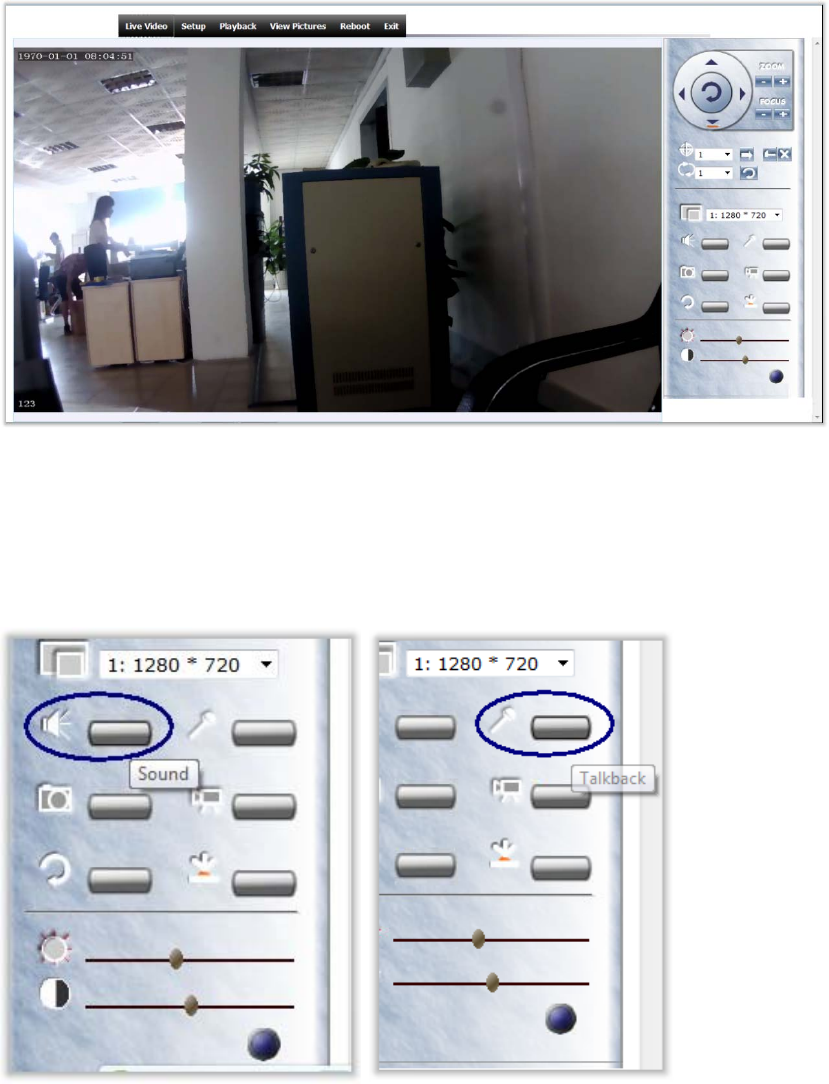
7. The first button is for "Two Way Audio", the second button is for "Snapshot
Picture" the third buttons is for “Video Record” and at the bottom are the
controls for "Brightness" and "Contrast".
8. H264 series can support 5X digital Zoom function by using the scrolling wheel
on the mouse.
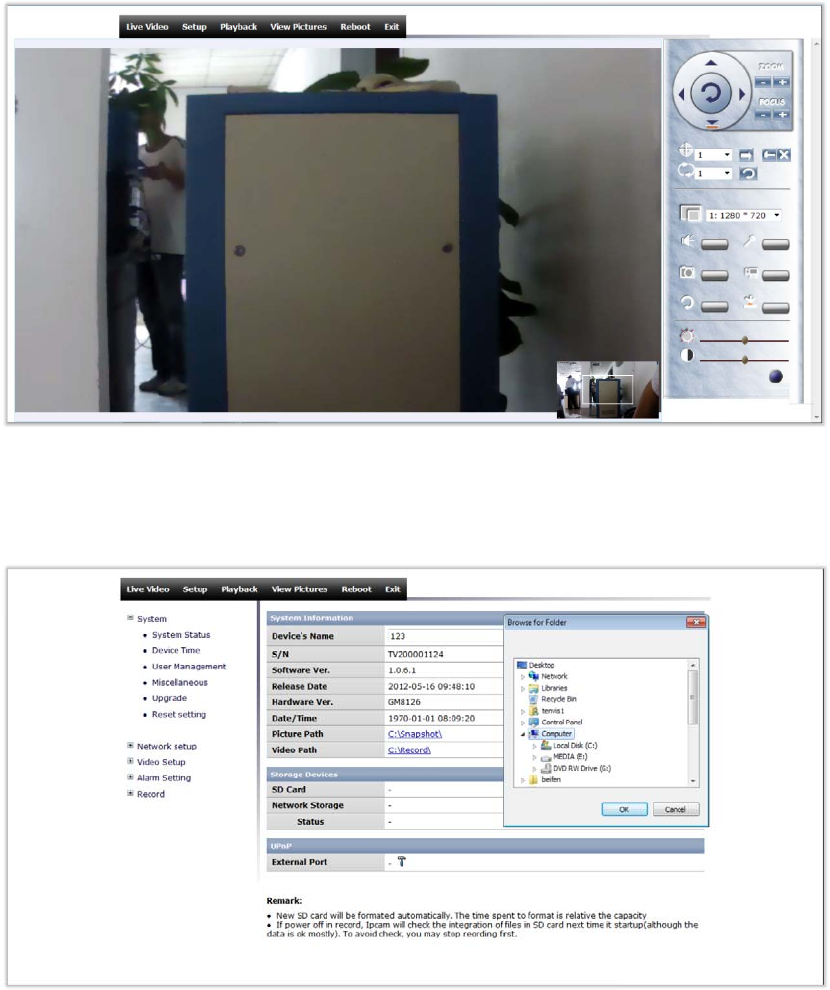
9. In the system settings, you can save picture and video to both the SD card
and local PC.
10. In Wireless LAN Settings, You can click "Gain IP automatically" or "Use
special IP"

11. In the DDNS Function, you have the option of three different DDNS
providers.
12. You have the option to adjust the frame rate and resolution according
your network bandwidth.
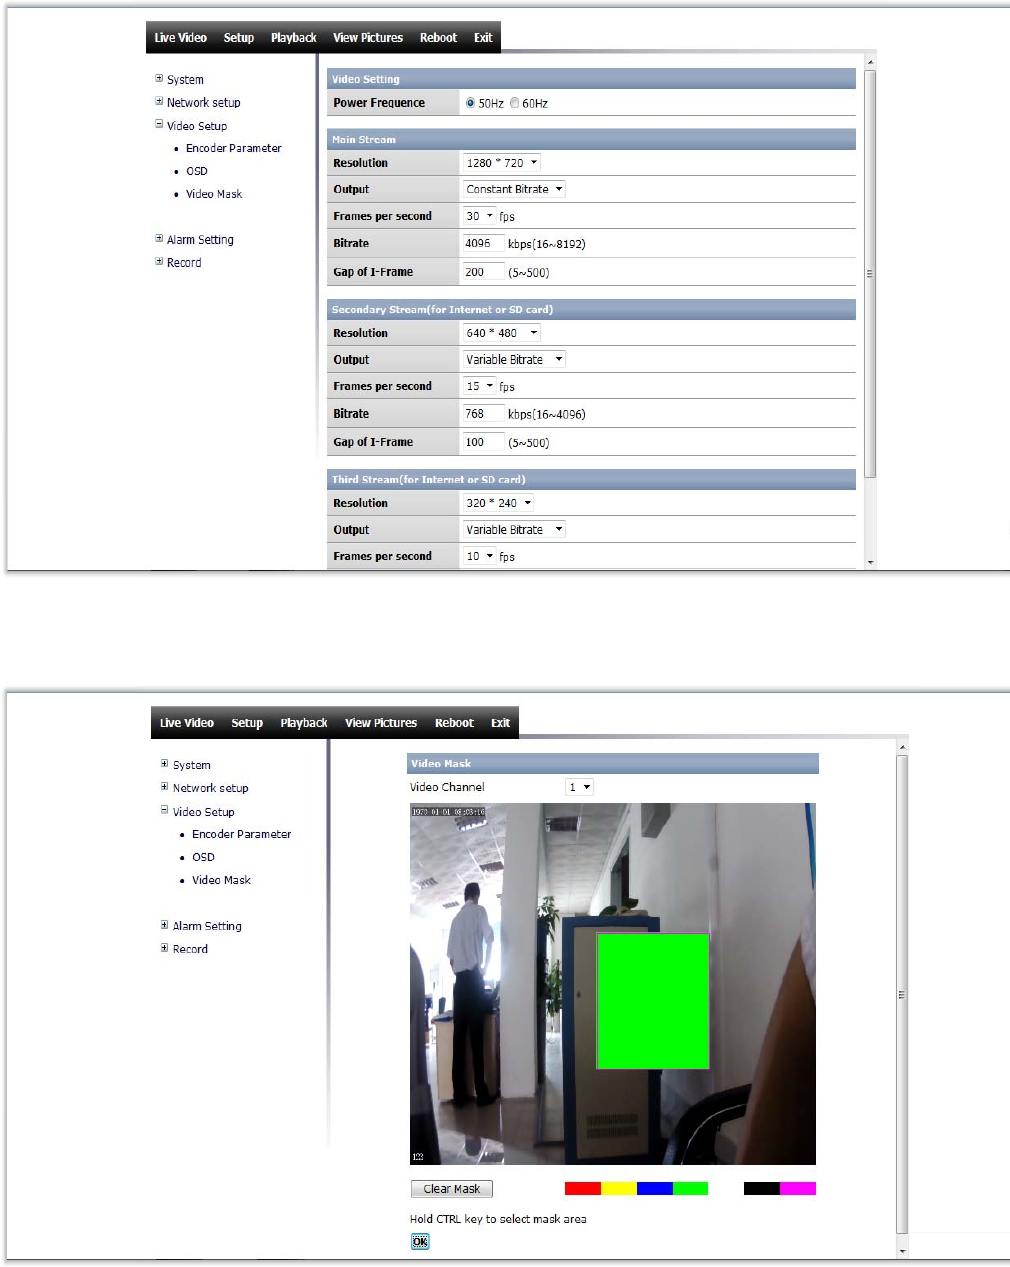
13. Click the "Video Masker" function and hold down the CTRL key while you
use the mouse to select mask area.
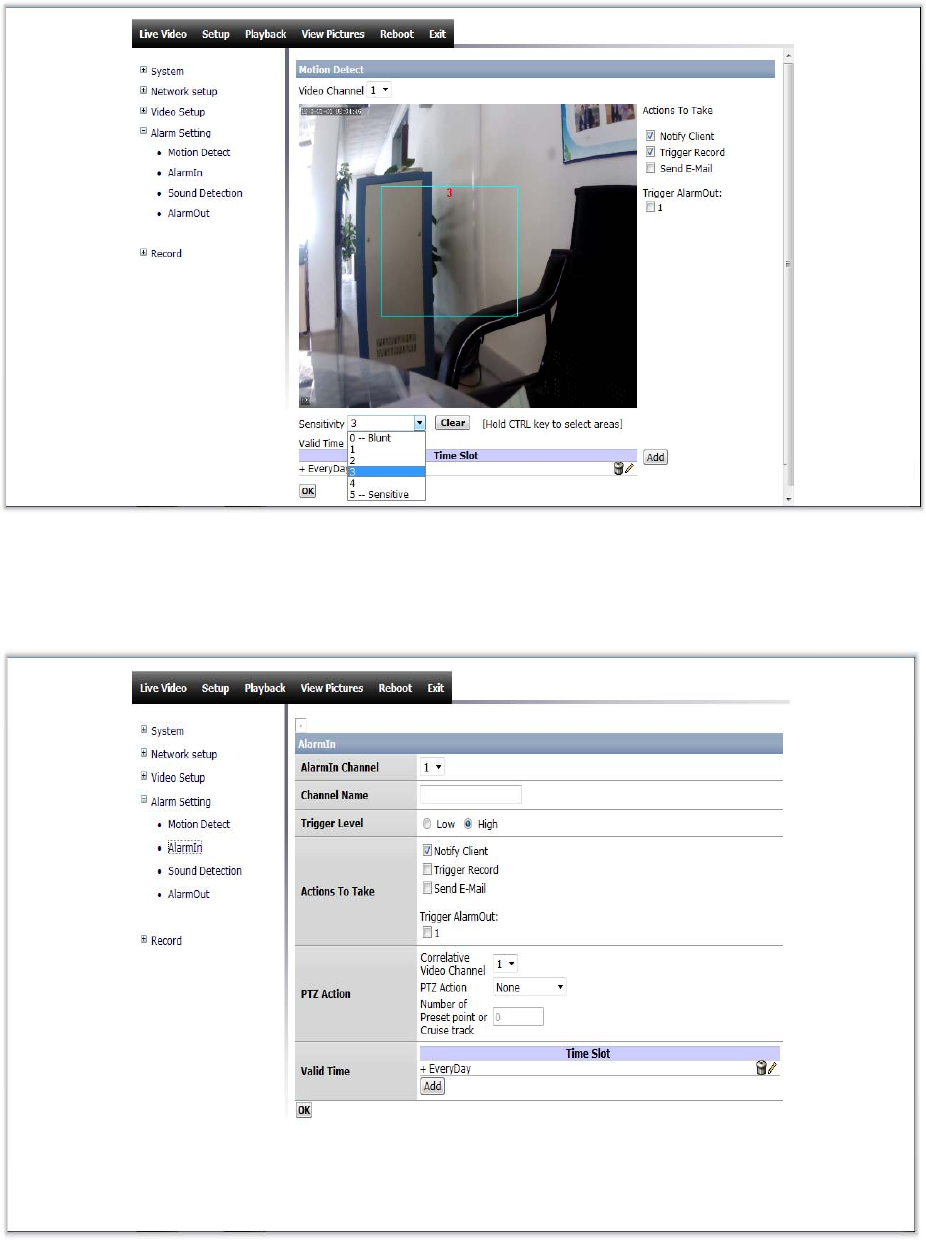
14. Click on "Alarm Setting" and choose motion detection function. You can
also adjust the sensitivity.
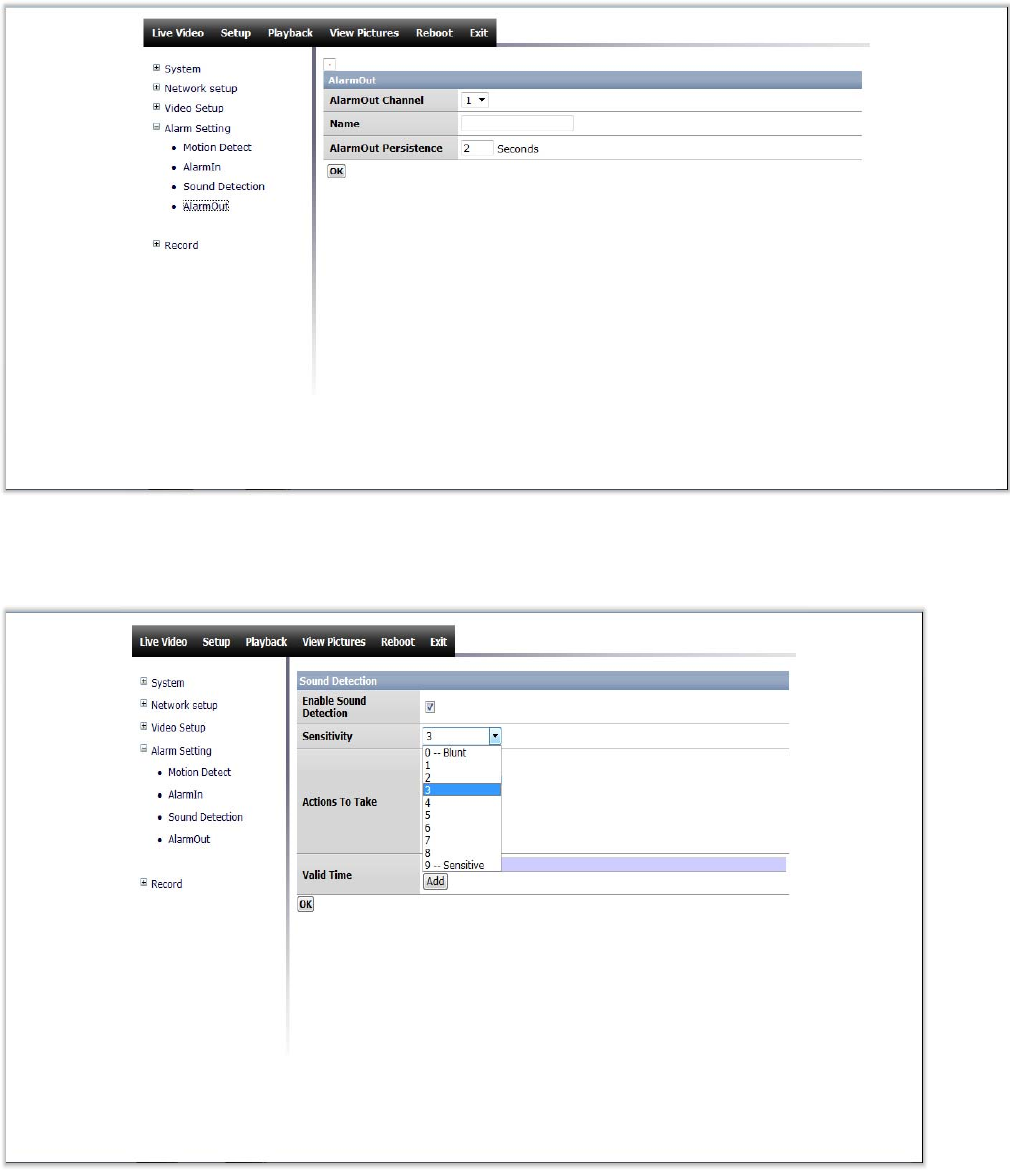
14. Click on "AlarmIn” and follow the instructions below:
15. For example: "Sound Detection"
16. Click on "Record" function and save the video to SD card or Network
Storage.
17.1 You can choose from different stream options when recording.
17.2 If sending video to SD Card, please select "Video Channel".

18. Network Storage function supports three protocols: CIFS/Sambal.Net, File
System and FTP.
19. Click the "Playback" button and select the video that you would like to
view.
Click "View picture" button to select the image that you would like to view (on
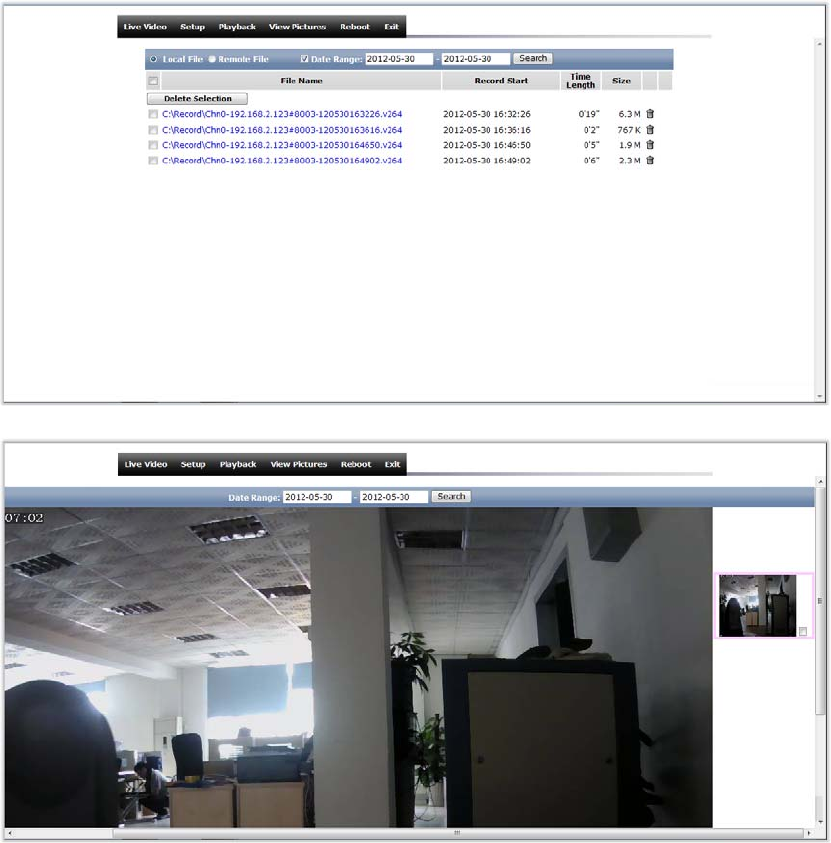
the topside of interface)
20. The main settings are completed. To view live video please click "Live
Video", otherwise click the "Exit" button.
RF Exposure Caution:
1. To comply with FCC RF exposure compliance requirements, a separation distance of
at least 20 cm must be maintained between the antenna of this device and all persons.
2. This Transmitter must not be co-located or operating in conjunction with any other
antenna or transmitter.