TranSystem 0310GL770 GPS Datalogger User Manual
TranSystem GPS Datalogger Users Manual
Users Manual
GL-770, GL-770M Quick Guide
A. Key Features
Support both GPS and GLONASS Support 5Hz logging for high speed application
Support Bluetooth Smart (BT4.0) LNS service Acceleration sensor for smart power saving
Log up to 250,000 waypoints Vibrator /beeper for POI confirmation
More than 35 hours operation time Rechargeable Li-ion battery
Smart log of time, distance and speed IPX3 water-proof
B. Package content
GPS Recorder – GL-770 x 1 CD ROM x 1 (user manual, utility software)
USB cable x 1 Quick start guide x 1
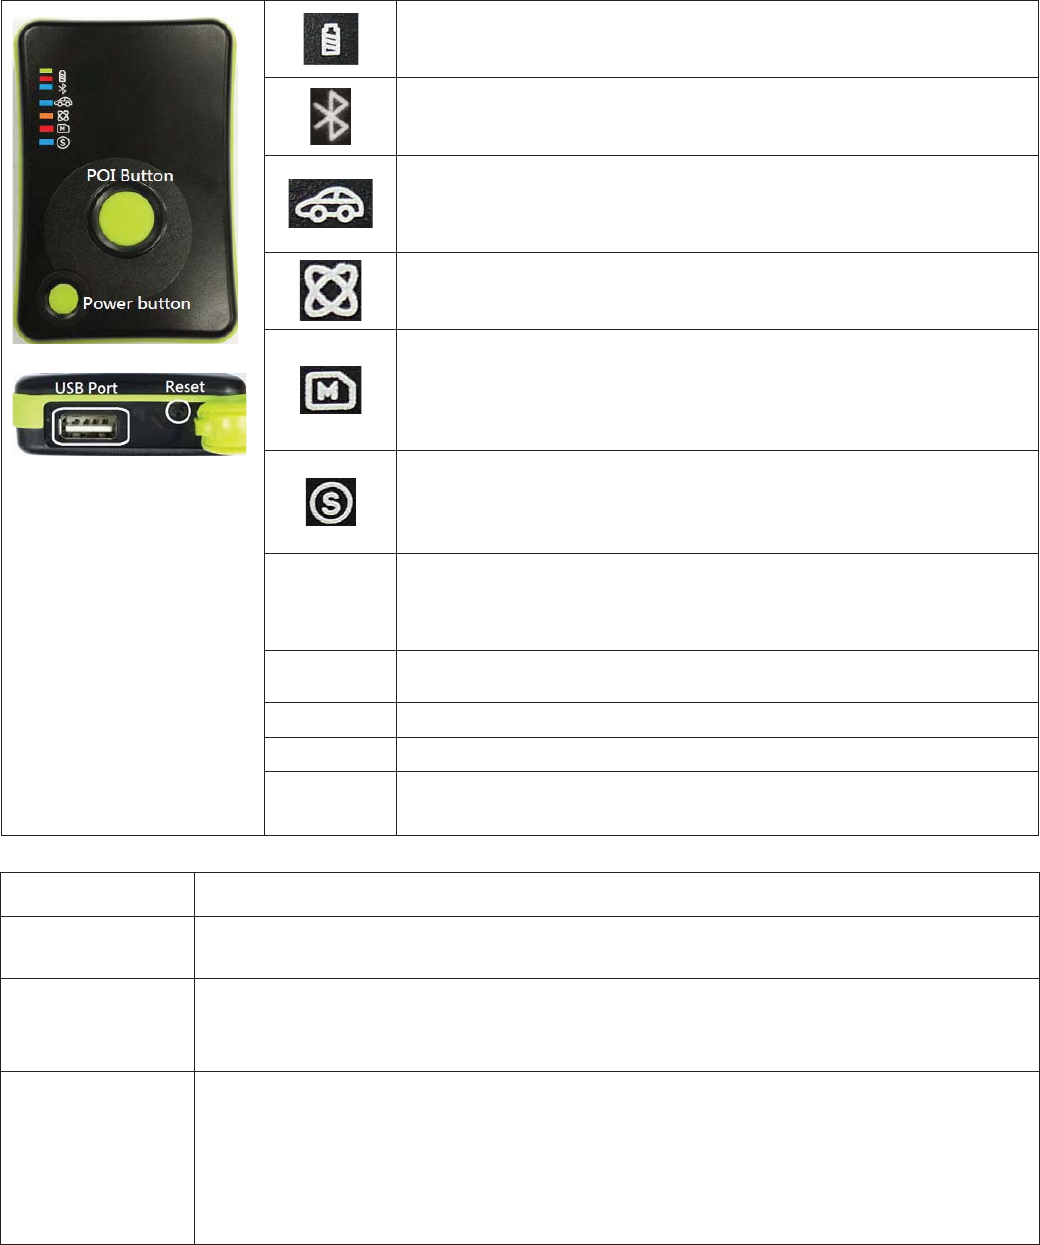
C. Appearance
D. Default setting
NMEA Support: GGA,GSA,GSV,RMC
Default log data Date / Time/ Fix valid / Latitude / Longitude / Height/ Speed / Heading / RCR
Bluetooth smart
LNS service
Default output: Speed, Distance, Latitude, Longitude, Elevation, Heading, Rolling time, UTC time.
Output rate: 1 or 5Hz
Bluetooth ID: same as serial number
Normal mode
User Name : same as serial number
Log by time : 5 (can be programmed by software)
Log by distance : 0 (can be programmed by software)
Log by Speed : 0 (can be programmed by software)
Acceleration sensor : OFF (can be turned on/off by software)
Check password : OFF (can be turned on/off by software)
Battery status: Green, Red
Green light 1Hz blinking = Charging , Green/Red lights On = fully charged
Red light 1Hz blinking = battery <30% , Red light On= battery <10%
Bluetooth Smart status:
Blue light On = Bluetooth smart is turned on and waiting for connection
Blue light 1Hz blinking = Bluetooth smart is connected
Car mode: Blue light
Led On = In car mode, device will go into sleep mode when no power supply
from USB and device will wake up and start logging when there is power
supply from USB.
GPS status: Orange light:
Led On = searching for satellite,
Led Flashing = GPS fix & start logging
Memory status: Red light:
3 times flashing = POI button pressed and POI recorded.
1Hz flashing = memory 80% full
OFF= sleep mode
Keep flashing = Erasing data
Acceleration sensor status: Blue light:
On = acceleration sensor is turned on for motion detection.
Off = acceleration is turned off
1/3Hz flashing = sleep mode
POI
Button
Push to record waypoint.
Push and hold for 5 seconds to turn ON/OFF acceleration sensor.
Push and hold for 10 seconds to turn ON/OFF Car mode.
* Vibrating and beeping feedback when POI button is pressed.*
Power
Button
Push to turn ON/OFF Bluetooth when device is turned on.
Push and hold for 3 seconds to turn on/off the device.
USB port For charging and data transmission.
Reset Button Push to reset device. Device is power off after reset
POI + Power
Button
Press POI and Power buttons at the same time to erase the data in the device.
*Please do not turn off the device when memory red color LED is flashing.*
8020401001A
E. System requirement
Minimum Configuration Recommended Configuration
- Windows XP
- Pentium 3, 500Mhz
- 256M RAM
- 400MB disk space
- Network speed: 128Kbits/sec
- 3D-capable video card with 16Mbytes of VRAM
- 1024x768, "16-bit High Color" screen
- Windows 7, 8, 10 PC version
- Pentium 4 2.4GHz+ or AMD 2400xp+
- 1G RAM
- 2 GB of free disk space
- Network speed: 768 Kbits/sec or better (DSL/Cable)
- 3D-capable video card with 32 MB of VRAM or greater
- 1280x1024, "32-bit True Color" screen
[Notes and Warning] If you have recorded more than 250,000 way points in your GL-770, it may take the entire resource of
your computer to show all the logged data in Google Earth. Therefore, with not enough RAM capacity the computer may
hang up (system frozen).
F. Getting Started
Step1. Fully charge the battery via USB port first before starting to use.
Step2. Press and hold Power bottom for 3 seconds to turn on / off the device.
Step3. Acquire GPS signal
Orange LED will start blinking when GPS signal is acquired and have a valid fix.
Step4. Push POI to mark a specific waypoint.
Vibrating/beeping feedback are provided when POI button is pressed
G. How to extract logged data from GL-770
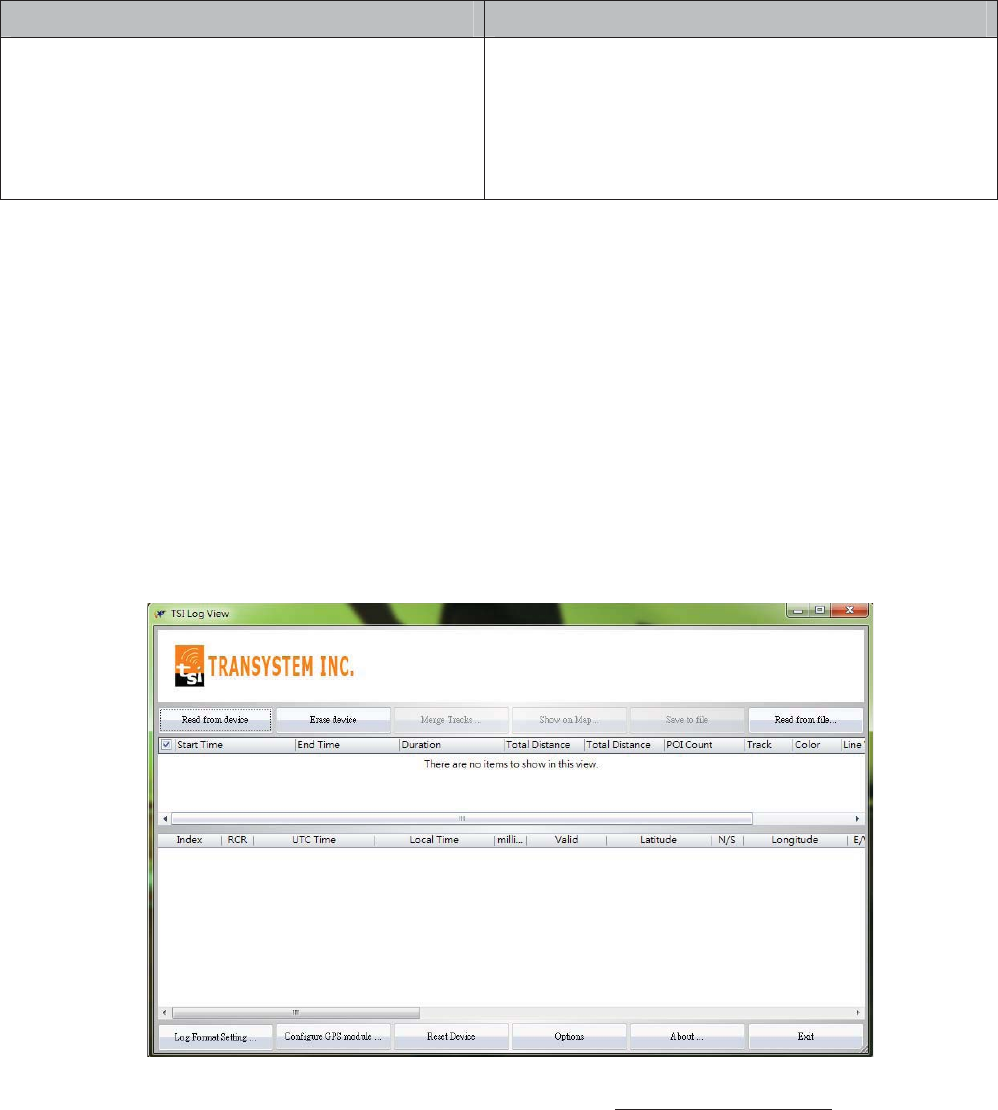
Step1. Install LogView and USB driver (refer to CD)
Step2. Power on GL-770 and connect to PC or laptop.
Step3. Click “Read from device” button on the top left of LogView software panel
To display the track points on Google Earth, your PC must have installed Google Earth and have the
Internet connection. Google Earth installation (Download from http://earth .google.com/)
[Note] Google Earth is a trademark of Google.
H. Helpful tips
Some vehicles using heavy metallic sun protecting coating on windshield may affect GPS signal reception.
Streets with high rising buildings may affect GPS signal reception.
Tunnel and indoor parking garage may affect signal reception.
In general, GPS signal reception best in open space where it can see clear sky. Weather condition will also affect
GPS reception – rain & snow contribute to worse sensitivity.
Low battery status may affect signal reception.
This device outputs coordinates data every second, therefore the actual position and the position shown on your map
may have slight time delay. This may happen when you drive at higher speed or make a turn around a corner.
For the device not in use over several days, allow it 1~3 minutes to obtain satellite constellation information and fix
your position, this is called “Cold Start”. Upon battery replacement, GPS device will do Cold Start again.
If your device can not fix position for more than 20 minutes, please change to another location with open space and
then try again.
FCC Notices
This device complies with Part 15 of the FCC Rules. Operation is subject to the following
two conditions: (1) this device may not cause harmful interference, and (2) this device
must accept any interference received, including interference that may cause undesired
operation.
CAUTION: Change or modification not expressly approved by the party responsible
for compliance could void the user’s authority to operate this equipment.
This equipment has been tested and found to comply with the limits for a Class B
digital device, pursuant to Part 15 of the FCC Rules. These limits are designed to provide
reasonable protection against harmful interference in a residential installation. This
equipment generates, uses and can radiate radio frequency energy and, if not installed
and used in accordance with the instructions, may cause harmful interference to radio
communications. However, there is no guarantee that interference will not occur in a
particular installation. If this equipment does cause harmful interference to radio or
television reception, which can be determined by turning the equipment off and on, the
user is encouraged to try to correct the interference by one or more of the following
measures:
--Reorient or relocate the receiving antenna.
--Increase the separation between the equipment and receiver.
--Connect the equipment into an outlet on a circuit different from that to which the receiver
is connected.
--Consult the dealer or an experienced radio/TV technician for help.
CAUTION:
Any changes or modifications not expressly approved by the grantee of this device could
void the user's authority to operate the equipment.
RF exposure warning
This equipment must be installed and operated in accordance with provided instructions
and the antenna(s) used for this transmitter must be installed to provide a separation
distance of at least 20 cm from all persons and must not be co-located or operating in
conjunction with any other antenna or transmitter. End-users and installers must be
provide with antenna installation instructions and transmitter operating conditions for
satisfying RF exposure compliance."