Trimble 571225500 Attachable Control Unit for Surveying Instruments User Manual Trimble Survey Controller Getting Started Guide
Trimble AB Attachable Control Unit for Surveying Instruments Trimble Survey Controller Getting Started Guide
Trimble >
Contents
- 1. Users Manual1
- 2. Users Manual2
- 3. Users Manual3
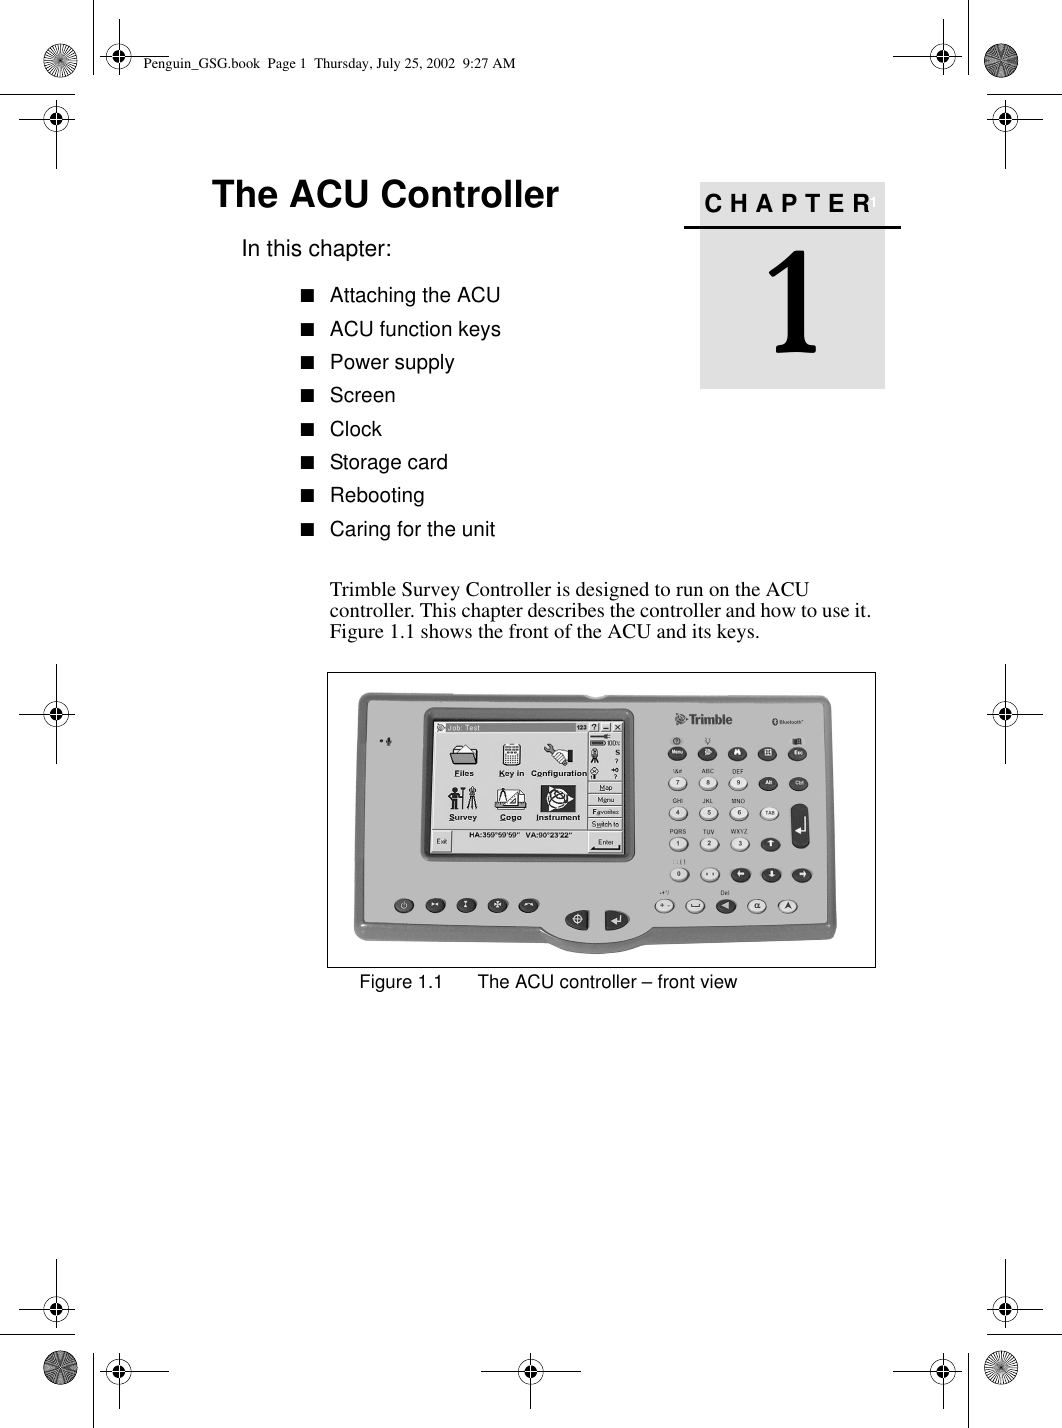
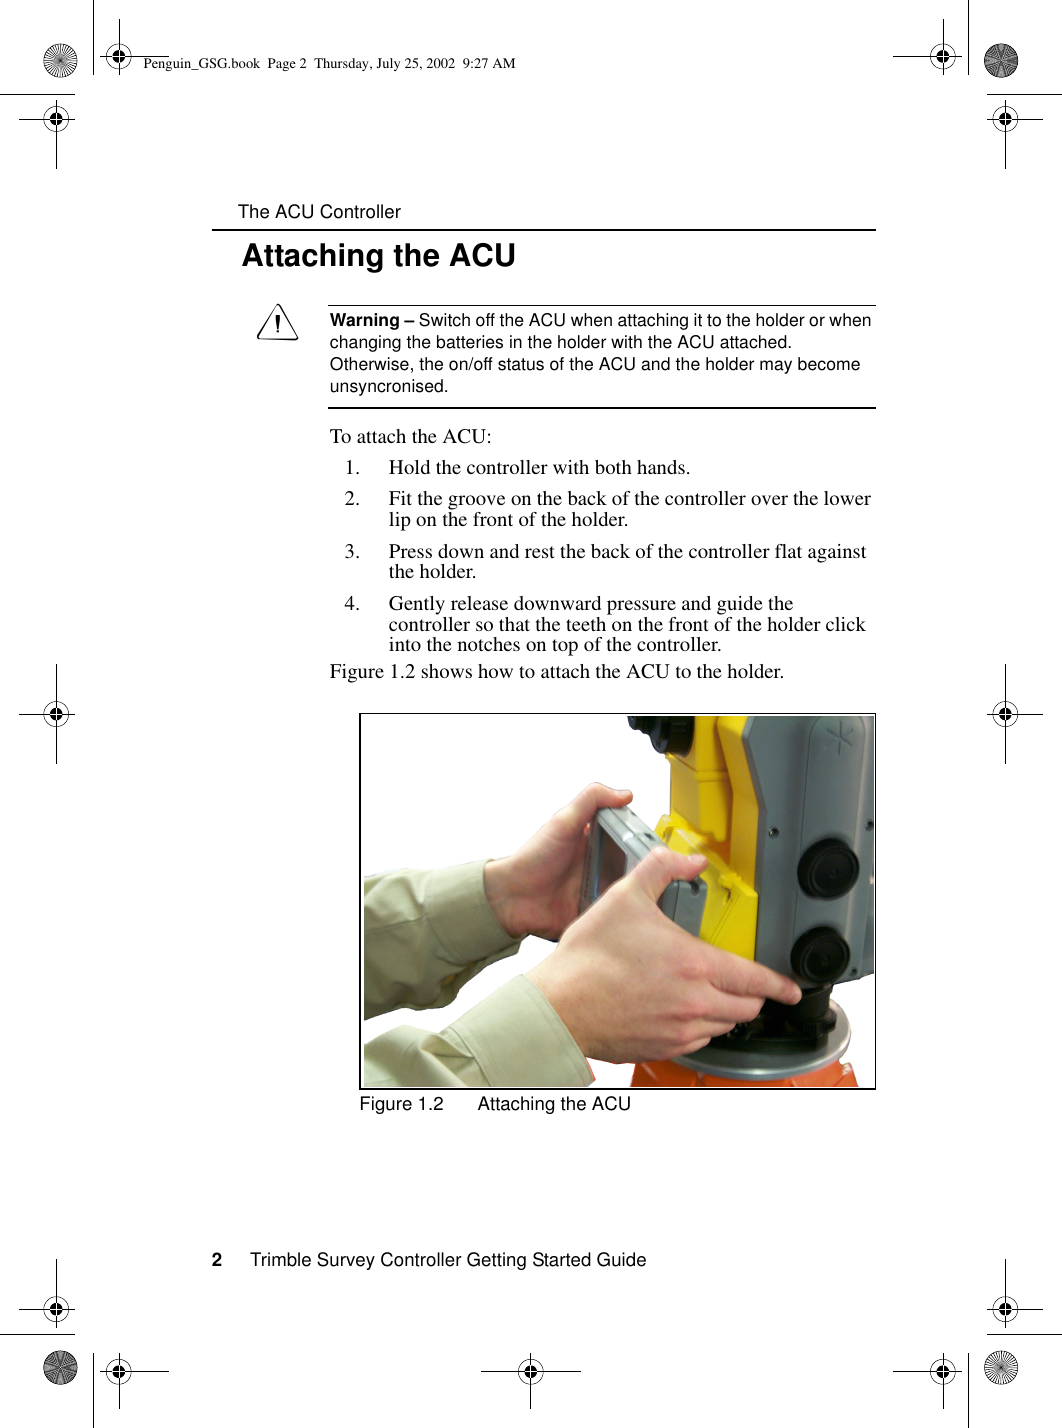
Users Manual1
![The ACU Controller8 Trimble Survey Controller Getting Started Guide1.4.1 Recalibrating the touch screenIf the touch screen does not respond properly when you tap it, recalibrate it as follows:1. Tap and select Settings / Control Panel / Stylus. The Stylus Properties dialog appears. 2. In the Calibration tab, tap [Recalibrate].3. Follow the prompts.1.4.2 Disabling the touch screenTo clean the ACU screen during a survey, press [Ctrl]+ (the alpha key) then [1] four times (to access “S”) to disable it. This locks the screen and keypad, except for the [Esc] key.To enable the touch screen and keypad again, press [Esc].1.5 BacklightTo modify the backlight settings:•Select Display / Backlight from the Control Panel.•If the Auto on option is disabled, press ~ and .Press ~ and to switch between these backlight modes:• screen and keyboard on• screen only on• screen and keyboard offTo disable the TSCe screen, press [Ctrl]+[S].Penguin_GSG.book Page 8 Thursday, July 25, 2002 9:27 AM](https://usermanual.wiki/Trimble/571225500.Users-Manual1/User-Guide-281049-Page-10.png)