Trimble EM7455 Radio Module User Manual My
Trimble Inc. Radio Module My
UserManual.wiki
>
Trimble
>
EM7455 User Manual
>
Users Manual
Contents
1.
User Manaul
2.
Users Manual
3.
User Manual
Users Manual
Navigation menu
Upload a User Manual
Namespaces
Wiki Guide
HTML
PDF
Info
Views
User Manual
Discussion / Help
Navigation
![Trimble Nomad 5 Handheld User Guide | 2 Corporate Office Trimble Inc. 935 Stewart Drive Sunnyvale, CA 94085 USA www.trimble.com Global technical support To request detailed technical assistance for Trimble solutions, contact: trimble_support@trimble.com Copyright and trademarks © 2018, Trimble Inc. All rights reserved. Trimble and the Globe & Triangle logo and Nomad are trademarks of Trimble Inc., registered in the United States and in other countries. Access is a trademark of Trimble Inc. The Bluetooth word mark and logos are owned by the Bluetooth SIG, Inc. and any use of such marks by Trimble Inc. is under license. All other trademarks are the property of their respective owners. Release Notice This is the June 2018 release (Revision A) of the Trimble Nomad 5 handheld documentation. Recycling information You should dispose of the device and accessories properly according to local laws and regulations. Because the device contains electronic components, it must be disposed of separately from household waste. When the device reaches its end of life, contact your local Trimble reseller to learn about disposal and recycling options for your area. Recycling in Europe The symbol at right means that according to local laws and regulations your product and/or its battery shall be disposed of separately from household waste. When this product reaches its end of life, take it to a collection point designated by local authorities. The separate collection and recycling of your product and/or its battery at the time of disposal will help conserve natural resources and ensure that it is recycled in a manner that protects human health and the environment. For information about recycling Trimble WEEE (Waste Electrical and Electronic Equipment) products that run on electrical power go to http://www.trimble.com/corporate/about_WEEE_ROHS_ initiatives.aspx. To recycle Trimble WEEE products call +31 497 53 24 30, and ask for the "WEEE Associate". or mail a request for recycling instructions to: Trimble Europe B.V. WEEE Recycling C/O Menlo logistics Gate 19 to 26 Meerheide 43 5521 DZ Eersel The Netherlands Taiwan – Battery Recycling Requirements The product contains a Lithium-ion battery. Taiwanese regulations require that waste batteries are recycled. 廢電池請回收 China Recycling Requirements [Insert China Hazardous Substances declaration table]](https://usermanual.wiki/Trimble/EM7455.Users-Manual/User-Guide-3902004-Page-2.png)
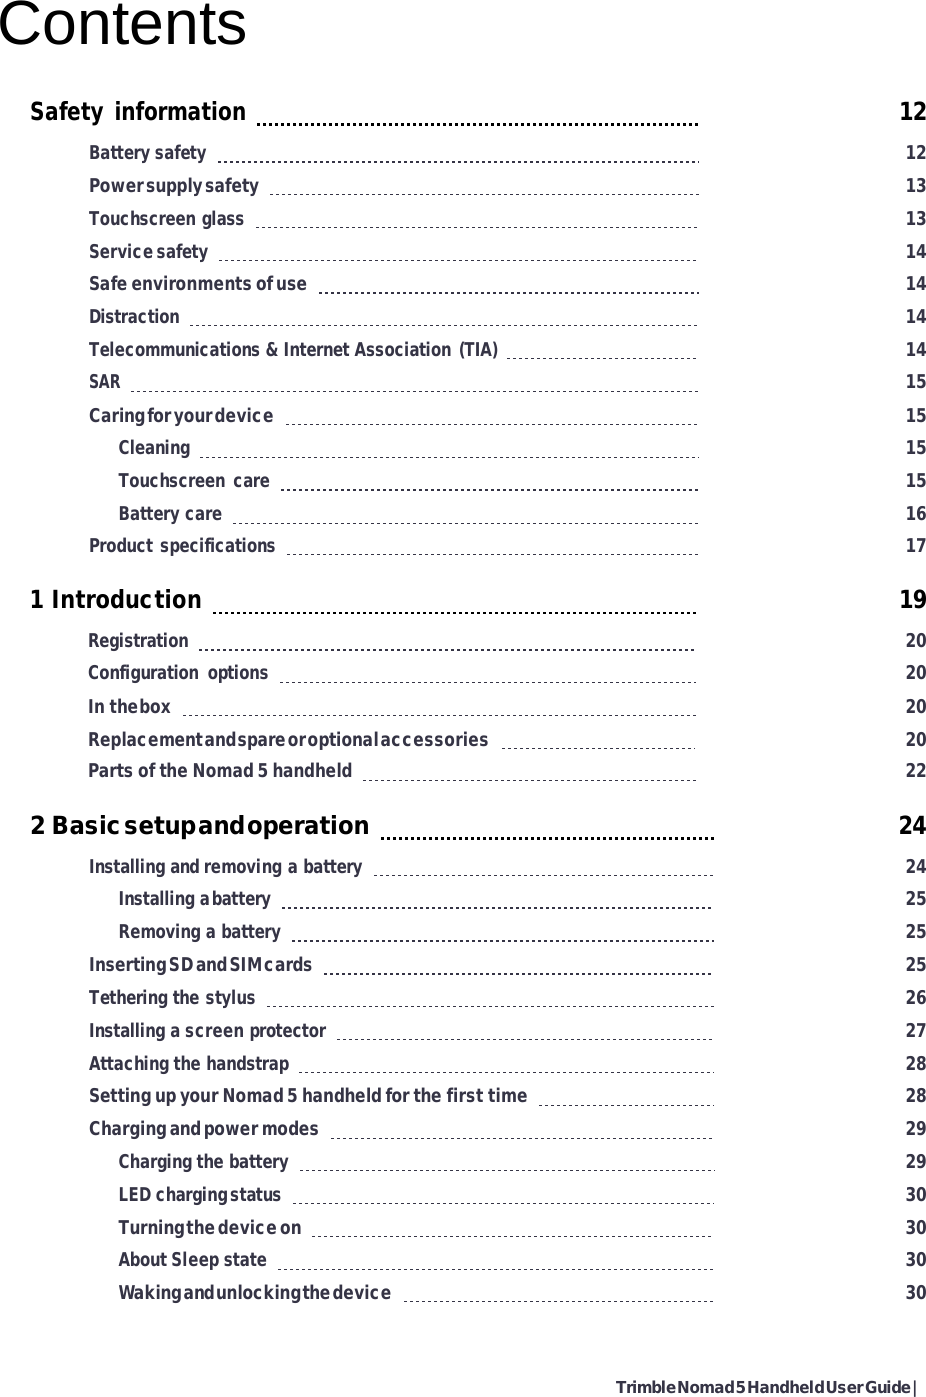


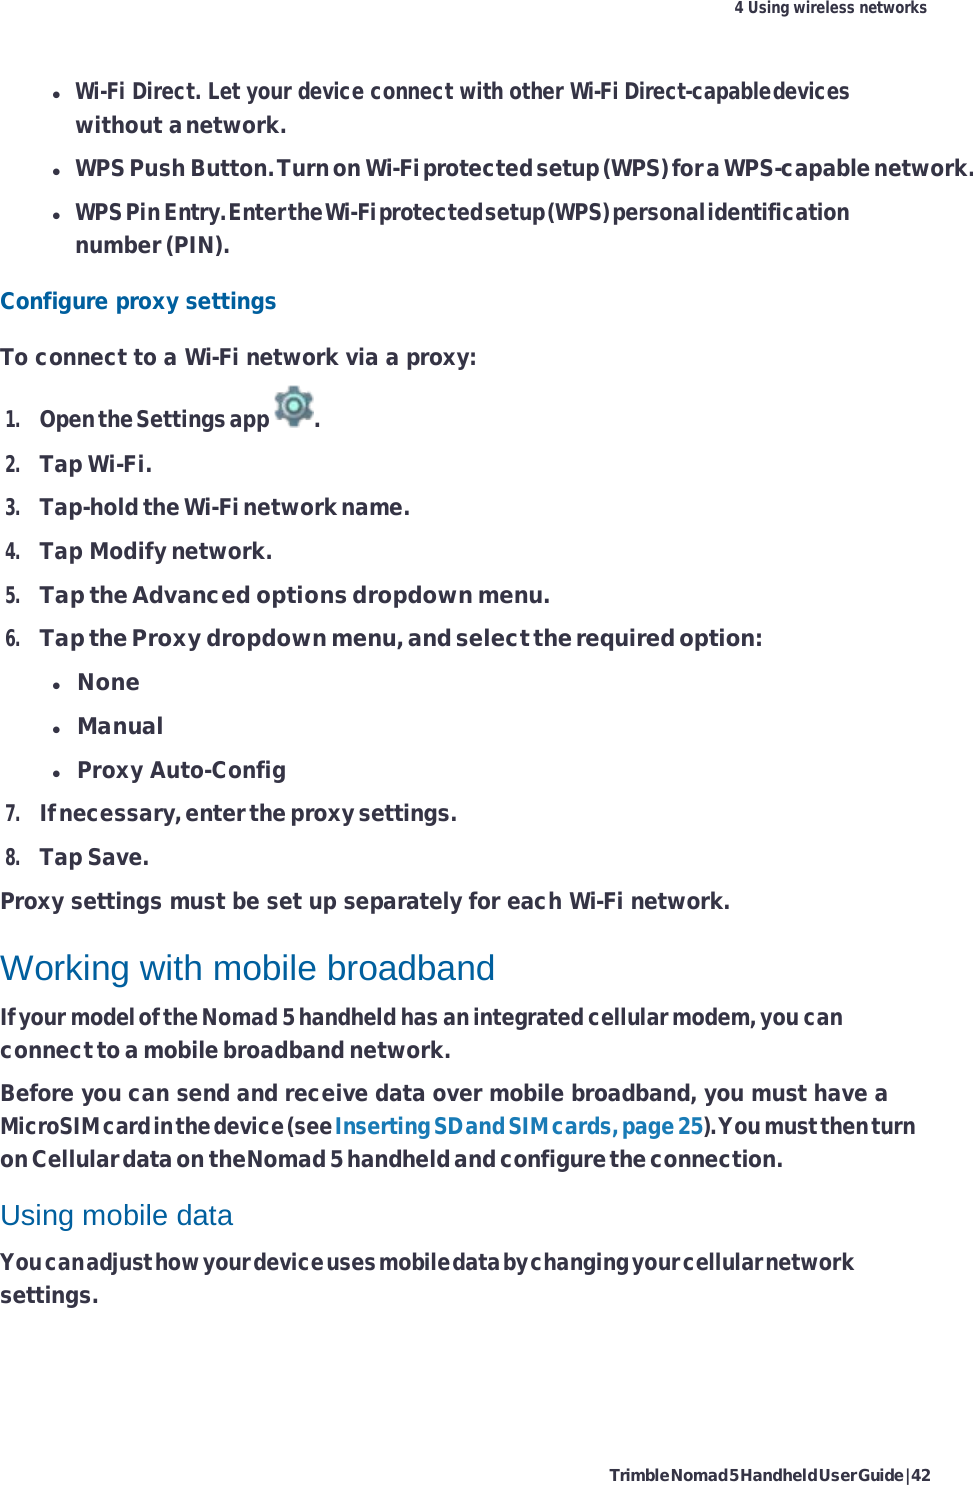
![Trimble Nomad 5 Handheld User Guide | 38 3 Using the Android operating system When you sign in, you can easily get all the apps you’ve purchased on Google Play onto your new device. All the email, contacts, calendar events and other data associated with that account are automatically synced with the device. WARNING – Make sure you remember the password you use to sign into your device or else you won’t be able to access it. Even if you do a factory reset, you will be required to enter the password you used to sign into this device. If you have multiple accounts, you can add other accounts from the device's settings; go to Settings / Personal / Accounts. You can also add guest users; go to Settings / Device / Users. Using the Home screens When you have finished setting up your device for the first time, the main Home screen appears. Here you can add app icons and widgets (an at-a-glance view of the app's most important information) to your Home screens. [Home screen screen shot] To move between Home screens, swipe left or right. To see notifications, swipe down from the top of the screen with one finger. To open Quick Settings (frequently used to settings), swipe down from the top of the screen twice with one finger, or once with two fingers. To open Settings swipe down from the top of any screen with two fingers, then touch the settings icon at the top right. On the Home screen, tap Google at the top of the screen or say OK Google to search, send messages, ask for directions, or give other instructions. Adding apps to a Home screen 1. Go to the Home screen where you want to place the app, and tap the Apps icon . 2. Swipe down or from left to right to find the app you want. 3. Touch-hold the app until the Home screen appears, then slide the app icon to where you want to place it, and lift your finger off the screen. Removing apps from a Home screen To remove an app icon from the Home screen without removing it permanently from your device, touch-hold it, then slide your finger toward the top of the screen, and drop the app over Remove in the top left.](https://usermanual.wiki/Trimble/EM7455.Users-Manual/User-Guide-3902004-Page-39.png)
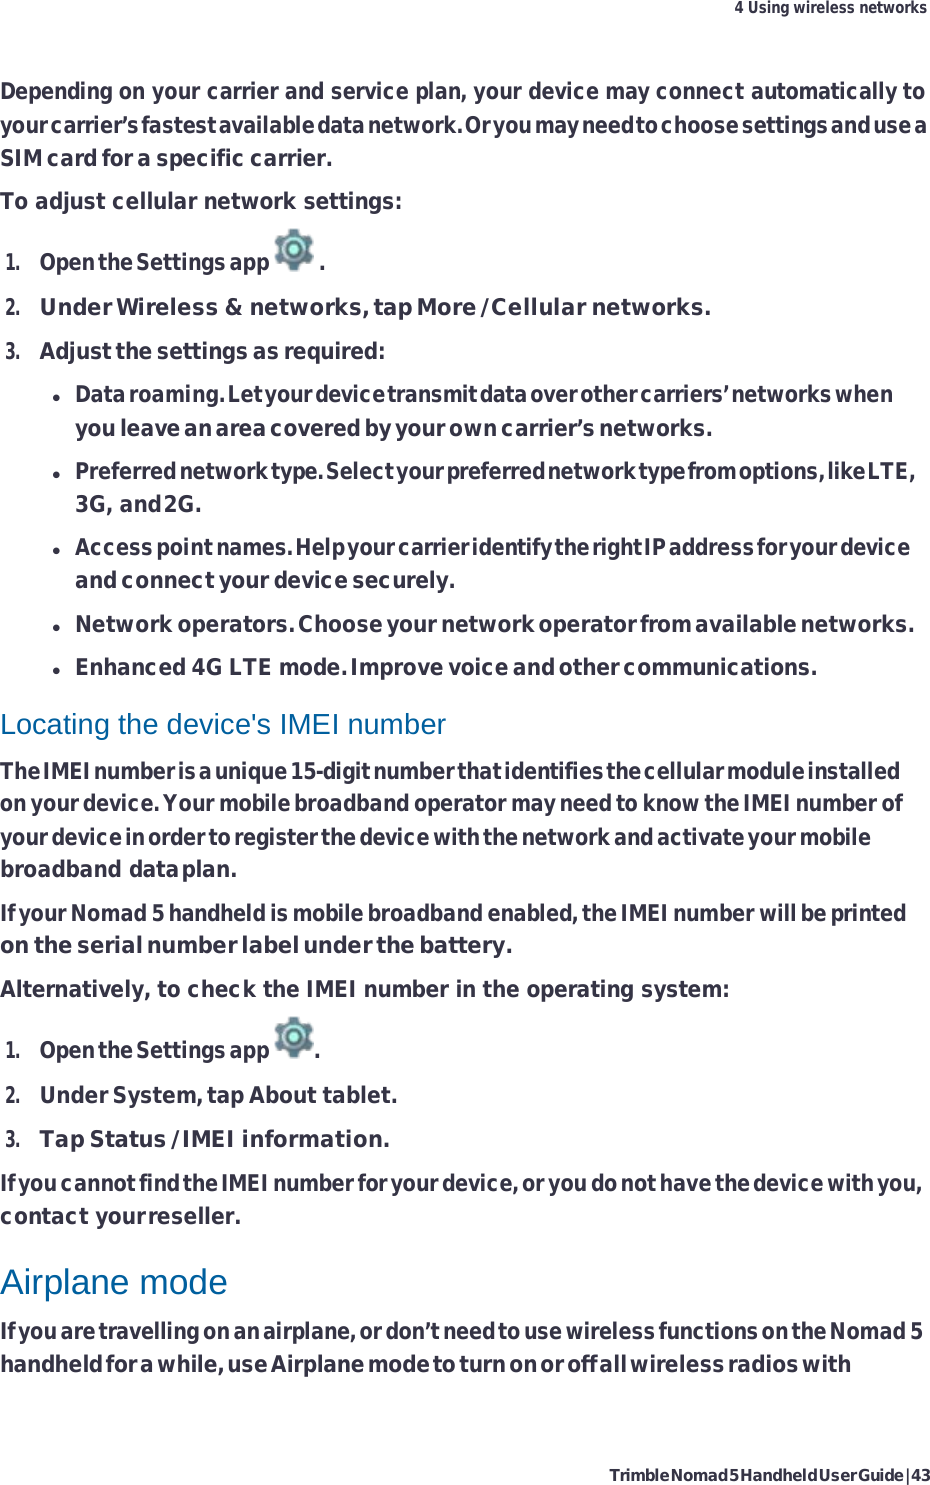
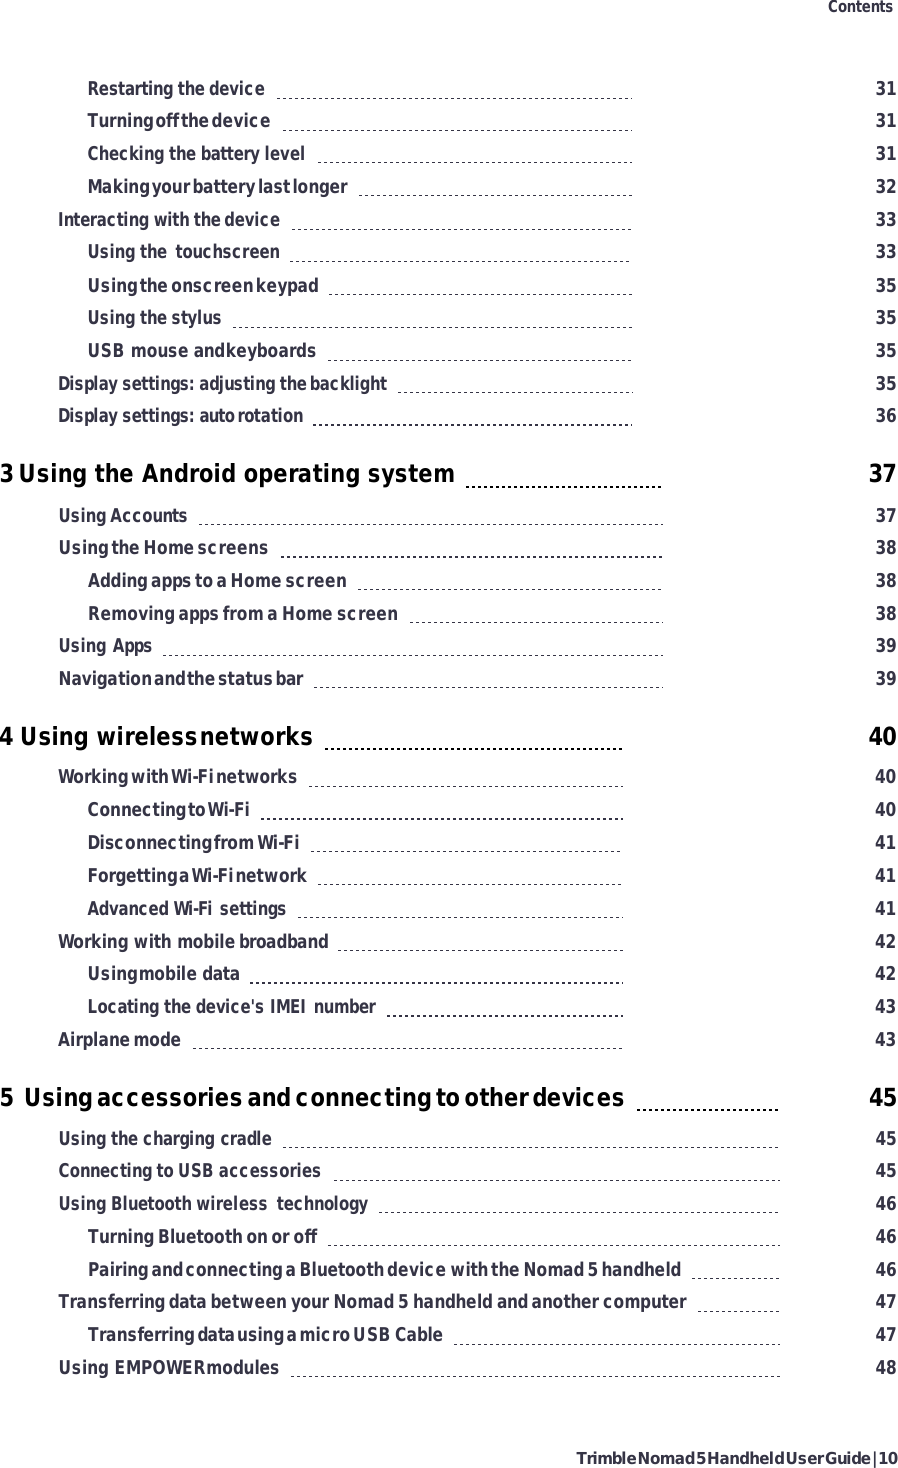
![Trimble Nomad 5 Handheld User Guide | 39 3 Using the Android operating system To uninstall an app permanently from your device, touch-hold it, then slide your finger towards the top of the screen and drop the app over the uninstall icon at the top right. Using Apps To see all your apps, including those that come with your device and those you downloaded from Google Play, tap the Apps icon . From the Apps screen, you can: Explorer apps. Swipe up / down, left / right on the Apps screen. Open an app. Tap its icon to open an app. Search apps. Enter the name of the app you are looking for in the Search apps… bar. Place an app icon on a Home screen. See Using the Home screens, page 38. Get more apps. Tap the Google Play icon in the list of app icons. Navigation and the status bar [Status bar screen snap] The status bar is at the very top of the screen. On the right, it shows the Wi-Fi and mobile signal strength, how much battery power is left, and the time. On the left, it shows which apps have sent you notifications. The Android navigation buttons are at the bottom of the screen: Back. Returns to the previous screen you were working in, even if it was in a different app. Once you back up to the Home screen, you can't go back any further. Home. Returns to the Home screen. To get suggestions based on the screen you're currently viewing, tap and hold this button. Overview. Opens a list of thumbnail images of screens you've worked with recently. To open one, tap it. To remove a screen, swipe it left or right or tap x in its top right corner. Some apps that run in full screen hide these navigation buttons temporarily or fade them to small dots in the same position. To bring them back, touch the dots, touch the screen bottom center, or swipe up from the bottom of the screen. Many screens in apps and settings include a Menu icon at the top right of the screen. Tap it to explore additional options, including help and feedback.](https://usermanual.wiki/Trimble/EM7455.Users-Manual/User-Guide-3902004-Page-40.png)