Trimble JUNO41WN Juno T41/5 User Manual Trimble Juno T41 handheld User Guide
Trimble Navigation Limited Juno T41/5 Trimble Juno T41 handheld User Guide
UserManual.wiki
>
Trimble
>
JUNO41WN User Manual
Users Manual
Navigation menu
Upload a User Manual
Namespaces
Wiki Guide
HTML
PDF
Info
Views
User Manual
Discussion / Help
Navigation
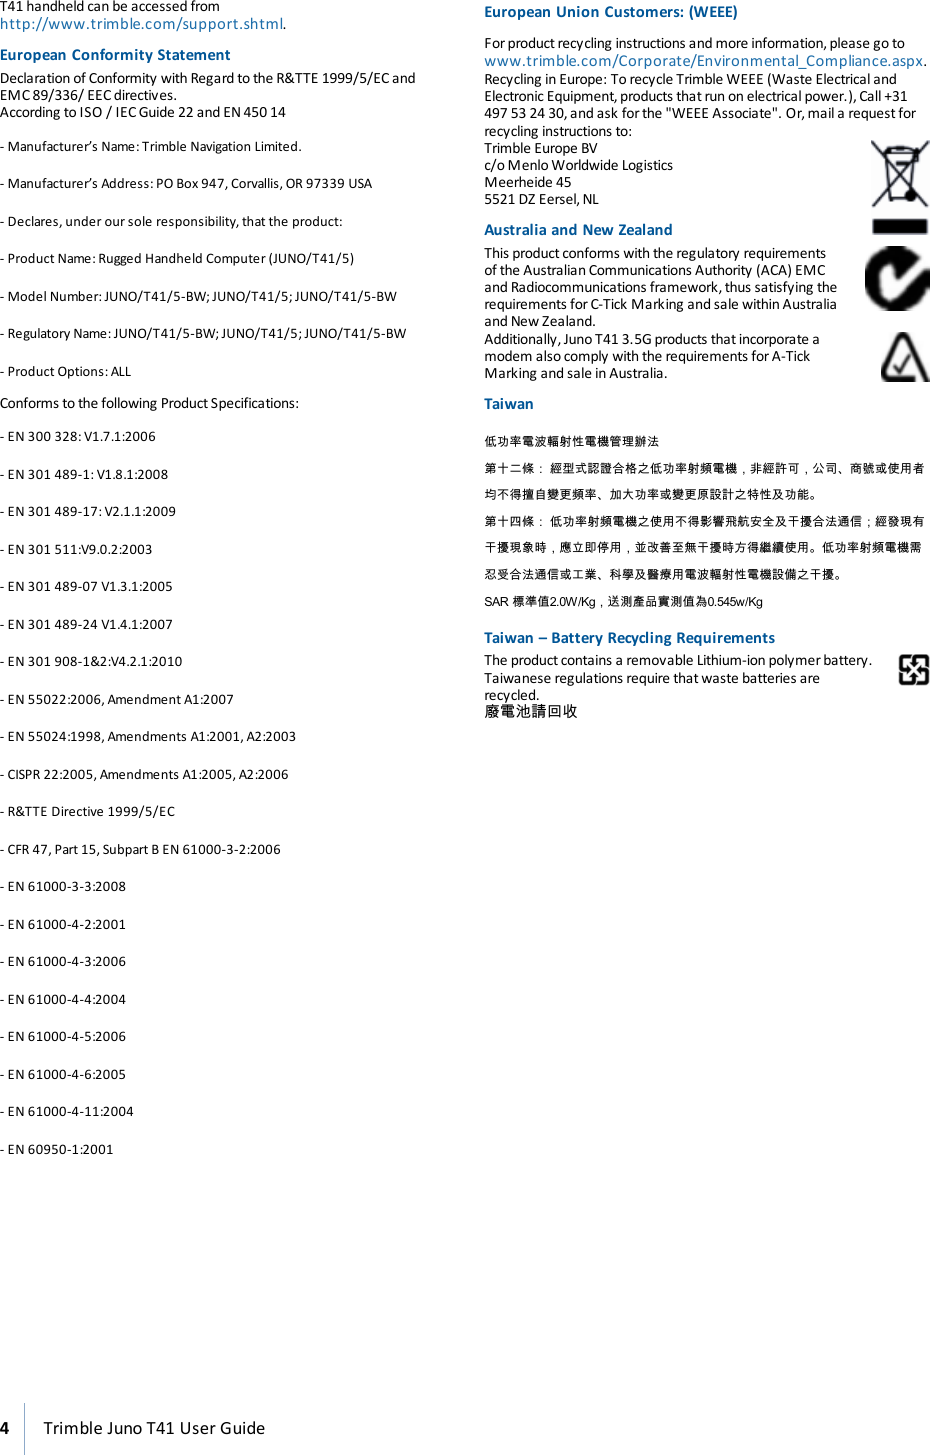

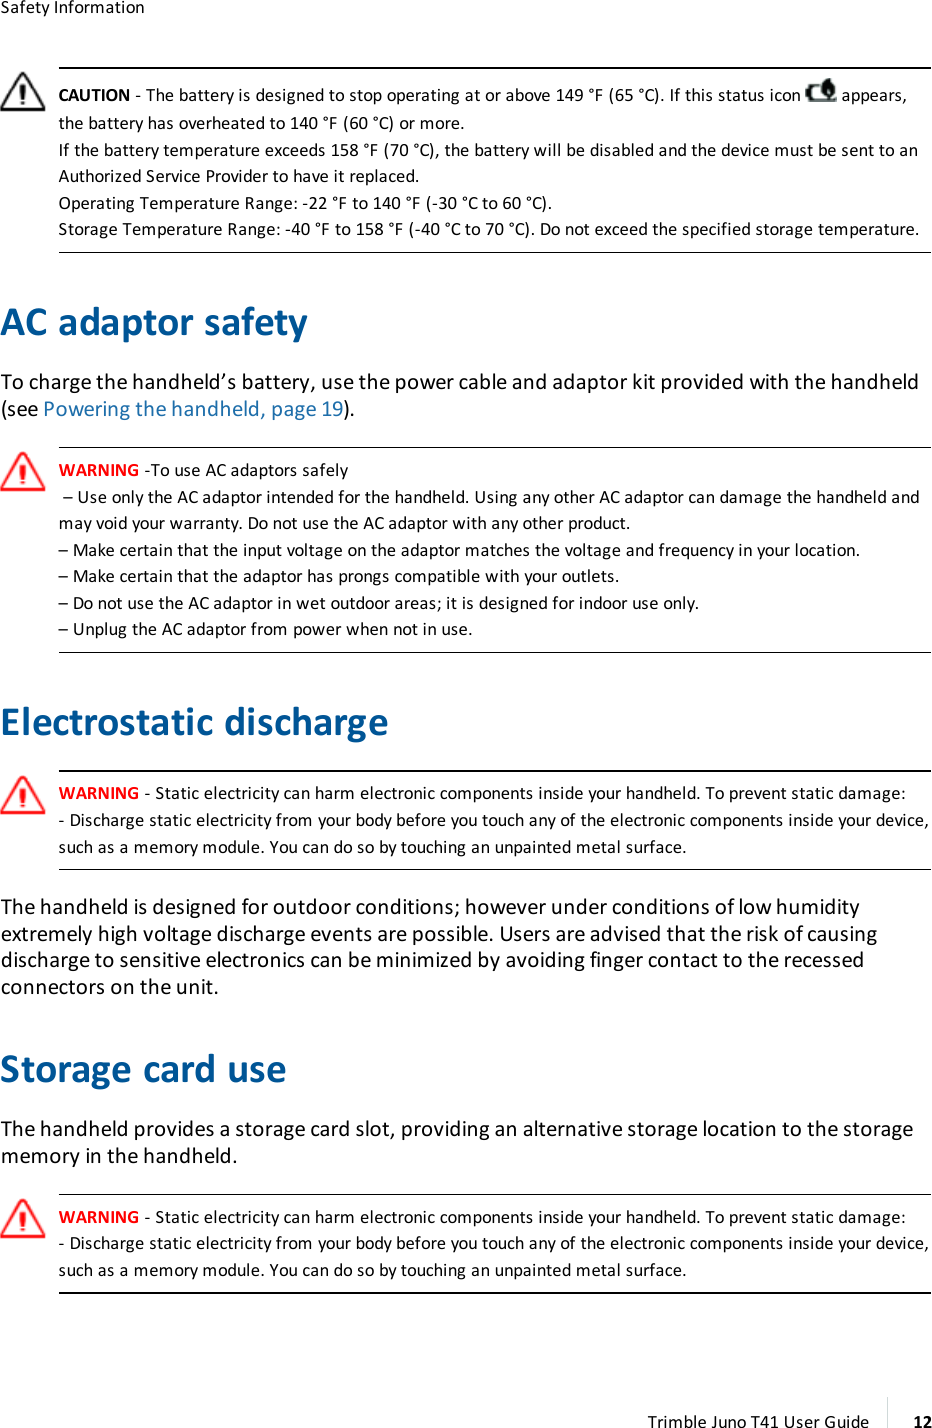

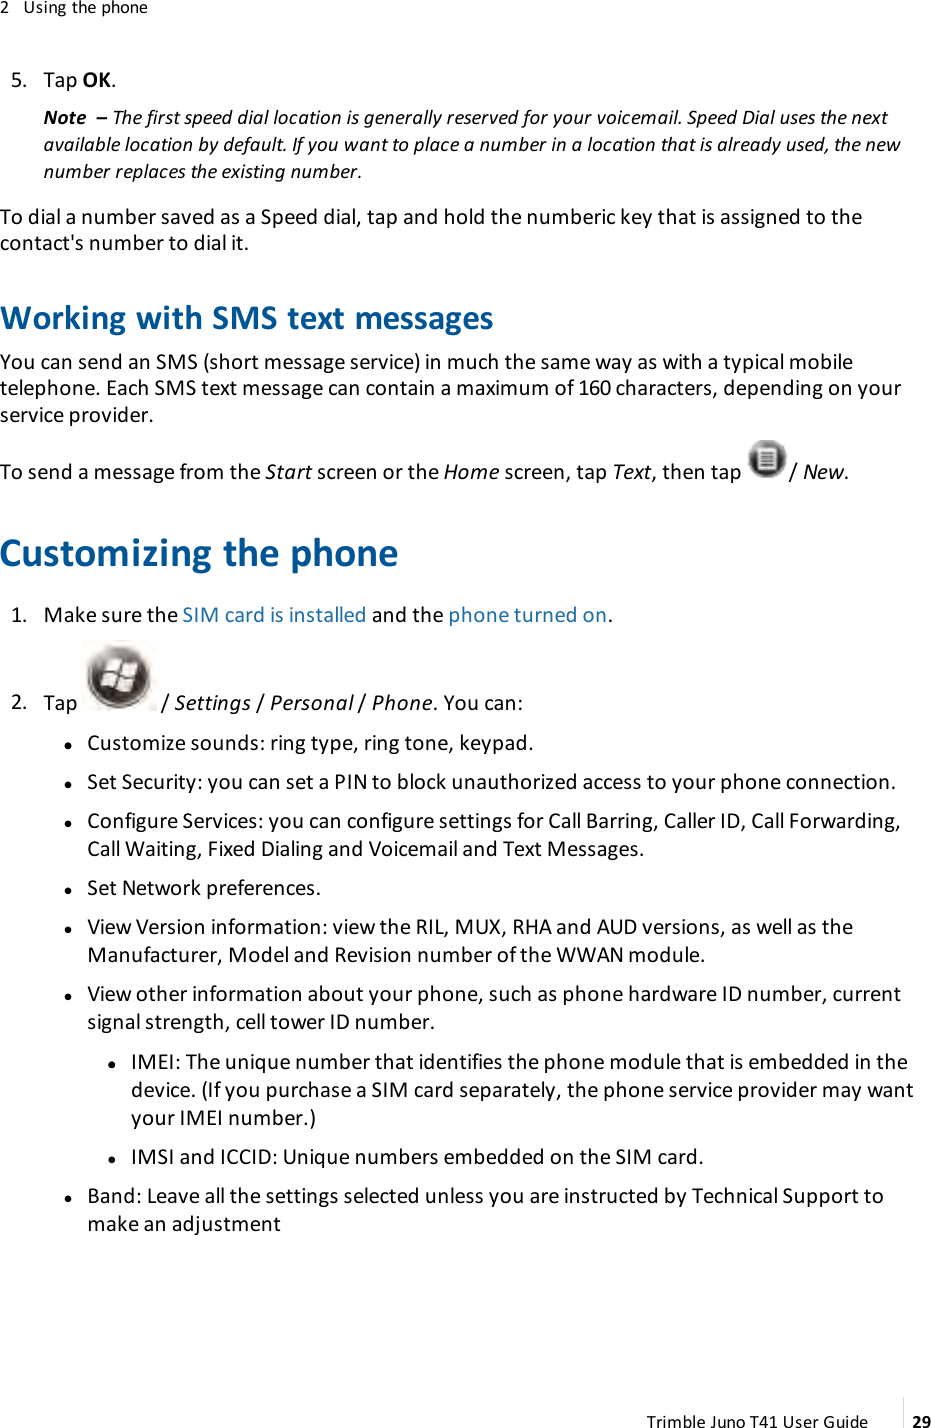
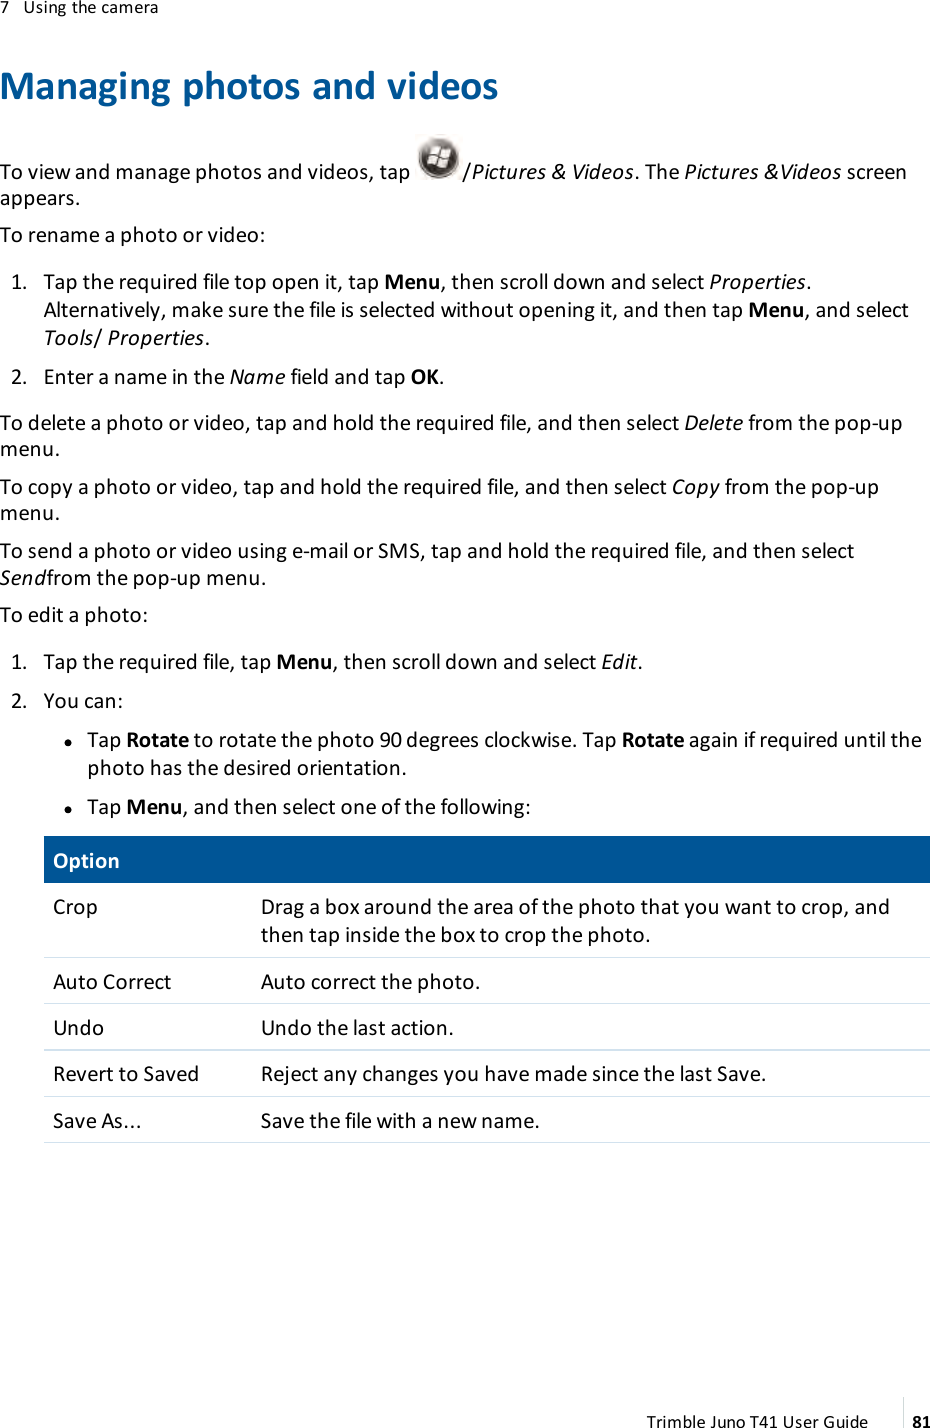
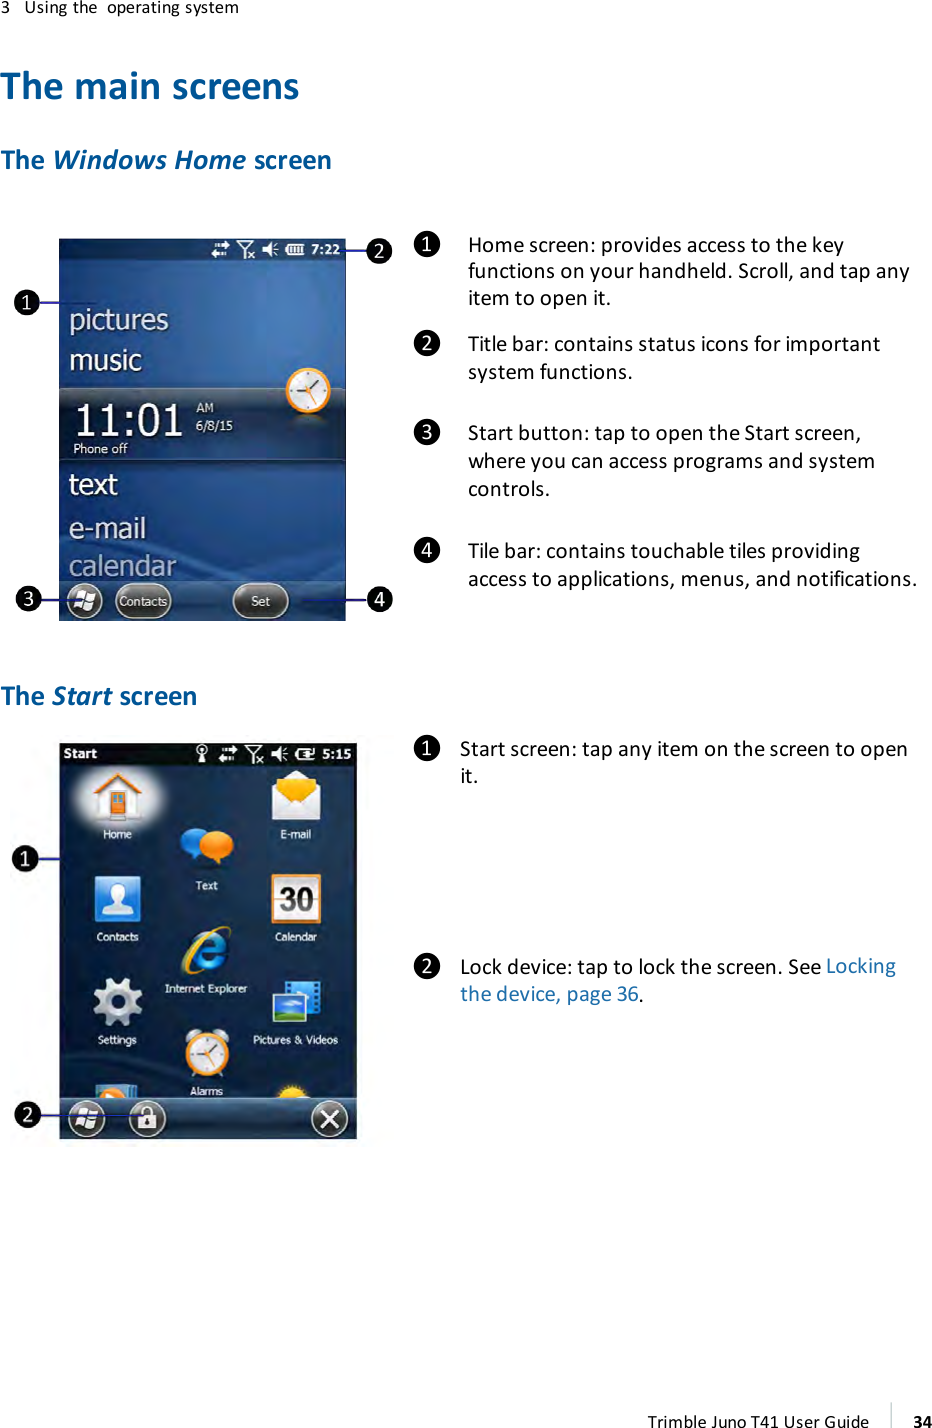
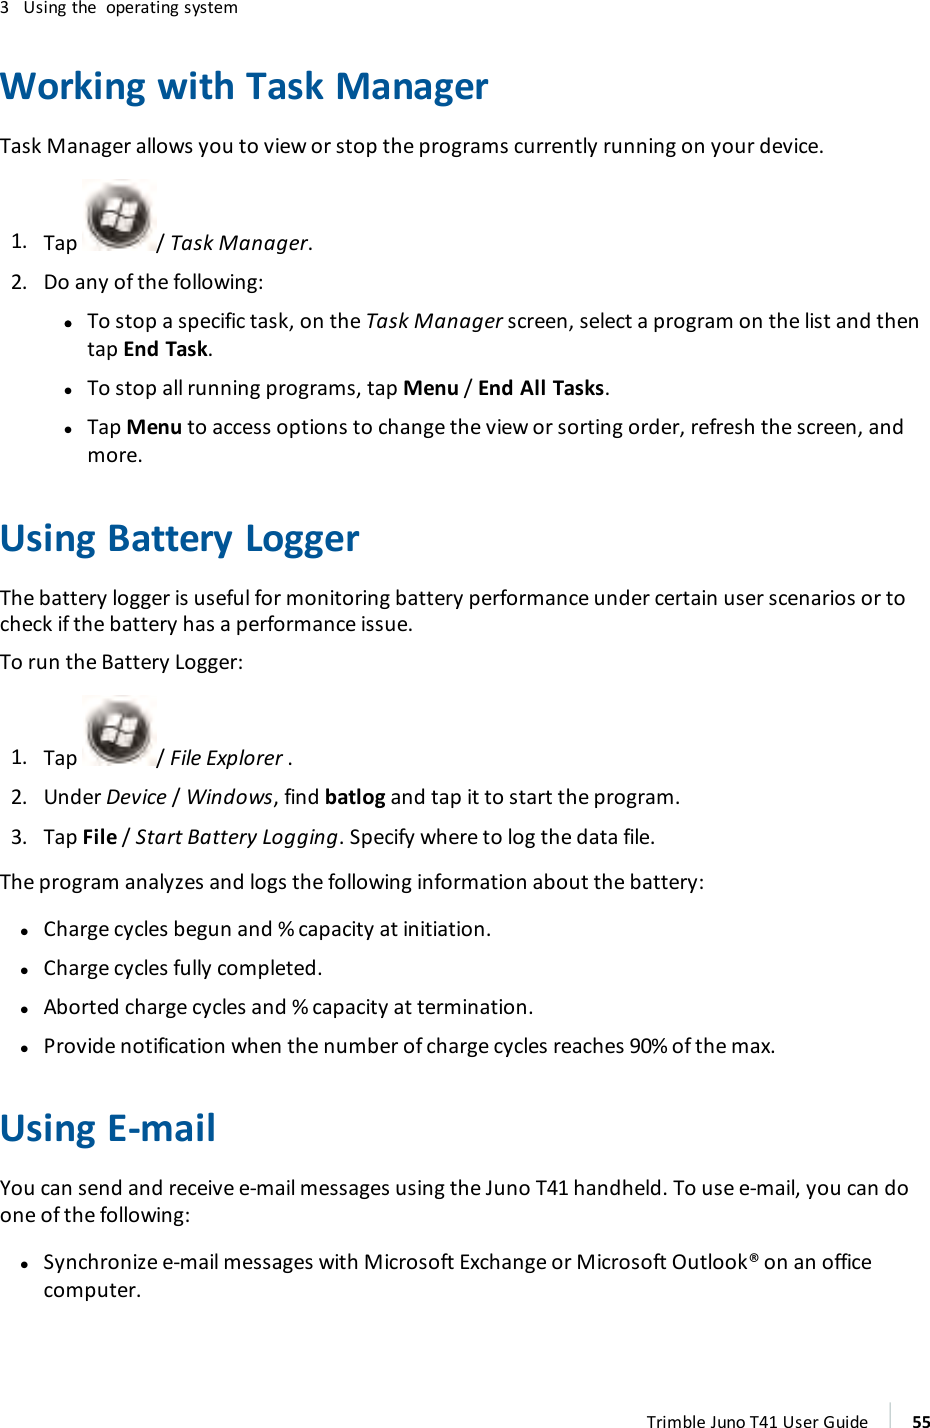
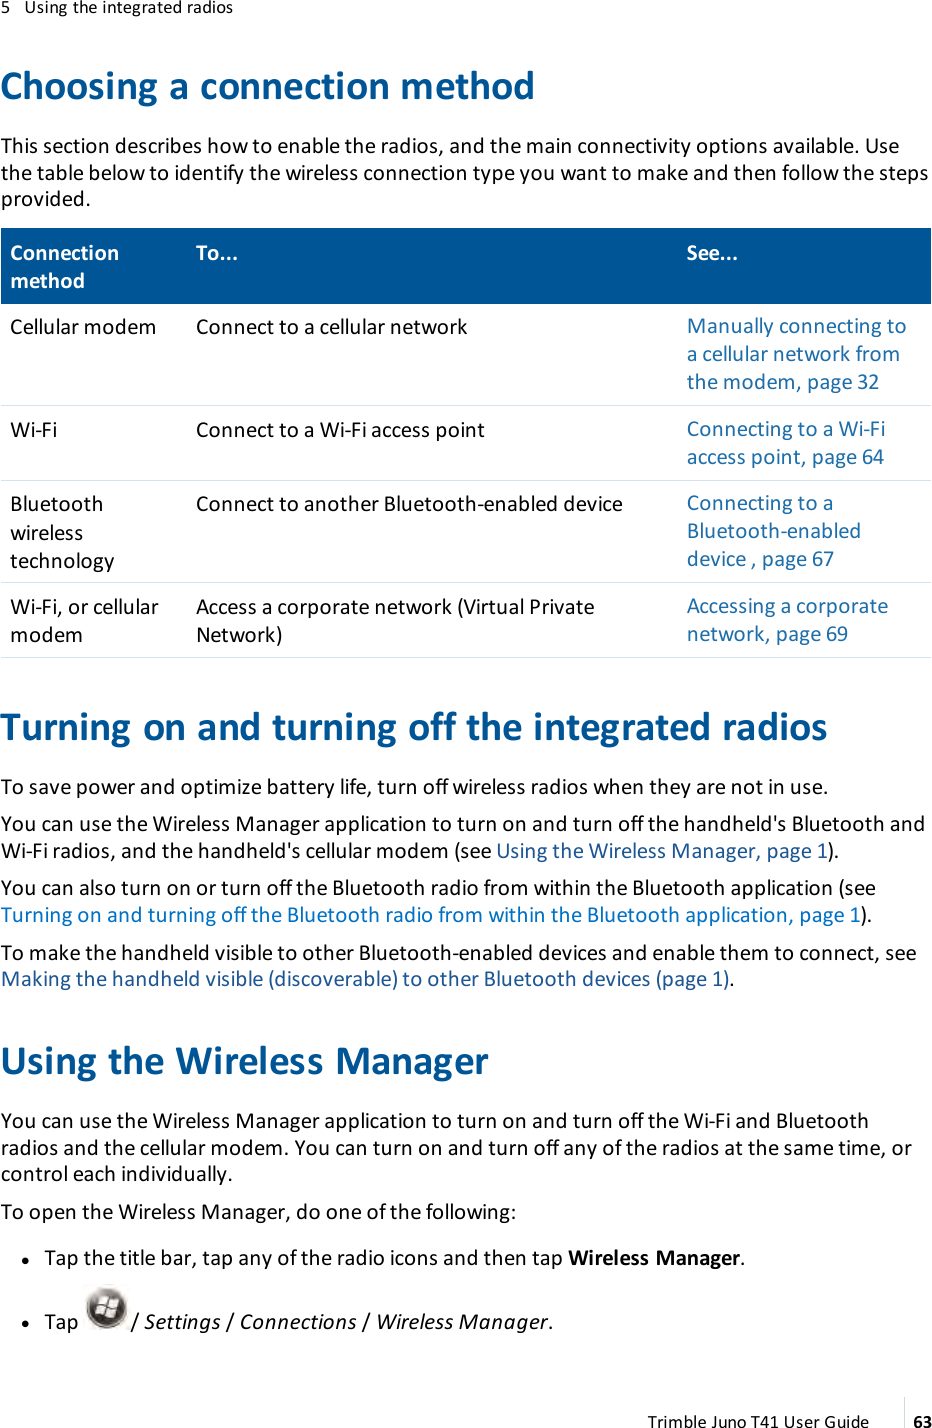
![2 Using the phoneWorking with WWAN (mobile data service)After purchasing a data connection plan from your local GSMor CDMA cellular provider, you cancommunicate from field to office, send e-mail messages and send text messages.Note – When browsing the internet using the cellular connection, you must turn off the Wi-Fi (802.11) or theunit will default to the Wi-Fi to browse.Before you begin, make sure you have inserted a SIMcard in to the handheld. See Inserting andremoving the SIM card, page 24.Depending upon the configuration of your handheld, it may have the additional 3G or CDMAwireless wide area network (WWAN)feature.Configuring the cellular connection using CellStartNote – Applications or services that send or receive data over a cellular network may incur additional fees.Contact your carrier for information about your service plan and fees.If you are connecting to a GSM network, you will need a SIM card to use cellular services. Make surethe SIMcard is inserted into the handheld before you turn on and set up the handheld. SeeInserting and removing the SIM card, page 24.1. Tap / CellStart. (You may need to tap OK to agree to the terms to open the program.)Under Available Settings, tap the [+] by your country to expand carriers.2. Tap the [+] by the carrier you have signed up with and highlight Typical and tap New. (If usingmultiple configuration settings, you can tap on the primary setting and tap Default.)3. Ensure the phone is turned on. Tap / Settings /Connections /Wireless Manager /Phone.4. Test the settings by tapping / Internet Explorer and then browse to a web page. Thephone will automatically start dialing when you try to open a web page.5. If the phone will not connect, try other settings before calling the carrier technical support.6. You can also manually change modem settings by tapping / Settings /Connections /Connections.Note – Once connected, G (GPRS) or E (EDGE - a faster form of GPRS) or H (HSDPA) will automatically appearin the notification bar depending on the network capabilities in that area; some service providers may onlyprovide GPRS.Trimble Juno T41 User Guide 30](https://usermanual.wiki/Trimble/JUNO41WN/User-Guide-2712054-Page-30.png)
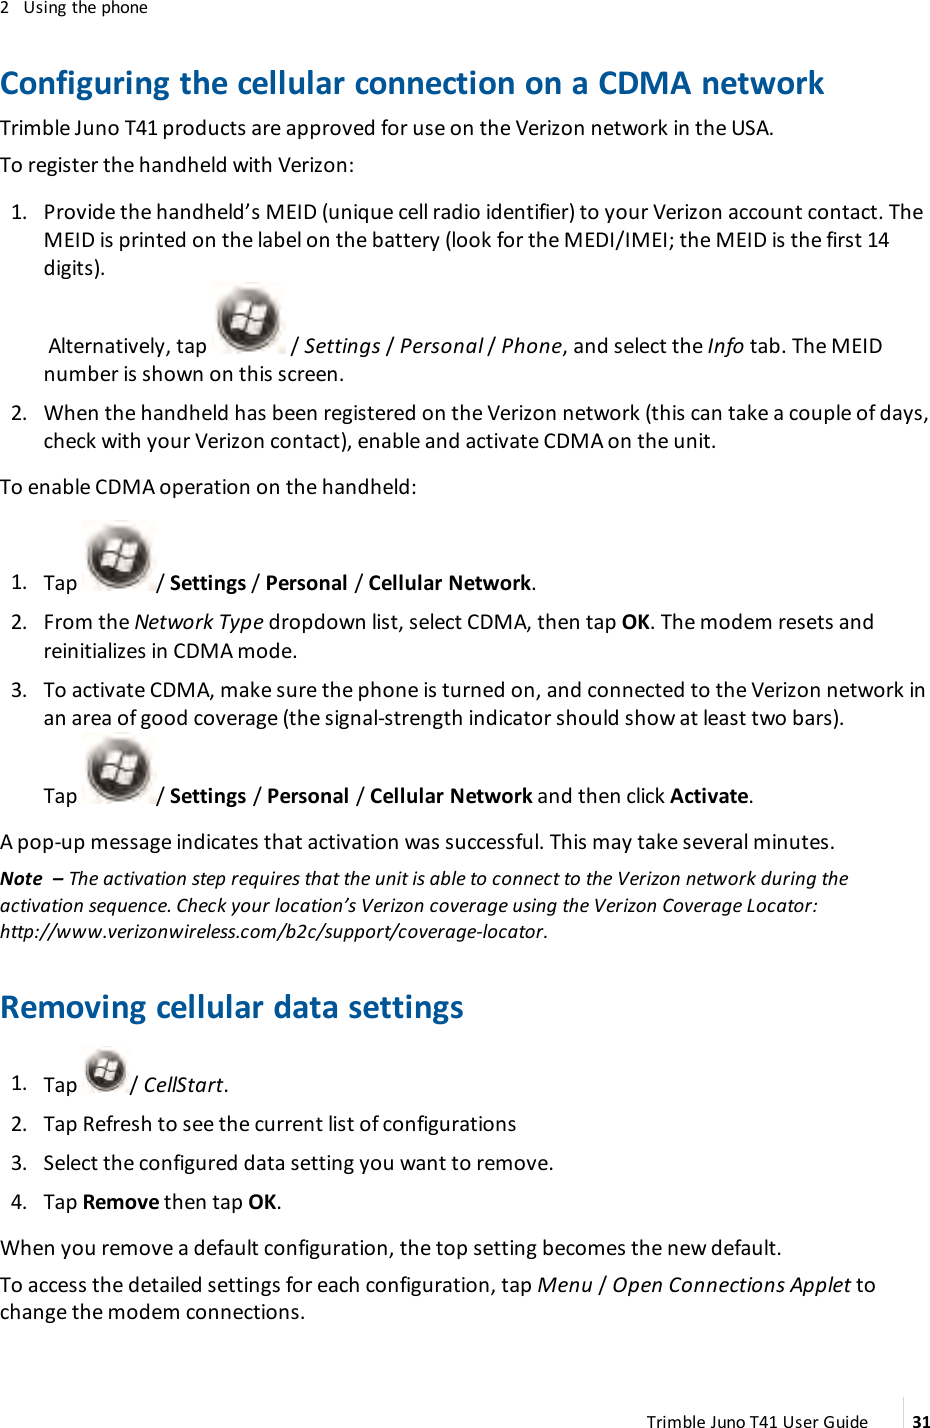
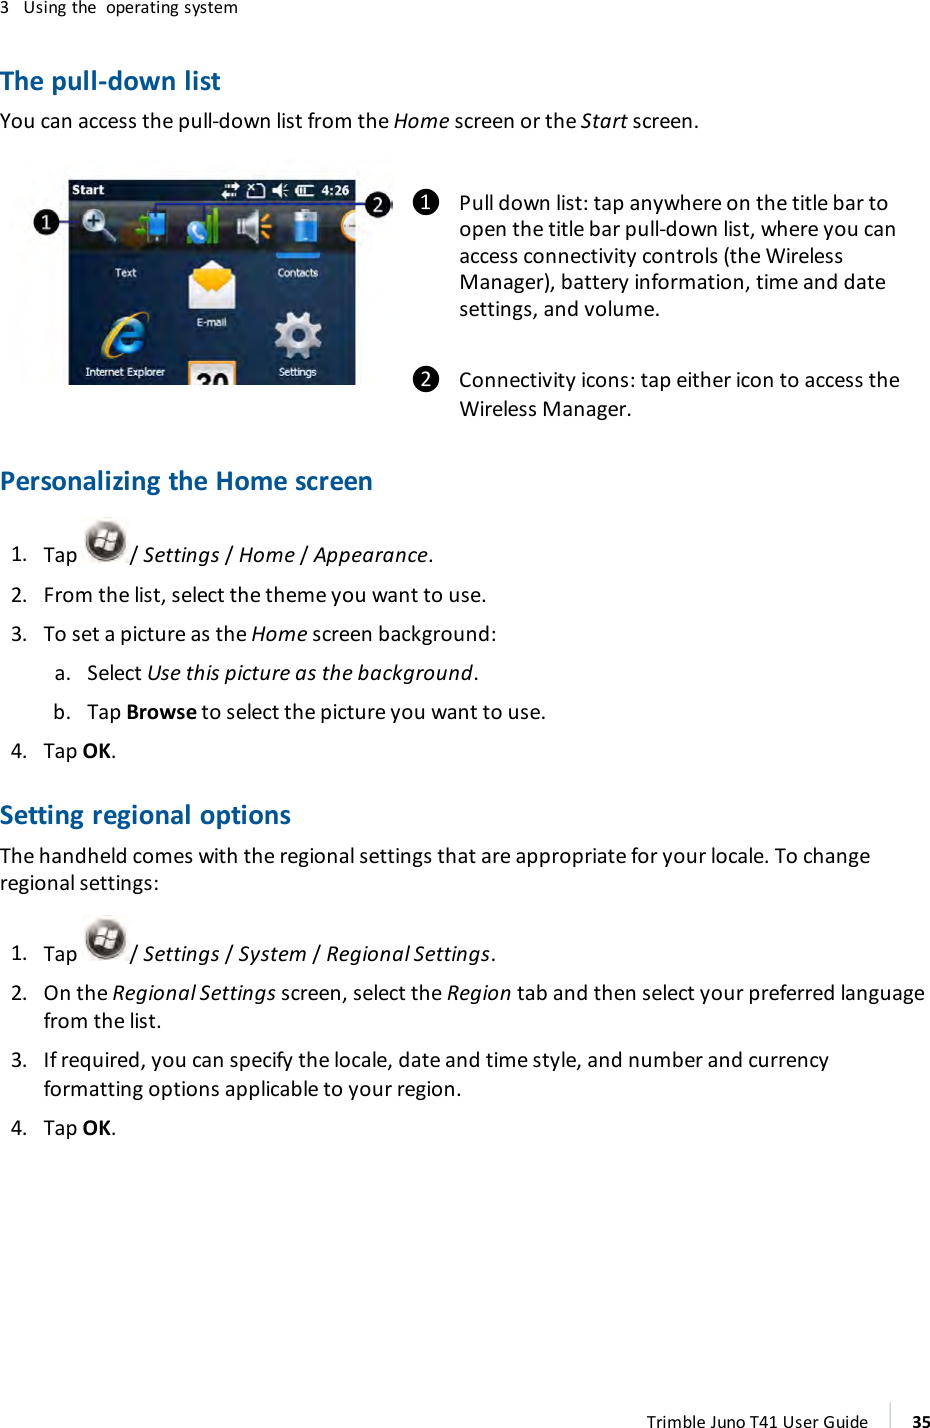
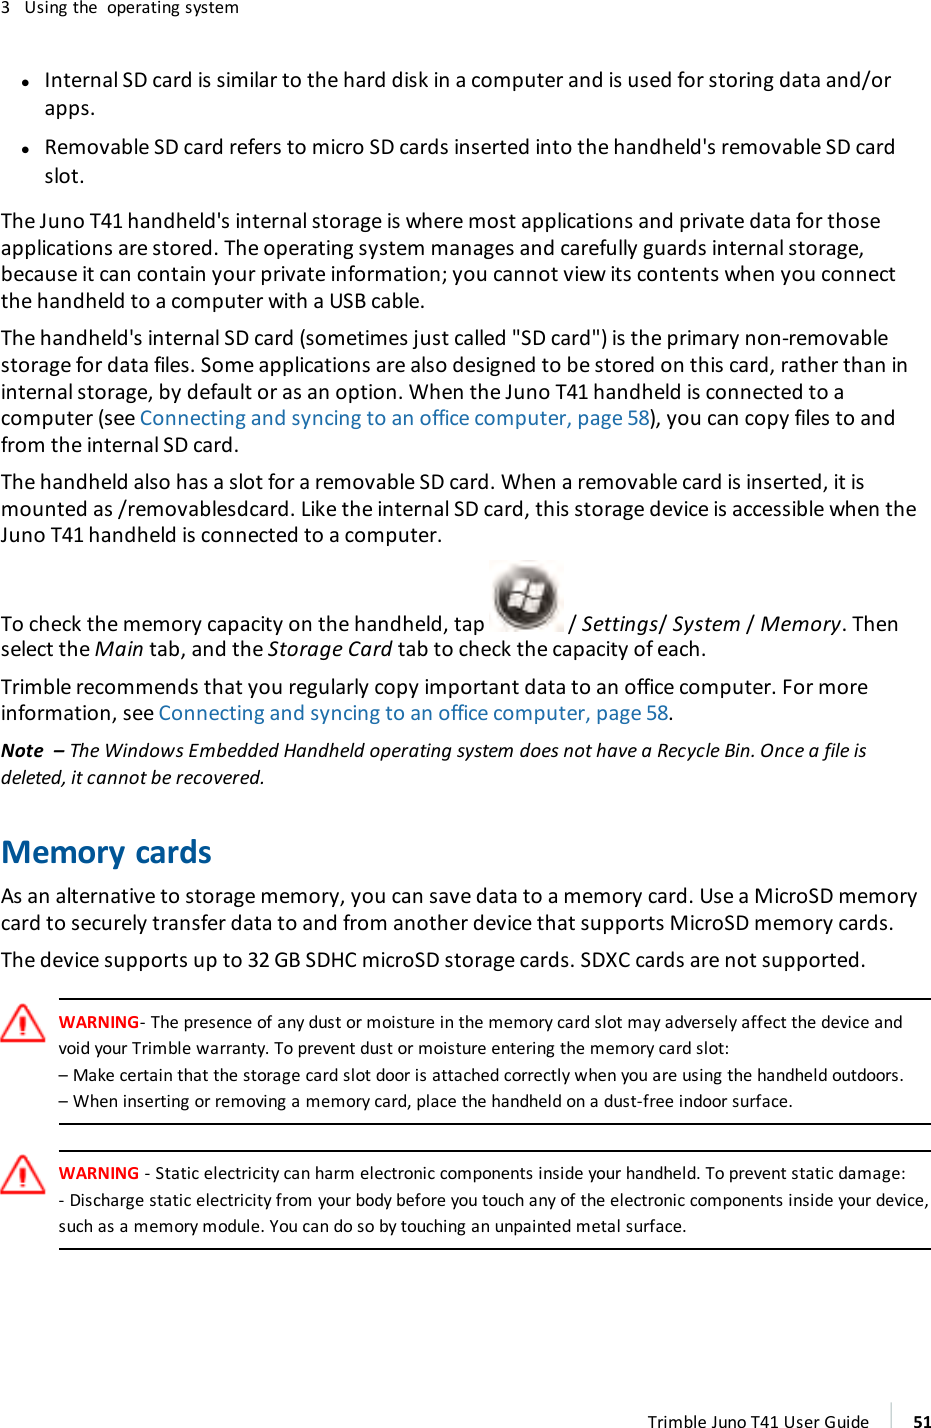
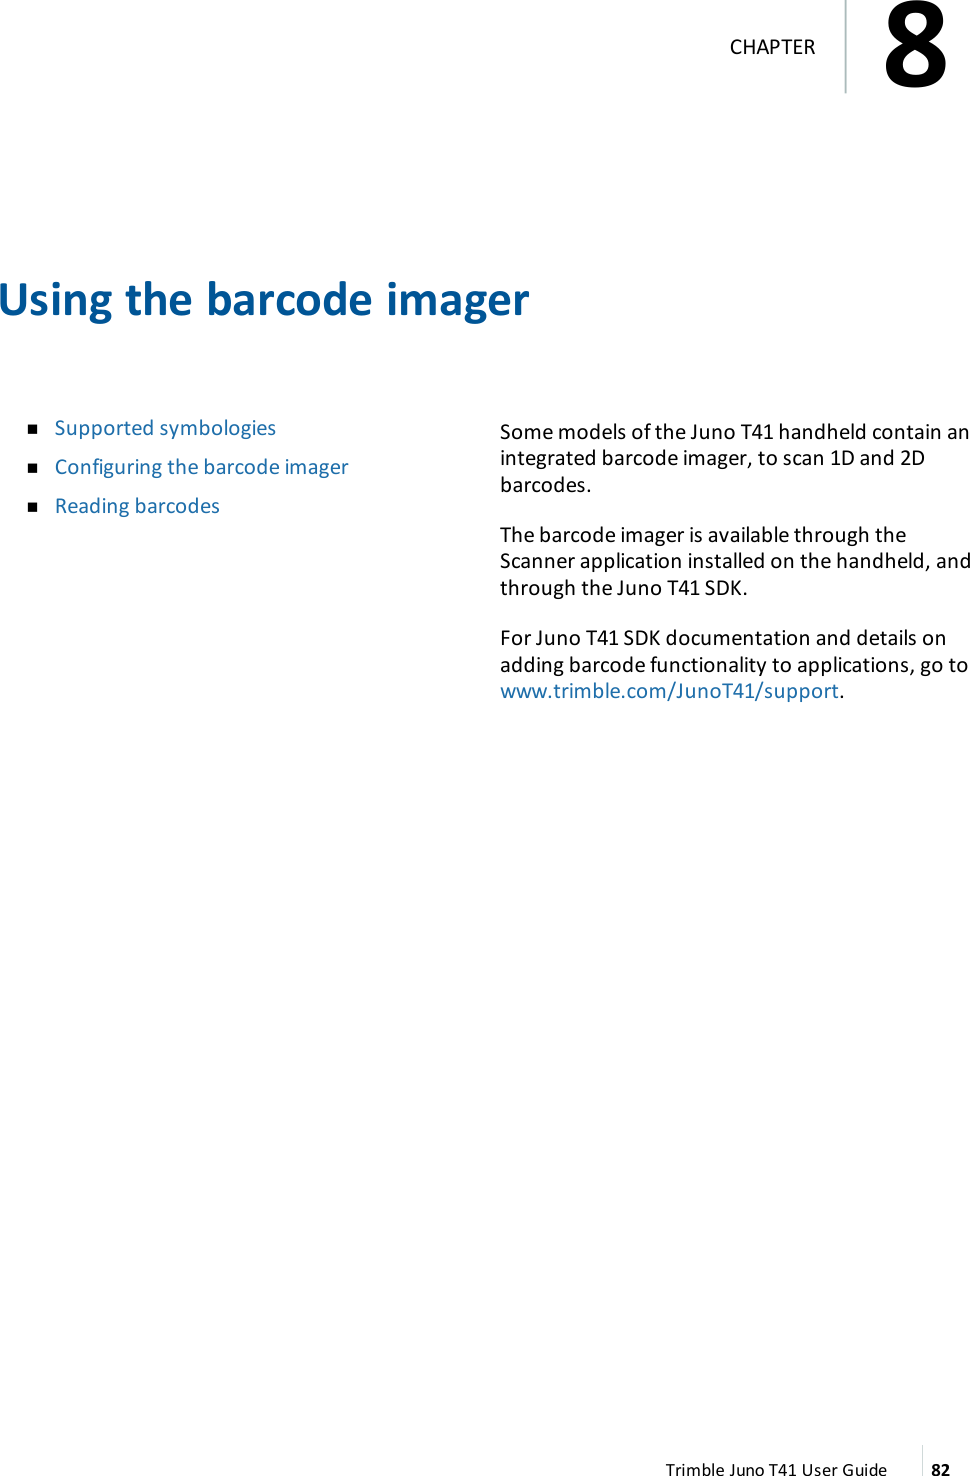
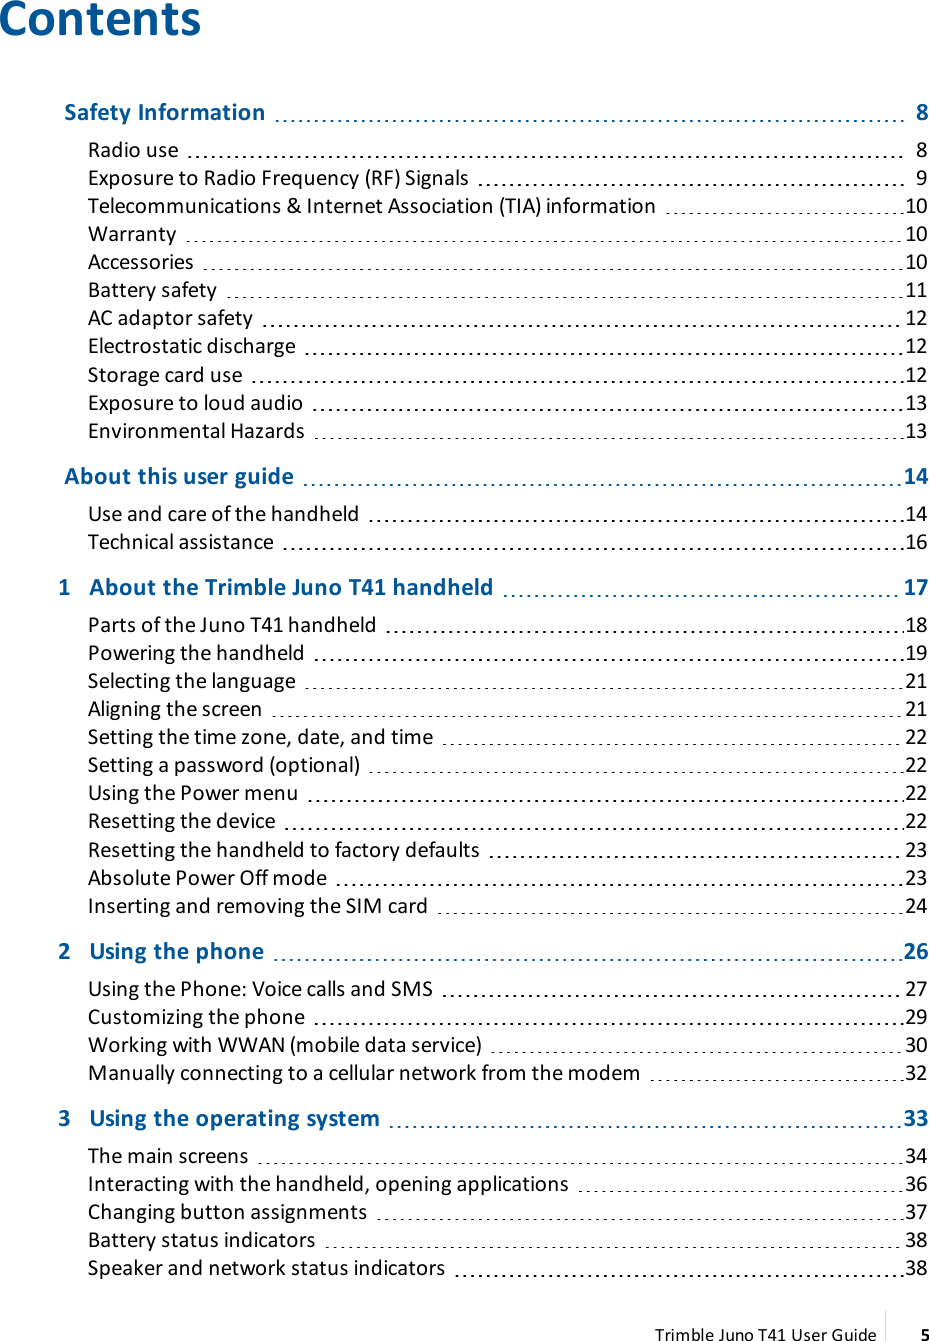
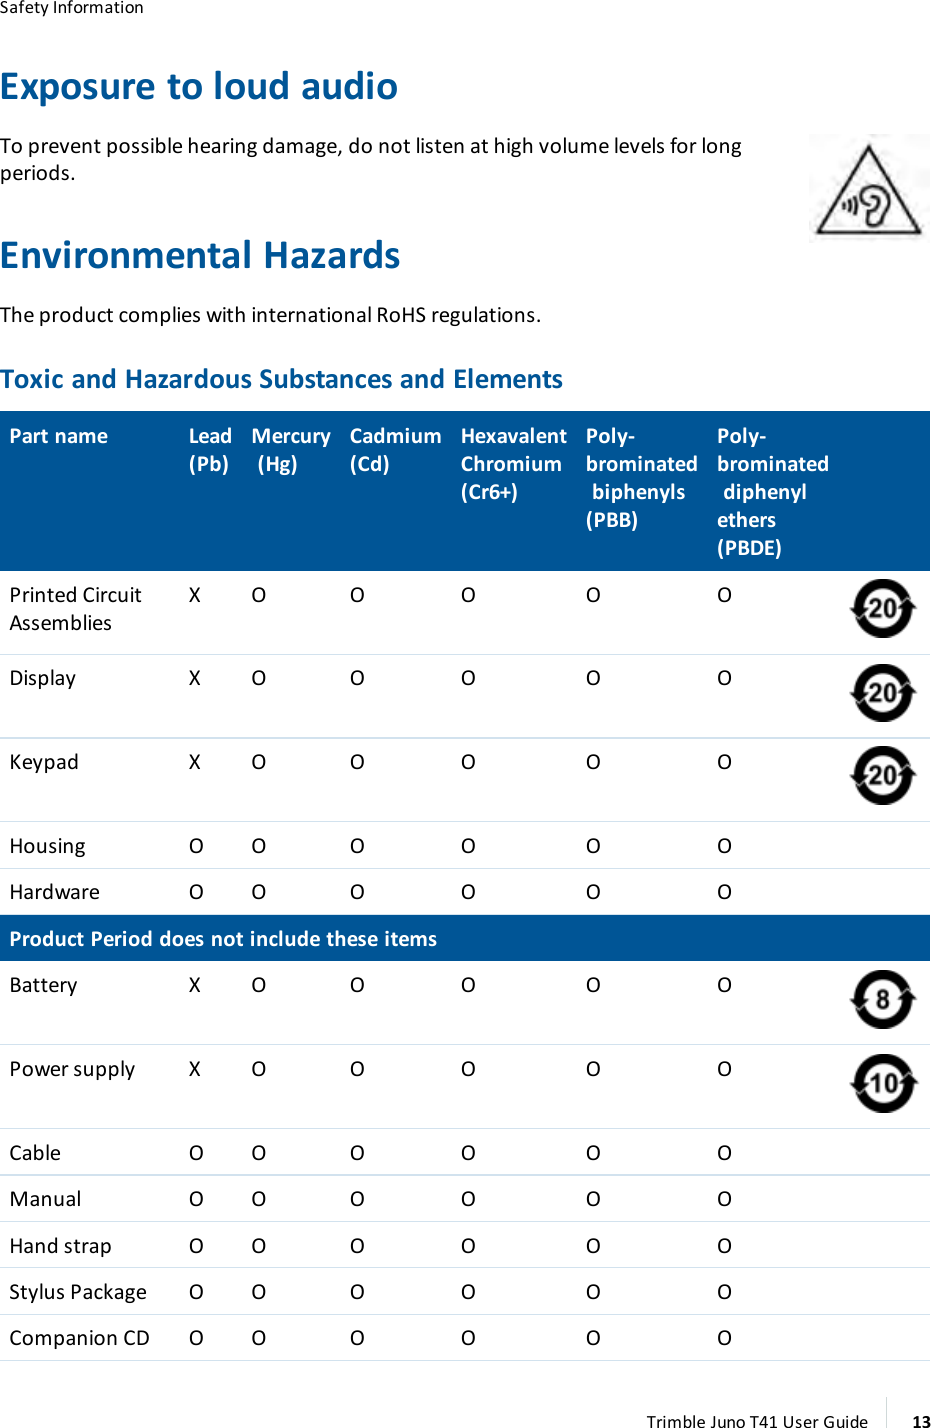
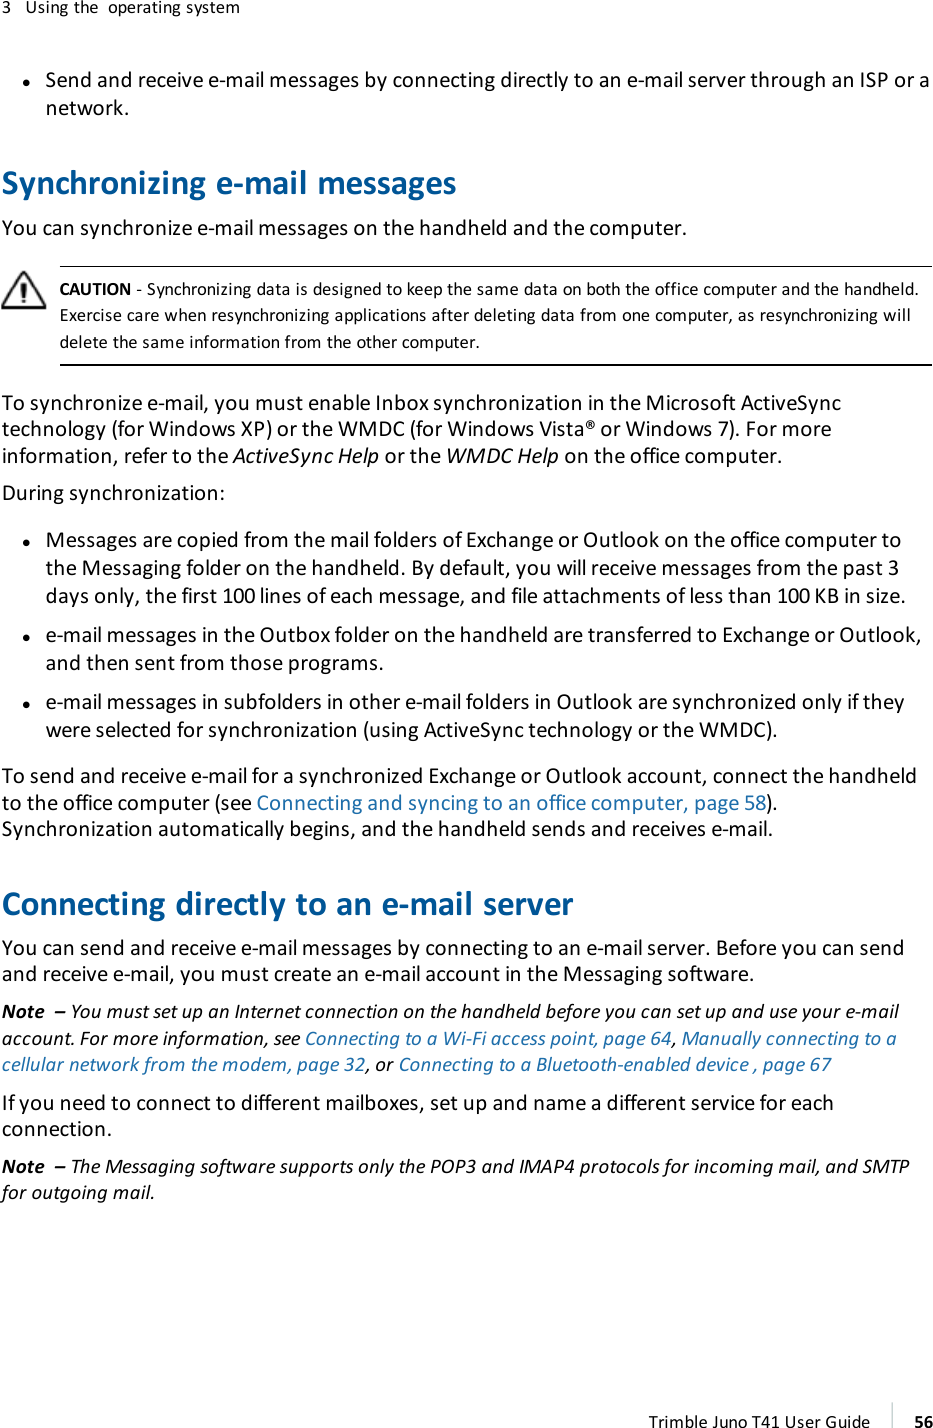
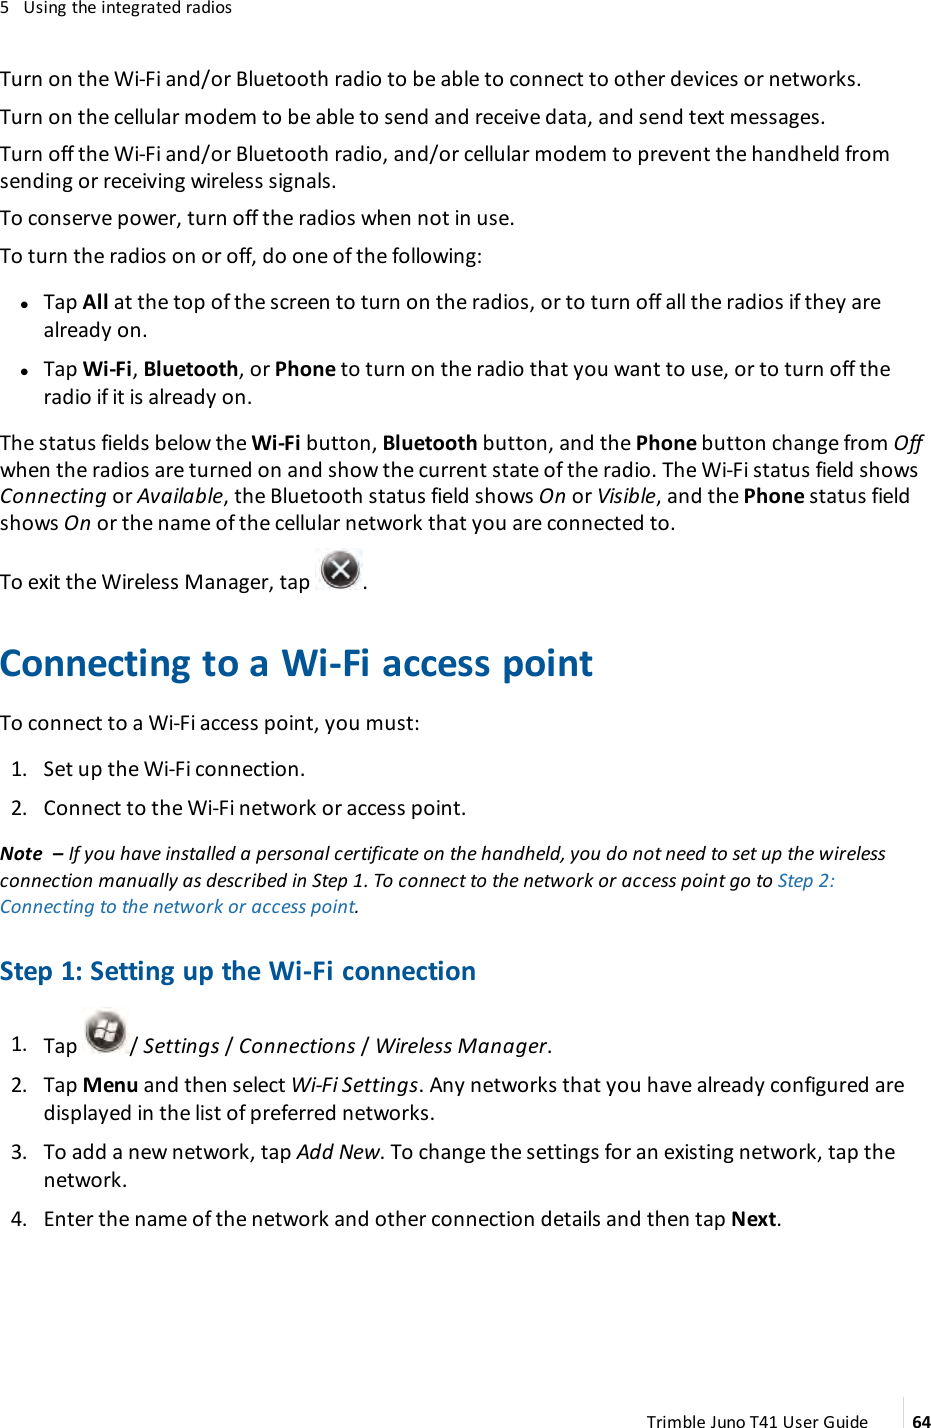
![3 Using the operating system1. Insert the memory card in the device and then connect the device to an office computer (seeConnecting and syncing to an office computer, page 58).2. Copy the encrypted files from the memory card to the office computer.3. To use the decrypted files on the device, copy the files from the office computer to the device’smain memory.4. To store the decrypted files on a memory card, ensure that encryption is not enabled on thedevice and then copy the decrypted files from the office computer to the memory card.Working with filesYou can copy files between an office computer and the handheld's main memory or a storage cardinstalled on the handheld. You can also efficiently manage your files and folders using File Explorer.To copy files to an office computer:1. Connect the handheld device to a computer (see Connecting and syncing to an officecomputer, page 58).2. Browse to the file on the handheld device.3. Select and copy the files [Ctrl + C] and then paste them [Ctrl + V] to the destination folder on theoffice computer.Note – The Windows Embedded Handheld operating system does not have a Recycle Bin. Once a file isdeleted, it cannot be recovered.Using File ExplorerFile Explorer provides many easy-to-use features for file and folder management. File Explorer letsyou browse and manage the contents of your device.Tap / File Explorer. The root folder on the device is named My Device.Tap a folder or file to open it.To return to an upper level folder, tap Up.To copy files to a storage card:1. Make sure the storage card is properly installed. See Memory cards, page 512. On the File Explorer screen, navigate to the required folder.3. Select the file you want to copy, and then tap Menu /Edit /Copy.4. Tap Menu /Storage Card.5. Tap Menu /Edit /Paste.Trimble Juno T41 User Guide 54](https://usermanual.wiki/Trimble/JUNO41WN/User-Guide-2712054-Page-54.png)
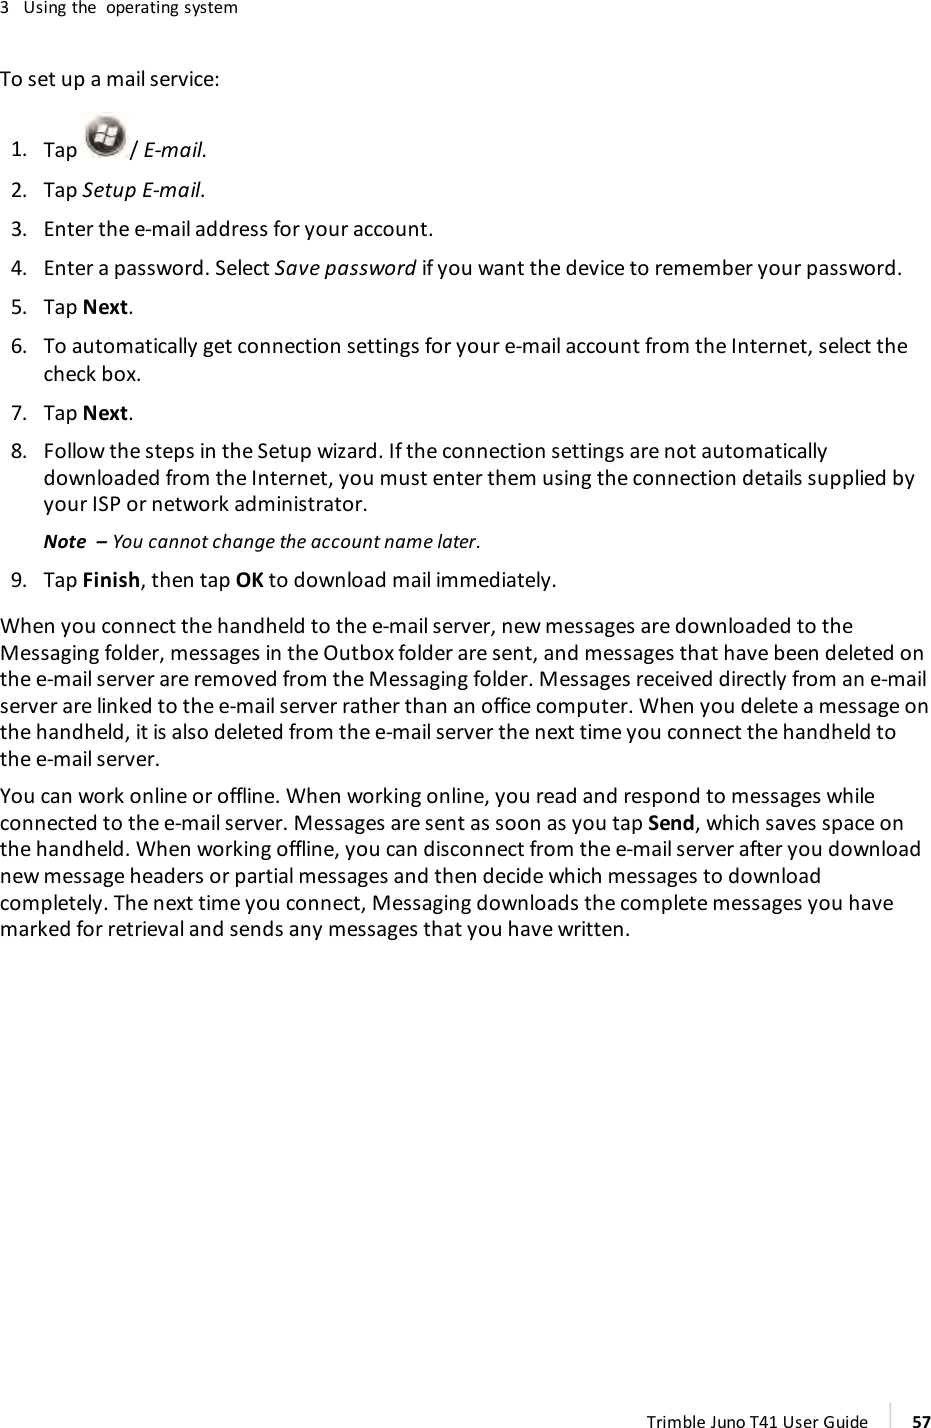
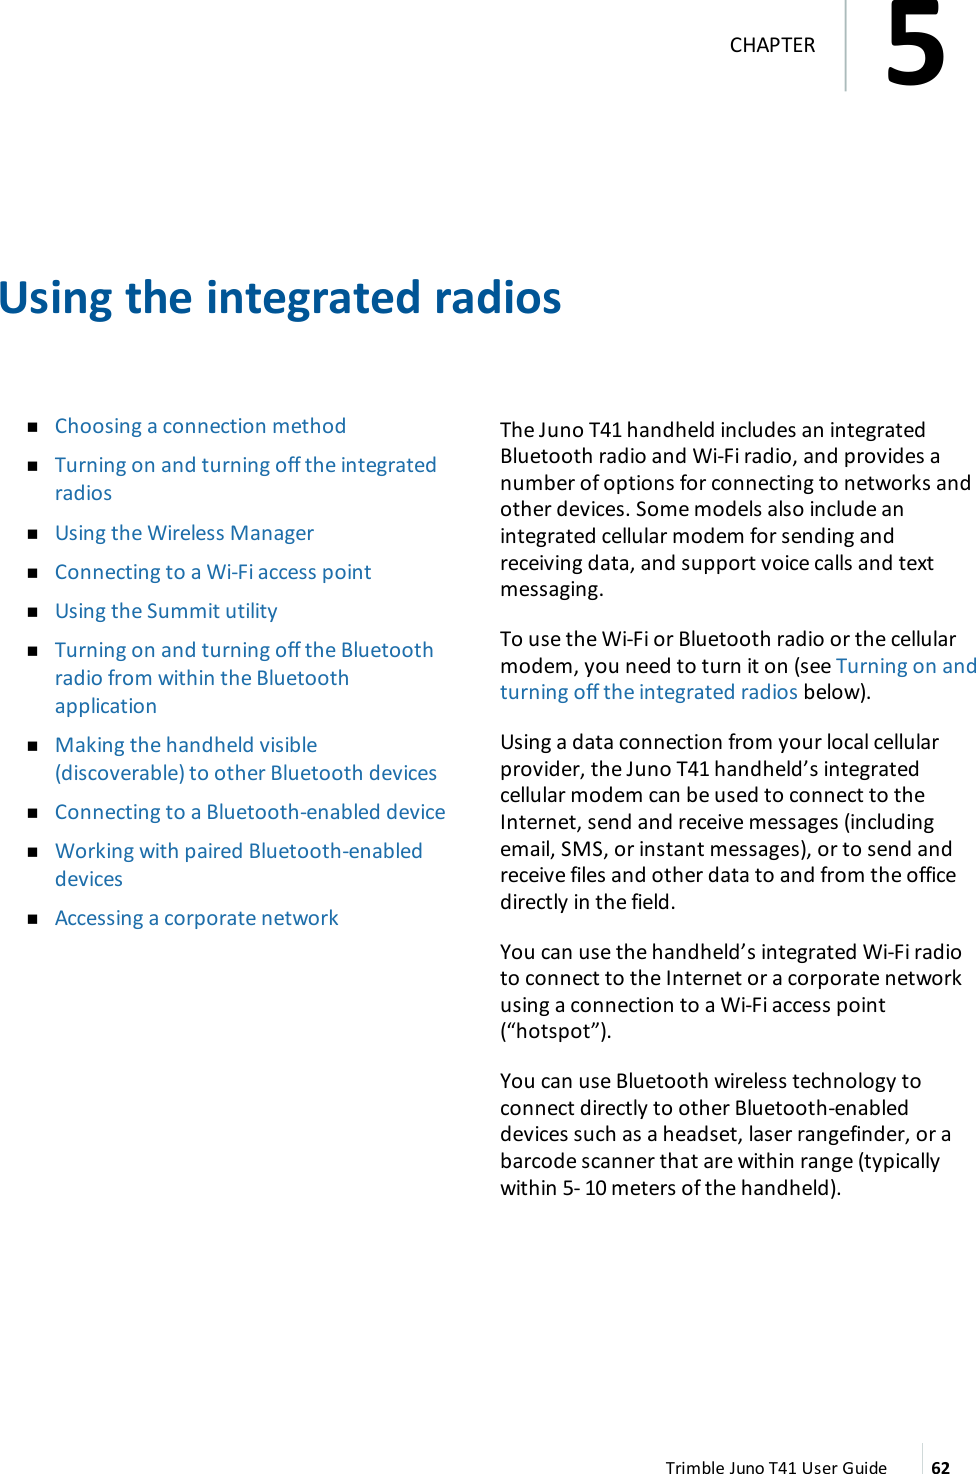

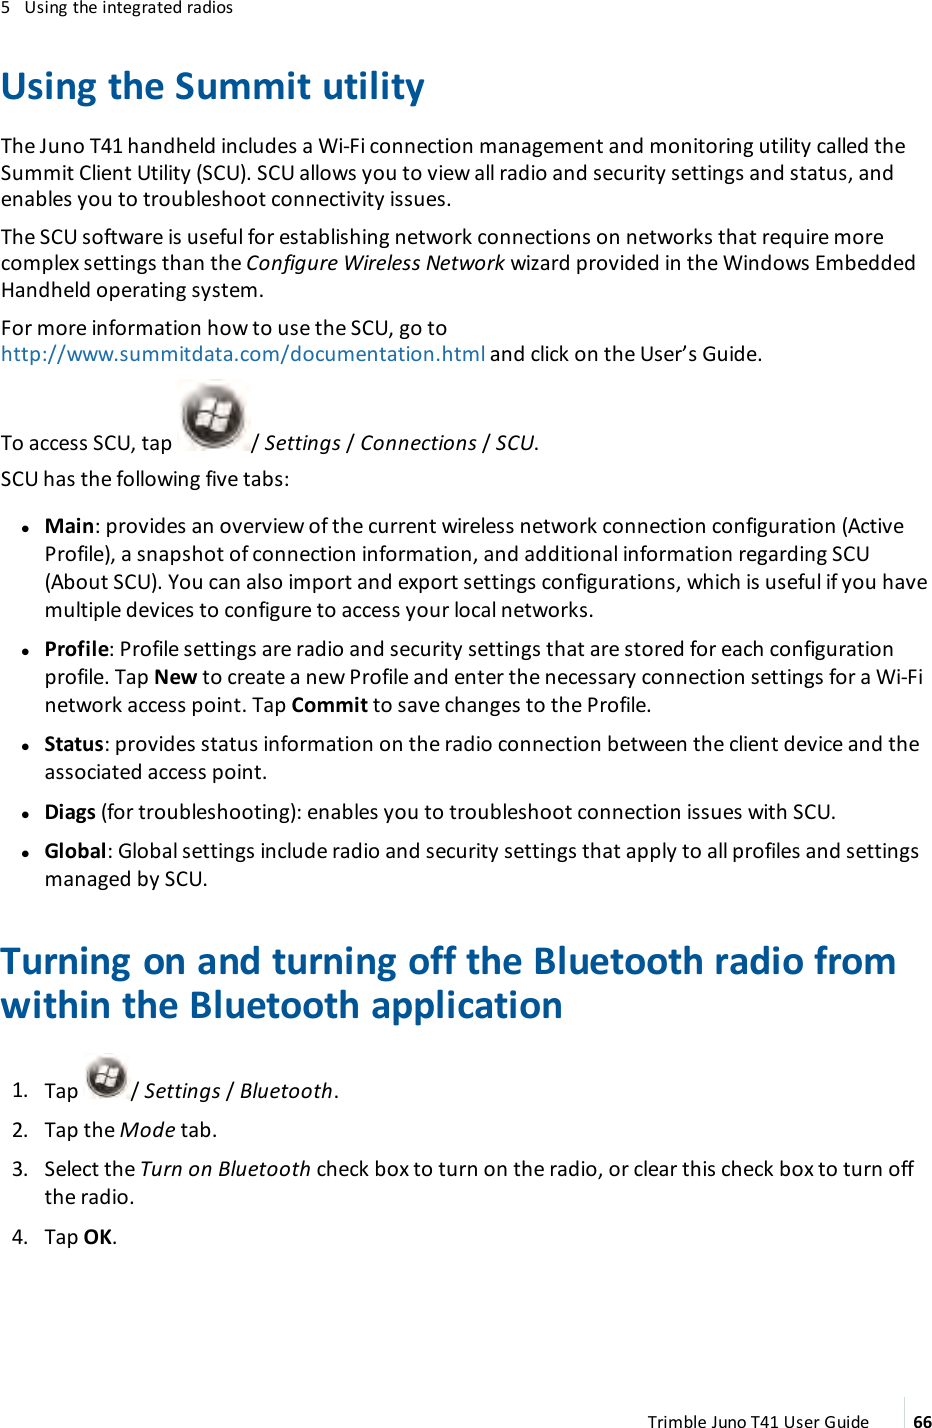


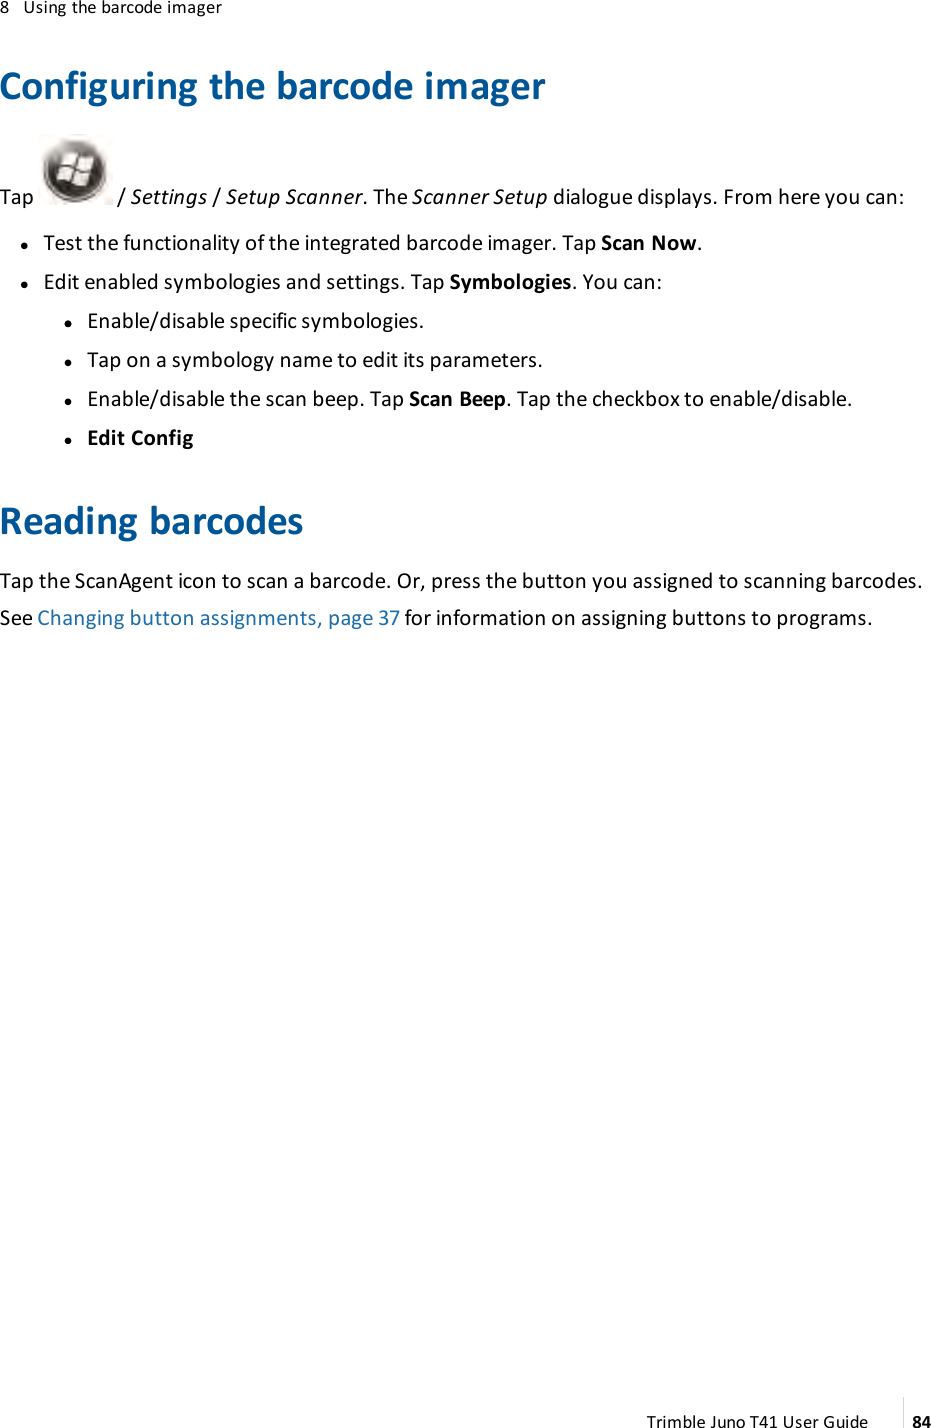
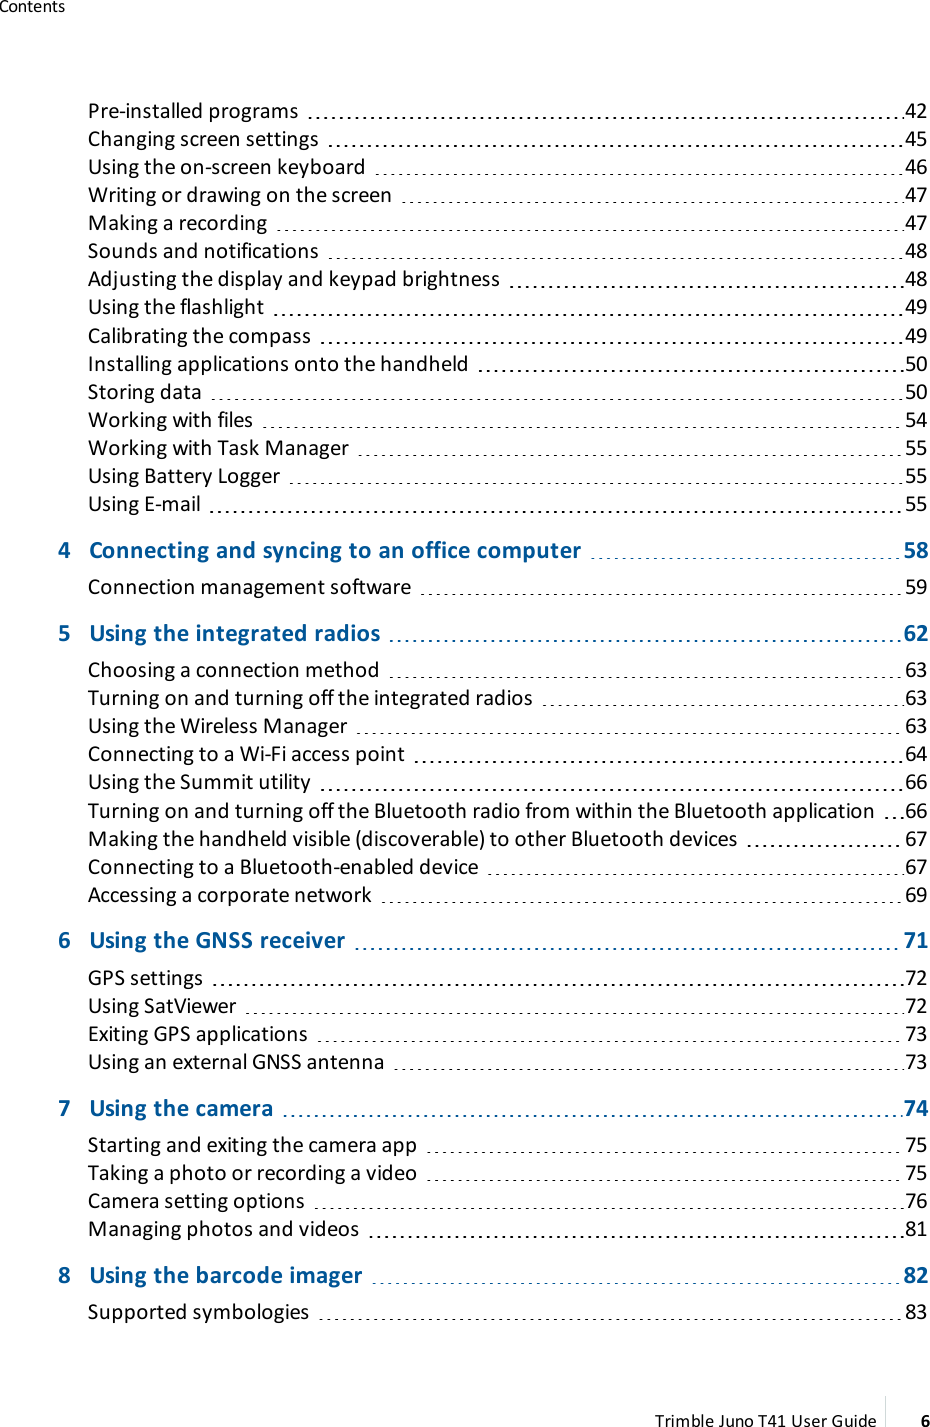
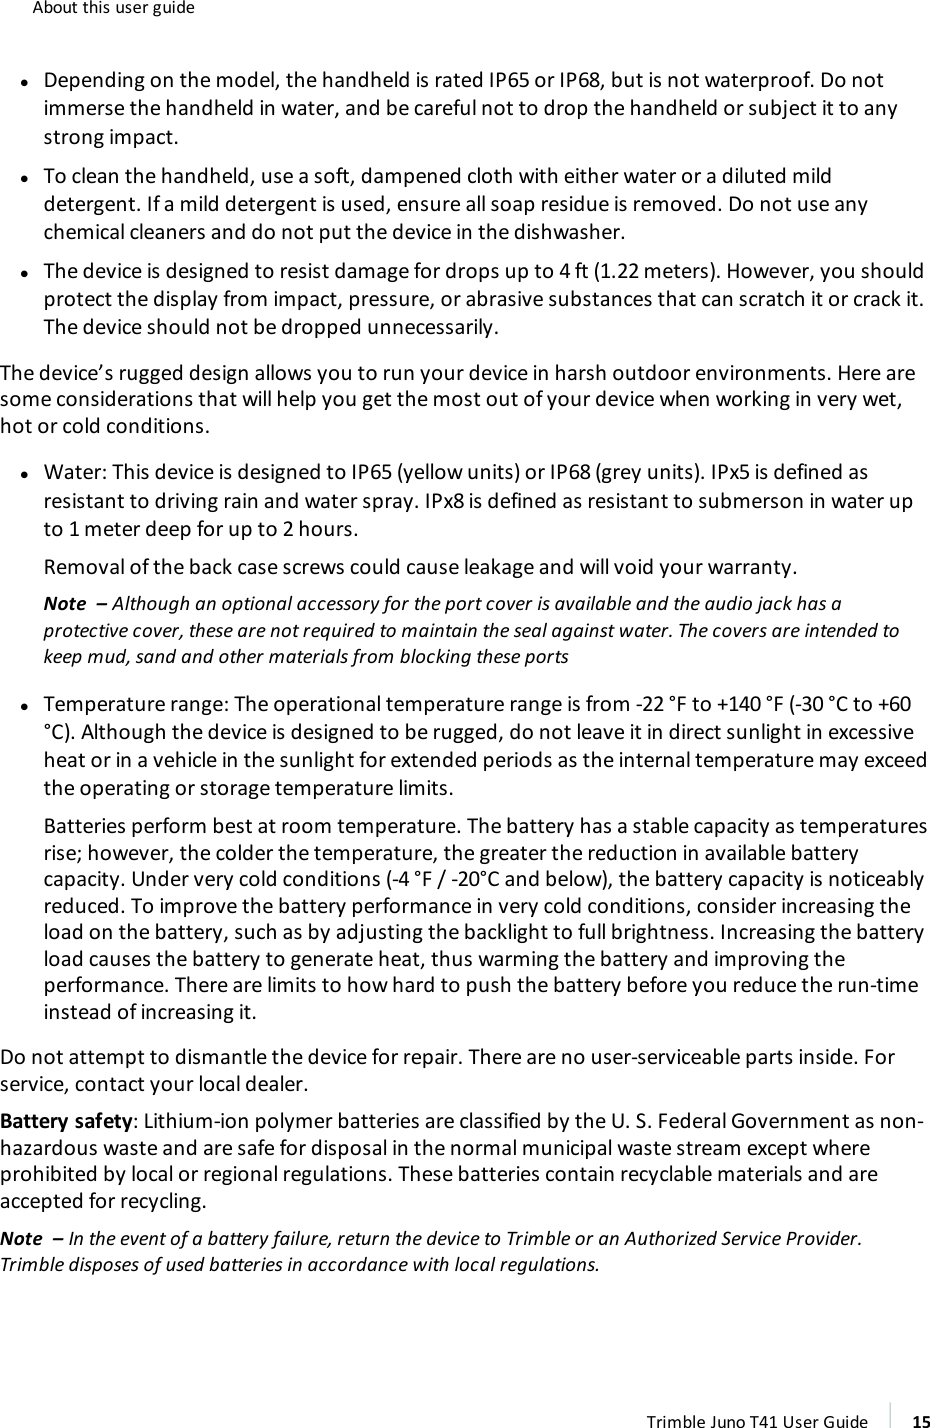
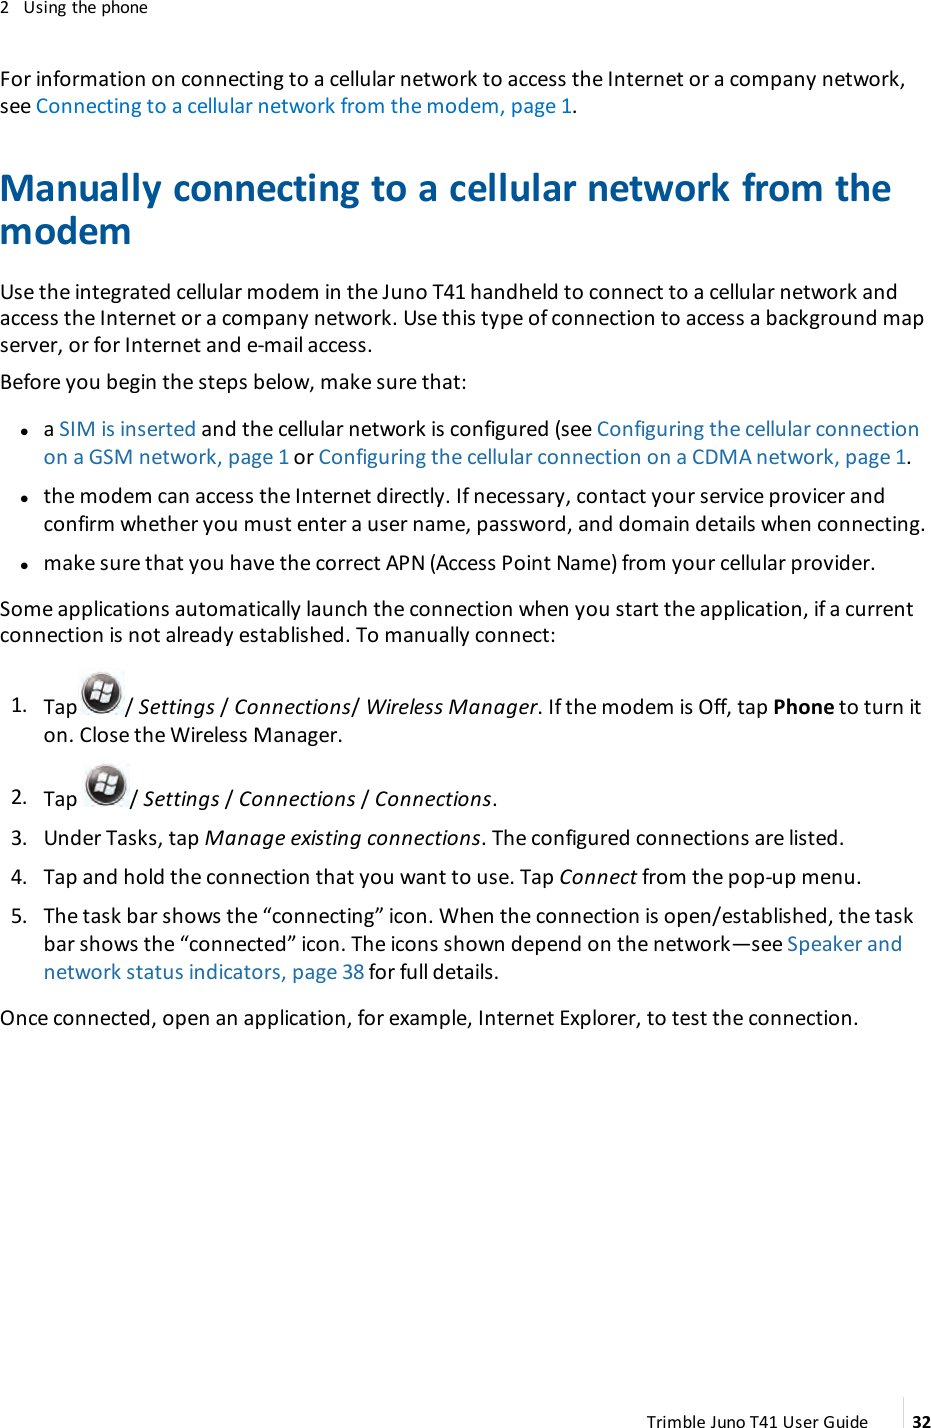
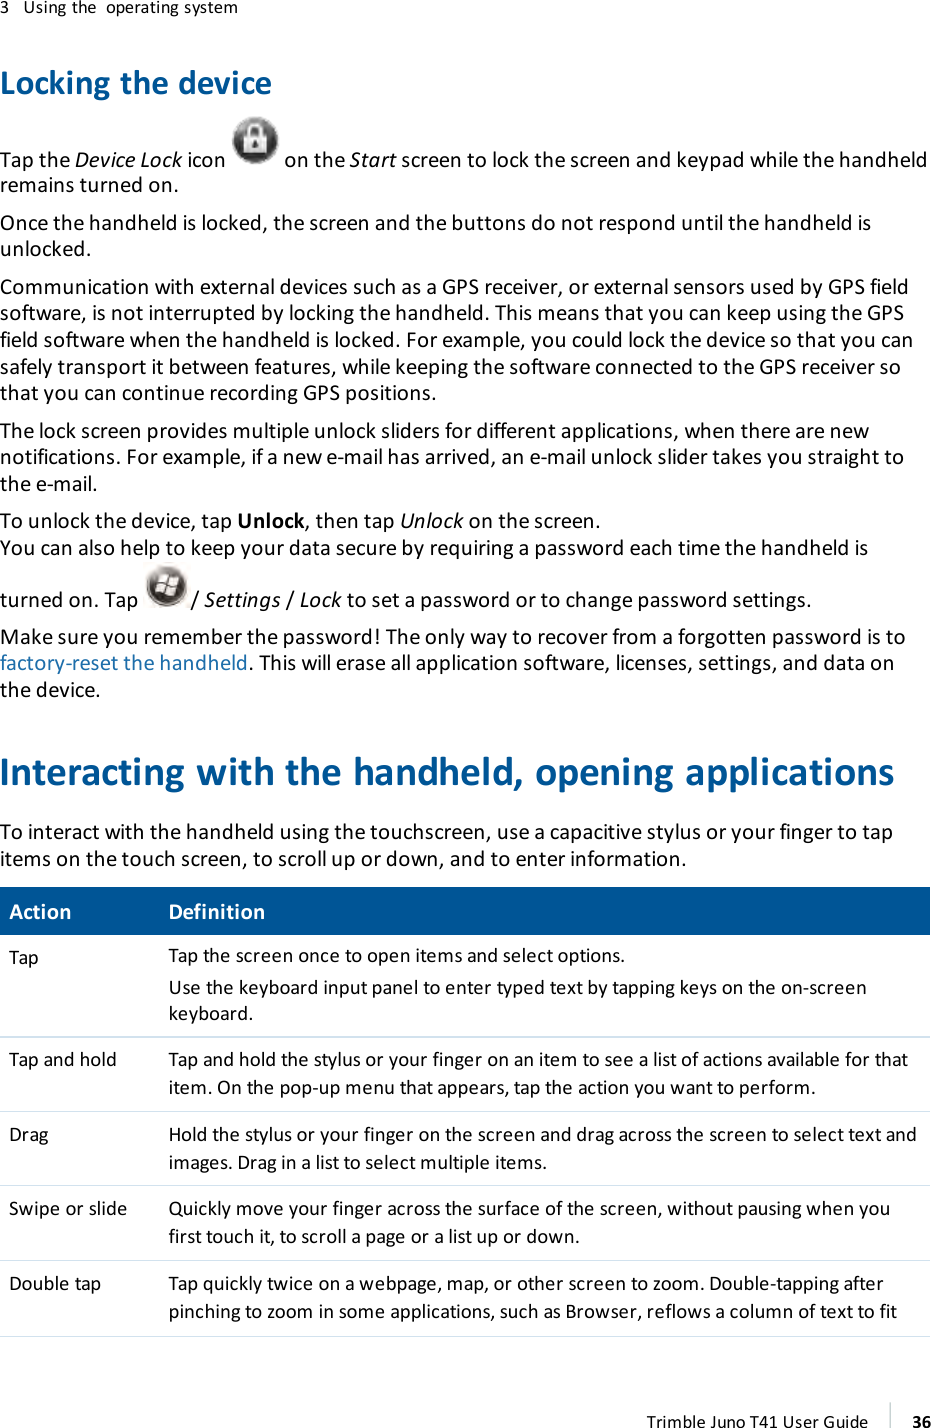
![7 Using the cameraControl Settings Modeplaces lit with Fluorescent lighting.Zoom1.0x [Minimum Zoom], 1.5x, 2.0x, 2.5x , 3.0x, 3.5x, 4.0x [Maximum Zoom].Selection of any option applies that setting to camera preview and toimages captured.Note – The Image Tagging of date-time and GPS on the image is not compatiblewith a Digital Zoom setting other than 1.0x. The EXIF tagging is not affected byDigital Zoom.StillBrightness+3 [Maximum Brightness], +2, +1, 0 [Normal Brightness], -1, -2, -3[Minimum Brightness].The selected option applies that setting to the camera preview and toimages captured. Increase the brightness if the subject is underexposed, ordecrease the brightness if the subject is overexposed. A common situationrequiring adjustment to brightness is capturing a scene with high contrastcaused by direct exposure of light sources or areas of shading or shadows.Still andvideoFlashsettingslOn: enable the flash; the flash icon appears on the screen anddual LEDs will flash while capturing images.lOff: disable the LED flash.lAuto: enable the LEDs to flash if needed to illuminate the scenes withlow-light. The auto flash icon displays on the screen.StillImagequalitylEconomy: save the captured image with low quality (highcompression).lNormal: save the captured image with medium quality (mediumcompression).lFine: save the captured image with good quality (low compression).lSuper Fine: save the captured image with very good quality (very lowcompression).Images are stored with the selected quality; the file size of the imageincreases as quality increases.StillAudioRecordlEnable: Audio capture from the microphone is enabled whilerecording.lDisable: The video that is recorded does not include any sound.VideoTrimble Juno T41 User Guide 80](https://usermanual.wiki/Trimble/JUNO41WN/User-Guide-2712054-Page-80.png)