Trust 15550 Wireless Optical Mouse User Manual usermanual part 2
Trust International BV Wireless Optical Mouse usermanual part 2
Trust >
Contents
- 1. usermanual part 1
- 2. usermanual part 2
- 3. usermanual part 3
- 4. usermanual part 4
usermanual part 2

34
5. Using Remote Presenter Mouse At the Desktop
The mouse provides great flexibility in how you control your computer and its optical sensor allows for
precise tracking on any surface (for optimal performance, avoid highly reflective glass or mirrored
surfaces). To use on the desktop:
(1) Please follow the instructions of the "ID Setting" and "Recharging".
(3) Use the mouse like a standard wireless optical desktop mouse.
(3) Using the trackball on the top of the mouse as a 4D (directions) scroller.
7. Powering On/Off
There is a Power on/off switch designed to save
the batteries power while non-usage of a longer
period.
For optimal battery life, avoid using the mouse on dark-
colored surfaces.
Tip
6. Using Remote Presenter Mouse Off the Desk.
The mouse has no line-of -sight requirements so it's not necessary to point the device at the computer,
receiver or monitor, Find a comfortable, relaxed position and move the cursor with easy wrist
movements.
(1) Please follow the instructions of "ID Setting" and "Recharging".
(2) Hold the mouse in a comfortable, relaxed position with your index finger on the
bottom of the mouse and your thumb at the top of the mouse (see
illustration)
(3) You can control the cursor movement by rolling the trackball using your
thumb.
(4) The Programmble Buttons on the bottom of the mouse are designed for quick
assess up and down between slides with Power Point. (Must install Software)
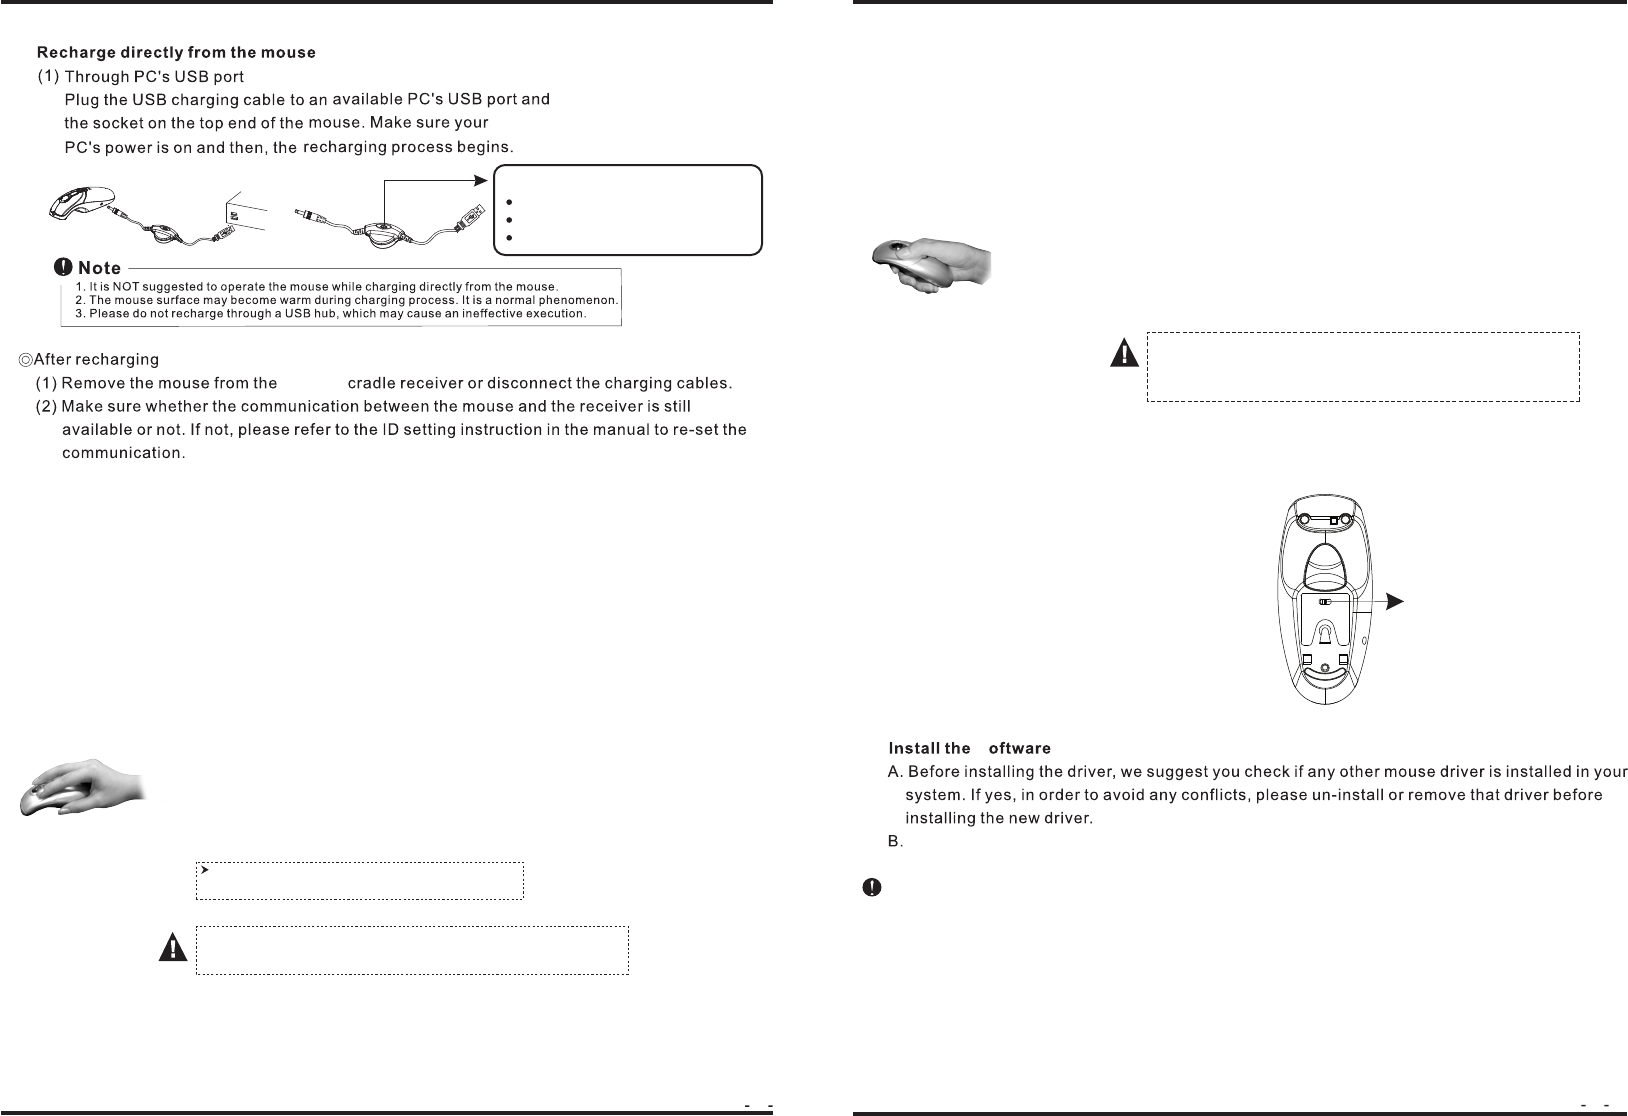
B. (for charging when traveling) (Optional)
charging
8.
Please avoid put your finger on the top of the desk sensor,
and avoid using it under the strong light, there may cause
funtion fault.
Insert the drive diskette; follow the instructions on the screen to complete the software installation,
and then restart the PC.
Please make sure to plug the receiver, or charging cradle USB cable to the exactly same USB port of
your PC, as the software installed. Otherwis the software will not be active. You should install the software
again frome the new USB port.
C.
S
Power on/off switch
The presenter may not perform properly while working on
the some "dark color surfaces".
Indicatior
Green Light On : Charging Completed
No Light on : Non-working
LED
Red Light On : Charging