Twin Star TS-1206 SOUND SYSTEM User Manual Manual
Twin-Star International Inc. SOUND SYSTEM Manual
Manual
MP#MX
1
www.tsicustomerservice.com
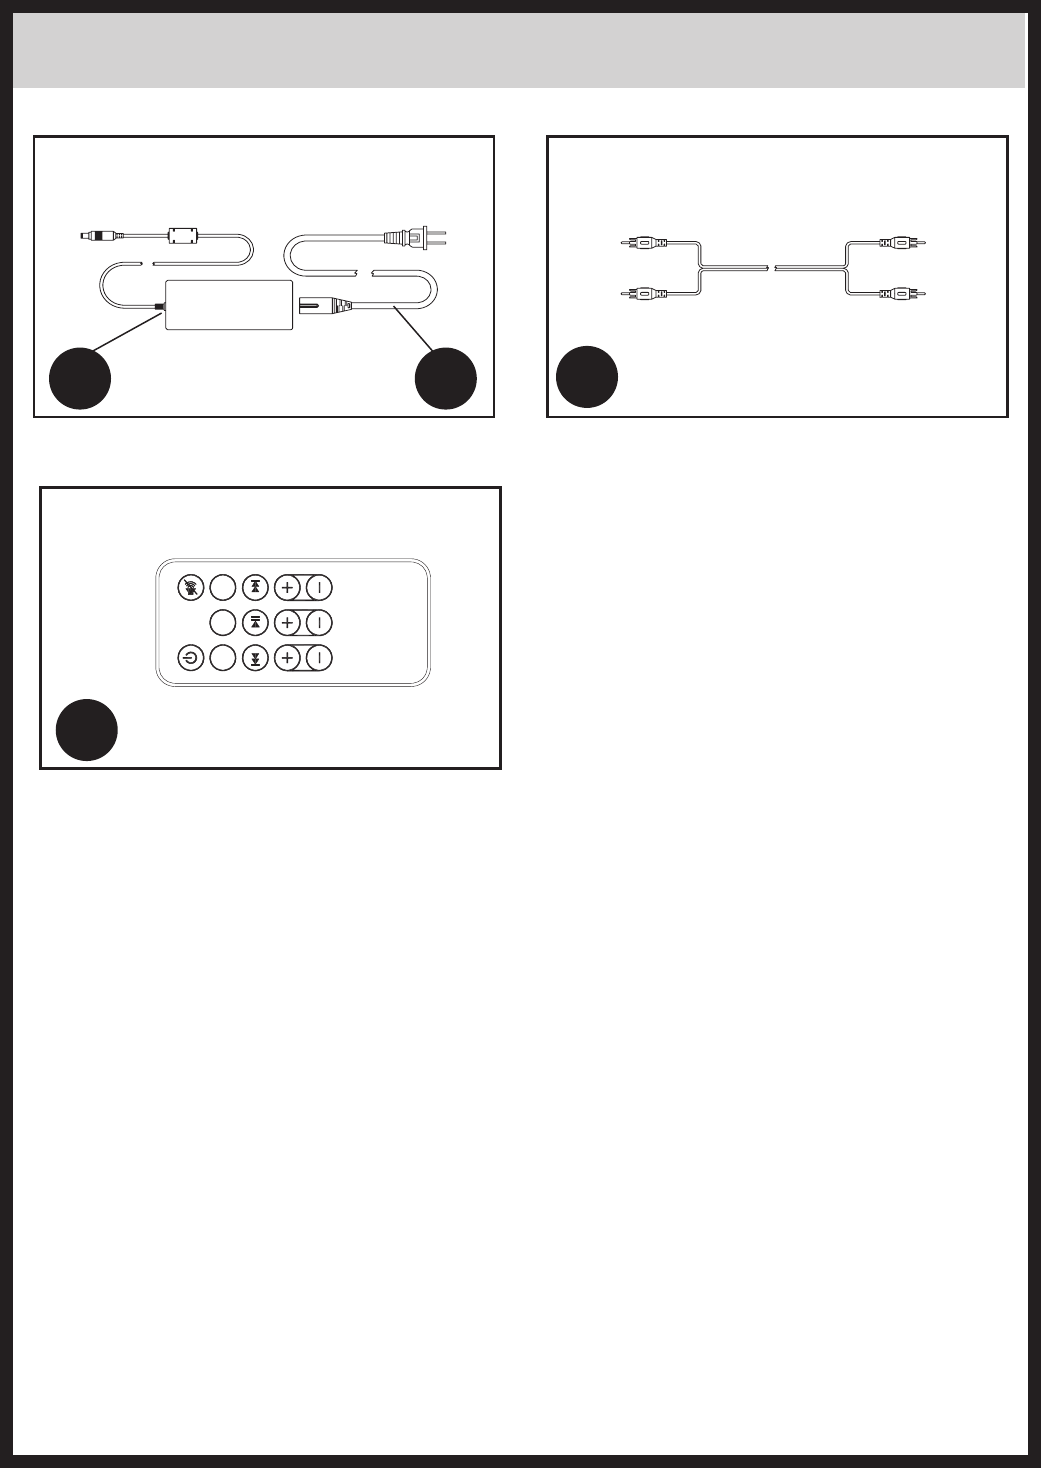
HARDWARE LIST
W
OO
X
LINE IN OPTICAL
TREBLE BASS VOLUME
BLUE
Y15-1213-RC
Y12-PID01-MN Y12-PID01-K
V
MP#MX
2
www.tsicustomerservice.com
Y15-SB-1206
Y15-SG-12130308
LINE IN OPTICAL
TREBLE BASS VOLUME
BLUE
Y15-CP-1213
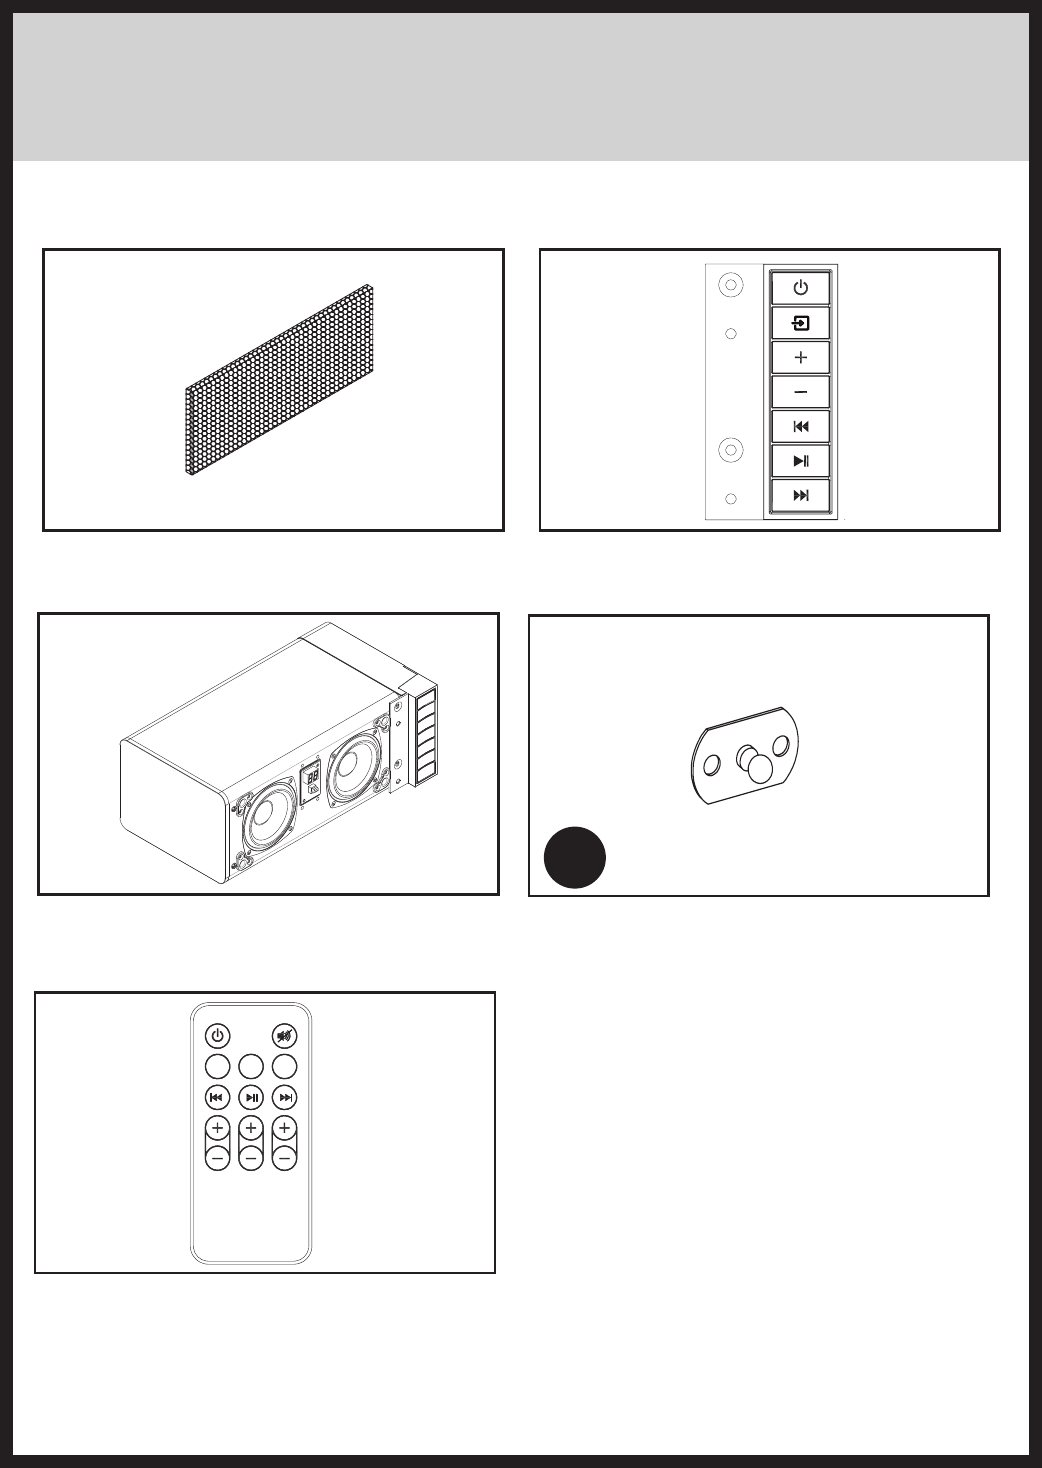
REPLACEMENT PARTS
PIECES DE REMPLACEMENT
PARTES DE REPUESTO
NN
Y14-PID01-PG
LINE IN OPTICAL
TREBLE BASS VOLUME
BLUE
LINE IN OPTICAL
TREBLE BASS VOLUME
BLUE
Y15-RC-1213
MP#MX
3
www.tsicustomerservice.com
PRODUCT SPECIFICATIONS
WIRING
Adapter Input AC100-240V, 50/60Hz
Adapter Output DC15V 2.0A
Power Consumption 30 Watts
Standby Power Consumption < 1 W
Peak Music Power Output 150 W
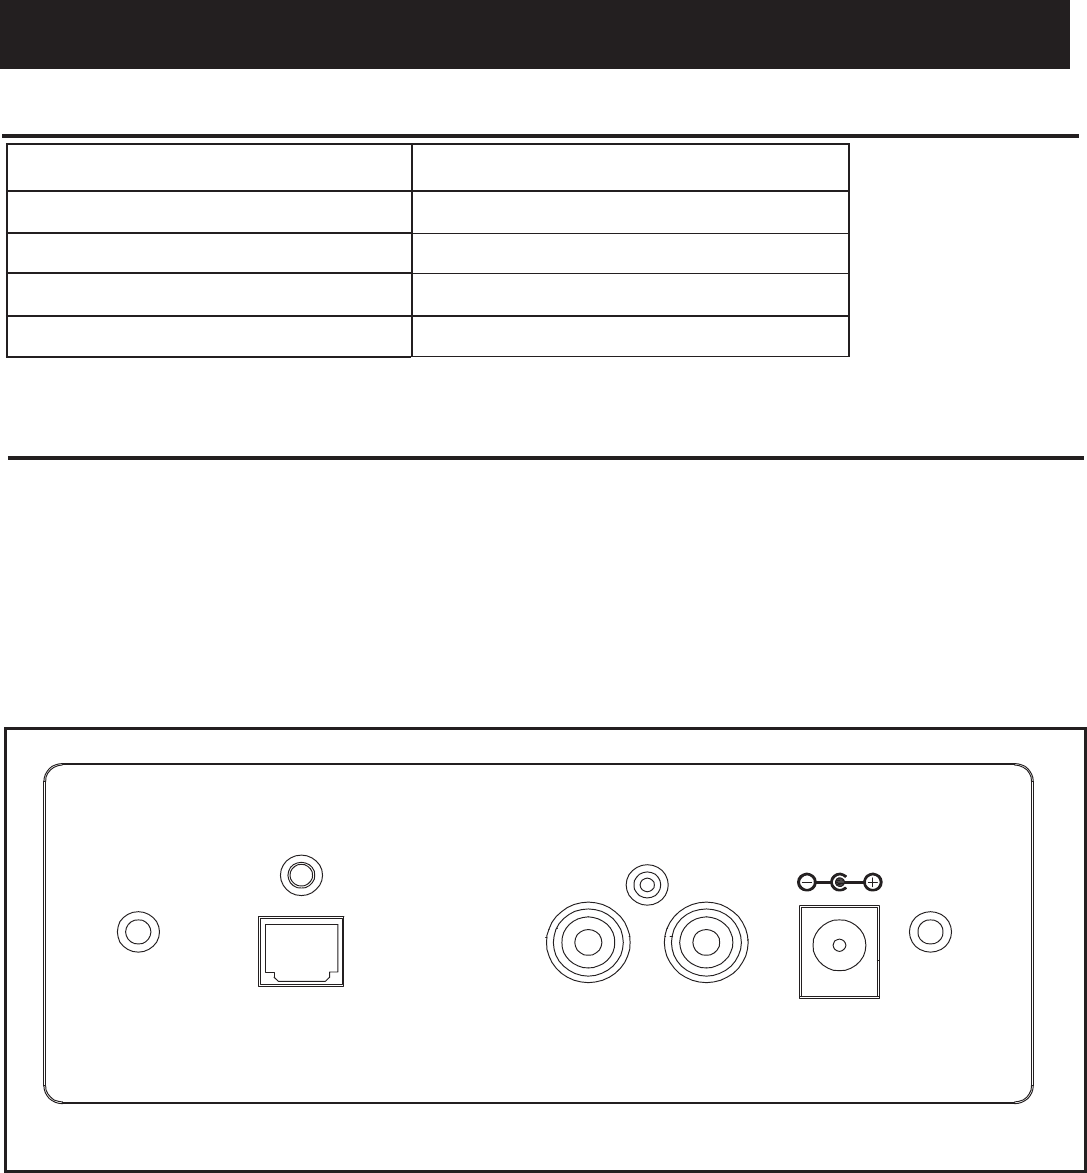
OPTICAL IN R AUX IN L DC 15V IN
1. AUDIO INPUT R/L - RCA plug AUX IN for connecting to an audio source
2. DC IN - Connect the power supply
3. OPTICAL INPUT - Input the console using Optical cable
Ipod Dock: TS-ID01
J
Fig.1 Back Panel
Sound System: TS-1206
MP#MX
4
www.tsicustomerservice.com
LINE IN OPTICAL
TREBLE BASS VOLUME
BLUE
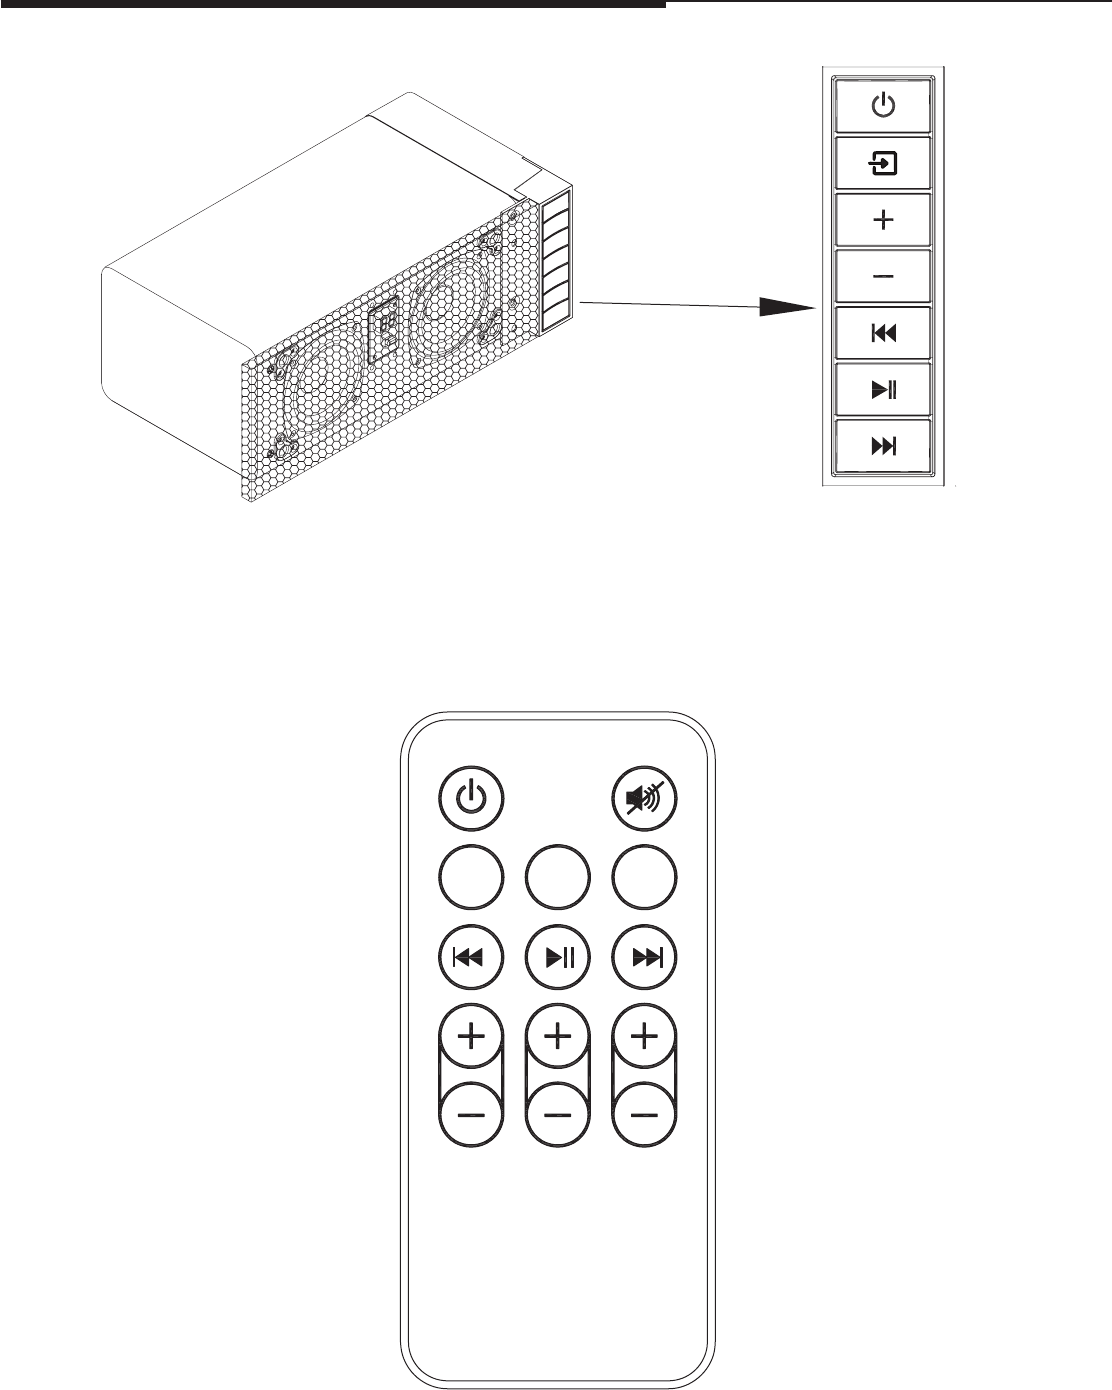
e speaker can be operated by either the remote control or the control panel.
Control Panel
OPERATION INSTRUCTIONS
MP#MX
5
www.tsicustomerservice.com
OPERATION INSTRUCTIONS
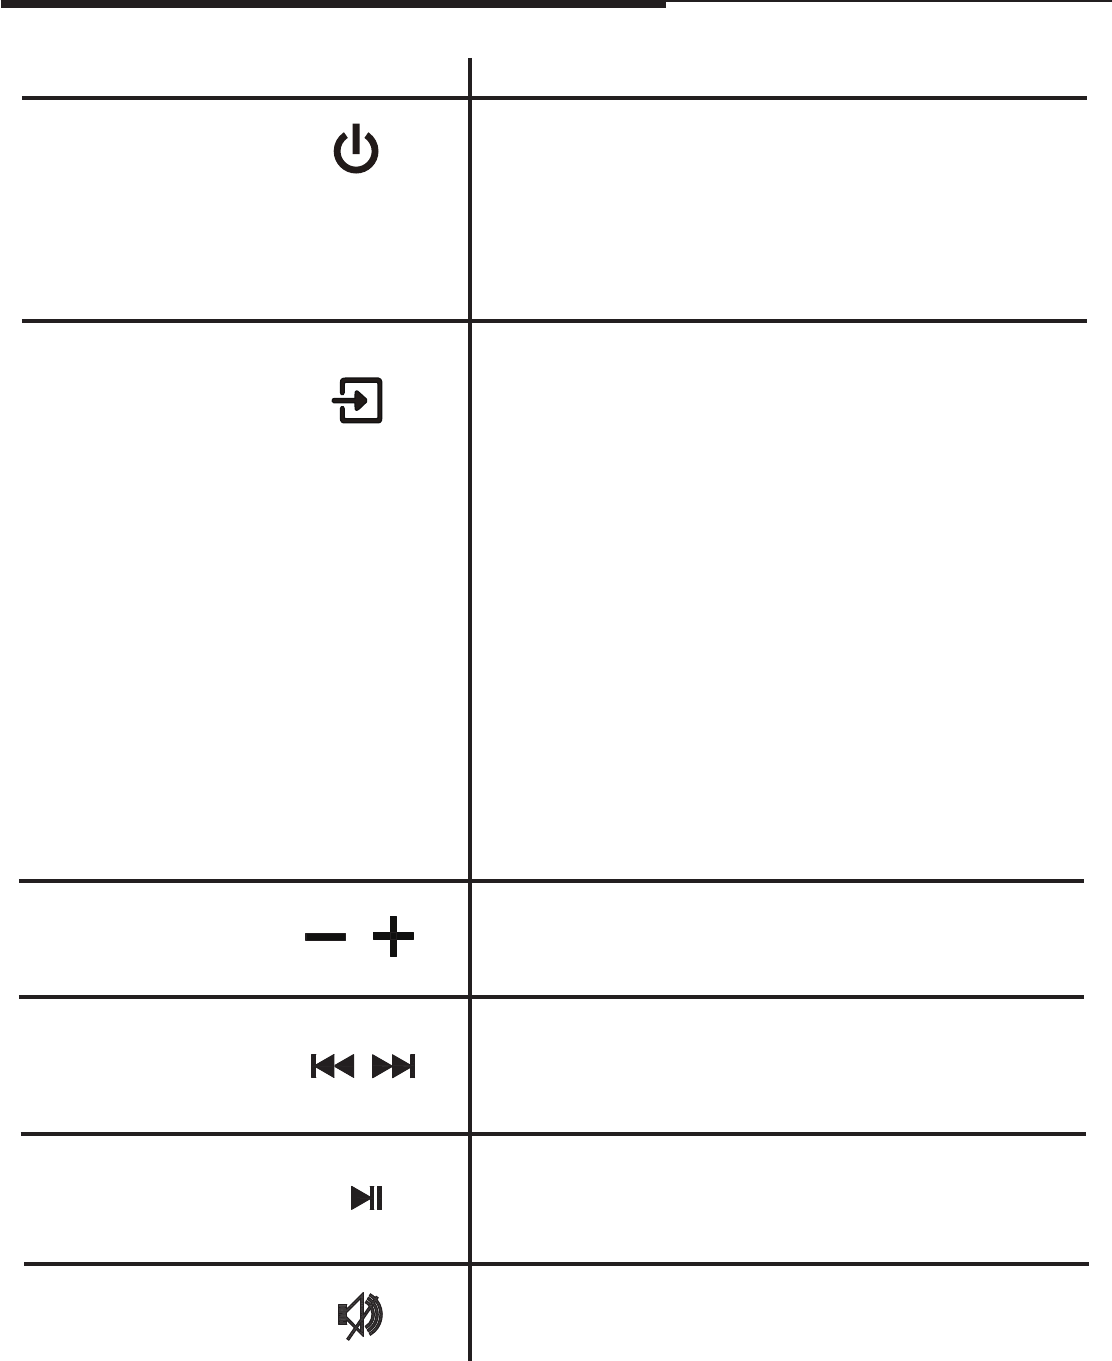
FUNCTION
POWER e POWER button supplies power to all the functions of
the unit.
Pressing and holding this button for 3 seconds on Bluetooth
mode will make Bluetooth pairing.
ICON DESCRIPTION
SPEAKER To scroll through the dierent input options:
BT - Bluetooth
Search for other smartphones and devices. e blue ashing
light indicates the unit is searching for devices with a WPAN
(Bluetooth) function activated. Selecting TS-1206 from your
device will link it to the console and allow to stream sound
from up to 10 meters away. e light will stay continuously
lit once a connection has been made to the device.
OP - Optical Input
Steam sound from your television or other device connected
to the console at the back panel by Optical cable.
AU - AUX Input
Steam sound from your television or other device connected
to the console at the back panel by RCA cables.
Adjust the volume if Speaker is ON
ADJUSTMENT
BLUE
LINE IN
CLOCK
HEATER
SPEAKER
FLAME
TIMER
MUTE Press MUTE button on the remote to mute and un-mute the
volume.
BLUE
LINE IN
CLOCK
HEATER
SPEAKER
FLAME
TIMER
PREV/NEXT In Bluetooth mode, press PREV/NEXT buttons to change
previous or next songs.
BLUE
LINE IN
CLOCK
HEATER
SPEAKER
FLAME
TIMER
PLAY/PAUSE In Bluetooth mode, press PLAY/PAUSE button to play or pause
the selected track.

MP#MX
6
www.tsicustomerservice.com
OPERATION INSTRUCTIONS
FUNCTION ICON DESCRIPTION
BLUE Press BLUE button on the remote to switch to Bluetooth input.
LINE IN Press LINE IN button on the remote to switch to Line In input.
OPTICAL Press OPTICAL button on the remote to switch to Optical
input.
TREBLE Press TREBLE button on remote to adjust the TREBLE up
or down.
BASS Press BASS button on remote to adjust the BASS up or down.
VOLUME Press VOLUME button on remote to adjust the volume.

MP#MX
7
www.tsicustomerservice.com
CONTROLS
TROUBLESHOOTING
PROBLEM SOLUTION
1. Sound is distorted. 1a. Decrease the volume.
1b. If the iPhone/iPod original sound source is of poor quality,
distortion and noise are easily noticed with high-power speakers.
Try a different audio source such as a music CD.
1c. If you are using an external sound source like older generation
of iPod, try reducing the output volume on the device itself.
1d.Try changing the bass and treble settings using the remote control.
2. Unit gets warm after extended
play at high volume.
2a. Turn the unit off for a period of time or lower the volume.
CARE AND MAINTENANCE
Warning:
1. If the supply cord is damaged it must be replaced by the manufacturer, it’s service agent or
similarly qualied persons in order to avoid a hazard.
2. Only a qualied service person should repair this product.
3. Do not use outdoors.
4. Do not insert or allow foreign objects to enter the system as this may cause an electric shock, re, or
damage to the appliance.
5. Use this appliance only as described in the manual. Any other use not recommended by the
manufacturer may cause re, electric shock or injury to persons.
MP#MX
8
www.tsicustomerservice.com
When the remote control stops operating or its range seems reduced, it is time to replace the battery with a
new one.
1. The battery compartment is located on the back end of the remote.
2. Press and slide the battery door open and remove the old battery.
3. Insert 1pc CR2025 battery, checking that the + and - sides of the battery match inside the battery compartment.
4. Replace the battery compartment door.
CAUTION:
• Always purchase the correct size and grade of battery most suitable for the intended use.
• Replace all batteries of a set at the same time.
• Clean the battery contacts and also those of the device prior to battery installation.
• Ensure the batteries are installed correctly with regard to polarity (+ and -).
• Remove batteries from equipment which is not to be used for an extended period of time.
• Remove used batteries promptly.
Note: Caution do not ingest batteries. If batteries are swallowed immediately call poison control.
Replacing the Remote Control Battery
Disposal of Used Batteries
Battery may contain hazardous substances which could be endangering to enviroment and human
health.
This symbol marked on the battery and/or packaging indicates that used battery shall not be
treated as municipal waste. Instead it shall be left at the appropriate collection point for recycling.
By ensuring the used batteries are disposed of correctly, you will help preventing potential negative
consequences for the environment and human health. The recycling of materials will help to
converse natural resources.
For more information about collection and recycling of used batteries, please contact your local
municipality, your waste disposal service or the point of sale where you purchased this point.
NOTE: This equipment has been tested and found to comply with the limits for Class B digital device, pursuant to
part 15 of the FCC Rules. These limits are designed to provide reasonable protection against harmful interference
in a residential installation. This equipment generates,uses, and can radiate radio
frequency energy and, if not installed and used in accordance with the instructions, may cause harmful
interference to radio or television reception. Interference can be determined by turning the equipment off
and on. The user is encouraged to try to correct the interference by trying one or more of the following
measures:
• Reorient or relocate the receiving antenna.
• Increase the separation between the equipment and the receiver.
• Connect the equipment into an outlet on a circuit different from that to which the receiver is connected.
• Consult the dealer or an experienced radio/TV technician for help.
This device complies with Part 15 of the FCC Rules. Operation is subject to the following two conditions:
(1) This device may not cause harmful interference and
(2) This device must accept any interference received, including interference that may cause
undesired operation. Modifcations not approved by the party responsible for compliance could void
user’s authority to operate the equipment.
This Class B digital apparatus complies with Canadian ICES-003.

MP#MX
9
www.tsicustomerservice.com
The manufacturer warrants that your new Media Console with Sound Bar is free from manufacturing and
material defects for a period of one year from date of purchase, subject to the following
conditions and limitations.
1. Install and operate this Media Console with Sound Bar in accordance with the installation
and operating instructions furnished with the product at all times. Any unauthorized repair,
alteration, willful abuse, accident, or misuse of the product shall nullify this warranty.
2. This warranty is non-transferable, and is made to the original owner, provided that
the purchase was made through an authorized supplier of the product.
3. The warranty is limited to the repair or replacement of part(s) found to be defective in
material or workmanship, provided that such part(s) have been subjected to normal
conditions of use and service, after said defect is conrmed by the manufacturer’s
inspection.
4. The manufacturer may, at its discretion, fully discharge all obligations with respect to
this warranty by refunding the wholesale price of the defective part(s).
5. Any installation, labor, construction, transportation, or other related costs/expenses
arising from defective part(s), repair, replacement, or otherwise of same, will not be
covered by this warranty, or shall the manufacturer assume responsibility for same.
6. The owner/user assumes all other risks, if any, including the risk of any direct, indirect
or consequential loss or damage arising out of the use, or inability to use the product,
except as provided by law.
7. All other warranties – expressed or implied –with respect to the product, its
components and accessories, or any obligations/liabilities on the part of the
manufacturer are hereby expressly excluded.
8. The manufacturer neither assumes, nor authorizes any third party to assume on its
behalf, any other liabilities with respect to the sale of the product.
9. The warranties as outlined within this document do not apply to non accessories
used in conjunction with the installation of this product.
10. This warranty gives you specic legal rights, and you may also have other rights
which vary from state to state.
This warranty is void if:
a. The Media Console with Sound Bar is subjected to prolonged periods of dampness or
condensation.
b. Any unauthorized alteration, willful abuse, accident, or misuse of the product.
c. You do not have the original receipt of purchase.
1-YEAR LIMITED WARRANTY
Warning: Changes or modifications to this unit not expressly approved by the part
responsible for compliance could void the user’s authority to operate the equipment.
FCC Radiation Exposure Statement
This equipment complied with FCC radiation exposure limits set forth for an uncontrolled
environment. This equipment should be installed and operated with minimum distance 20cm
between the radiator & your body.