Twinhead U12C Notebook PC User Manual U12C UserMan
Twinhead International Corporation Notebook PC U12C UserMan
UserManual.wiki
>
Twinhead
>
U12C User Manual
(U12C) UserMan
Navigation menu
Upload a User Manual
Namespaces
Wiki Guide
HTML
PDF
Info
Views
User Manual
Discussion / Help
Navigation

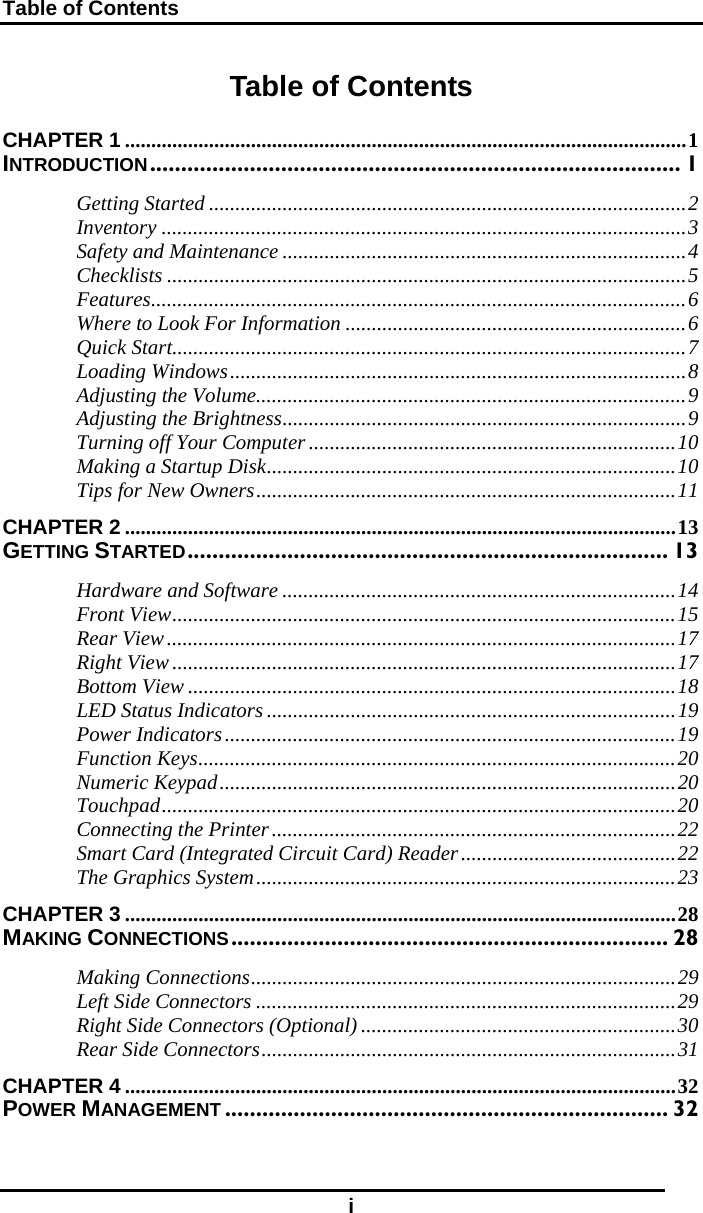


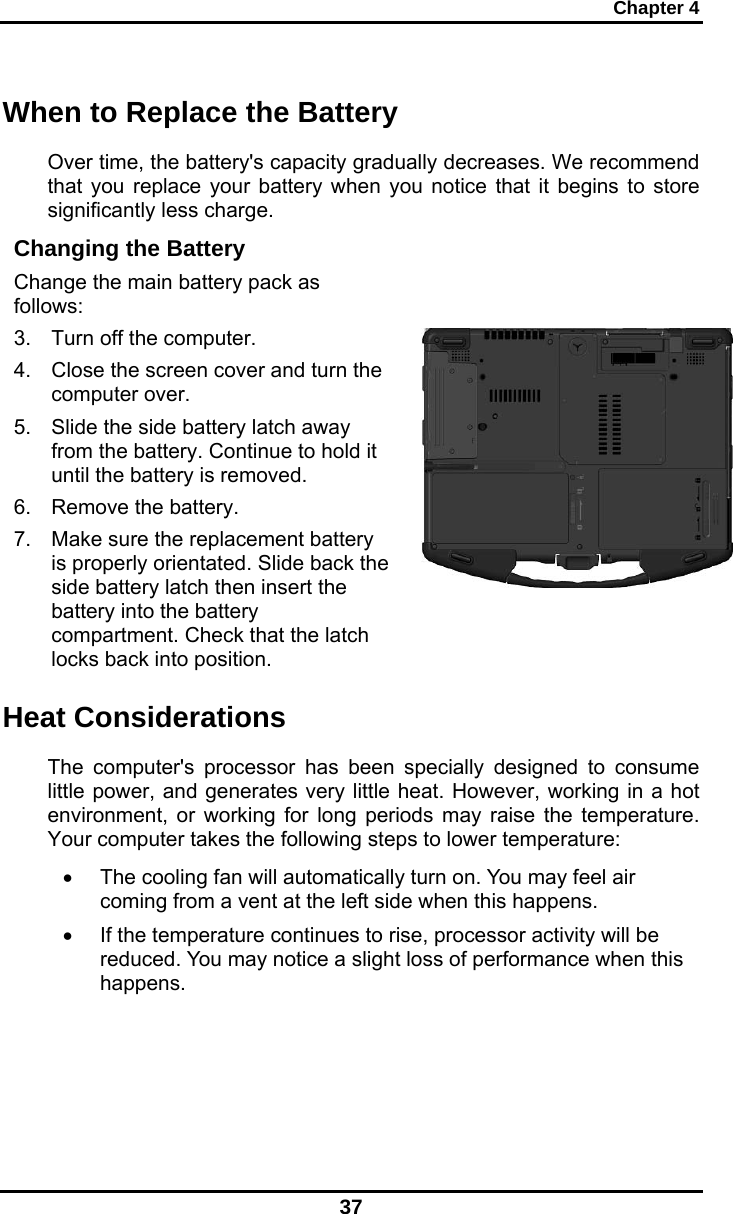

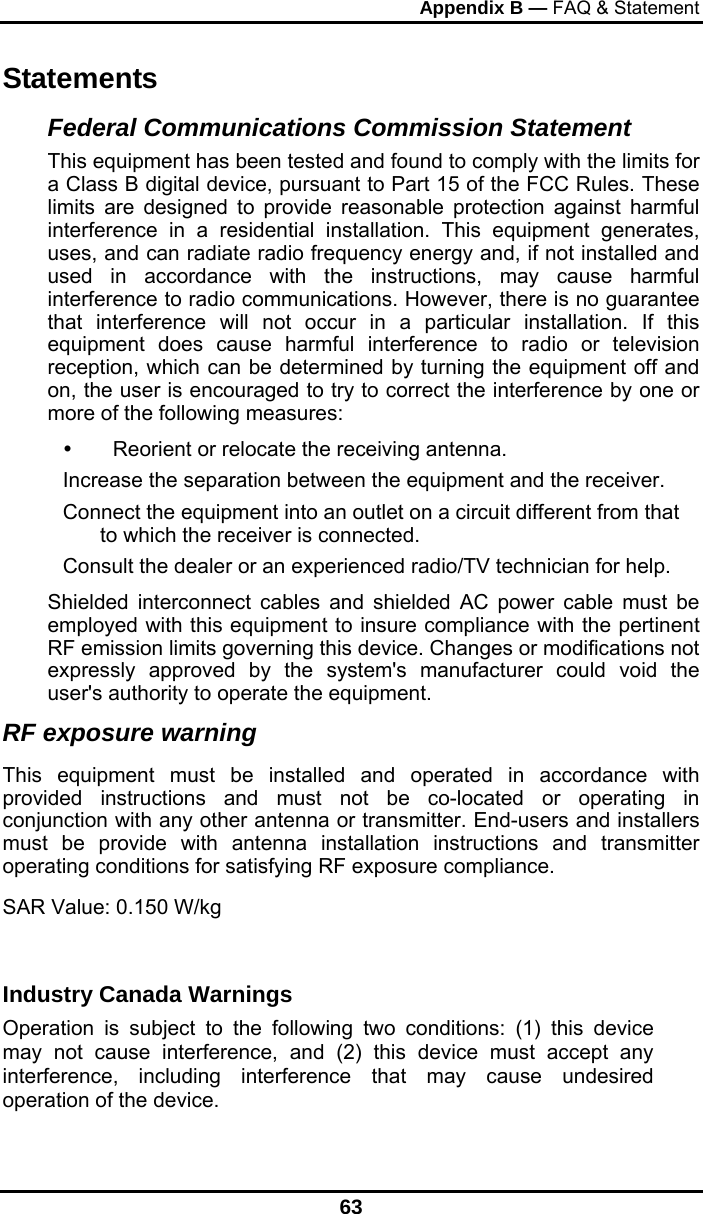
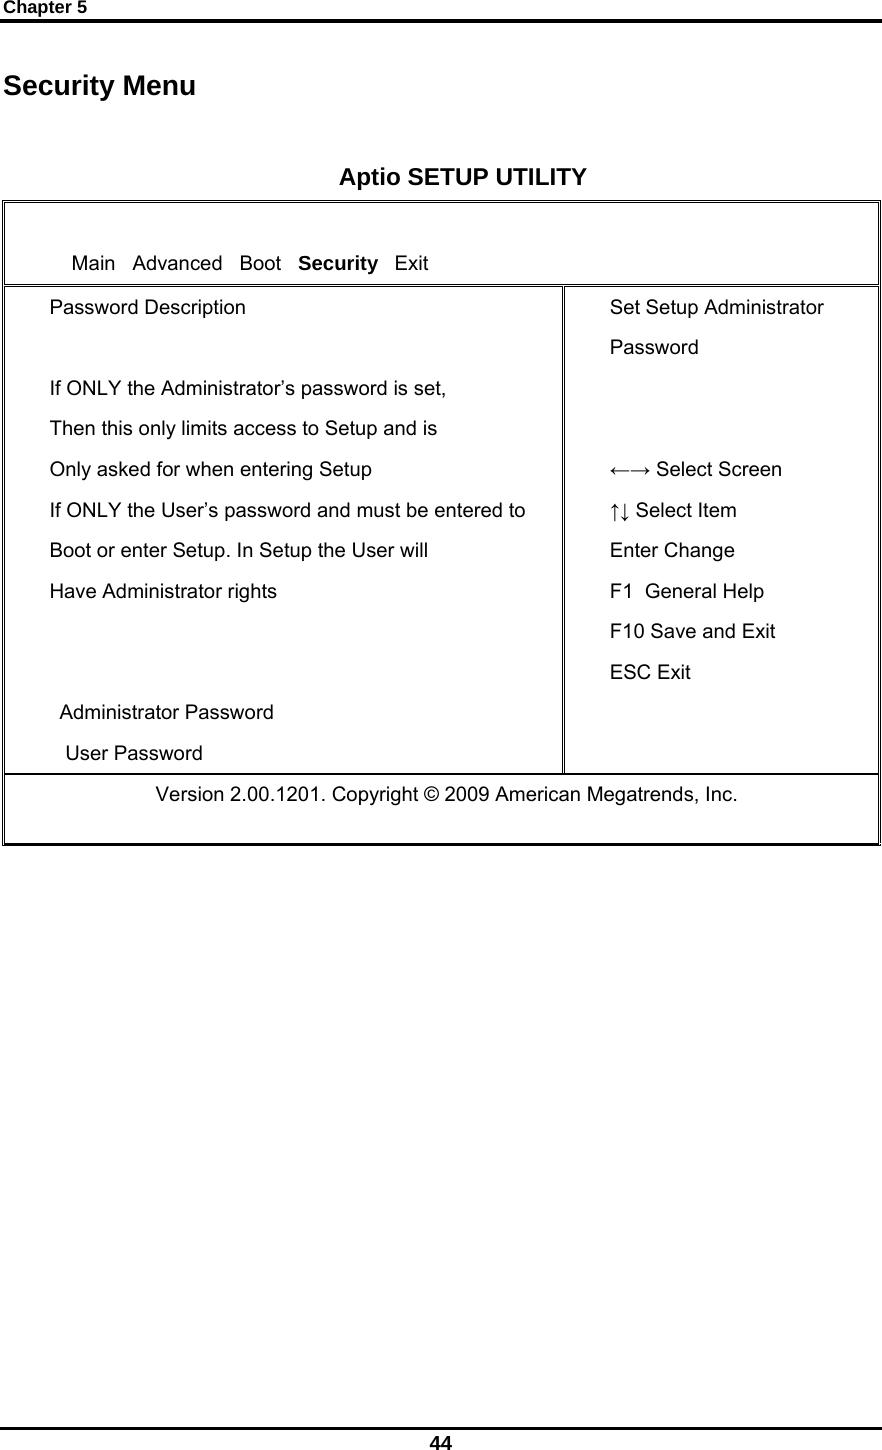
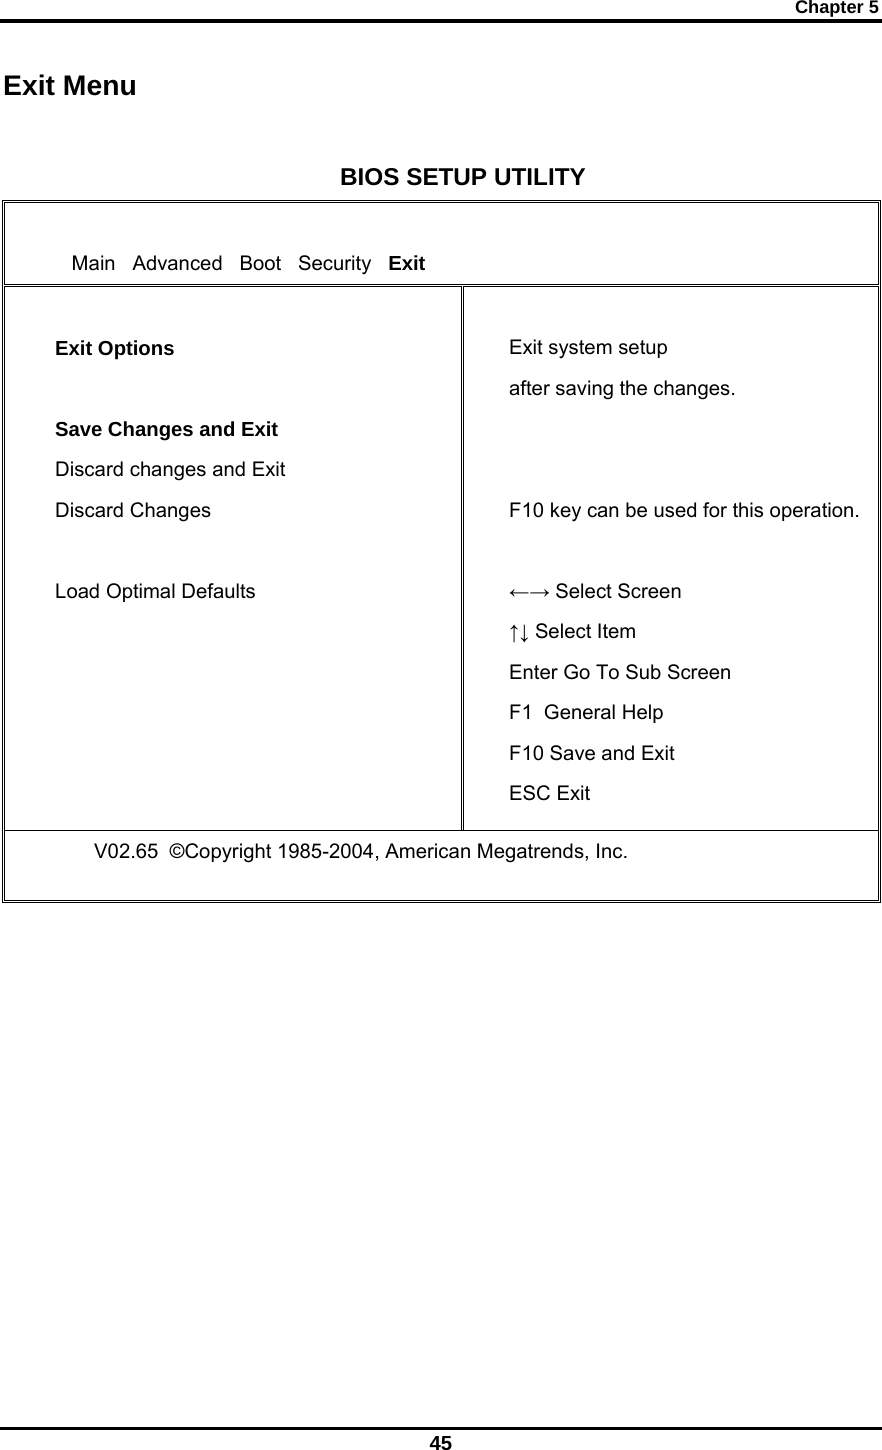
![Chapter 5 40 UUssiinngg tthhee BBIIOOSS SSeettuupp UUttiilliittyy Your notebook has a BIOS setup utility which allows you to configure important system settings, including settings for various optional functions of the computer. This chapter explains how to use the BIOS setup utility. BIOS Setup Menu The setup uses a menu interface to allow the user to configure their system. The features are MAIN: Allows the user to specify system time and system date and the system overview. Advanced: Allows the user to set BIOS function . Boot: Allow the user to set the boot sequence Security: Allows the user to set the password for system. Exit: Exit option Main Menu Aptio SETUP UTILITY Main Advanced Boot Security Exit BIOS Information BIOS Version R1.00 Build Date 01/09/2010 EC Version 3.32.0 ME Version 6.1.1.10.1052 UUID 00020003000400050006000700080009 Serial Number 1234567890 Processor Information Type Intel(R) Core(TM) i5 CPU U 540 @ 1.20GHz Speed 1197MHz Memory Information Total Memory 4096 MB (DDR3 800) System Date [Sat 02/20/2010] System Time [19:14:50] Version 2.00.1201. Copyright © 2009 American Megatrends, Inc.](https://usermanual.wiki/Twinhead/U12C/User-Guide-1370203-Page-44.png)
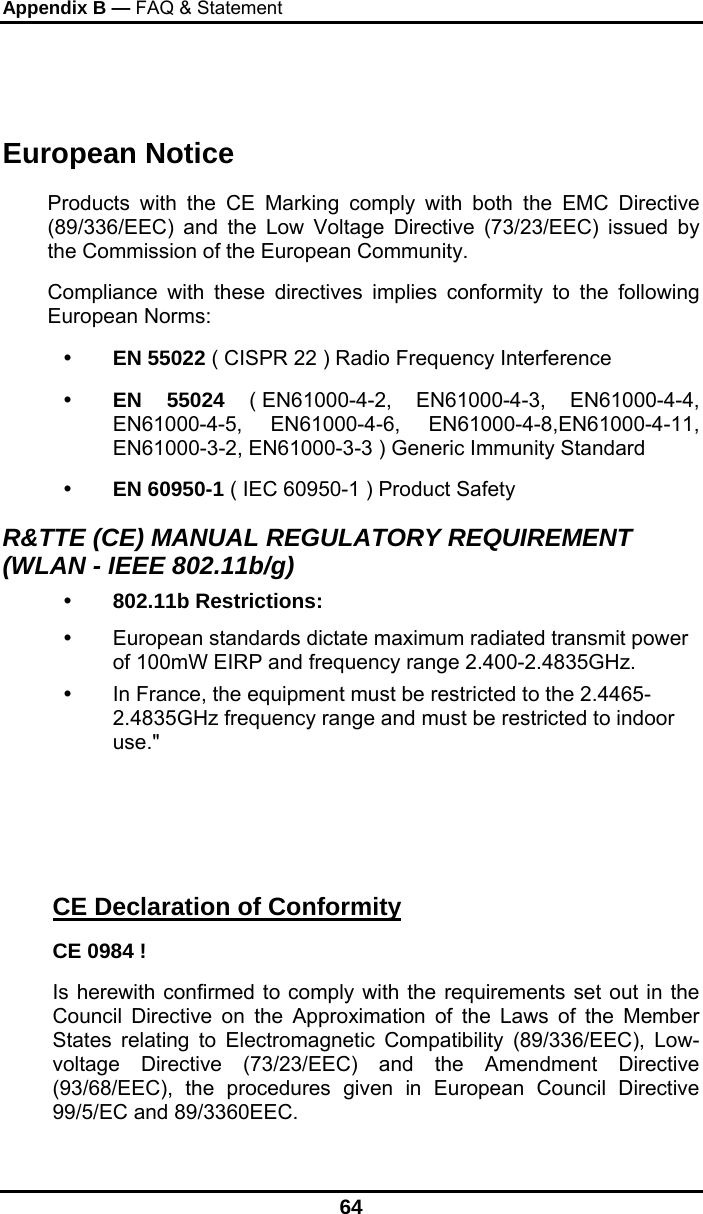
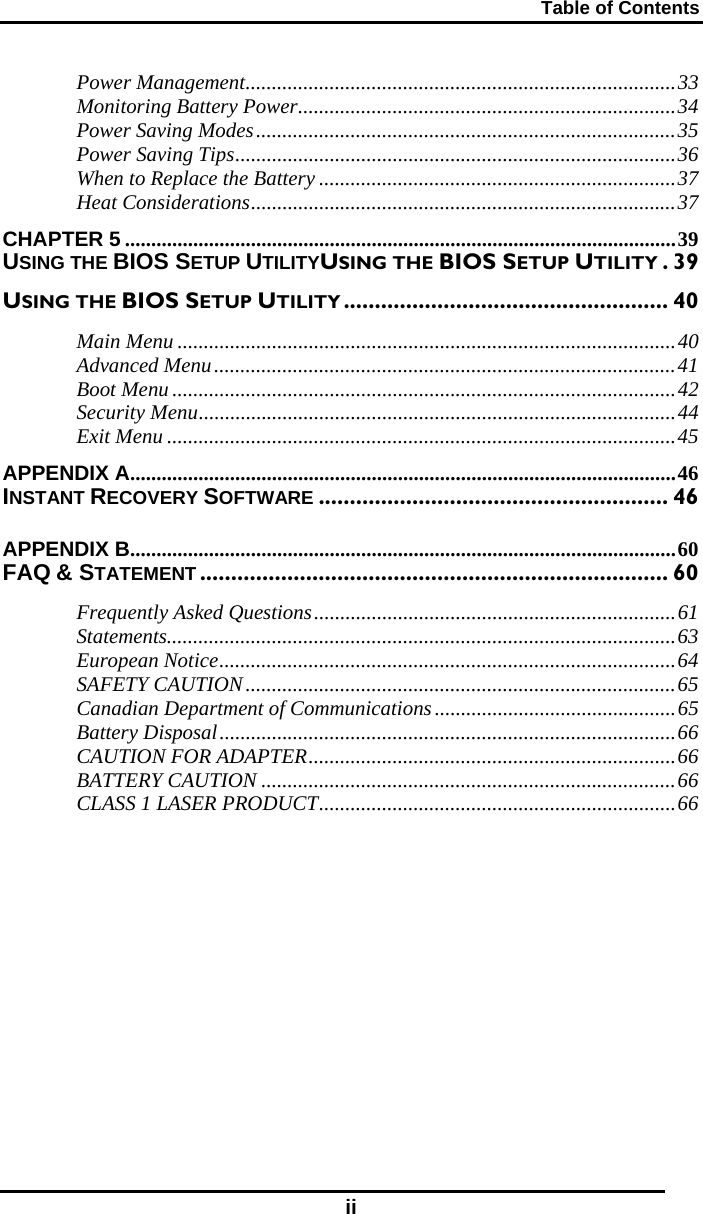
![Chapter 5 41 System Time (hh/mm/ss) : System Date ( week mm/dd/yyyy) : Allows the user to set the time and date. The Time is displayed in 24 hours format. The Date can be set from January 1st, 1980 to December 31, 2099 The values set in these two fields take effect immediately. Advanced Menu Aptio SETUP UTILITY Main Advanced Boot Security Exit Advanced Setting SATA Mode [AHCI Mode] FAN Calibration Battery Calibration Wake on LAN from S4/S5 mode [Disable] Bluetooth [Disable] WLAN [Disable] WWAN [Disable] GPS [Disable] Trusted Computing Options (1) IDE Mode. (2) AHCI Mode. ←→ Select Screen ↑↓ Select Item +- Change Option F1 General Help F10 Save and Exit ESC Exit Version 2.00.1201. Copyright © 2009 American Megatrends, Inc. FAN Calibration : Allows user to Start Fan Learning. [Enter]](https://usermanual.wiki/Twinhead/U12C/User-Guide-1370203-Page-45.png)
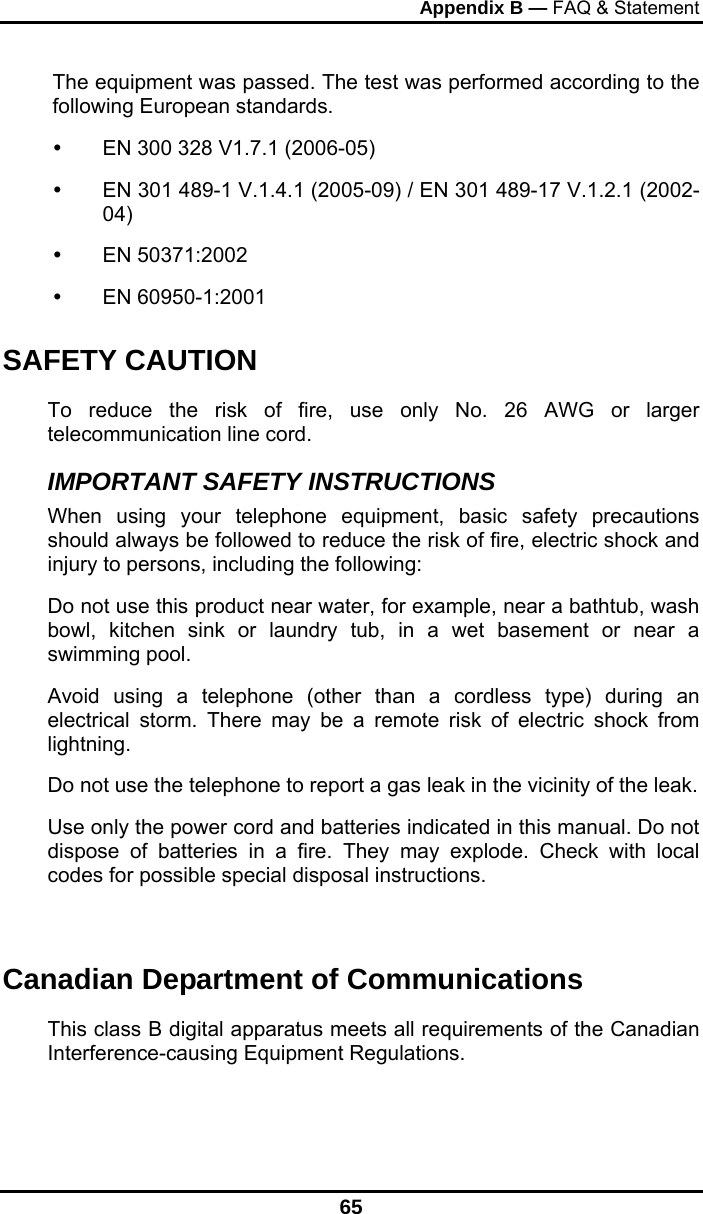
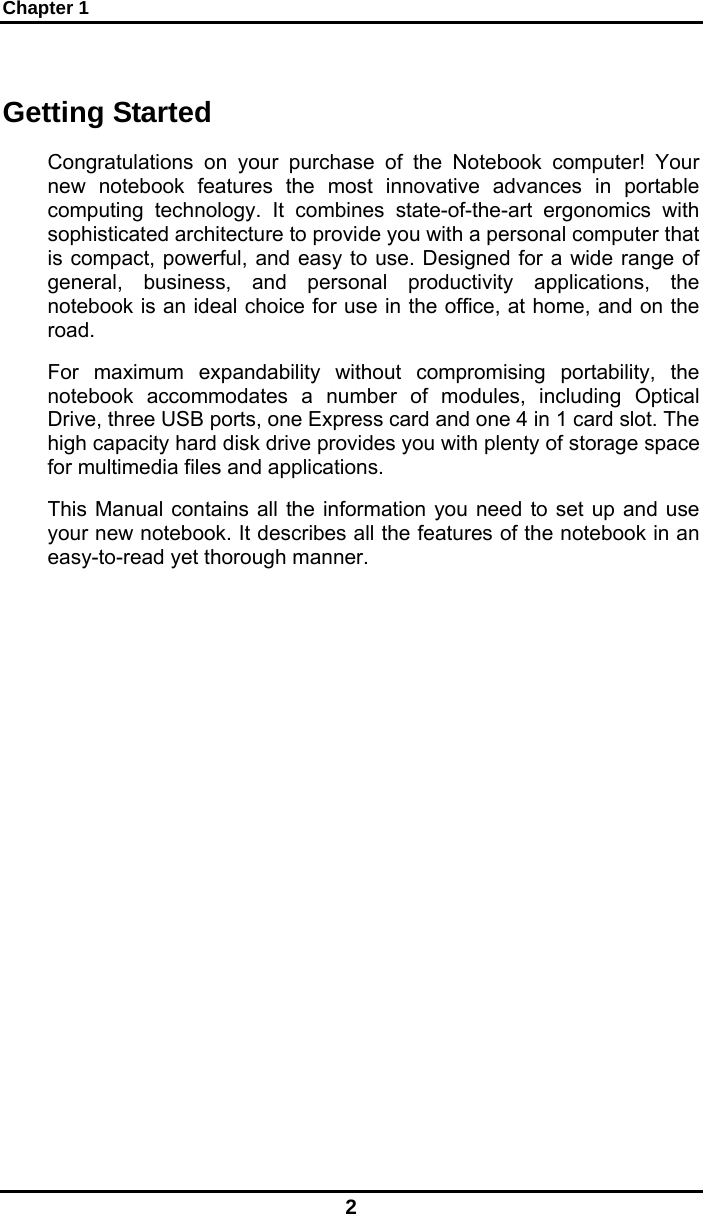
![Chapter 5 42 Default is “Enter”. Battery Calibration: Allows user to Start Battery Learning. [Enter] Default is “Enter”. Boot Menu Aptio SETUP UTILITY Main Advanced Boot Security Exit Boot Option Priorities Boot Option #1 [P0: TOSHIBA MK50..] Boot Option #2 [Built-in EFI Shell] Boot Option #3 [Realtek PXE B02..] Hard Drive BBS Priorities Network Device BBS Priorities Set the system boot order ←→ Select Screen ↑↓ Select Item +- Change Option F1 General Help F10 Save and Exit ESC Exit Version 2.00.1201. Copyright © 2009 American Megatrends, Inc. Boot Option #1 Allow the user to select 1st boot device. [HDD] [CD/DVD] [Network]](https://usermanual.wiki/Twinhead/U12C/User-Guide-1370203-Page-46.png)
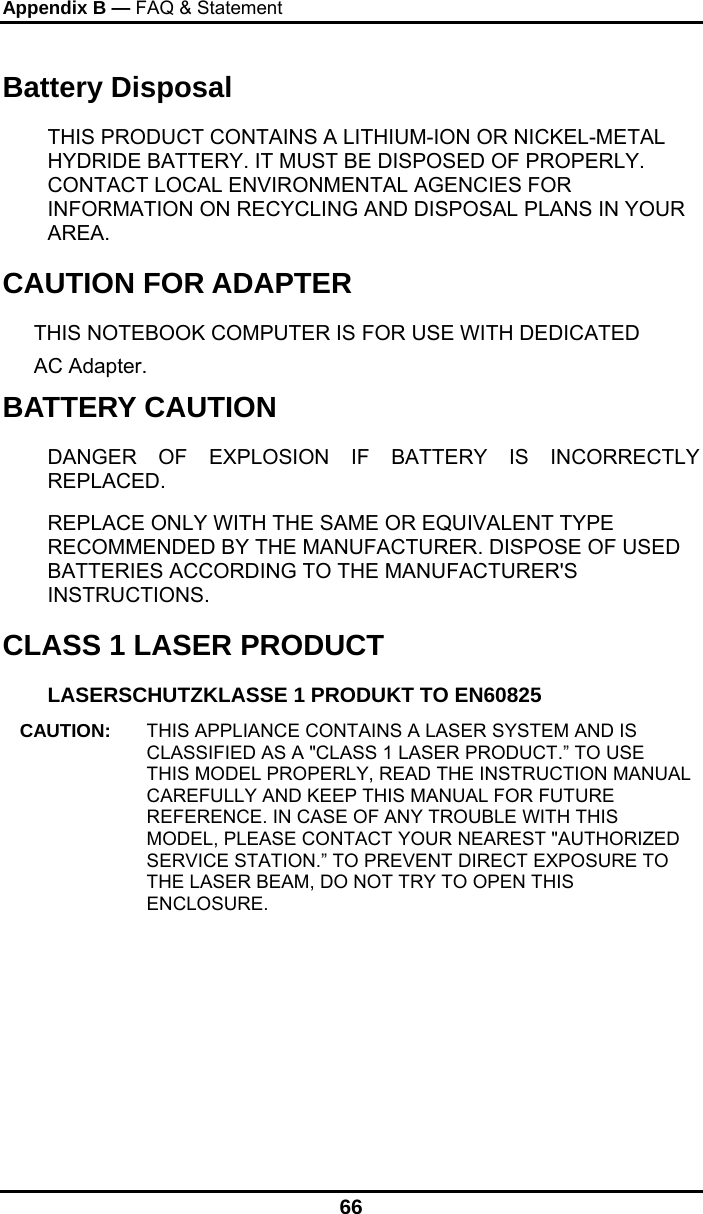
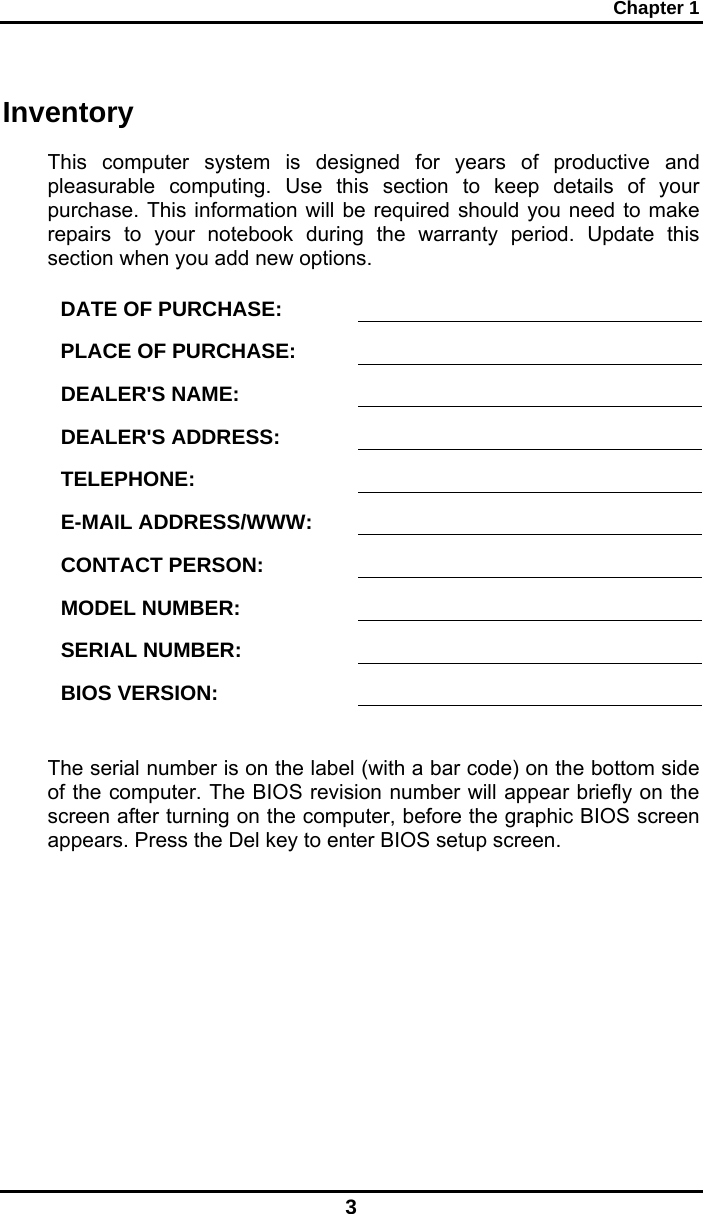
![Chapter 5 43 [Disabled] Default is “HDD”. Boot Option #2 Allow the user to select 2nd boot device. [HDD] [CD/DVD] [Network] [Disabled] Default is “CD/DVD”. Boot Option #3 Allow the user to select 3rd boot device. [HDD] [CD/DVD] [Network] [Disabled] Default is “Network”.](https://usermanual.wiki/Twinhead/U12C/User-Guide-1370203-Page-47.png)

![Appendix B — FAQ & Statement 62 shut down the computer by inserting a needle into the reset button pinhole. (The reset button locates on the computer bottom side.) Q: Why can’t I charge the battery of my portable computer after it was out of use for some time? A: After portable computers have not been used for a long time (more than one month), the batteries will go into the low voltage protection mode due to data back-ups and natural electrical discharge. At that point, restoring normal voltage will require slow charging over a period of several hours. Calibration can be performed after the battery has returned to a normal condition. Q: My computer alerts “CMOS Battery Low”, what can I do? A: If you keep your computer in no power situation (unplug the computer from the power outlet and remove battery at the same) over 45 days, your data in CMOS will be lost. Please reconfigure your CMOS by following steps: 1. Press DEL or F2 to enter the BIOS setup utility. 2. Select “Restore Defaults?” When you see the following prompt, choose <Yes> and then press <Enter>. Load Optimized Defaults? [Yes] [No] 3. Select “Save Changes and Exit”. When you see the following prompt, choose <Yes> and then press <Enter> to restart your computer. Save configuration and exit? [Yes] [No]](https://usermanual.wiki/Twinhead/U12C/User-Guide-1370203-Page-56.png)