UTStarcom Korea Technologies UTS-FSU811 Desktop Phone User Manual Safety Precautions
UTStarcom Korea Technologies Ltd. Desktop Phone Safety Precautions
UserManual.wiki
>
UTStarcom Korea Technologies
>
UTS FSU811 User Manual
Users Manual Revised
Navigation menu
Upload a User Manual
Namespaces
Wiki Guide
HTML
PDF
Info
Views
User Manual
Discussion / Help
Navigation

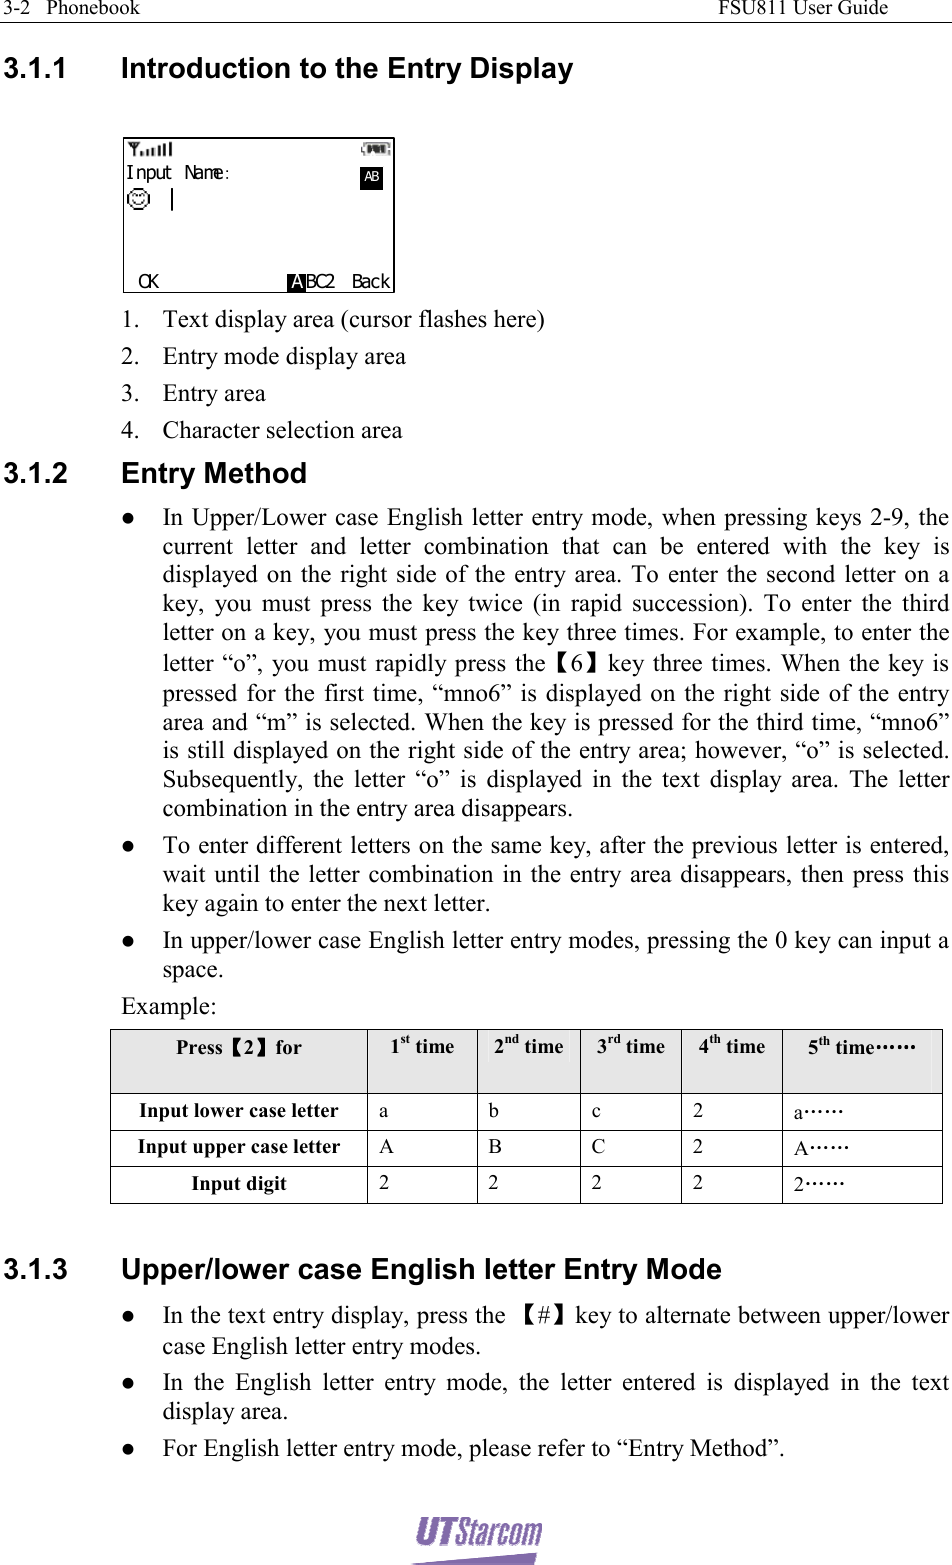
![2-4 Basic Operations FSU811 User Guide z The call duration is displayed. The time displayed here is for reference only, and cannot be used as a basis for disputing charges. 01: 112003- 11- 05 12: 23: 0312345678COMPANYTalking... 3. After the call, hang up the receiver (hang-up) or press the SPEAKER key again to return to the menu displayed prior to the call. 2.4 Call Hold During the call, press the HOLD key to place the call on hold. Press the HOLD key again to resume the call. The call holding will also be charged. 01: 112003- 11- 05 12: 23: 0312345678COMPANYHolding... 2.5 Call Waiting (Requires Network Support) Call Waiting requires Service Provider activation. While on a call, if a third party calls, you can answer the incoming call without hanging up on the other party . For example, when A is on a call with B, C calls A. 1. When A is on a call with B, if C happens to call A, then A will hear the Call Waiting tone. 2. Now, A can press the cradle button to connect with C (B is placed on hold) without hanging up on B. Press the cradle button again to resume the conversation with B (C is placed on hold). Every time you press the cradle button, the call will switch. The following operations are also available to “A”: z Press the MENU/OK key or the FLASH key, then press the [0] key to refuse the incoming third party call. z Press the MENU/Ok key or the FLASH key, then press the [1] key to end the call with B and answer the incoming third party call. z Press the MENU/OK key or the FLASH key, then press the [2] key to place B on hold and answer the incoming third party call.](https://usermanual.wiki/UTStarcom-Korea-Technologies/UTS-FSU811/User-Guide-408721-Page-18.png)