Ubiquiti UAP 802.11n radio with 20 and 40MHz bandwidths User Manual UniFi Enterprise WiFi System User Guide
Ubiquiti Networks, Inc. 802.11n radio with 20 and 40MHz bandwidths UniFi Enterprise WiFi System User Guide
Ubiquiti >
Contents
- 1. Quick Start Guide
- 2. User Guide
User Guide
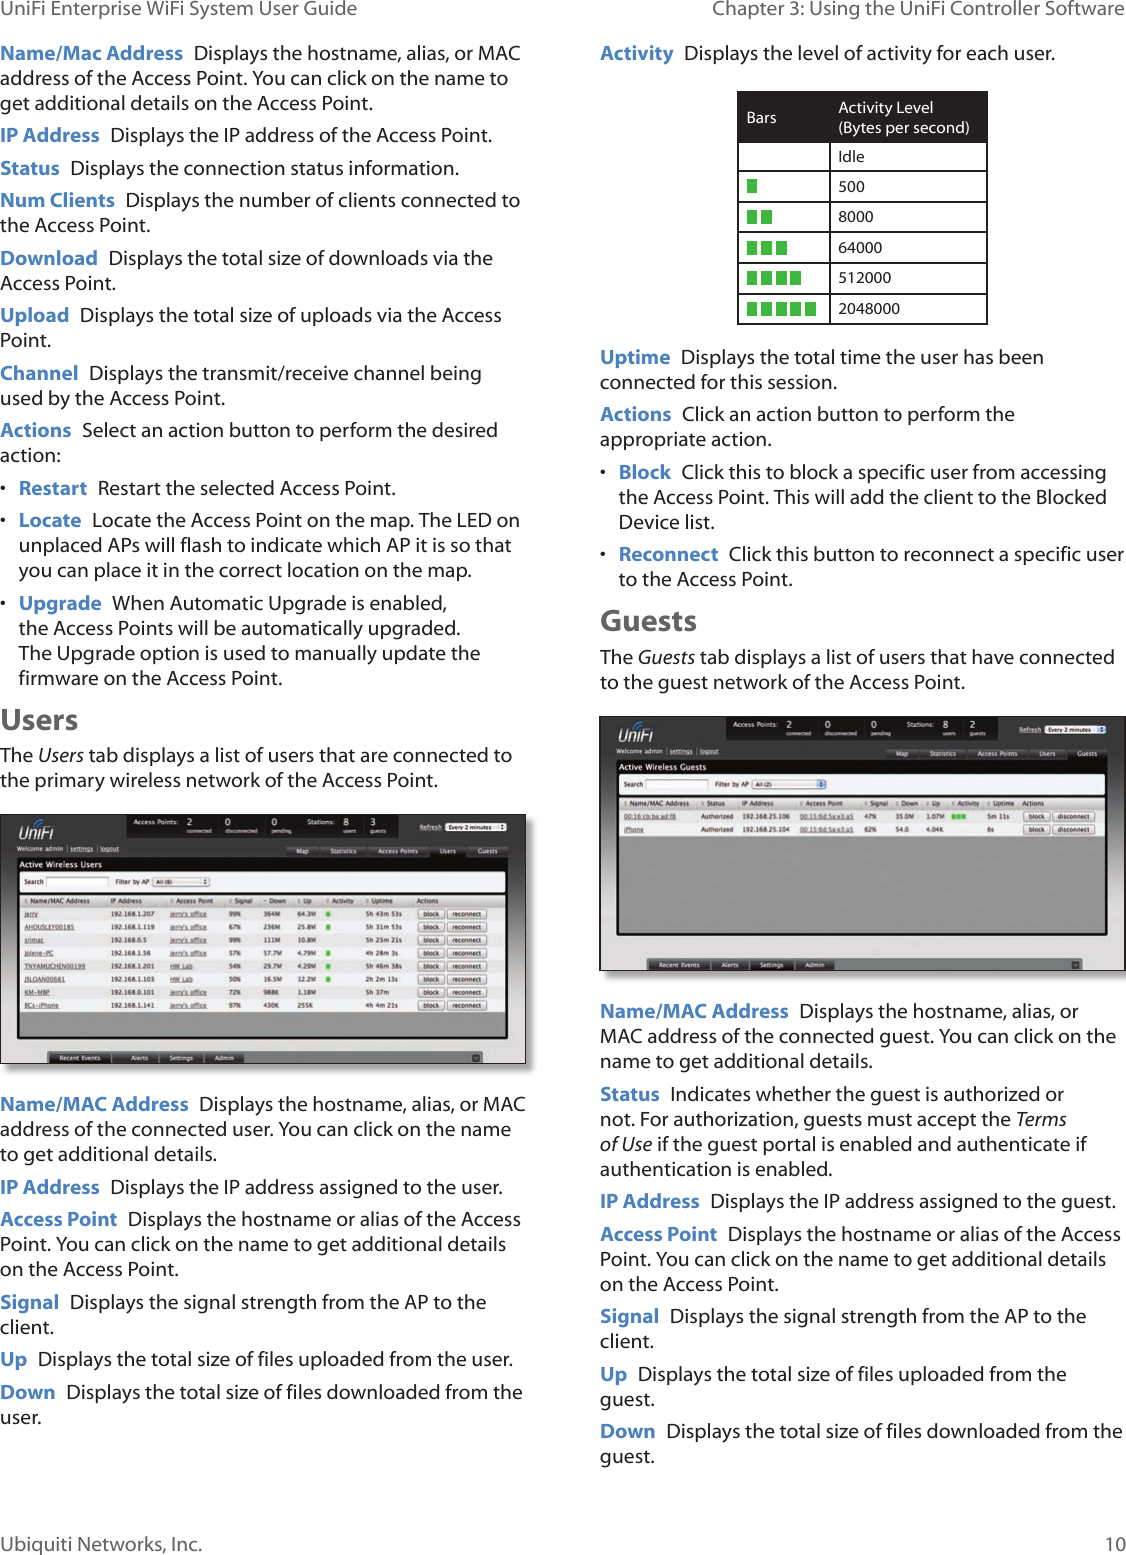
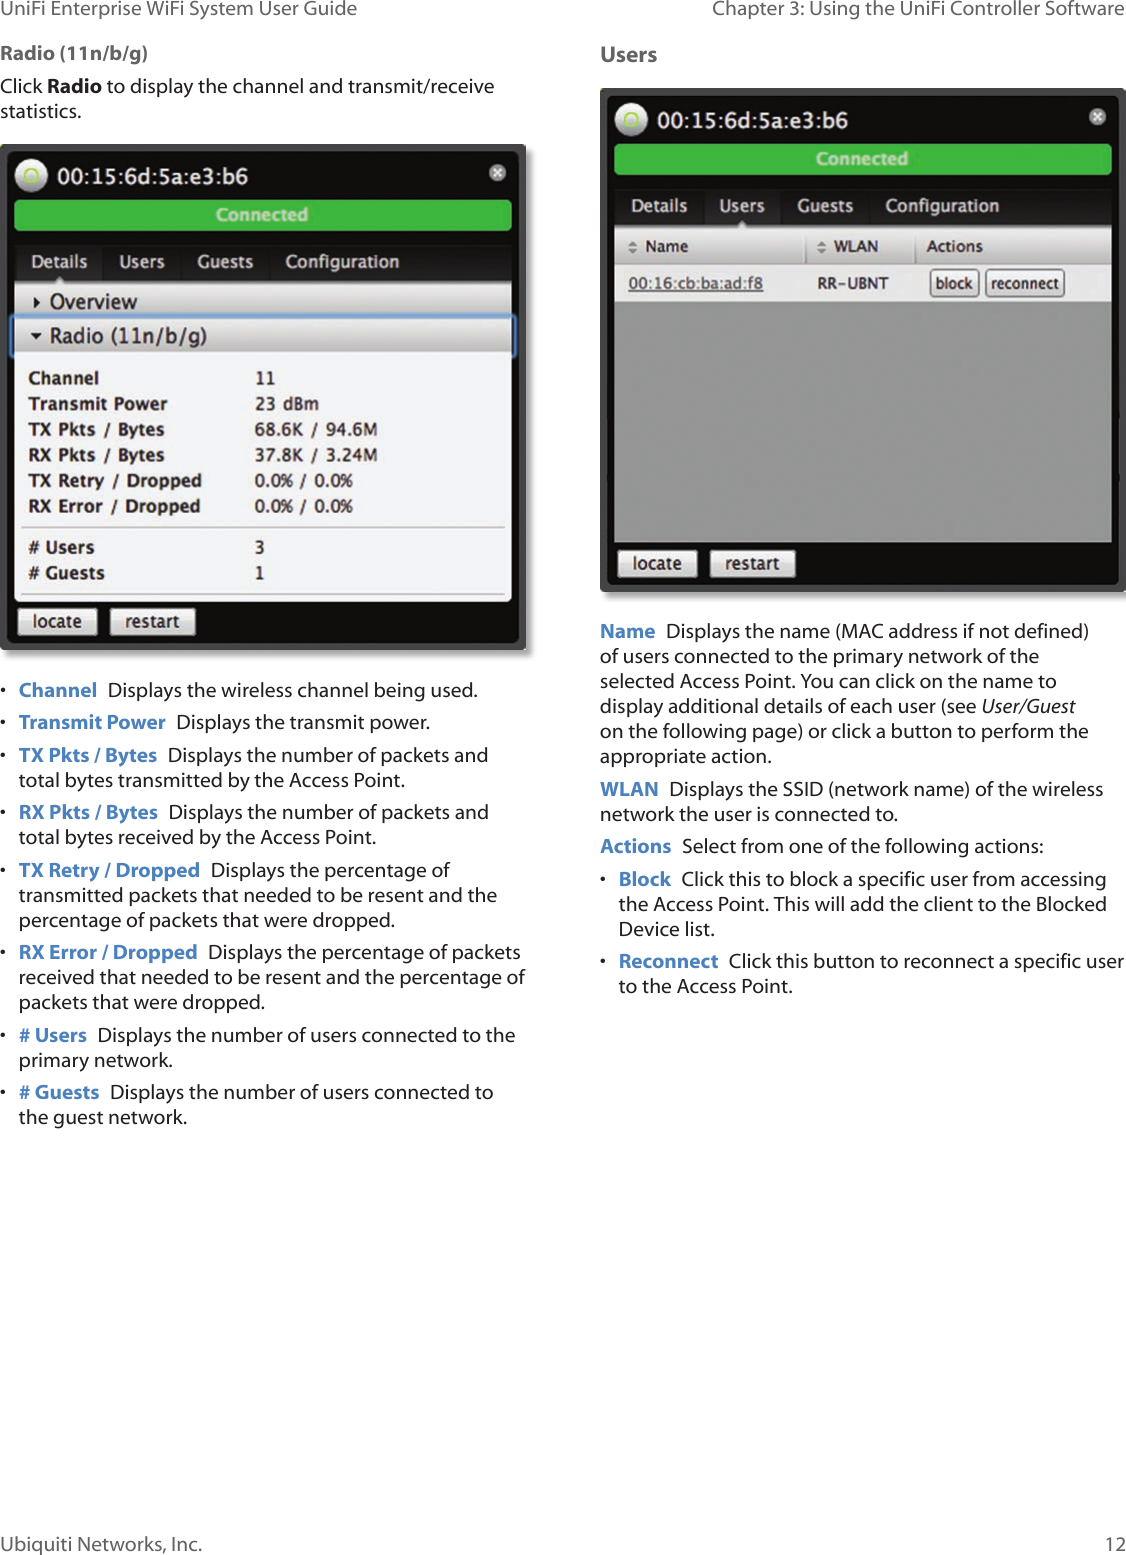
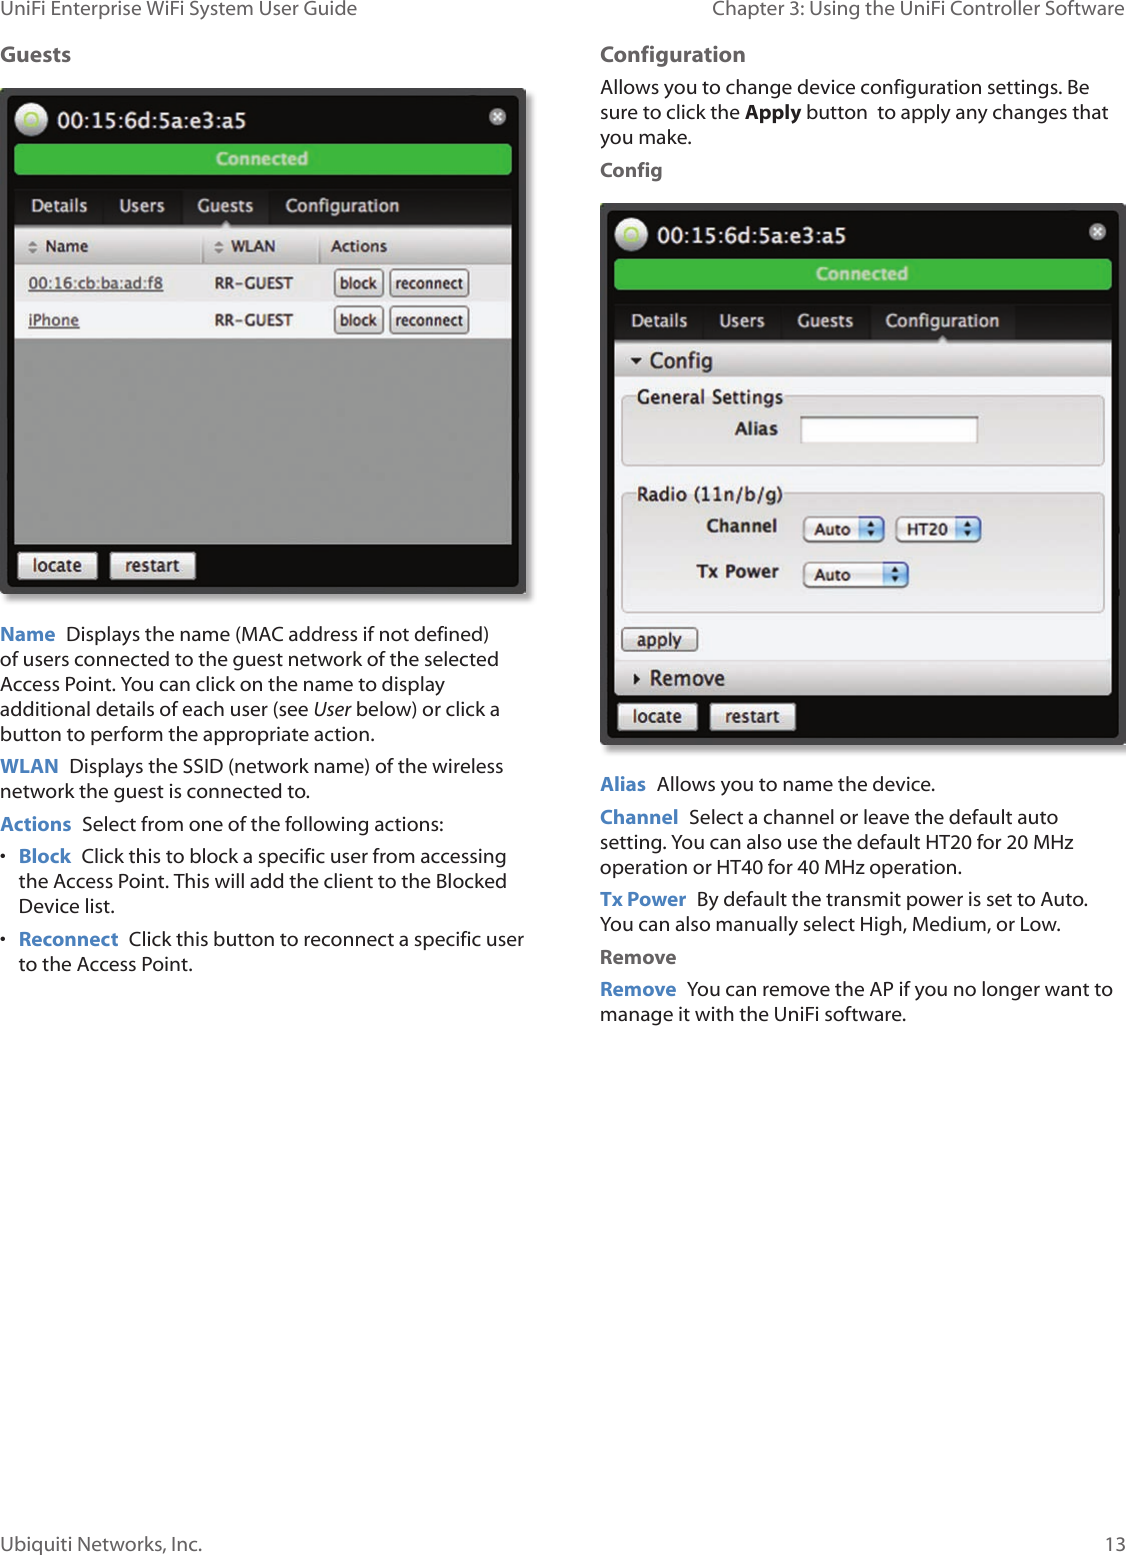
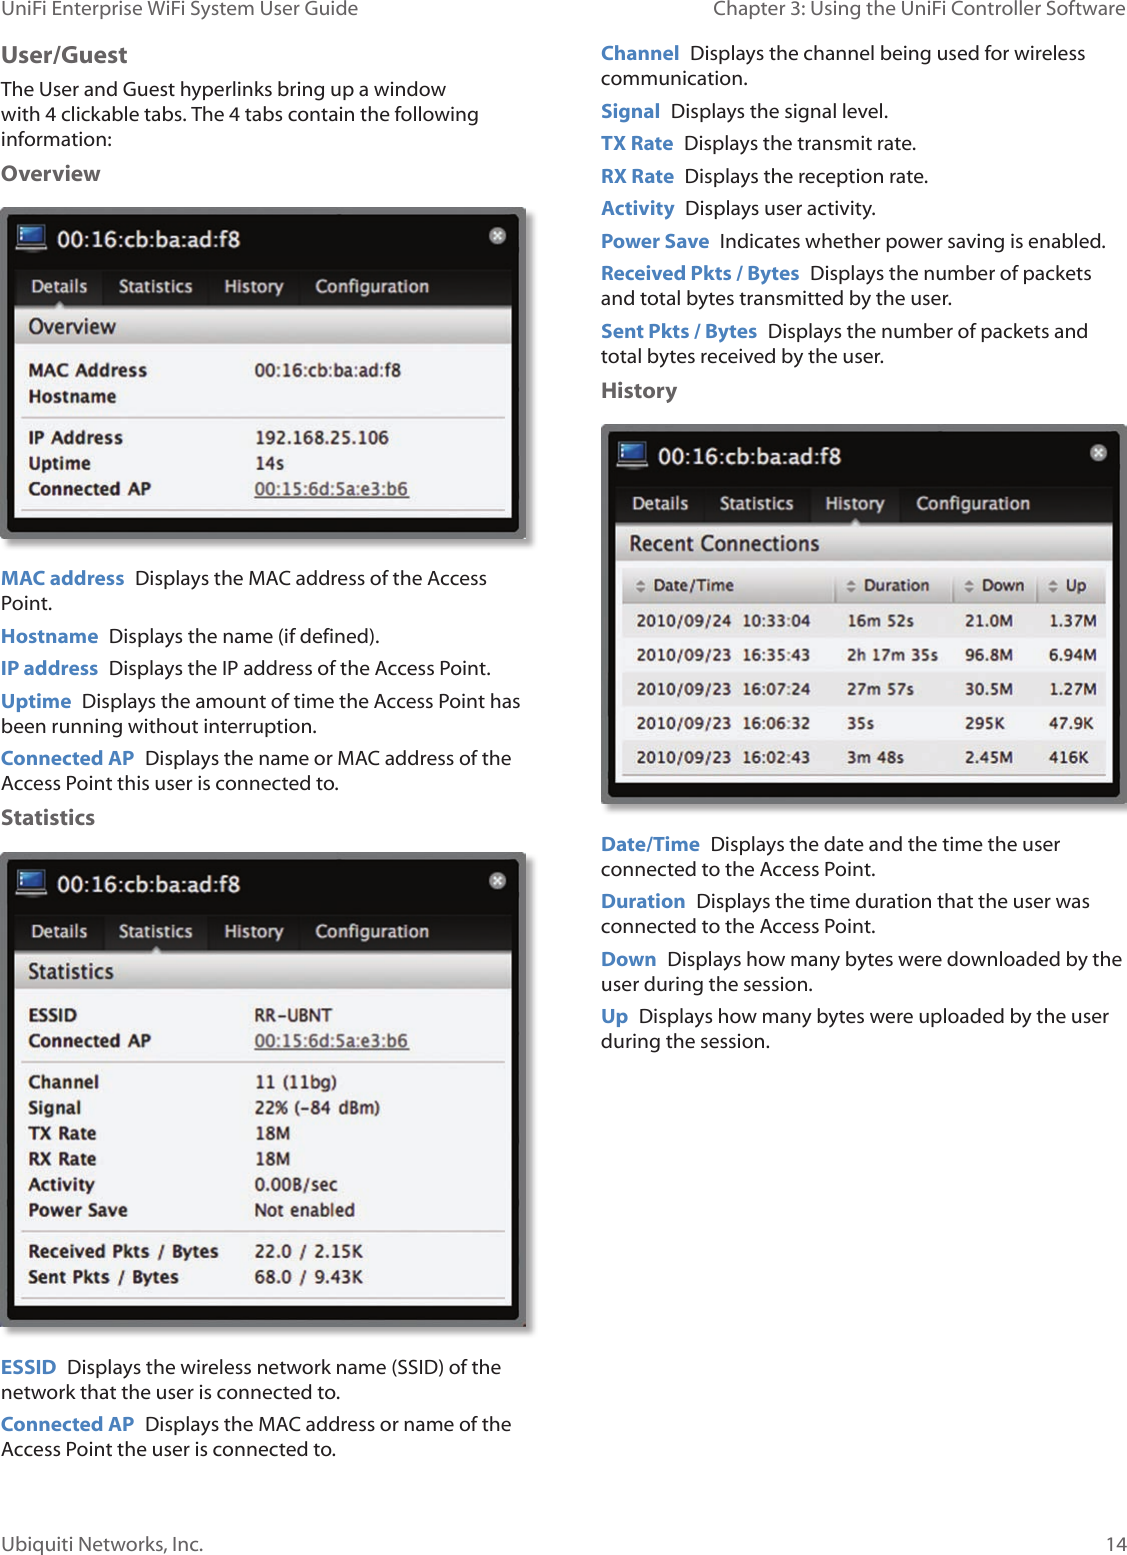
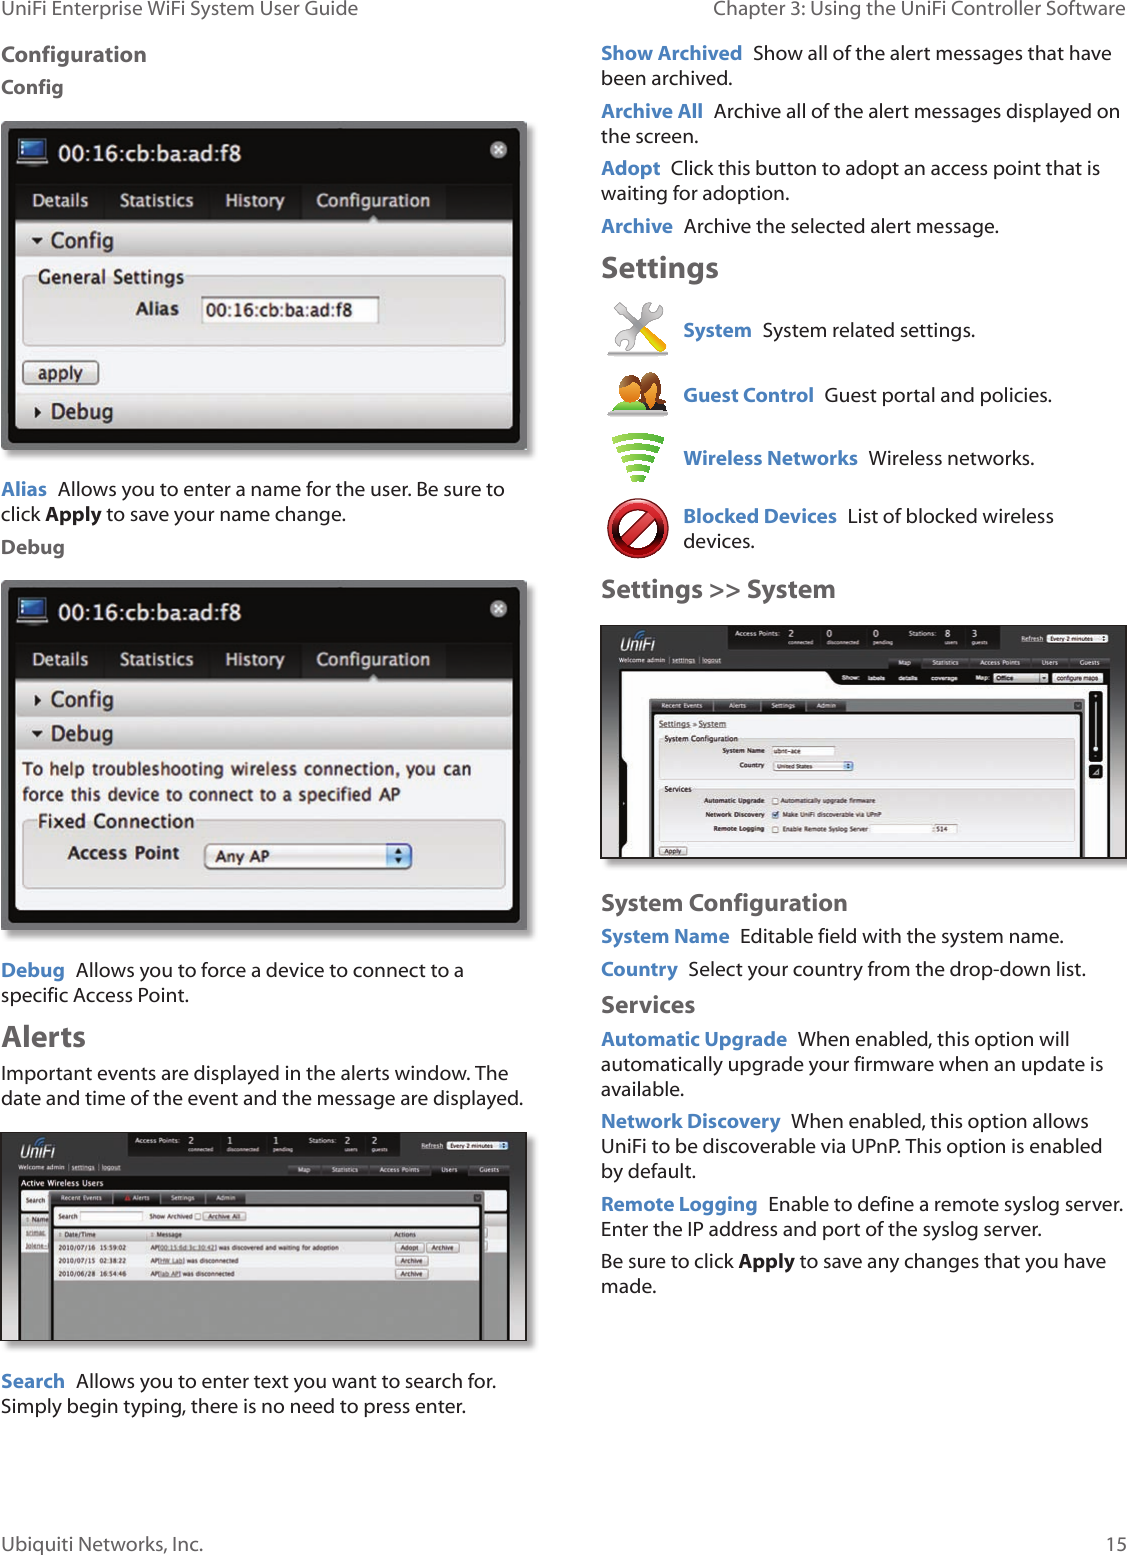
![11Ubiquiti Networks, Inc.Chapter 3: Using the UniFi Controller Software UniFi Enterprise WiFi System User GuideActivity Displays the level of activity for each guest.Bars Activity Level (Bytes per second)Idle500 8000 64000 512000 2048000 Uptime Displays the total time the user has been connected for this session.Actions Click an action button to perform the appropriate action. • Block Click this to block a specific guest from accessing the Access Point.• Reconnect Click this button to reconnect a specific guest to the Access Point.Recent EventsDisplays a list of recent events including the date and time the event occurred and the details of the event. The user and AP names are clickable links. Event Slider Move the slider right and left to navigate between pages of events. Search Allows you to enter text you want to search for. Simply begin typing, there is no need to press enter.Clicking on an Event Device LinkThe event messages have clickable links [in brackets underlined in gray text] for access points and users/ guests. Details vary based on the selection.AP The upper part of the window has 4 clickable tabs. The bottom of the window has a Locate and Restart button. Use the Locate button to flash the LED on the Access Point and flash the Access Point icon on the map. Use the Restart button to restart the Access Point. The 4 tabs contain the following information:Details Displays details on the Access Point. Click Radio to display the channel and transmit/receive statistics.Overview• MAC address Displays the MAC address of the Access Point. • Model Displays the model information.• Version Displays the version of software used on the Access Point.• IP address Displays the IP address of the Access Point.• Uptime Displays the amount of time the Access Point has been running without interruption. • # Users Displays the number of users connected to the primary network.• # Guests Displays the number of users connected to the guest network.](https://usermanual.wiki/Ubiquiti/UAP.User-Guide/User-Guide-1390408-Page-13.png)