Uniden America UC577R 1.9GHz UPCS Cordless Telephone-Handset User Manual CT14 OM 0912
Uniden America Corporation 1.9GHz UPCS Cordless Telephone-Handset CT14 OM 0912
UserManual.wiki
>
Uniden America
>
UC577R User Manual
Users Manual
Navigation menu
Upload a User Manual
Namespaces
Wiki Guide
HTML
PDF
Info
Views
User Manual
Discussion / Help
Navigation


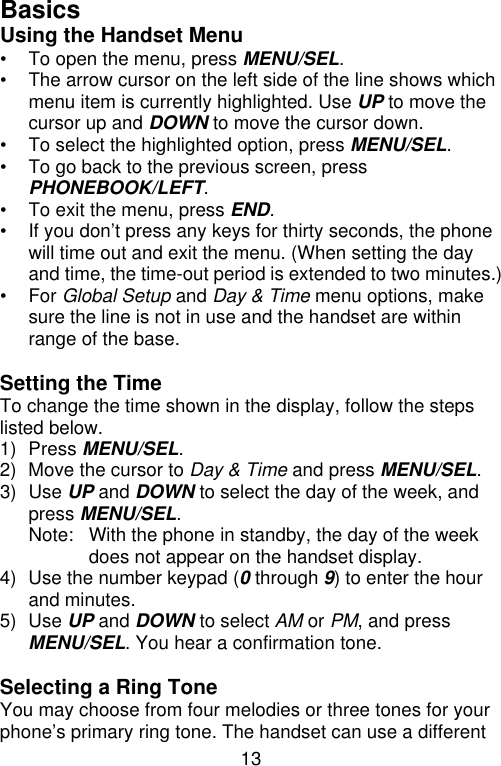


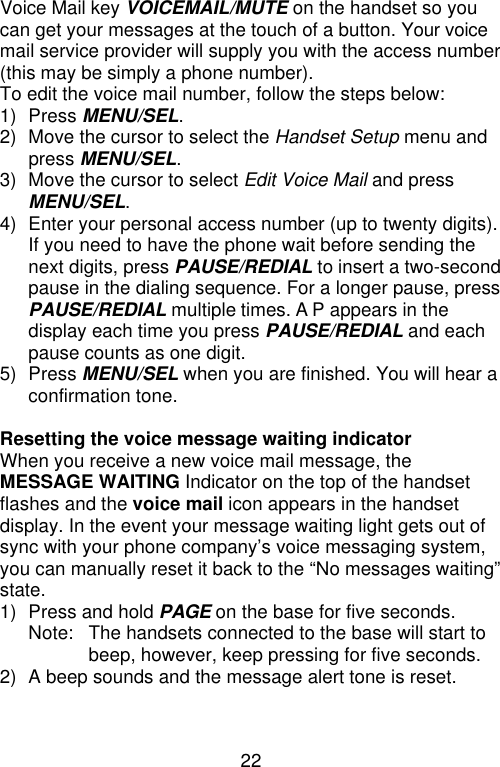

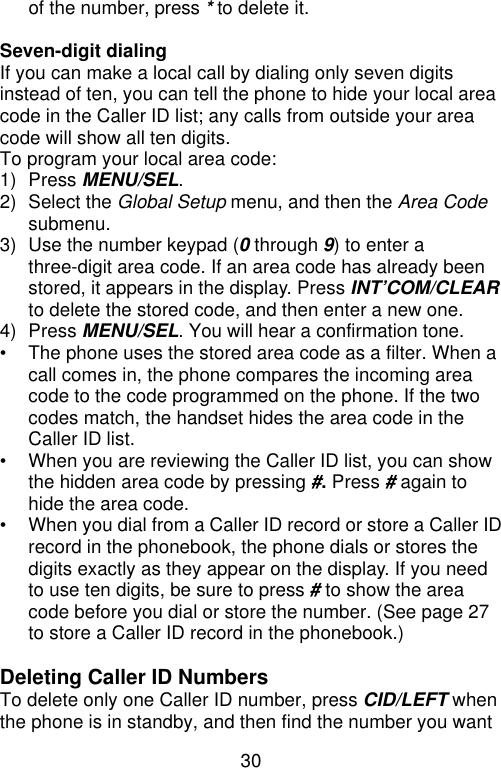
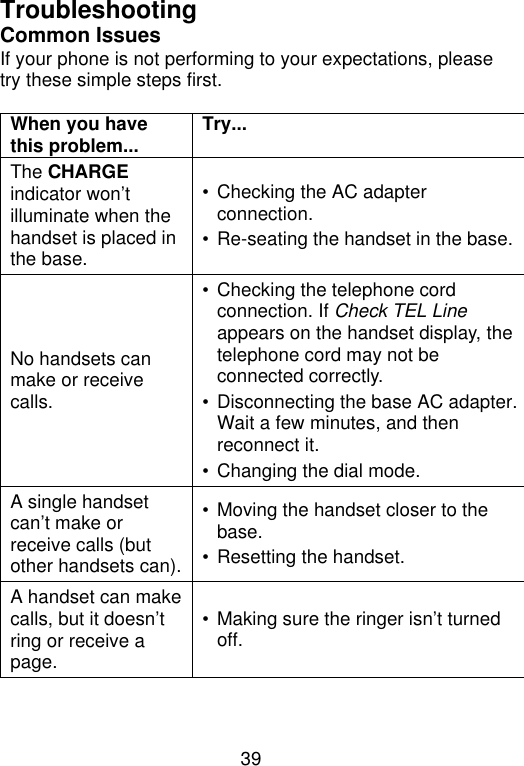
![24 next. Use the number keypad to enter the phone number; the phone number can contain up to twenty digits. If you need the phone to pause between digits when it’s dialing (for example, to enter an extension or an access code), press PAUSE/REDIAL to insert a two-second pause. You will see a P in the display. You can also use more than one pause together if two seconds is not long enough. Each pause counts as one digit. Press MENU/SEL when you are finished. 5) Assign a personal ring tone for this entry (PERSONAL RING). You can attach a special ring tone to each phonebook entry; the phone will use this ring tone when this person calls. Use UP and DOWN to select one of the seven different ring tone options (see Selecting a Ring Tone on page 13 for a complete list of ring tones). As you scroll through the tones, you will hear a sample of each tone (unless the handset ringer volume is set to off). When you hear the ring tone you want to use, press MENU/SEL. If you do not want to use a personal ring tone for this phonebook entry, choose No Selection; the phone will use your standard ring tone setting. (See page 14 to turn the personal ring on or off.) 6) You will hear a tone confirming that the new entry has been stored, and Done! appears in the display. Entering Text from Your Handset You can use the number keypad on your handset to enter text by referring to the letters printed on each number key. When you press the number key in a text entry field, the phone displays the first letter printed on the number key. Press the number key twice to display the second letter and three times to display the third. • When [Aa] appears on the display, capital letters are](https://usermanual.wiki/Uniden-America/UC577R/User-Guide-1033323-Page-24.png)
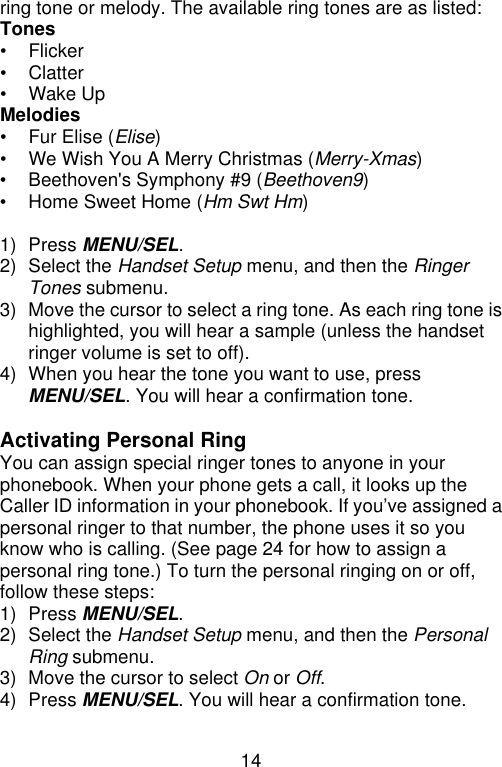
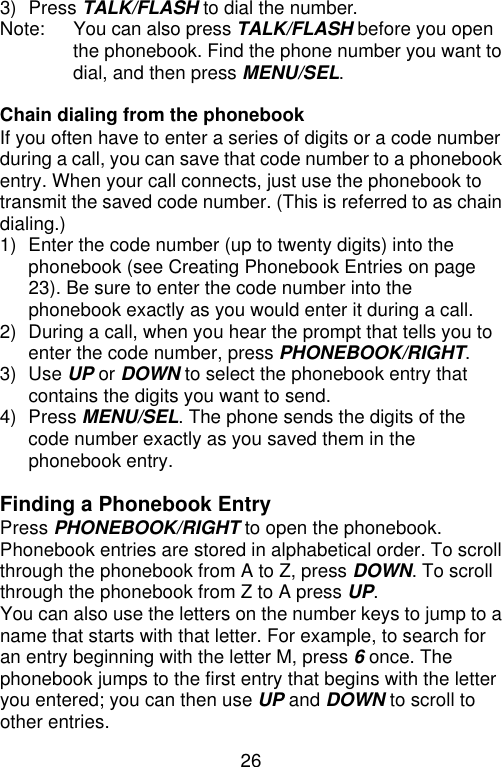
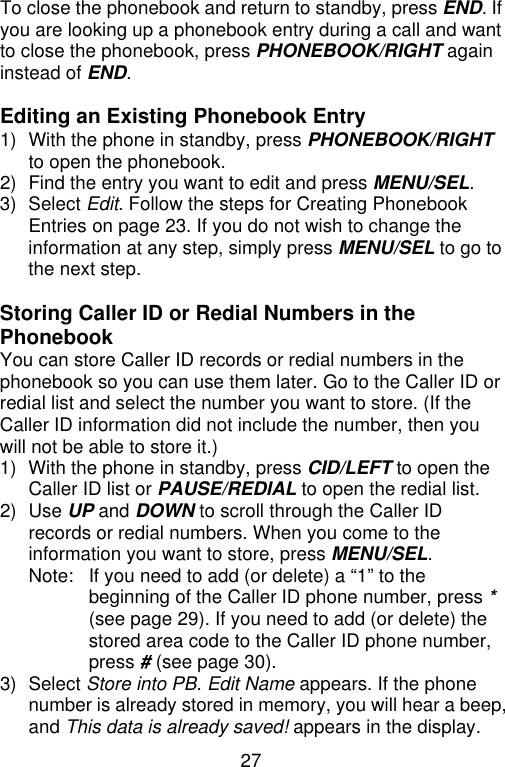
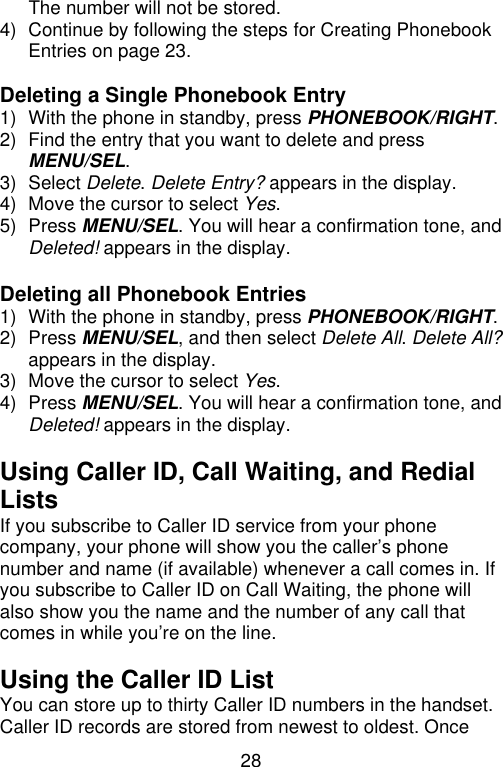
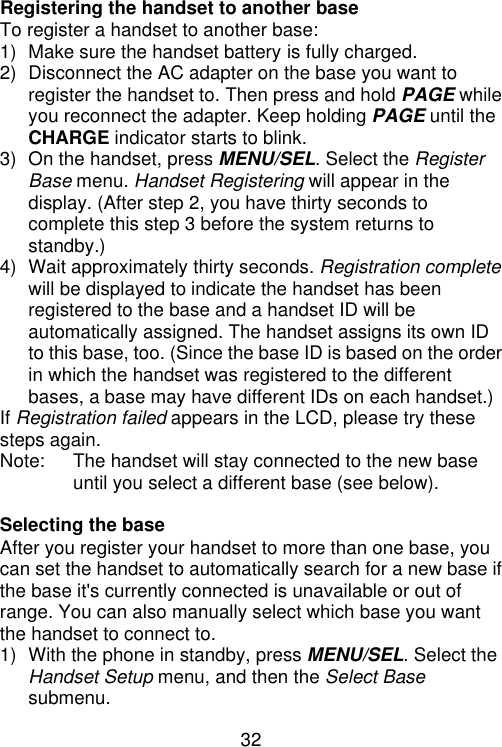
![25 displayed first, then lower case letters, and then the number on the key. • When [aA] appears on the display, lower case letters are displayed first, then the number on the key, and then capital letters. • When you input the first letter or a letter after a blank space, the default mode is [Aa]. From the next letter, the mode changes to [aA] automatically. • You can switch back and forth the mode manually between [Aa] and [aA]. Press *; the case (small/capital) of the letter entered changes also. If two letters in a row use the same number key, enter the first letter, then use CID/RIGHT to move the cursor to the next position to enter the second letter. For example, to enter the word “Movies”: 1) Press 6 once to enter M. 2) Use CID/RIGHT to move the cursor to the right. 3) Press 6 three times to enter o. 4) Press 8 three times to enter v. 5) Press 4 three times to enter i. 6) Press 3 two times to enter e. 7) Press 7 four times to enter s. 8) Press MENU/SEL to end your text entry. If you make a mistake while entering a name, use CID/RIGHT or PHONEBOOK/LEFT to move the cursor to the incorrect character. Press INT’COM/CLEAR to erase the wrong character, and then enter the correct character. To delete all characters, press and hold INT’COM/CLEAR. Making a Call from the Phonebook 1) With the phone in standby, press PHONEBOOK/RIGHT to open the phonebook. 2) Find the phonebook entry you want to call (see Finding a Phonebook Entry on page 26).](https://usermanual.wiki/Uniden-America/UC577R/User-Guide-1033323-Page-25.png)

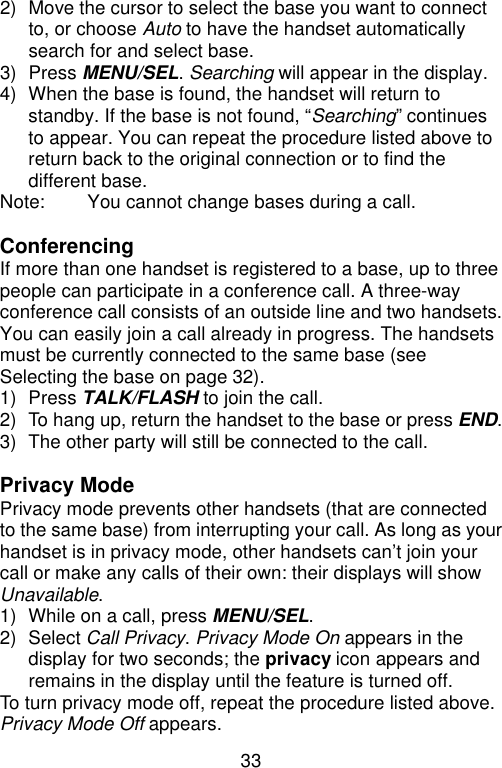
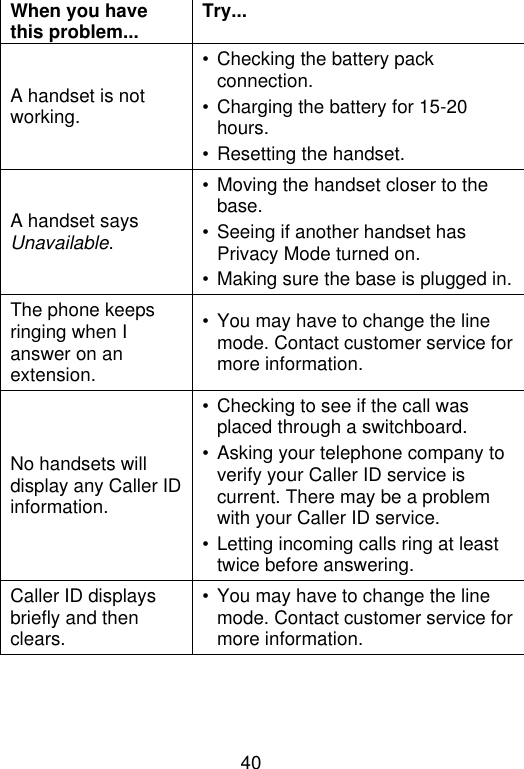
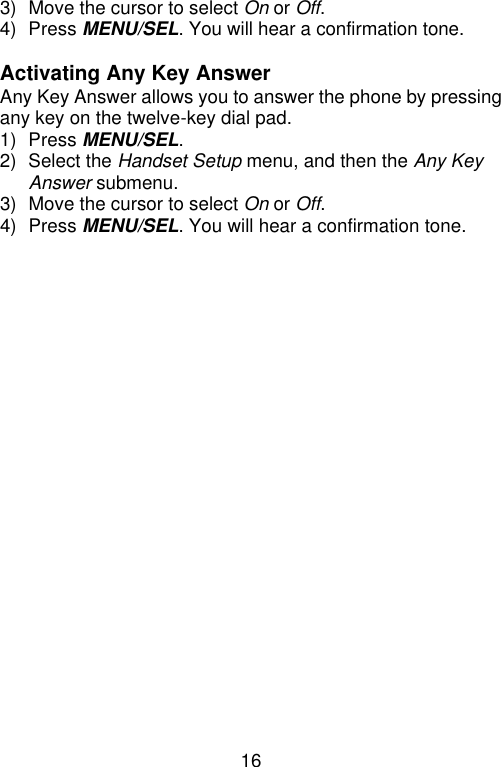
![44 Selecting the base on page 32). Changing the Line Mode for Multiple Extensions Line mode refers to the method that telephones use to signal each other that an extension is in use. Customer service may recommend changing the line mode if you have any of the following problems: • Your phone keeps ringing after someone answers on an extension phone. • Your answering system doesn’t stop recording when you answer on an extension phone. • Caller ID displays briefly and then clears. 1) If you have multiple bases, select the base that is having problems (see page 32). 2) Press MENU/SEL. 3) Select the Global Setup menu, and then the Set Line Mode submenu. 4) If Instructed by Customer Service Press [select] appears. Press MENU/SEL. 5) Move the cursor to select Type - A, Type - B, or Off. 6) Press MENU/SEL. You will hear a confirmation tone. Resetting the Handset If you are having trouble with a particular handset or if you want to replace a handset, first clear the registration information from the base and the handset. If you have the base the handset is registered to: 1) Select the base you want to de-register the handset from (see Selecting the base on page 32). 2) Press and hold END and # for more than five seconds. Select Deregister HS. 3) Select the handset which you are operating, and then press MENU/SEL.](https://usermanual.wiki/Uniden-America/UC577R/User-Guide-1033323-Page-44.png)