Uniden America UN042 2 Line Cordless Phone System User Manual 4086
Uniden America Corporation 2 Line Cordless Phone System 4086
UserManual.wiki
>
Uniden America
>
UN042 User Manual
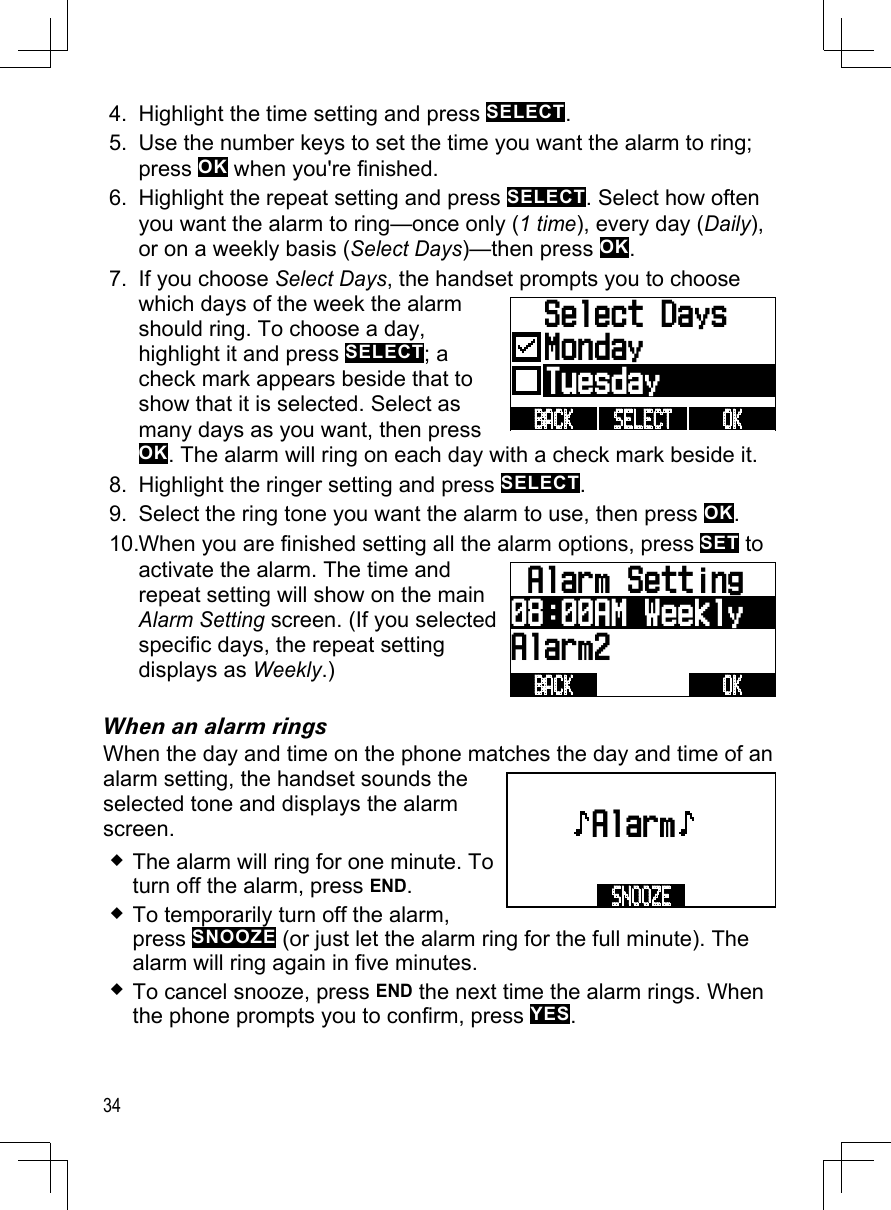
>
4086 user manual
Contents
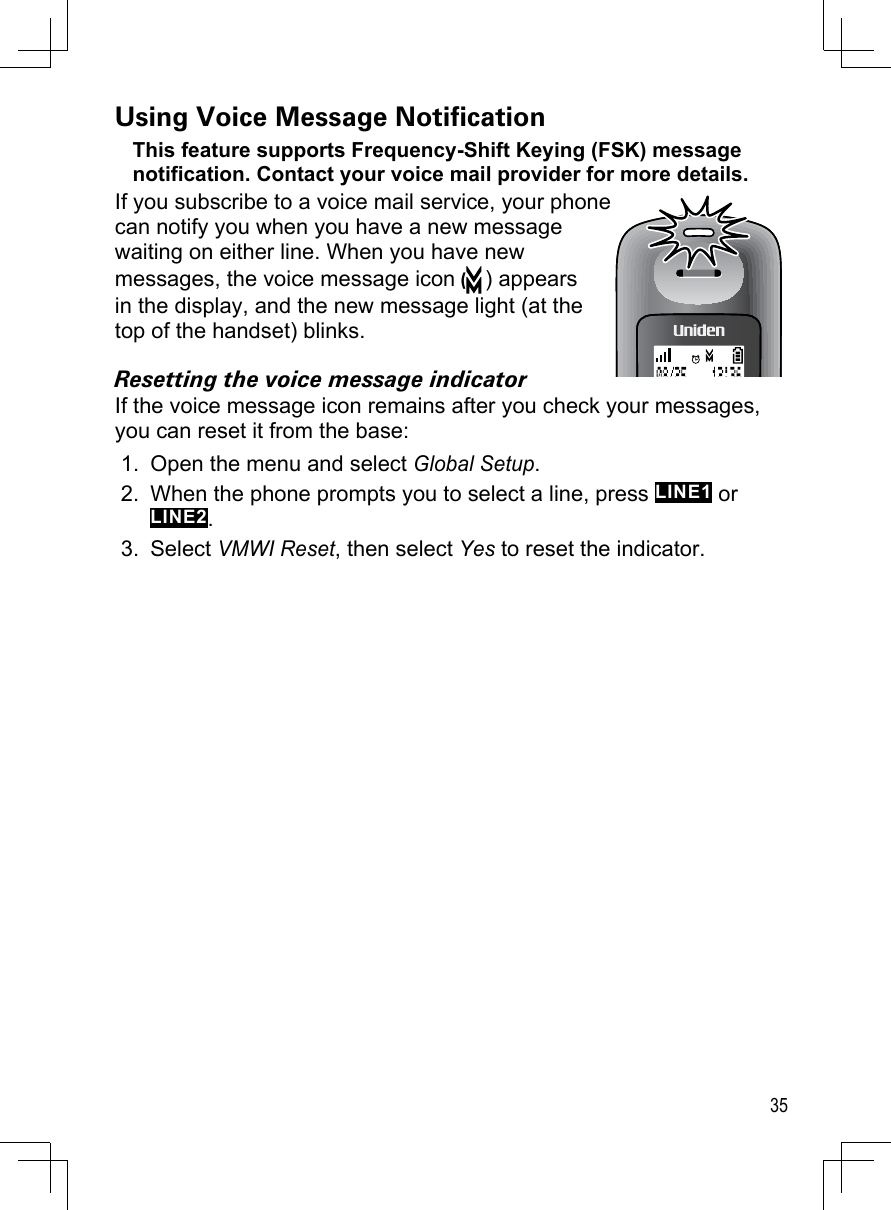
1.
4086 user manual
2.
4096 user manual
4086 user manual
Navigation menu
Upload a User Manual
Namespaces
Wiki Guide
HTML
PDF
Info
Views
User Manual
Discussion / Help
Navigation
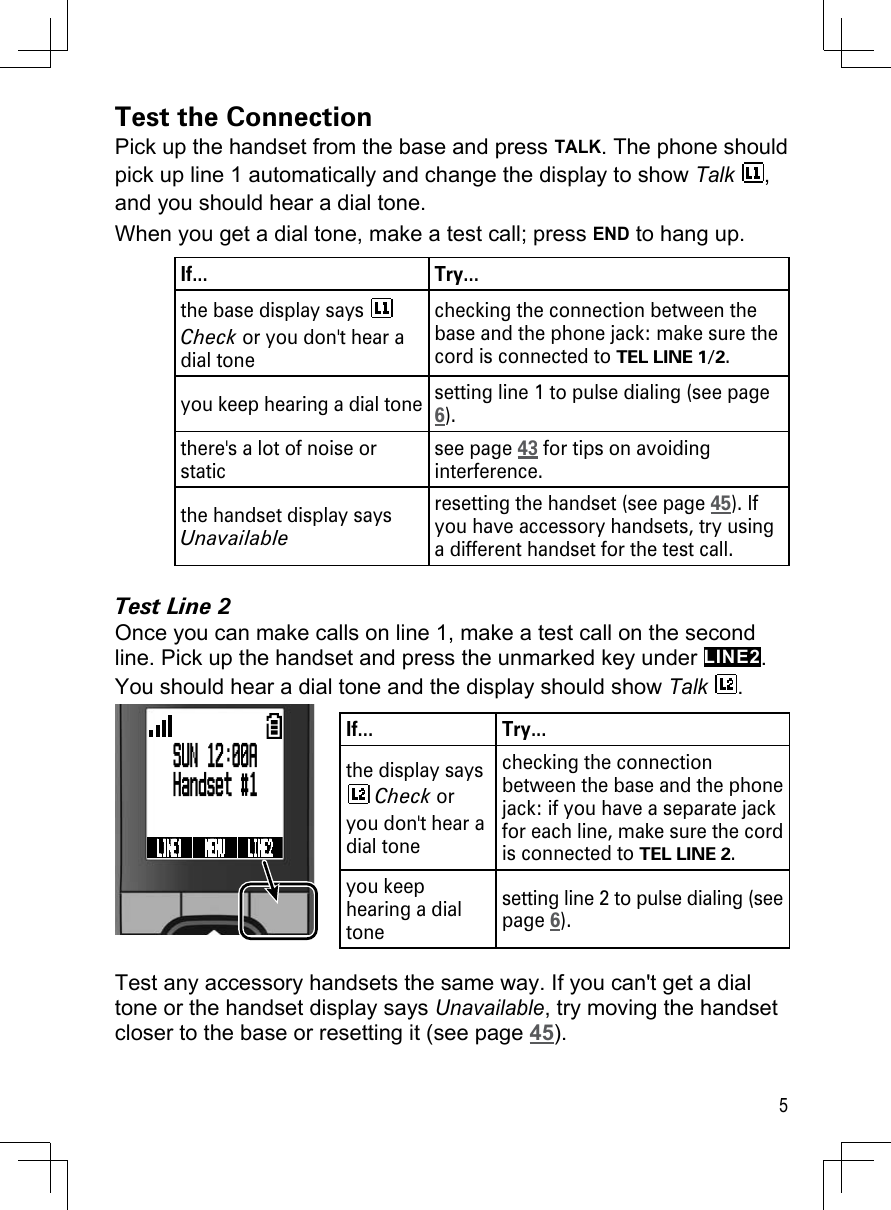

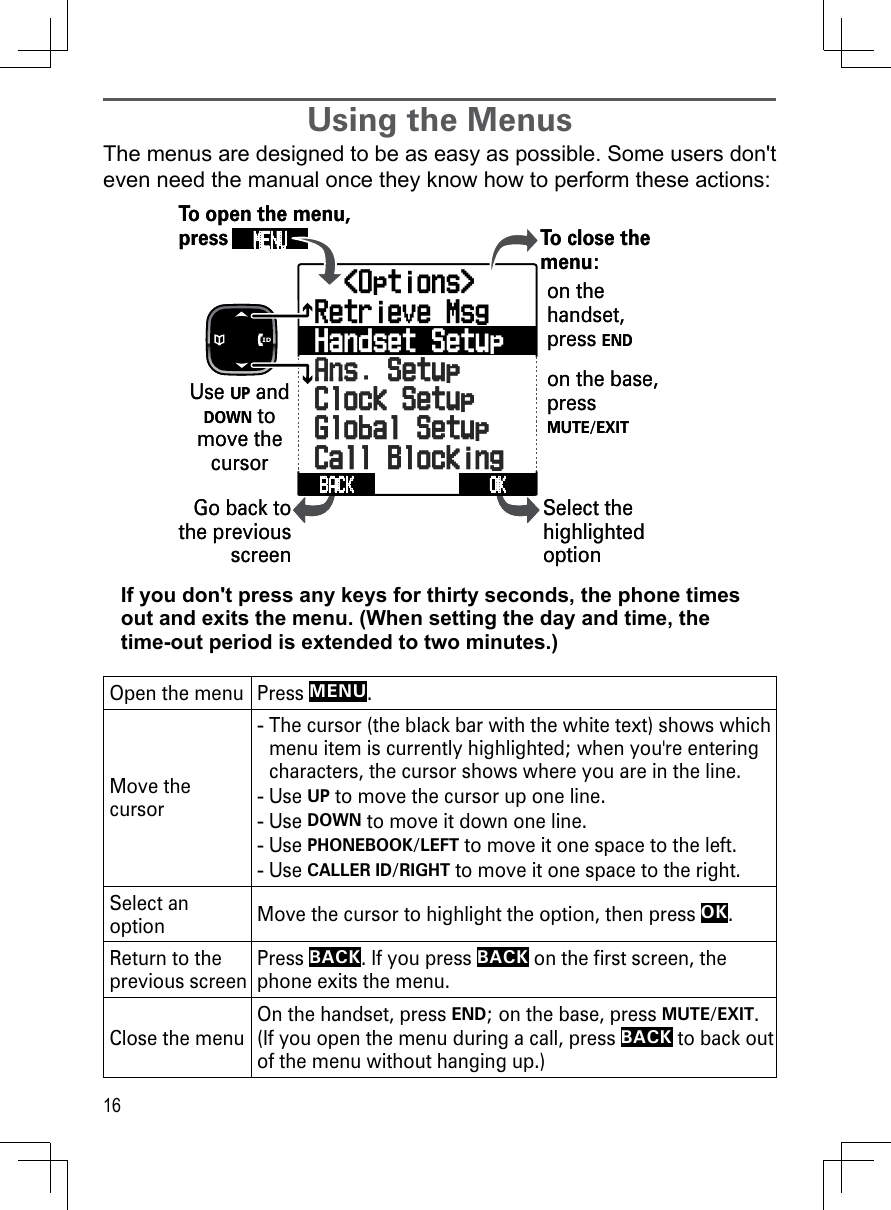
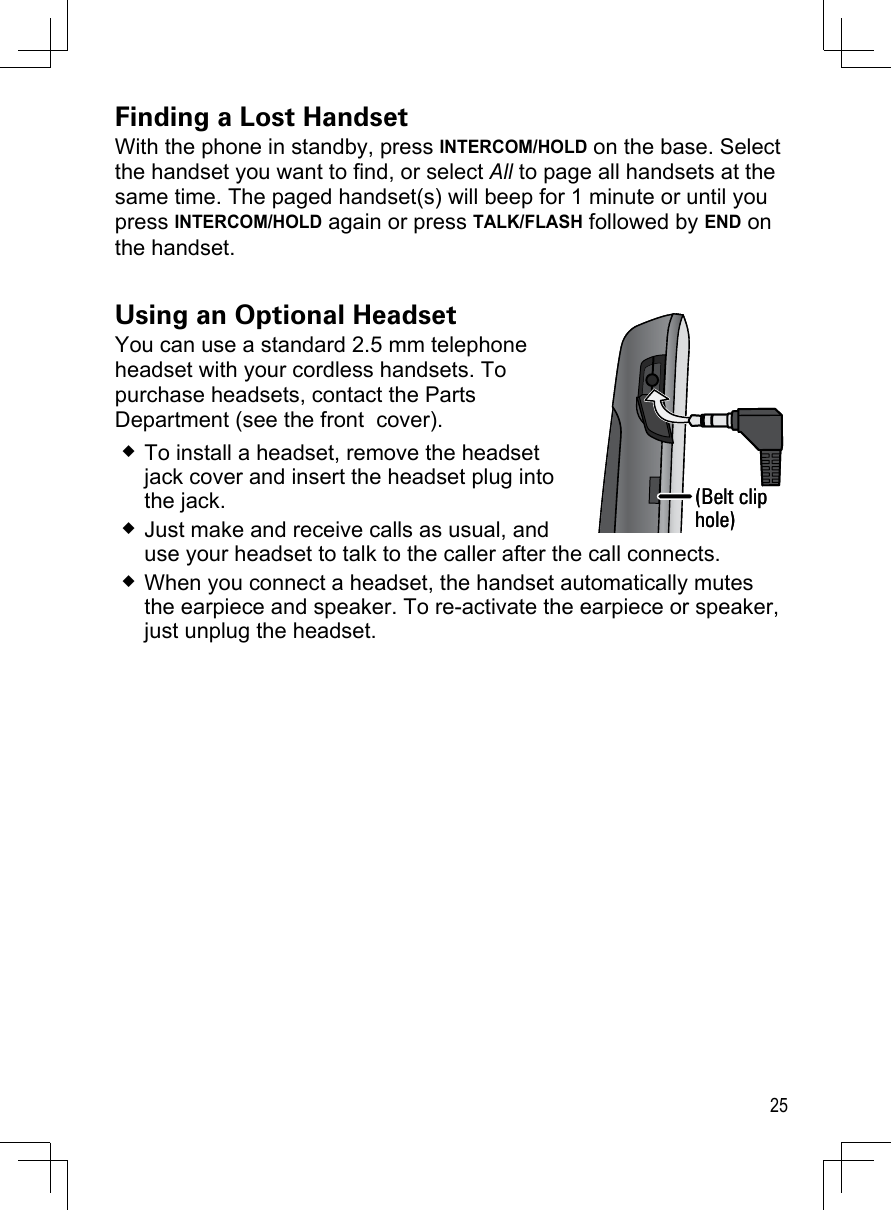
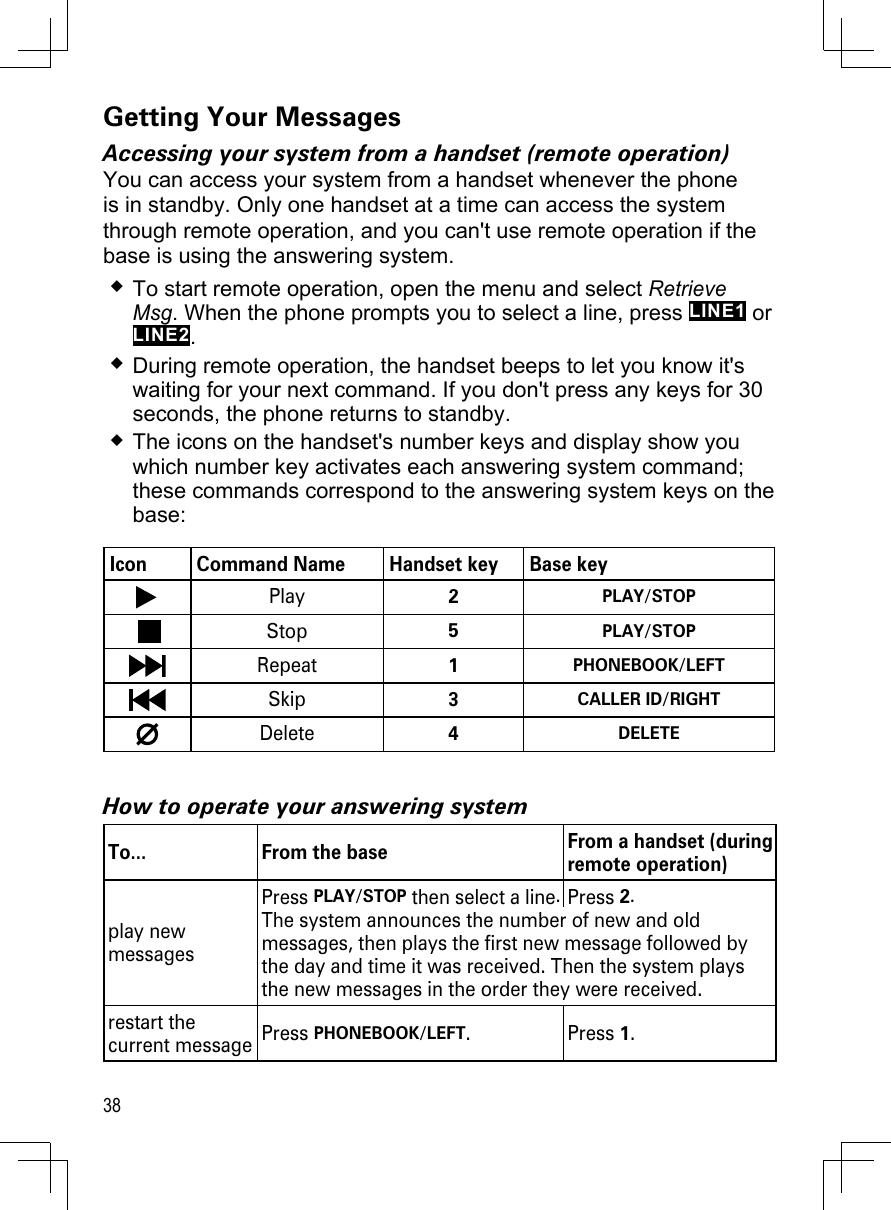
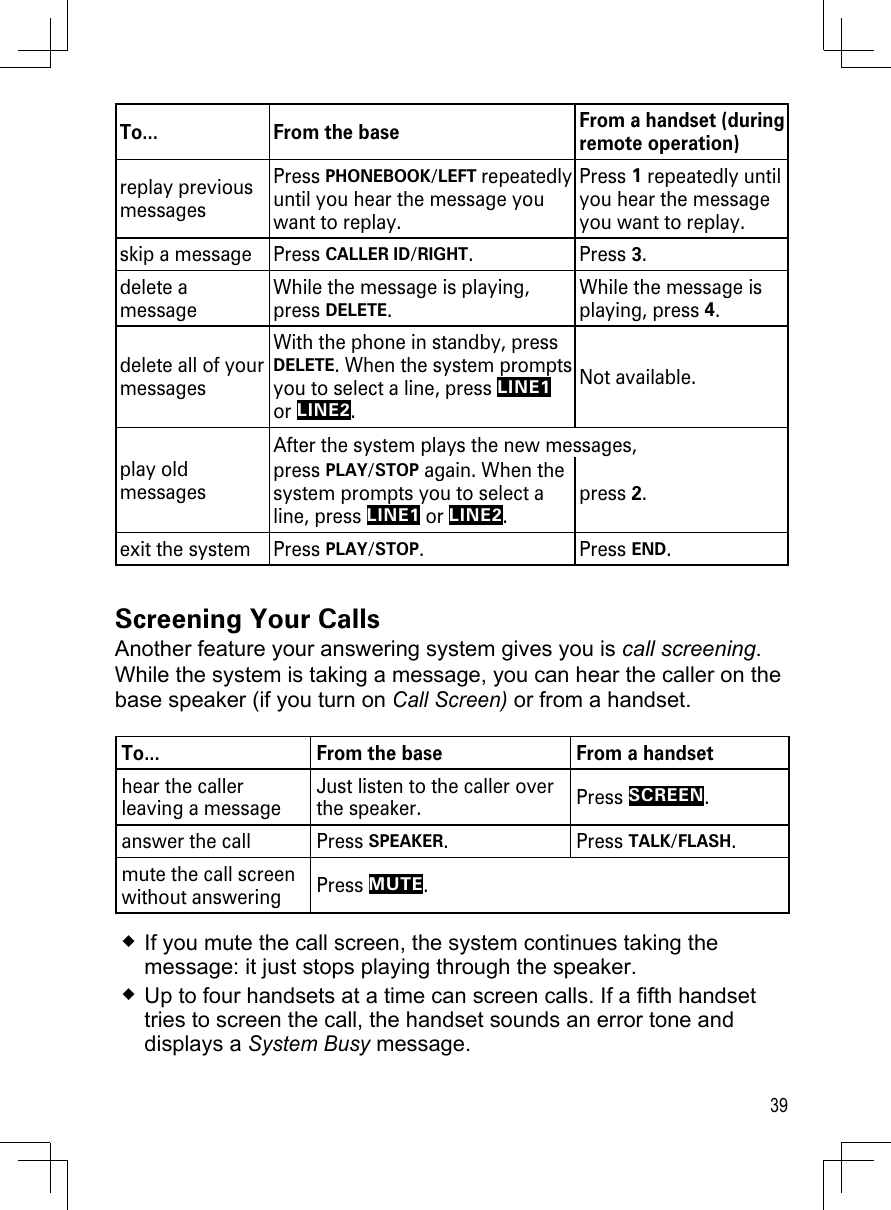
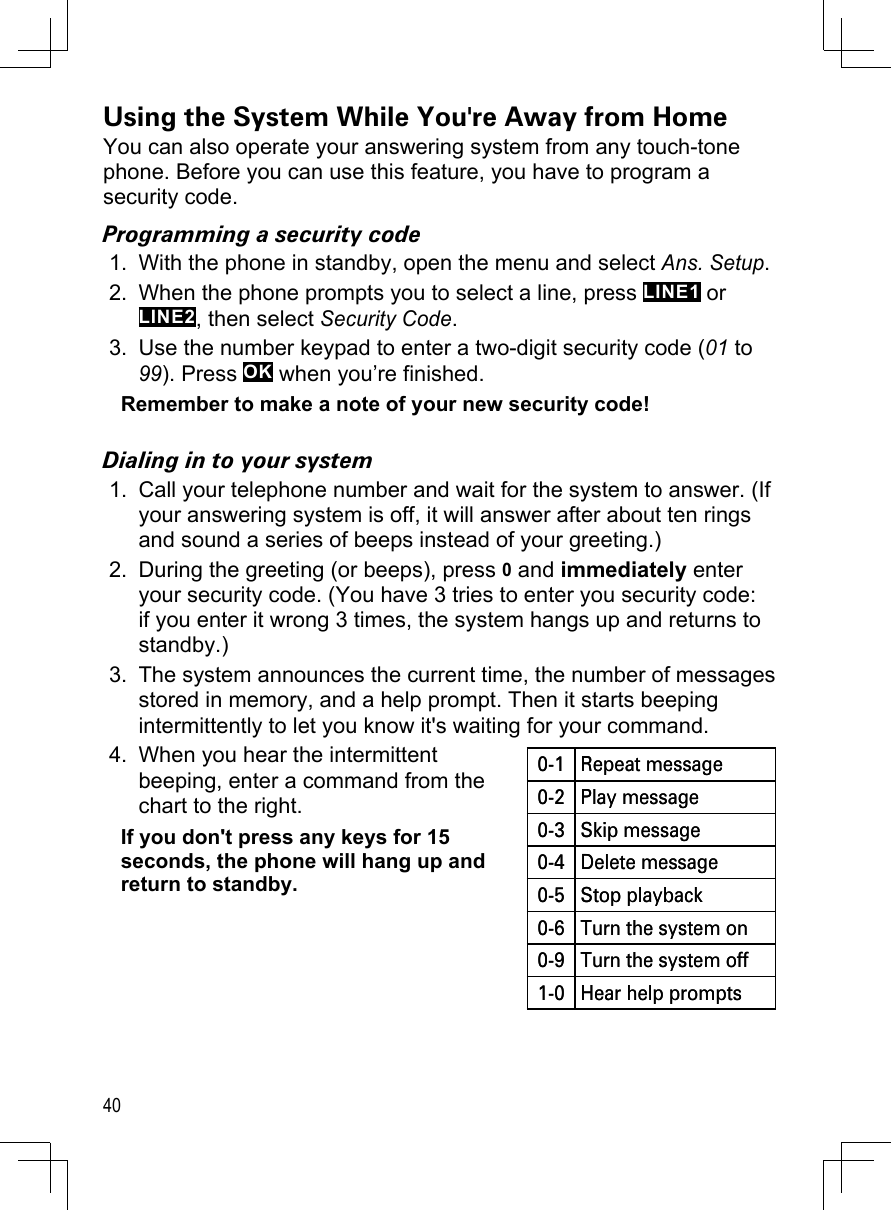
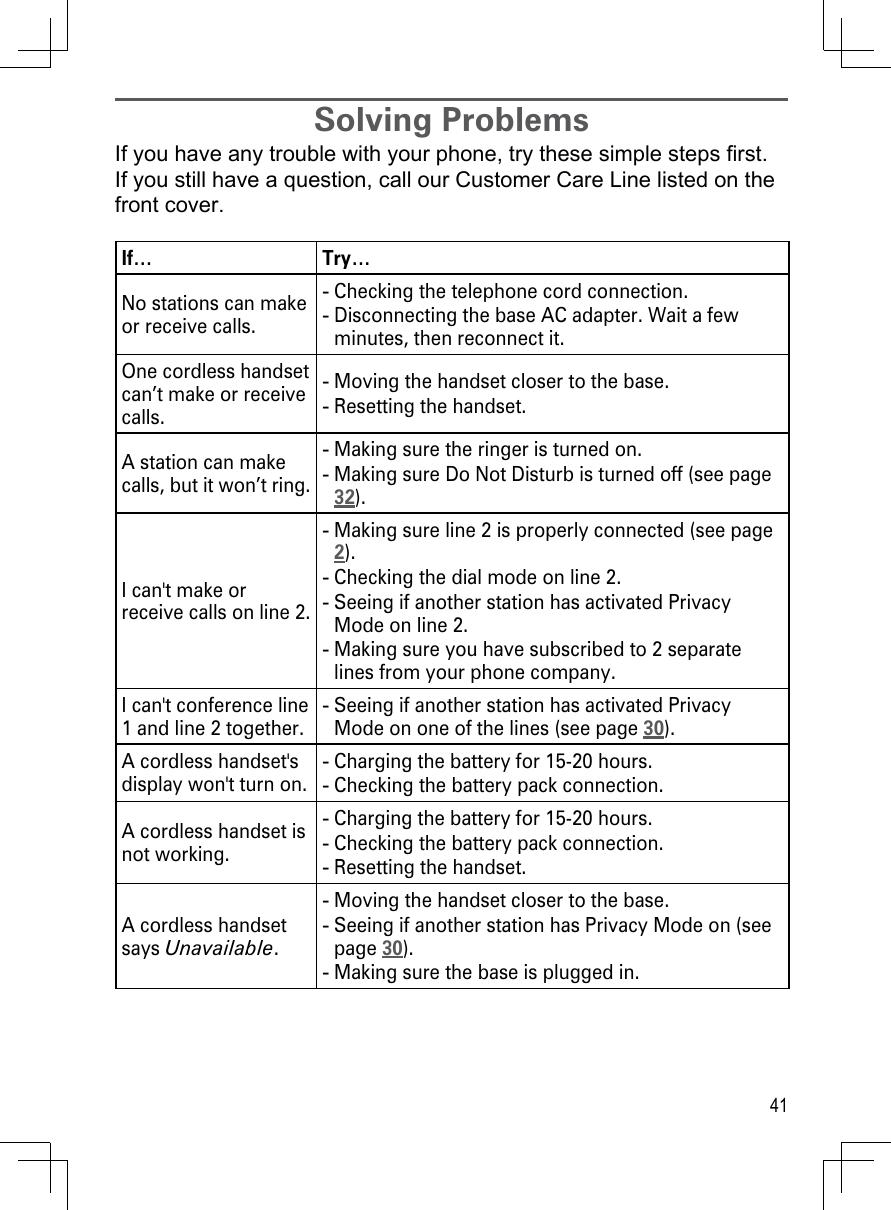
![15Entering Text on Your PhoneWhen you want to enter text into your phone (for example, a name in the phonebook), use the twelve-key dial pad to enter the letters printed on the number keys. Here's how it works:The phone enters the letters in the order they appear on the key. For example, if you press the number key 2 once, the phone enters the letter A. Press 2 twice for B, and three times for C. If you press the key again after the last letter, the phone starts the same letter sequence with small letters. If you press 2 four times in a row, the phone enters a (small letter). Press 2 five times for b, and six times for c.If you see the icon [Aa] in the display, the phone enters capital letters first (A B C), then small letters (a b c), then the number on the key (2). The icon [aA] means the phone starts at the small letters, so it enters small letters first, then the number on the key, then capital letters.The phone automatically uses a capital letter for the first letter and any letter right after a space; all other times, it uses small letters.If two letters in a row use the same number key, enter the first letter, then use CALLER ID/RIGHT to move the cursor to the next position to enter the second letter. Switch between capital and small letters Press .Move the cursorPress PHONEBOOK/LEFT to move the cursor to the left or CALLER ID/RIGHT to move the cursor to the right.Leave a blank space Press # (POUND). Erase one letterMove the cursor to the letter you want to erase and press the DELETE soft key. (On the base, you can also press DELETE.)Erase the entire entry Press and hold DELETE.Enter punctuation or a symbol Press 0 to rotate through the available symbols. ](https://usermanual.wiki/Uniden-America/UN042.4086-user-manual/User-Guide-1123010-Page-17.png)