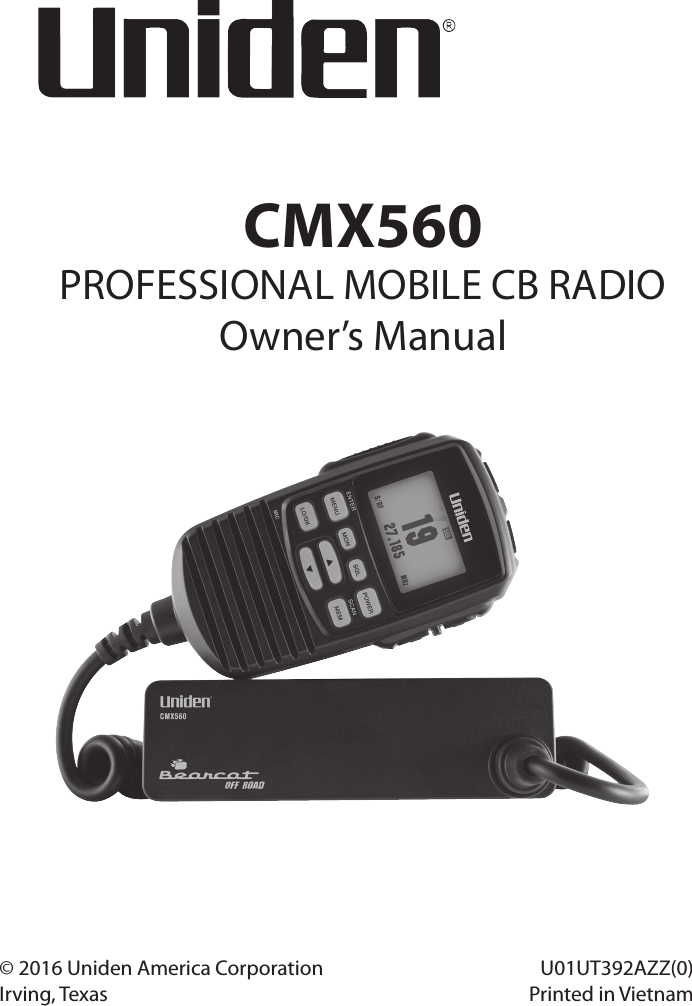
Uniden America UT392 AM 4W, Mobile CB Station Transceiver User Manual User Manuel
Uniden America Corporation AM 4W, Mobile CB Station Transceiver User Manuel
UserManual.wiki
>
Uniden America
>
UT392 User Manual
User Manuel
Navigation menu
Upload a User Manual
Namespaces
Wiki Guide
HTML
PDF
Info
Views
User Manual
Discussion / Help
Navigation

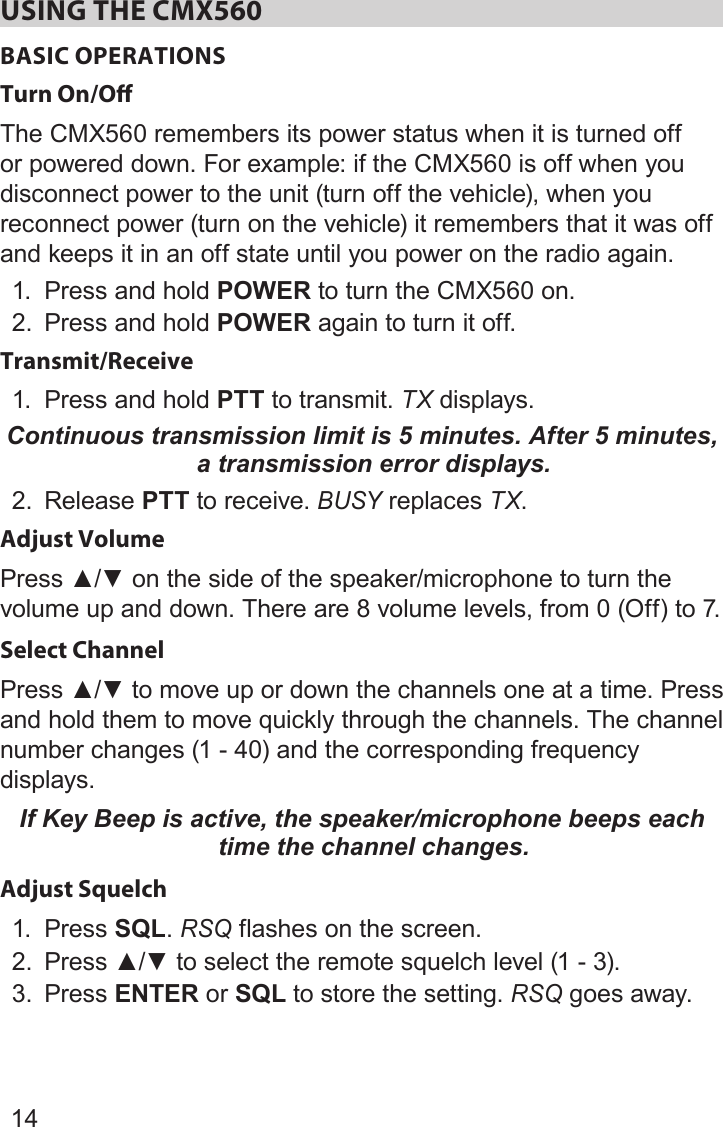
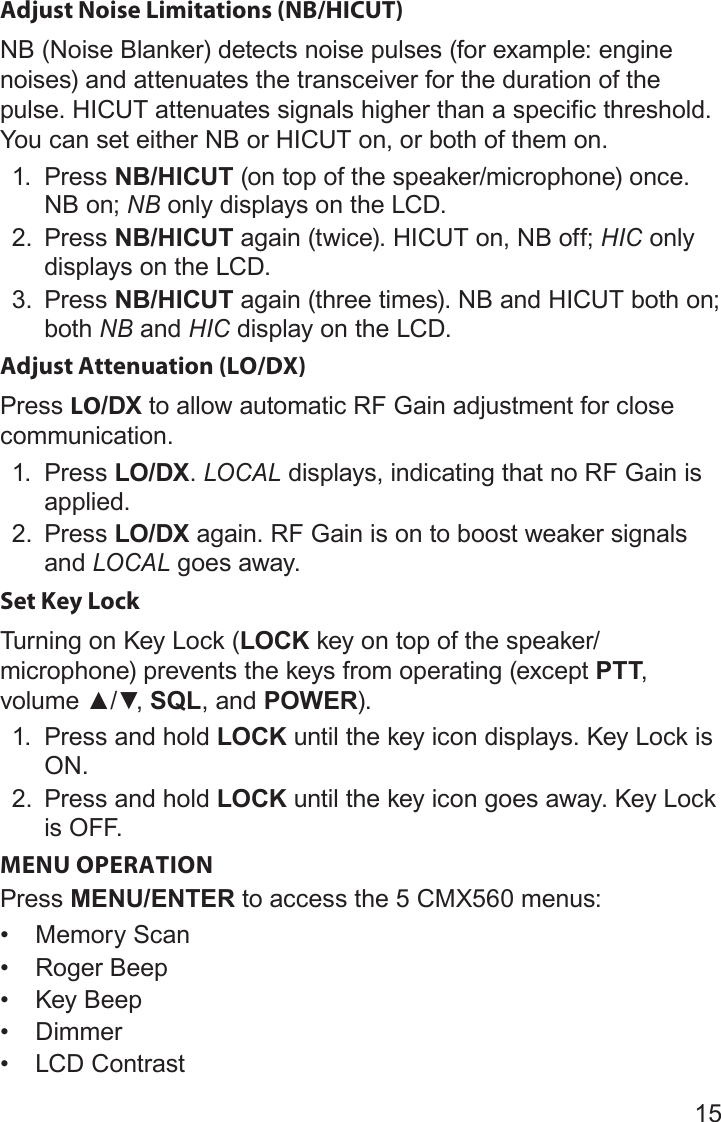
![16Memory Scan (MEM SCAN)You can scan memory channels.1. Press MENU. MEM SCAN displays and the current setting blinks.2. Press▲/▼toturnMemoryScanonoroff.3. Press MENU to store that setting and move to the next menu setting or press and hold ENTER to save the setting and exit Menu mode.Roger Beep (ROGER)Turn Roger Beep on to transmit a tone when transmission is complete.1. Press MENU twice to access Roger Beep. Roger displays and the current setting displays and blinks.2. Press▲/▼toturnRogerBeeponoroff.3. Press MENU to store that setting and move to the next Menu setting or press and hold ENTER to save the setting and exit Menu mode.Key Beep (BEEP)Turn Key Beep on to sound a beep when you press a key.1. Press MENU three times to access Key Beep. Beep displays and the current setting displays and blinks.2. Press▲/▼toturnKeyBeeponoroff.3. Press MENU to store that setting and move to the next Menu setting or press and hold ENTER to save the setting and exit Menu mode.Dimmer (LIGHT)This selection changes the backlight intensity.1. Press MENU four times. Light displays and the current backlight intensity level displays and blinks [oF (off), Lo, HI].2. Press▲/▼tochangetheintensitylevel.Whenyouchangealevel, the screen changes to that level.](https://usermanual.wiki/Uniden-America/UT392/User-Guide-3204843-Page-16.png)