Uniden America UT416 CB RADIO WITH SCANNING RECEIVER User Manual BC885
Uniden America Corporation CB RADIO WITH SCANNING RECEIVER BC885
UserManual.wiki
>
Uniden America
>
UT416 User Manual
>
BC885 User Manual
Contents
1.
BC885 User Manual
2.
FCC Part 95 User Manual
3.
User Manual
BC885 User Manual
Navigation menu
Upload a User Manual
Namespaces
Wiki Guide
HTML
PDF
Info
Views
User Manual
Discussion / Help
Navigation


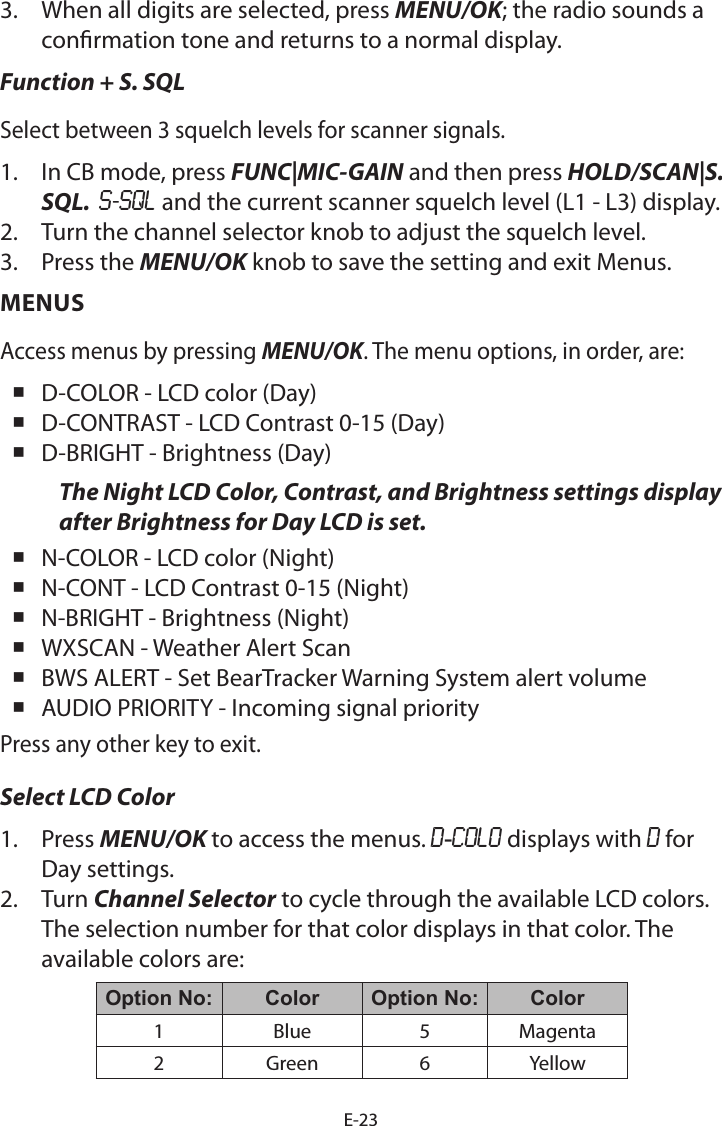
![E-32Trunking System Motorola System (Type I, II, IIi, X2-TDMA)EDACS System (FM/NFM)LTR SystemAPCO System [ASTRO IMBE, ASTRO 25.P25 AMBE(HDQPSK)]Heterodyne System 1st Heterodyne 25.000 ~ 225.000 MHz Upper Heterodyne 1st IF 380.75 MHz 320.000 ~ 511.995 MHz Upper Heterodyne 1st IF 265.55 MHz 758.000 ~ 805.995 MHz Lower Heterodyne 1st IF 265.55 MHz 806.000 ~ 960.000 MHz Lower Heterodyne 1st IF 380.75 MHz 2nd Heterodyne 25.000 ~ 225.000 MHz Lower Heterodyne 2nd IF10.800 MHz 320.000 ~ 805.995 MHz Upper Heterodyne 2nd IF 10.800 MHz 806.000 ~ 960.000 MHz Lower Heterodyne 2nd IF 10.800 MHz 3rd Heterodyne All Bands Lower Heterodyne 3rd IF450 MHzFilter380.75 MHz SAW lter 1st IF265.55 MHz SAW lter 1st IF10.8 MHz Ceramic Filter (BW ±75kHz) 2nd IF450 kHz Ceramic Filter (BW ±75kHz) 3rd IF Weather Channels: 7 ChannelsScan Rate: 85 channels/second Scan Delay: 2 secondsAntenna: 50 ohms (Impedance)CTCSS FREQUENCIESThe scanner can detect the following 50 CTCSS frequencies.67.0Hz 94.8Hz 131.8Hz 171.3Hz 203.5Hz69.3Hz 97.4Hz 136.5Hz 173.8Hz 206.5Hz71.9Hz 100.0Hz 141.3Hz 177.3Hz 210.7Hz](https://usermanual.wiki/Uniden-America/UT416.BC885-User-Manual/User-Guide-3368544-Page-32.png)