Unisen KP-810-XXX Voice Mini Wireless Keyboard User Manual KP 810 18V
Unisen Limited Voice Mini Wireless Keyboard KP 810 18V
Unisen >
user manual

Voice Wireless Keyboard
with IR Remote
Model: KP-810-18V

1.Introduction:
Voice wireless keyboard with IR remote, combo of wireless keyboard, mouse
touchpad, microphone, speaker and remote for other home electric appliance,
is designed small and portable, it is widely used for:
■ chat tool for Skype, QQ, Google talk, MSN.
■ Enhanced tool for teaching, speech, presentation, multi-media home entertainment
■ External keyboard for tablet PC, car PC, Android PC, smart TV remote
■ Remote of other home electric appliance, such as DVD PLAYER, CD
PLAYER, TV, Air Conditioner, with the feature of IR learning, Mini Air
Mouse and Keyboard can quickly learn original code from other home
electric appliance remote
2.Package:
Mini Wireless Keyboard with IR Remote
USB Receiver
USB cable for recharge the unit
Headset
User manual
3.Feature and specifications:
■R.F 2.4G connection(microphone+speaker)
■ rechargeable lithium-ion battery
■backlit for operation in darken room
■ USB receiver, Plug and play
■Ultra sensitive mouse touchpad
■Battery capacity: 800mA
■charge voltage: DC 5V/300mA
■standby time: 400 hours
■QWERTY keyboard
■ quick learning original code from other remote
■ Size: 163mm*60mm*12mm
■ Weight: 107g
English
4.System requirement:
- Windows 2000/XP/ vista/ 7/win CE
- linux/- Android/- Mac
How to use
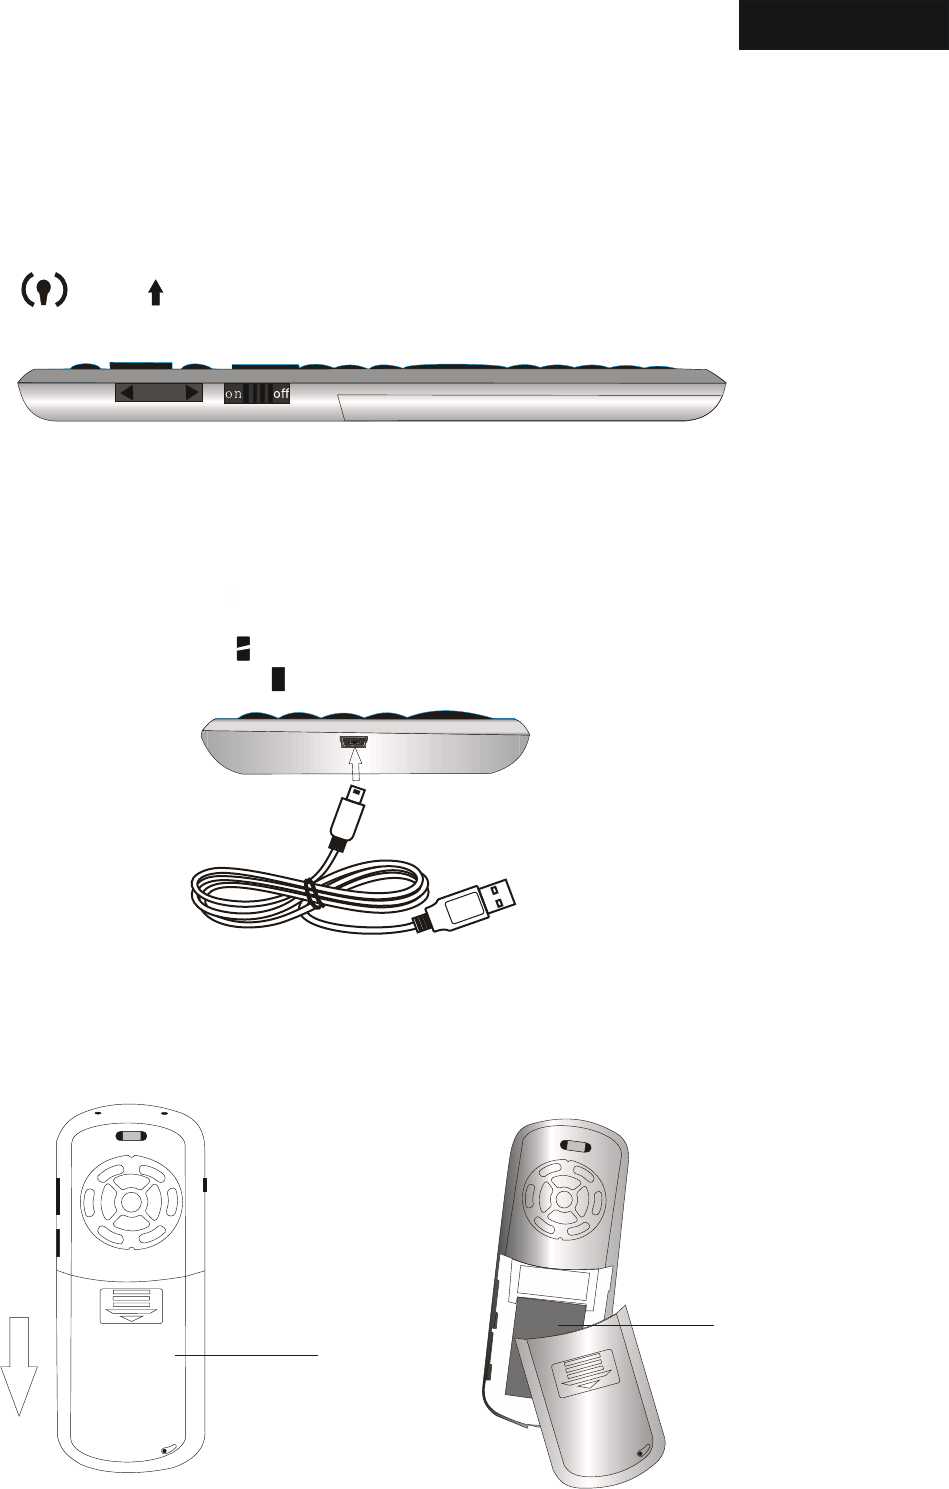
1.right view
2. Bottom view
2. Recharge your keyboard:
when your keyboard backlit flash without any operation that means your
keyboard is in low charge, and need to recharge connect your keyboard
to your computer with mini end of USB cable to your keyboard and another
end to computer, then led will light up with steady on, and go out when
it is fully recharged, and LED will light up
English
3.press and push battery
cover downward
4. Ta ke battery out
Battery cover
Battery
3. Change battery:
1. Insert USB RECEIVER into USB port in the computer, system will find new
hardware “wireless Audio HID Device” and will install driver automatically,
Turn unit on after driver installation successfully by switching power button
to on, LED and will flash one time then go out. That means your
keyboard and computer have been built connection.
4. Feature of IR learning:
with feature of IR learning, this Keyboard can be used as remote for other home electric
appliance, such as DVD/CD player, TV, air conditioner, refrigerator. In order to be a remote
for other electric appliance, Keyboard must learn the original code from other electric
appliance, take TV remote as an example:
4.1 set the device to be learned by pressing key “AV” or “TV”, if you want to learn TV Remote
please press key TV, LED blue will flash, if AV, LED orange will flash
4.2. Press key “set” for about 2 seconds till LED on to enter learning mode, then tap the key
you want and LED will flash one time then light on that means keyboard is waiting signal
to learning.(LED will go out and quit learning mode if no operation within 10seconds)
4.3. Approach TV remote to keyboard within 10mm by aiming them at IR Emitter, press KEY
on the TV remote for about 1 seconds, then release this key and you will see LED on the
keyboard flash 3 time quickly then light up with a steady on, that means your keyboard
has learned the original code of the TV Remote successfully.
4.4. Repeat step 4.2 and 4.3 to complete other key original code learning.
4.5. Press key “set” to save and quit learning mode when all key finish original code learning
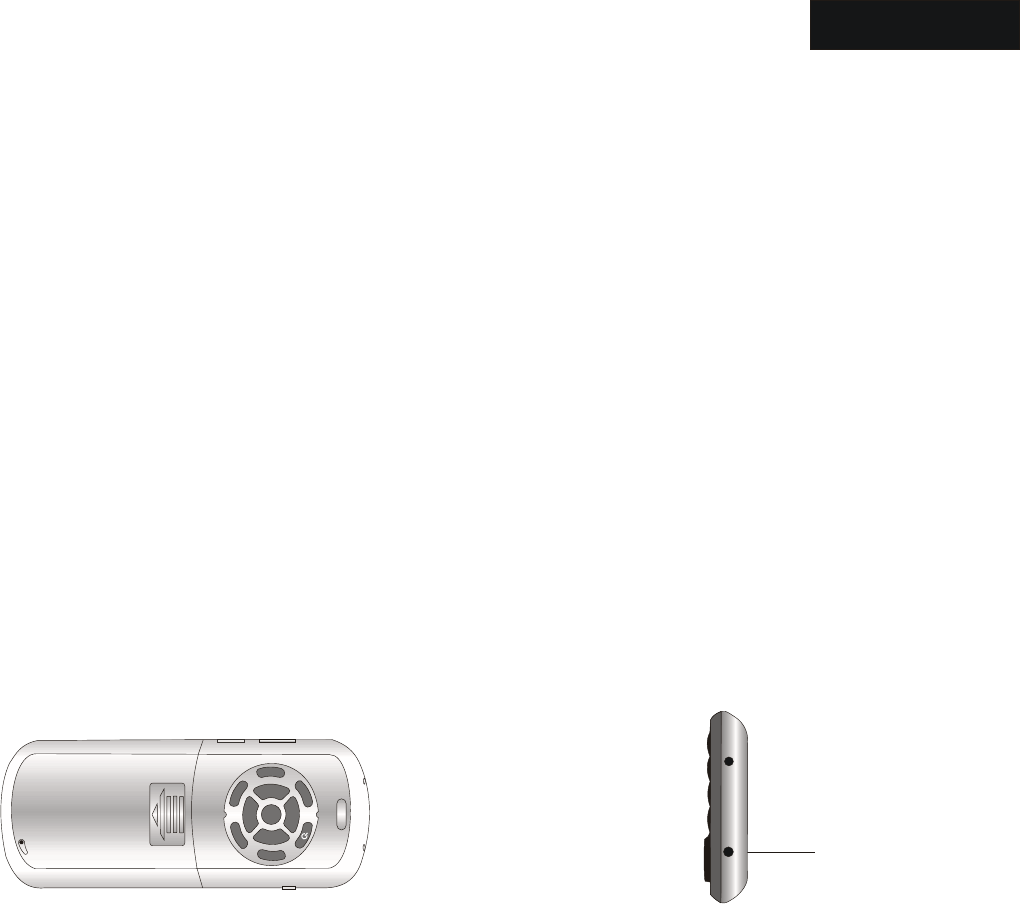
5. Back view 6. Top view
IR sensor
5. Change operation directions:
As we know, some times, we want to operate the wirelss keyboard vertically, and some
times horizontally, when operation direction is changed from vertical to horizontal, but
touchpad will not, for example, supposed you operate unit vertically, and you slide your
finger on the touchpad vertically, the mouse cursor on the screen of computor will move
vertically but when operation direction is changed from vertical to horizontal, when you slide
your finger vertically and mouse cursor will move horizontally, now please press key Fn
together with key Esc to change its operation direction, and mouse cursor will move with
your finger direction.
English
MENU
SET
Input
AV
TV
OK
VL+
OVOL-
-CH
CH+
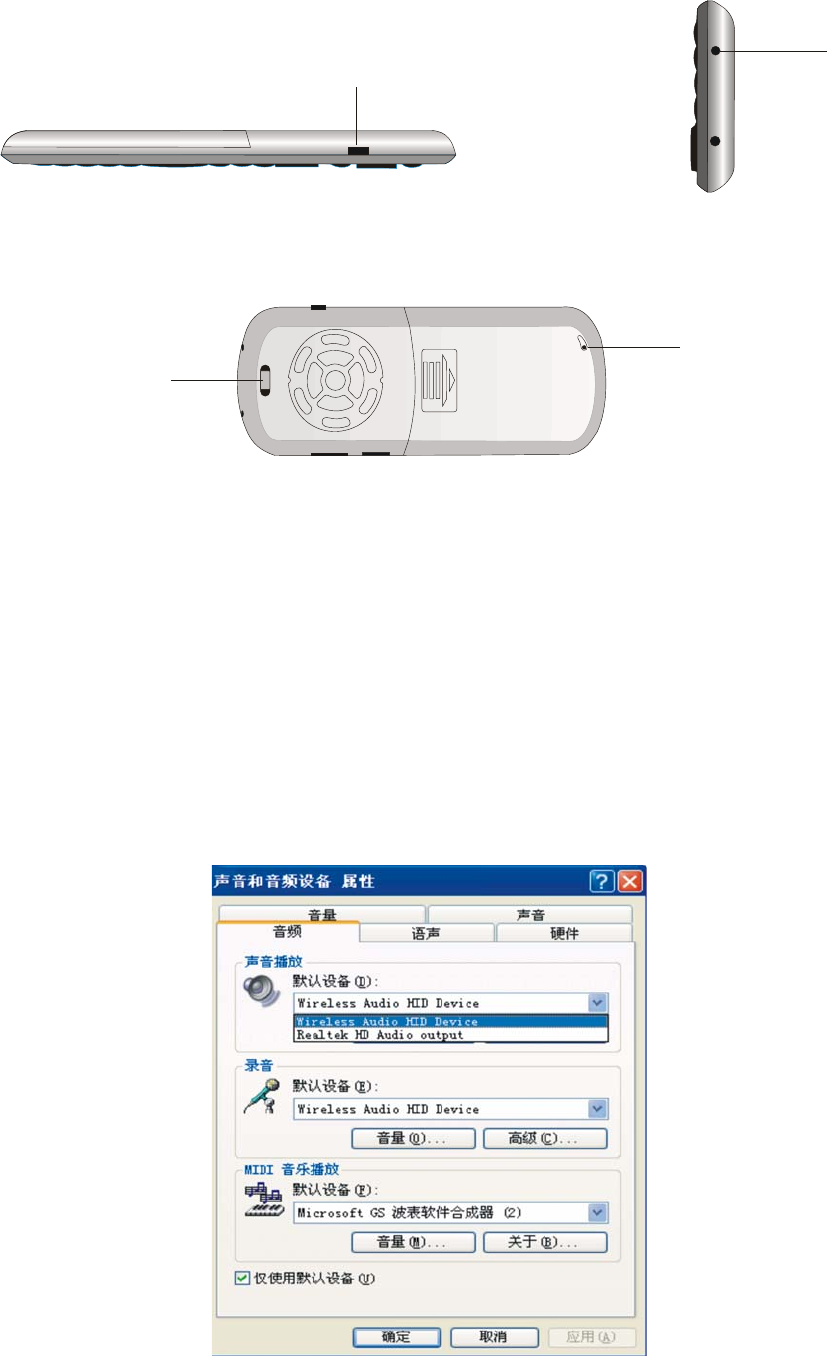
8. To p view
9. Back view
10. Sound,audio
6. Activate audio:
6.1 press audio active button to activate audio feature. Plug your headset into headset jack,
then you can enjoy music or chat with your friend through keyboard.
Press this button again to cancel audio feature.
7. Left view
Audio Active button
Headset jack
chonMi rop e
6.2 Change audio output settings: when plug USB receiver into USB port on the computer
system will set wireless audio HID device as default audio output device, and you only
can hear sound from computer by the wireless keyboard, So if you want set other audio
device as output device, please follow below step to change its settings:
==> start==> settings==> control panel==>sound,audio and devices
==>change speaker settings,
in the following popup window, please change the default audio output device to other
output device, for example, if you device is Realtek HD Audio,please select Realtek HD
Audio Device. Please re-start your player to enjoy music.
Speaker
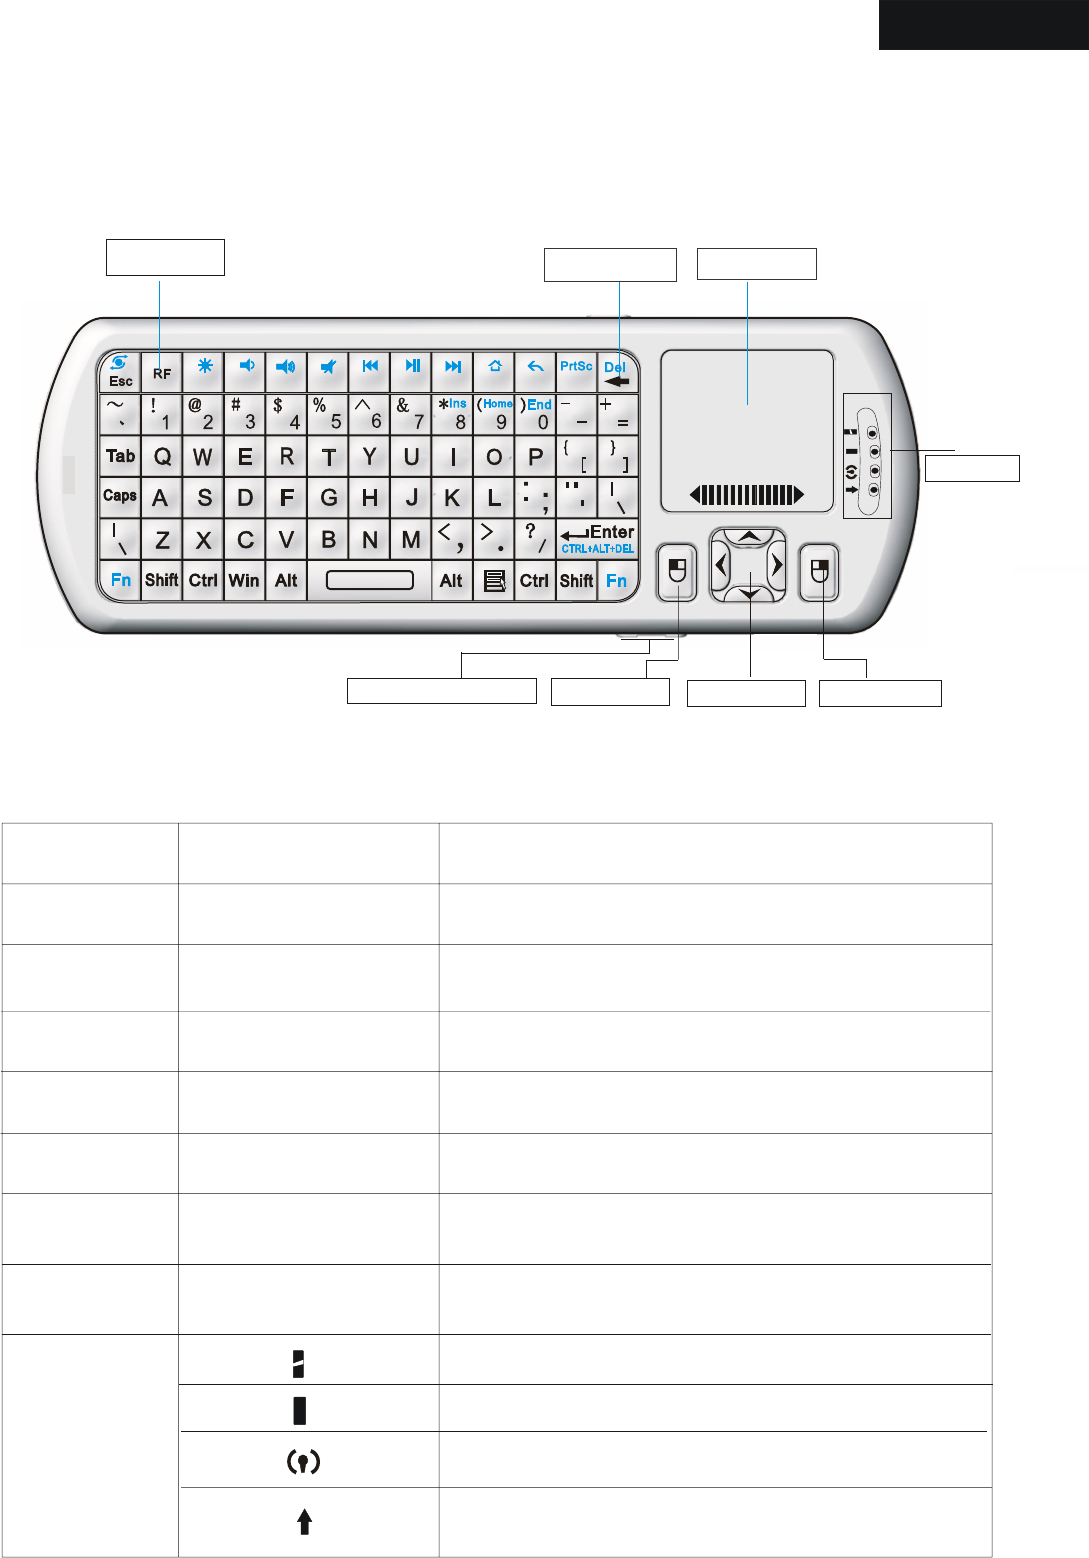
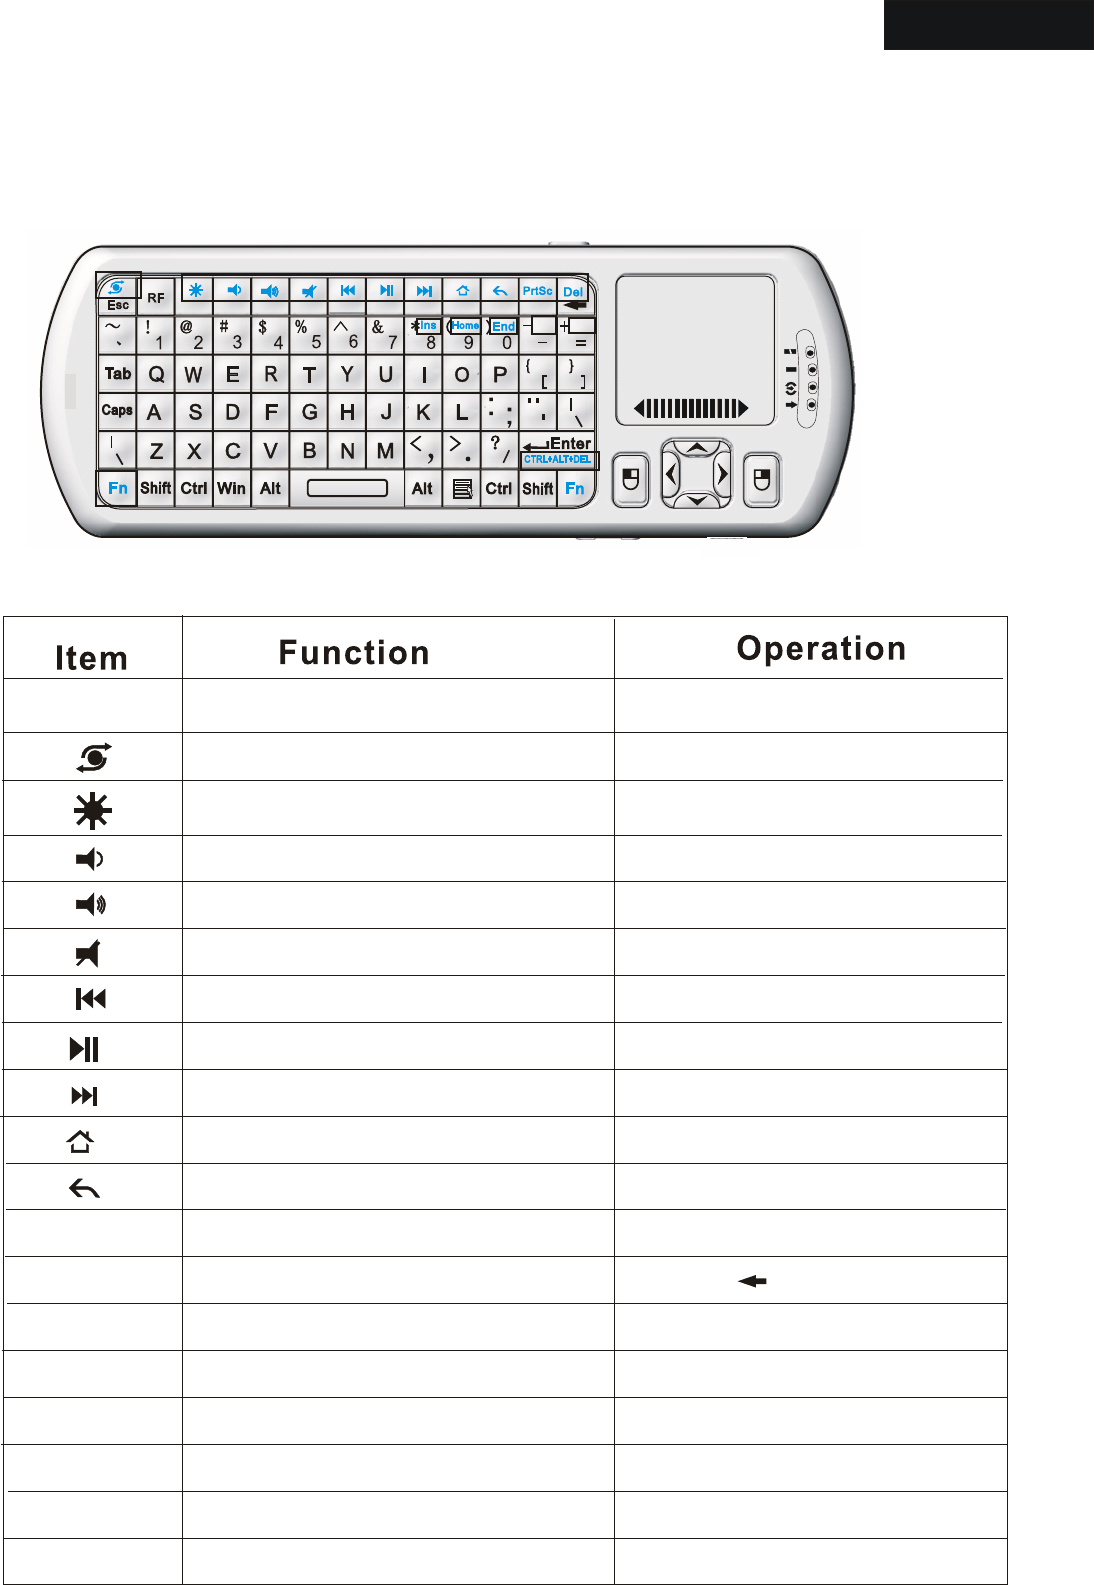
7. Function description of keyboard
Item Function Operation
Mouse left Mouse left Press to operate like left mouse key
Mouse right Mouse right Press to operate like right mouse key
Key R.F Key R.F Press to pair keyboard and USB receiver
Navigate key Cursor up,down
left, right
Press the four keys to move cursor up,
down, left,and right
Page up Page up Press to scroll page up
Page down Page down Press to scroll page down
11. Front view
8. Front view
F1 F2 F3 F4 F5 F6 F7 F8 F9 F10
F11 F12
KEY R.F Back Space Touch PAD
Touch PAD
Indicator
Mouse left Navigator Mouse right
Mouse touch pad Slide your finger on touch pad to move
mouse cursor
Indicator
recharge indicator and go out when fully
recharged
Light up when fully recharged
Flash when signal transited
Light up when switch to Caps lock input
or audio feature is activated
Page up/down
English
PrtSc
PrtSc
8. Binds keys description
all binds key must work with Fn, for example: if you want to operate key “Home”, you
have to press key “Fn” and key “9” together,
Work with other binds keys Press this key and other
binds key together
Change operation directions Press “Esc” and “Fn” together
Press “F1” and “Fn” together
Press “F2” and “Fn” together
Press “F3” and “Fn” together
Press “F4” and “Fn” together
Press “F5” and “Fn” together
Press “F6” and “Fn” together
Press “F7” and “Fn” together
Press “F8” and “Fn” together
Press “F9” and “Fn” together
Press “F10” and “Fn” together
Press “ ” and “Fn” together
Press “9” and “Fn” together
Press “=” and “Fn” together
Press “-” and “Fn” together
Press “0” and “Fn” together
Press “8” and “Fn” together
Press to turn backlit on/off
Volume down
Volume up
Mute
Previous
Stop
Next
Return to main page
Back to previous page
Print screen
Delete
Home
Home
F11 F11
End End
Ins
Del
Fn
Insert
12. Front view
F12 F12
Ctrl+Alt+Del Ctrl+Alt+Del Press Fn+Enter together
English
8. Front view
F1 F2 F3 F4 F5 F6 F7 F8 F9 F10
F11 F12
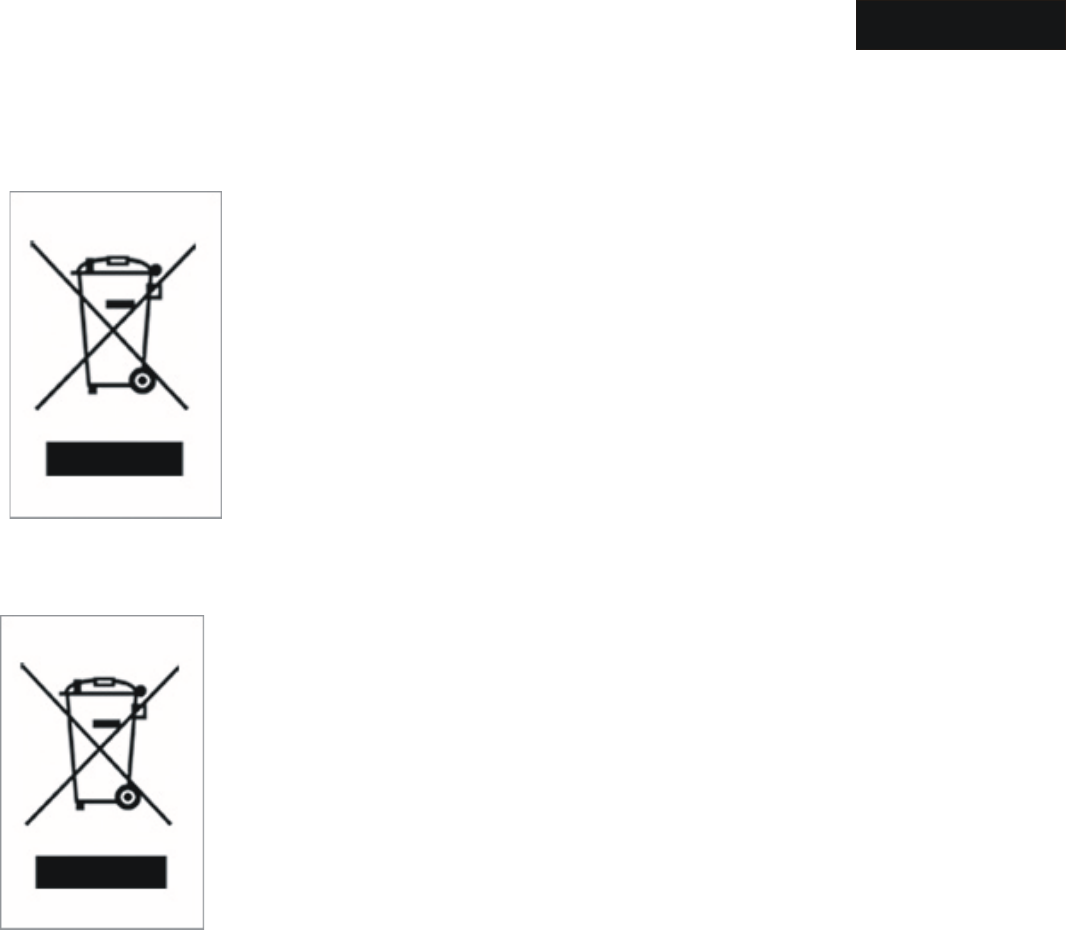
WEEE Directive & Product Disposal
At the end of its serviceable life, this product
should not be treated as household or general
waste. It should be handed over to the applicable
collection point for the recycling of electrical and
electronic equipment, or returned to the supplier
for disposal
Notice to customers:
This symbol on the battery indicates that the battery
is to be collected separately.
The following apply only to users in European countries.
This battery is designed for separate collection at
an appropriate collection point.
Do not dispose of as household waste
For more information, contact the retailer or local
authorities in charge of waste management.
Caution :
Changes or modifications not expressly approved by the party
responsible for compliance could void the user's authority to operate
the equipment.
Compliance statement:
1: This device is verified to comply with Part 15 of the FCC Rules.
Operation subject to the following two conditions:
(1) this device may not cause harmful interference, and
English

(2) this device must accept any interference received, including interference
that may cause undesired operation.
2: This equipment has been tested and found to comply with the limits for a
Class B digital device, pursuant to Part 15 of the FCC Rules. These limits
are designed to provide reasonable protection against harmful interferenc
in a residential installation. This equipment generates, uses and can radiate
radio frequency energy and, if not installed
And used in accordance with the instructions, may cause harmful interference
to radio communications. However,there is no guarantee that interference
will not occur in a particular installation.If this equipment does cause harmful
interference to radio or television reception, which can be determined by
turning the equipment off and on, the user is encouraged to try to correct
the interference by one or more of the following measures:
-- Reorient or relocate the receiving antenna.
-- Increase the separation between the equipment and receiver.
-- Connect the equipment into an outlet on a circuit different from that to
which the receiver is connected.
-- Consult the dealer or an experienced radio/TV technician for help
English