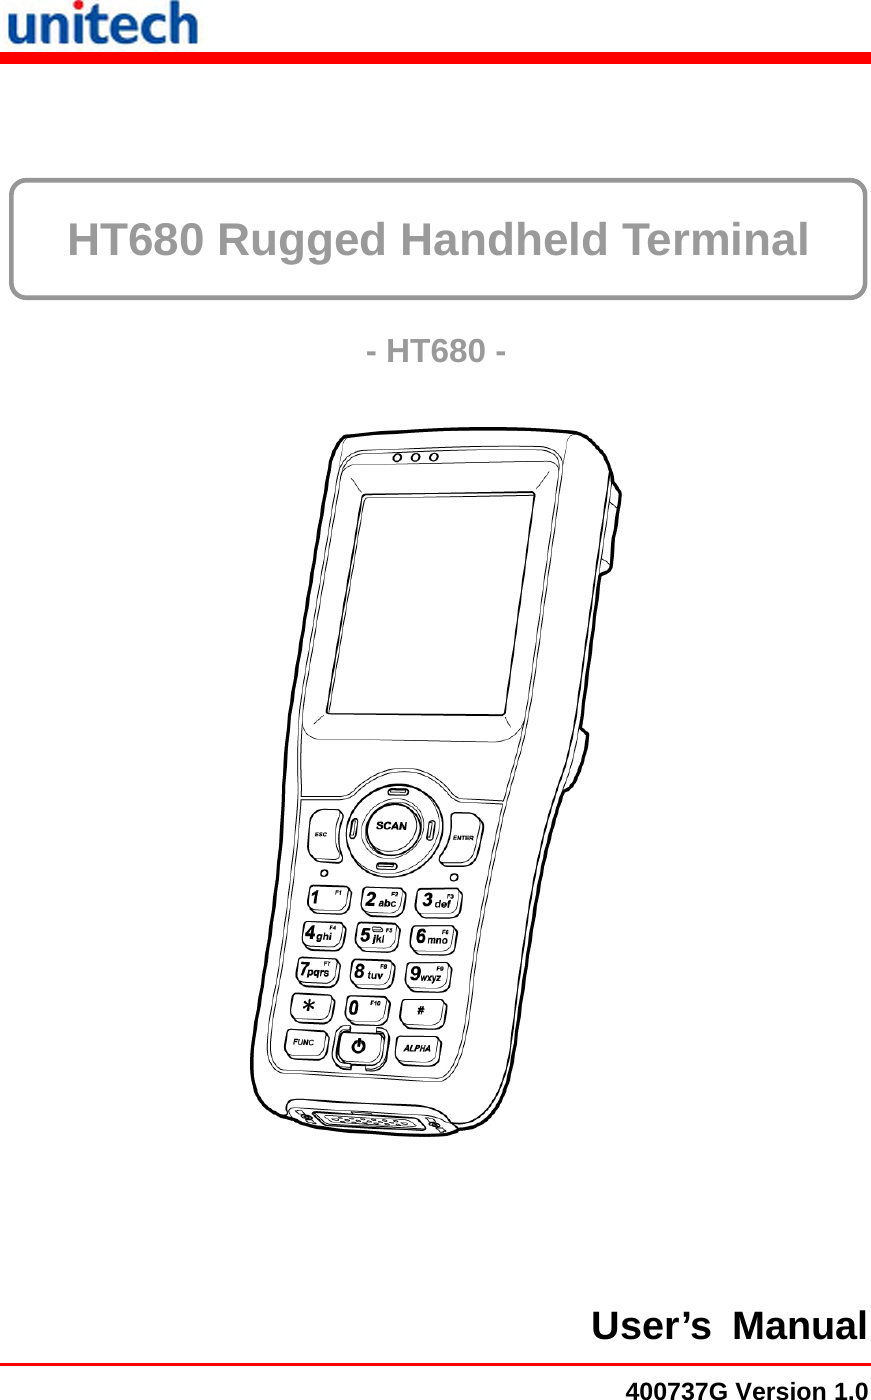
Unitech Electronics HT680BTGGR Hand Held PDA Scanner User Manual PA600 382647G UM V10
Unitech Electronics Co., Ltd. Hand Held PDA Scanner PA600 382647G UM V10
UserManual.wiki
>
Unitech Electronics
>
HT680BTGGR User Manual
User manual
Navigation menu
Upload a User Manual
Namespaces
Wiki Guide
HTML
PDF
Info
Views
User Manual
Discussion / Help
Navigation


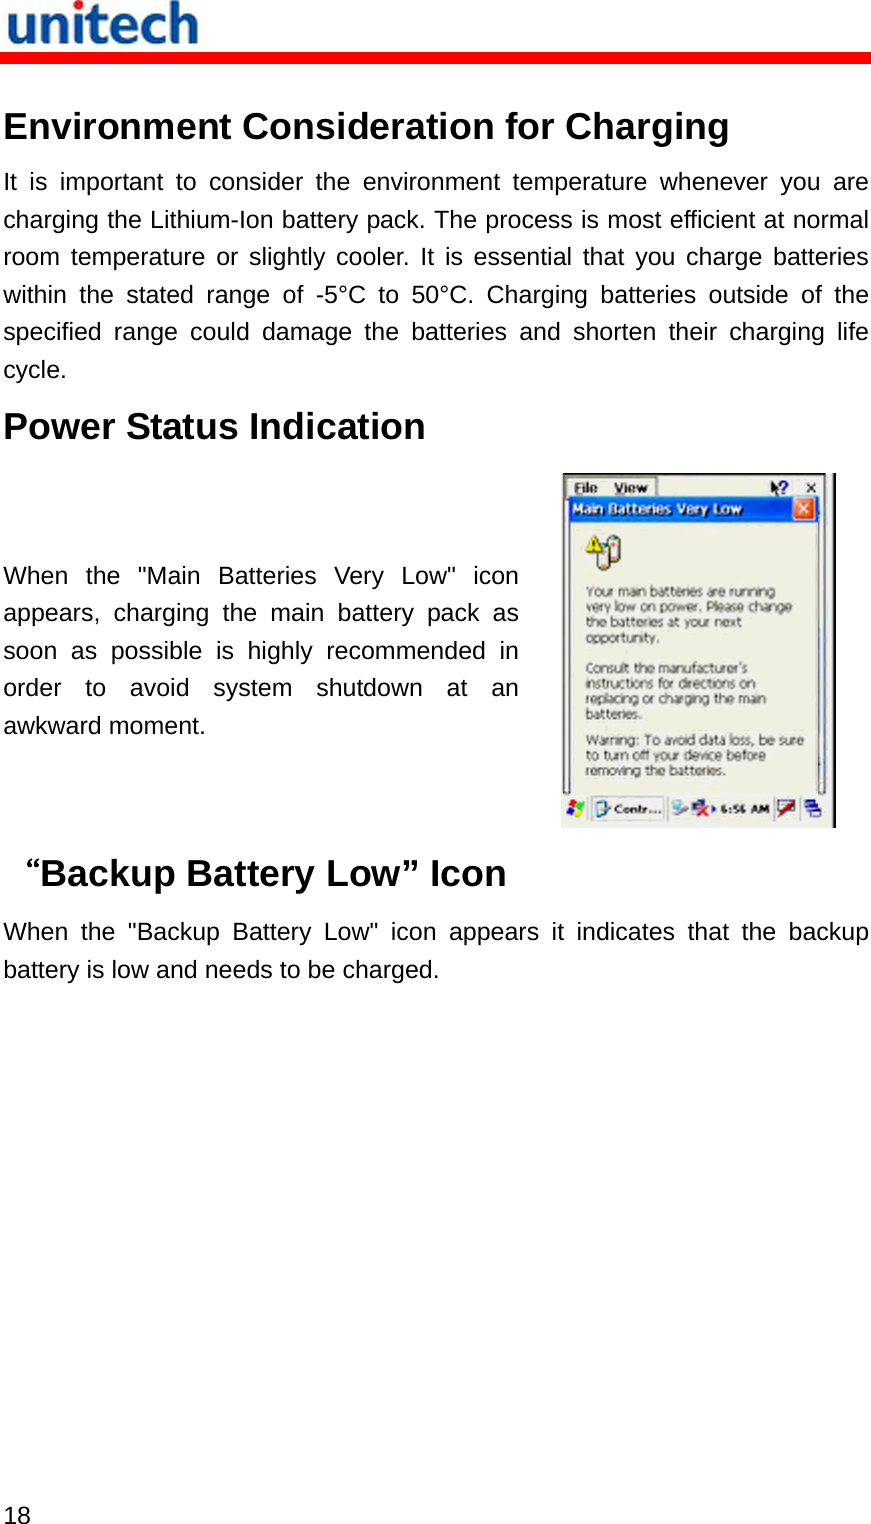
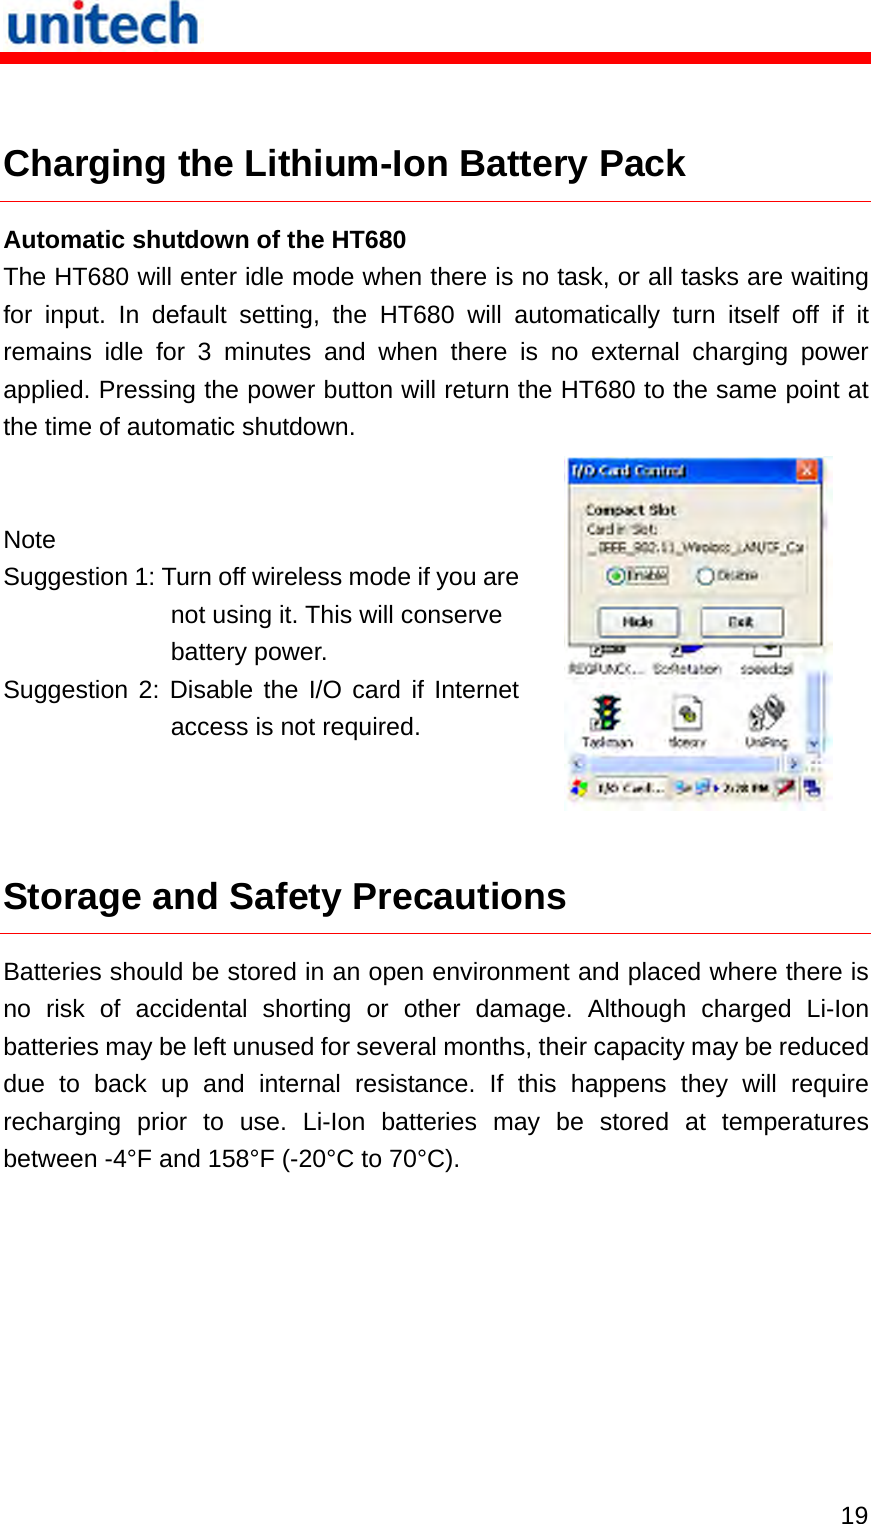
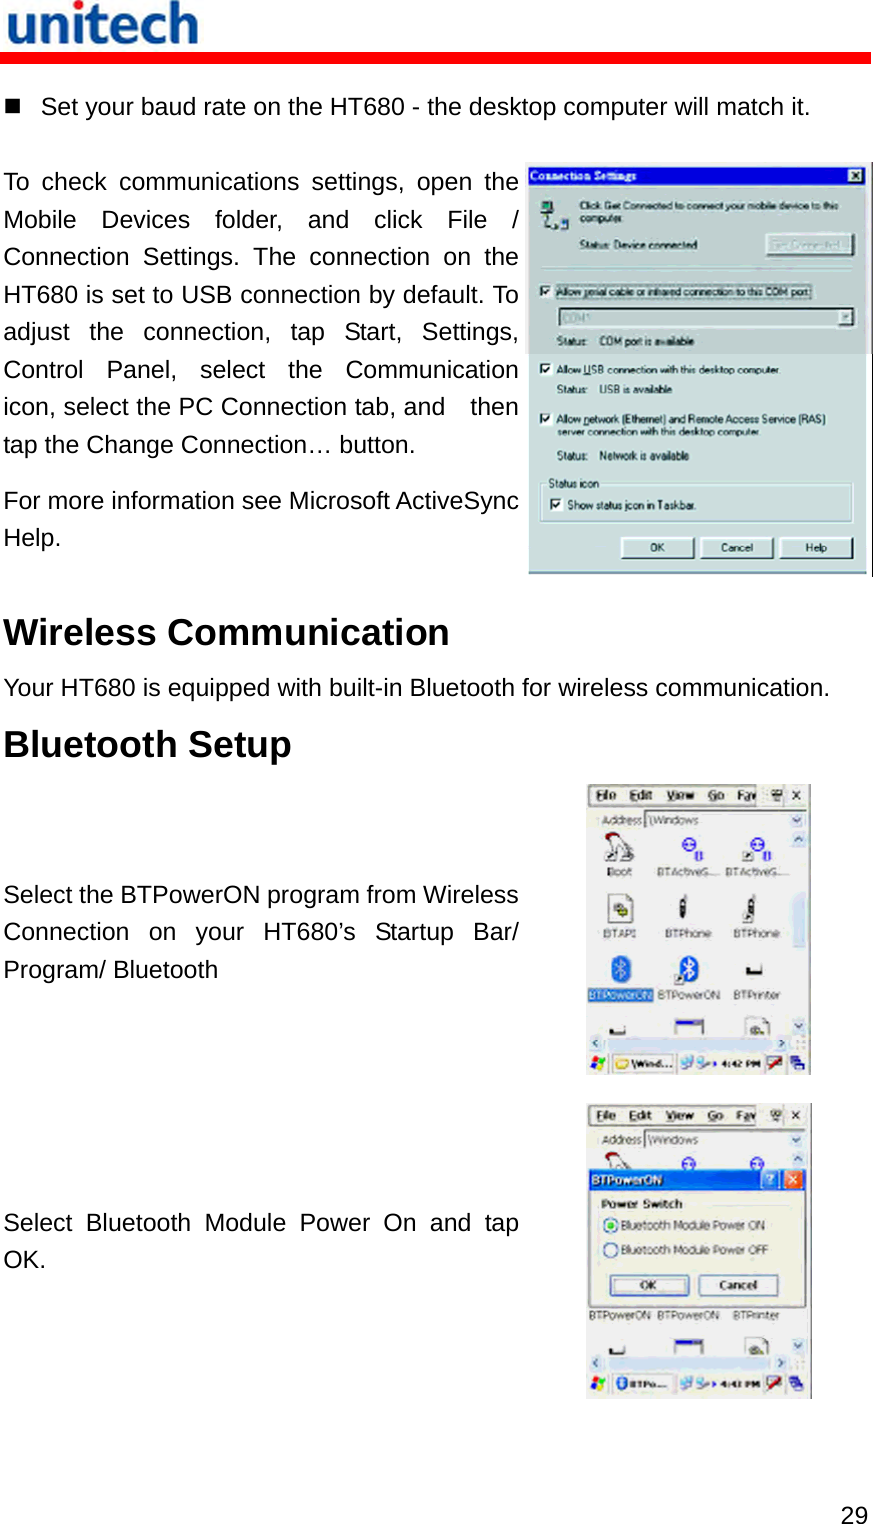
![13 Chapter 2 Using the Keypad and Scanner Keypad Data can be entered into the HT680 via its keypads, which includes: 0~9, alpha, function, escape, enter, scanner trigger, cursor, and on/off keys. Enter Key Scan Key Function Key Escape Key Alpha Key Cursor Key Power ON/OFF Key [ENT] The Enter key confirms data entry. [FUNC] The Function Key is used in conjunction with specific number keys to operate as Hotkeys (see next page). [ESC] The escape key returns the user to a previous page. [Cursor] The cursor key moves the cursor around the screen. [Alpha] The Alpha key toggles Alpha mode on and off and Caps mode on and off. One press of the Alpha key causes the HT680's keys to input alpha characters, indicated by a blue LED light. A second press causes the input of upper-case characters, indicated now by a green LED. A third press returns the HT680 to numerical input.](https://usermanual.wiki/Unitech-Electronics/HT680BTGGR/User-Guide-1221214-Page-25.png)
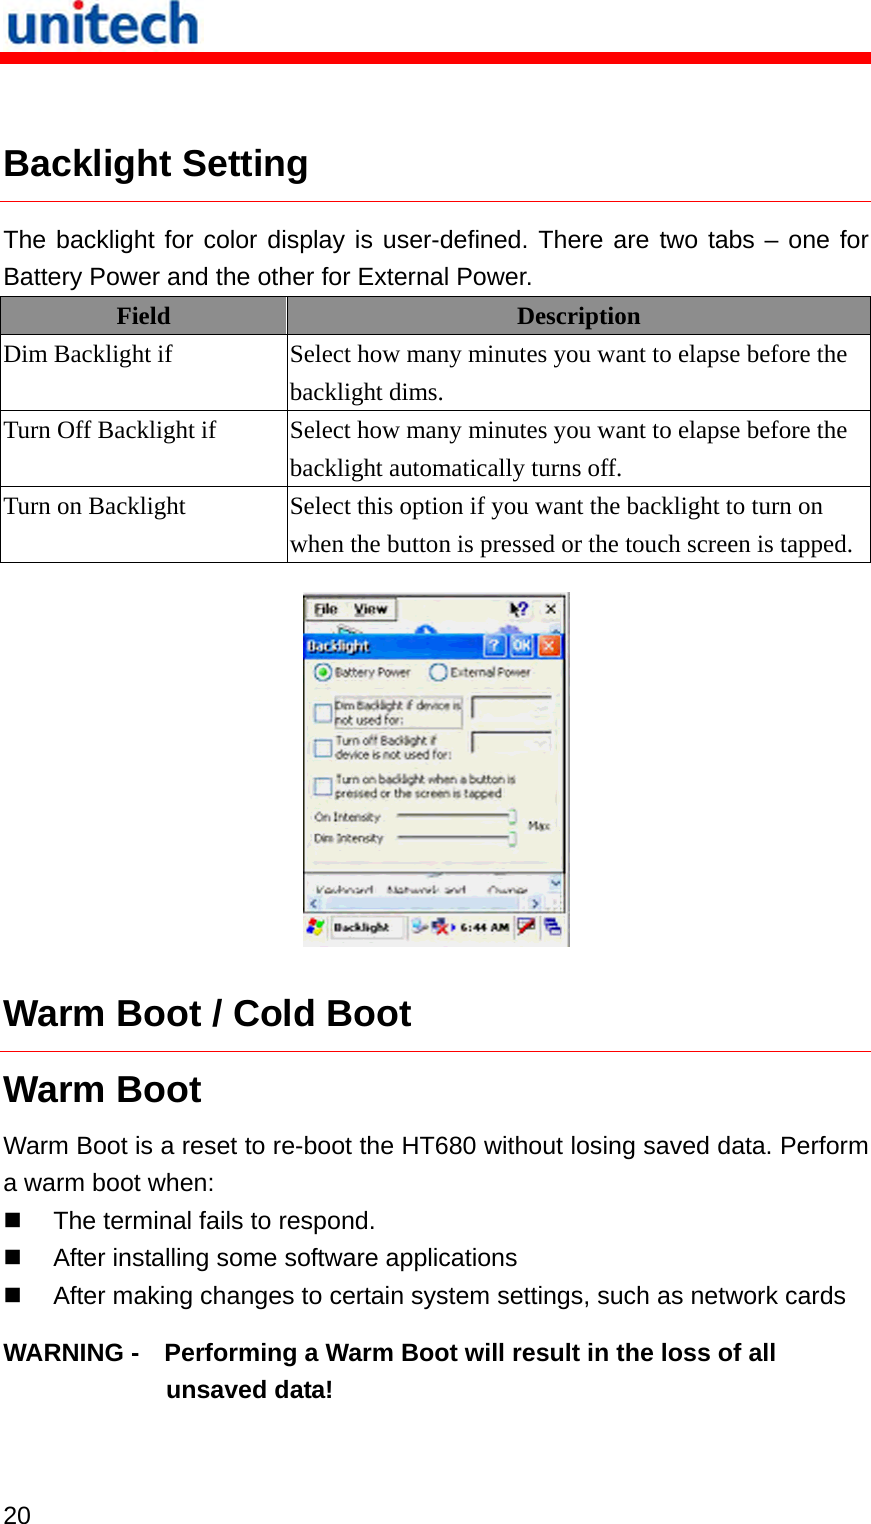
![15 Other Character Support from WinCE Keyboard In addition to standard keyboard input, the HT680 supports special European character and symbol input. To enter these characters, tap the [áü] key on the touch screen keyboard to display the available characters. Bar Code Scanner The HT680 has an integrated 1D laser and 2D imager bar code scanner (depending on model number) capable of reading all major bar code labels.](https://usermanual.wiki/Unitech-Electronics/HT680BTGGR/User-Guide-1221214-Page-27.png)