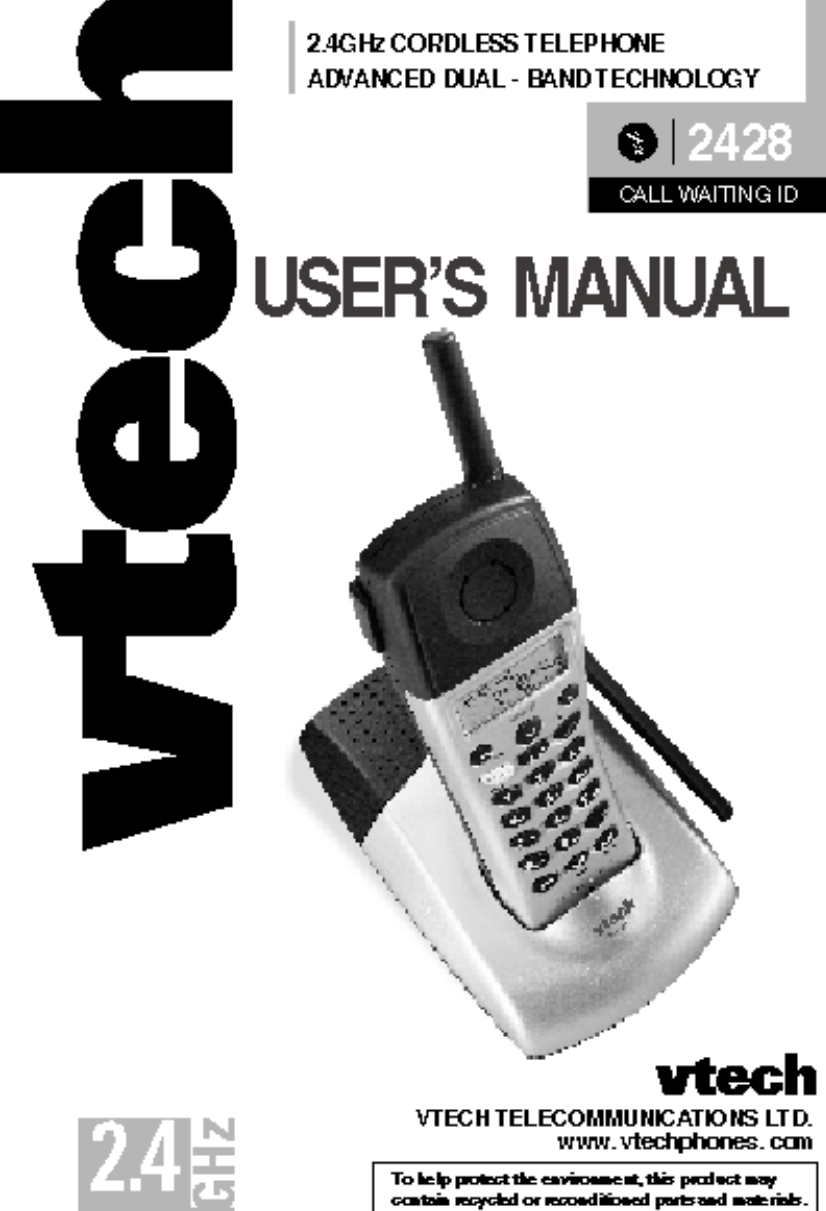
VTech Telecommunications 80-5125-H01 900MHz/2.4GHz 30 Channel Analog Modulation Cordles User Manual manual
VTech Telecommunications Ltd 900MHz/2.4GHz 30 Channel Analog Modulation Cordles manual
Contents
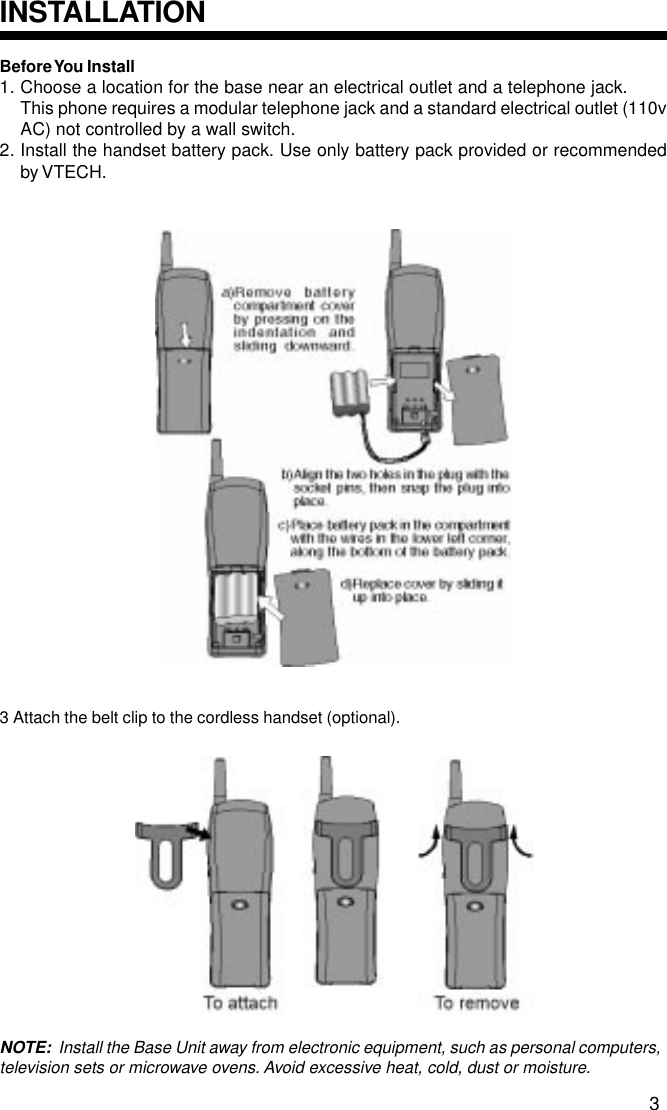
- 1. User Manual
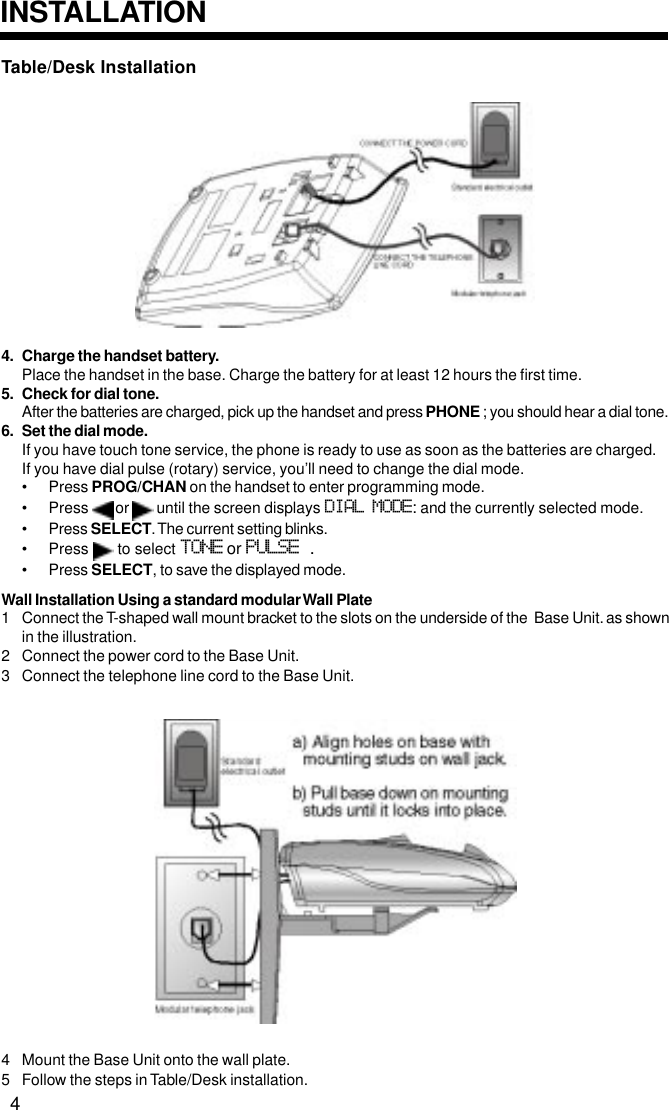
- 2. FCC Information
- 3. users manual
users manual