VTech Telecommunications 80-5348-03 Cordless Telephone Handset Transciever User Manual ip 5825 p65
VTech Telecommunications Ltd Cordless Telephone Handset Transciever ip 5825 p65
Contents
- 1. User Manual FCC Statement
- 2. Users Manual 5825
- 3. Users Manual Pt 1 5850
- 4. Users Manual Pt 2 5850
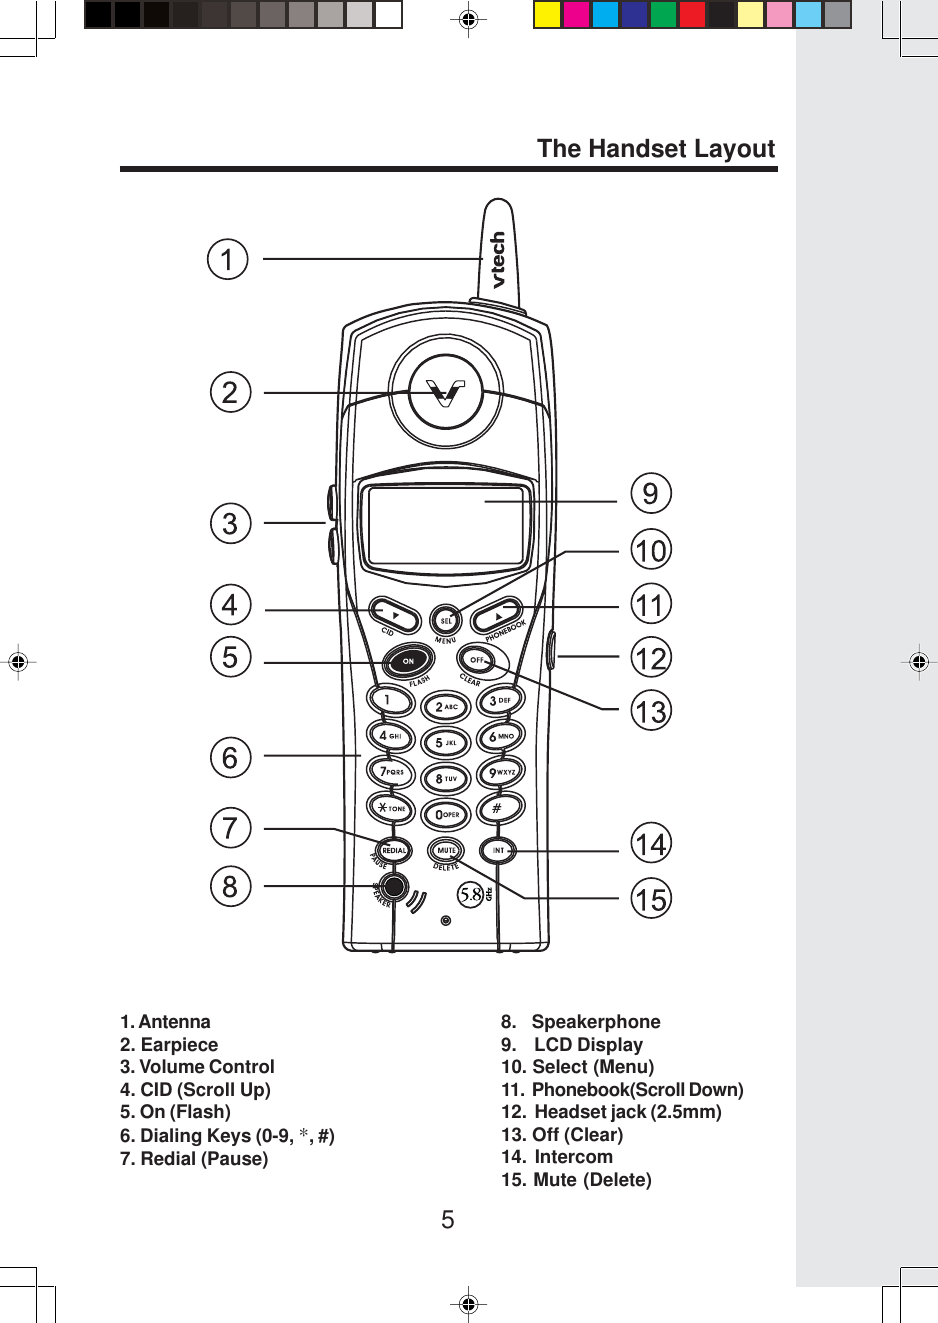
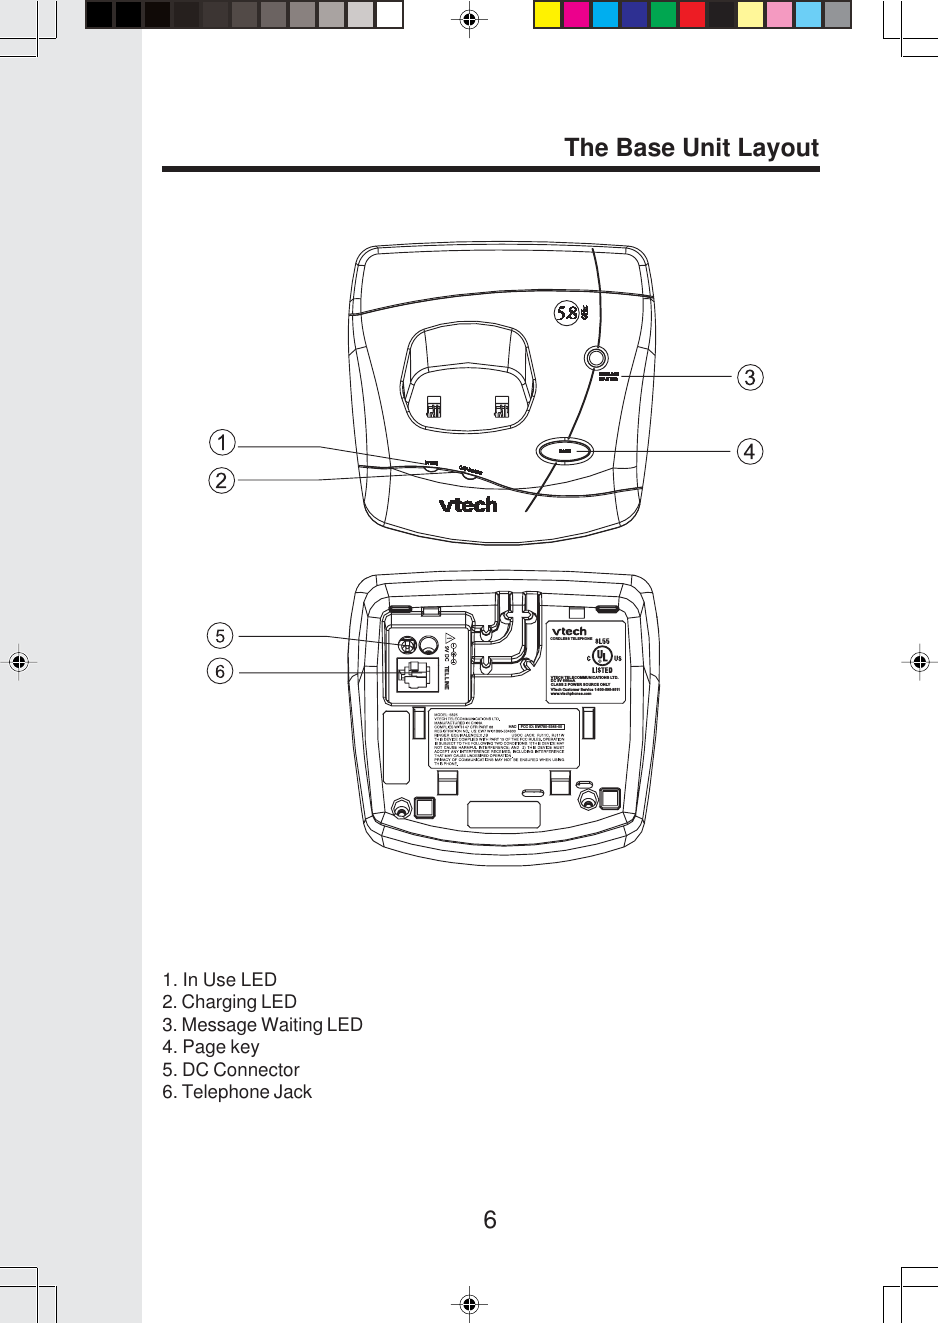
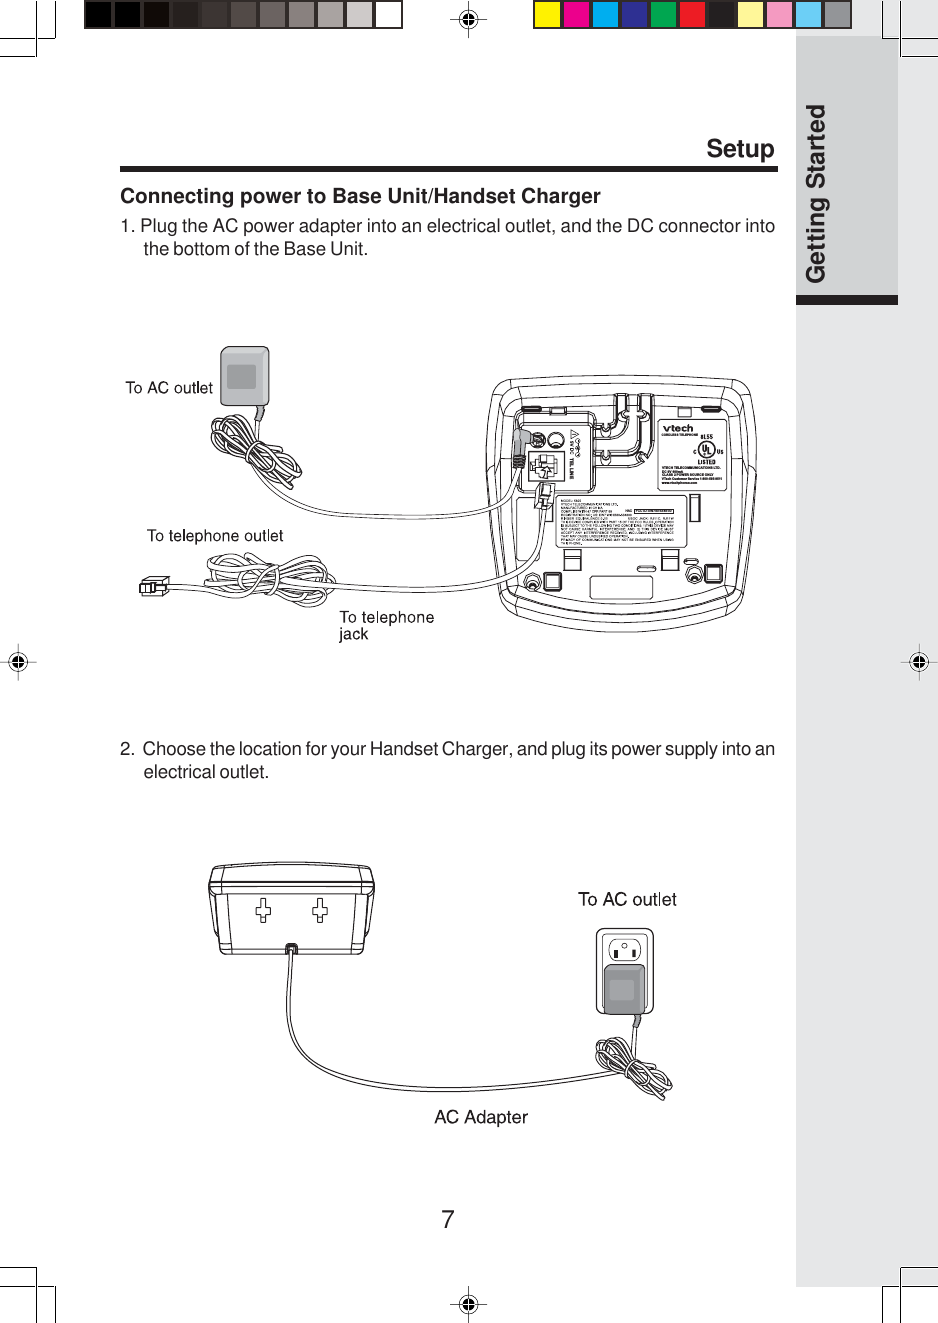
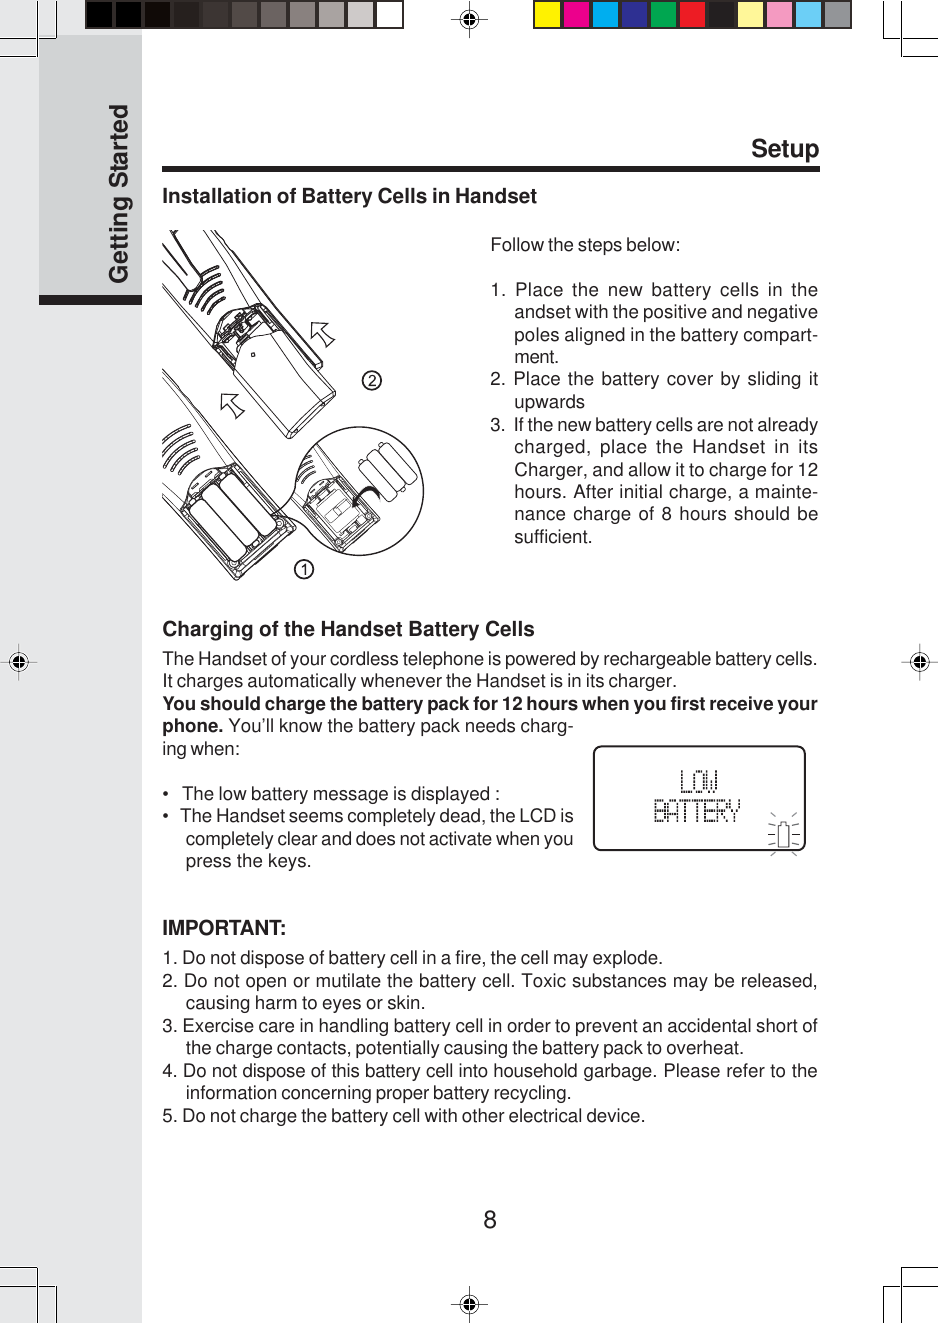
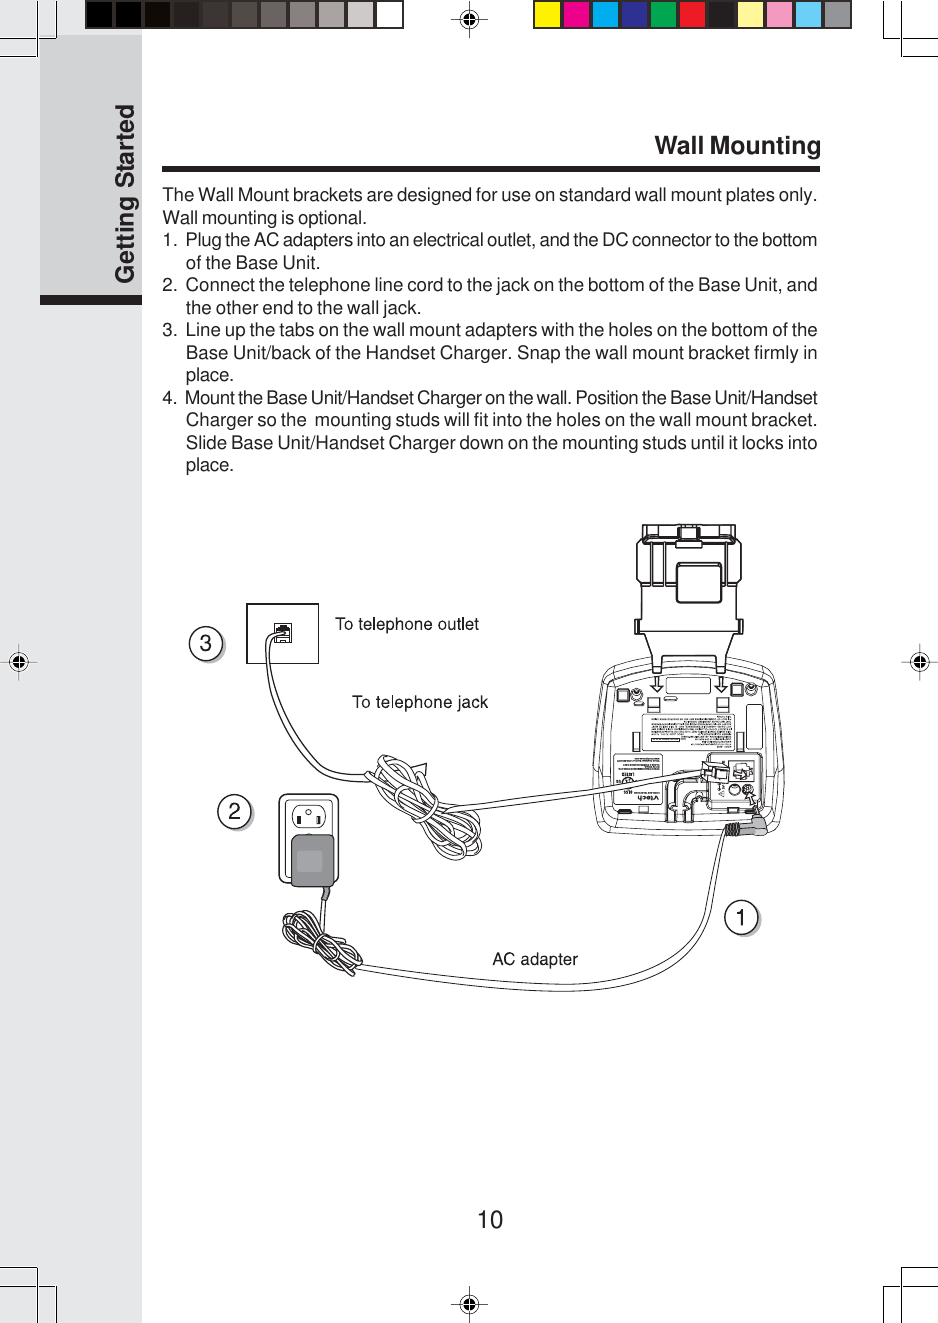
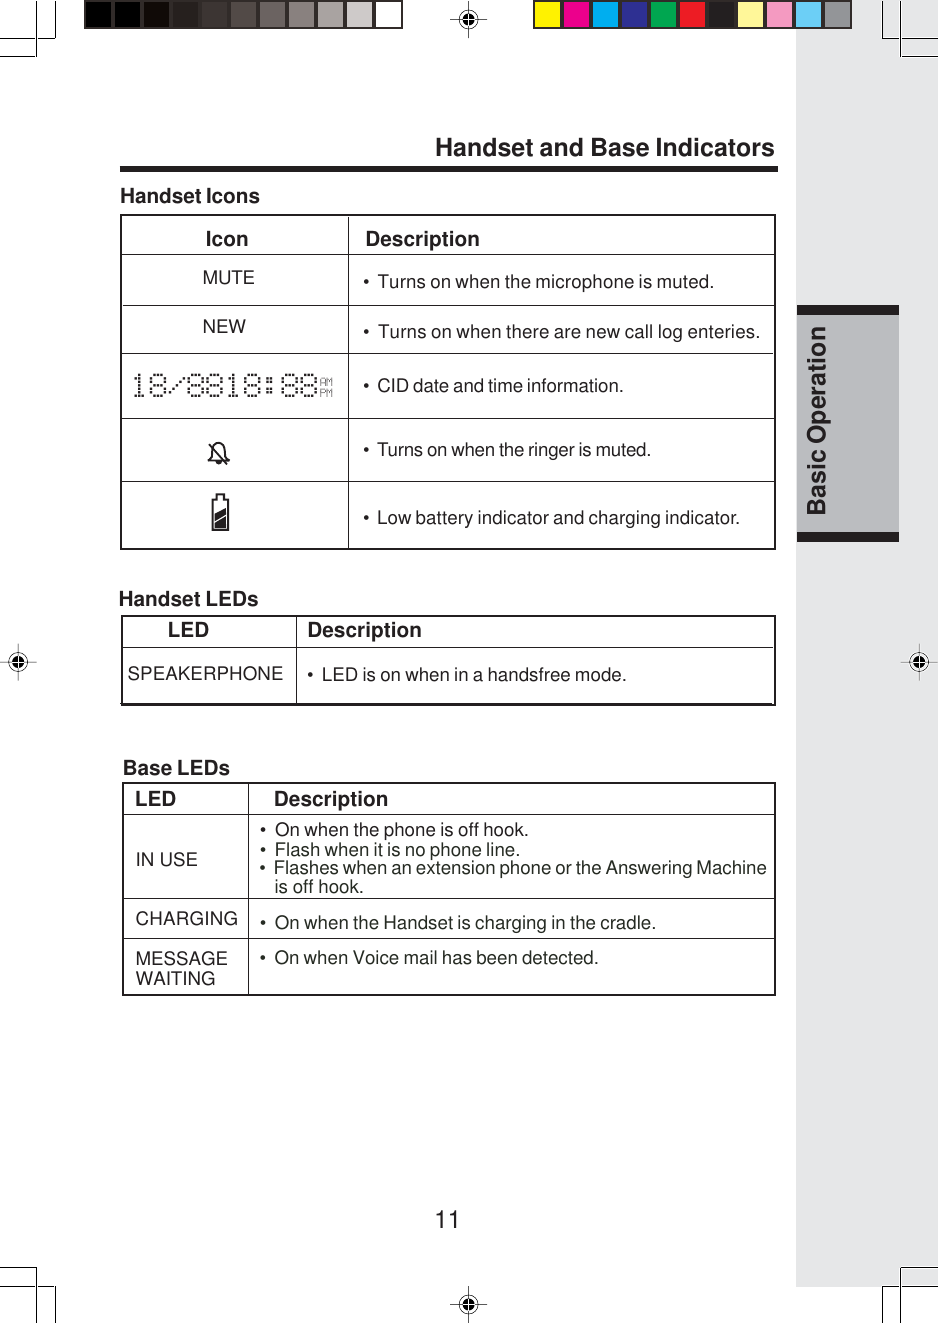
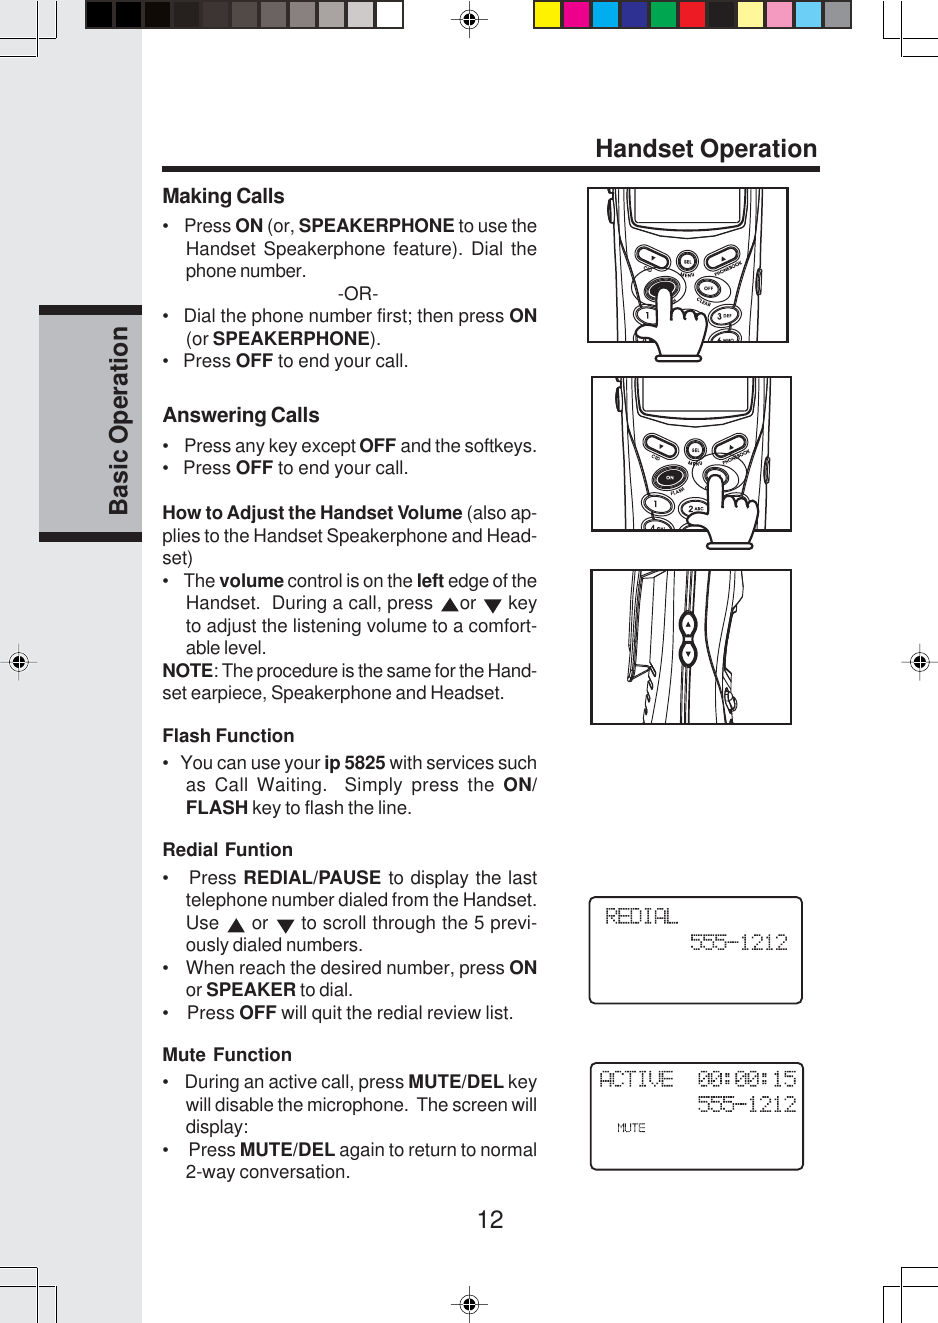
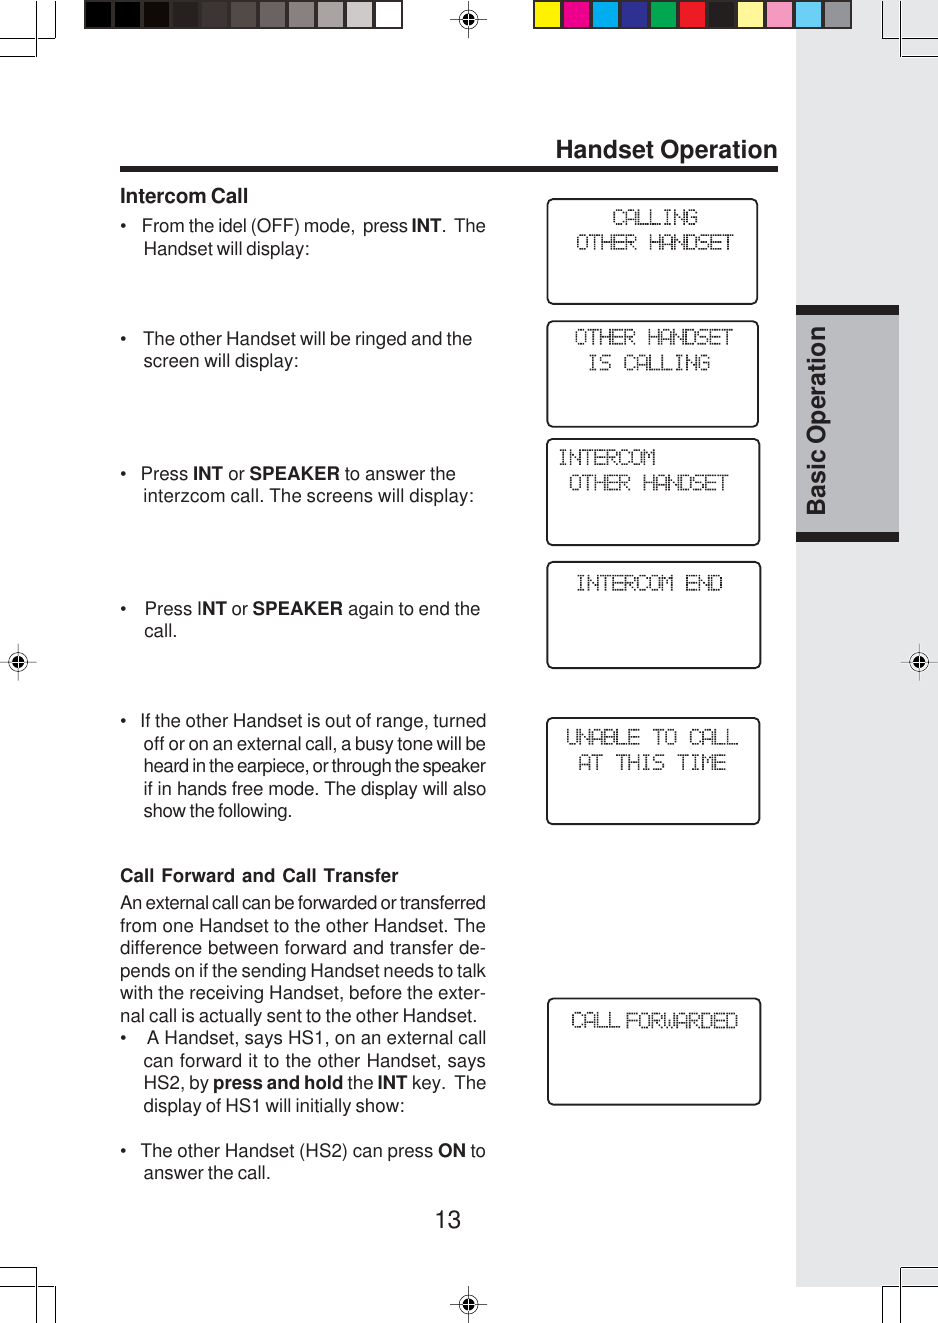
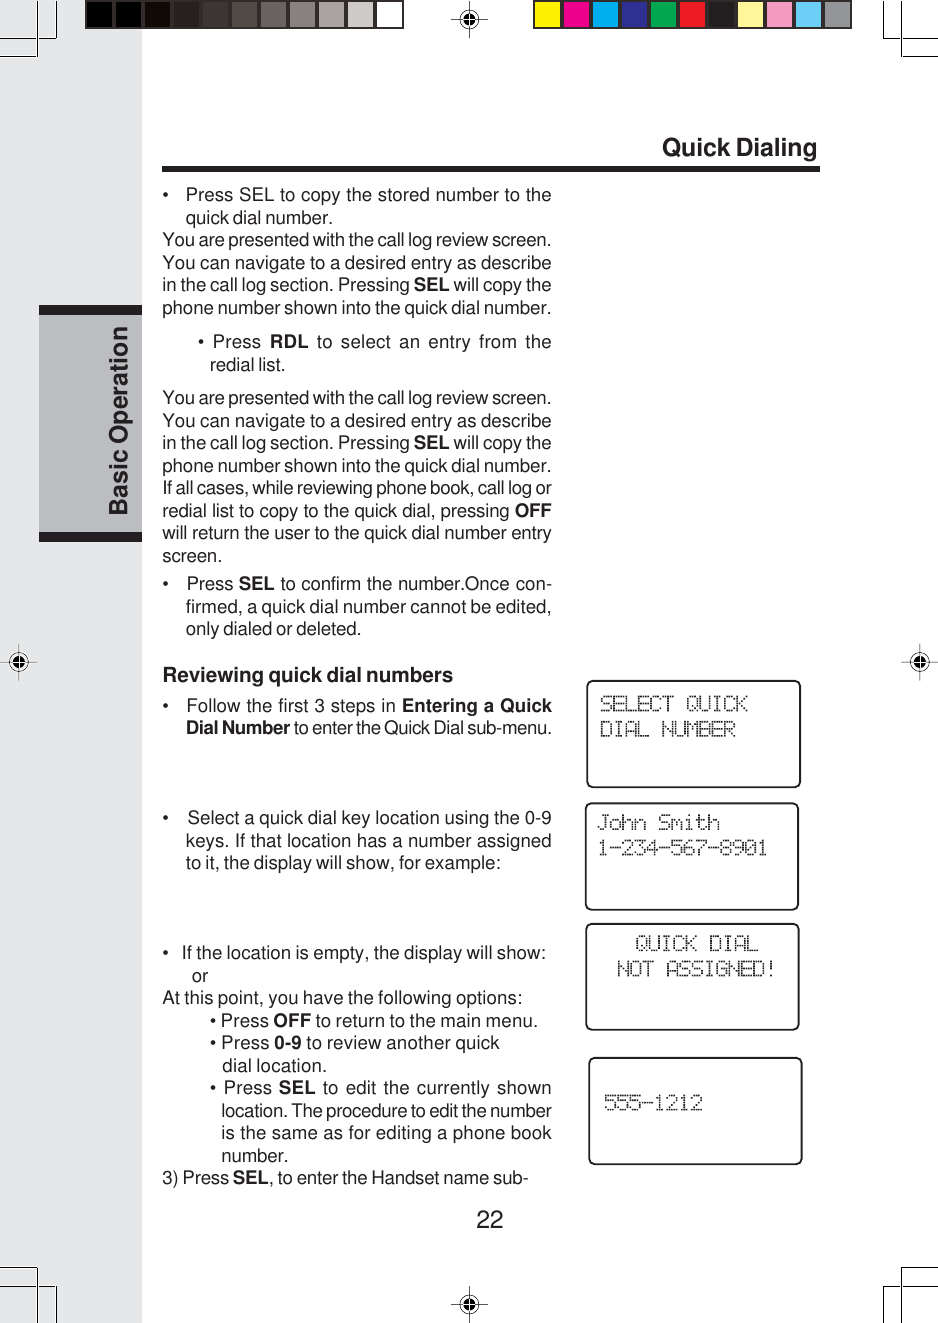
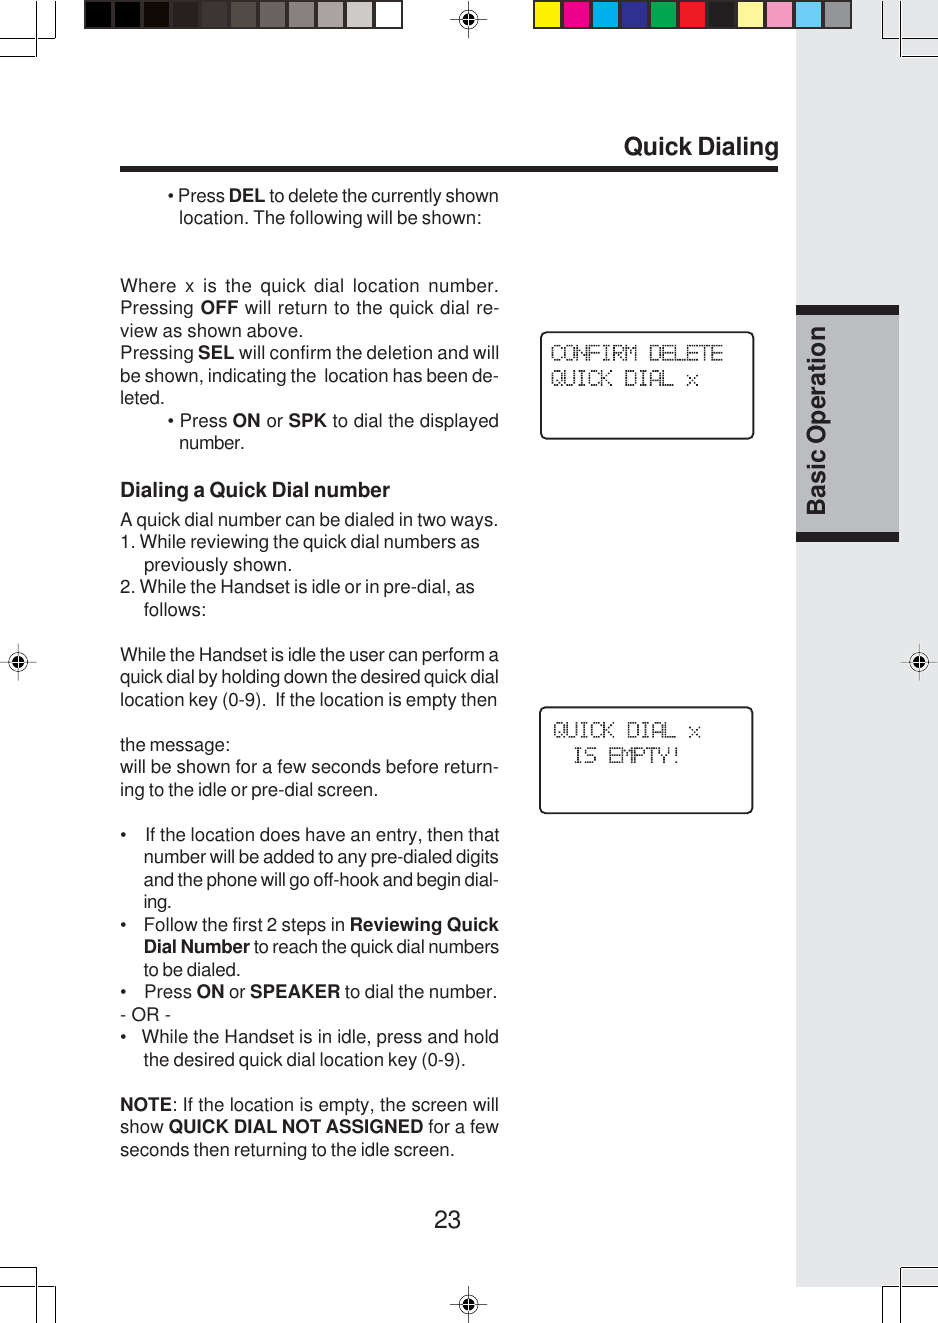
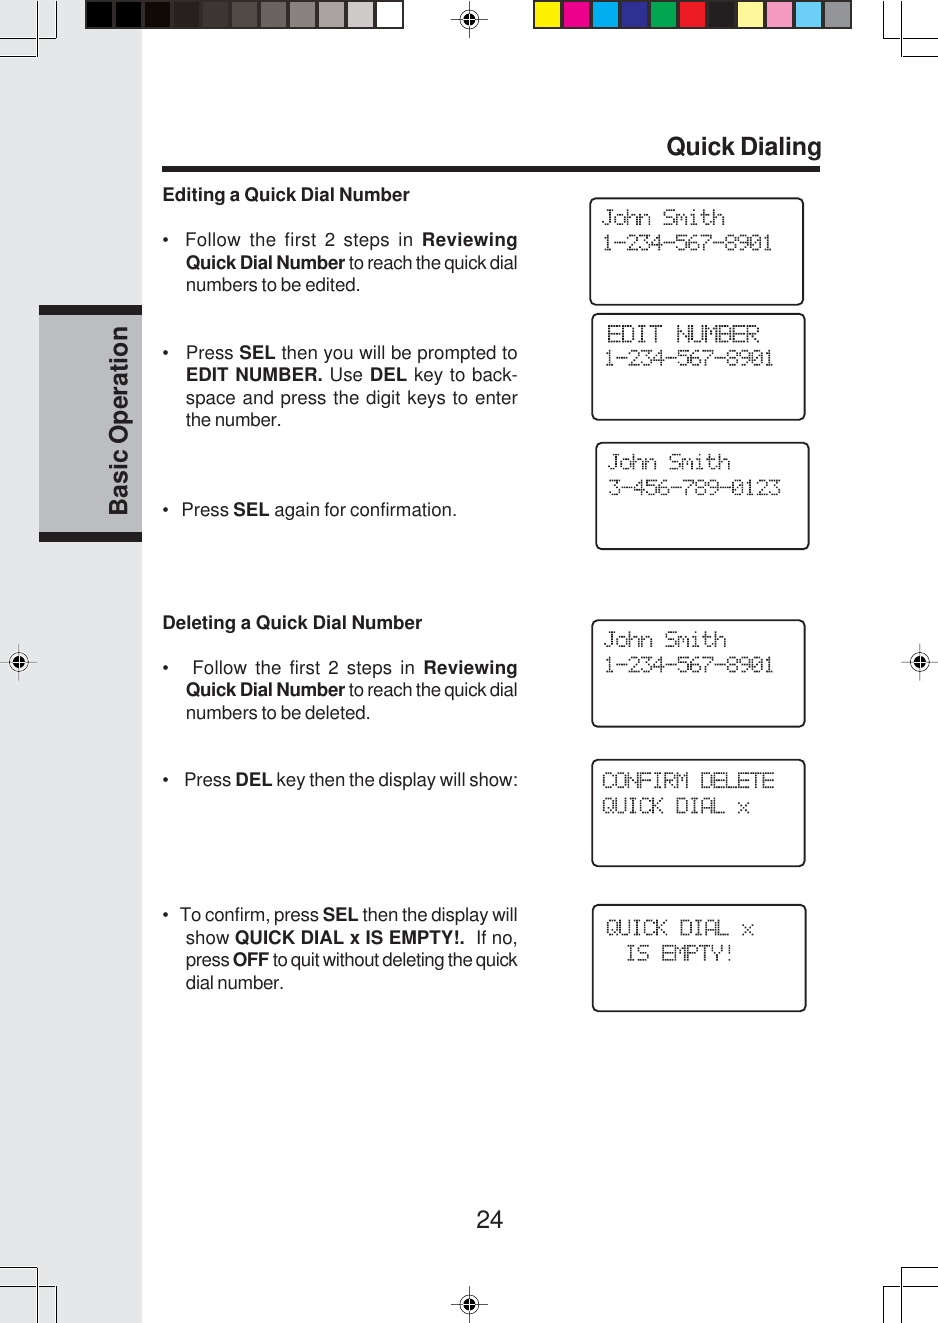
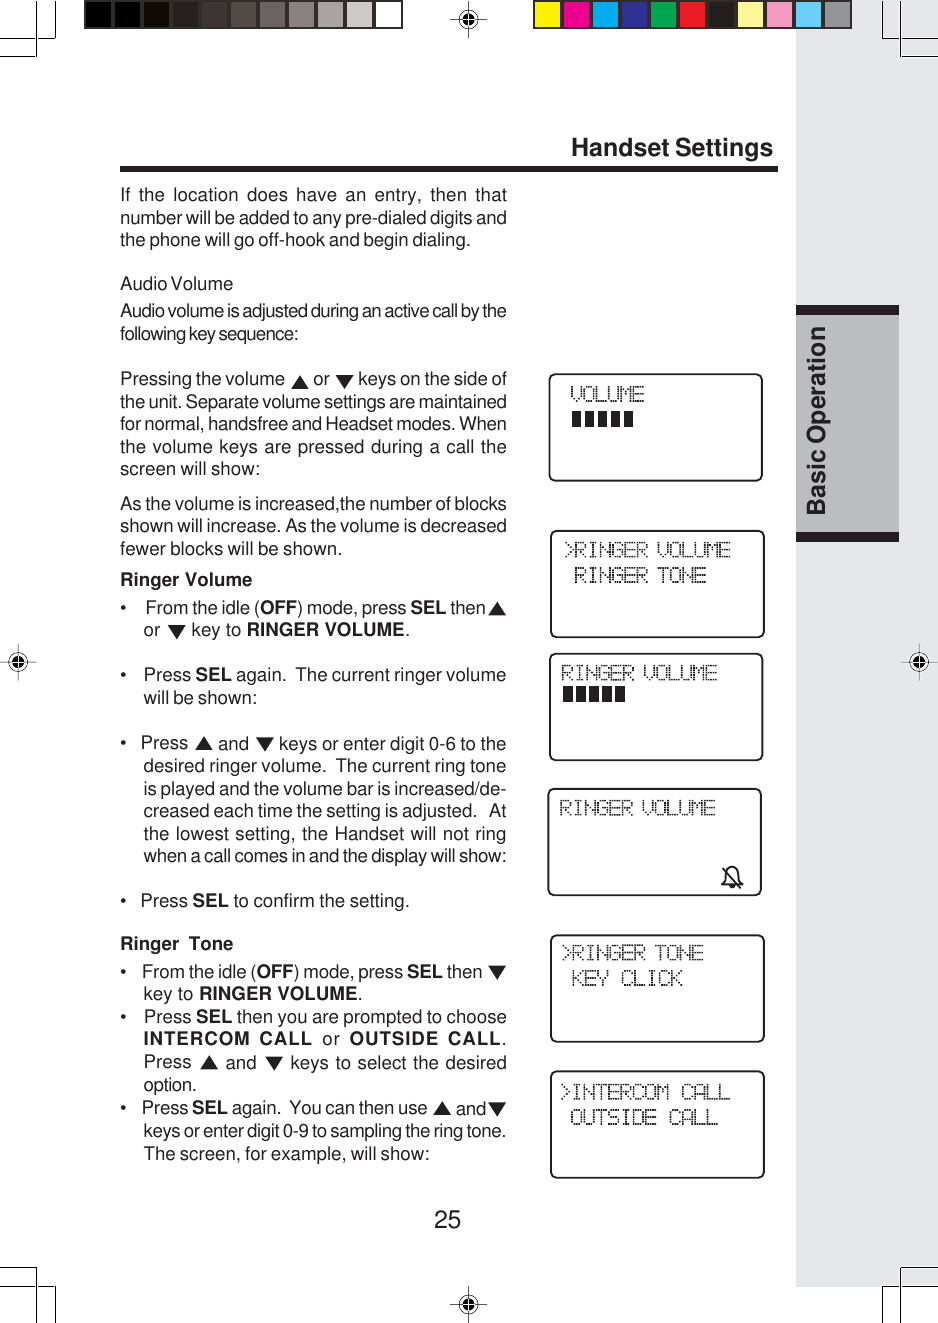
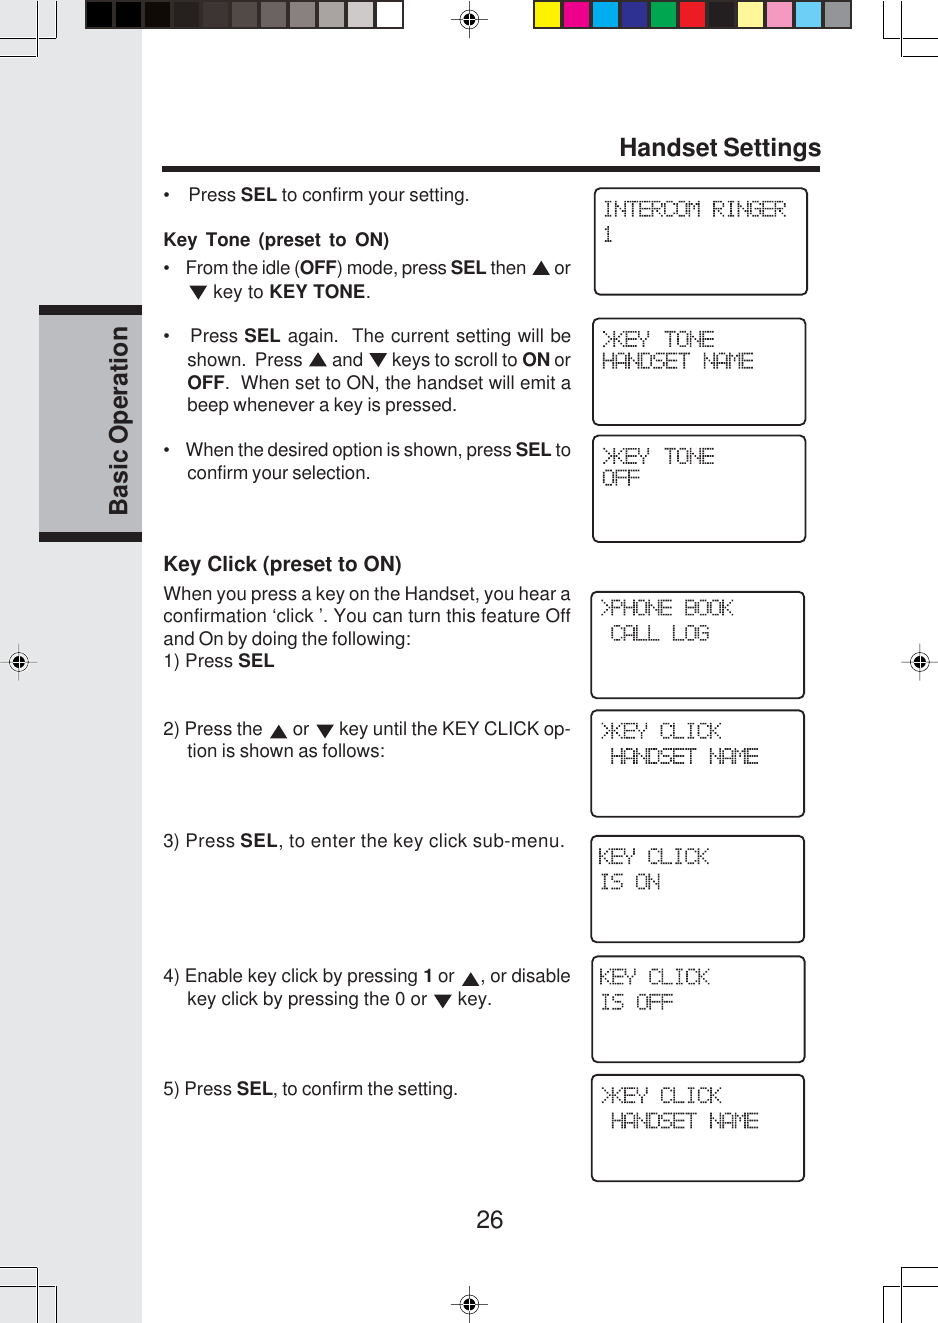
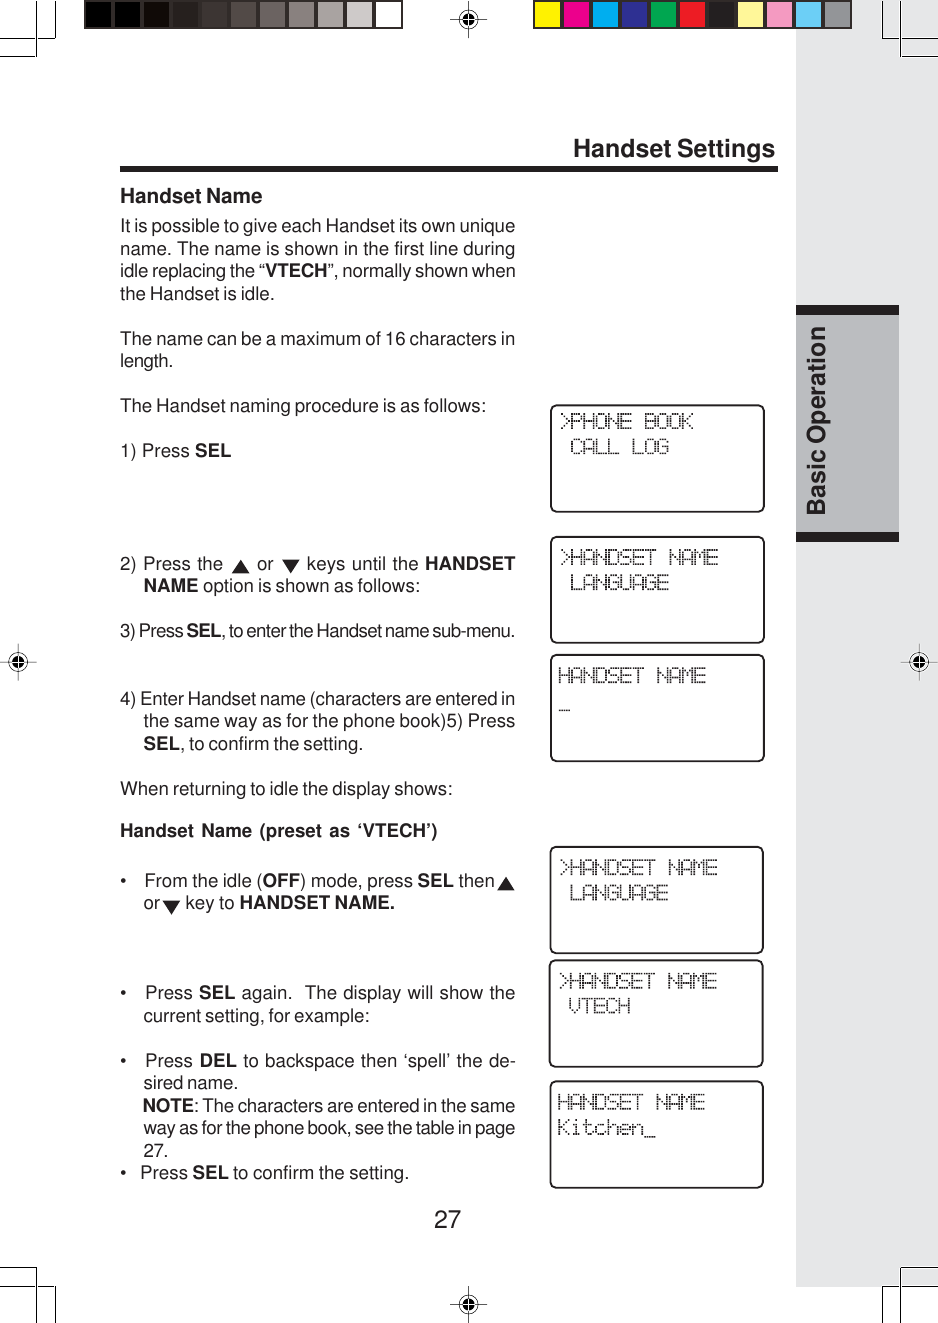
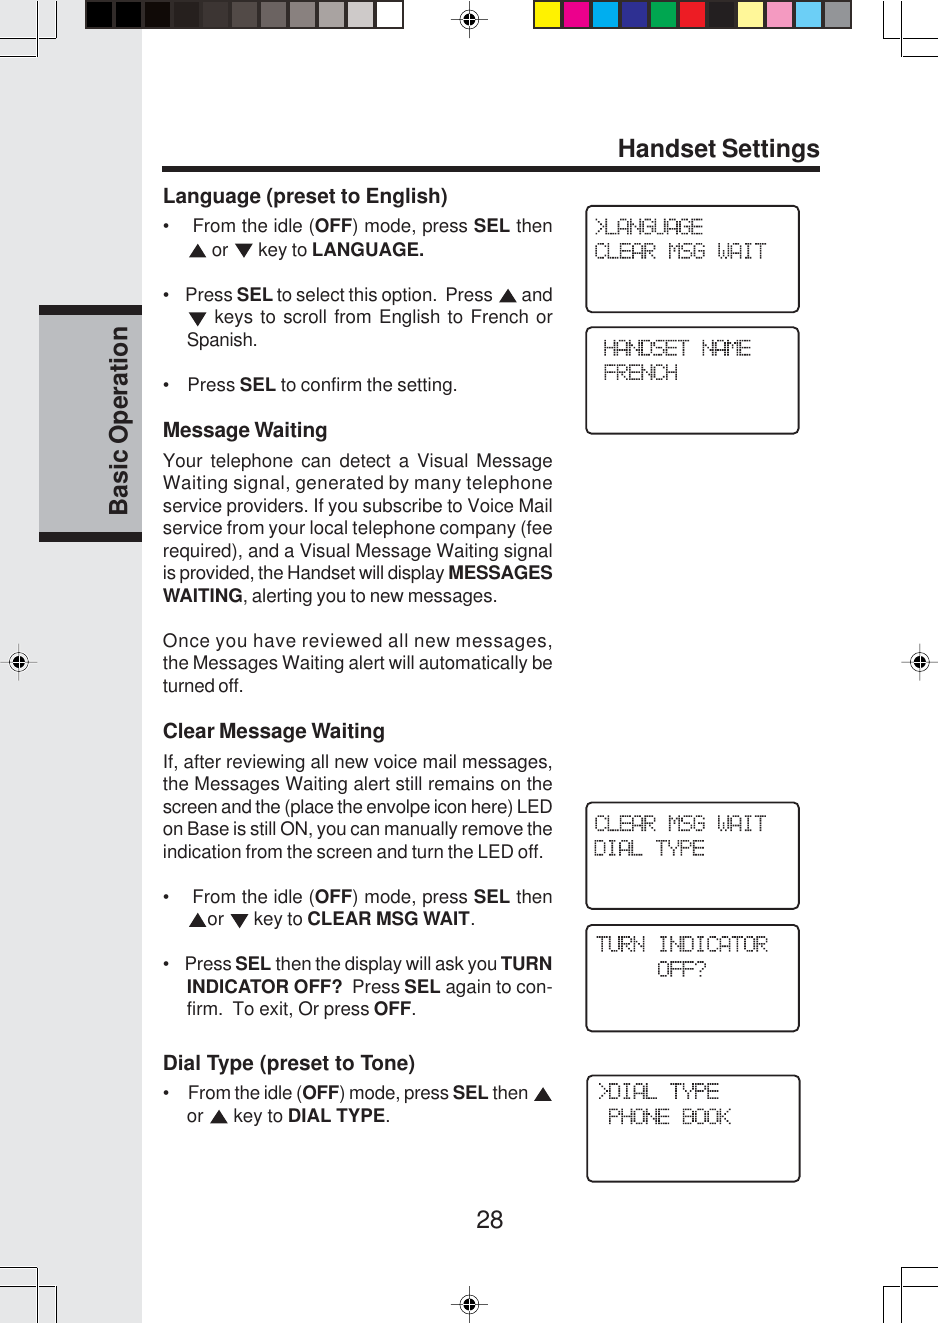
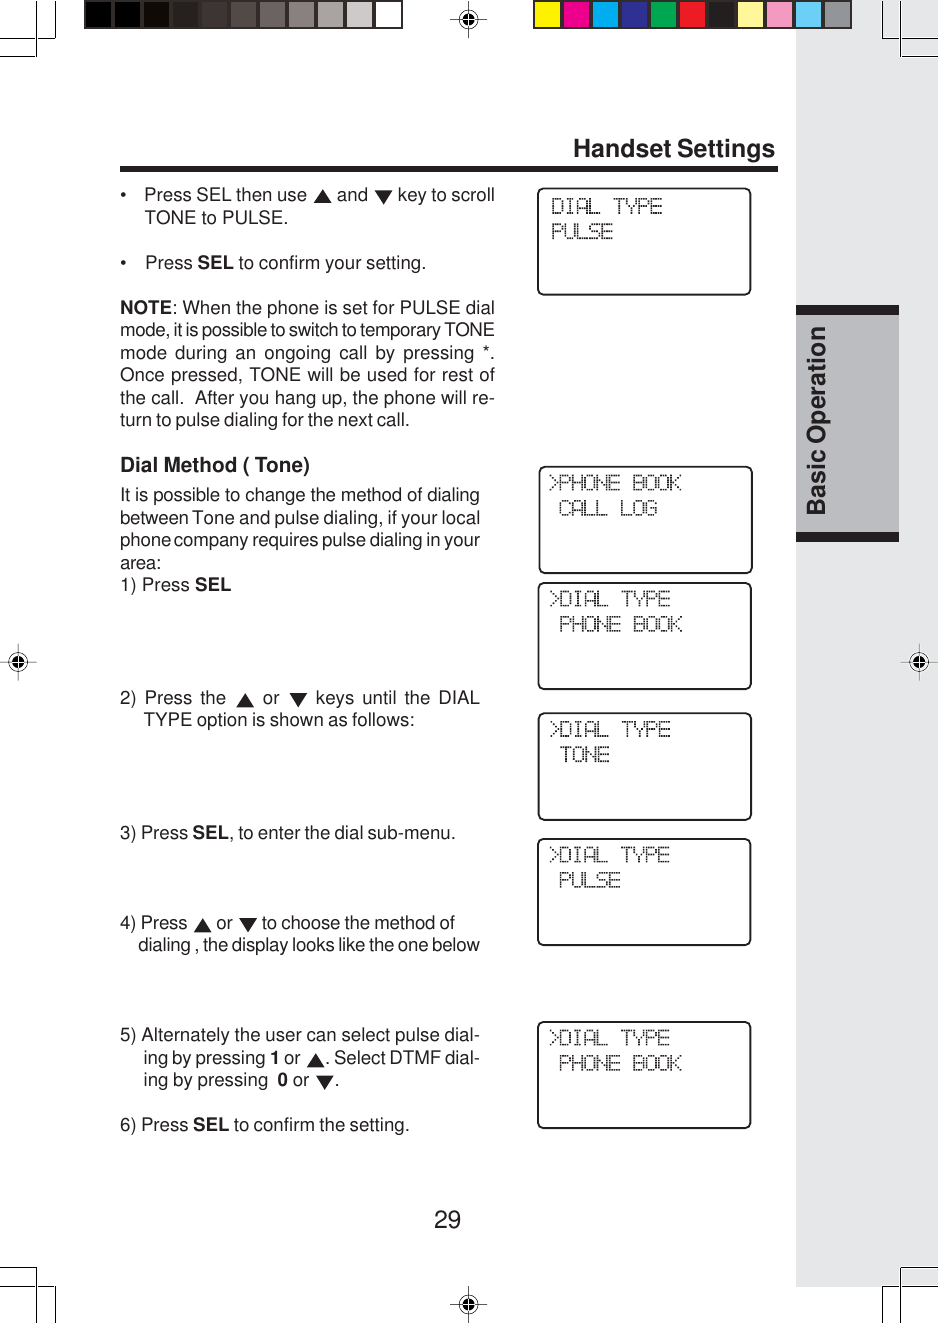
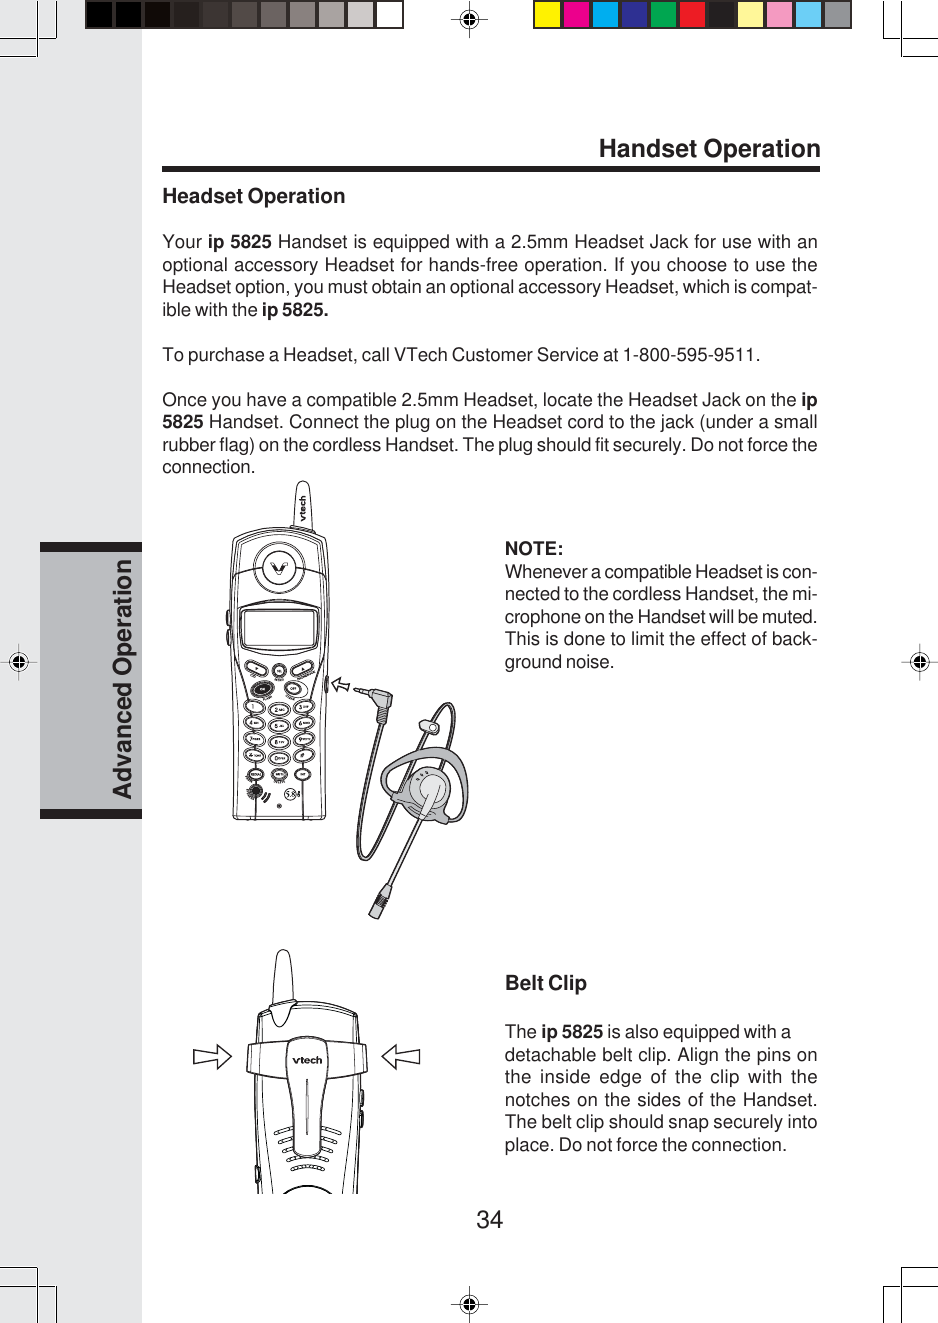
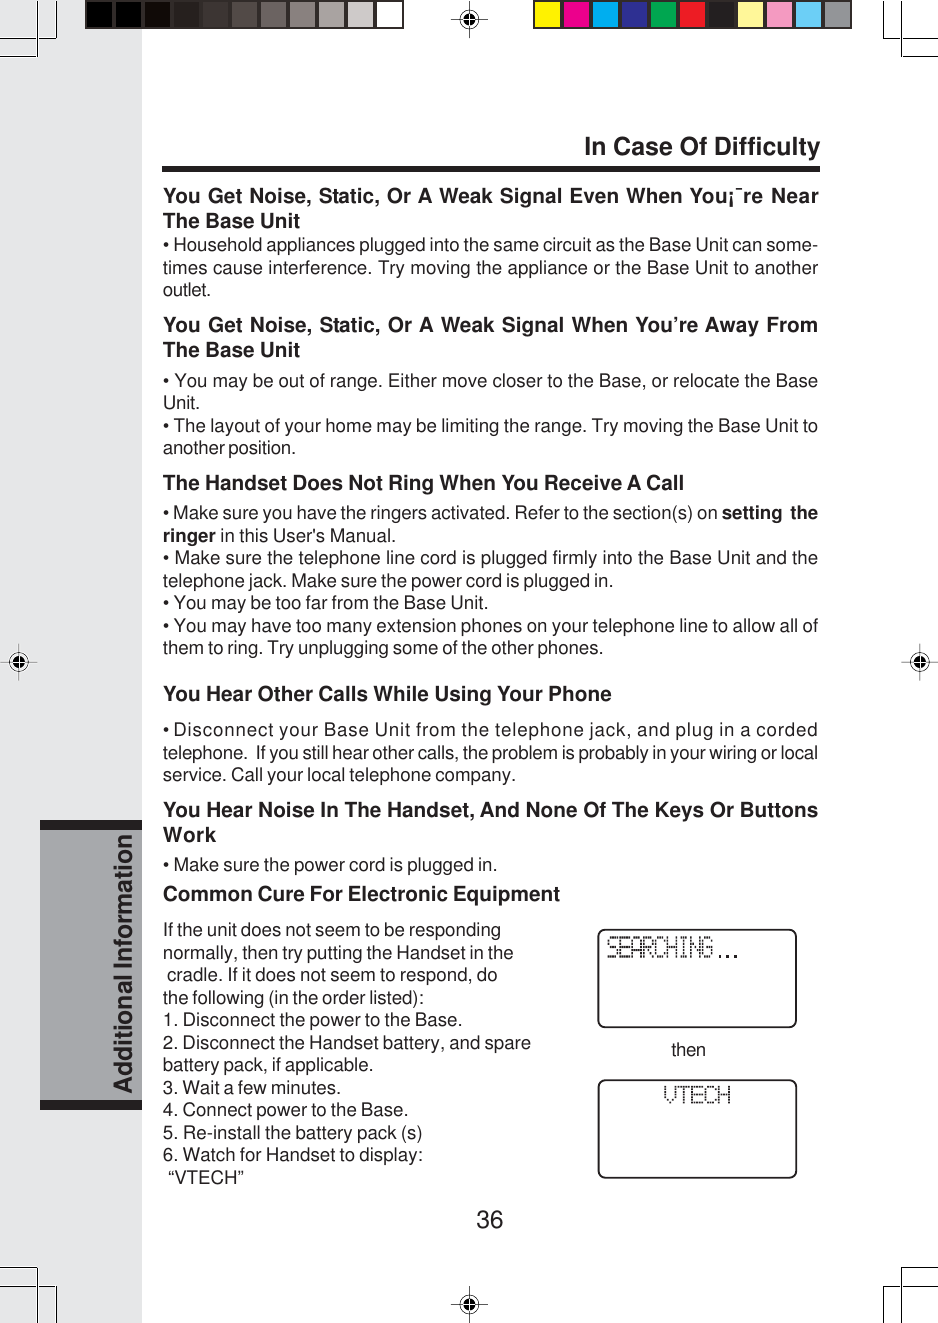
Users Manual 5825