VTech Telecommunications 80-5735-01 Cordless Telephone Handset Transceiver User Manual 91 000415 010 I5864 R3 indd
VTech Telecommunications Ltd Cordless Telephone Handset Transceiver 91 000415 010 I5864 R3 indd
Contents
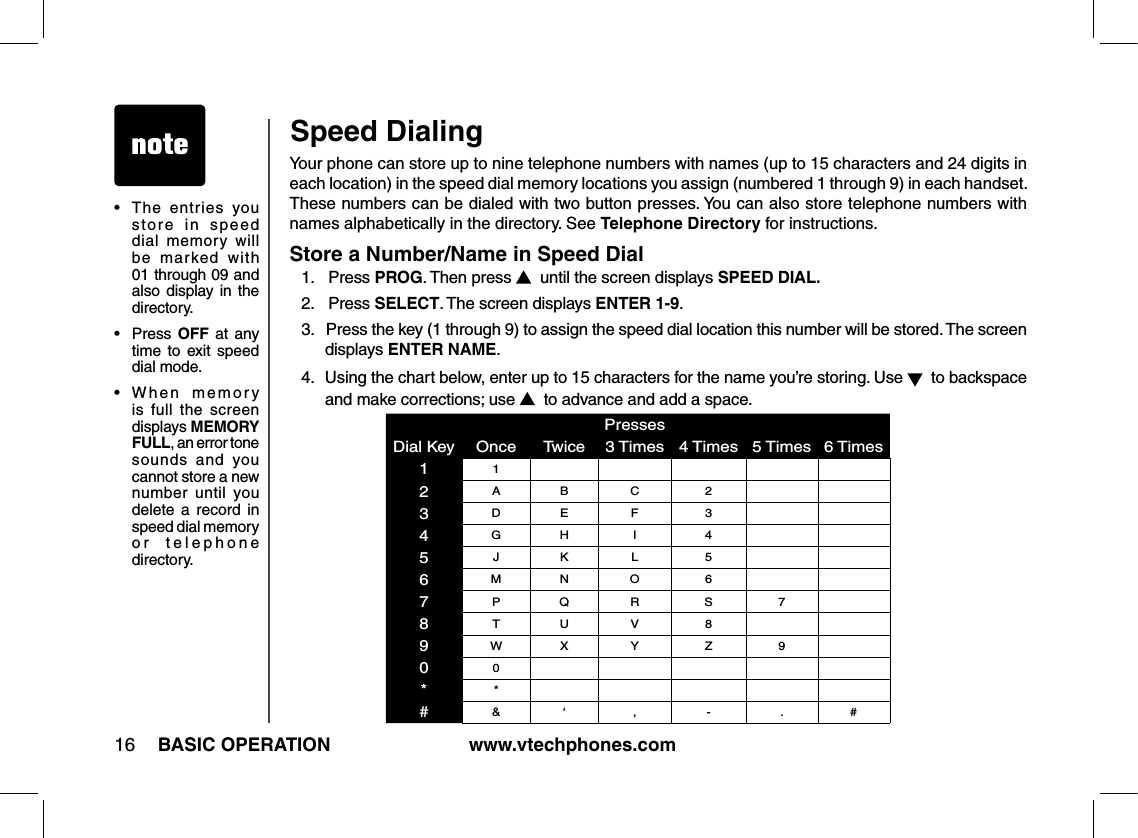
- 1. User manual ia5823
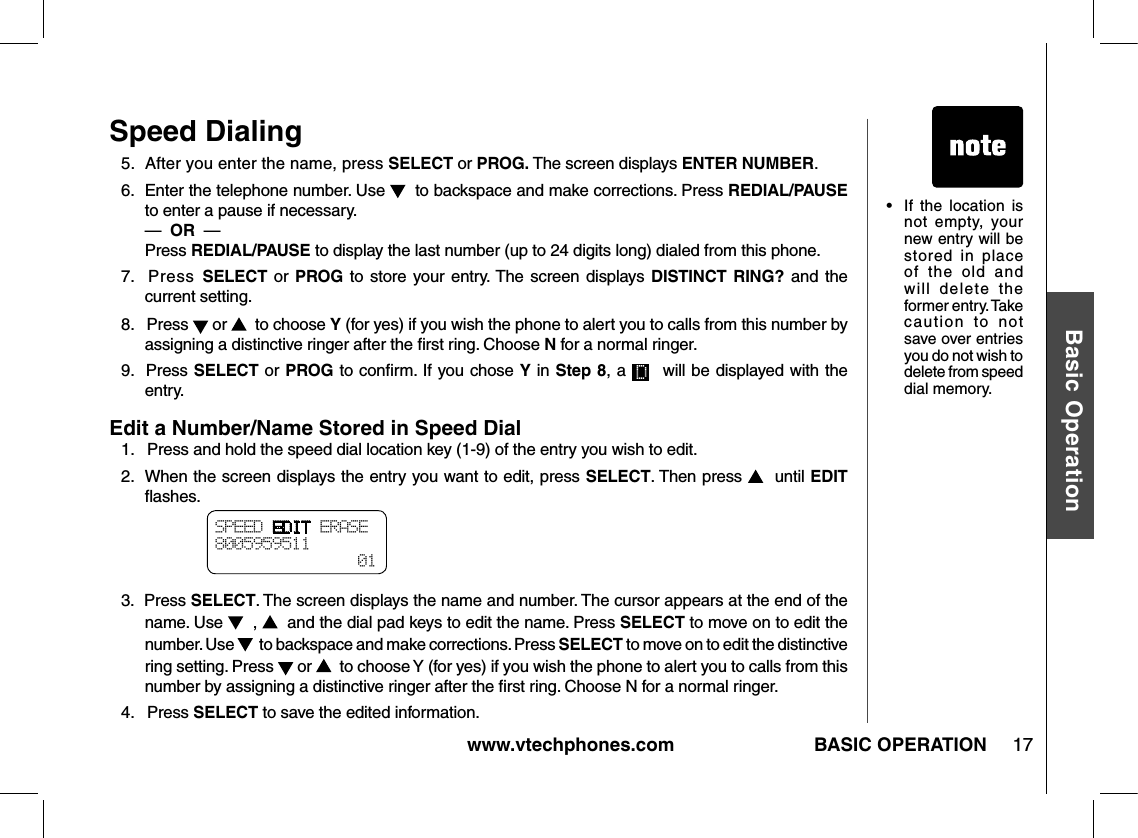
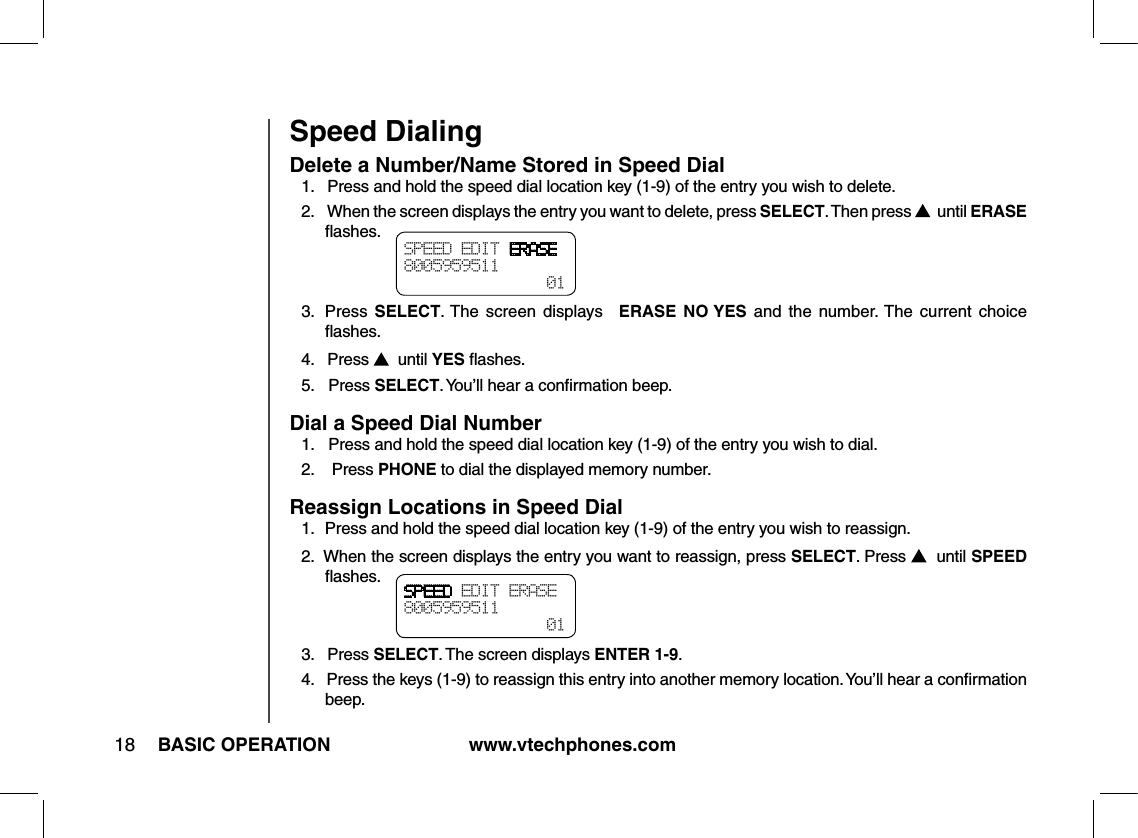
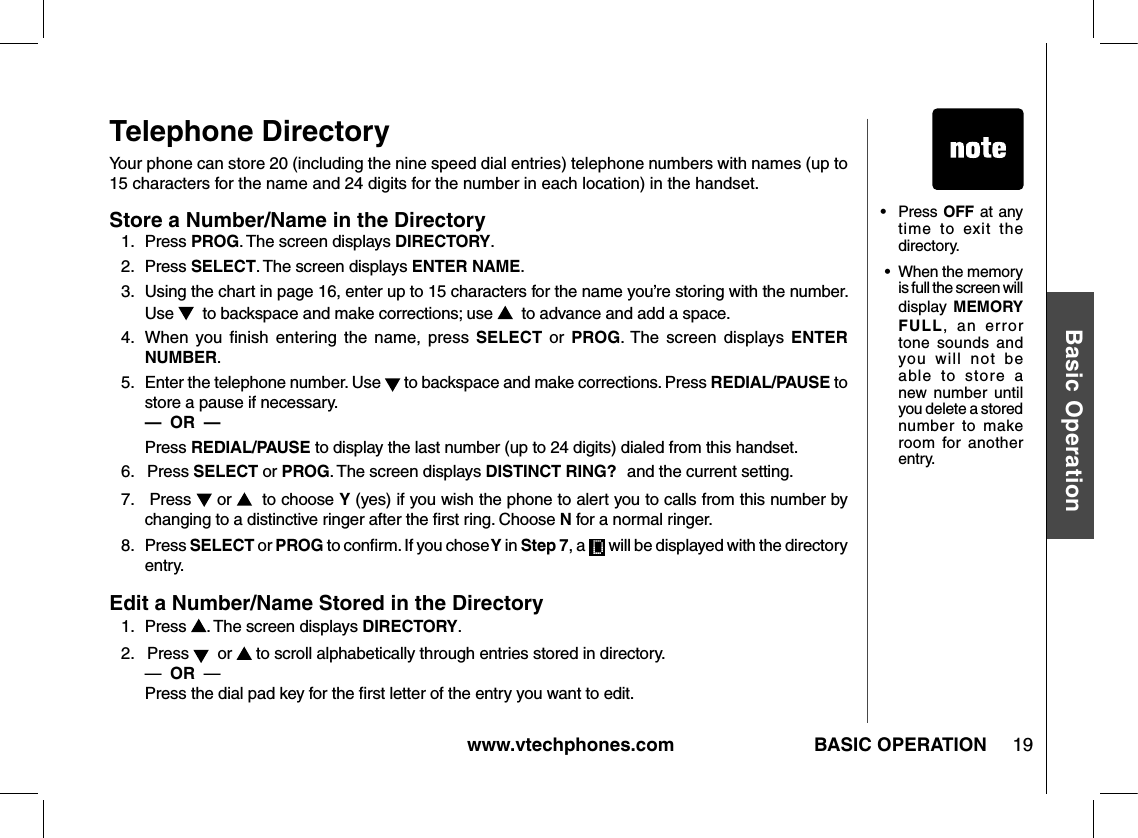
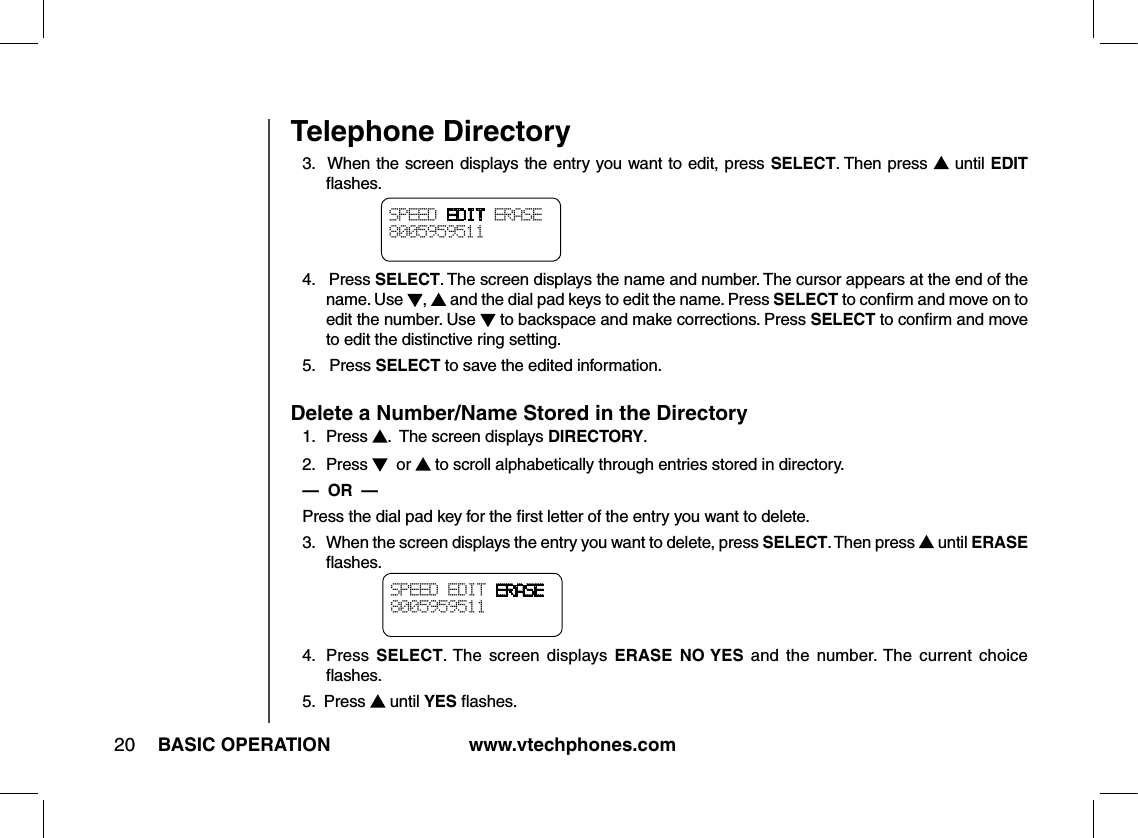
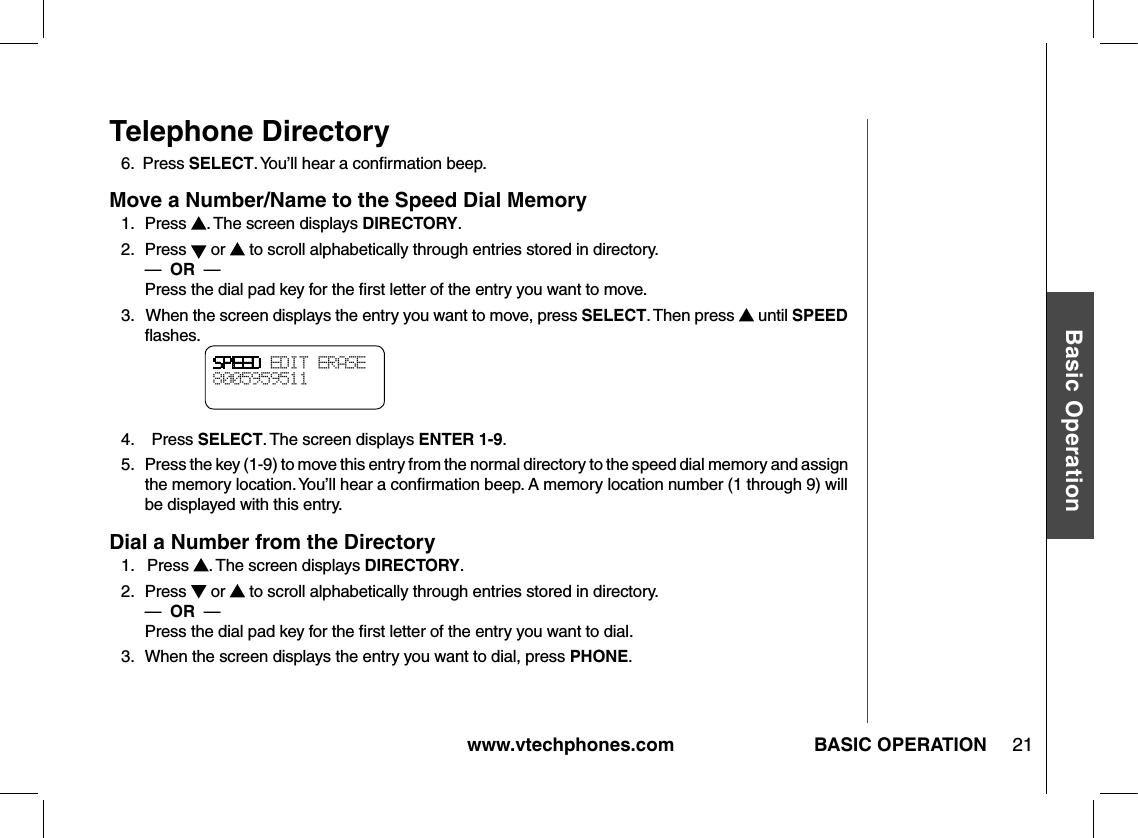
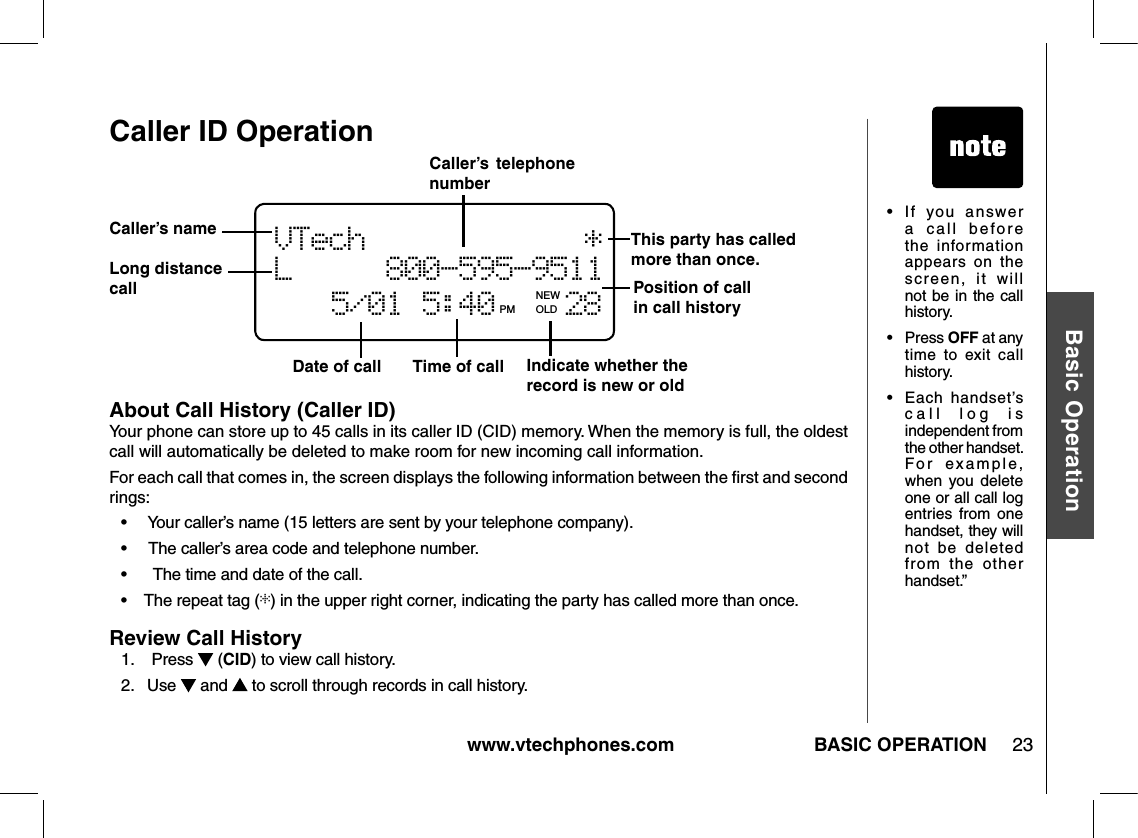
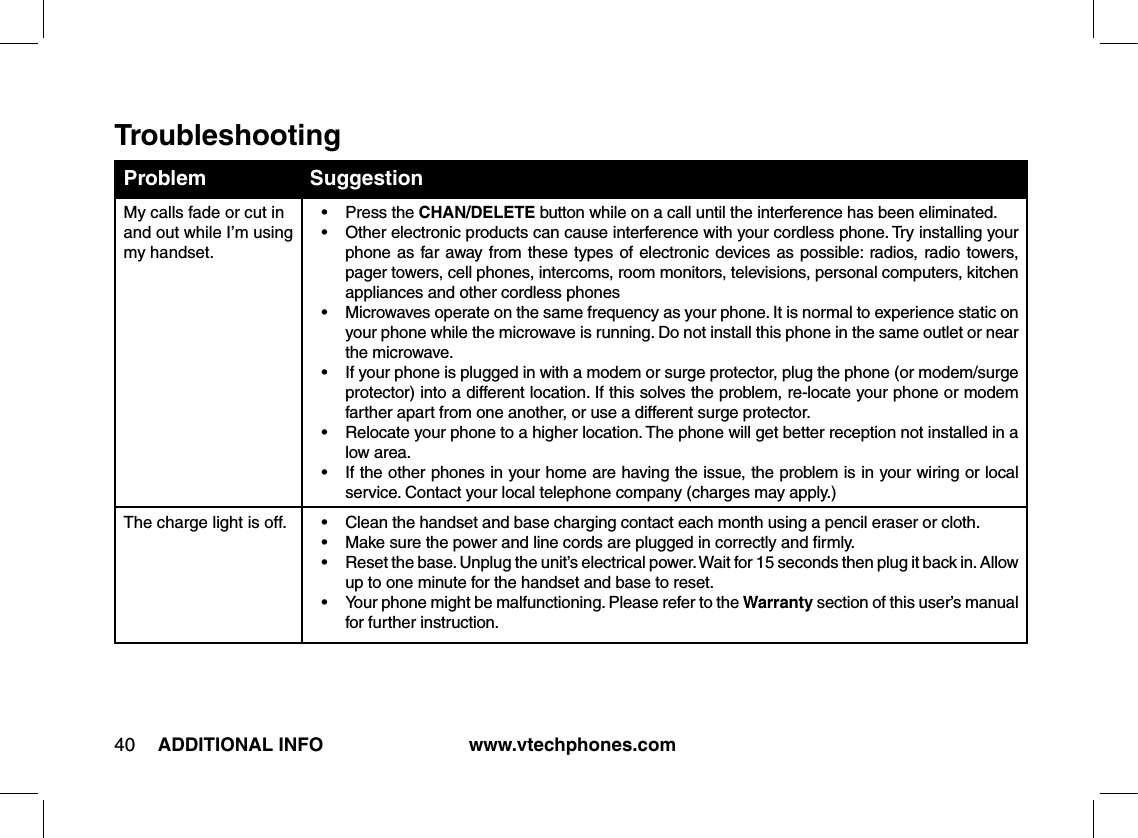
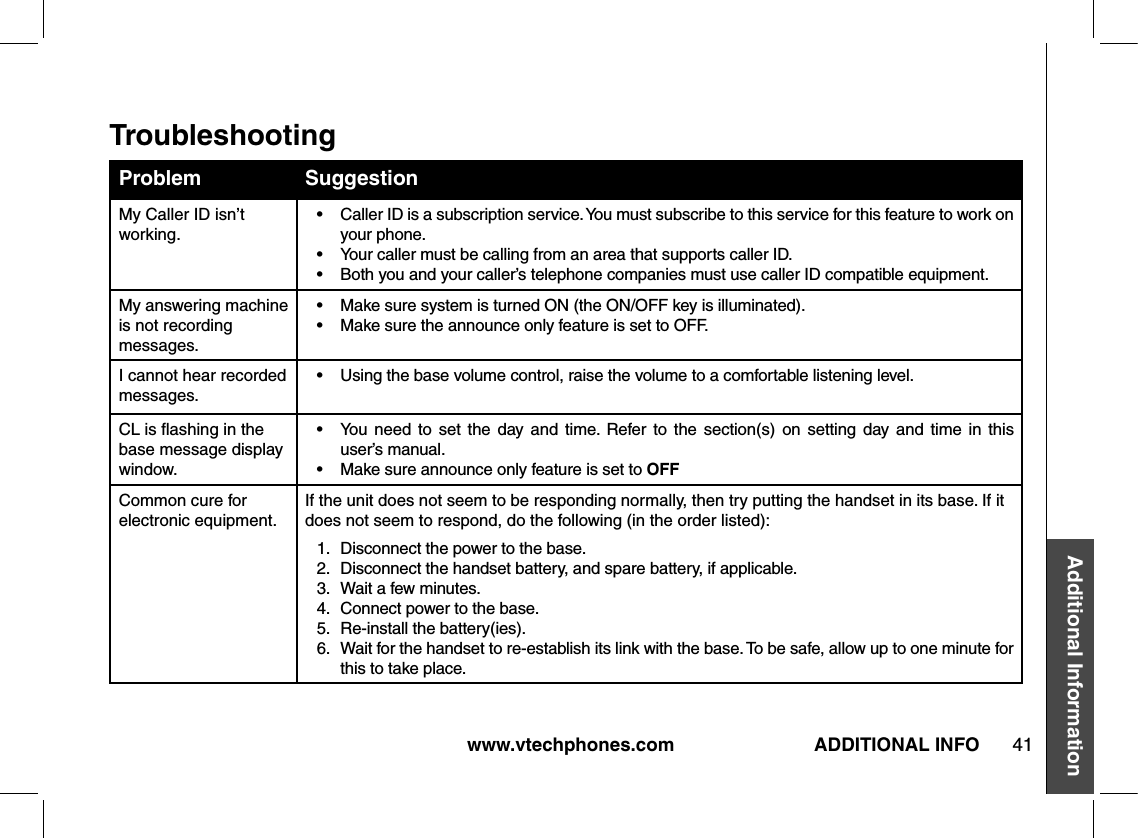
- 2. User manual ia5854 ia5864
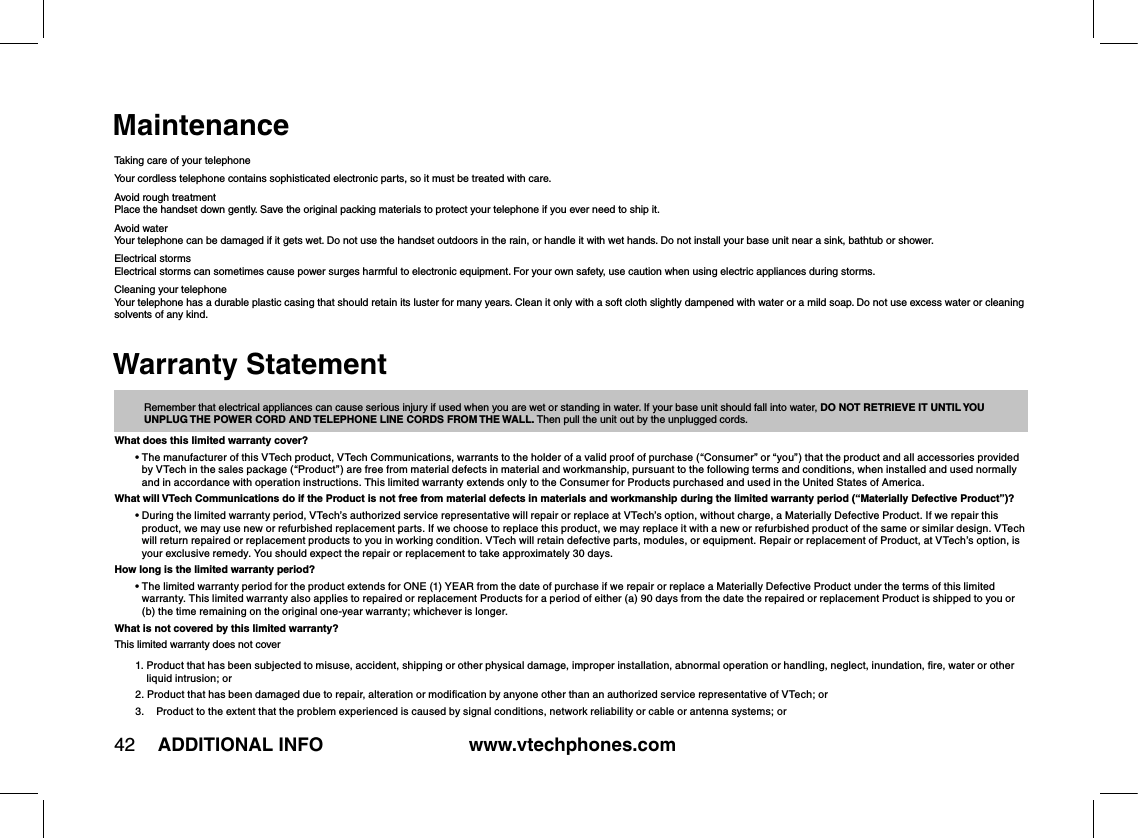
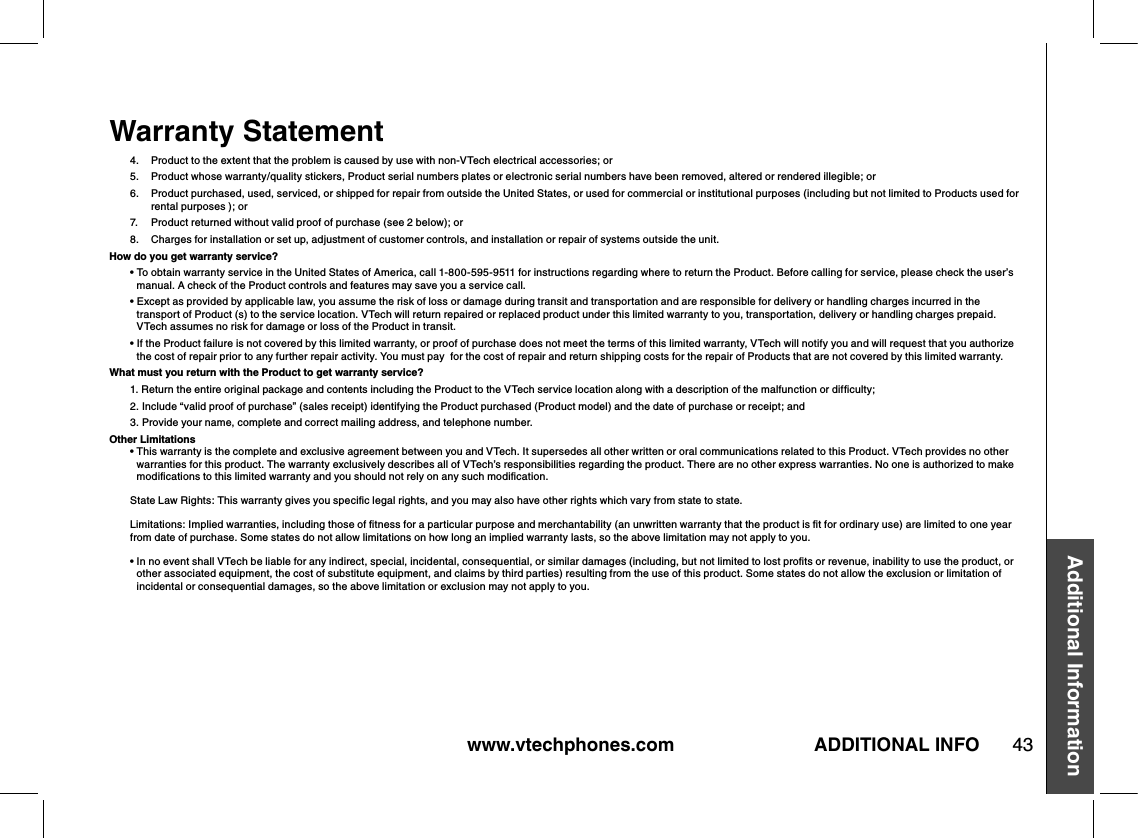
- 3. USer manual warning statements
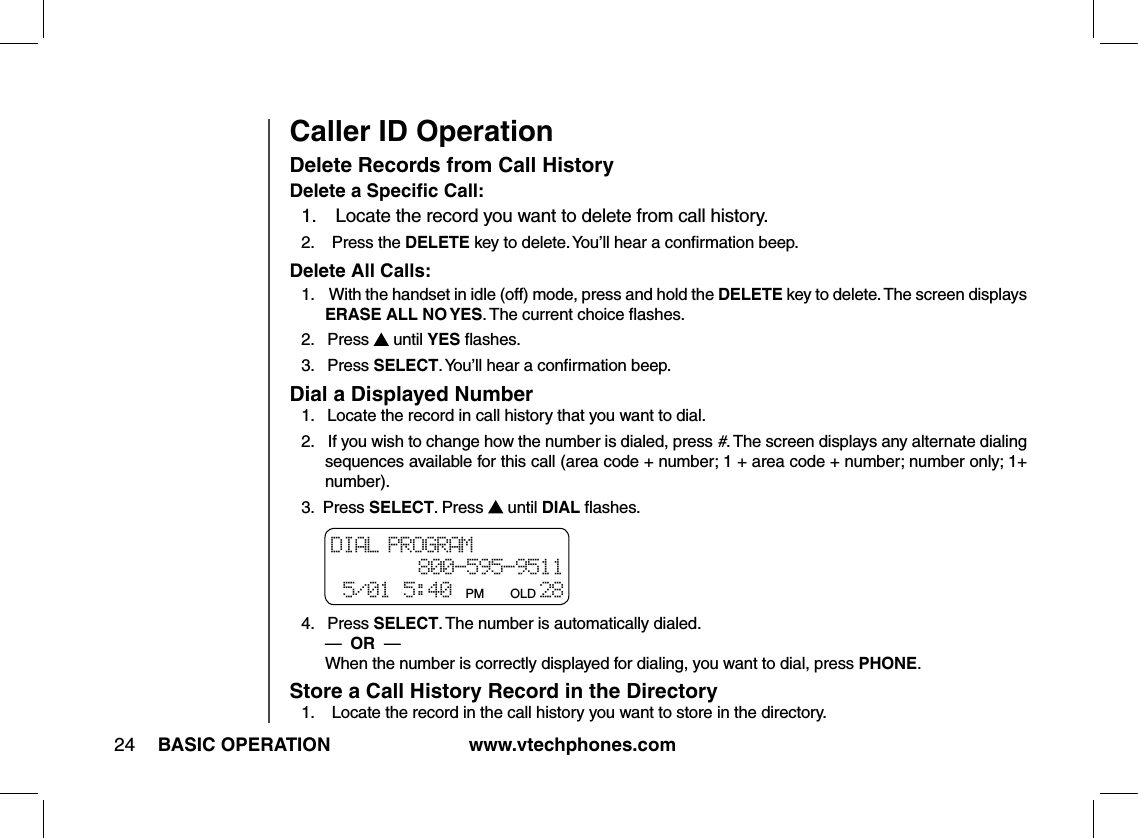
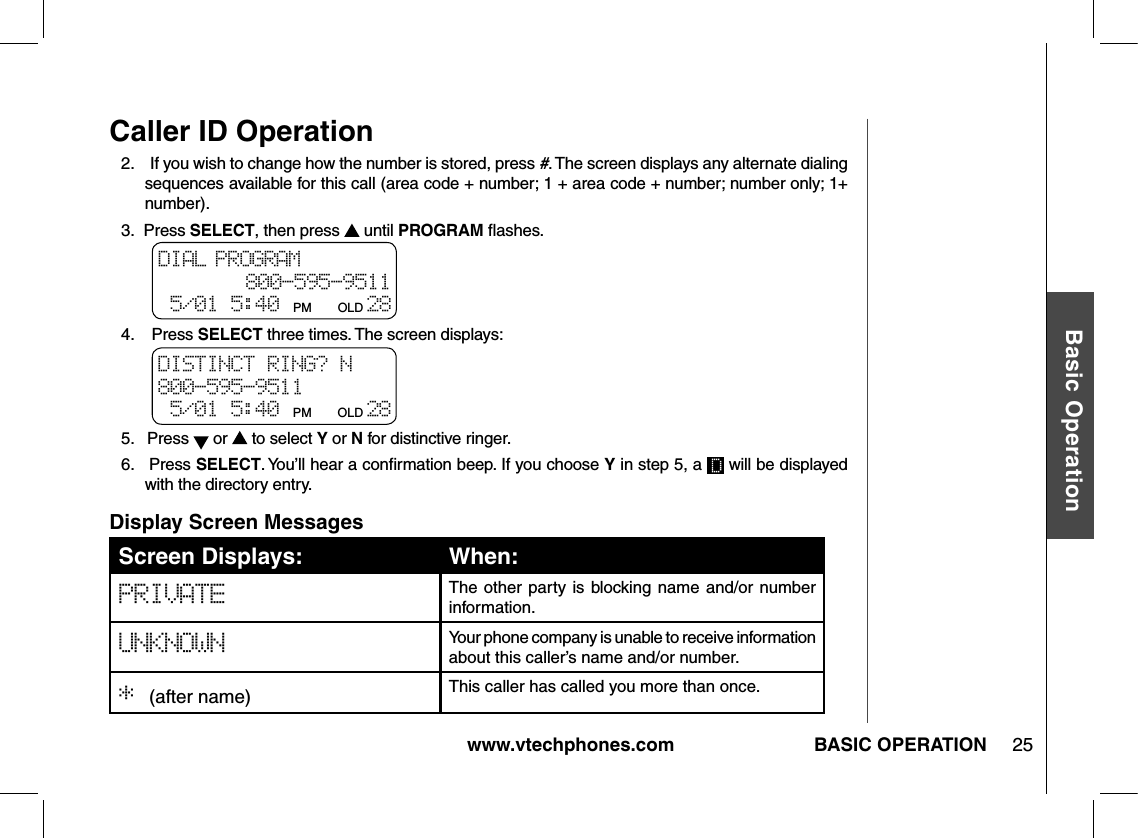
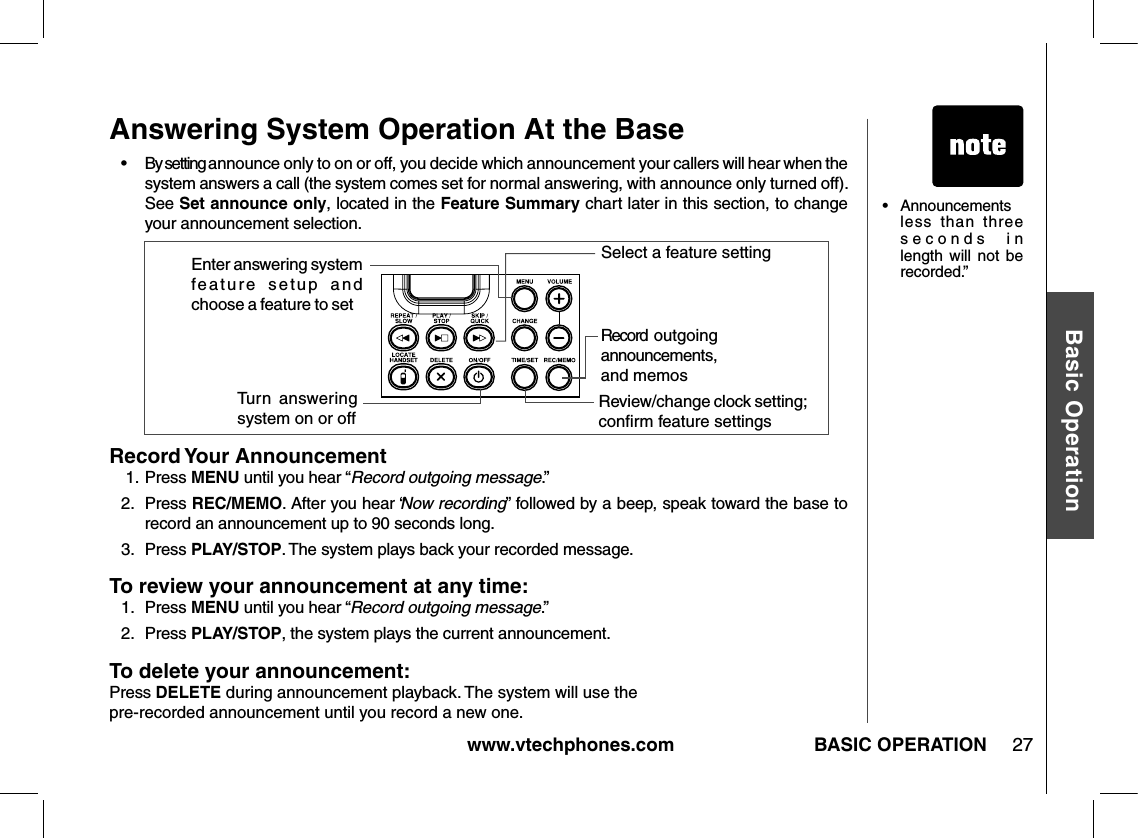
User manual ia5854 ia5864