VTech Telecommunications 80-7964-00 1.9GHz Cordless Deskset User Manual SB67148 manual 100929 english
VTech Telecommunications Ltd 1.9GHz Cordless Deskset SB67148 manual 100929 english
UserManual.wiki
>
VTech Telecommunications
>
80 7964 00 User Manual
Users Manual
Navigation menu
Upload a User Manual
Namespaces
Wiki Guide
HTML
PDF
Info
Views
User Manual
Discussion / Help
Navigation
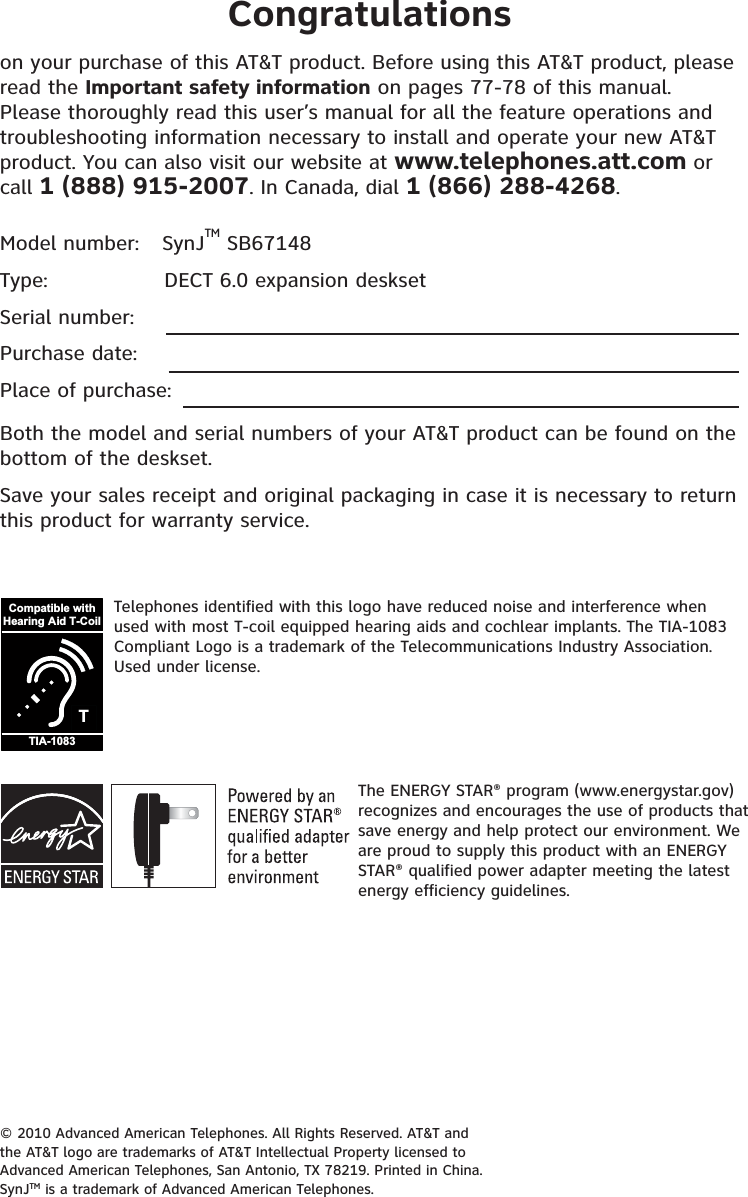
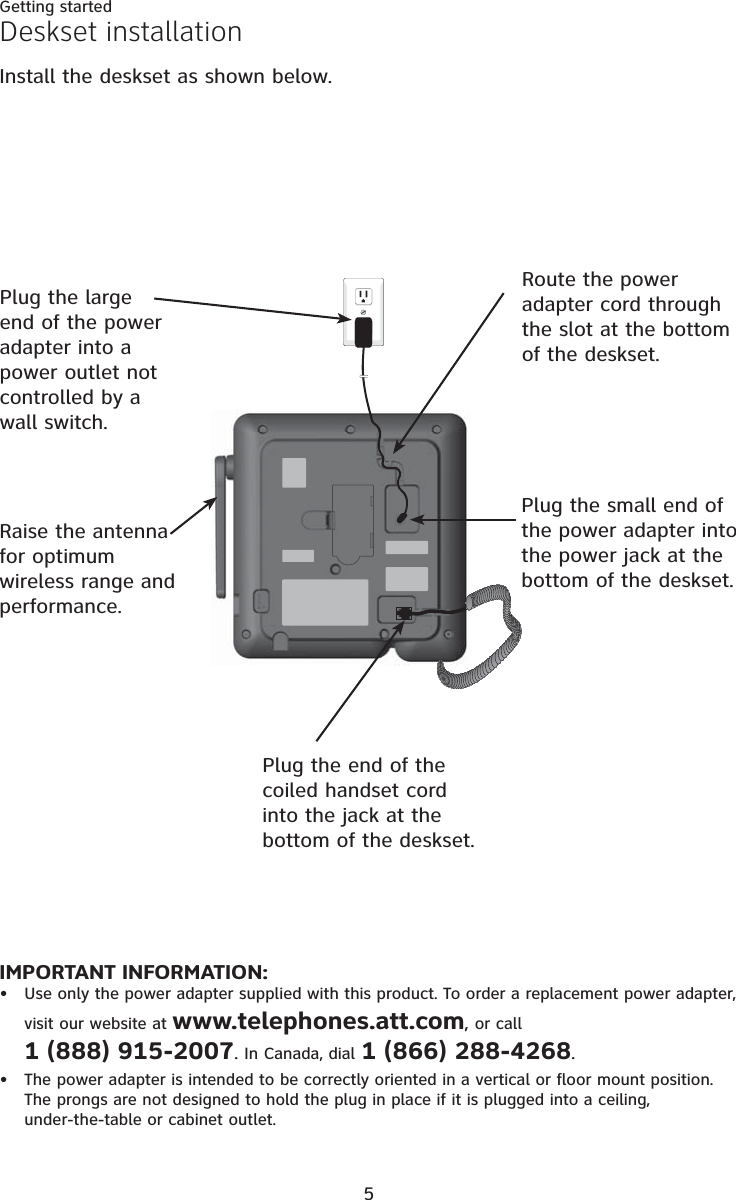
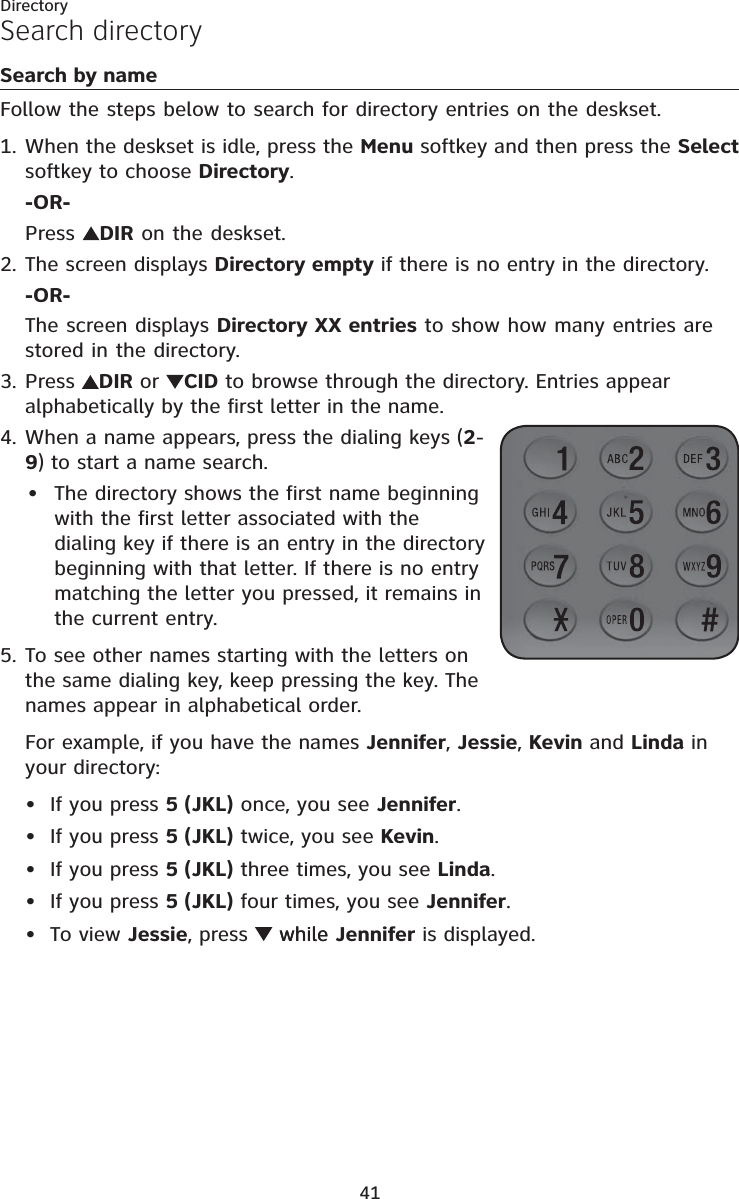
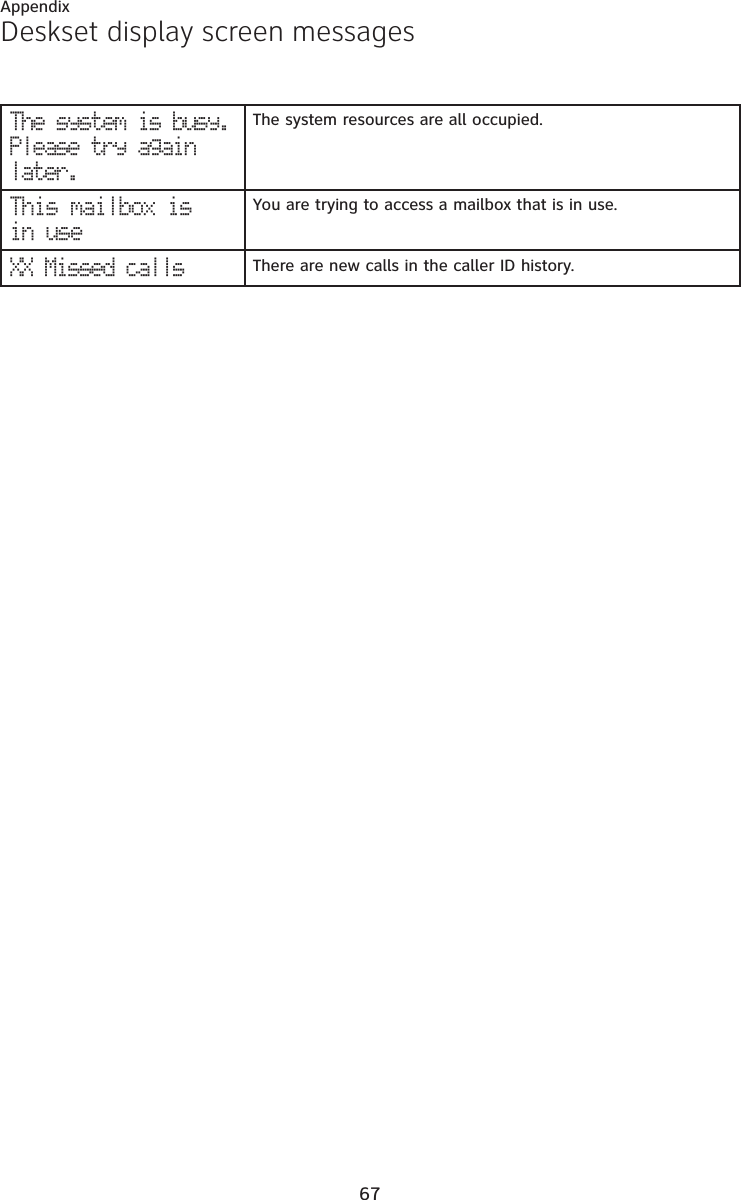
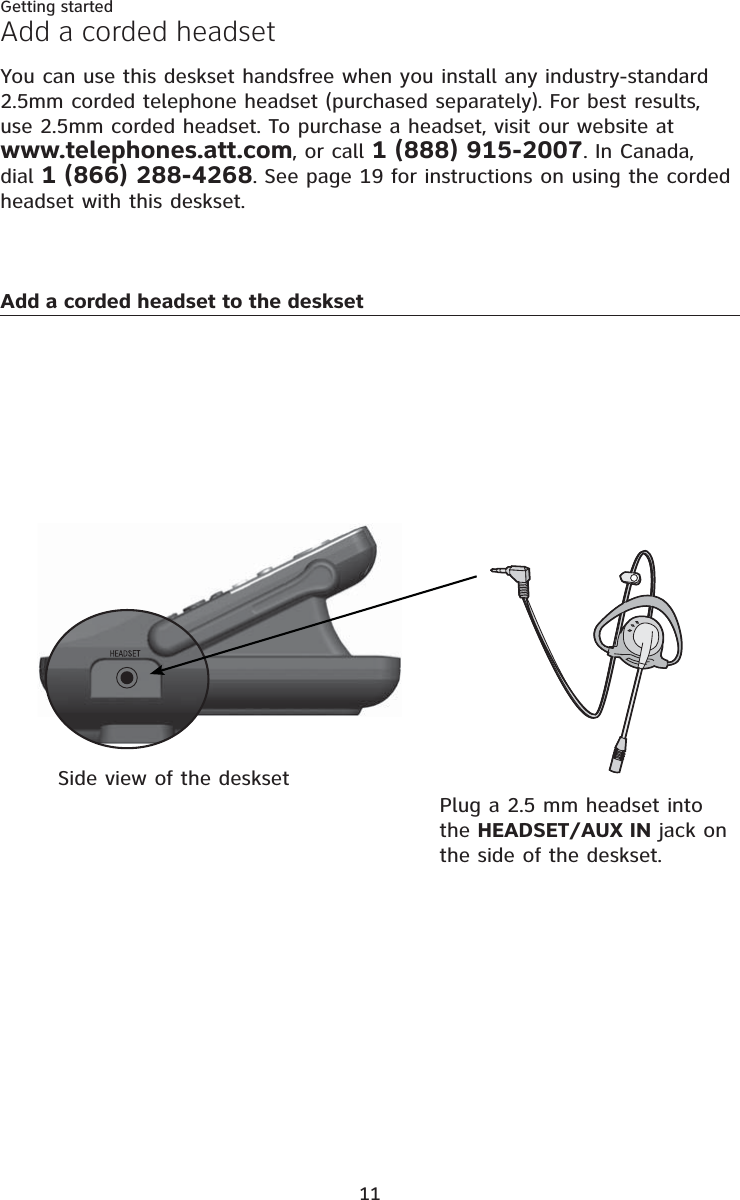
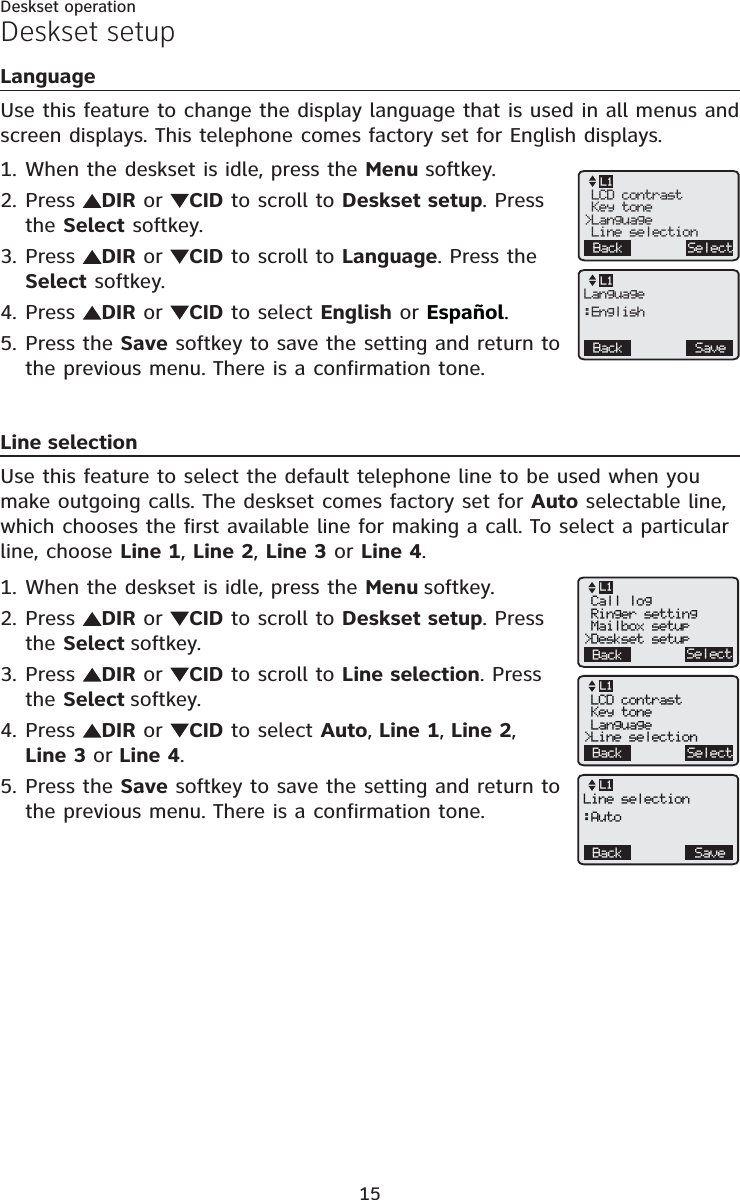
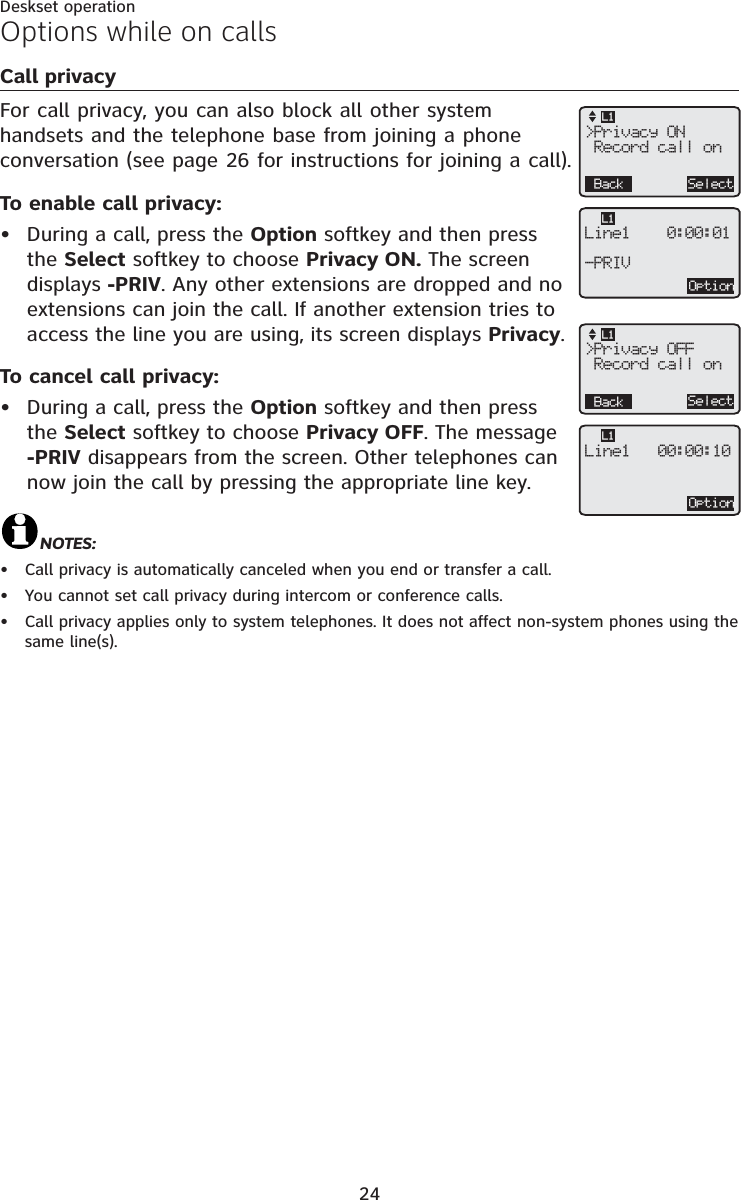
![8Getting startedAdd and register a desksetThe handset provided with the SynJ SB67118/SB67138 is already registered as Handset 1. Additional deskset is assigned numbers in the order they are registered (Deskset 2 to Deskset 10). You can register a maximum of 10 desksets.You can add desksets (SynJ SB67148, sold separately) to the SynJ SB67118/SB67138 at any time, but each new deskset must be registered with the main telephone base before use. The SynJ SB76148 is assigned as X:Deskset X. Each deskset must be registered separately.Before using a new SynJ SB67148 expansion deskset, you must register it with the SynJ SB67118/SB67138 (sold separately). Start registration when the deskset screen shows Press MENU on BS, sel Registration & sel Register HS. Then press Start.Register a deskset to your SynJ SB67118 telephone baseOn the SynJ SB67118 telephone base, press MENU/ENTER.Scroll down to Registration and press MENU/ENTER.Press MENU/ENTER again to select Register HS. The main telephone base displays Handset registering.Press the Start softkey on the unregistered deskset.The deskset shows Register...Please wait. It takes up to 60 seconds to complete the registration. You hear a beep when the registration is successful. The telephone base shows Deskset registered. The deskset shows Registered and then the deskset shows X:Deskset X(X represents the extension number [1-0]; Deskset Xrepresents the default deskset name).1.2.3.4.COVMSpeed dial setupCustomer supportRegistration>Register HSCordless headsetDeregistration>HandsetregisteringDesksetregistered2:Deskset 2Press MENU onMAIN base, selectRegisteration &then Register HS.Then press Start](https://usermanual.wiki/VTech-Telecommunications/80-7964-00/User-Guide-1372825-Page-13.png)
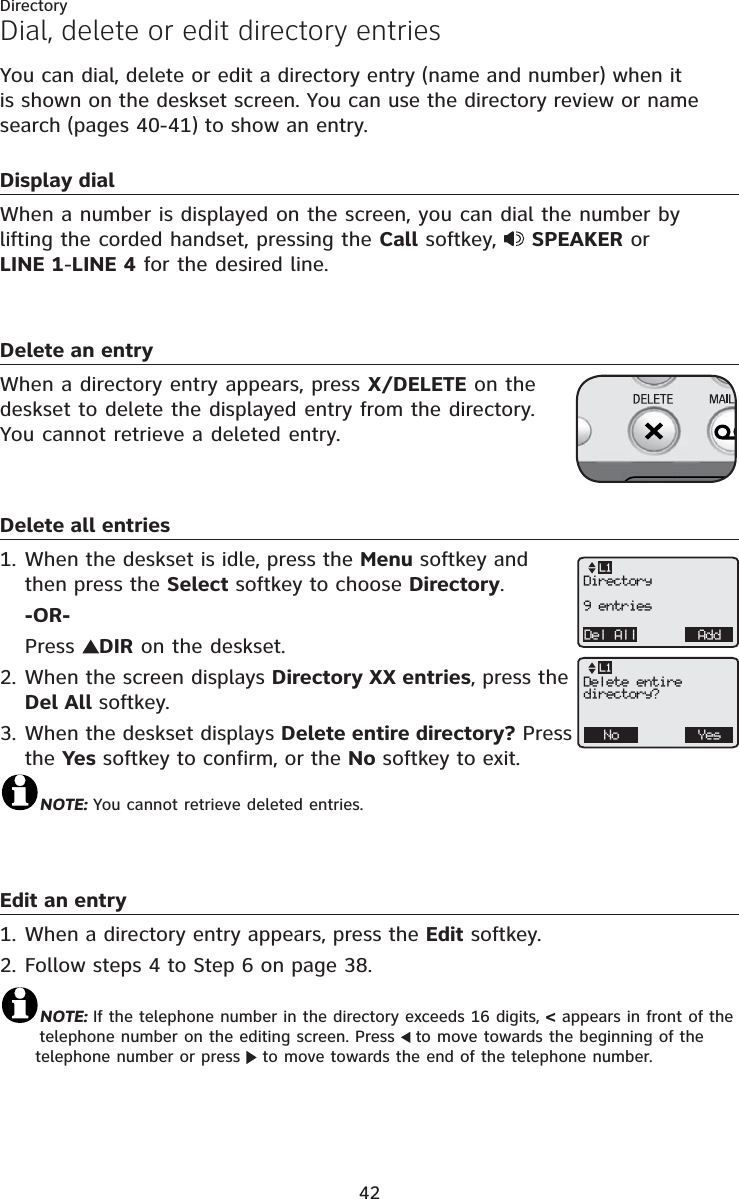
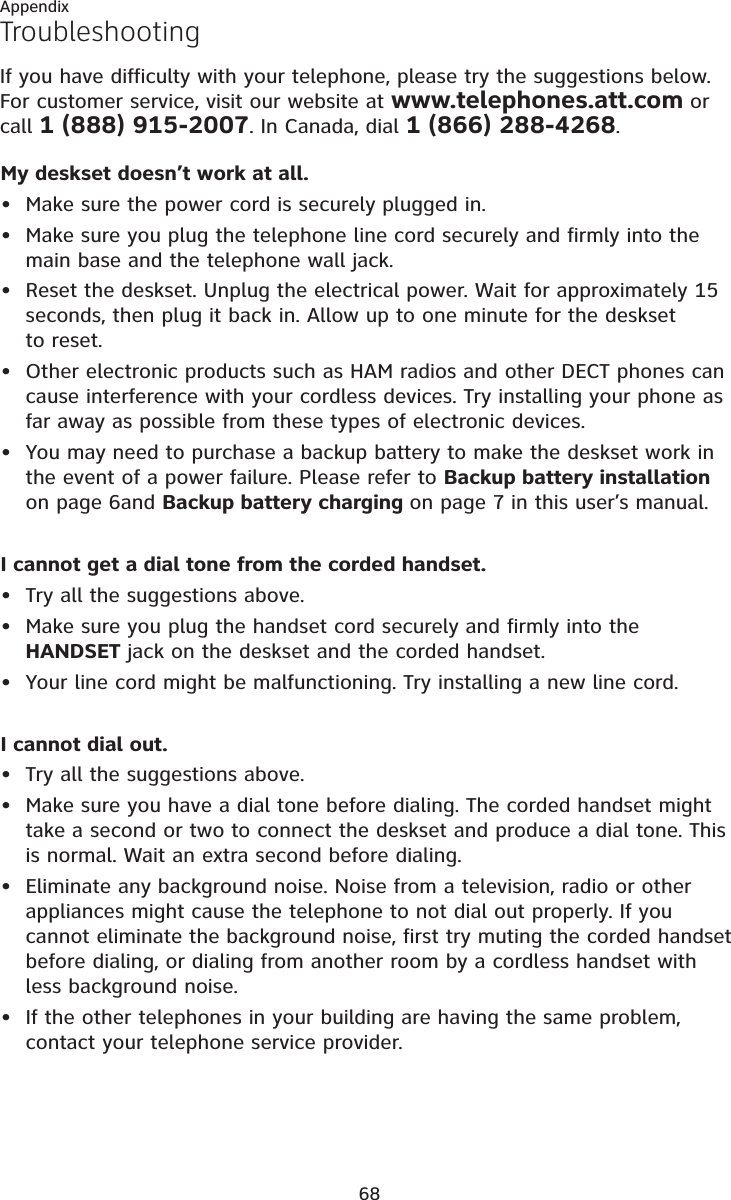
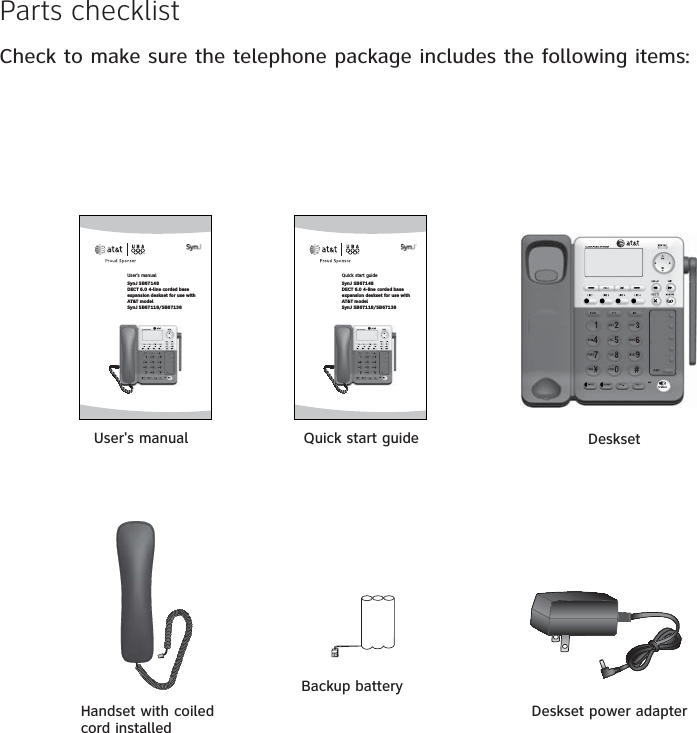
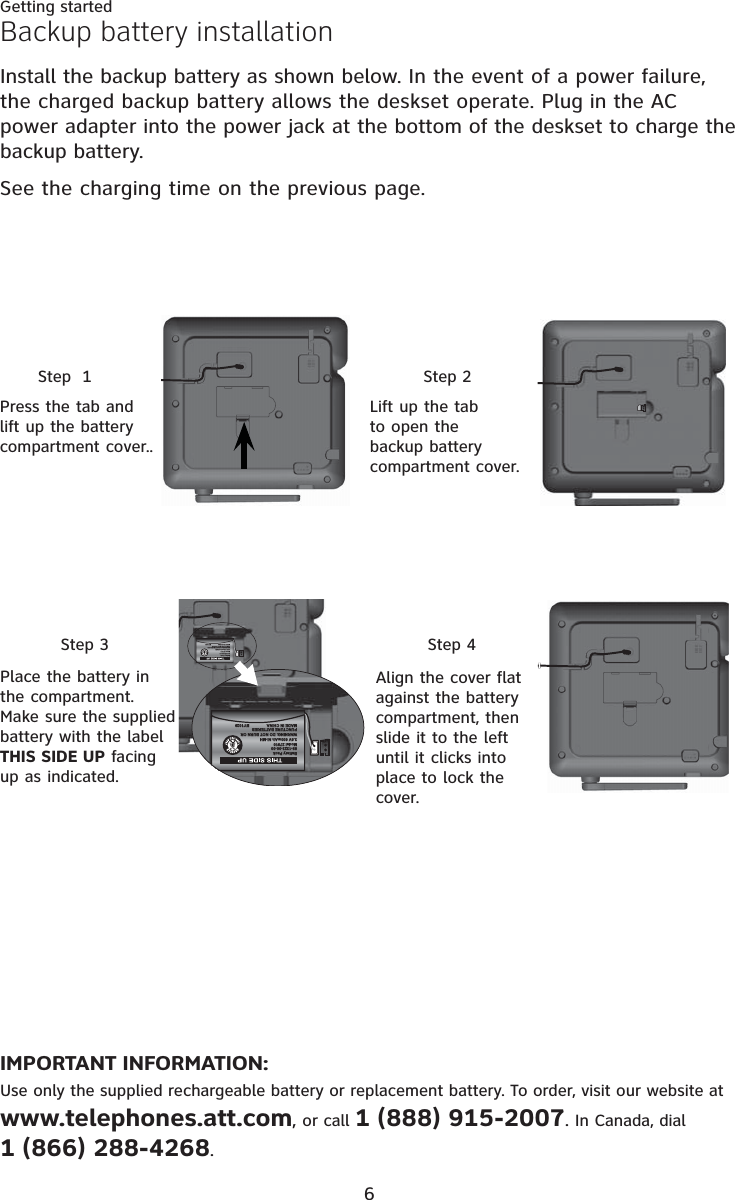
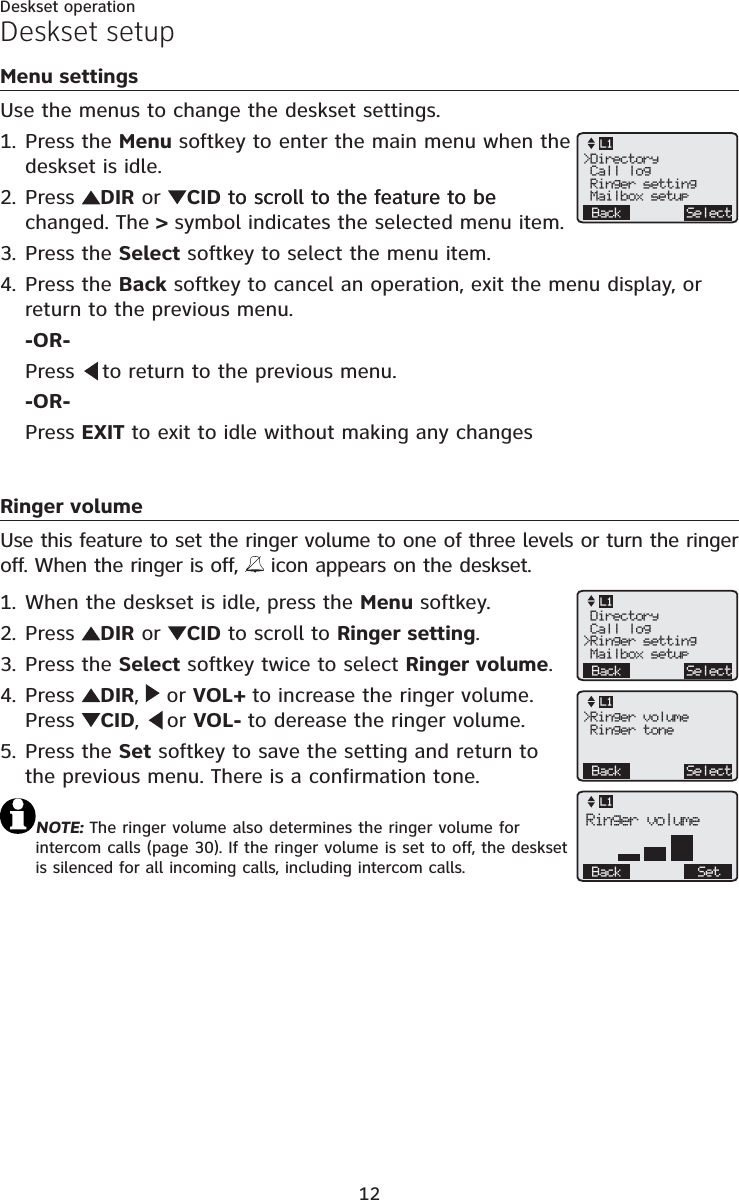
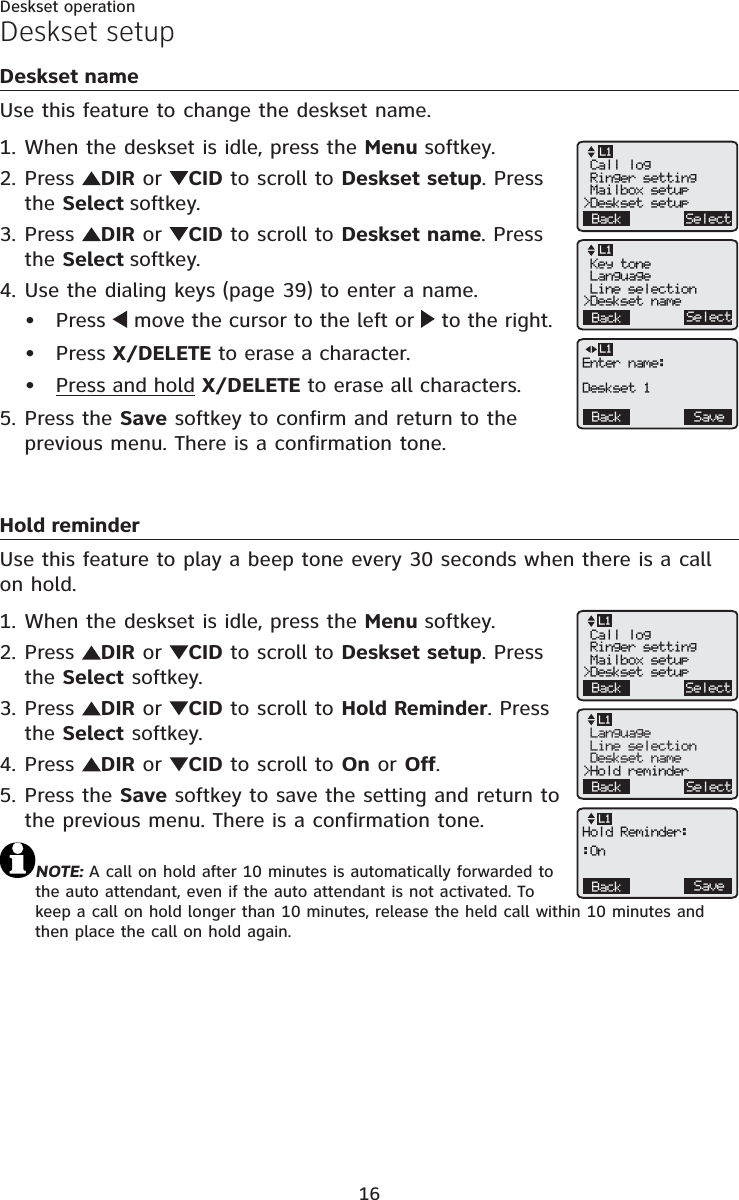
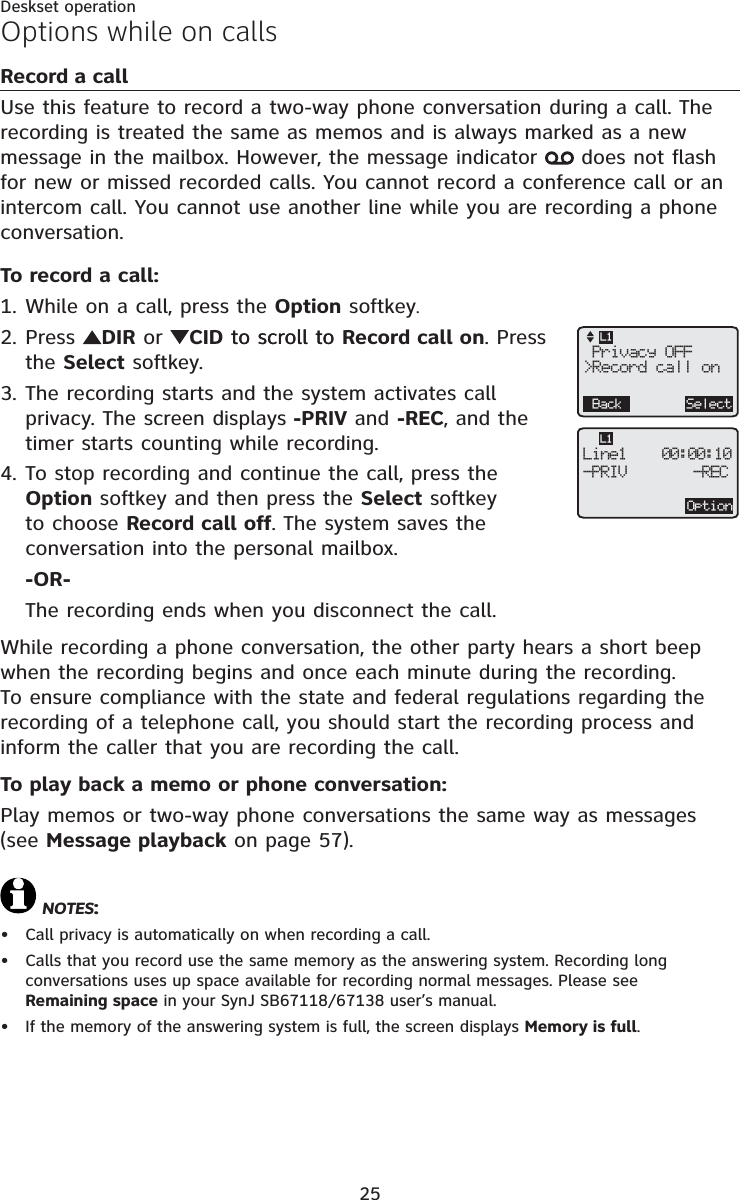
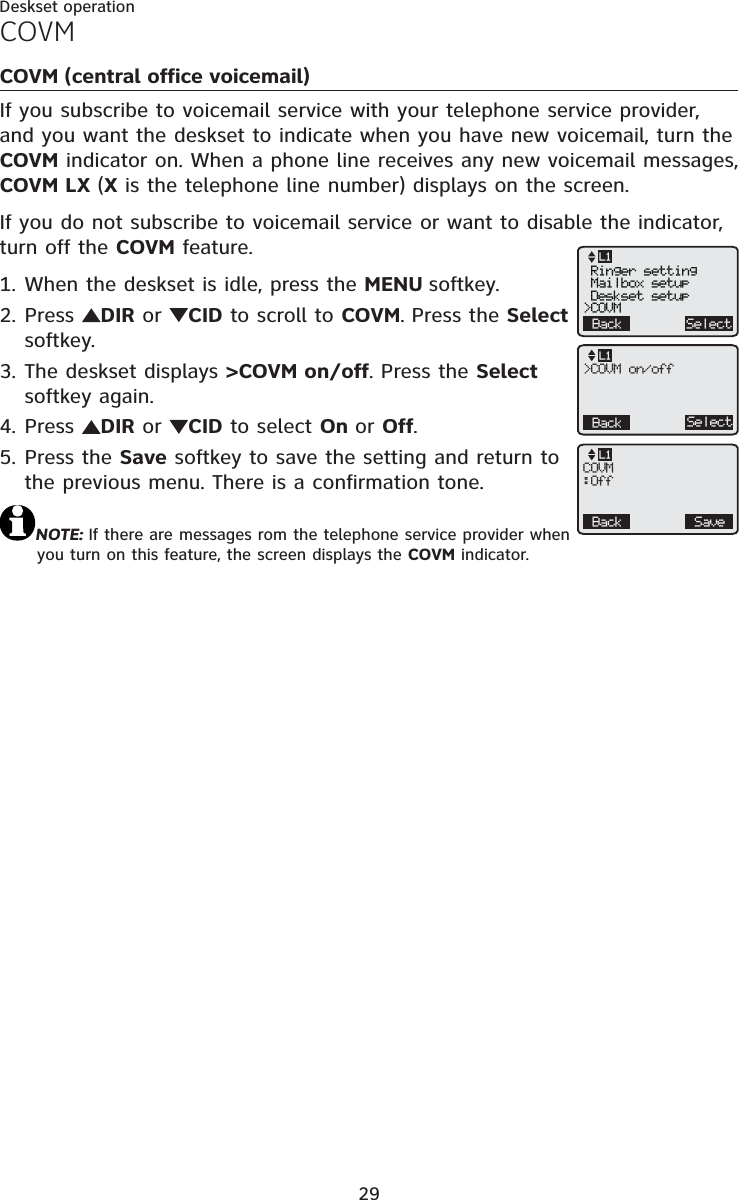
![9Getting startedAdd and register a desksetRegister the deskset to your SynJ SB67138 telephone baseOn the SynJ SB67138 telephone base, press MENU/ENTER.Scroll down to Registration and press MENU/ENTER.Press MENU/ENTER again to select Registeration. The telephone base screen shows Registering new device...Press the Start sofkey on the unregistered deskset. Thedeskset shows Registering...Please wait. It takes up to60 seconds to complete the registration. You hear a beep sound when the registration is successful. The telephone base shows Deskset registered. The deskset shows Registered. Then the deskset shows X:Deskset X (X represents the extension number [1-0];Deskset X represents the default deskset name).NOTE: If the registration is not successful, the screen shows Press MENU on BS, sel Registration & sel Register HS. Then press Start.Try the registration process again.1.2.3.4.COVMSpeed dial setupCustomer supportRegistration>Register HSDeregistration>Registeringnew device...Desksetregistered2:Deskset 2](https://usermanual.wiki/VTech-Telecommunications/80-7964-00/User-Guide-1372825-Page-14.png)
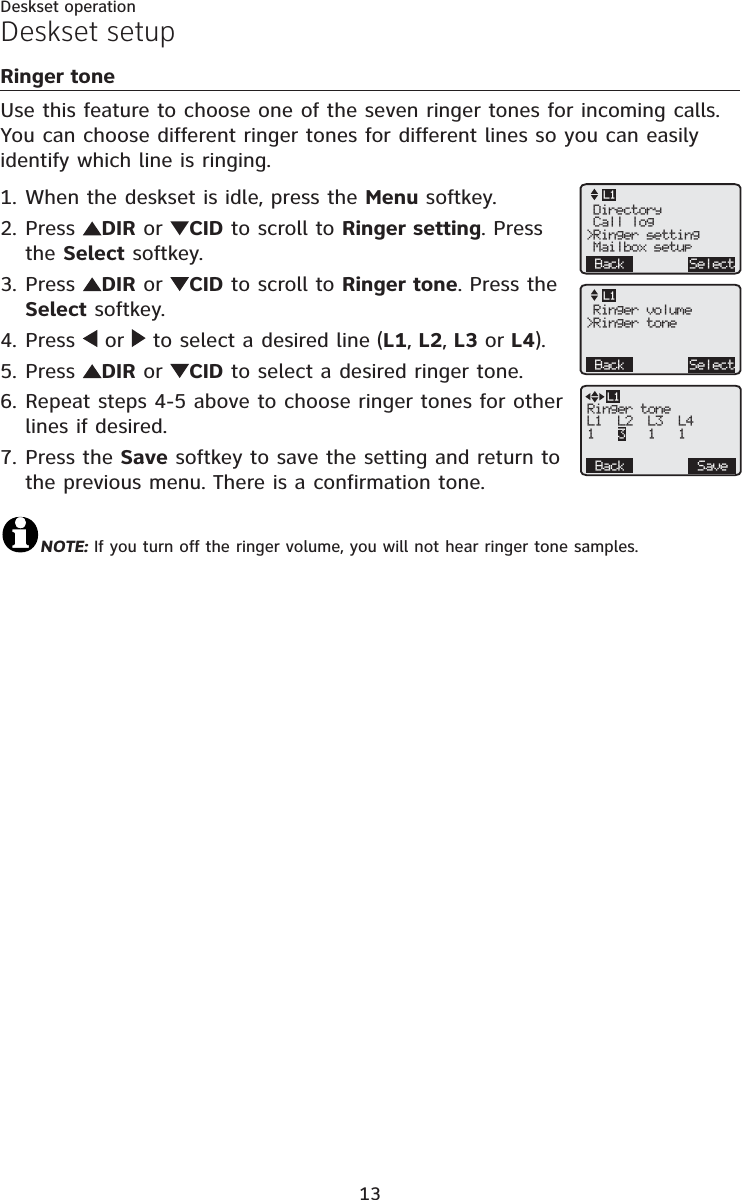
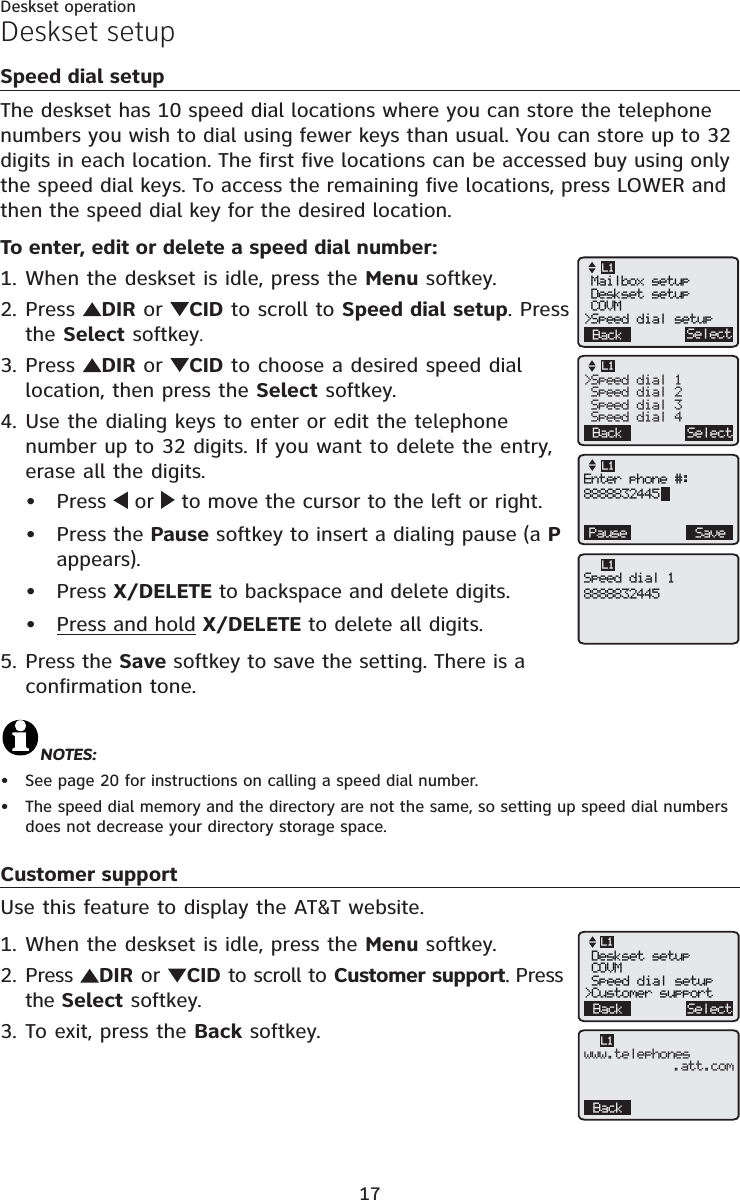

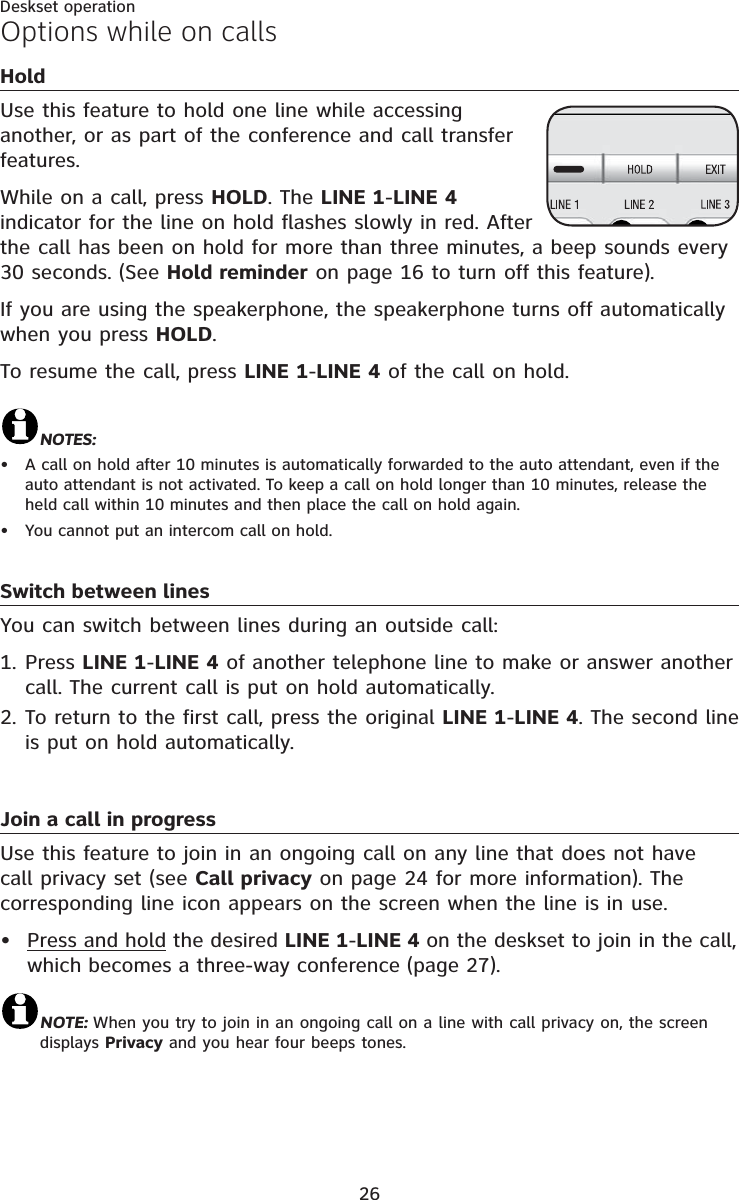
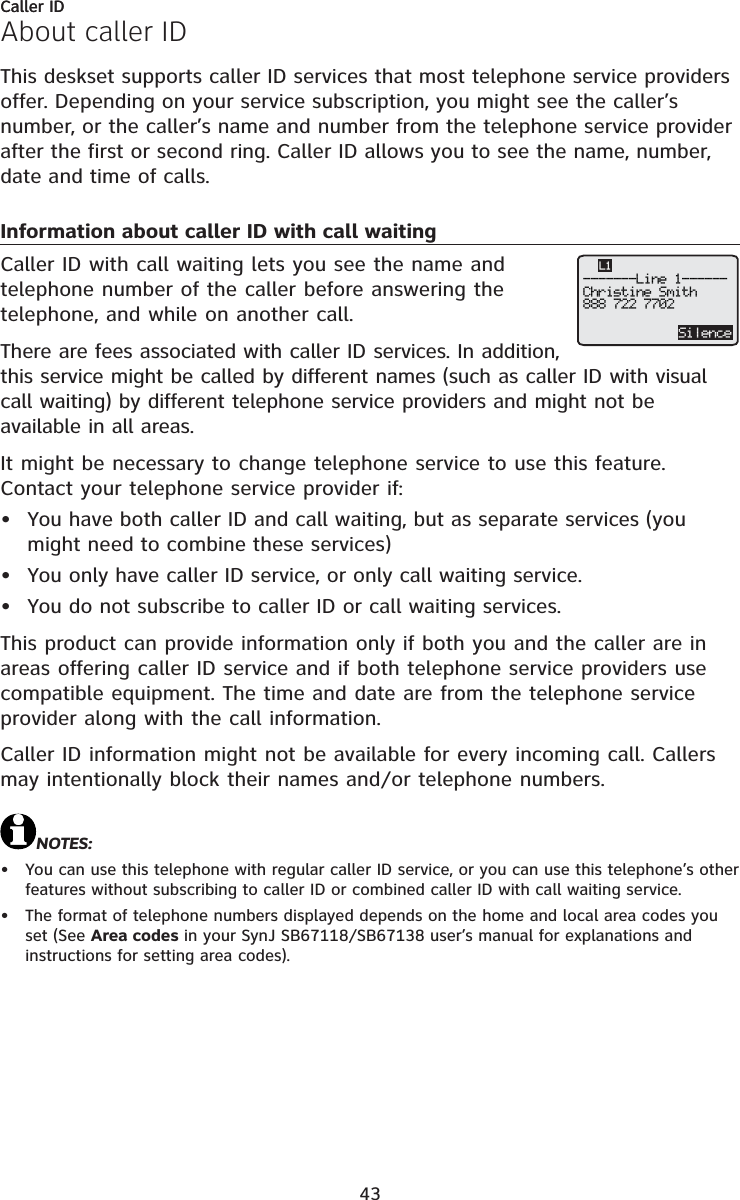
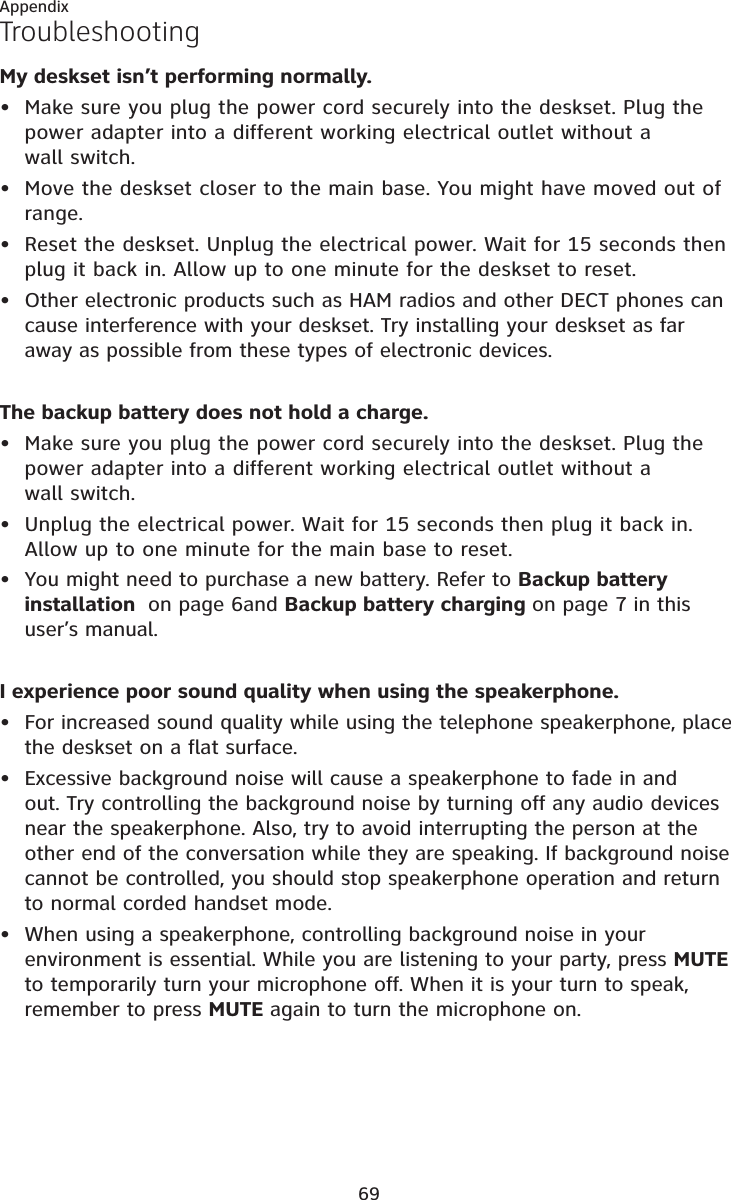
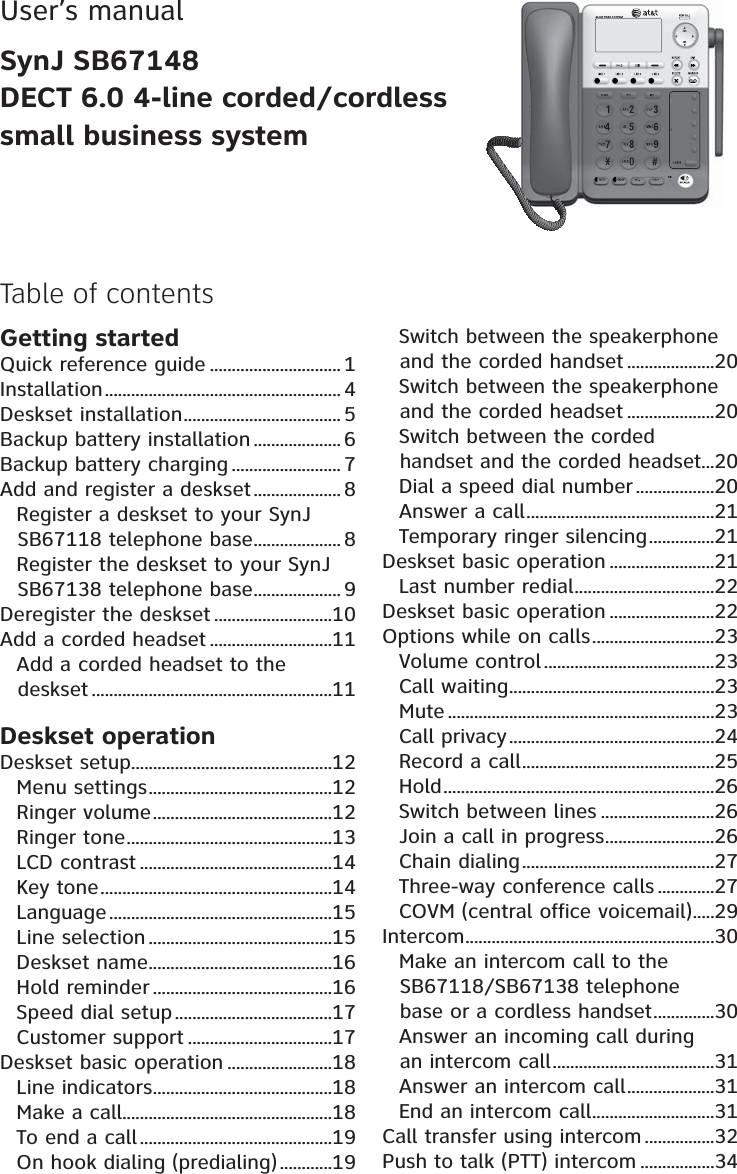
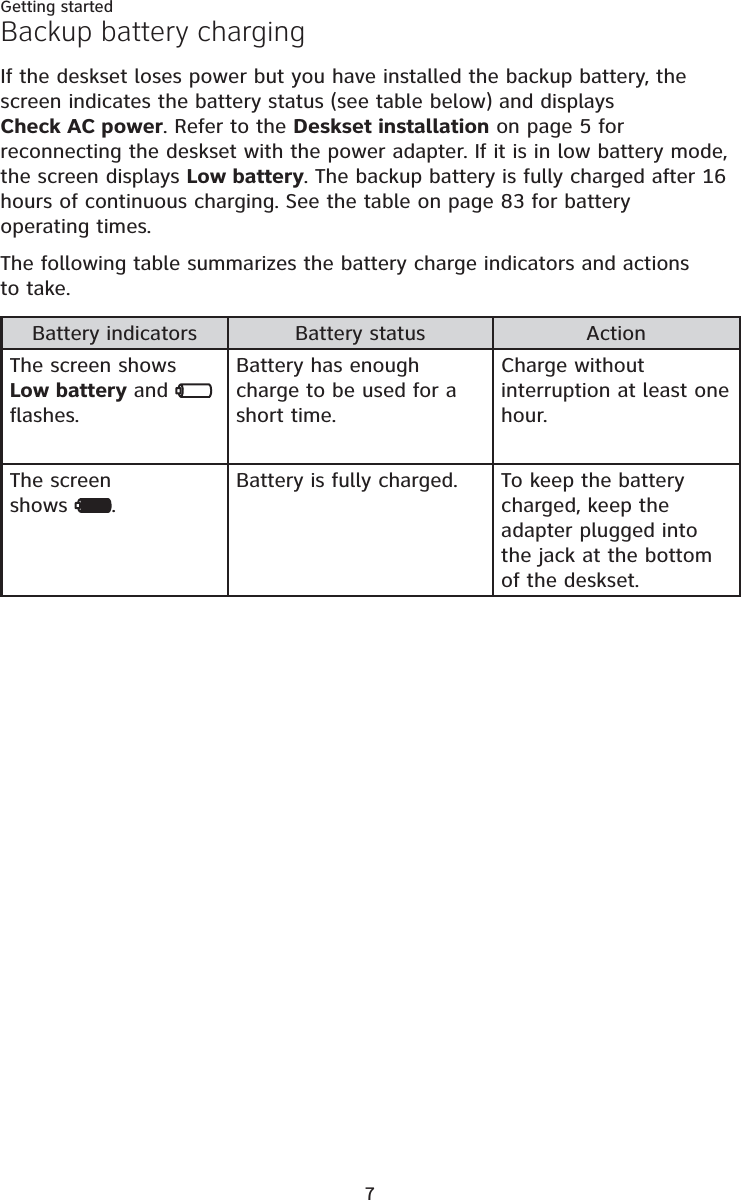
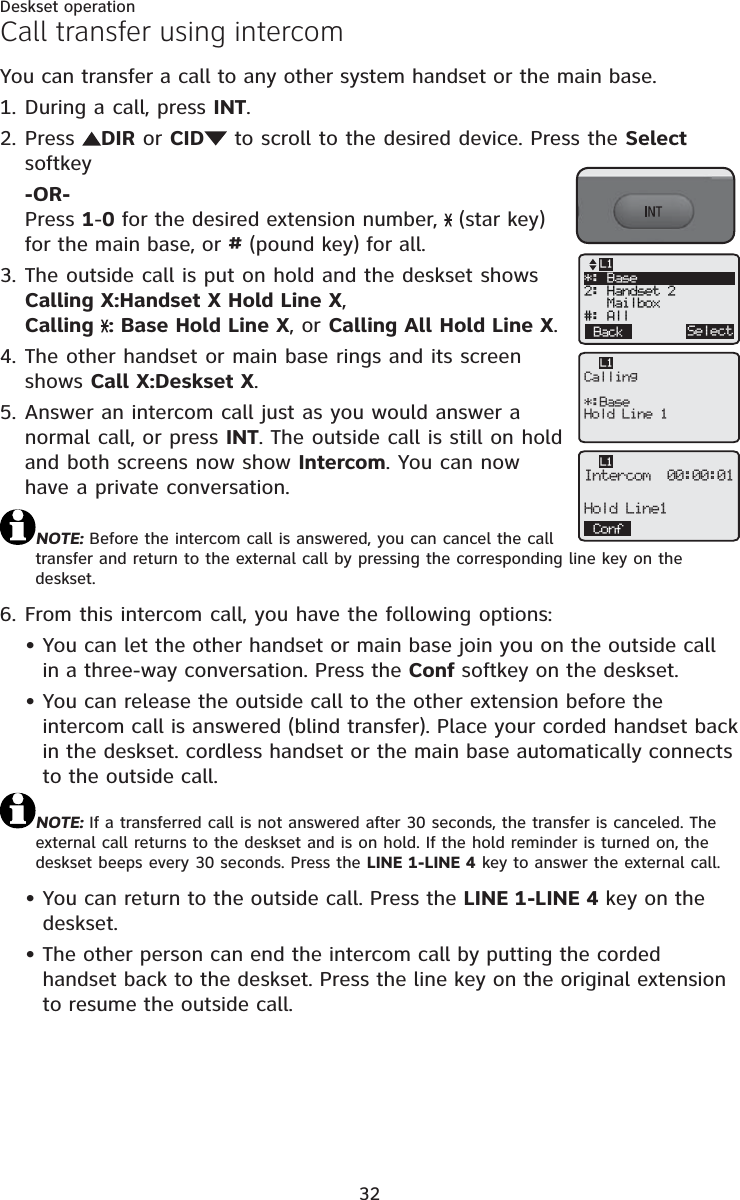
![30Deskset operationYou can use the intercom feature for conversations with a cordless handset or the SB67118/SB67138 main base. When the system is making one or more external calls, the deskset can make intercom calls with a cordless handset or the main base.You can register up to 10 extensions to the main base. The extensions are cordless handsets or desksets. The extensions are assigned sequential numbers (1-0) as they are added. See pages 8-9 for information on adding and registering a deskset. See SynJ SB67108 user’s manual for informationon adding and registering a cordless handset.Make an intercom call to the SB67118/SB67138 telephone base or a cordless handsetPress the INT key on the deskset.Press DIR or CID to choose a destination device.-OR-Press * (star key) for the main base, 1-0 for extension 1-0, and # (pound key) for all extensions.Press the Select softkey.The screen displays Calling X:Handset X (X represents the extension number [1-0], Handset X represents the handset name), Calling *:Base or Calling All.NOTES: Before the intercom call is answered, you can cancel the intercom by pressing SPEAKER,lifting and resetting the corded handset, or by pressing the corresponding LINE 1-LINE 4 to resume a call.The intercom call is automatically canceled if it is unanswered after one minute.Press MUTE to temporarily silence the intercom ringer.When you choose All in the menu, all extensions and the telephone base ring. The intercom call is established with the first extension to answer.If a line is in use, pressing INT places the line on hold and activates the intercom.1.2.3.4.•••••IntercomCalling*:BaseL1Back SelectL1*: Base1: Handset 1#: All](https://usermanual.wiki/VTech-Telecommunications/80-7964-00/User-Guide-1372825-Page-35.png)
![31Deskset operationAnswer an incoming call during an intercom callIf you receive an incoming outside call during an intercom call, there is an alert tone. To answer the call, press LINE 1-LINE 4. The intercom call ends automatically.Answer an intercom callWhen you receive an intercom call, you hear a ringing tone and your screen displays Call X: Handset X (X represents the extension number [1-0],Handset X represents the handset name) or Call *:Base. Answer an intercomAnswer an intercom call just as you would answer a normal call. End an intercom callEnd an intercom just as you would end a normal call.just as you would end a normal call.Intercom](https://usermanual.wiki/VTech-Telecommunications/80-7964-00/User-Guide-1372825-Page-36.png)
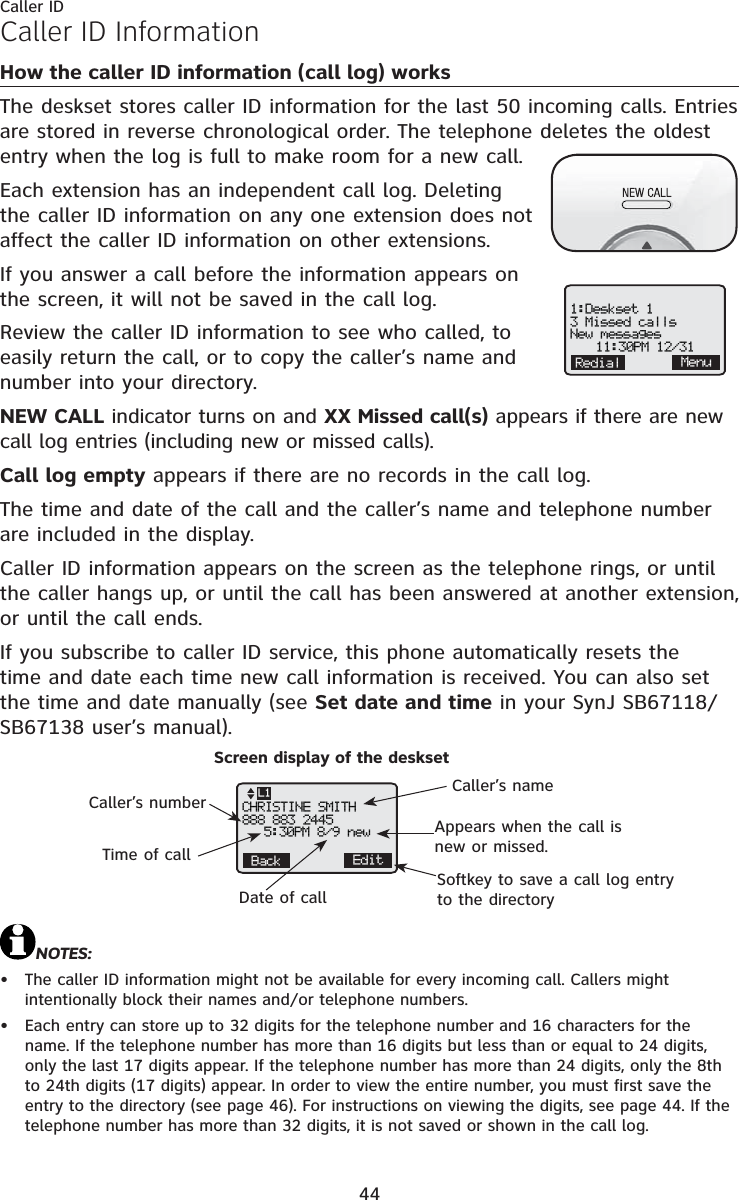
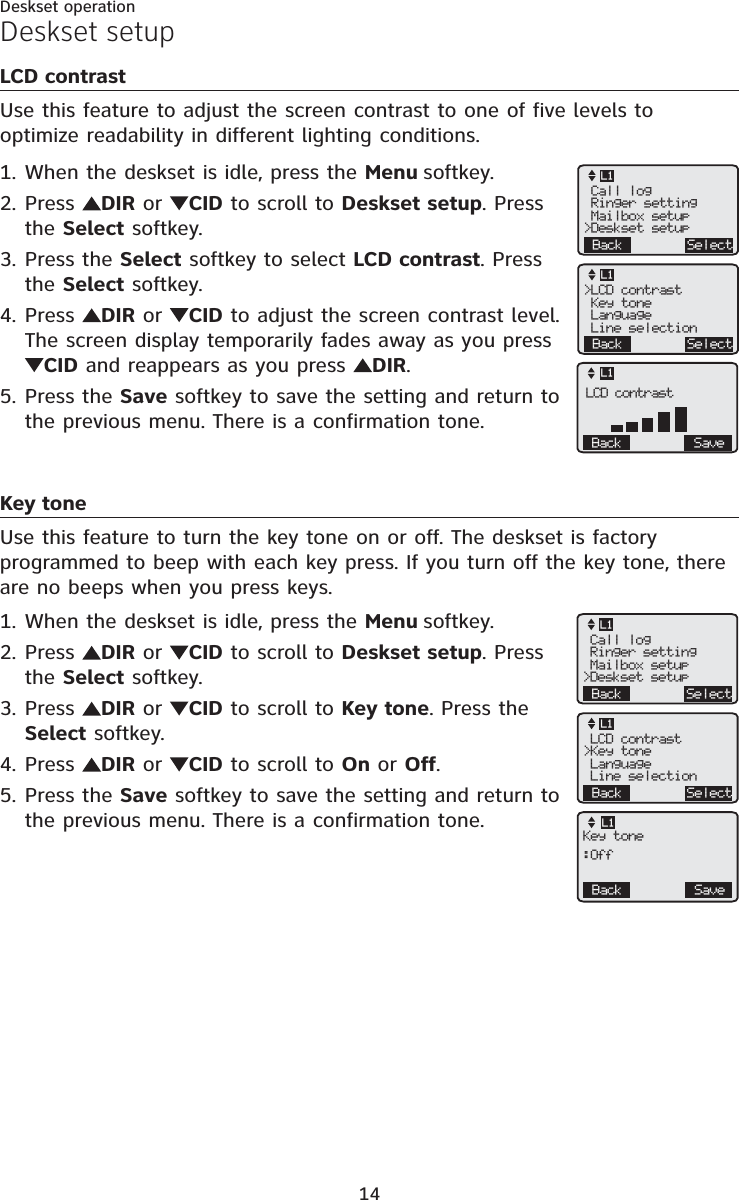
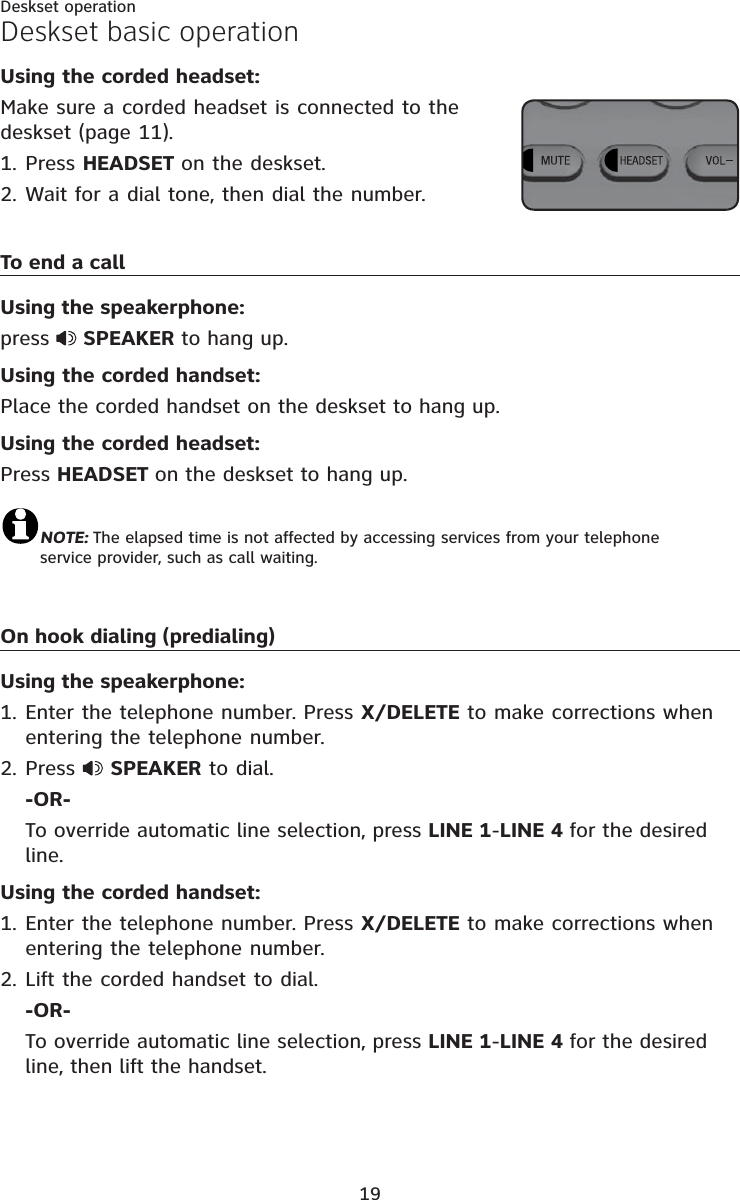
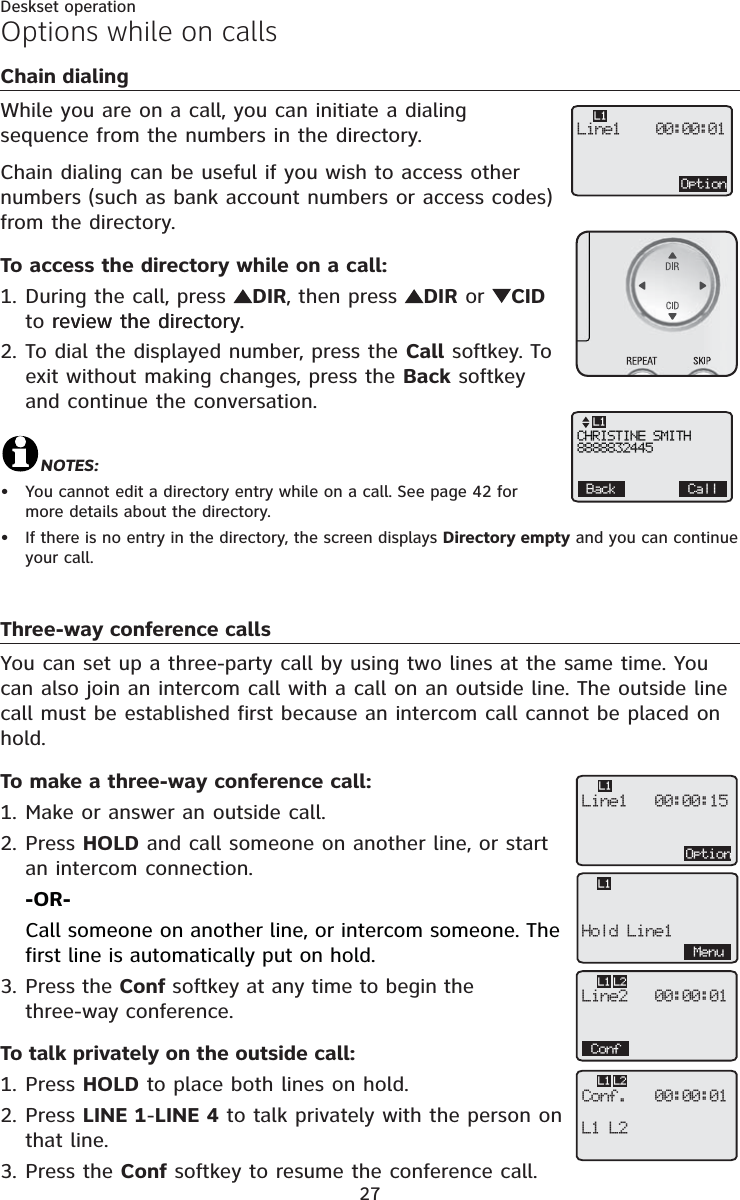
![34Deskset operationYou can directly broadcast messages to the speakerphone of any extension. The extension you called can respond by pressing the PTT key to begin a two-way communication. Up to five pairs of PTT calls can exist at a time. PTT to a handset or the main baseWhen the deskset is idle, press the PTT key.Press DIR or CID to choose the desired device.Press and hold PTT until the deskset shows PTT to: X:Handset X Release PTT key to stop (Xrepresents the extension number [1-0]; Handset X represents the handset name) or PTT to: :Base Release PTT key to stop. When the connection is made, both the caller and the destination party hear two beeps.Speak towards the deskset speakerphone while continuing to hold down the PTT key. Your voice is broadcast to the desired extension.Release the PTT key after speaking. There is a three-second PTT wait state with -MUTE slowly flashing on the screen. During the PTT wait state, if necessary, you can press and hold the PTT key to continue speaking towards the speakerphone.The destination party can now respond (see Answera PTT call on page 36).NOTE: When the called handset or main base is on an intercom or outside call, you hear a busy tone and the deskset displays Busy.1.2.3.4.5.6.Push to talk (PTT) intercomPTT to:*:BaseRelease PTT keyto stopL1Back SelectL1*: Base1: Handset 12: Handset 23: Handset 3PTT to:*:Base -MUTEL1](https://usermanual.wiki/VTech-Telecommunications/80-7964-00/User-Guide-1372825-Page-39.png)
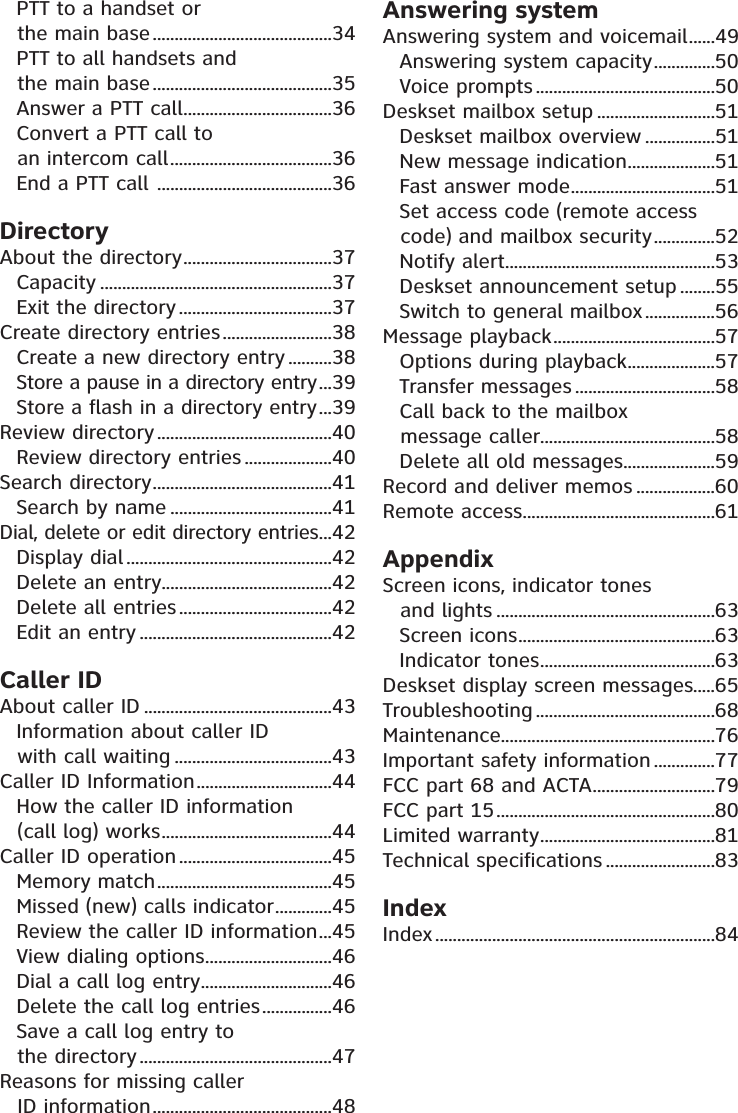
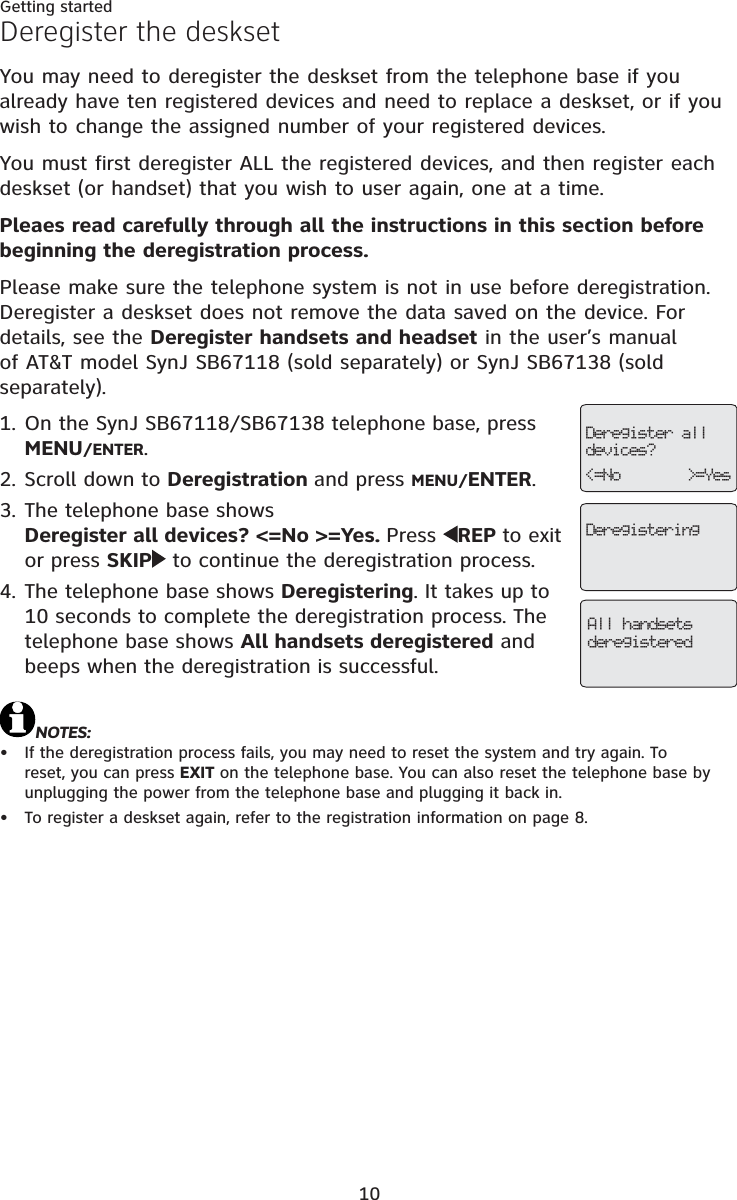
![36Deskset operationPush to talk (PTT) intercomAnswer a PTT callWhen you hear two beeps, the screen displays PTT from: X:Handset X(X represents the extension number [1-0], Handset X represents the handset name) or PTT from: *:Base.To respond to a new PTT call, wait for the end of the three-second PTT wait state (the screen changes to idle mode). To respond to the main base or a handset, see PTT to a handset or the main base or PTT to all handsets and the main base on pages 34-35.Convert a PTT call to an intercom callYou can convert the PTT call to a two-way intercom call on the deskset. Press INT on the called extension to convert the call to a two-way intercom call.Optionally, put the corded handset on the deskset or press SPEAKER to end the intercom.NOTE: If the PTT call is sent to all handsets, the intercom call is established with the first one who presses INT.End a PTT call Press EXIT to end the incoming PTT call.1.2.1.2.](https://usermanual.wiki/VTech-Telecommunications/80-7964-00/User-Guide-1372825-Page-41.png)