VTech Telecommunications 80-8479-00 1.9GHz DECT Deskset User Manual SB35020 025 DUG
VTech Telecommunications Ltd 1.9GHz DECT Deskset SB35020 025 DUG
UserManual.wiki
>
VTech Telecommunications
>
80 8479 00 User Manual
User Manual
Navigation menu
Upload a User Manual
Namespaces
Wiki Guide
HTML
PDF
Info
Views
User Manual
Discussion / Help
Navigation
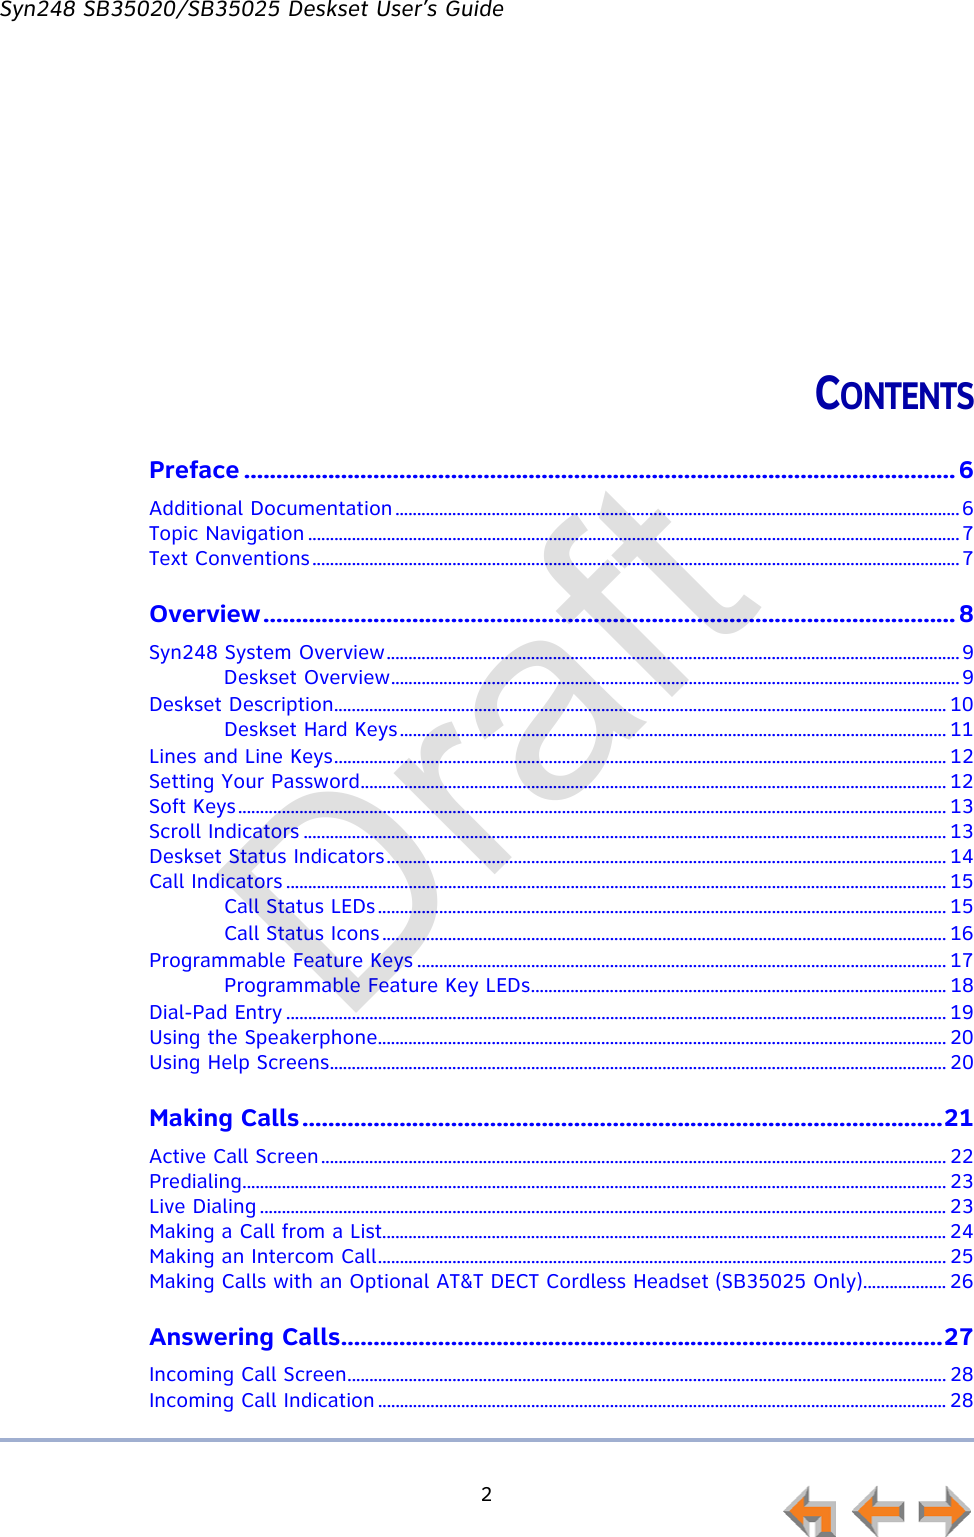

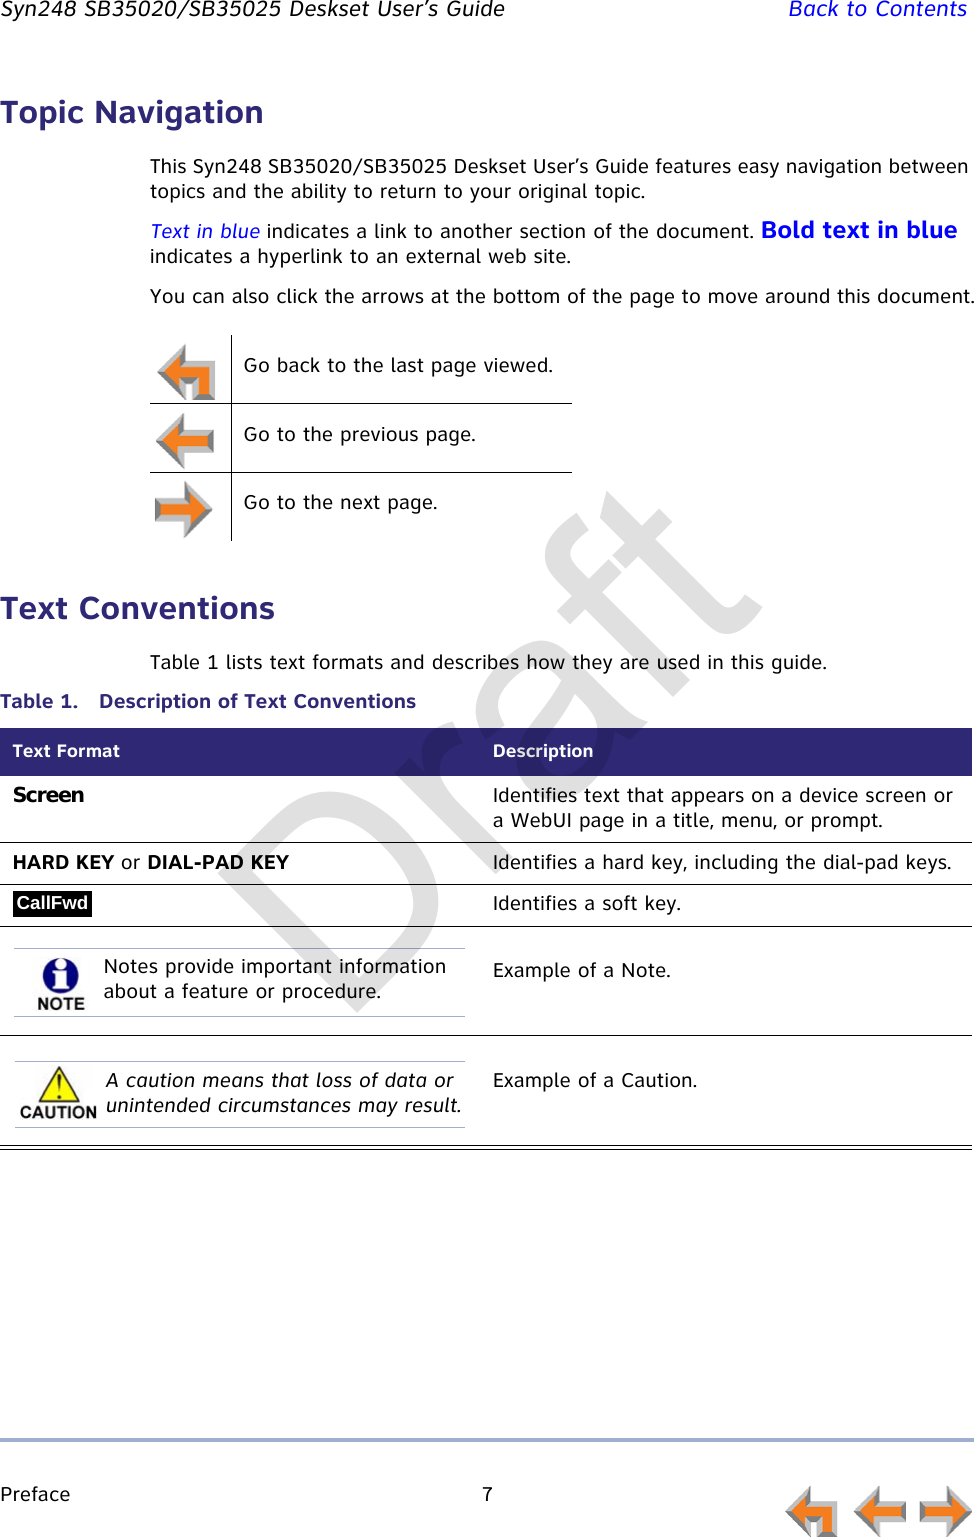
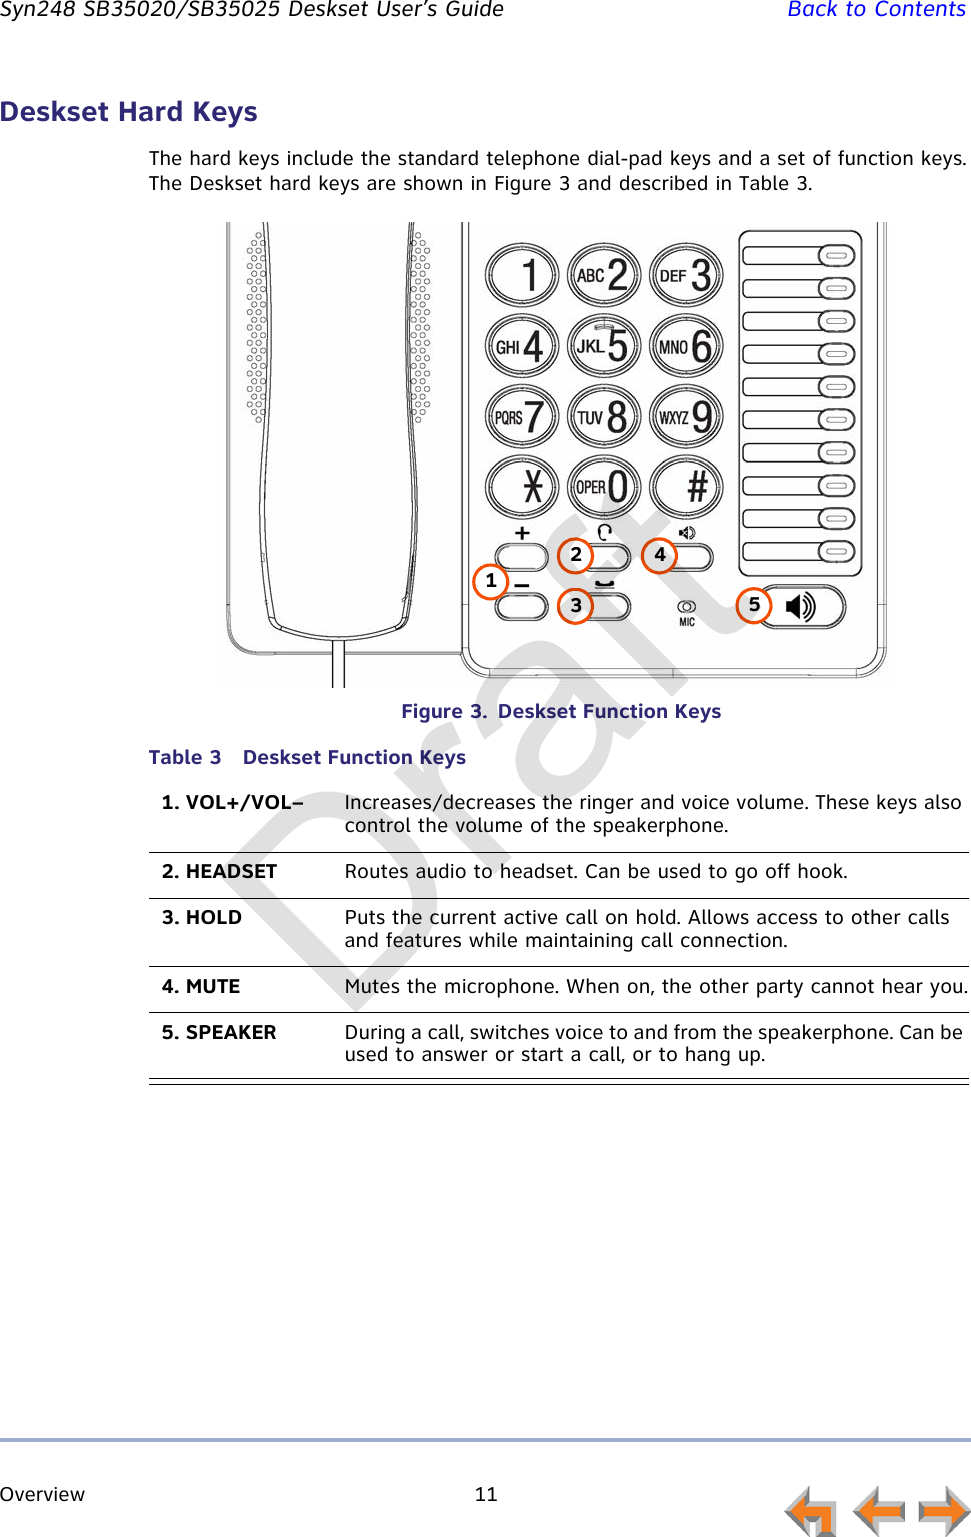

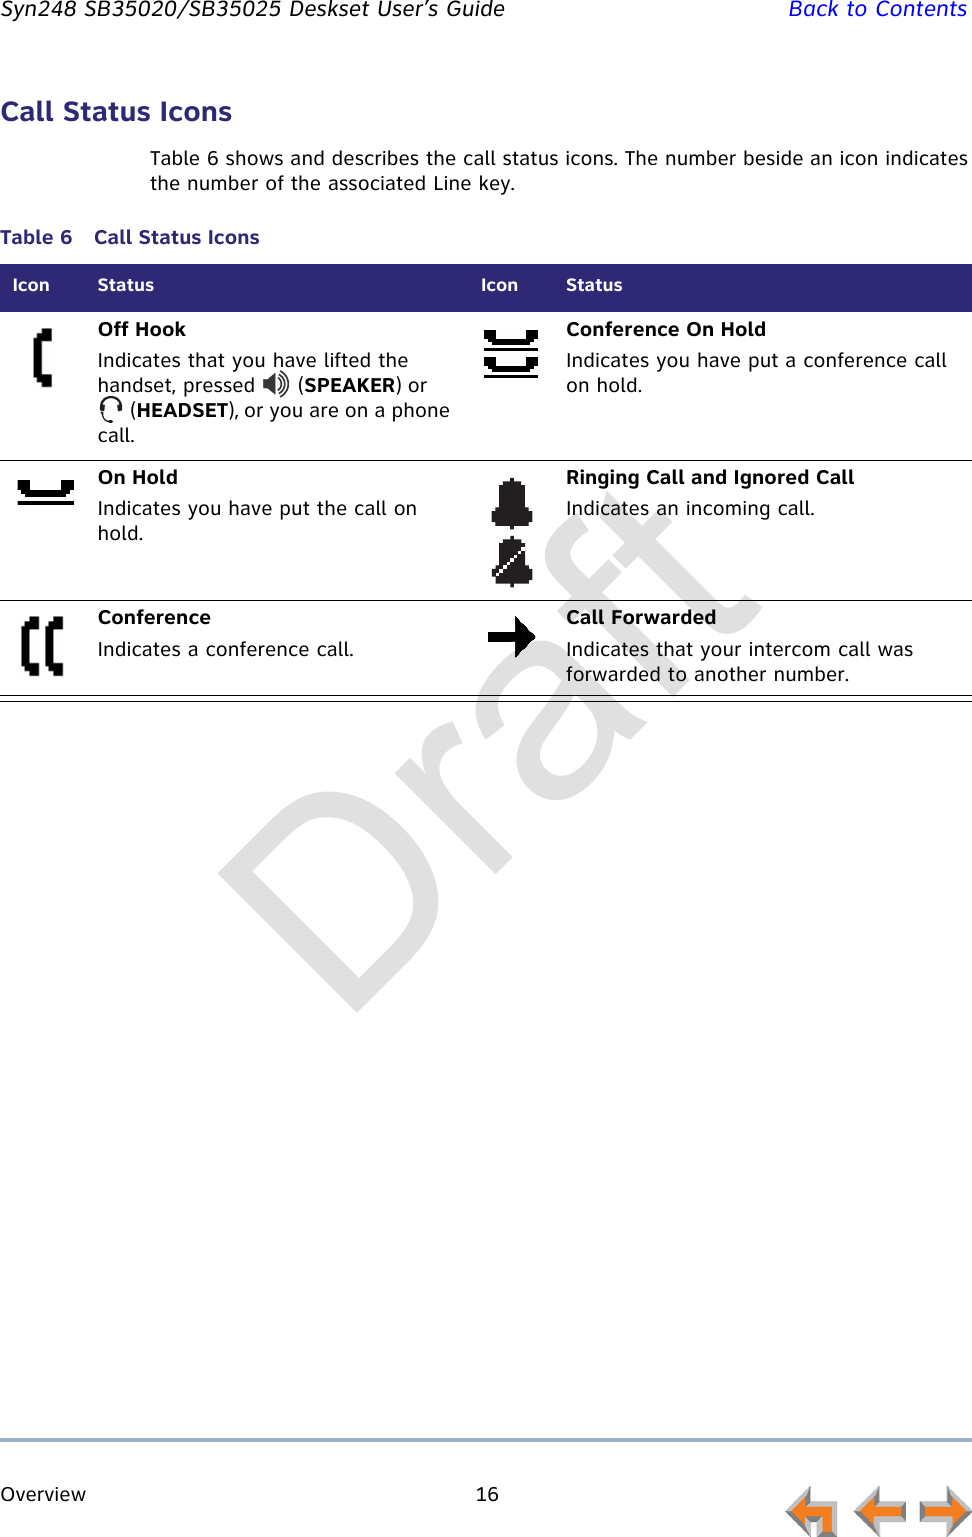
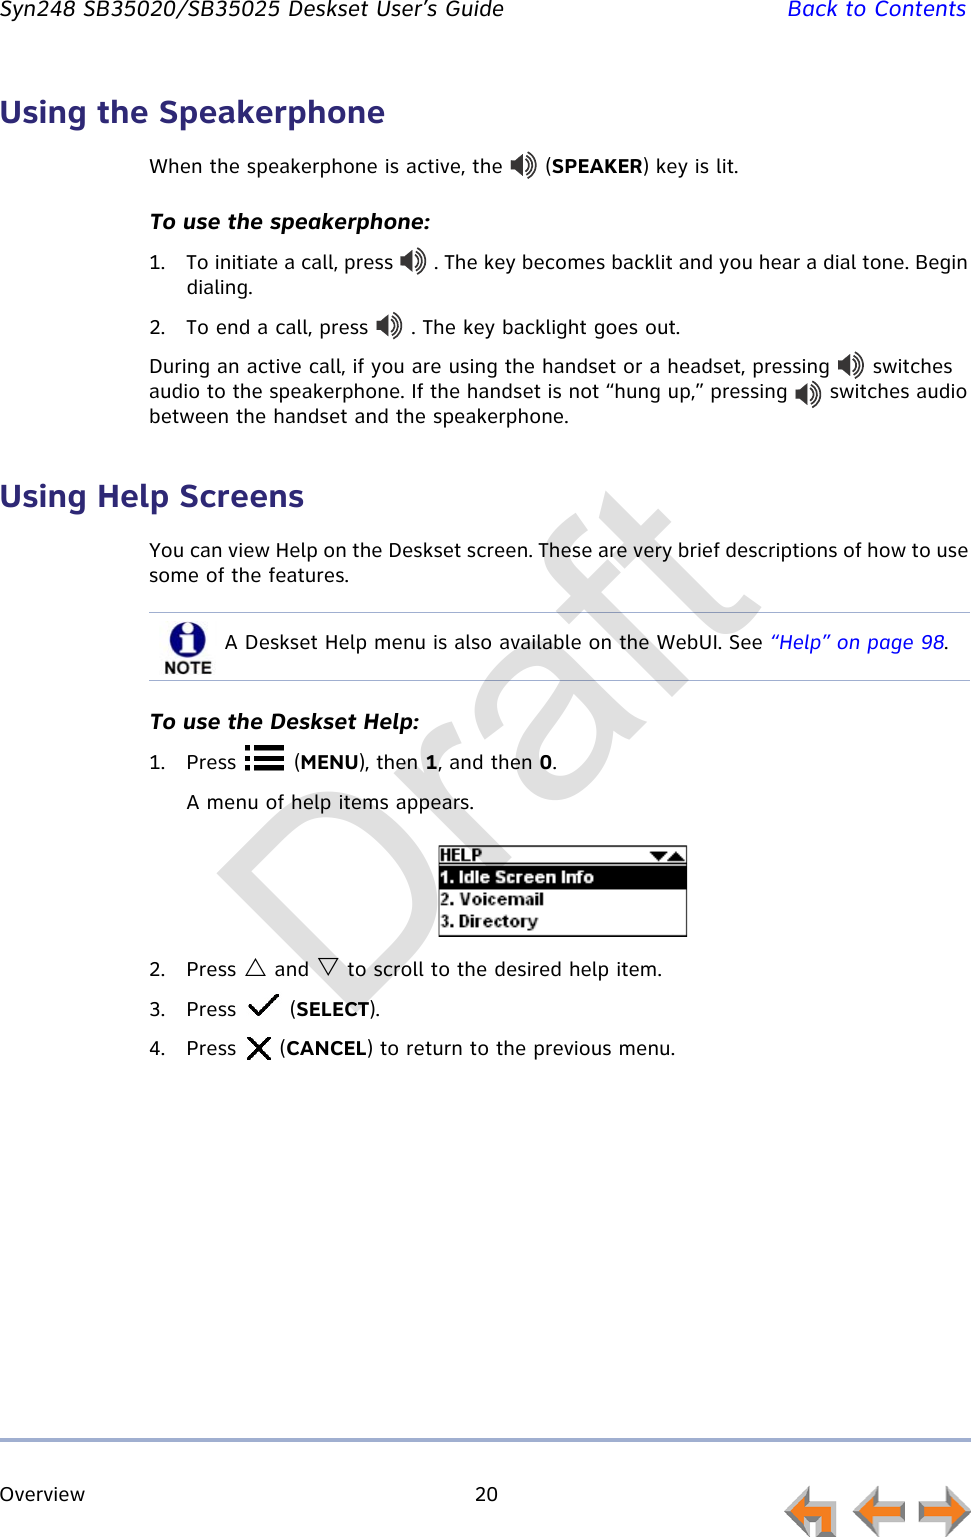
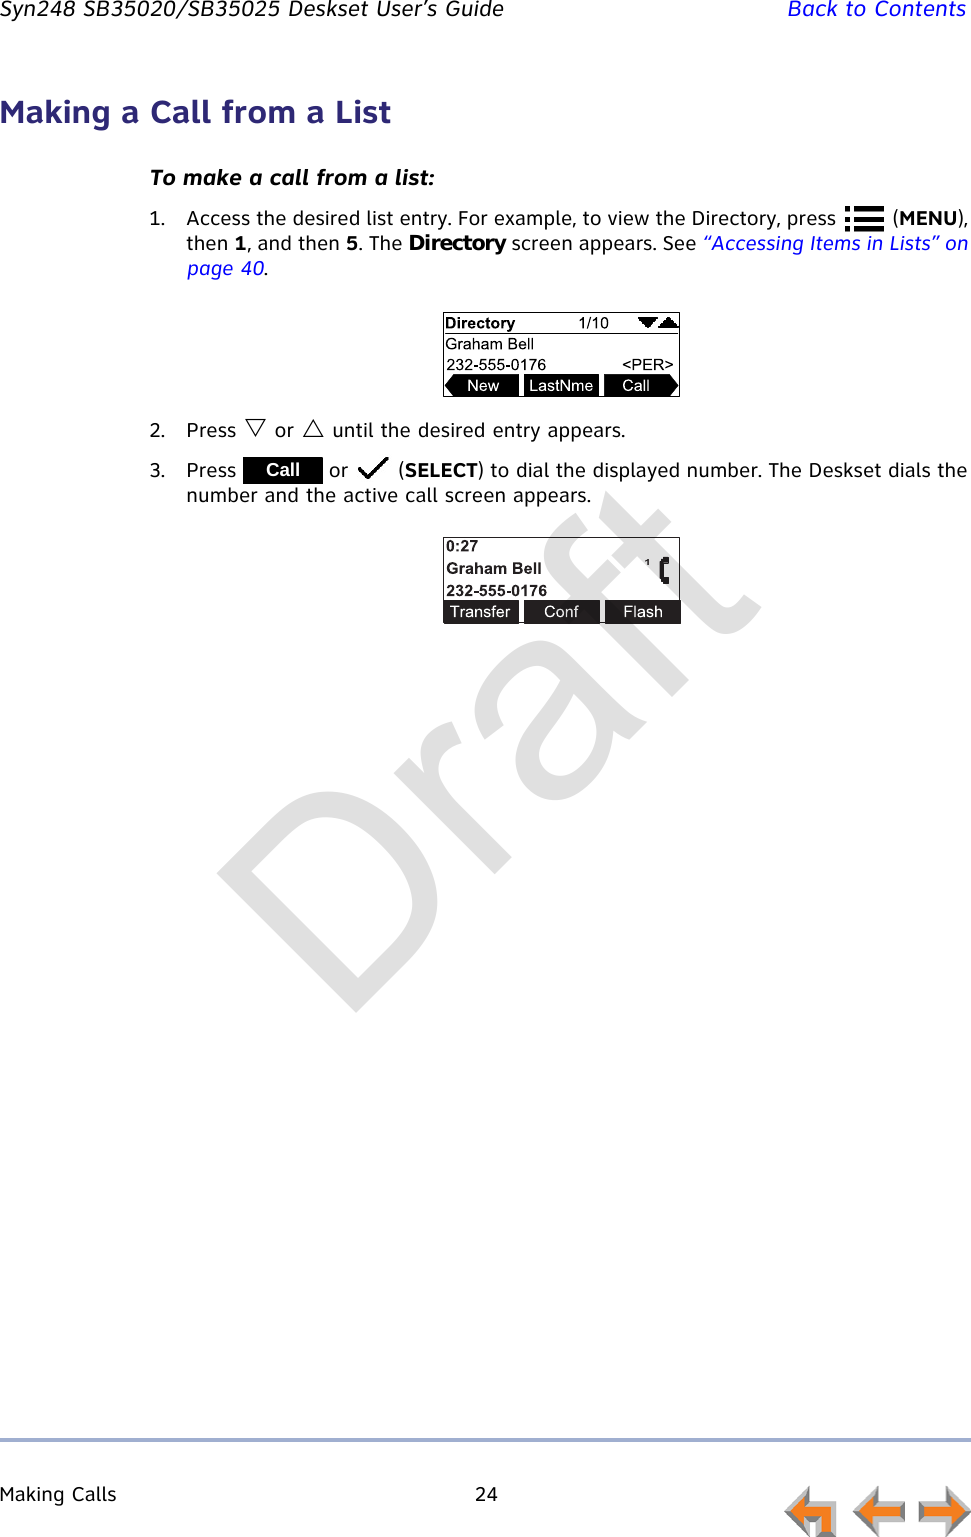
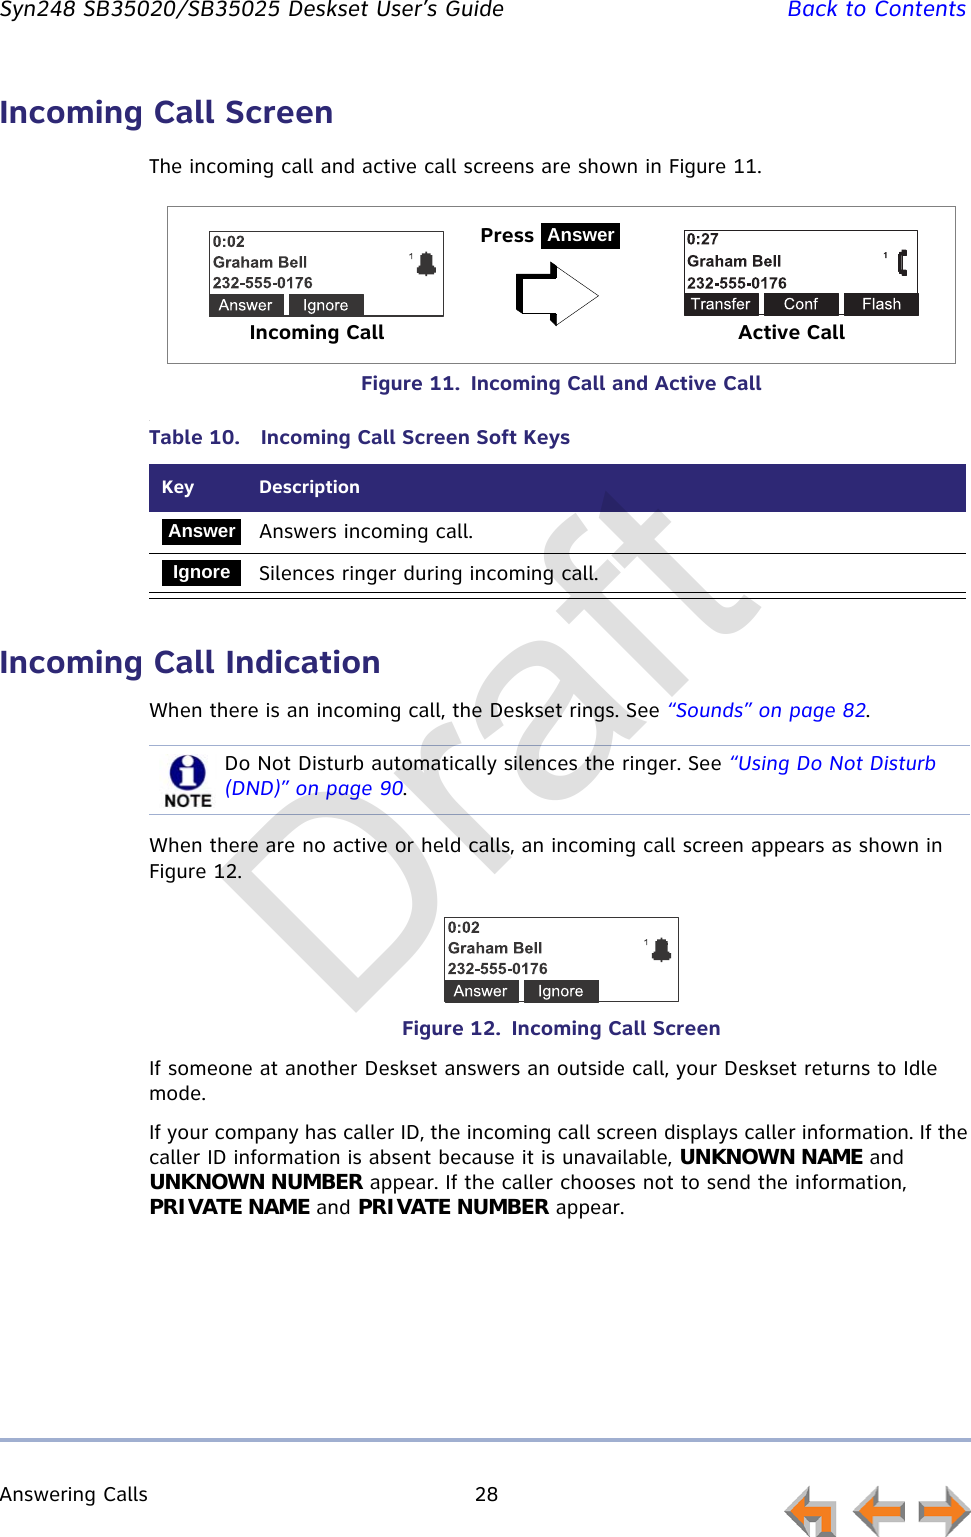
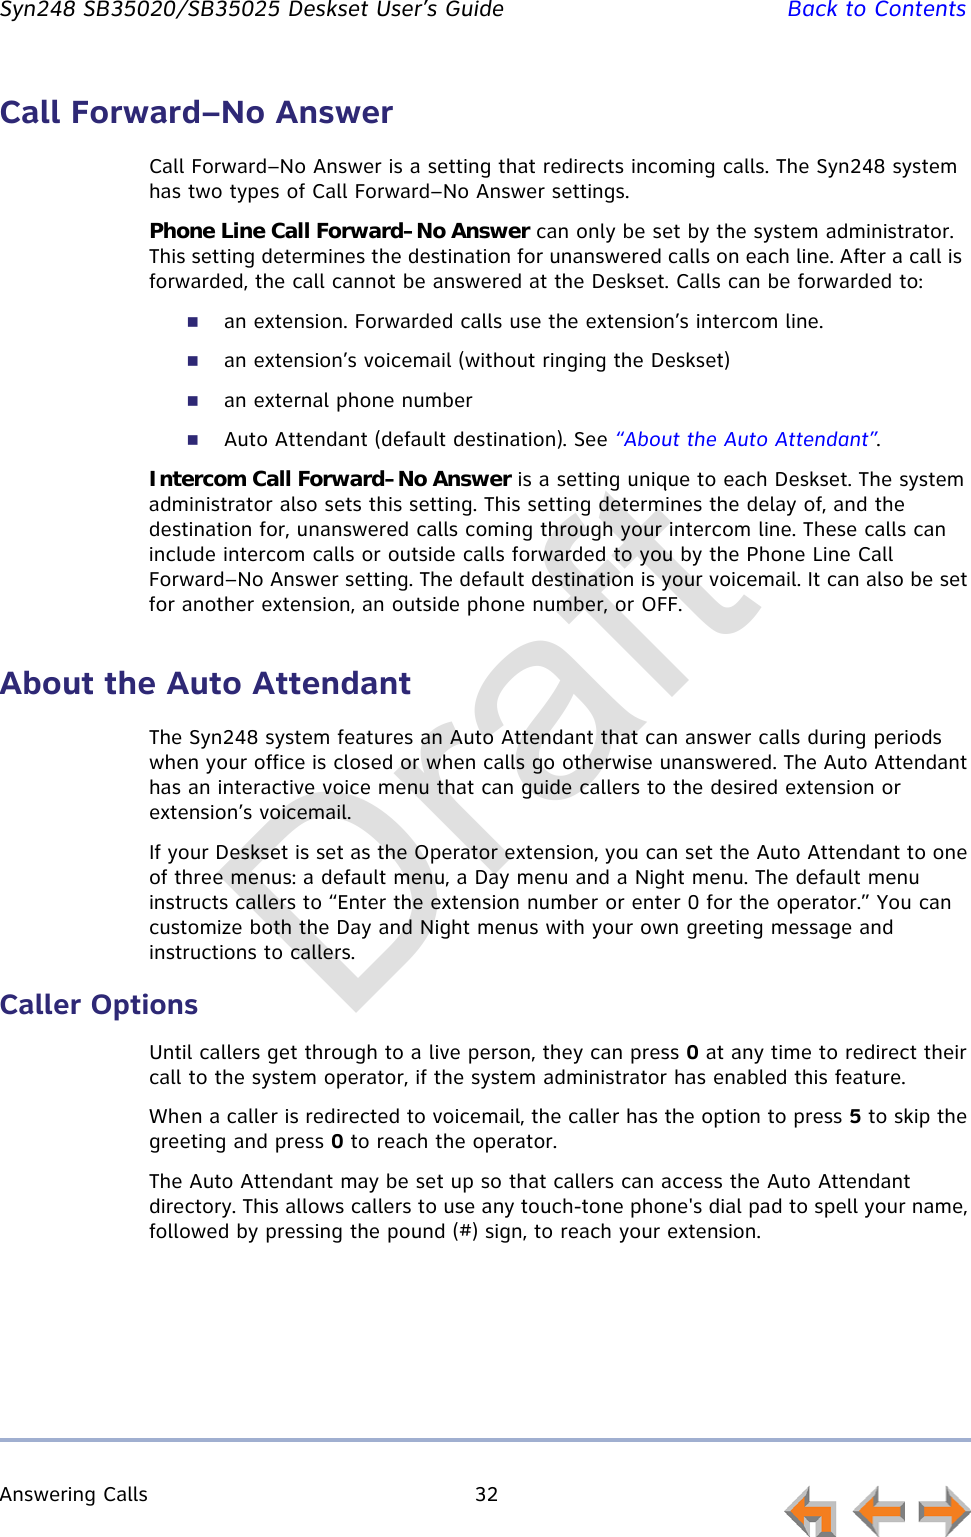

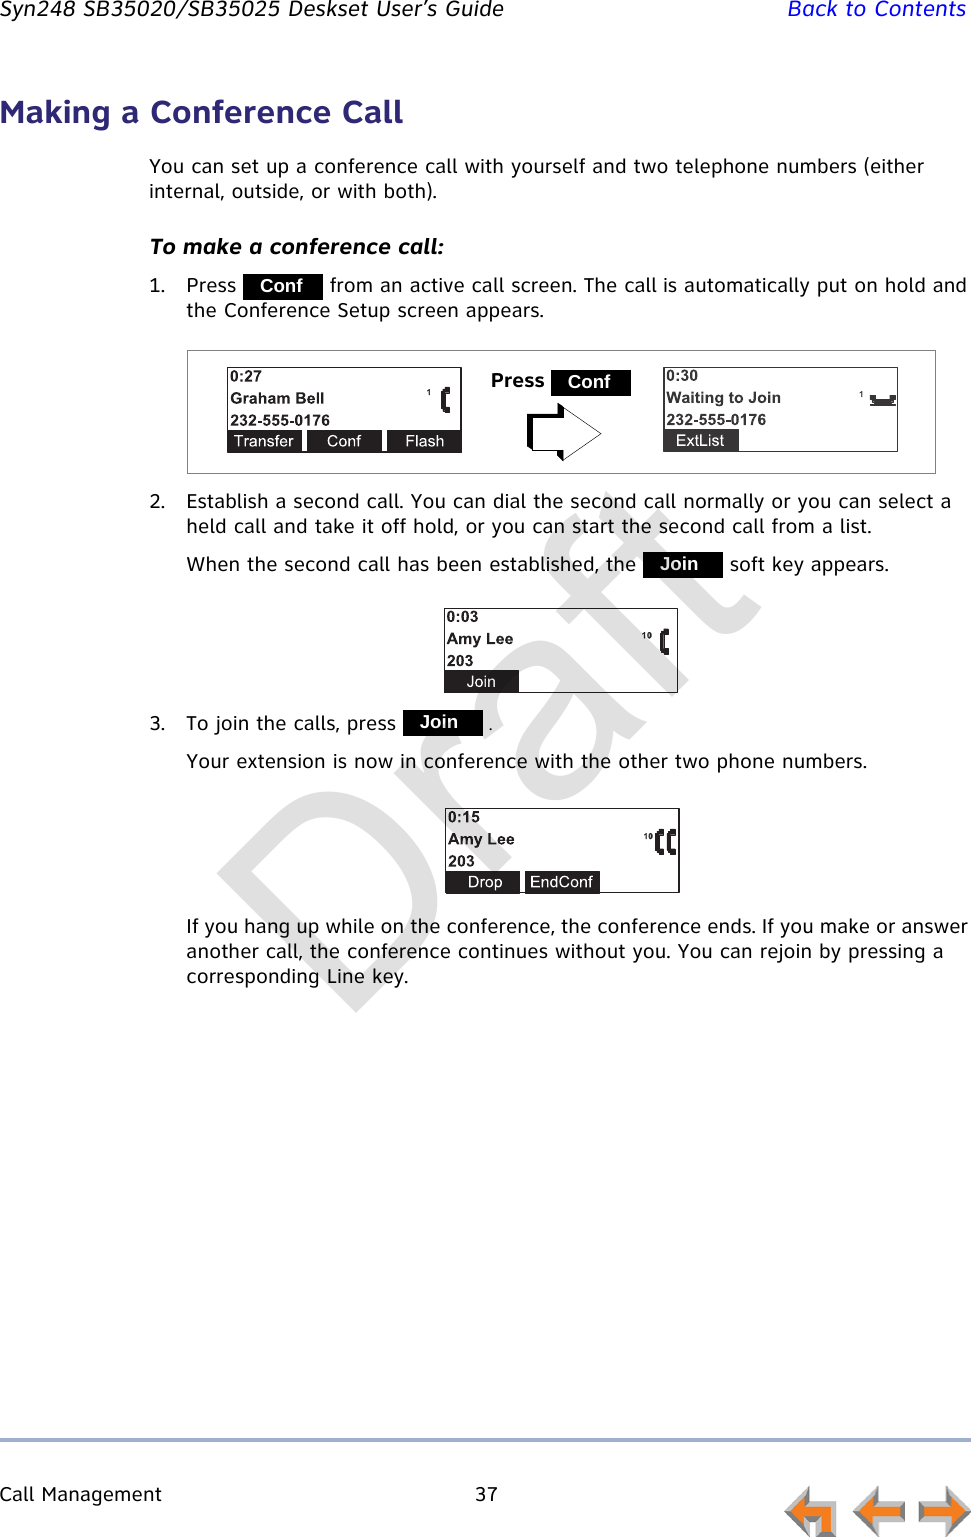
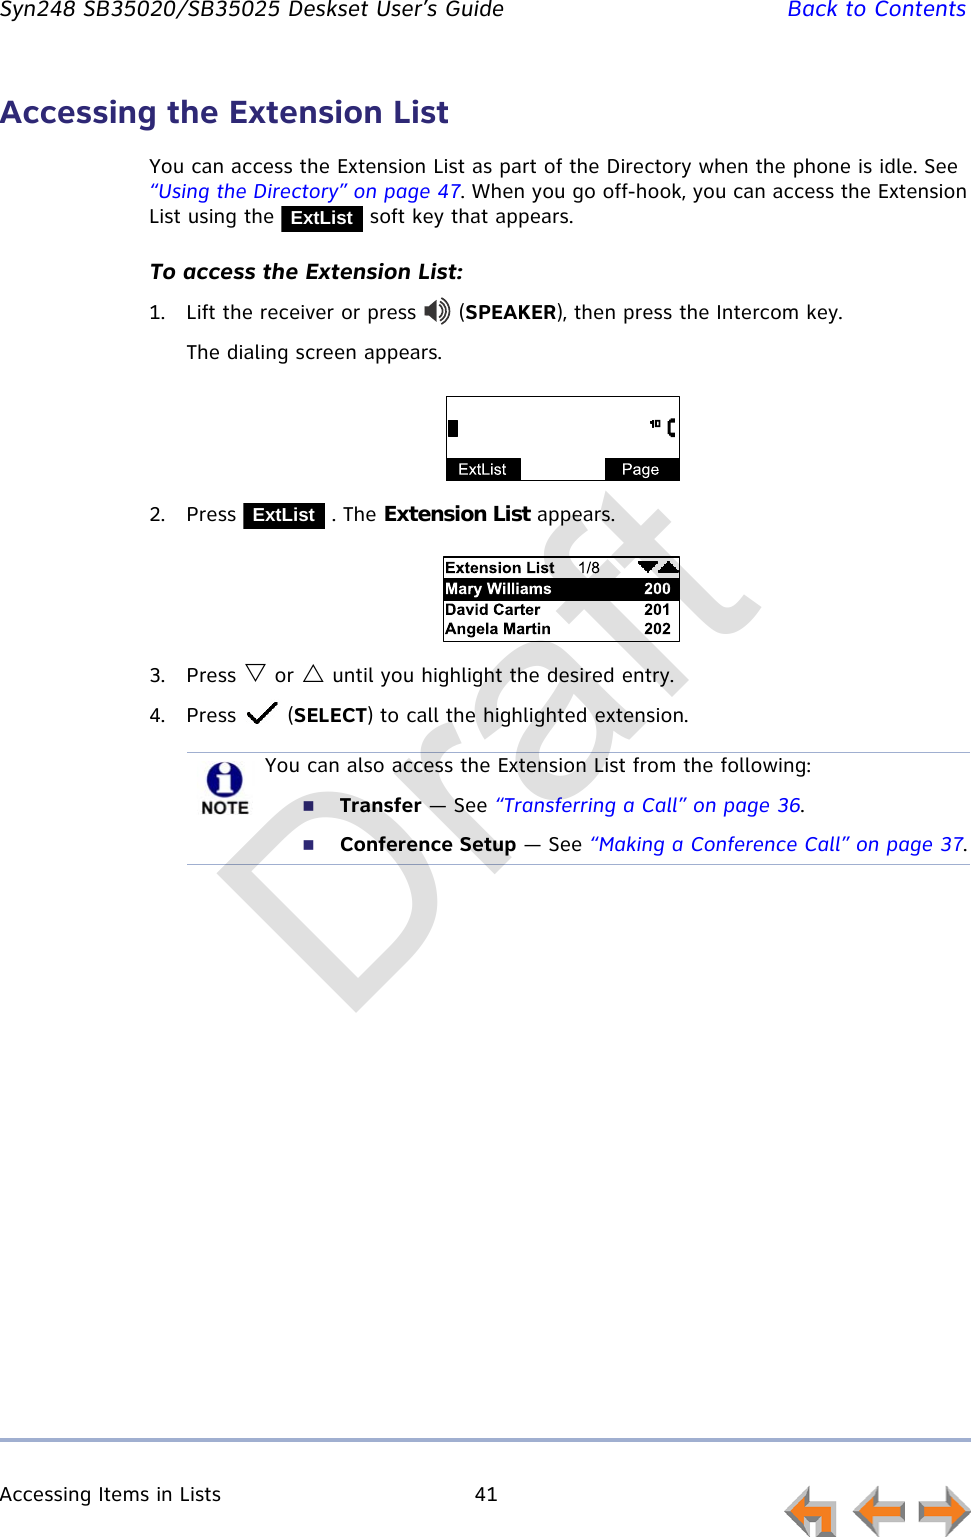
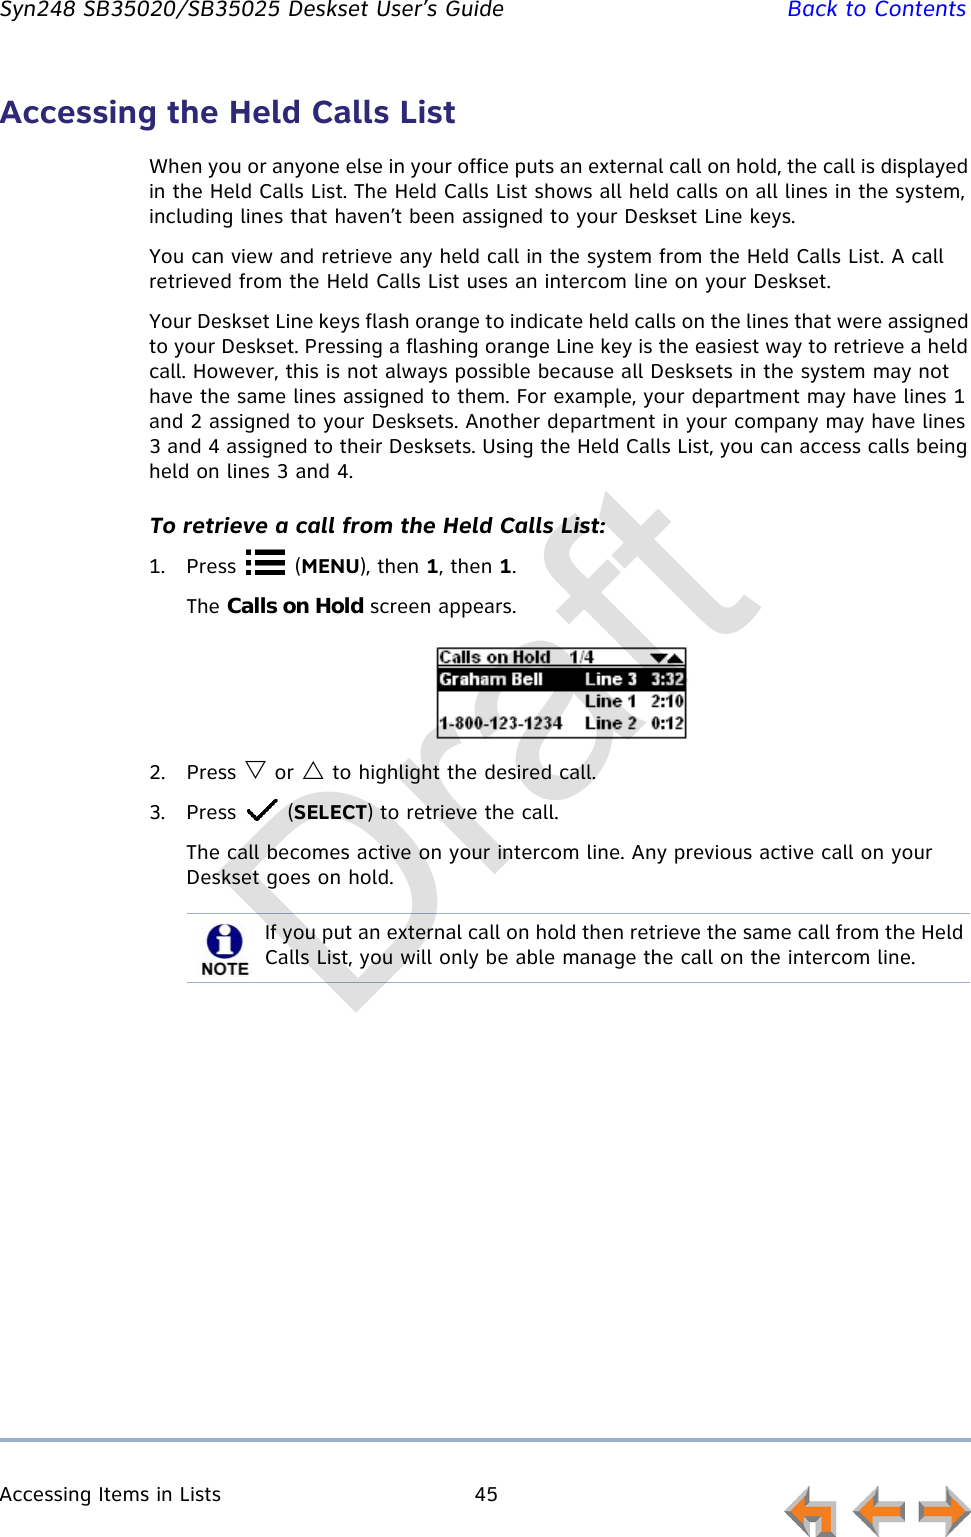

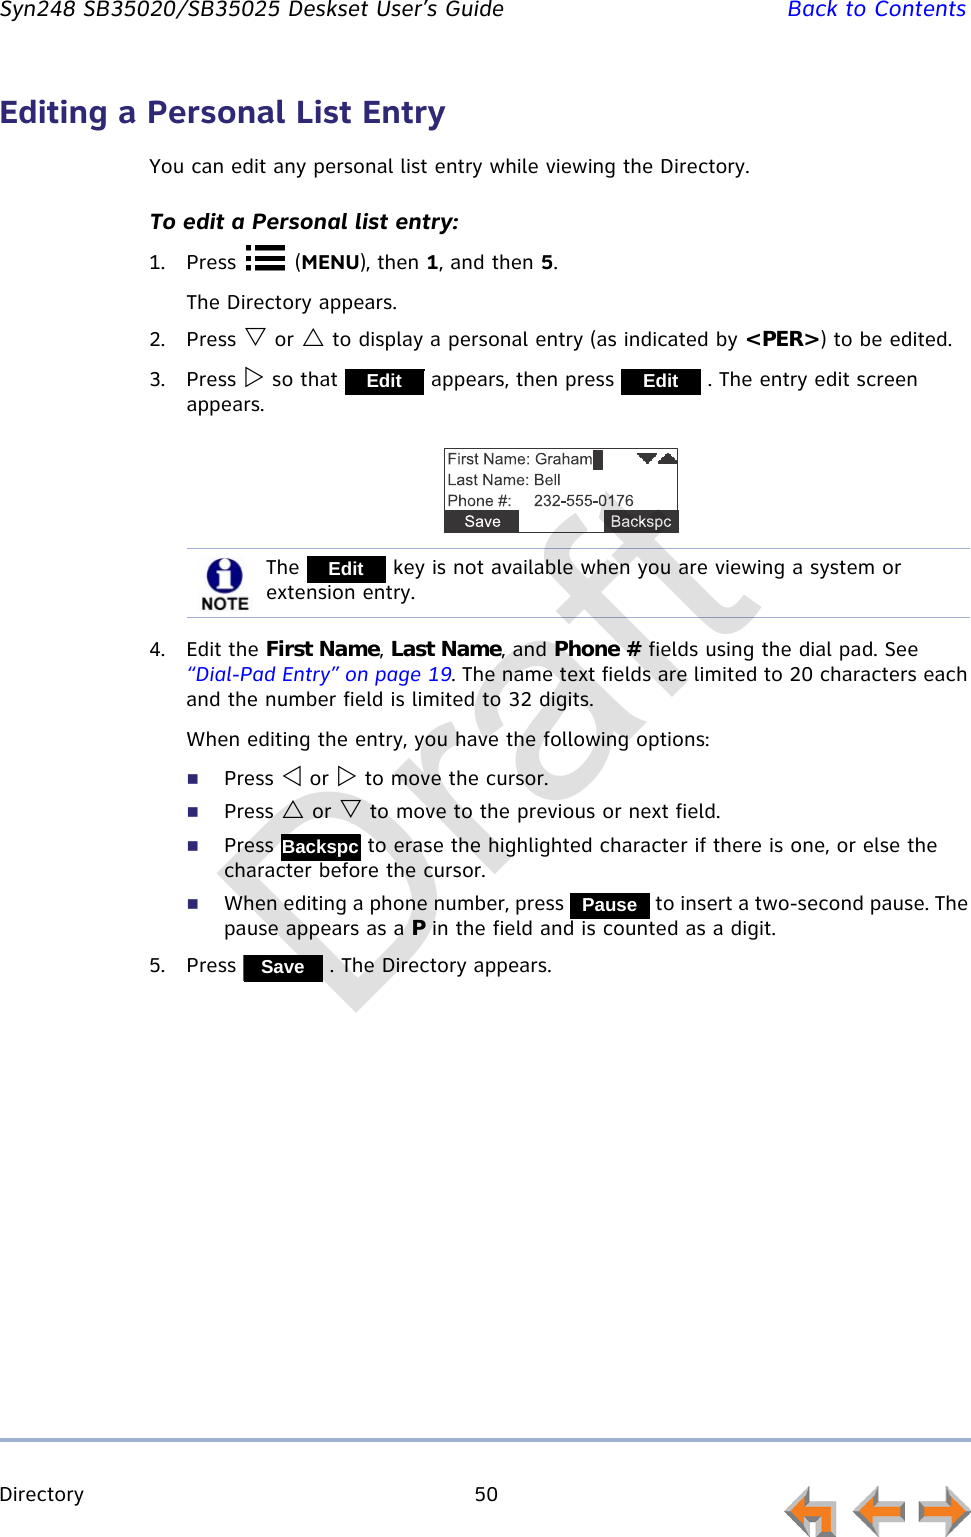
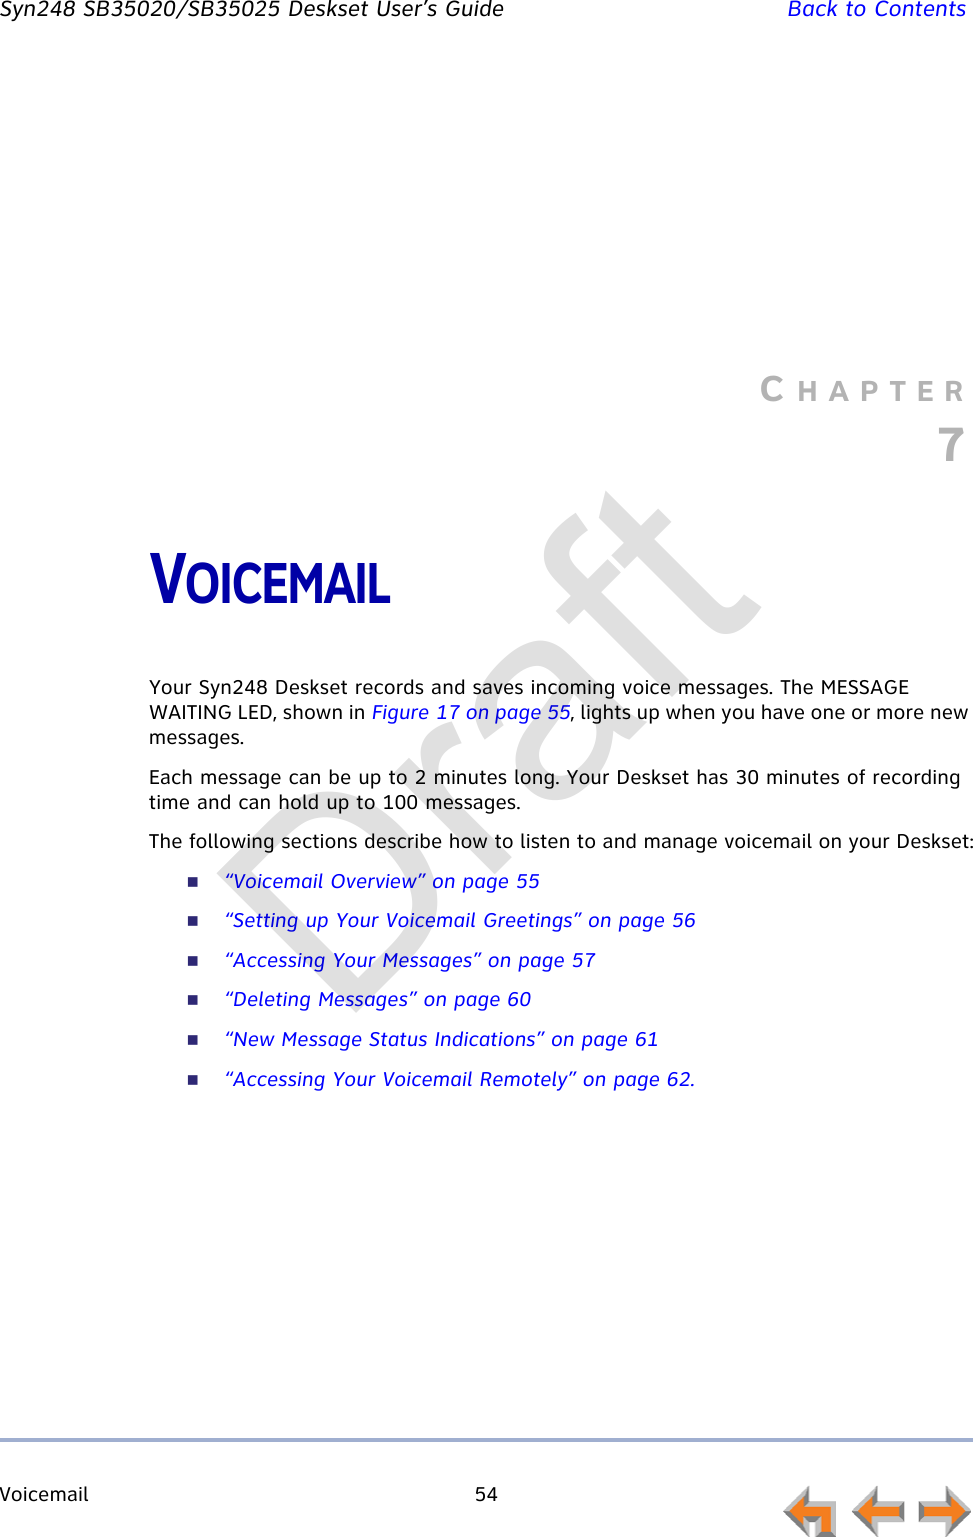
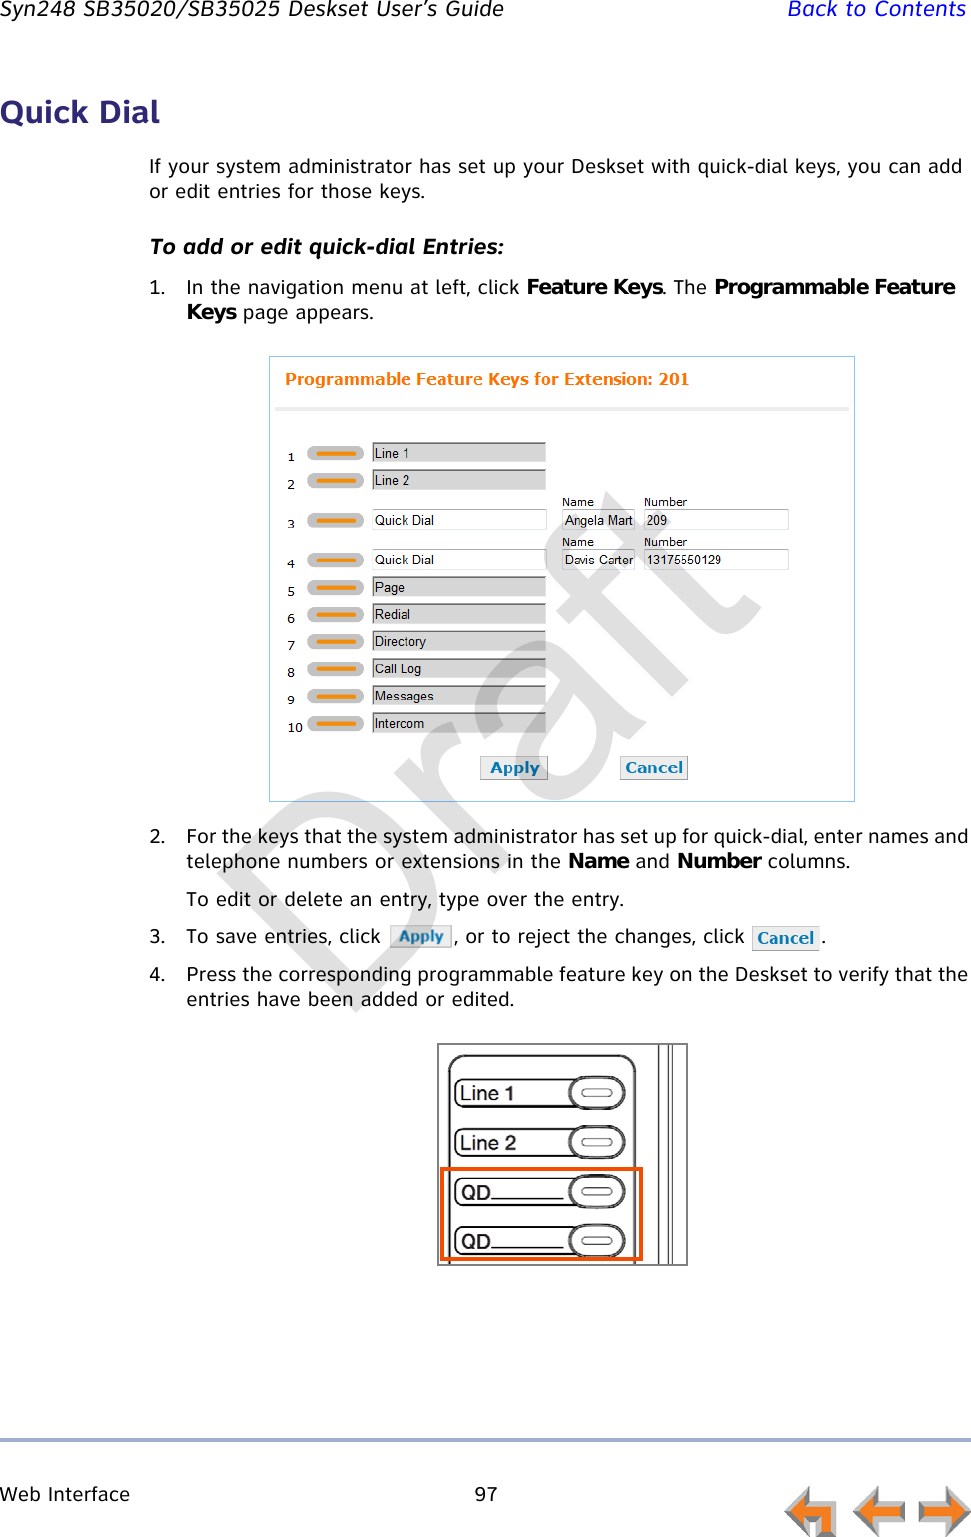
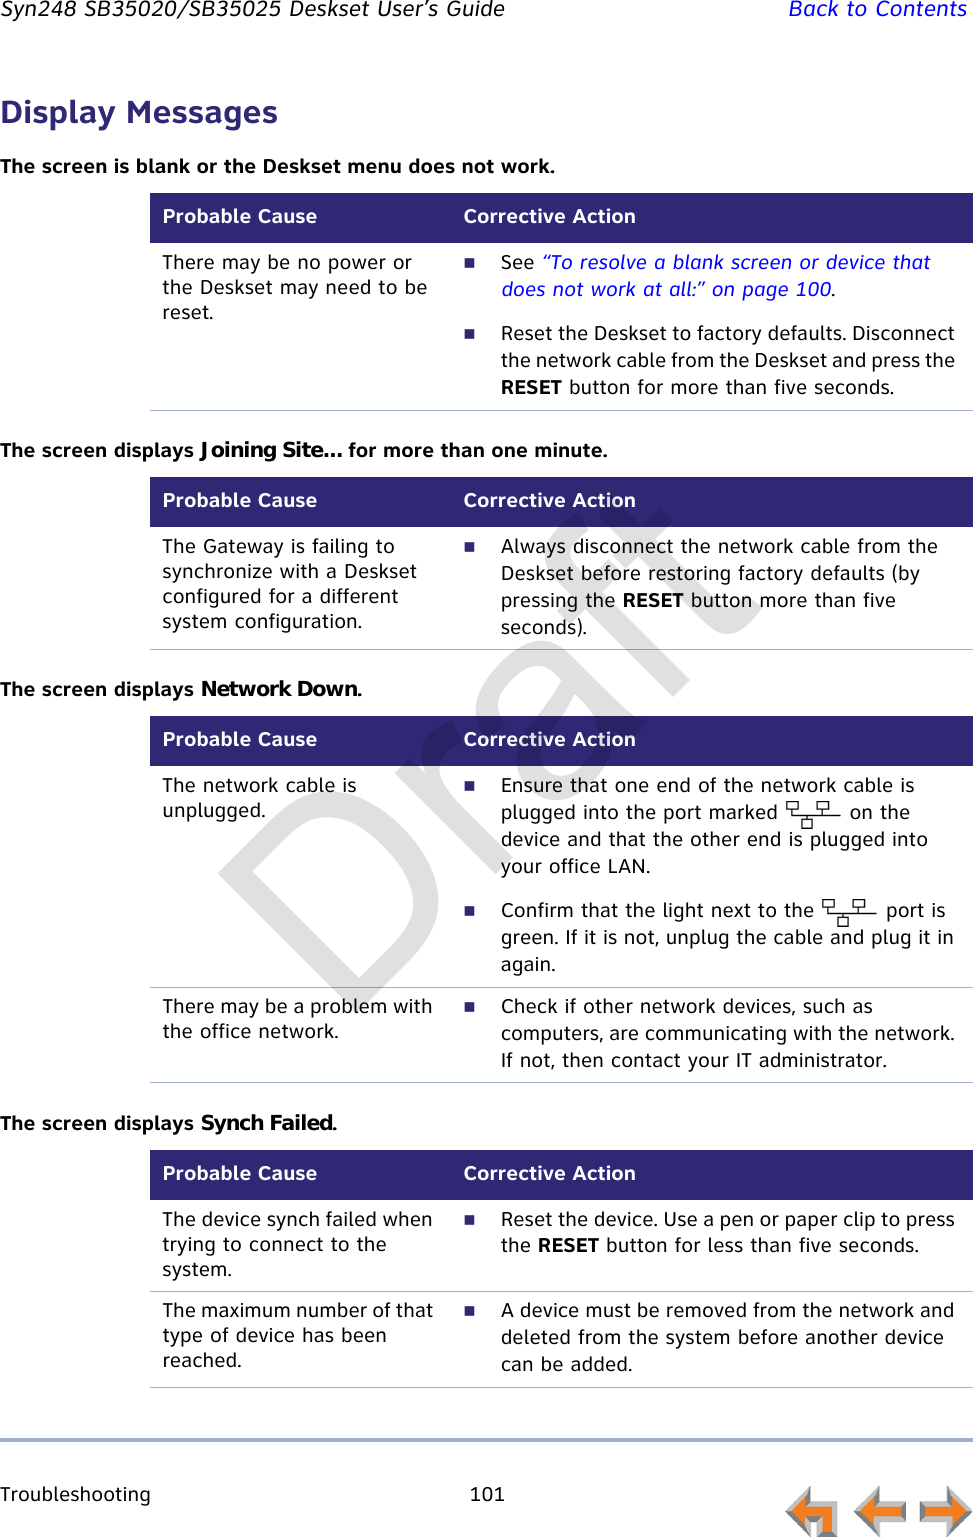
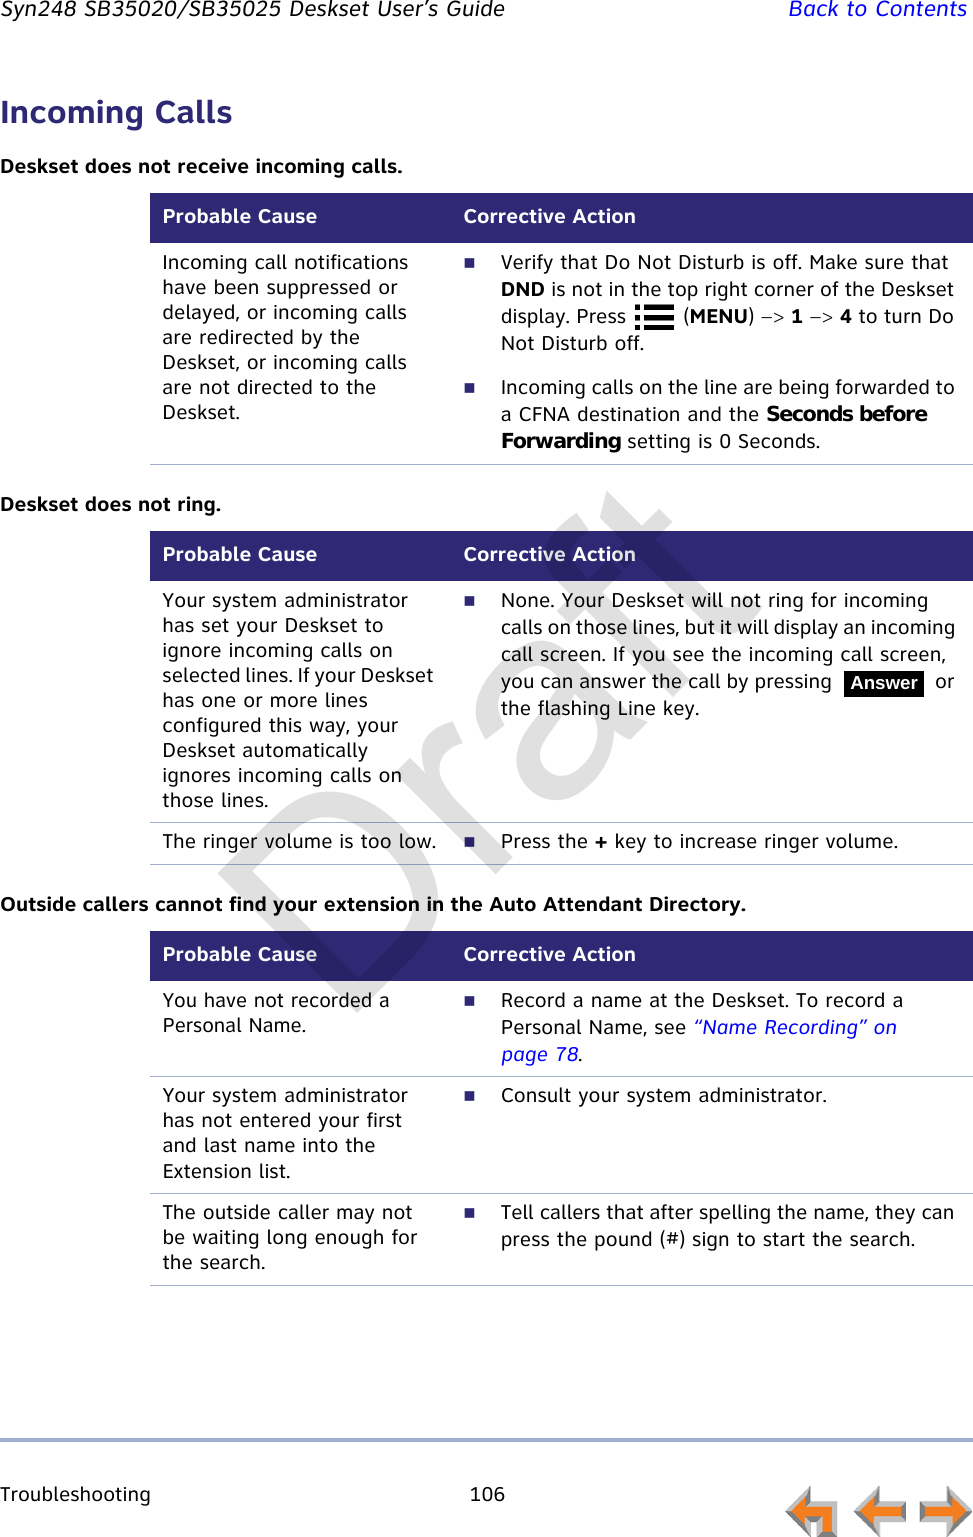
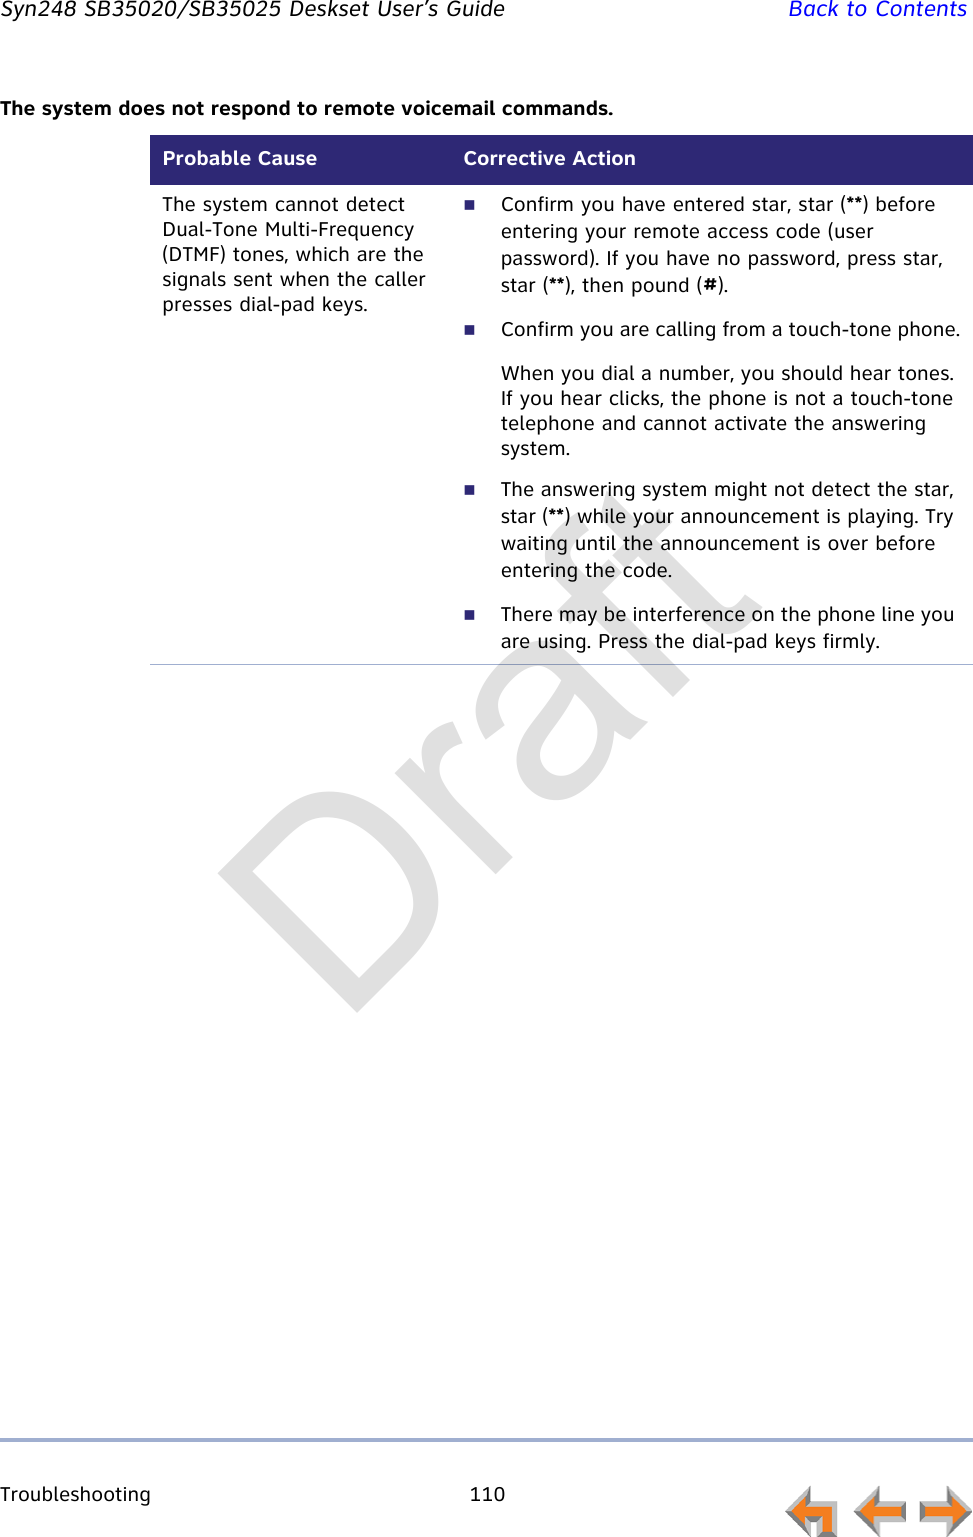
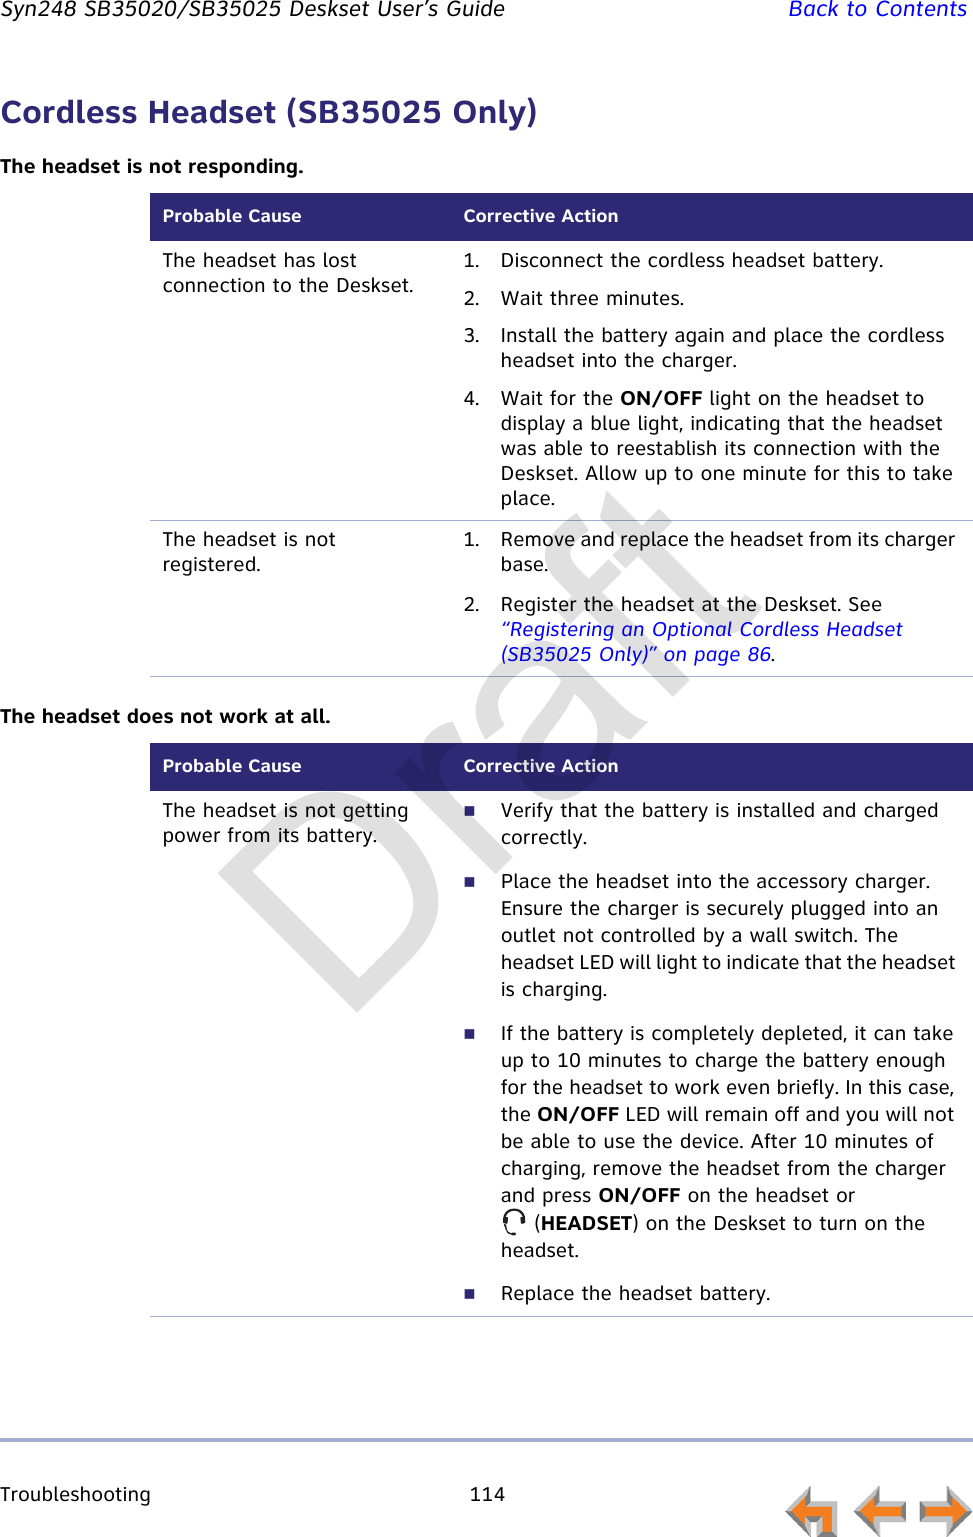
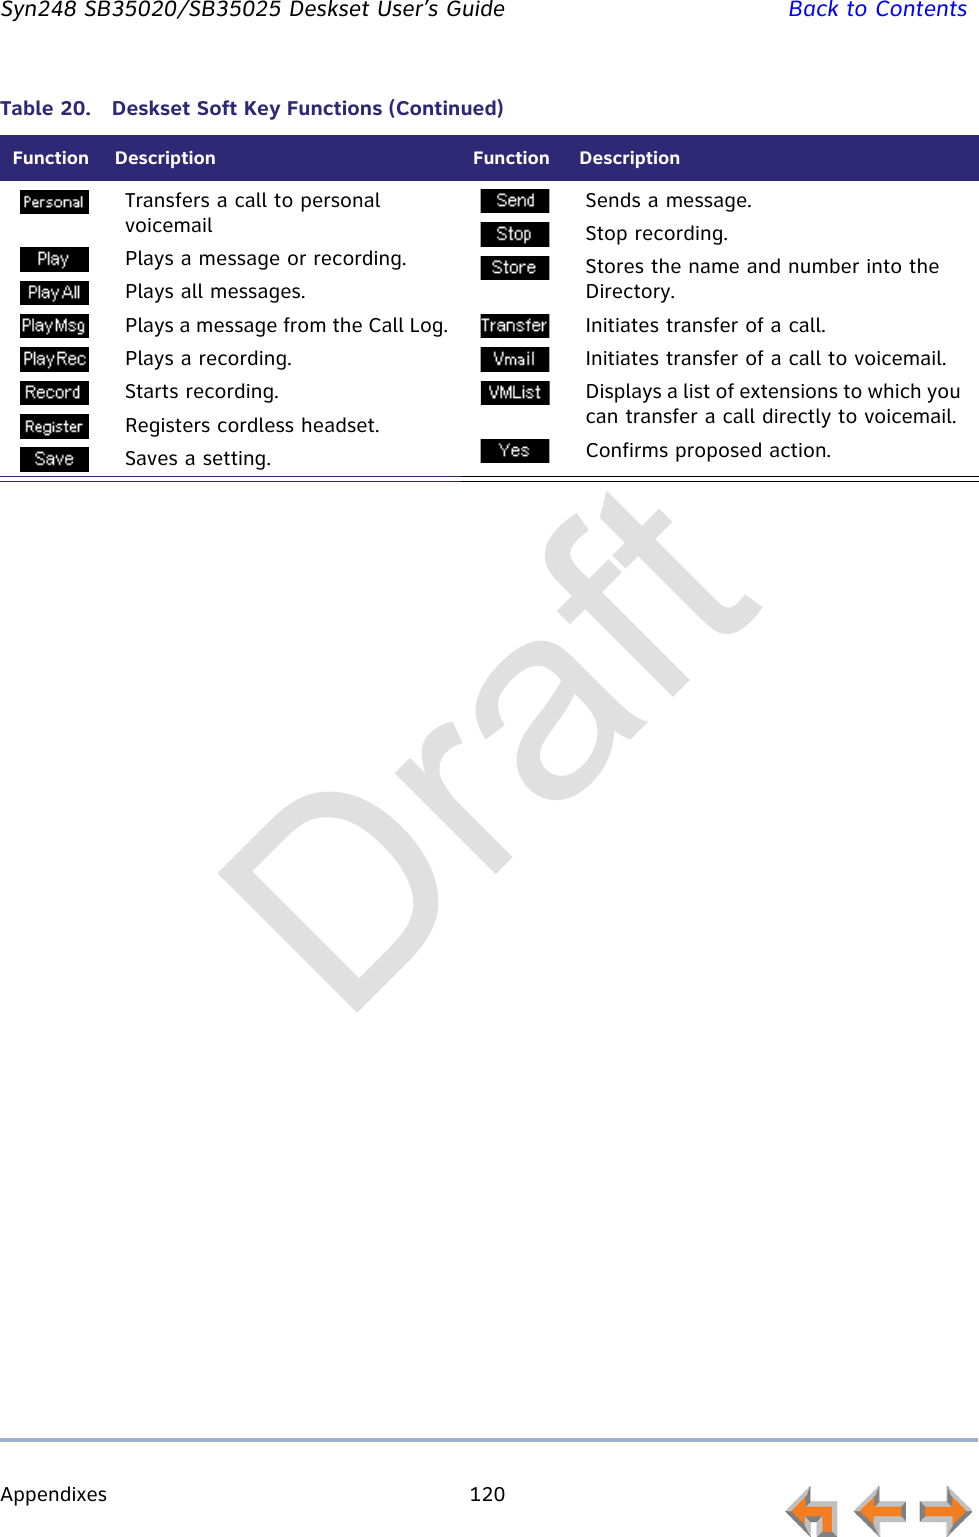
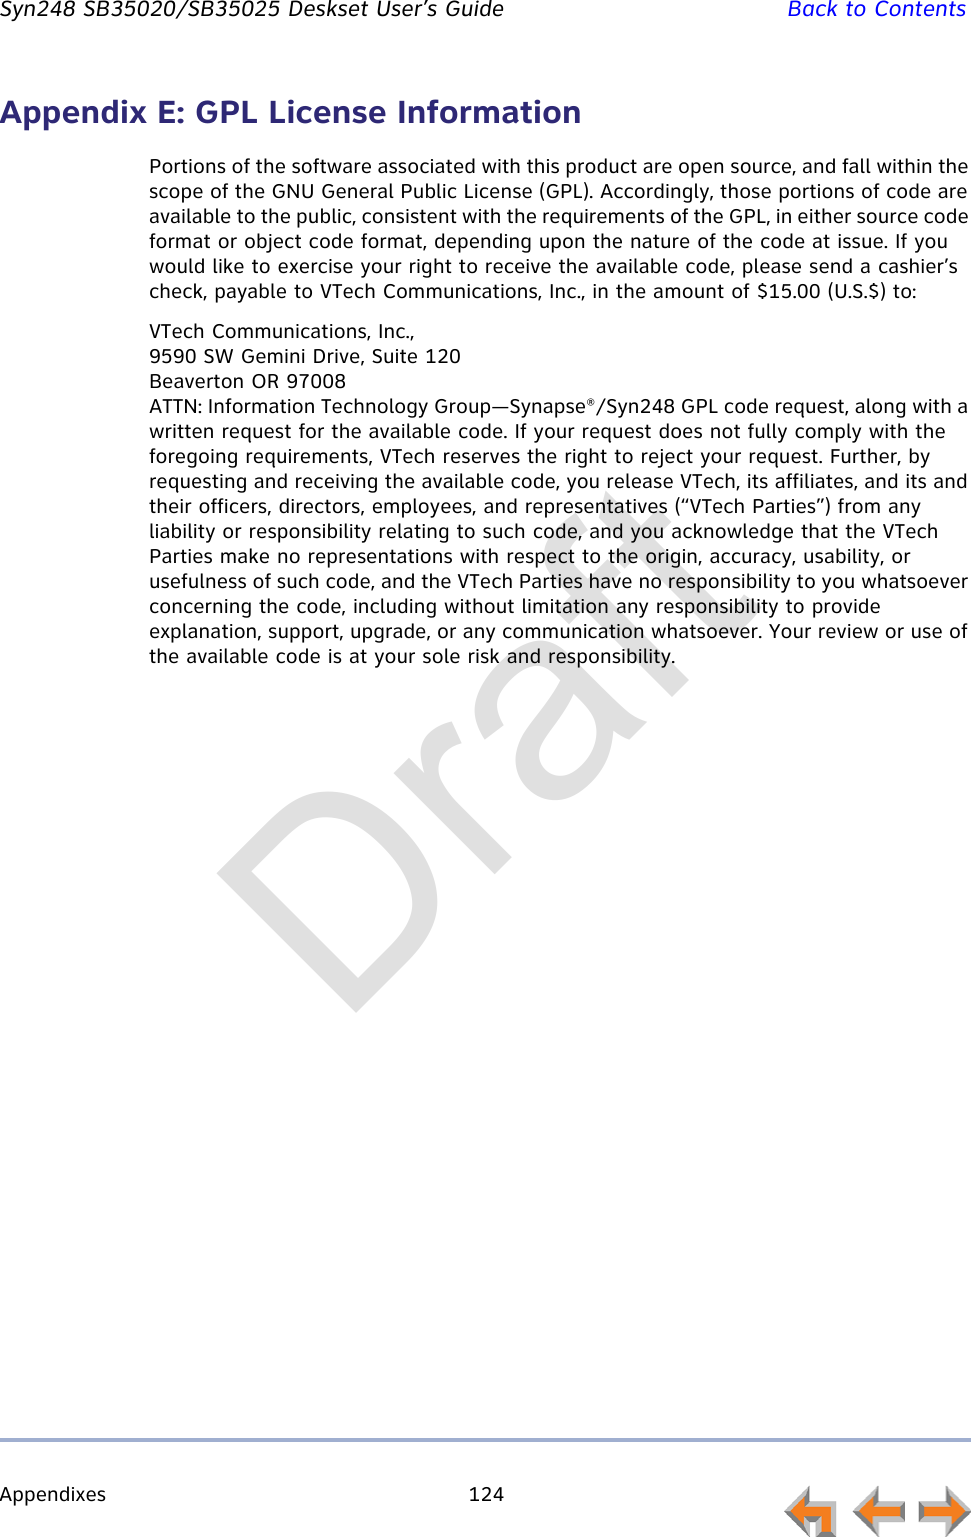
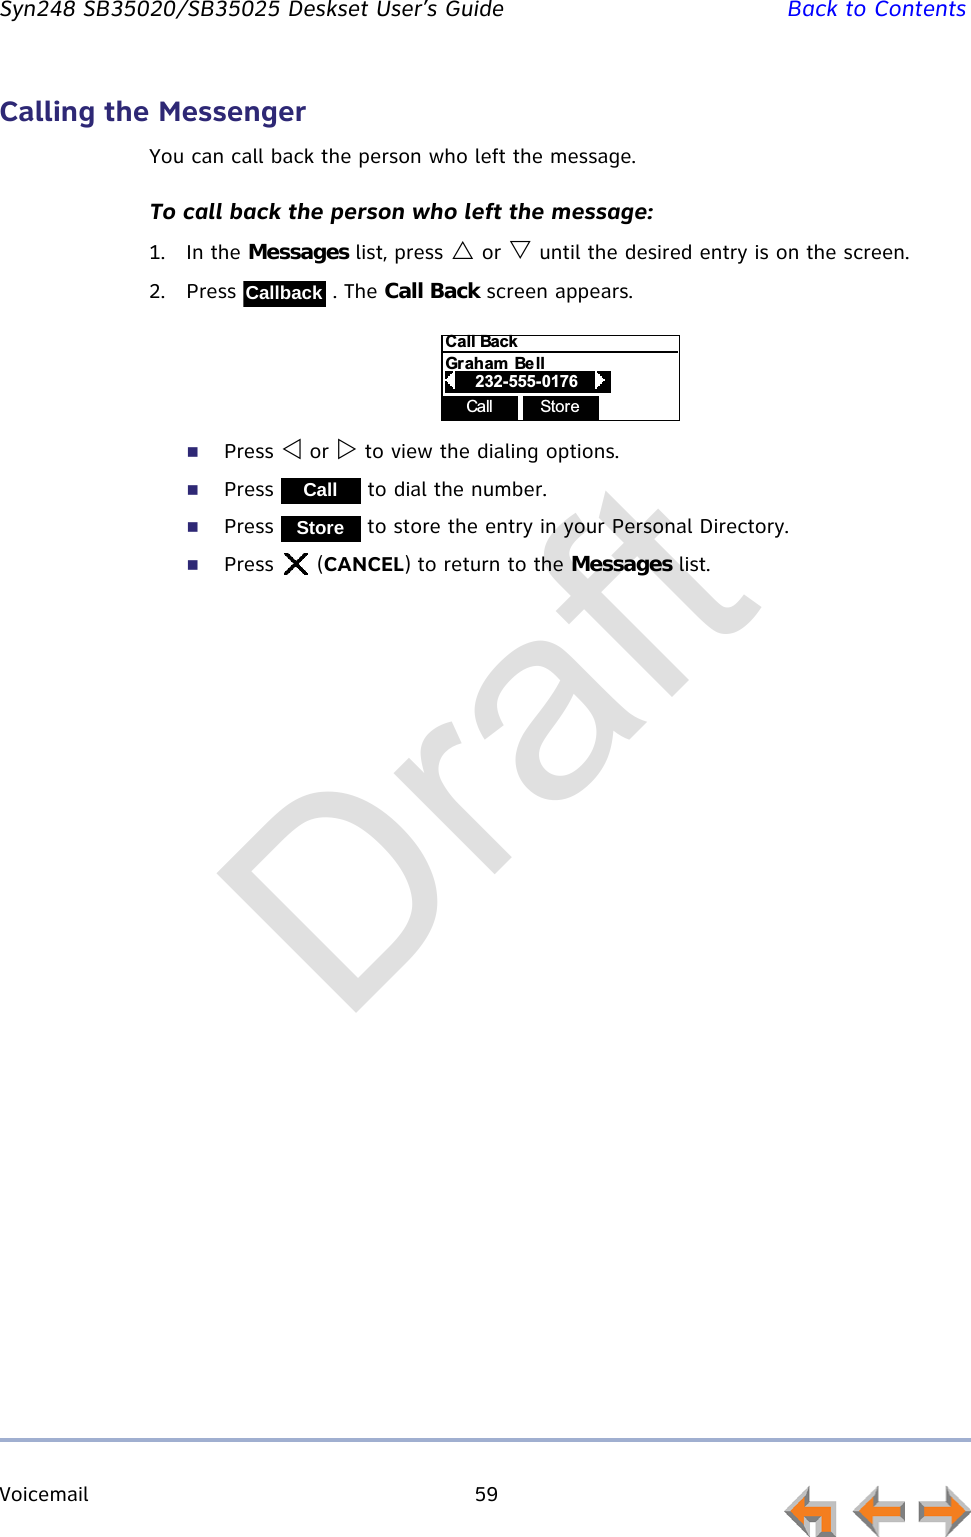
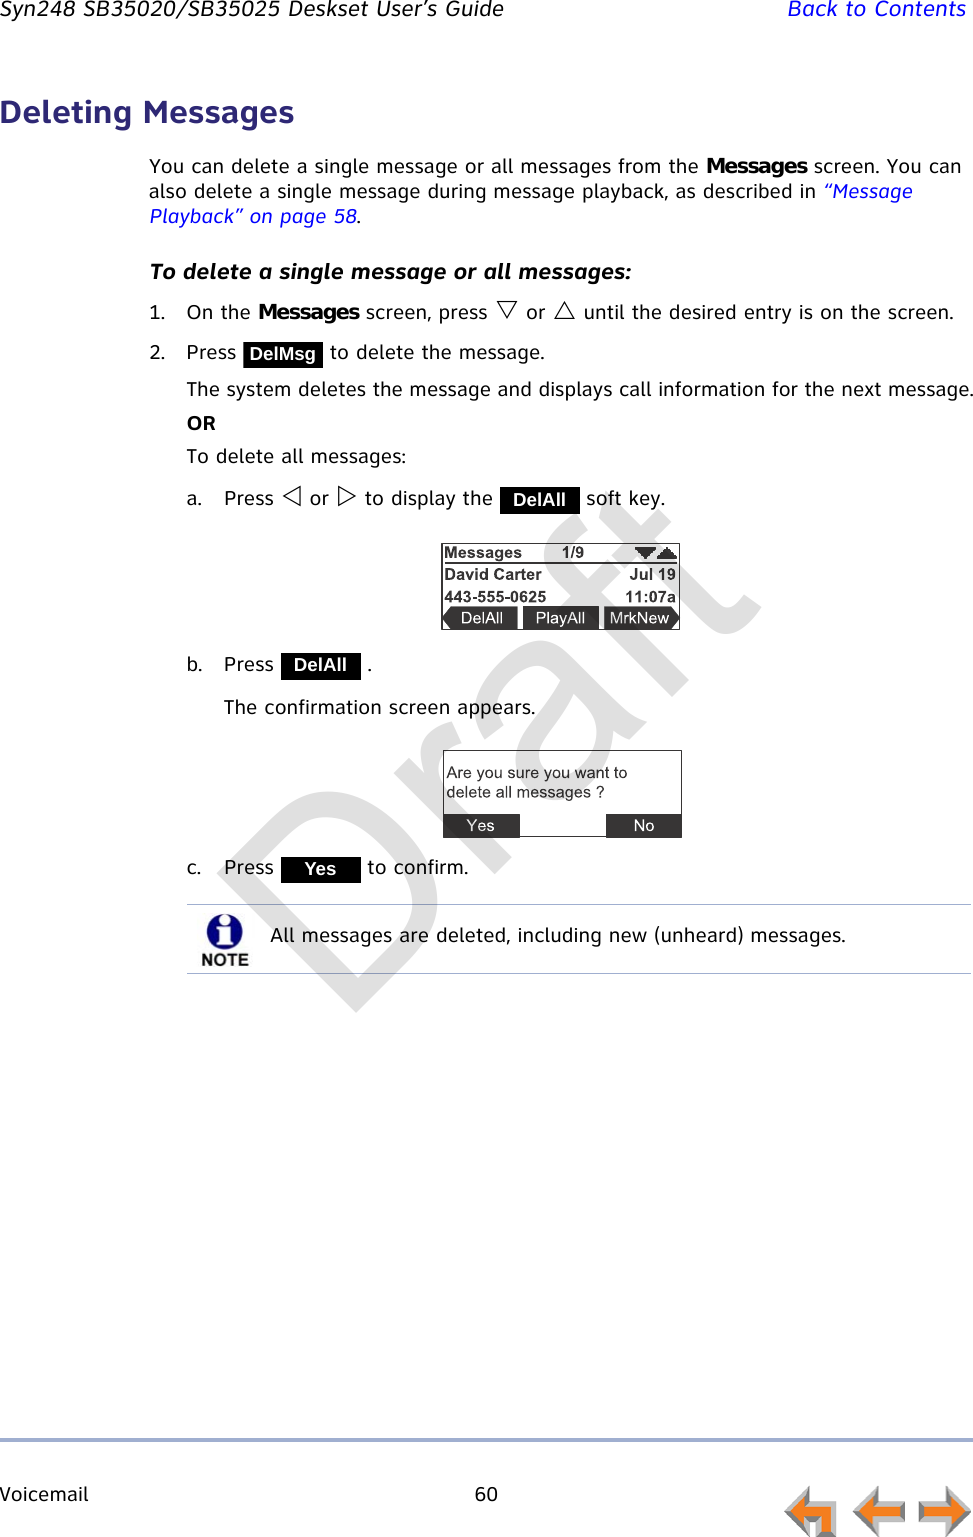
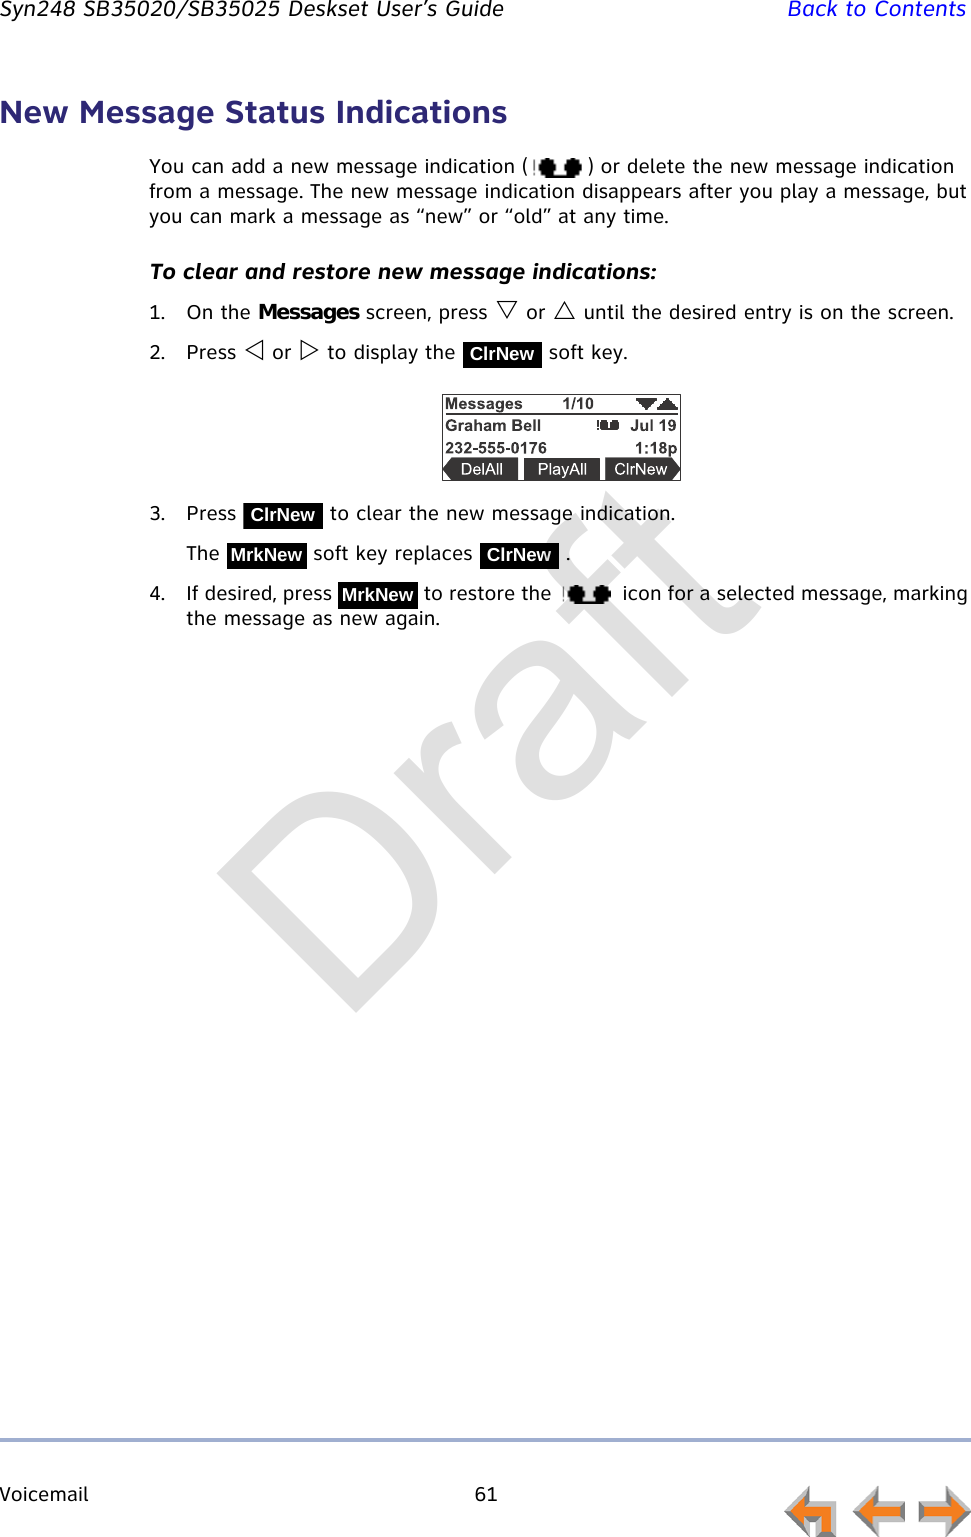
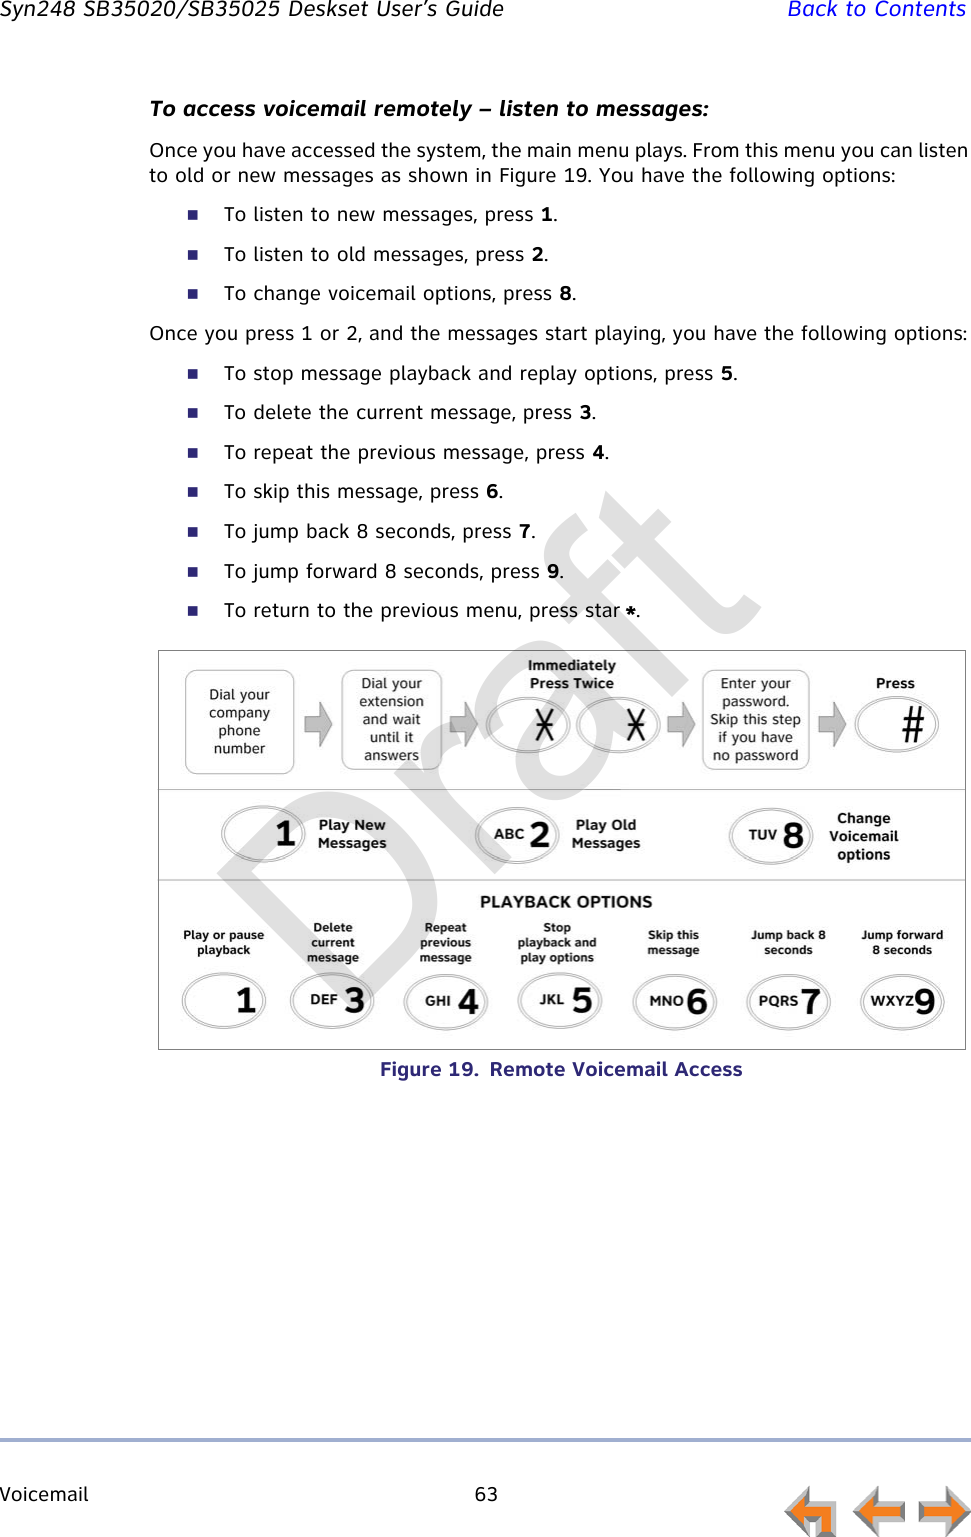
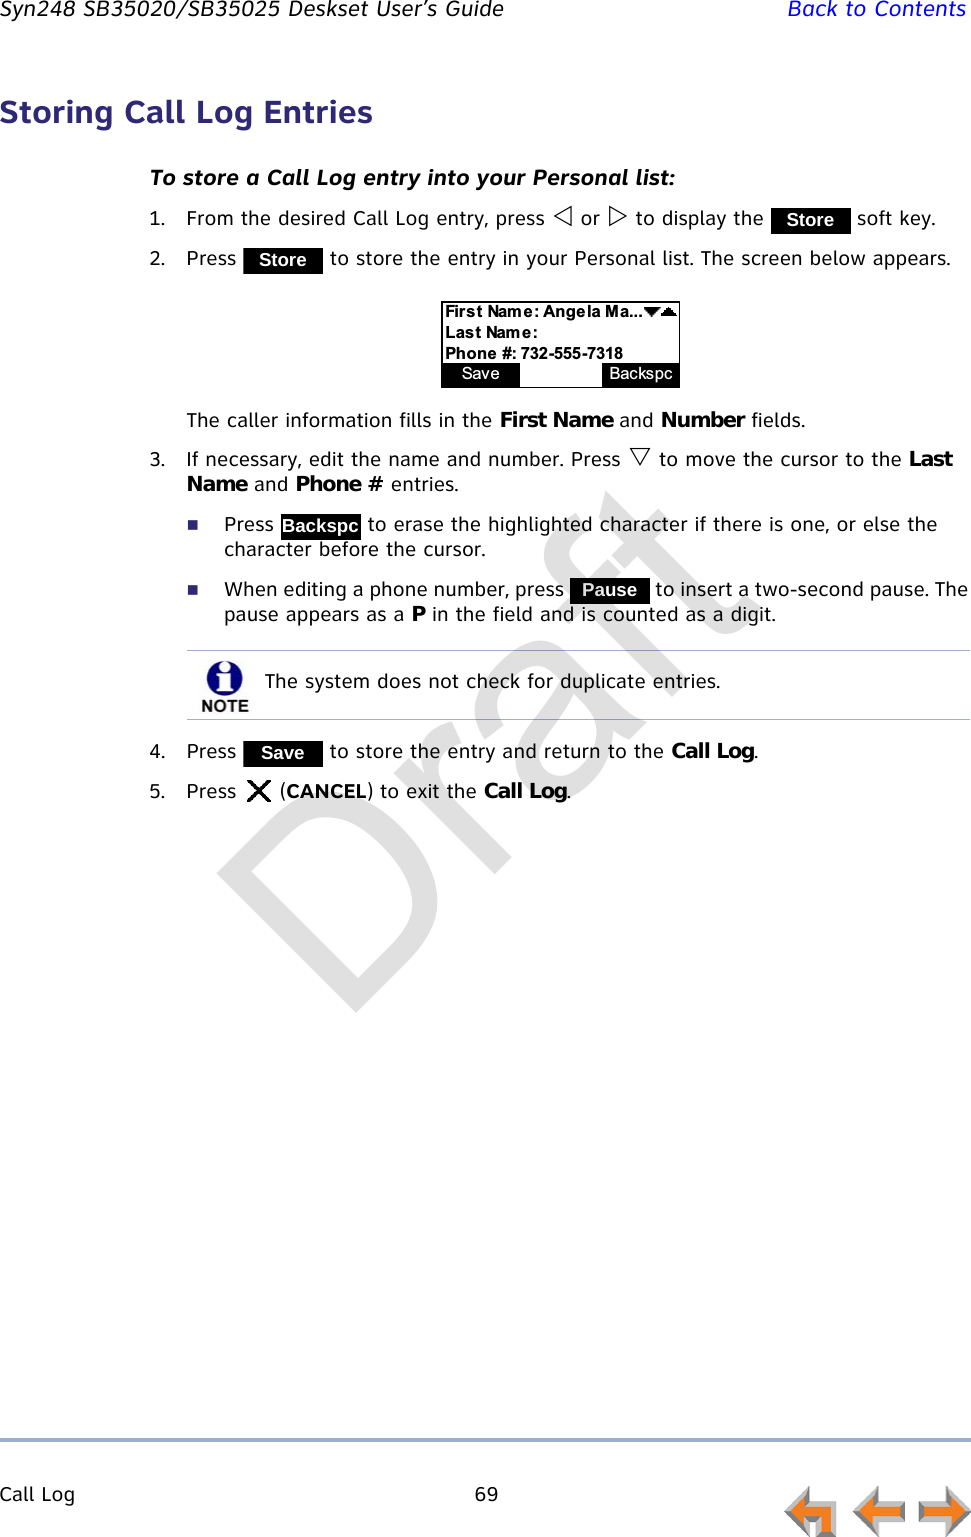
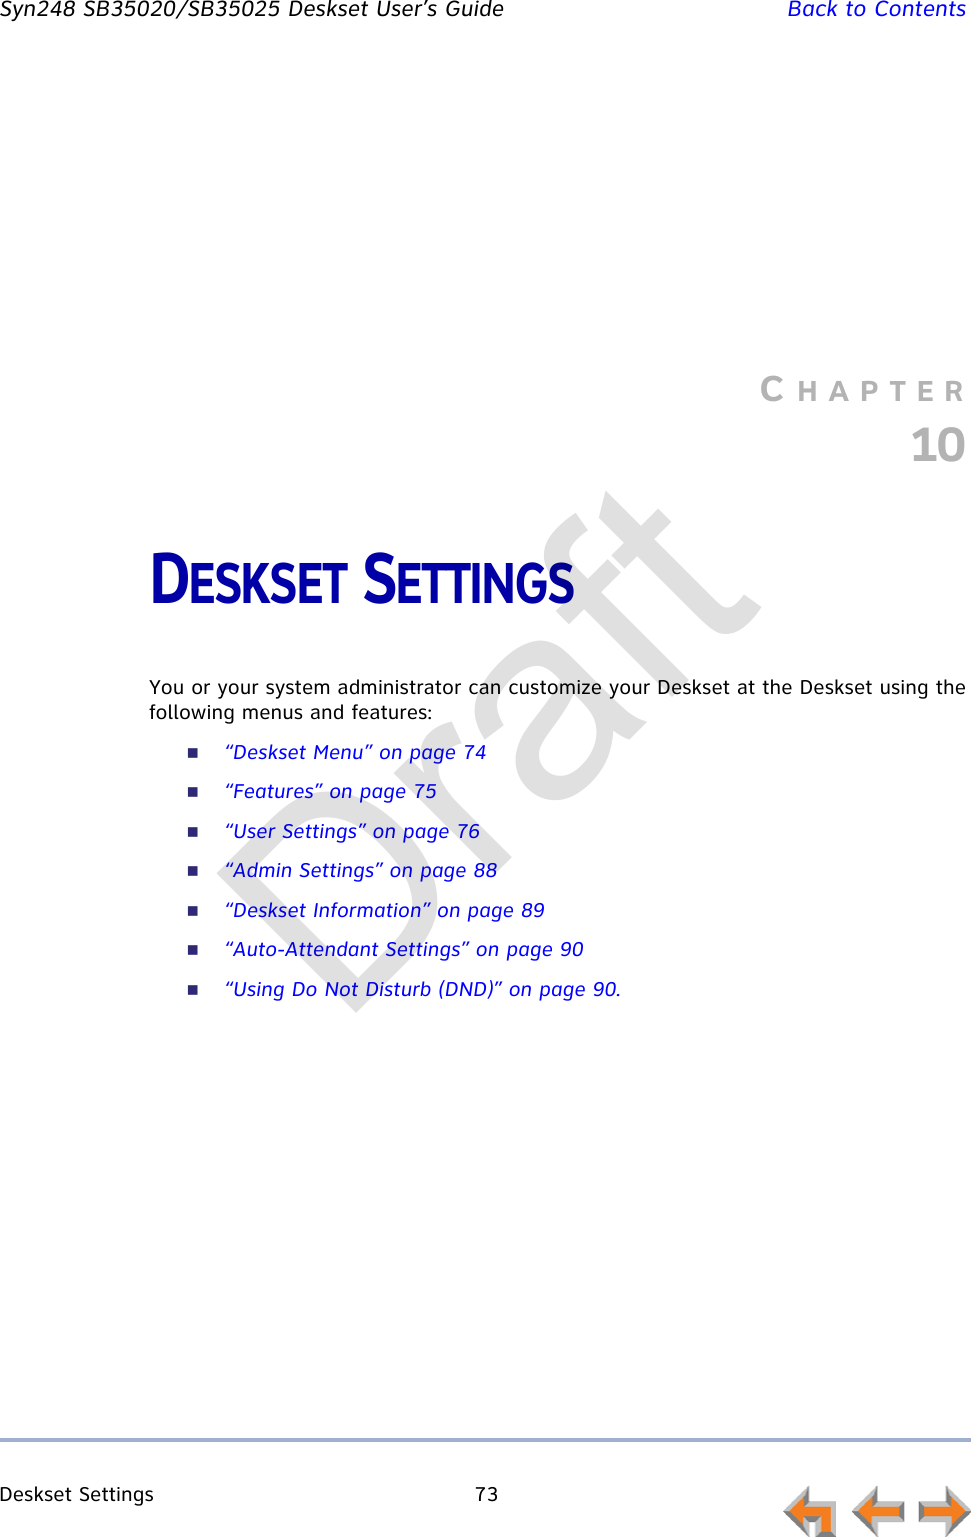
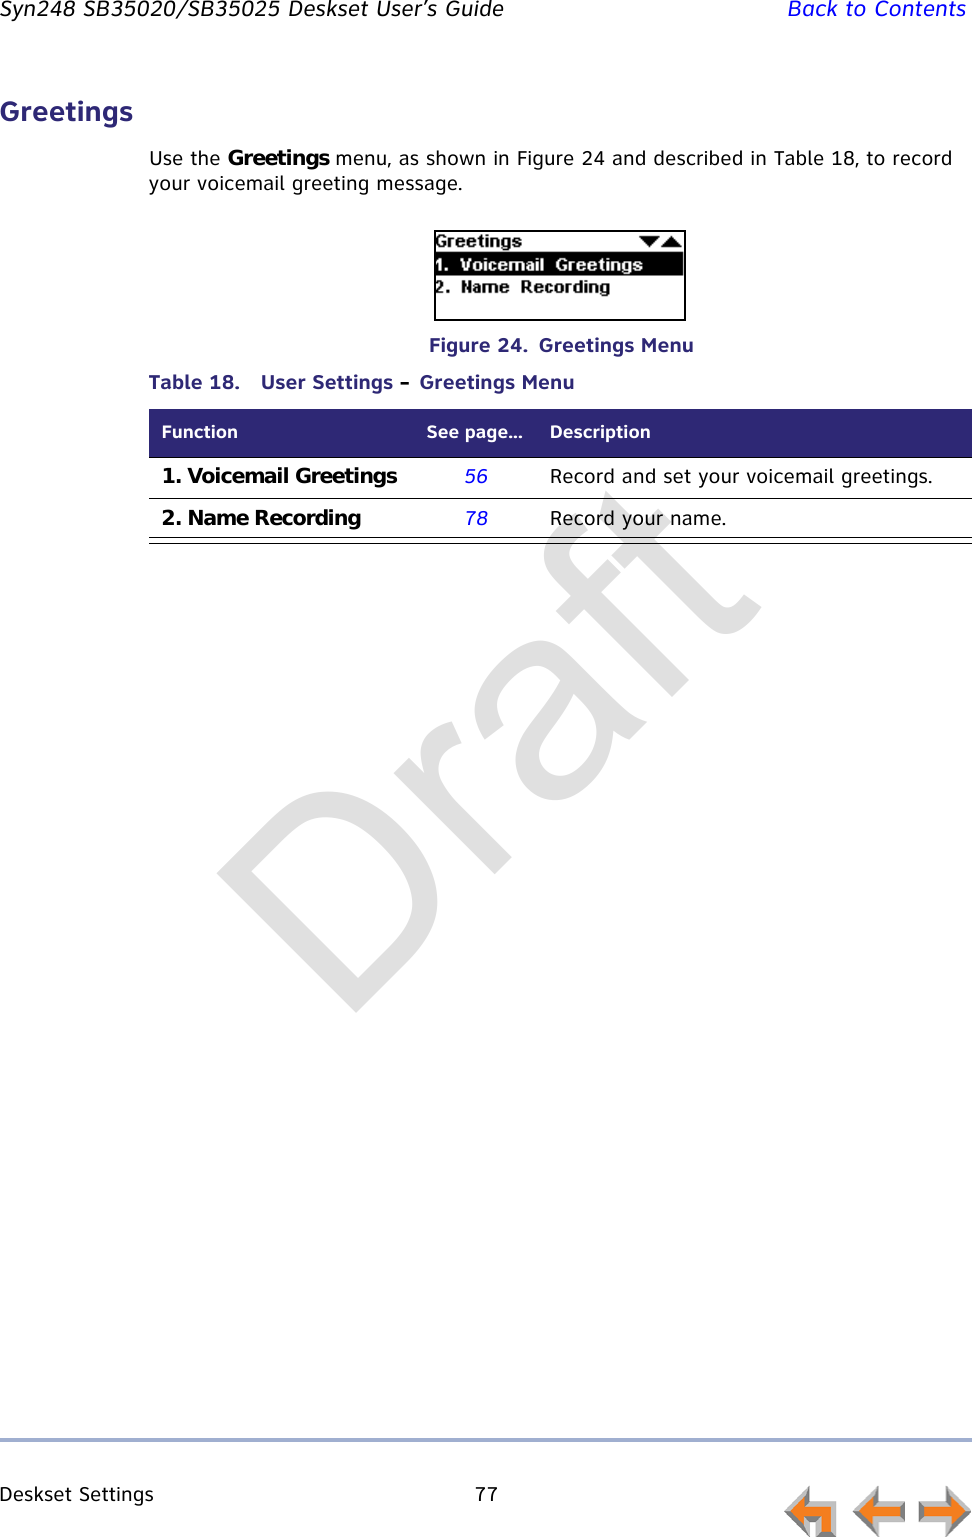
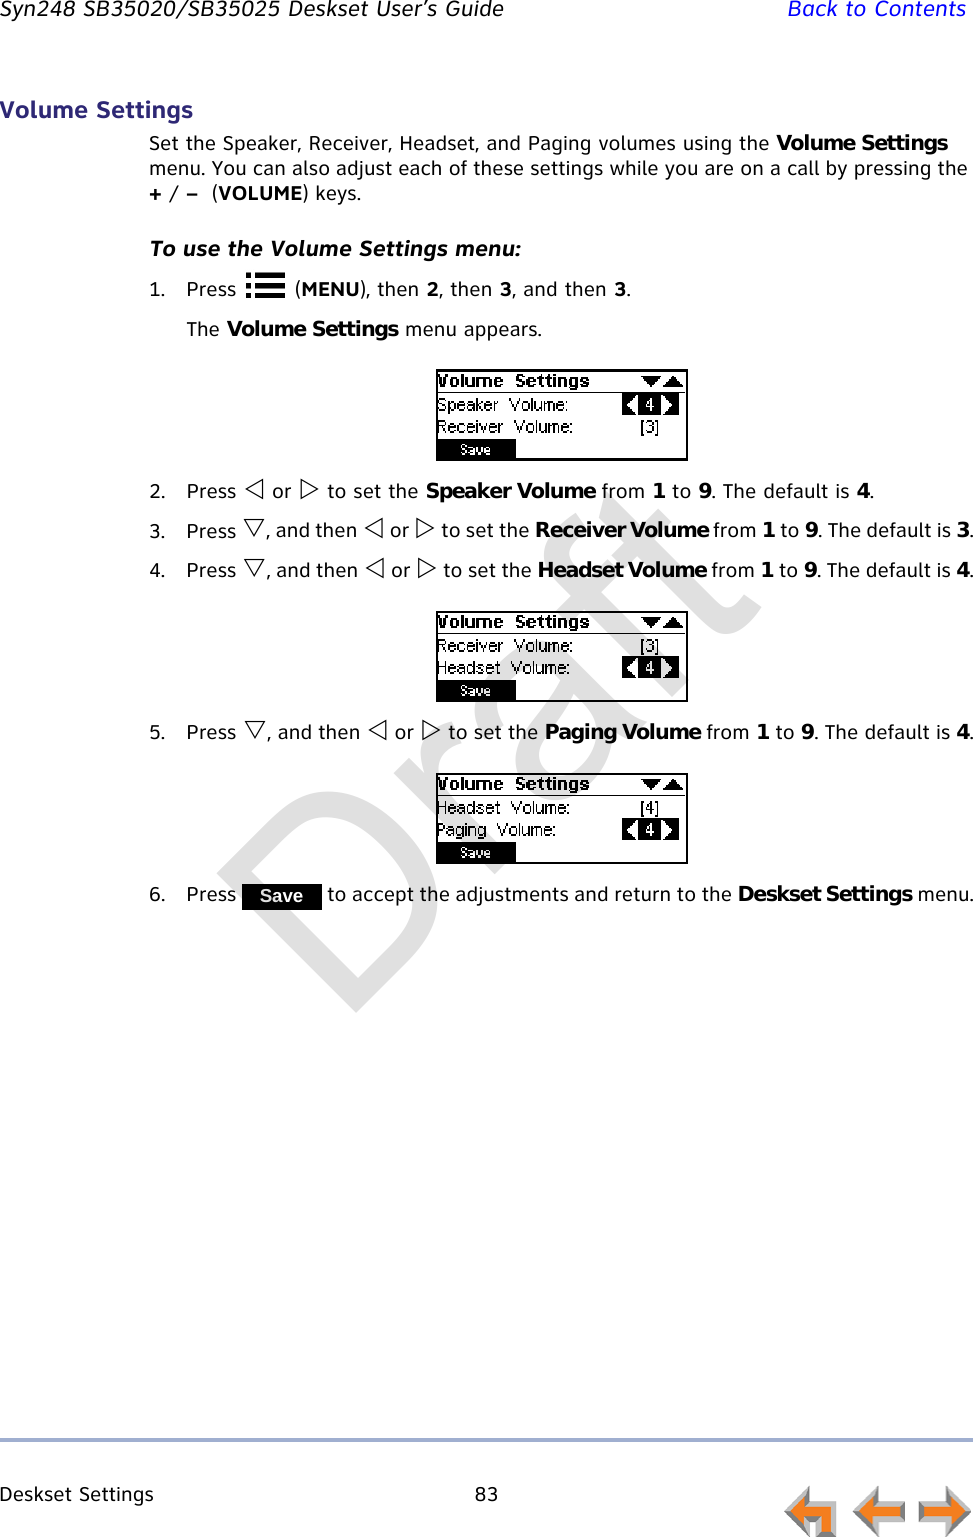
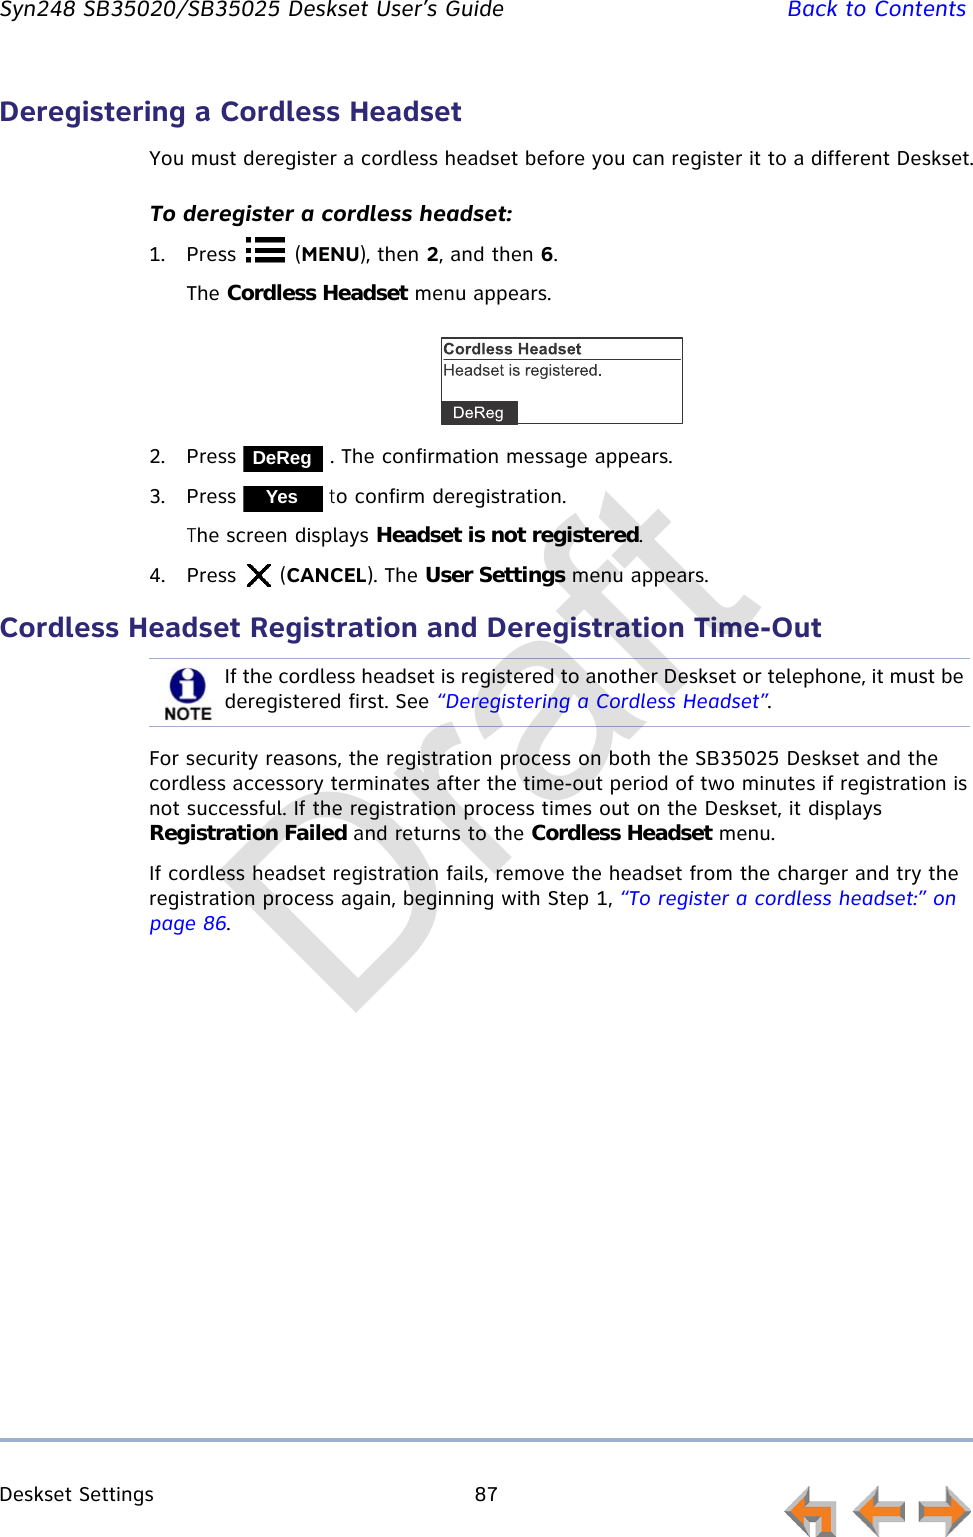
![Voicemail 57 Syn248 SB35020/SB35025 Deskset User’s Guide Back to ContentsTo activate a greeting:1. Press (MENU), then 2, then 1, and then 1 to display the Voicemail Greetings menu.Press or to highlight the Primary, Alternate, or Pre-Set greeting to be played to outside callers.2. Press to make the highlighted greeting the greeting played to callers. The system checks to see if the selected greeting has been recorded.If the selected greeting has been recorded, [ACTIVE] appears beside the selected greeting.If a greeting has not been recorded, Greeting not recorded appears. To record a Primary or Alternate greeting, see “To record a Primary or Alternate greeting:” on page 56.Accessing Your MessagesTo access your messages:1. Press (MENU), then 1, and then 3.If necessary, use the dial pad to enter your user password and press (SELECT).The Messages screen appears.2. Press or until you see the desired Messages entry.3. Press (CANCEL) to exit the Messages screen.When you highlight the Pre-Set greeting, the PlayRec soft key changes to Play. You cannot delete or record over the Pre-Set greeting.ActivateOnce you have entered your password, you do not have to enter it again while you are reviewing messages. However, if you exit the Messages screen, you will need to enter your password to access the Message list.Messages 1/10Graham Bell Jul 19232-555-0176 1:18pPla y DelMs g Callback!Draft](https://usermanual.wiki/VTech-Telecommunications/80-8479-00/User-Guide-2070890-Page-57.png)
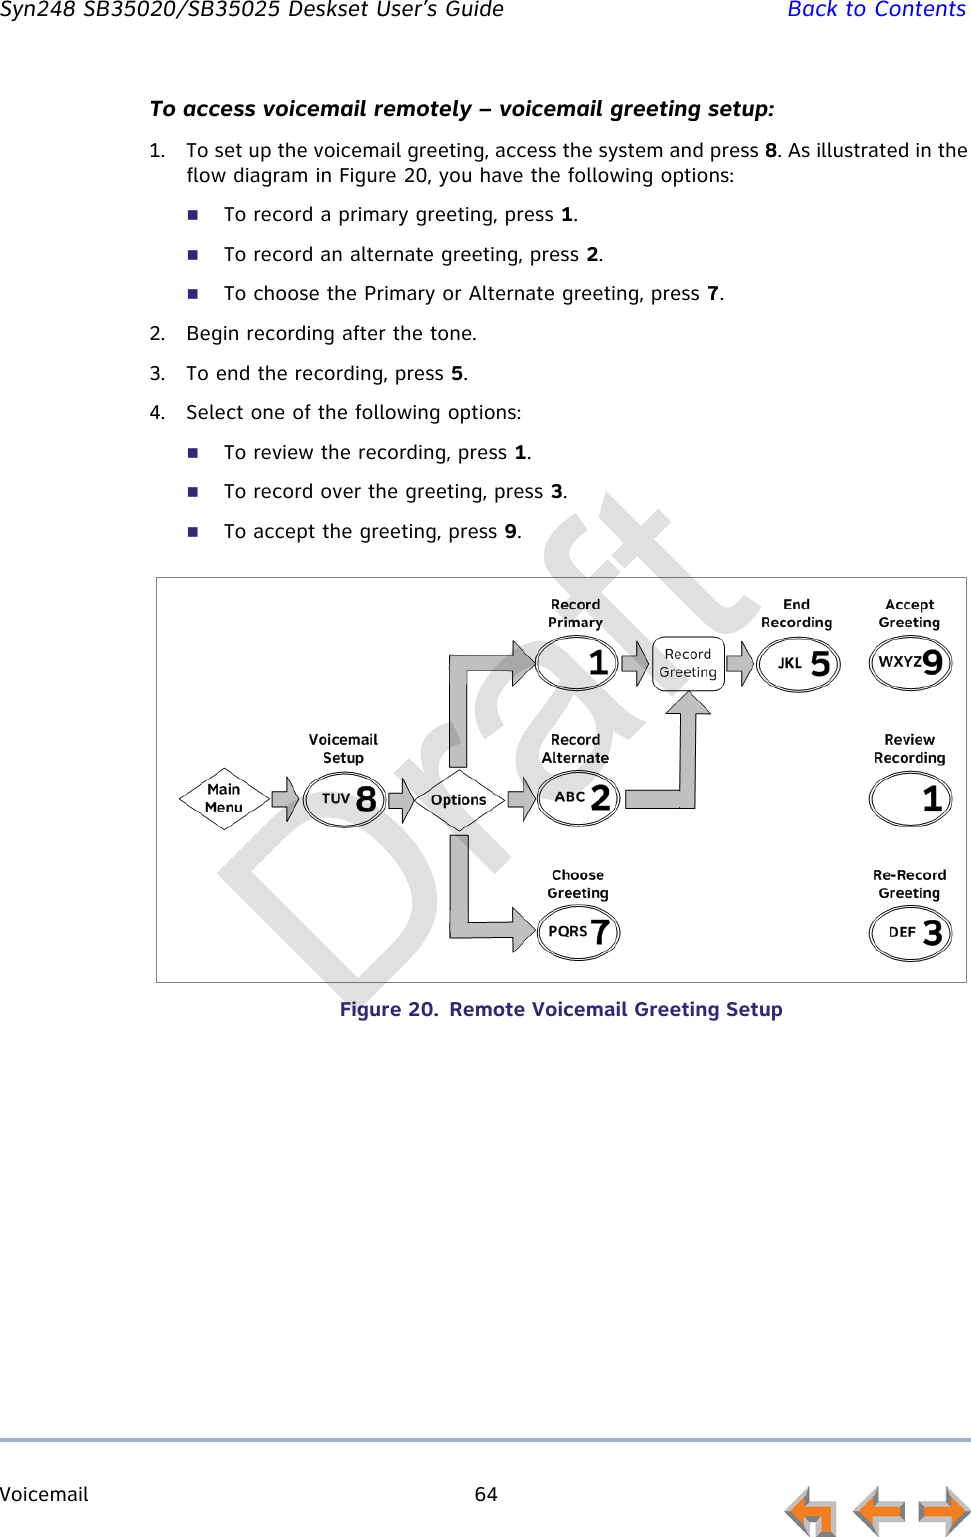
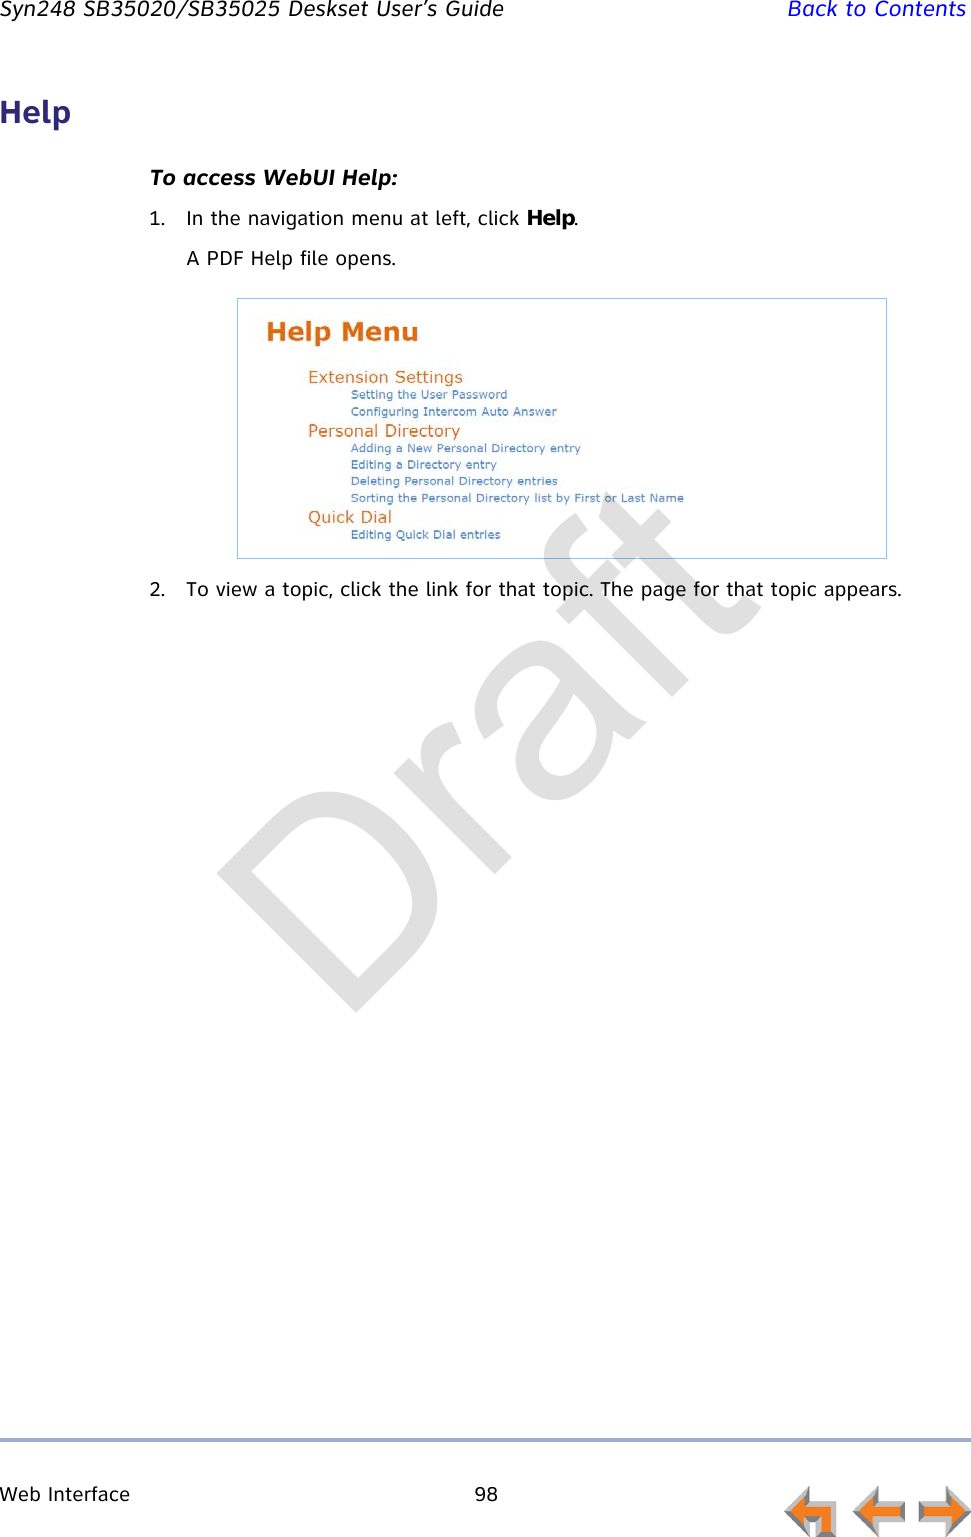
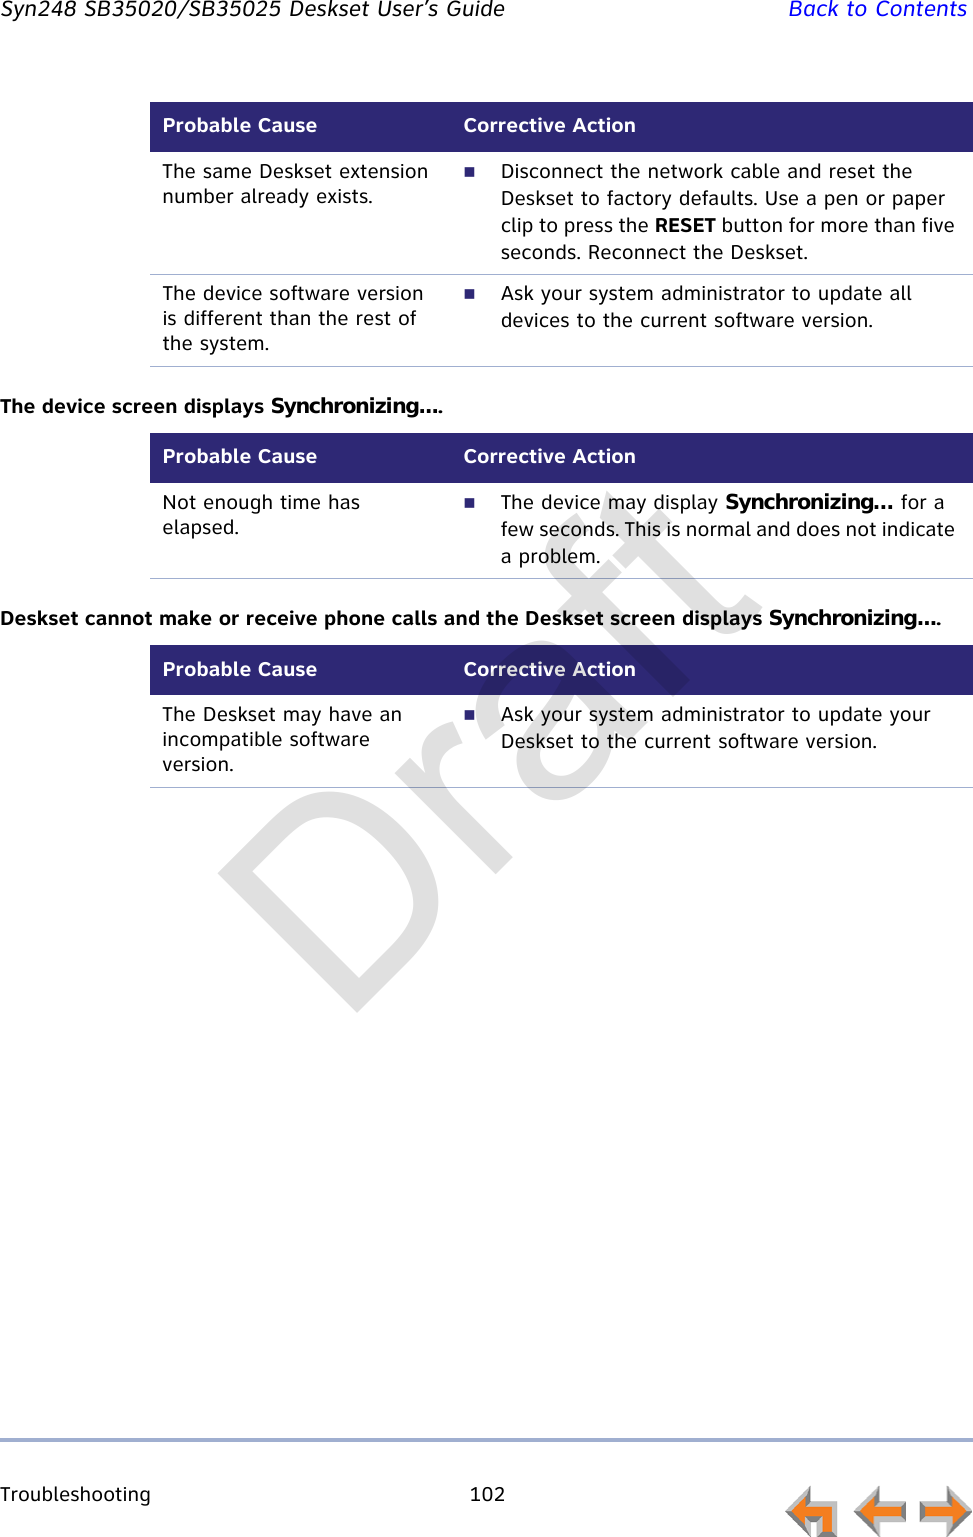
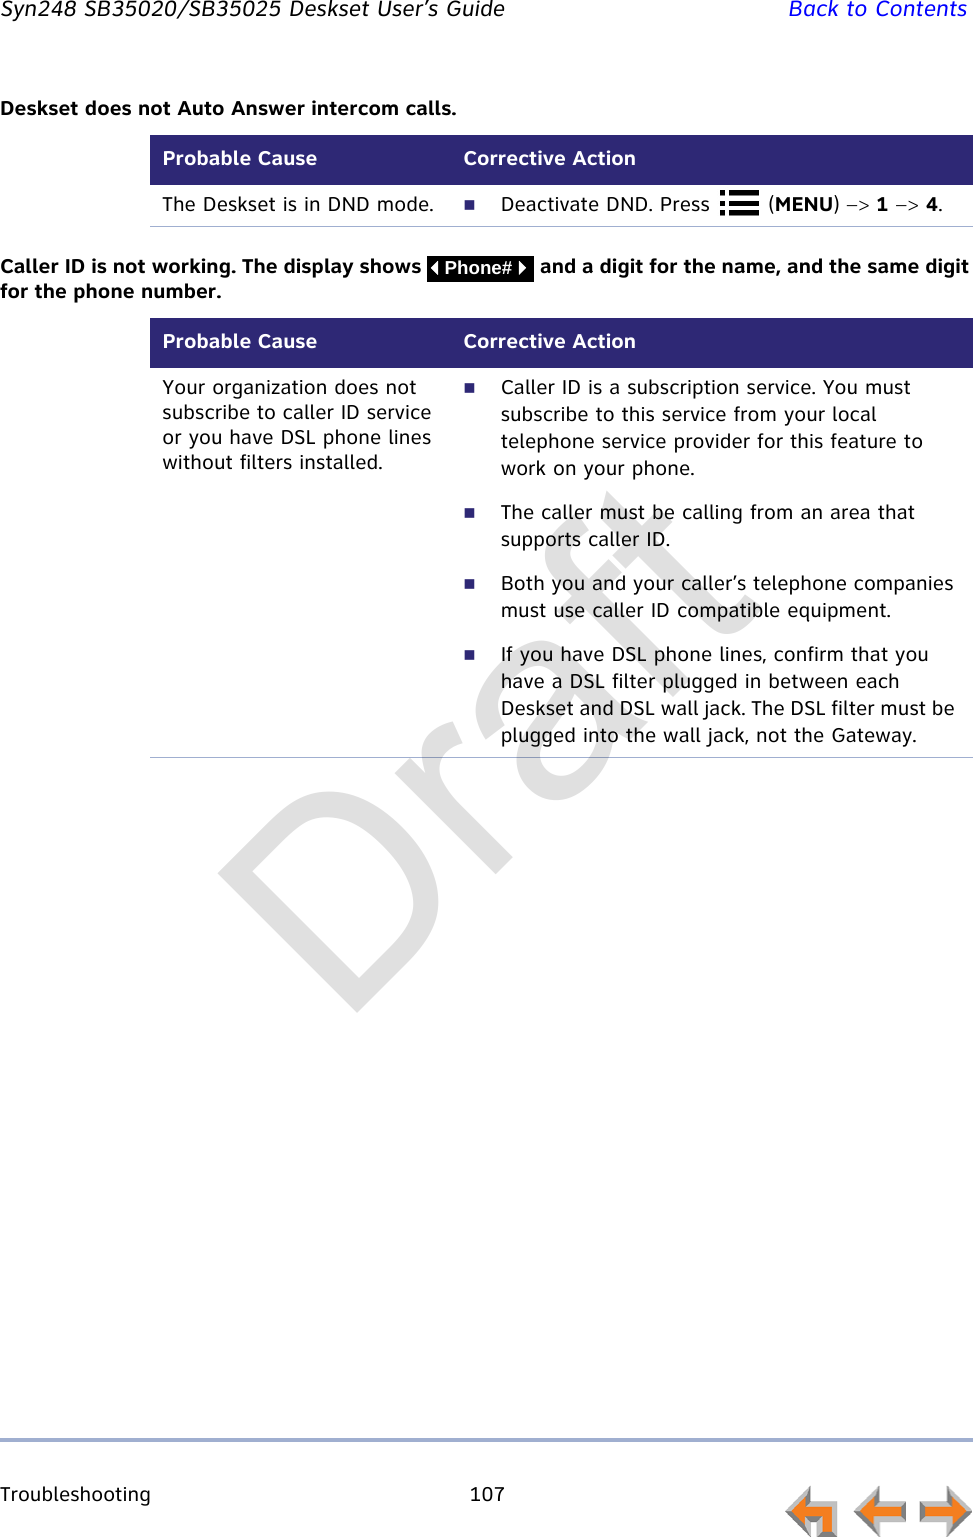
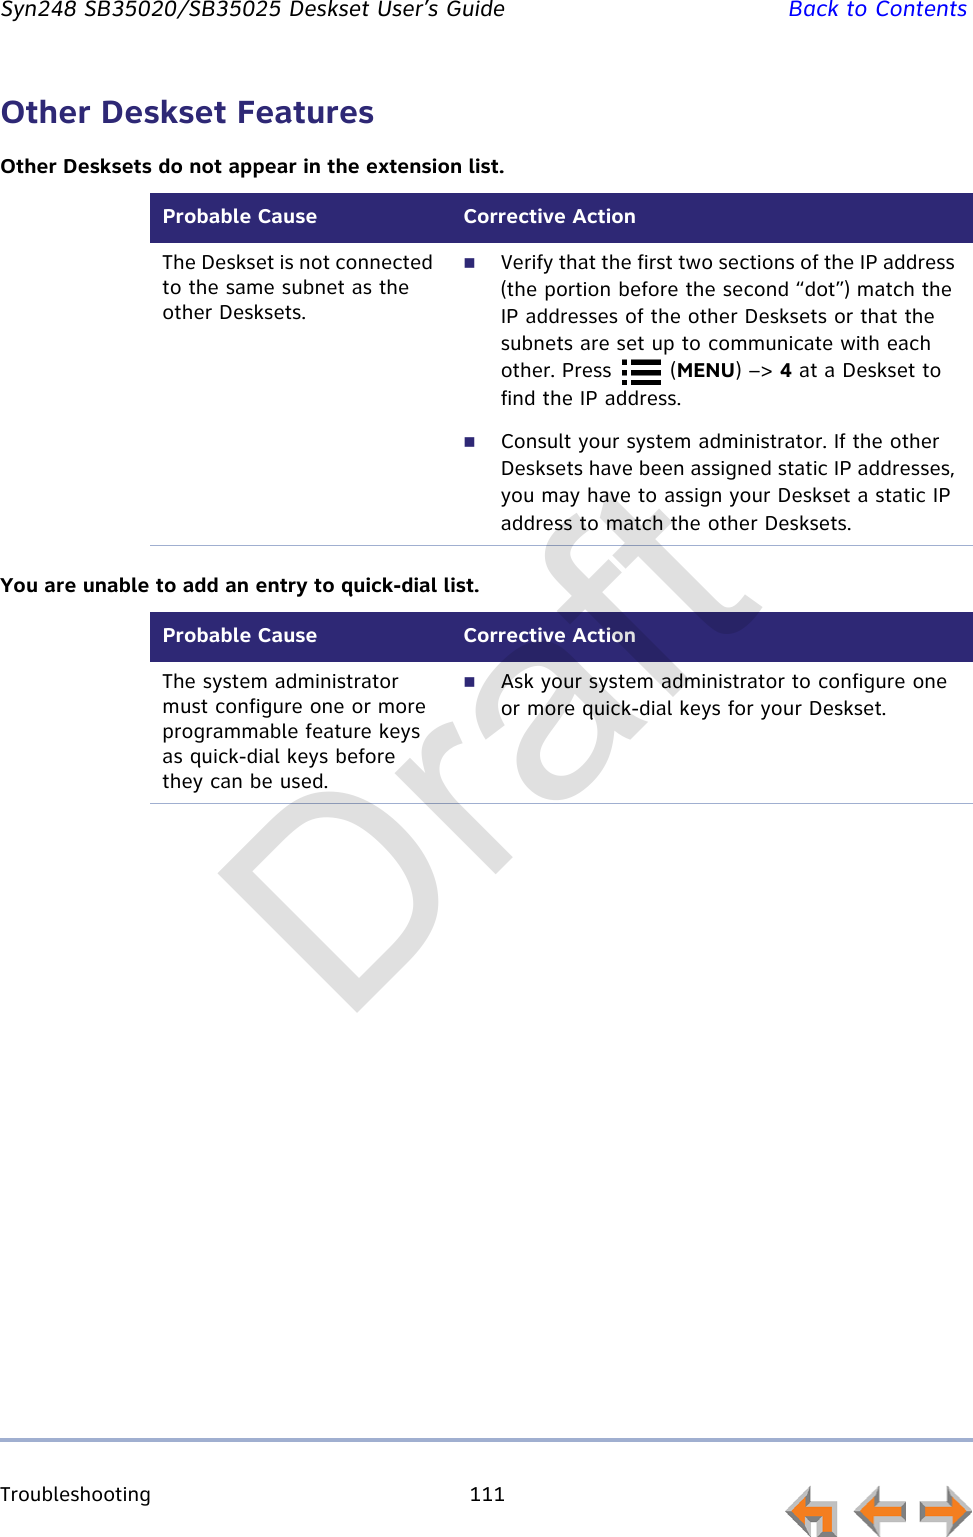
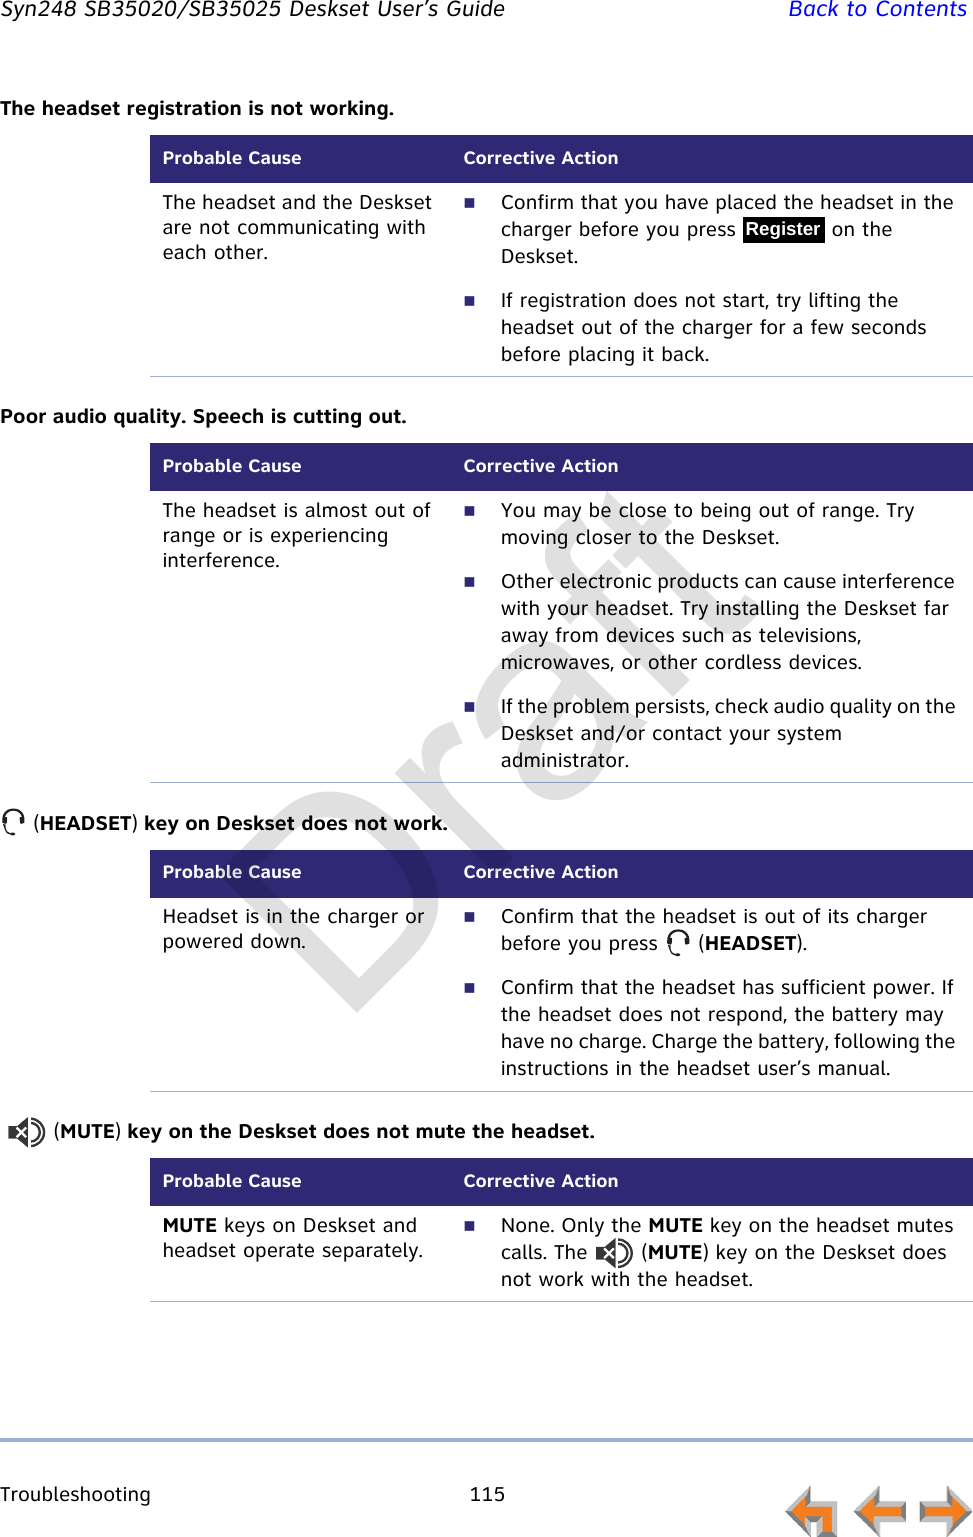
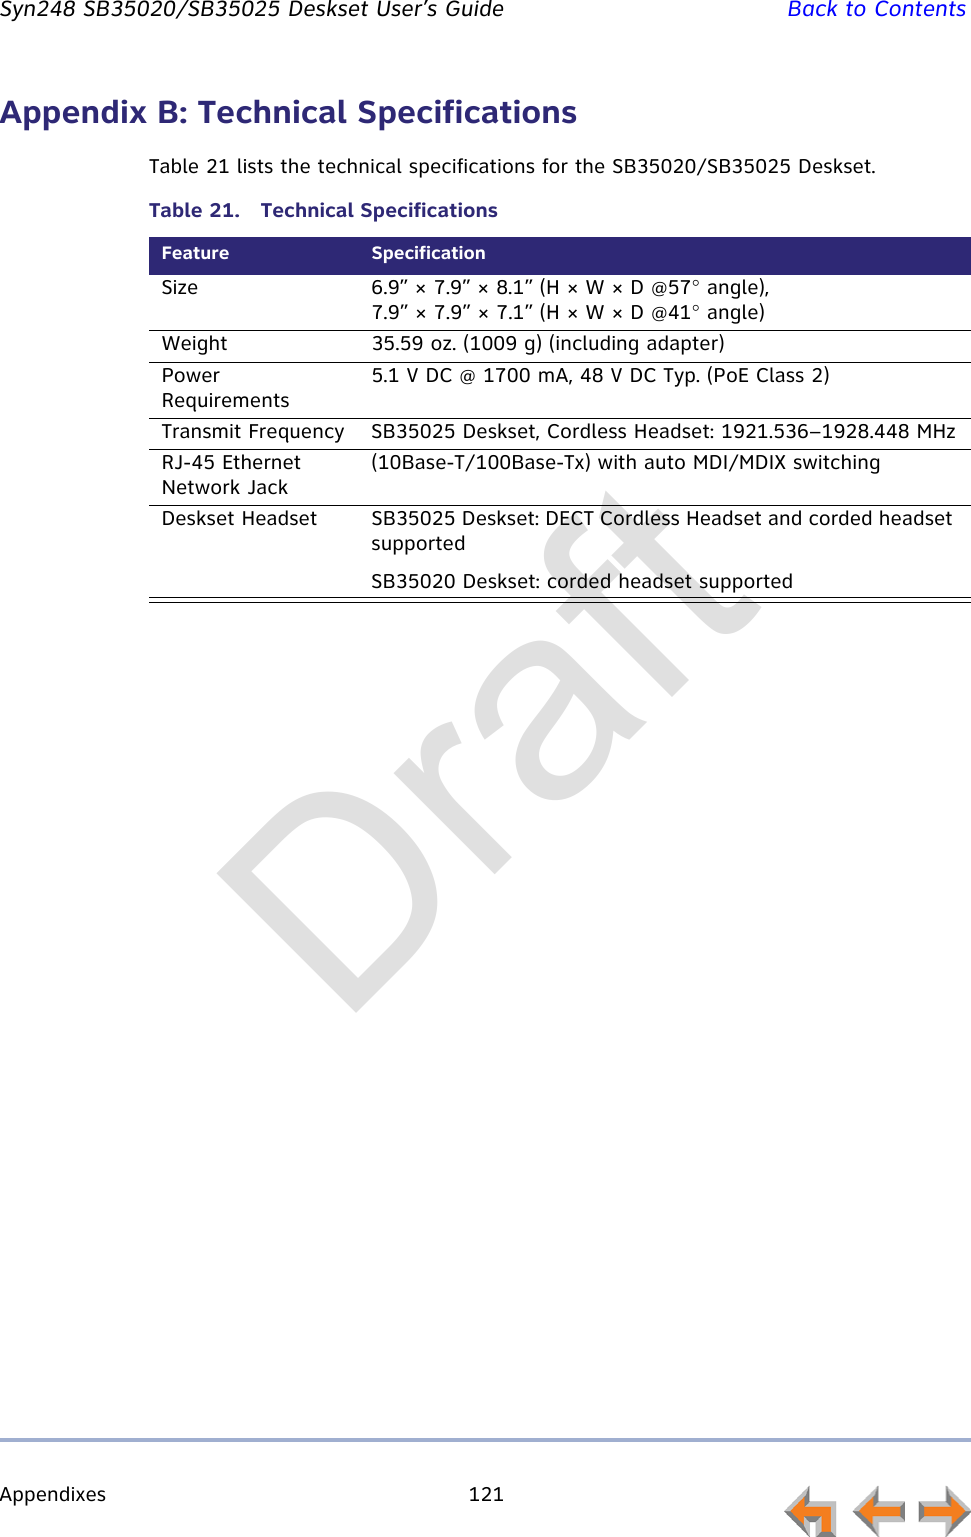
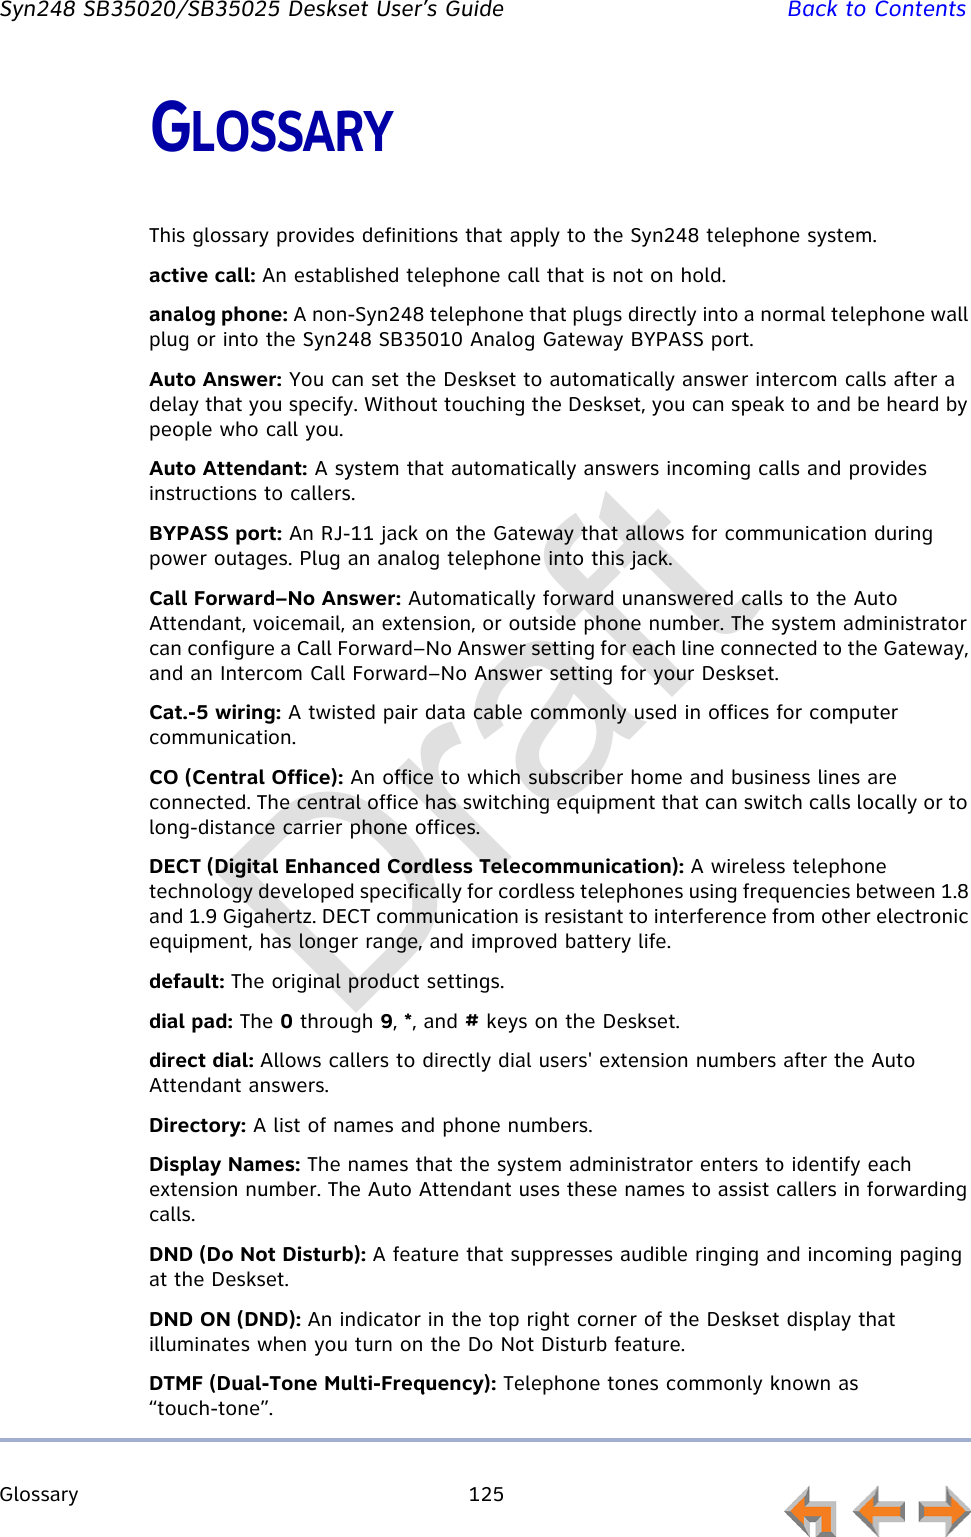
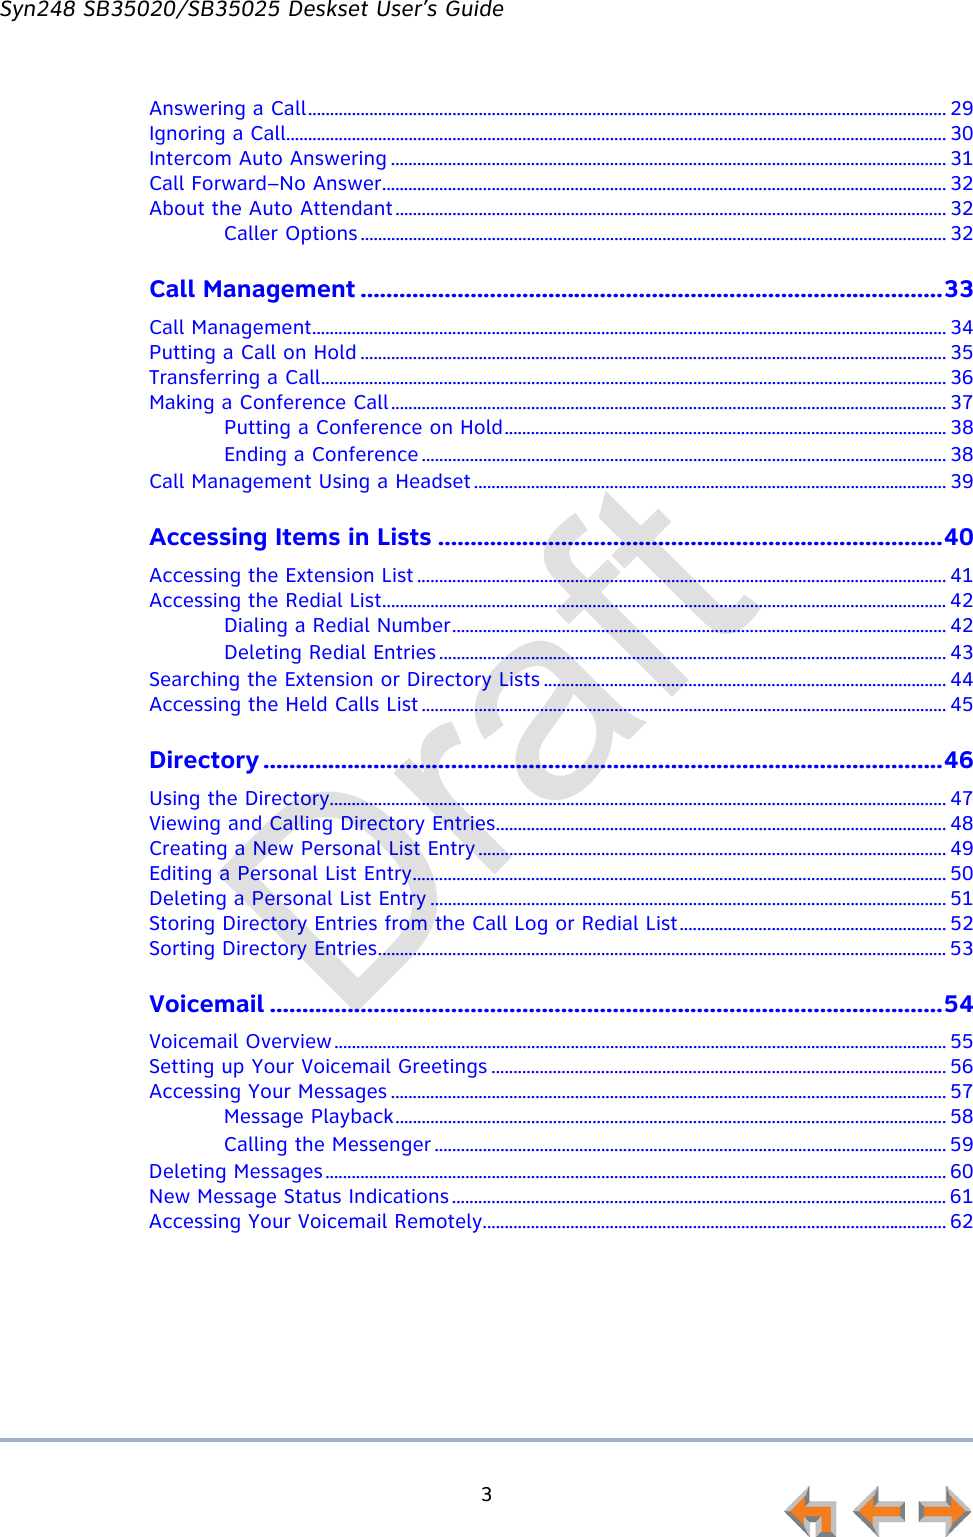
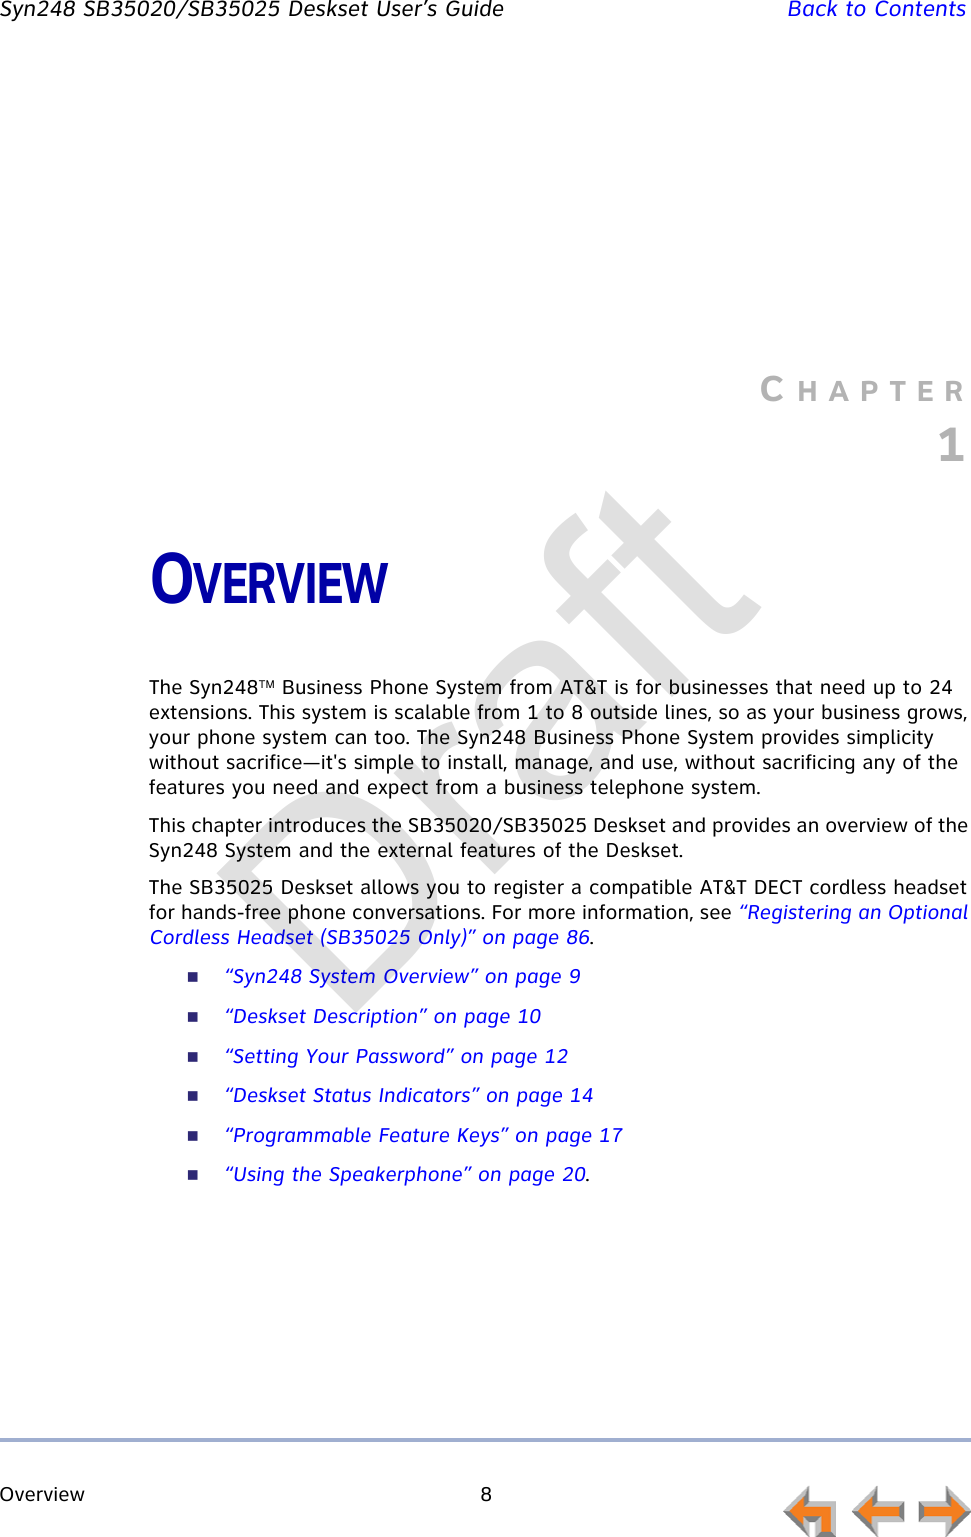
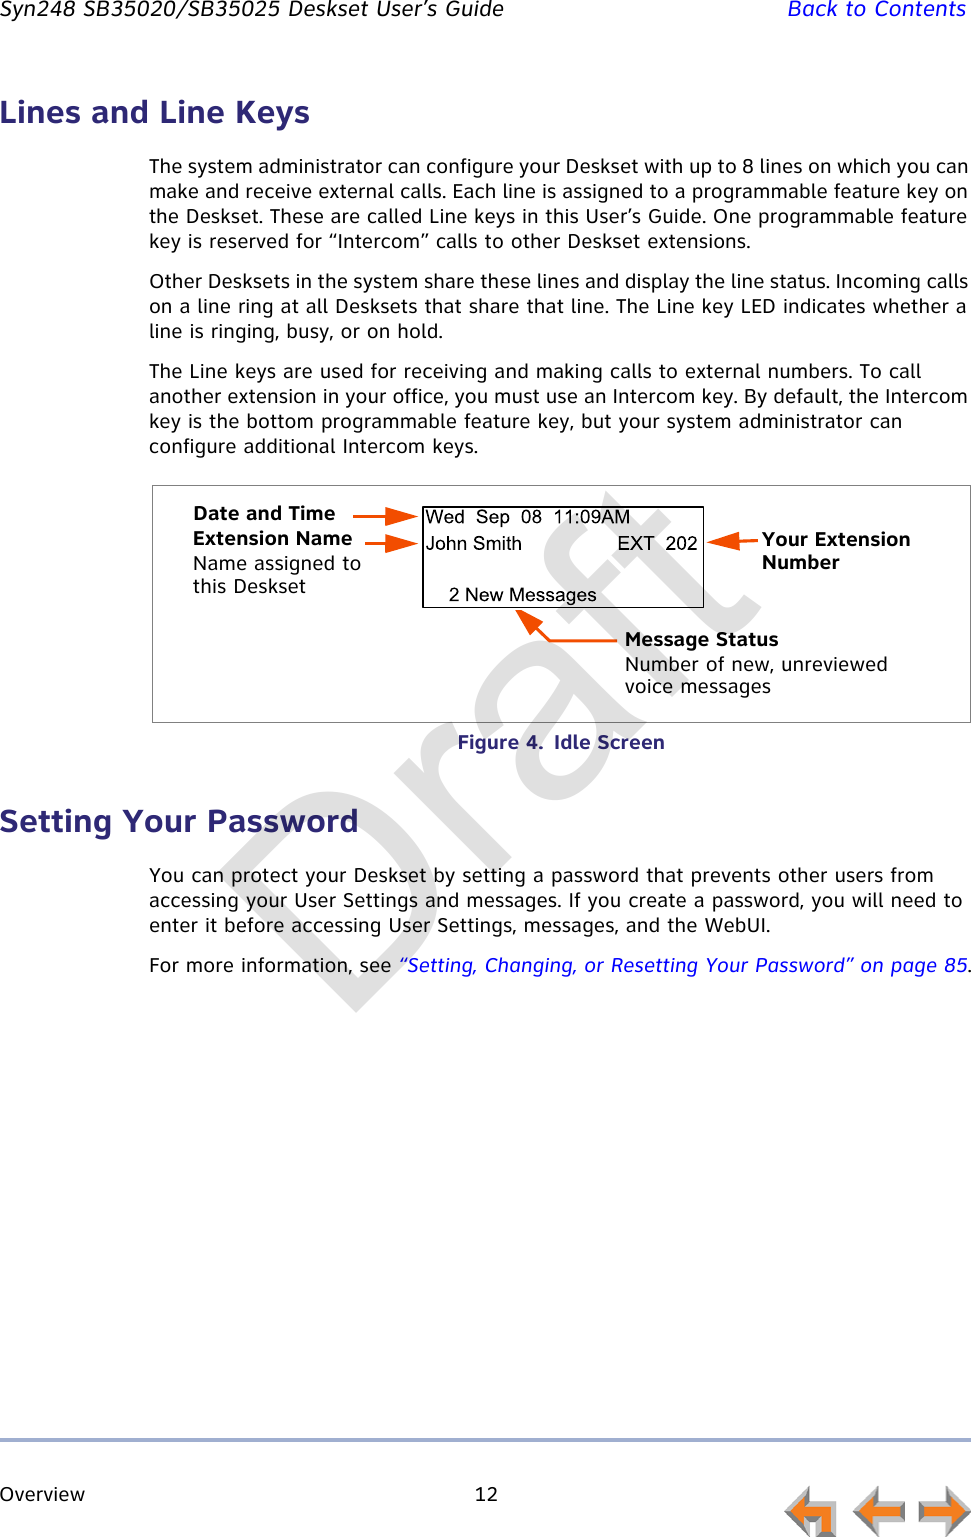
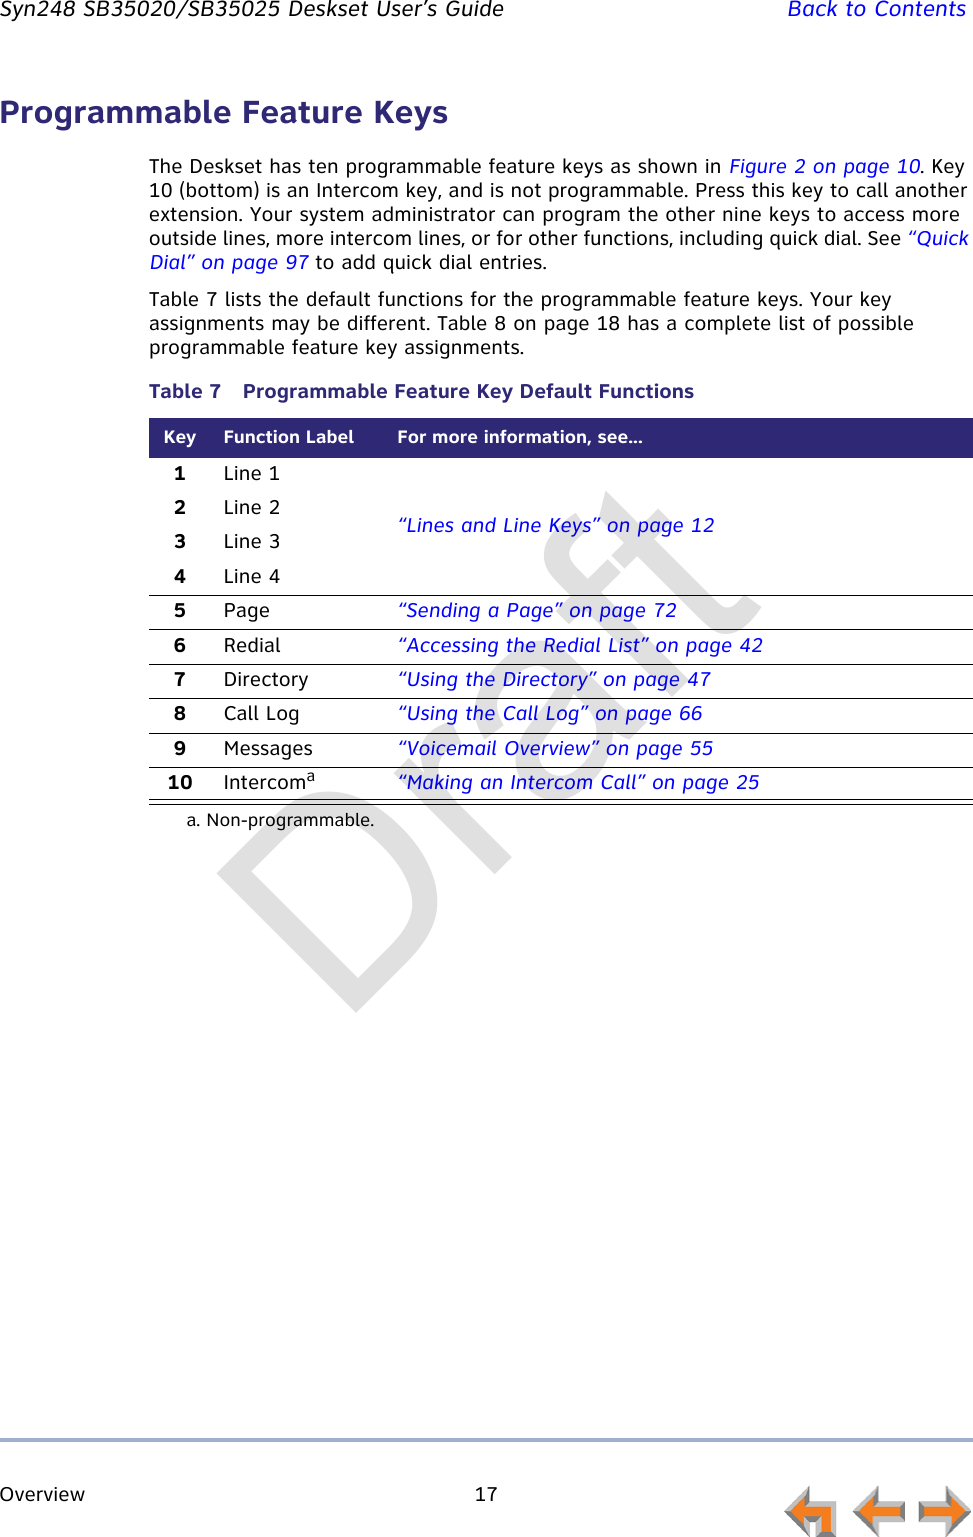
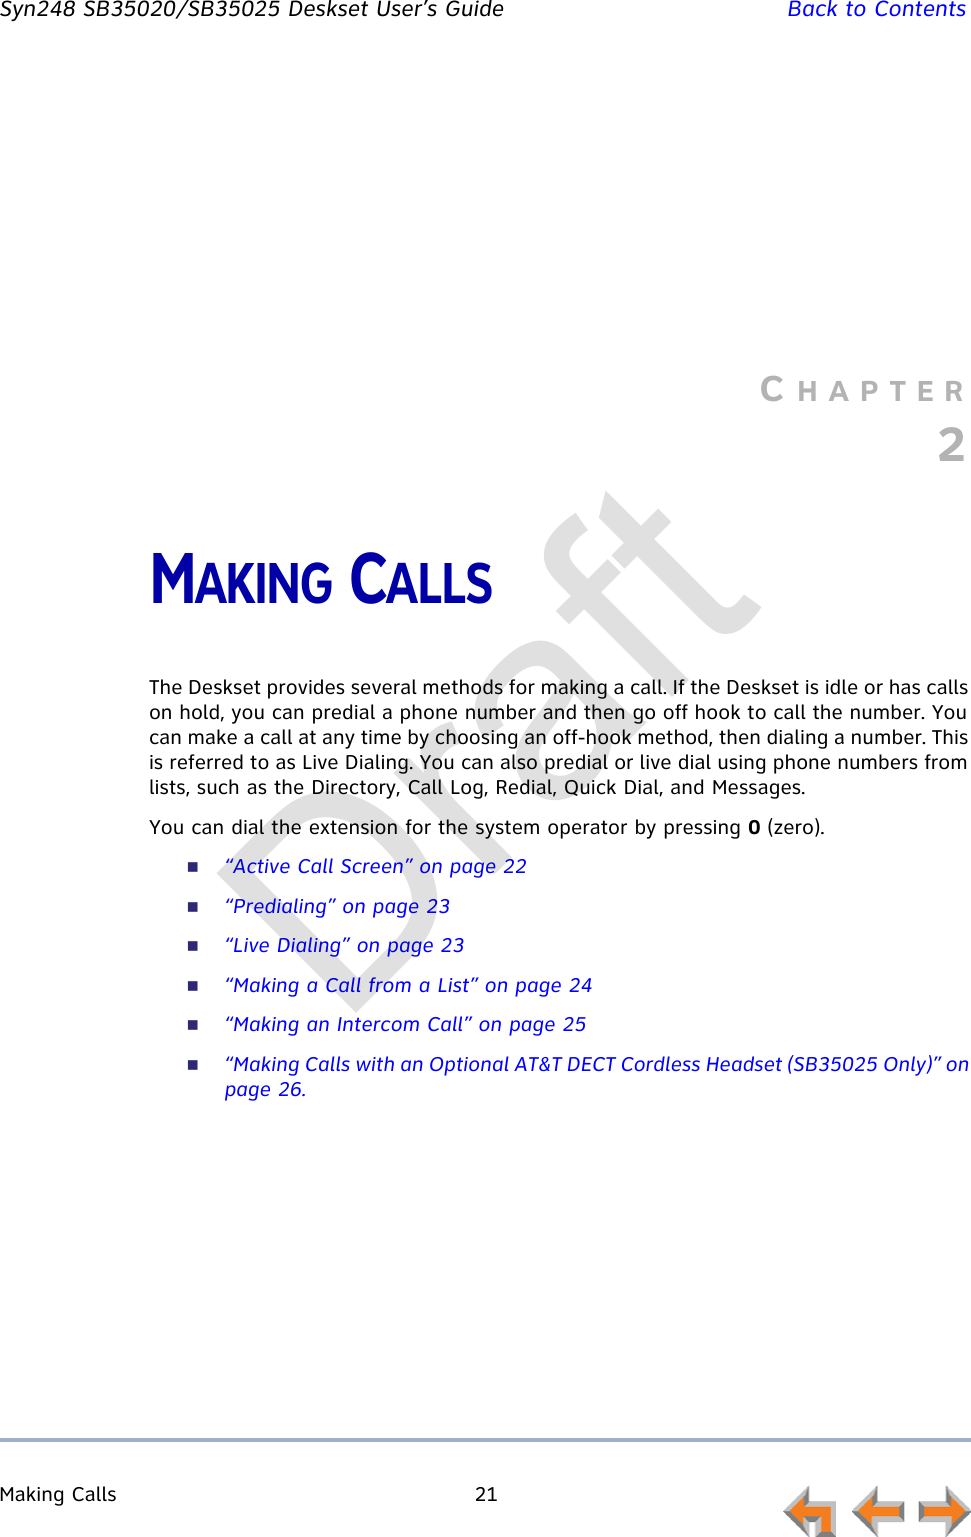
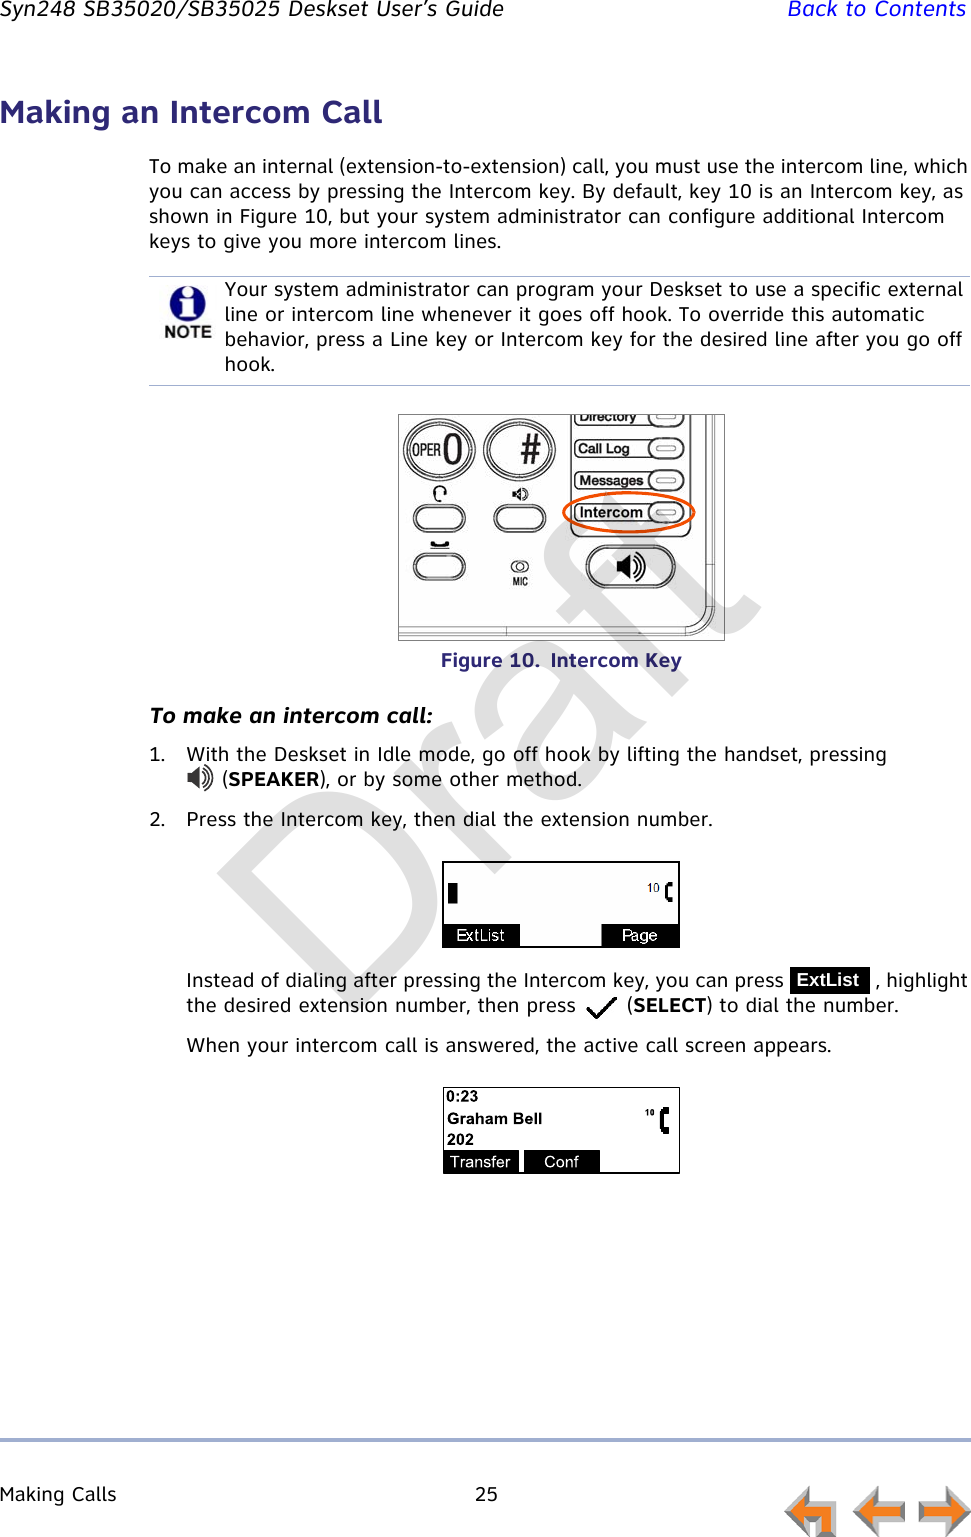
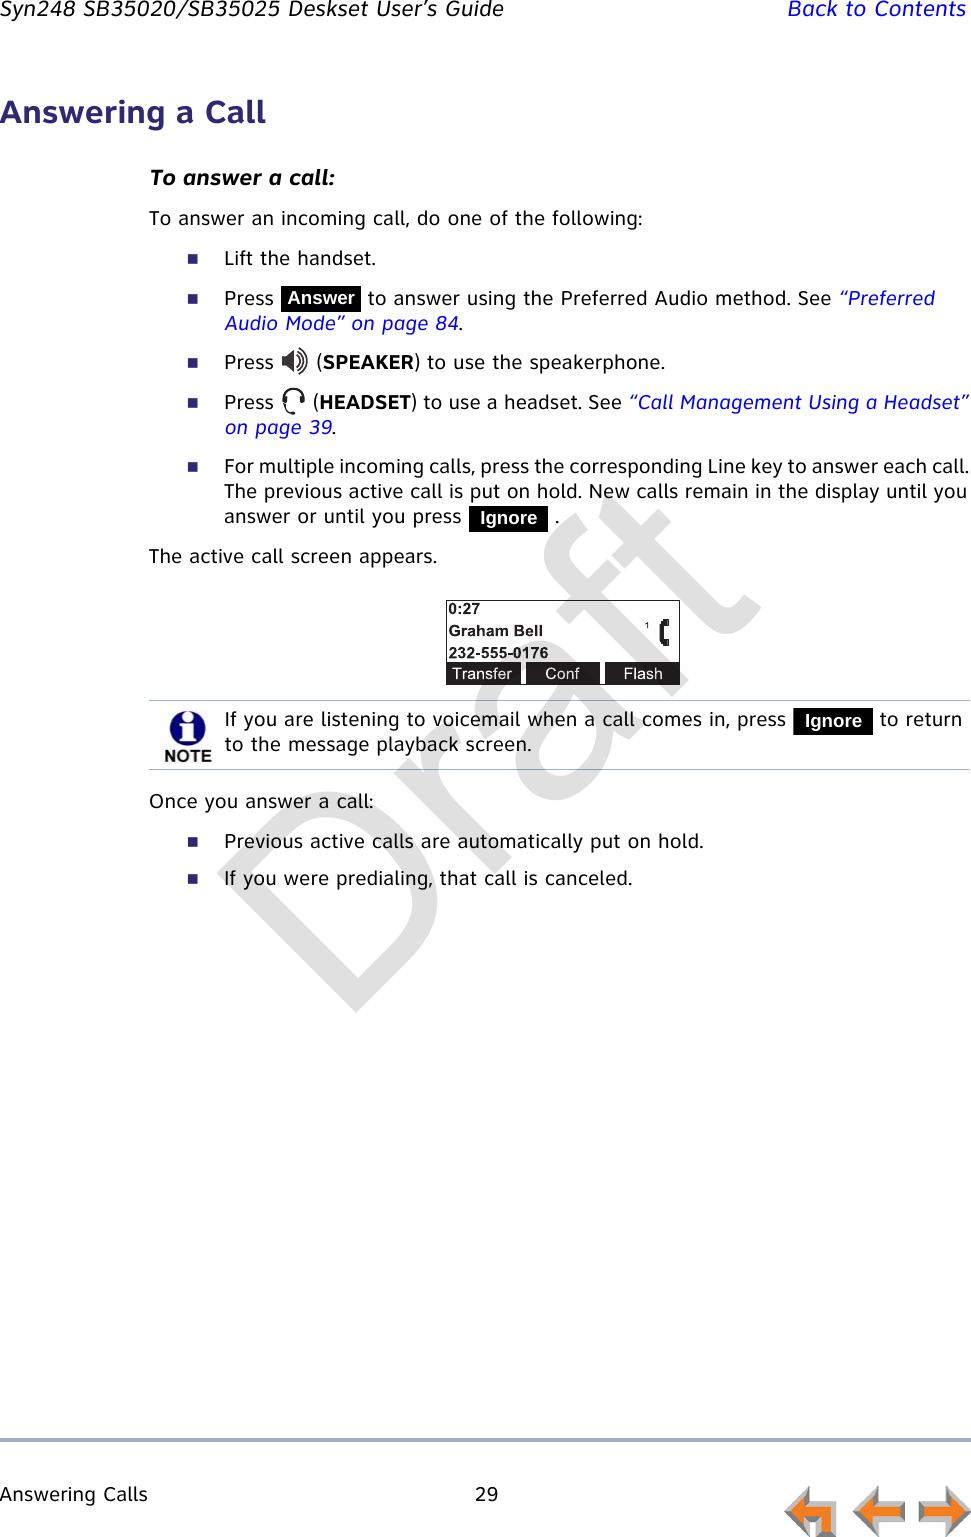
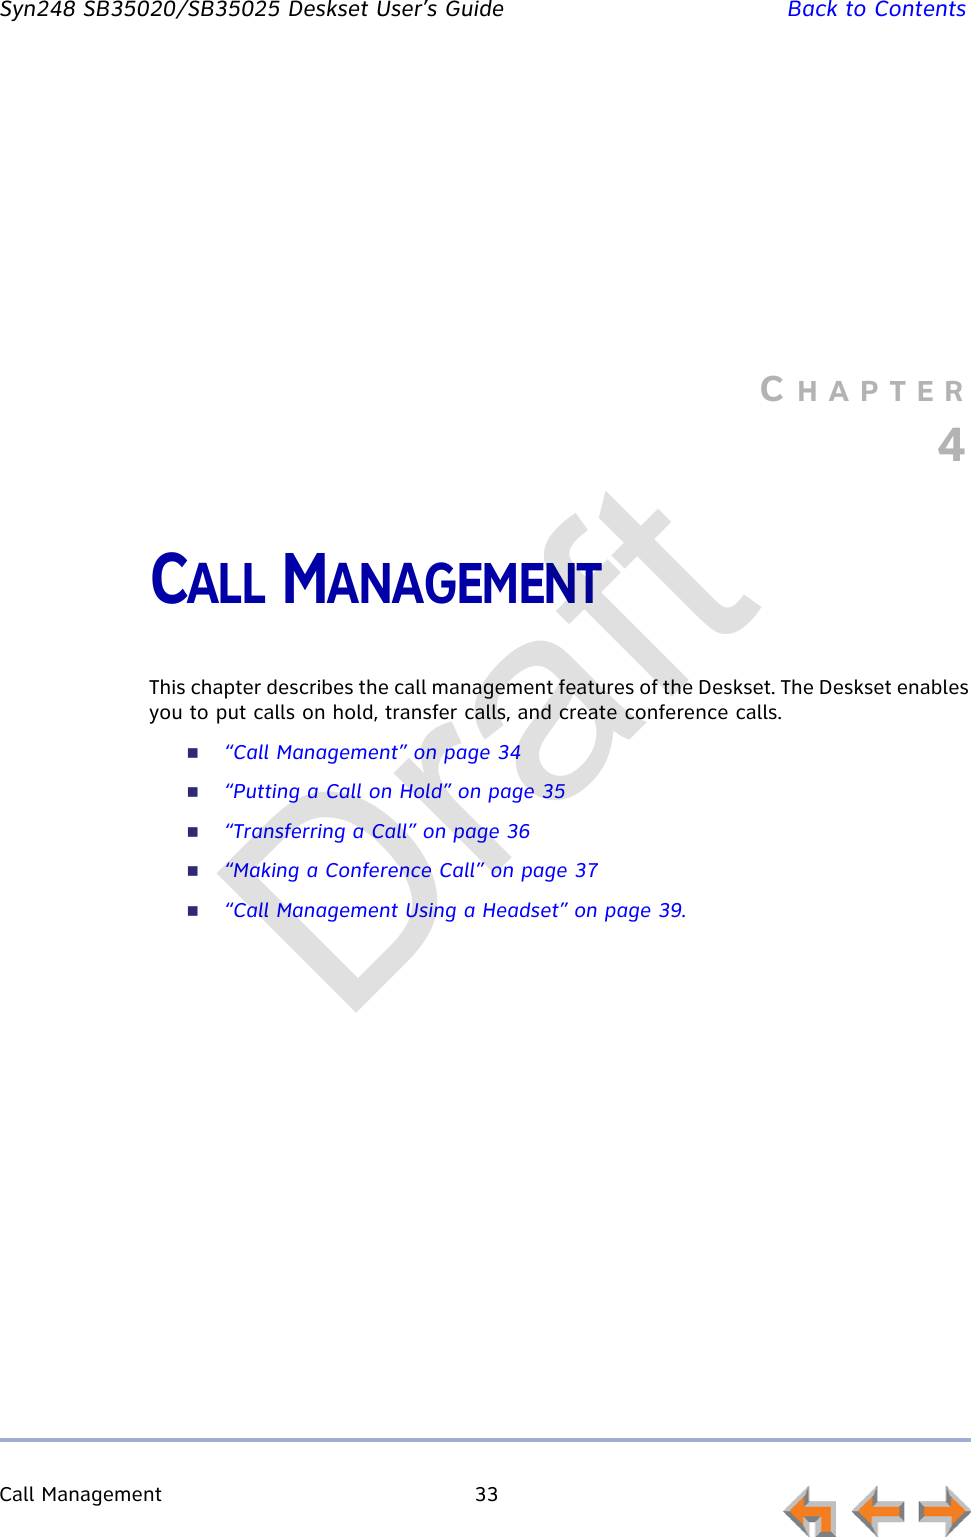
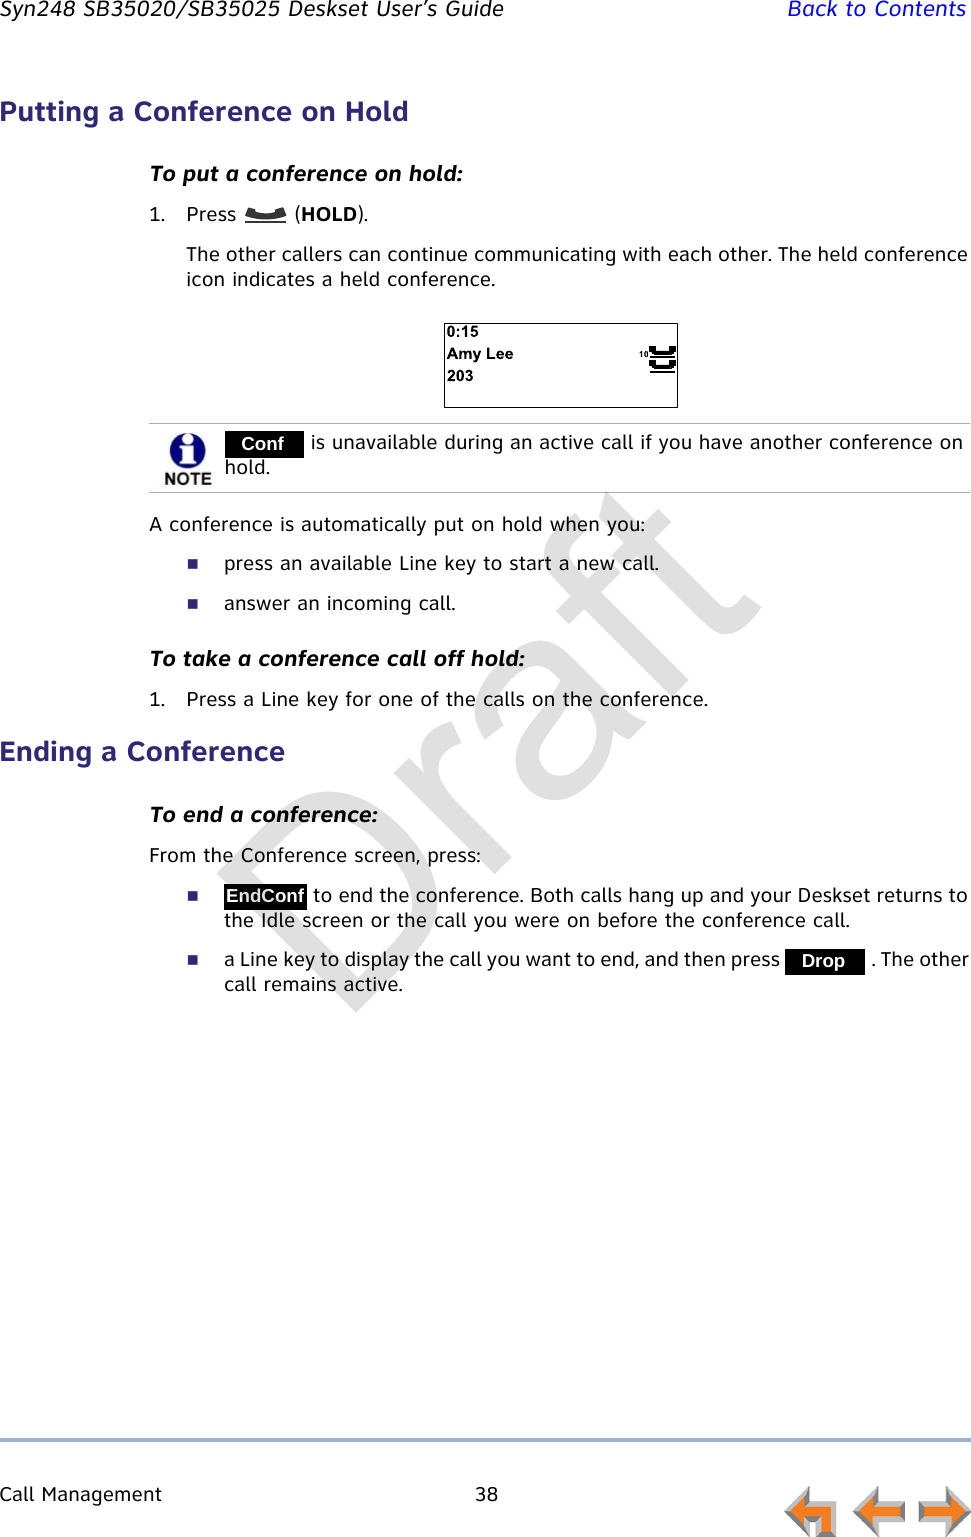
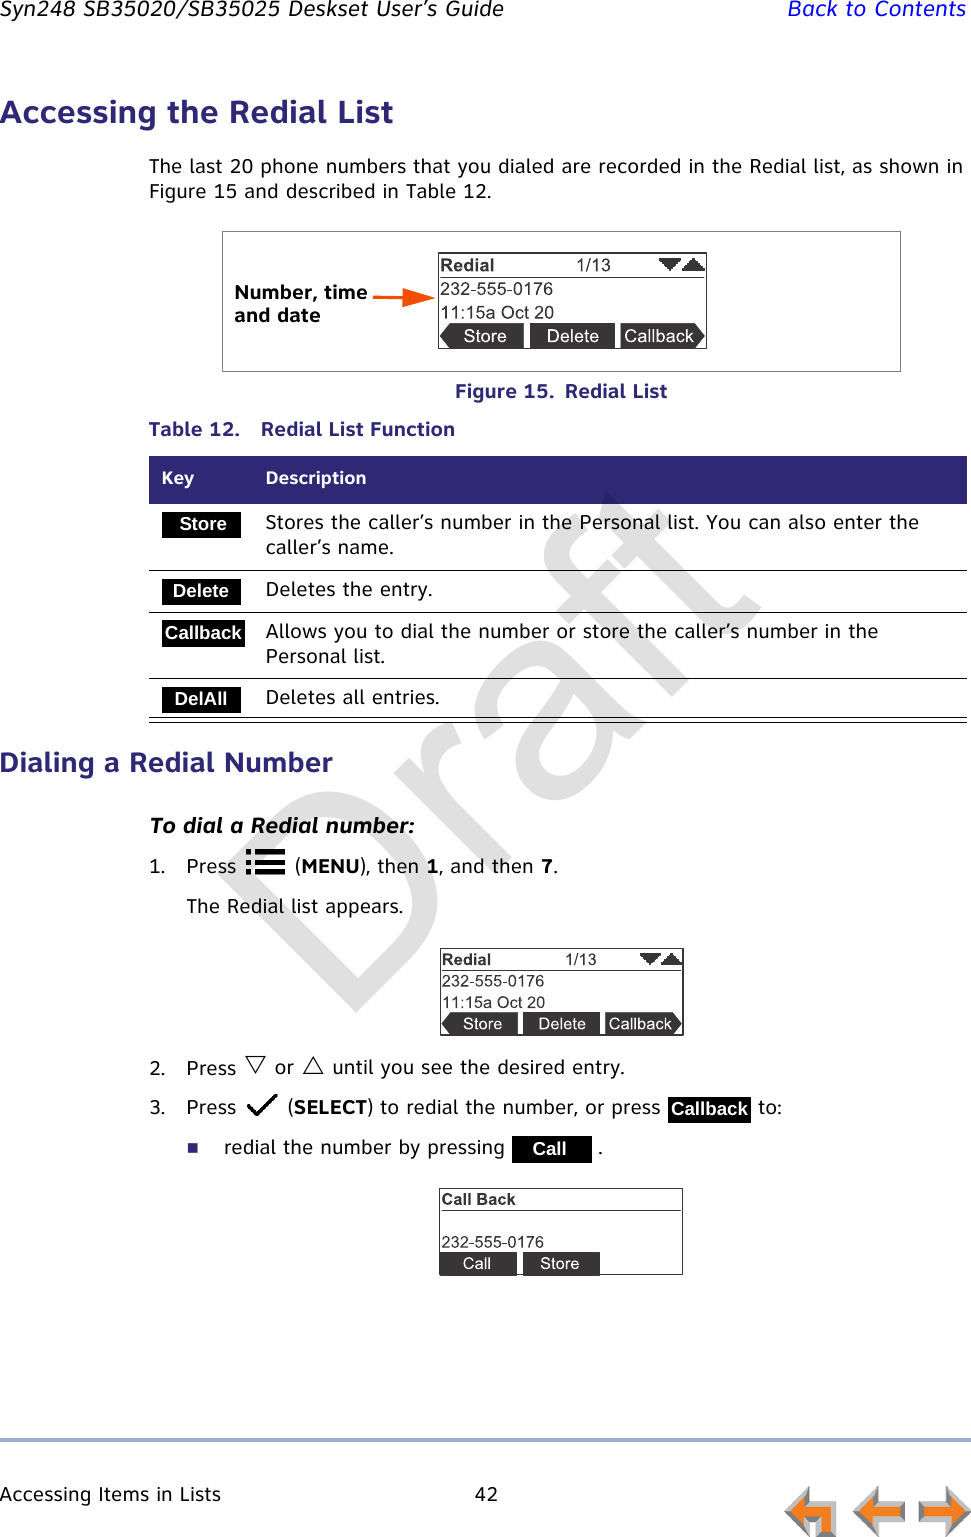
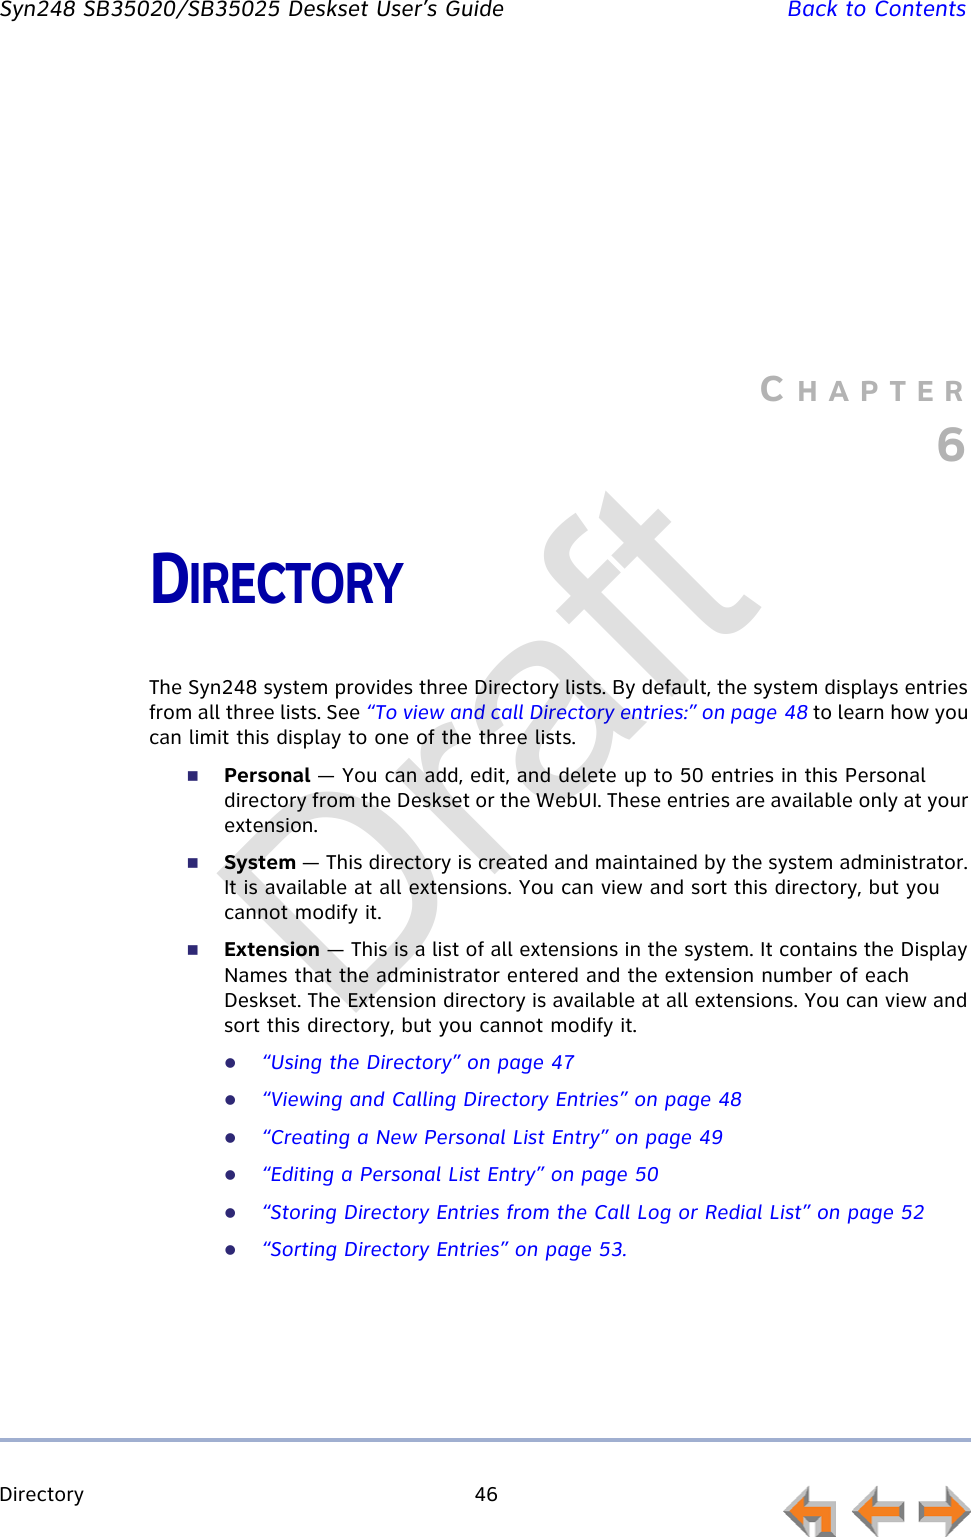
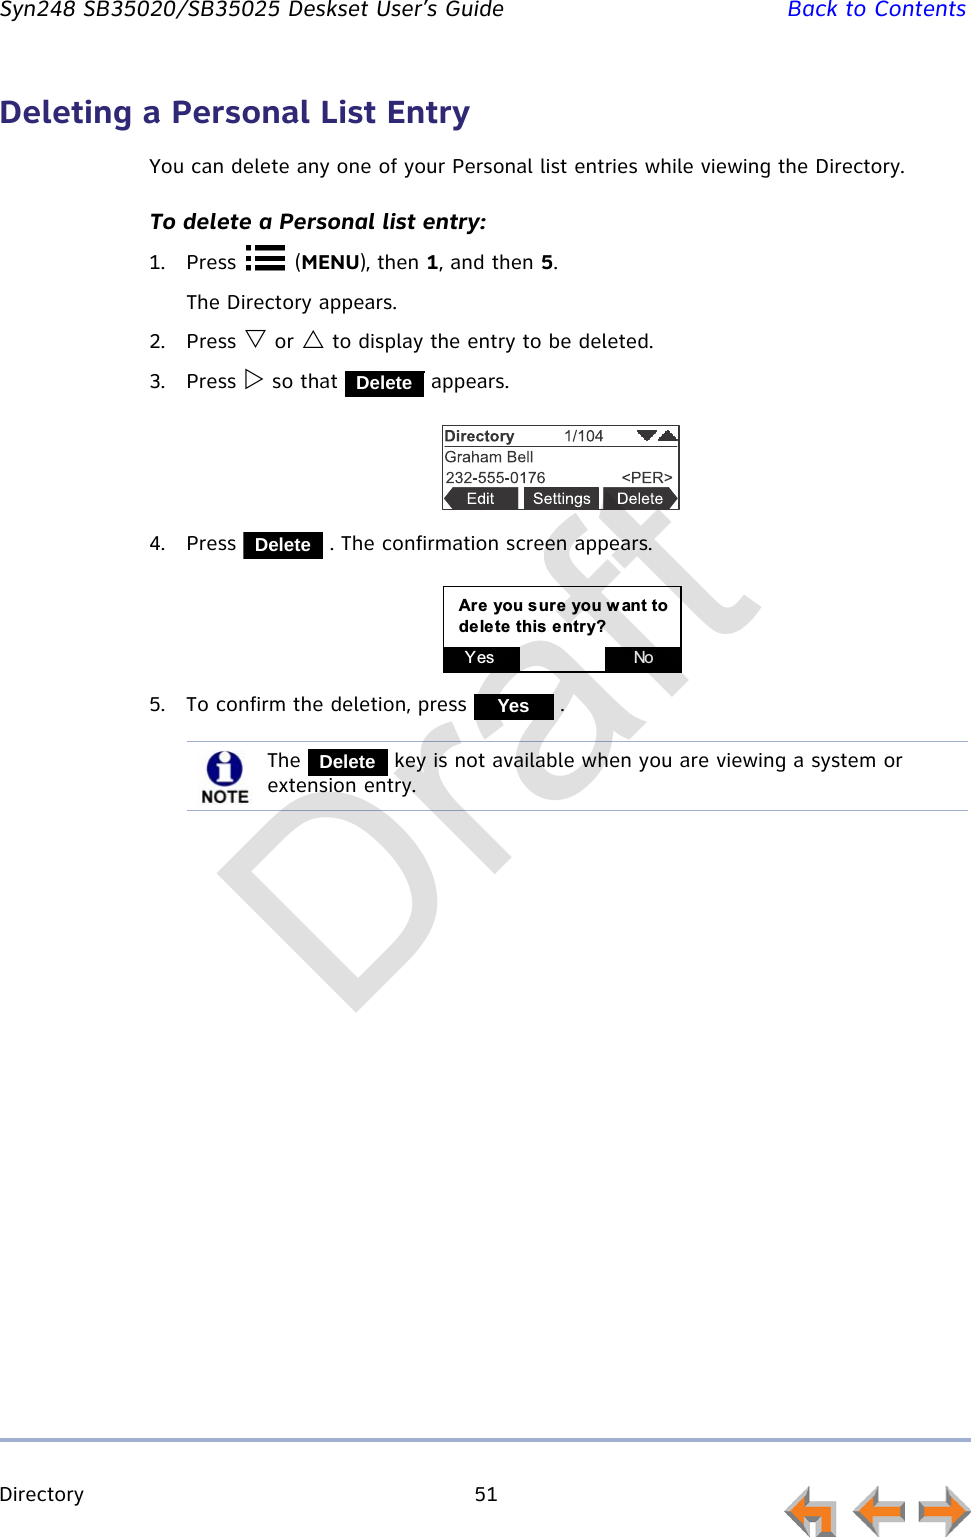
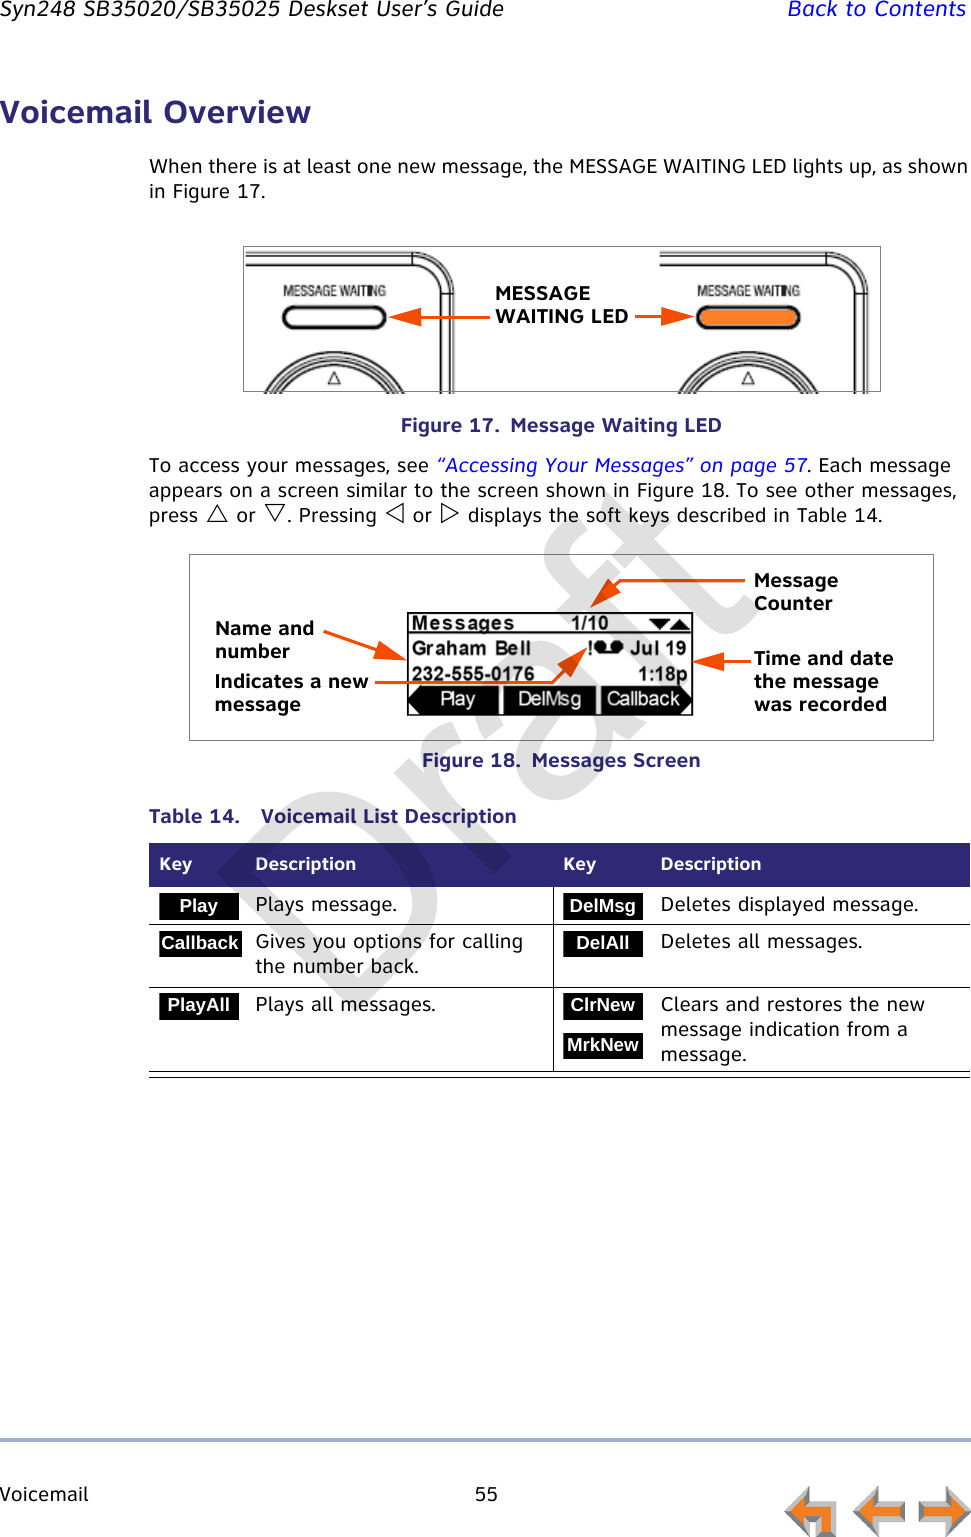
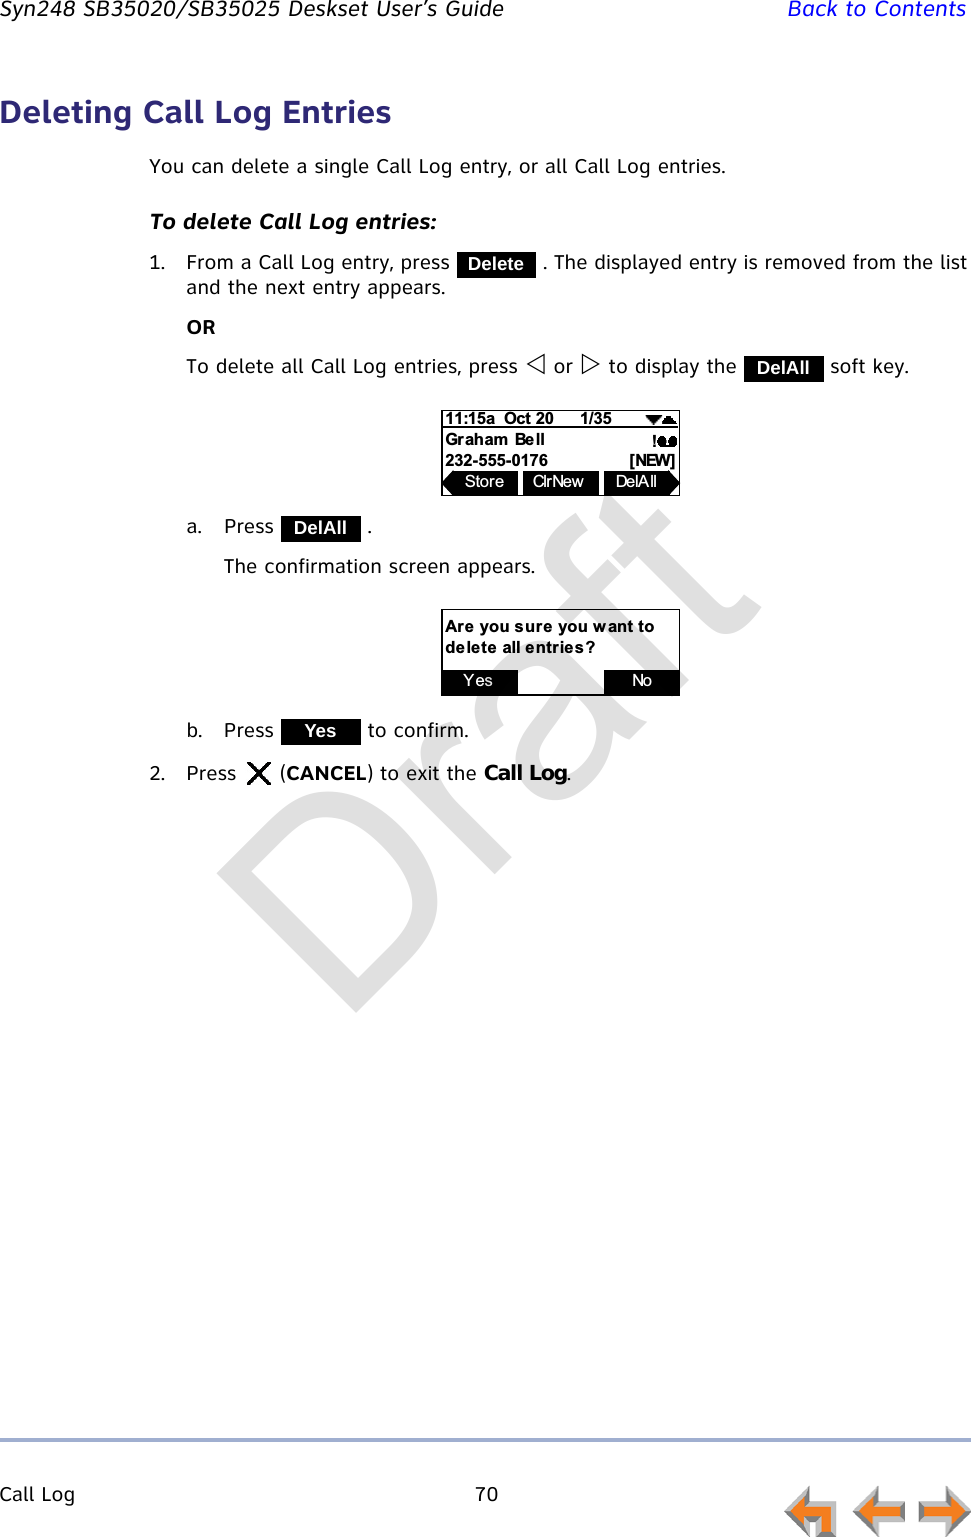
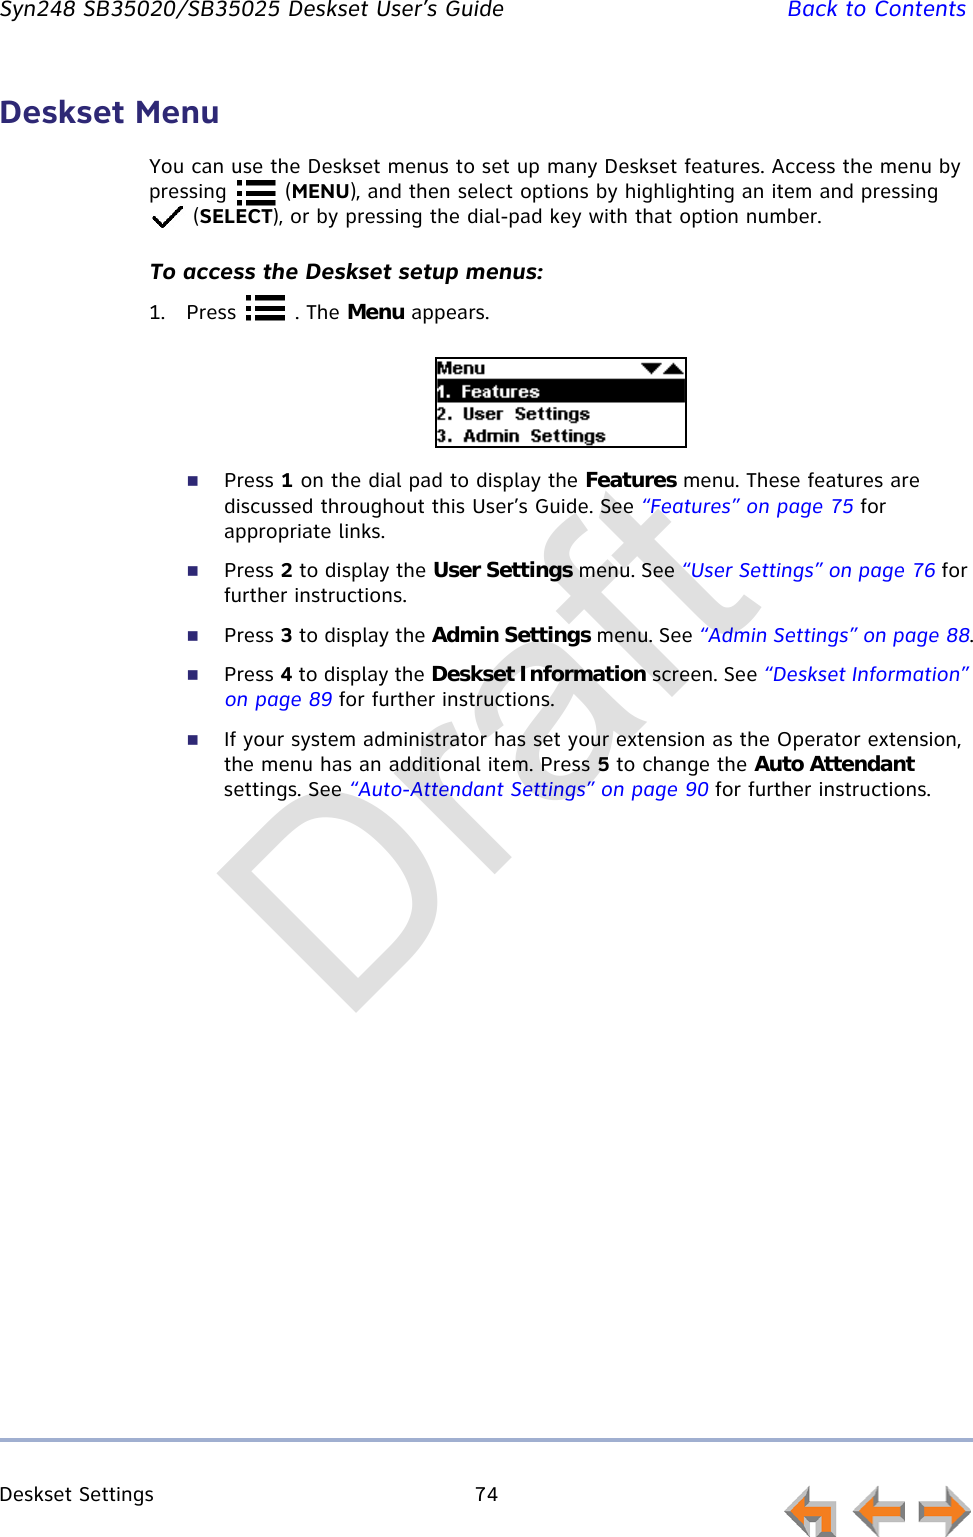
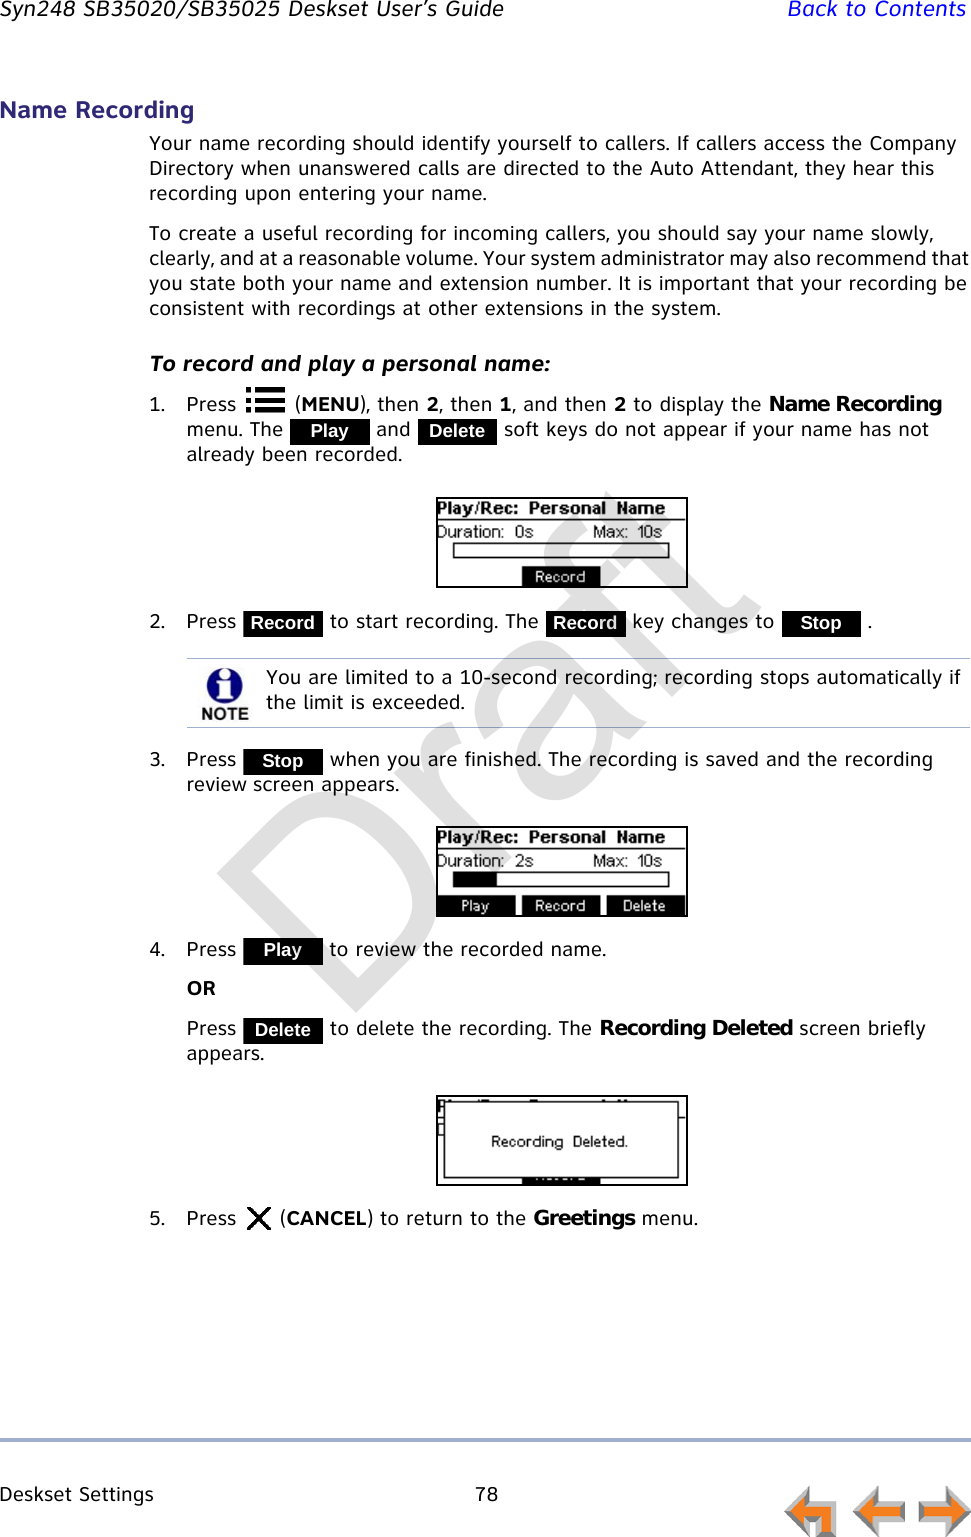
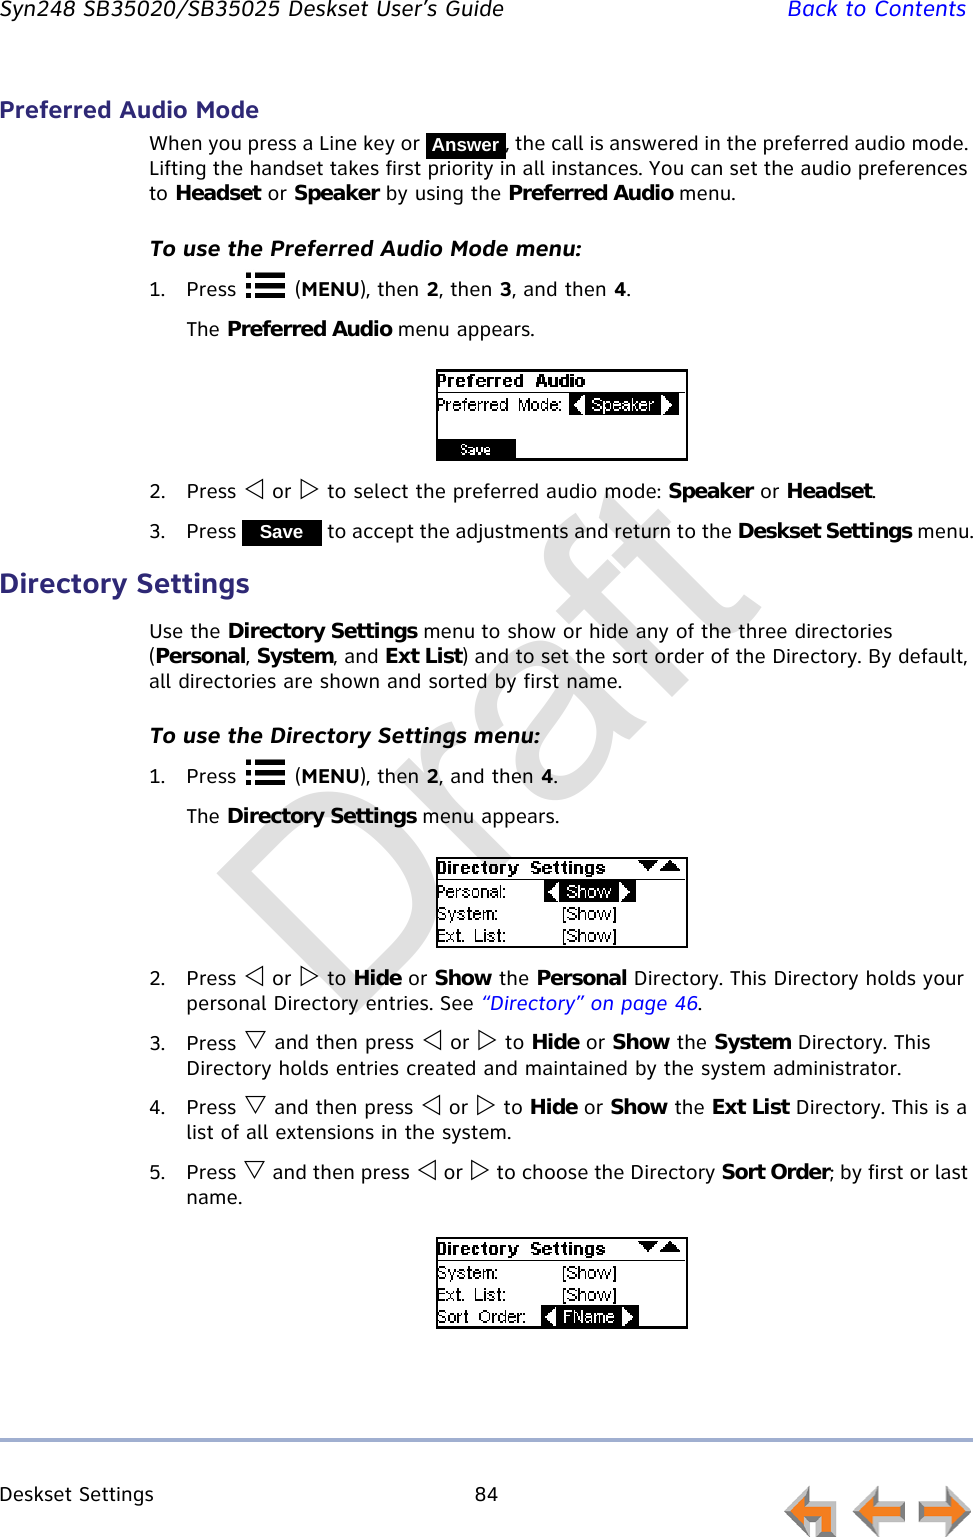
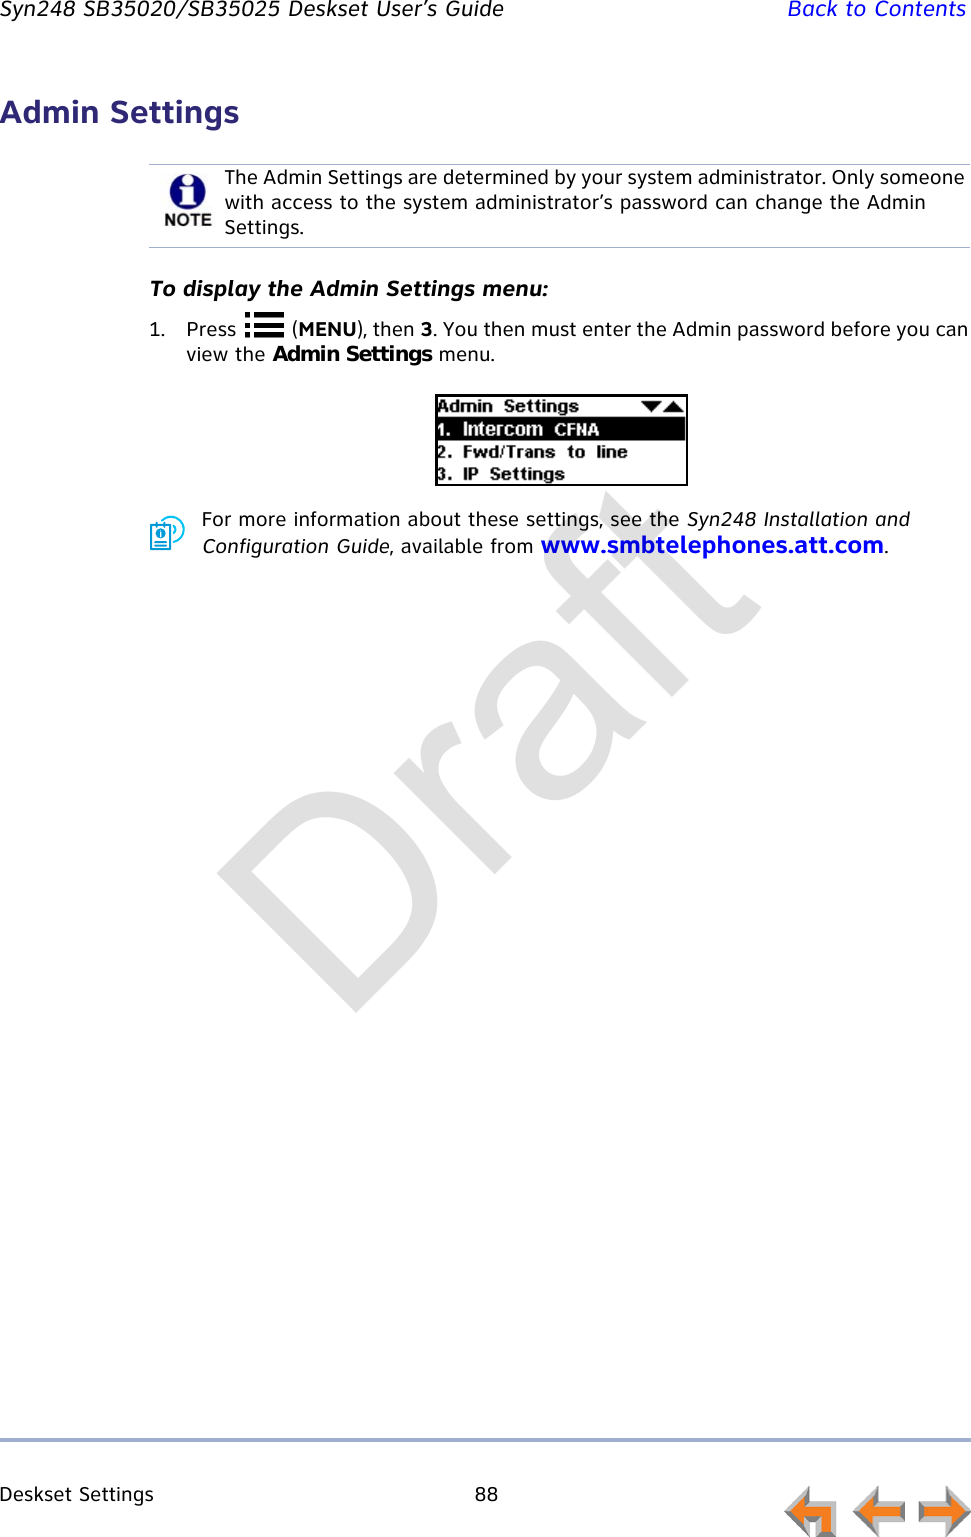
![Call Log 66 Syn248 SB35020/SB35025 Deskset User’s Guide Back to ContentsUsing the Call LogThe Call Log soft keys, as shown in Figure 21 and described in Table 15, are available whenever the Call Log has at least one entry.Figure 21. Call Log FunctionsThe message icon appears in call entries where the caller left a message. The icon remains until you delete the message. An ! icon indicates the message is new.If your company has caller ID, the caller information appears. If the caller ID information is absent because it is unavailable, UNKNOWN NAME and UNKNOWN NUMBER appear. If the caller chooses not to send the information, PRIVATE NAME and PRIVATE NUMBER appear.1. Current Call Log entry number/total number of entries50/50 maximum.2. Name and number3. Message available for playback Exclamation mark (!) indicates the message is new.4. NEW Indicates the call was not answered and has not been reviewed.Table 15. Call Log Soft keysKey Description Key DescriptionPlays message. Appears only when there is a message.Deletes the entry.Gives you options for calling the number back.Stores number in your Personal list.Clears [NEW] indication from the displayed entry.Deletes all entries.2431PlayMsgDeleteCallbackStoreClrNewDelAllDraft](https://usermanual.wiki/VTech-Telecommunications/80-8479-00/User-Guide-2070890-Page-66.png)
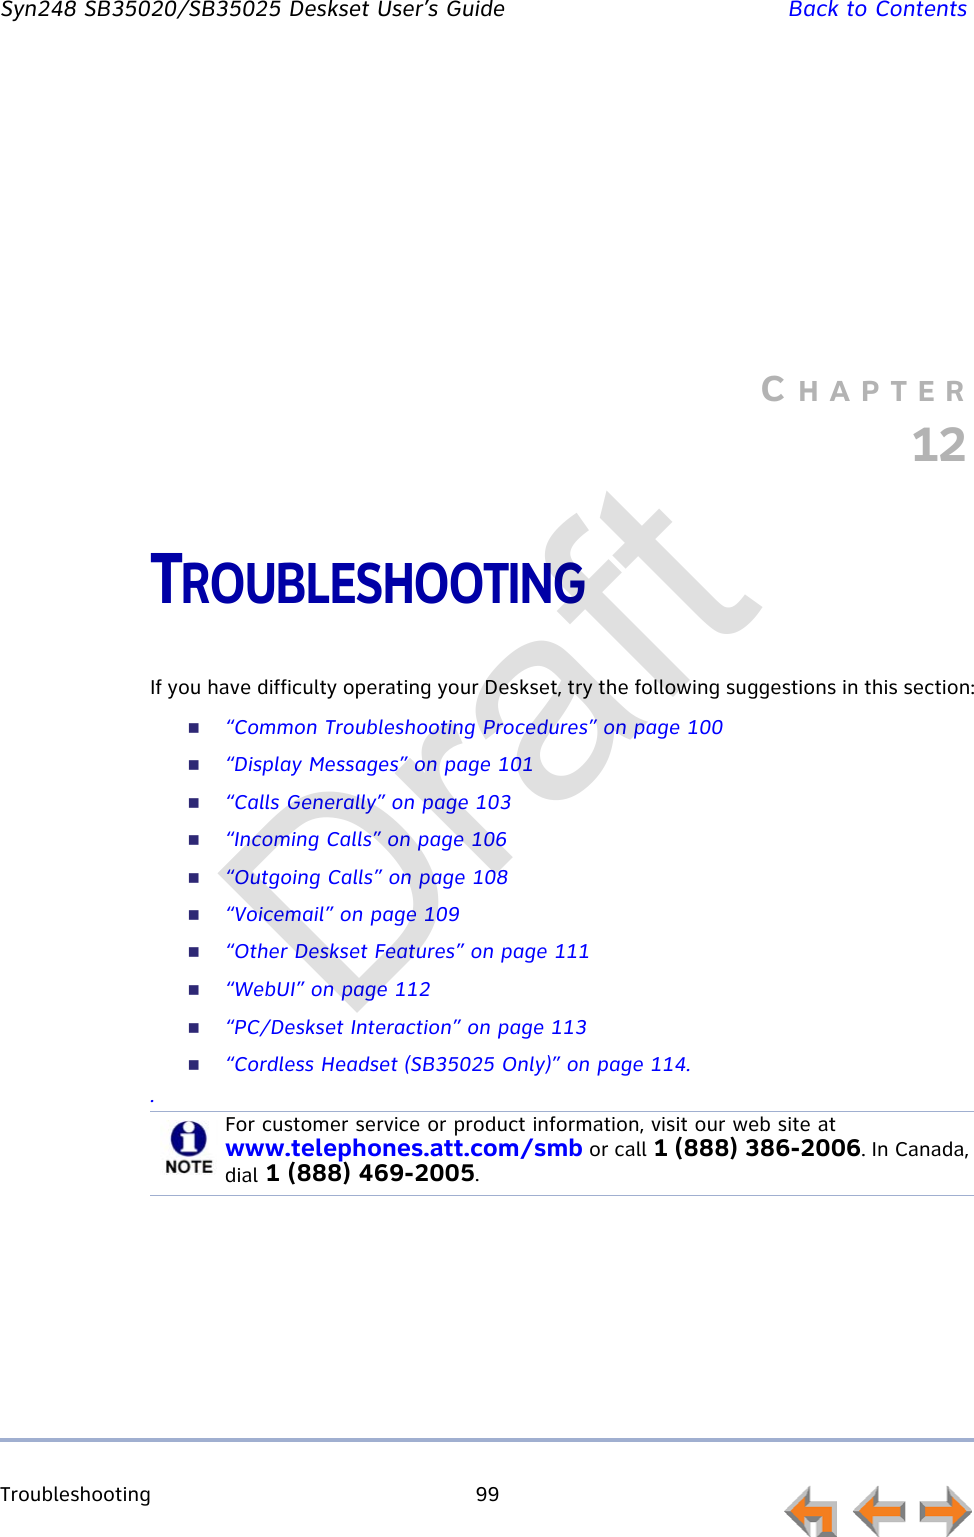
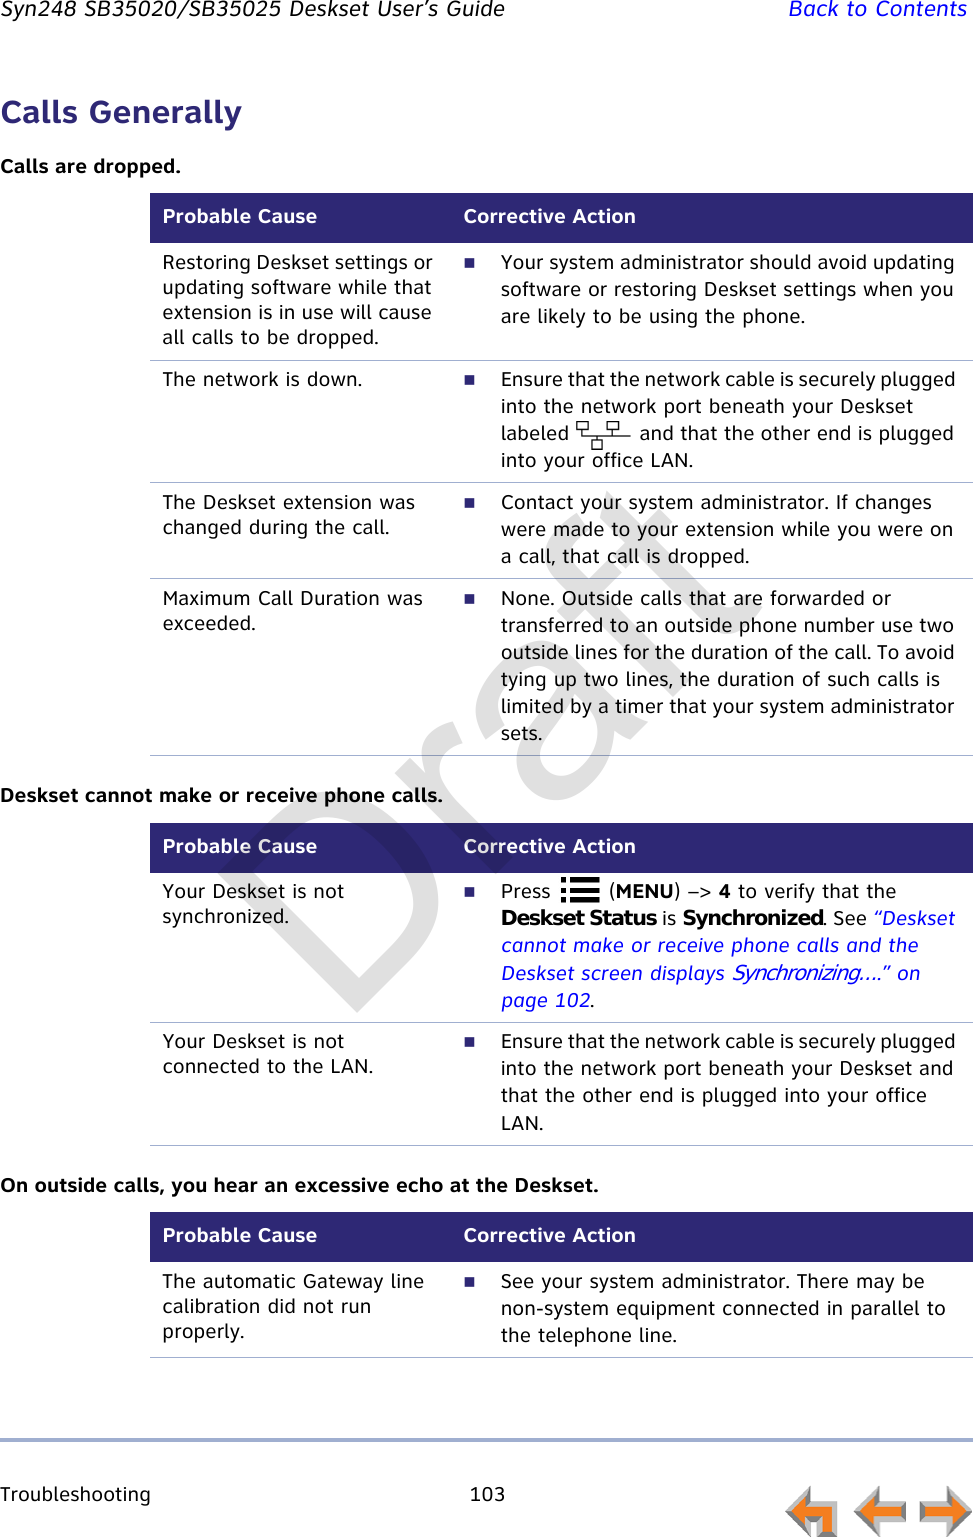
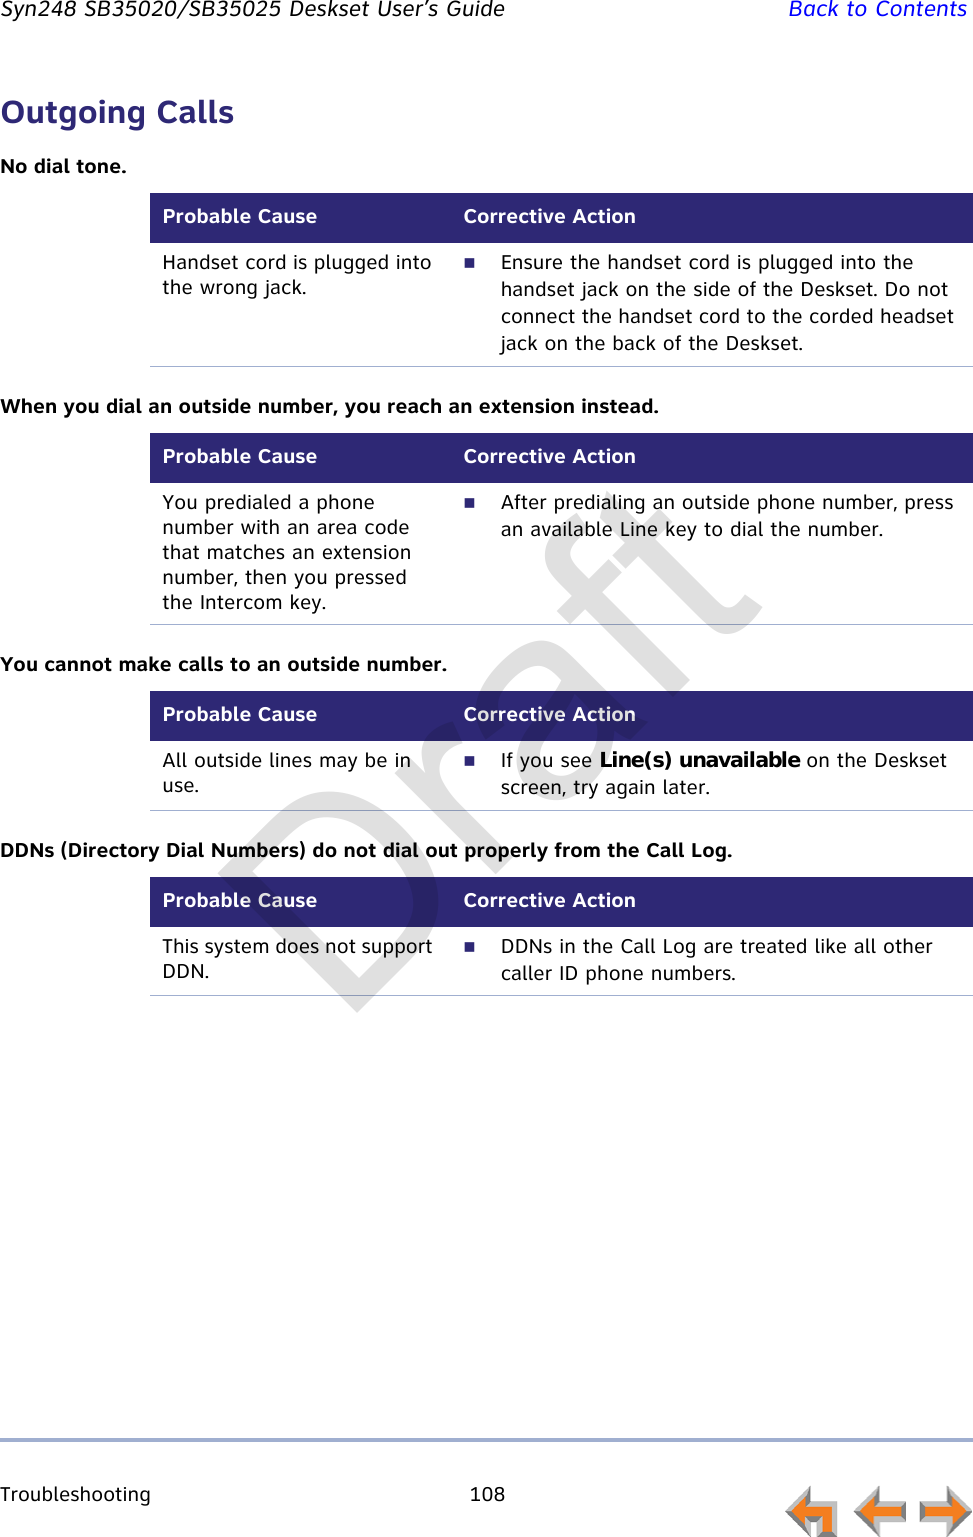
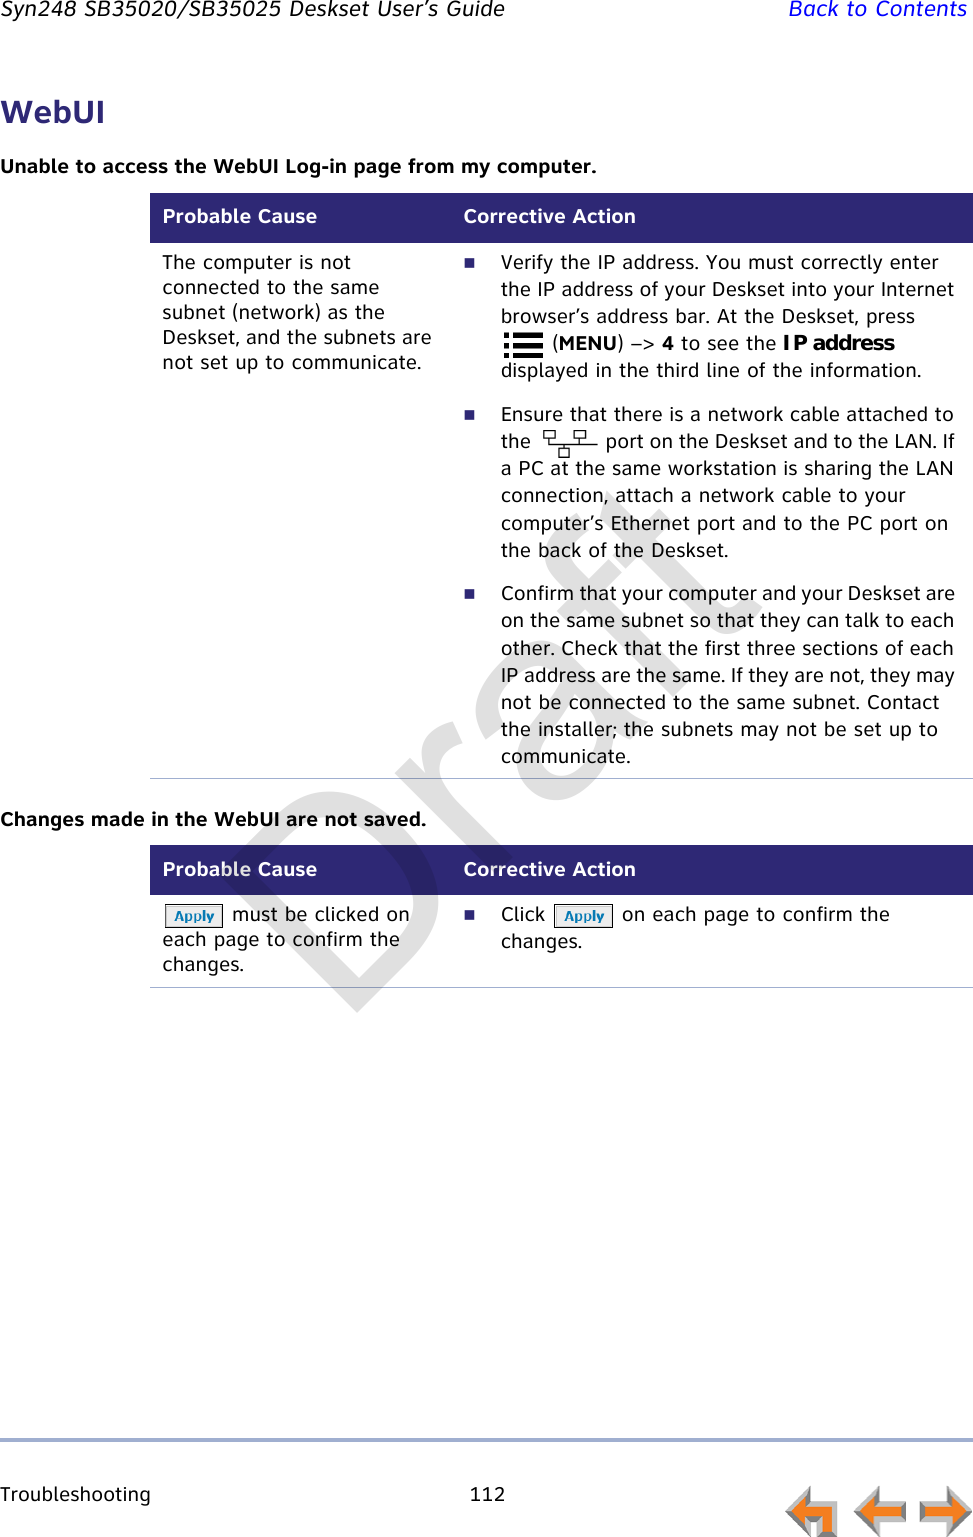
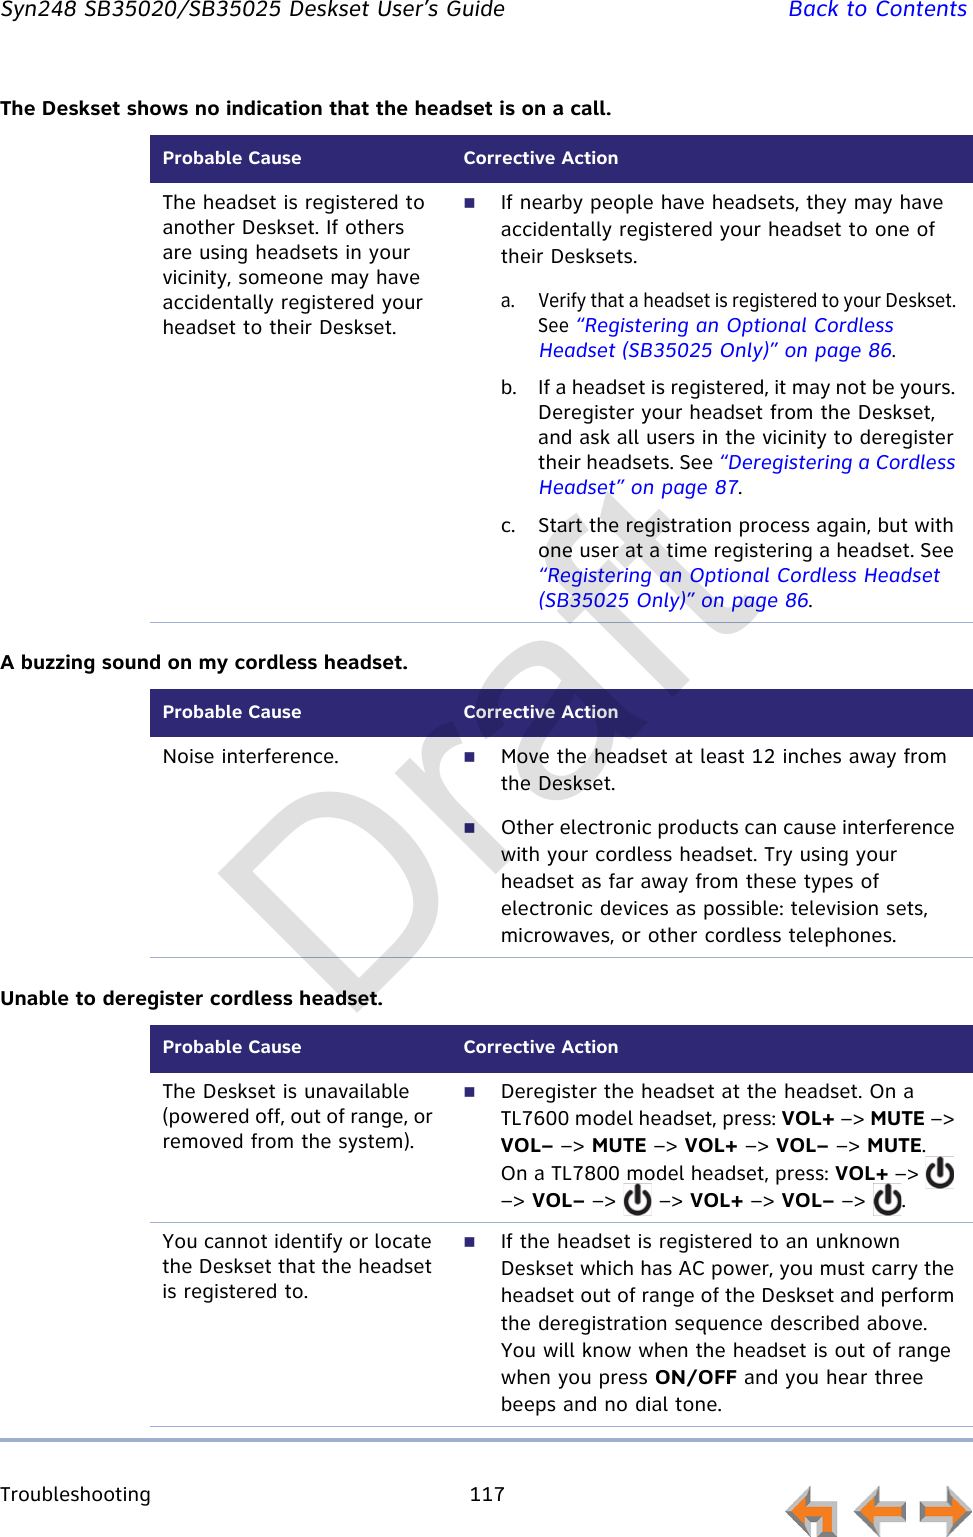
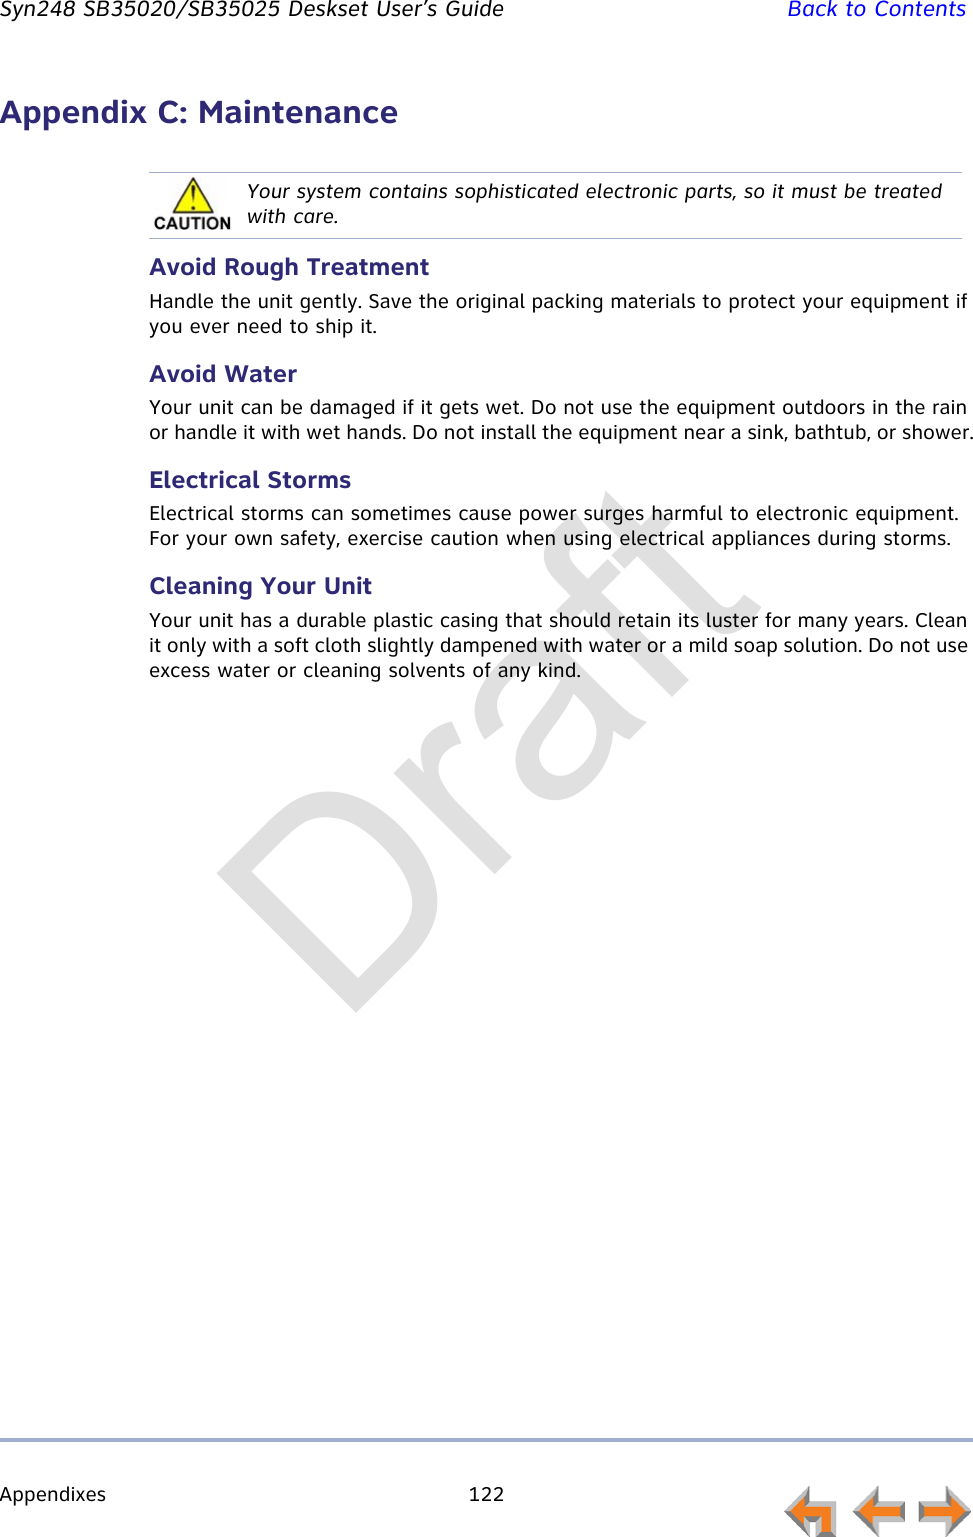
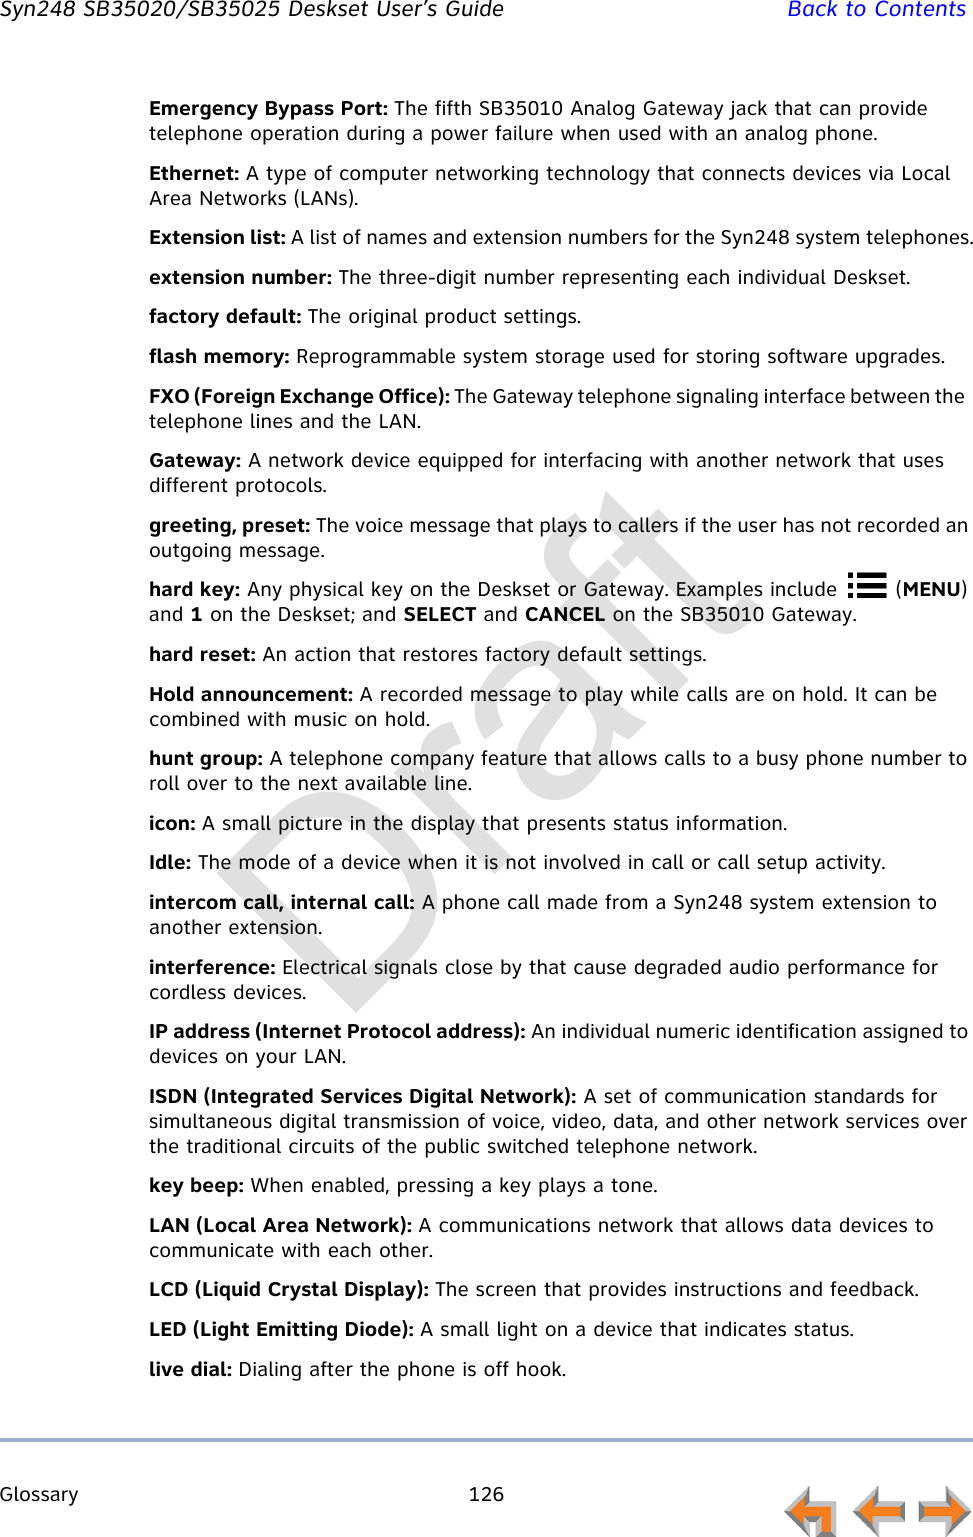
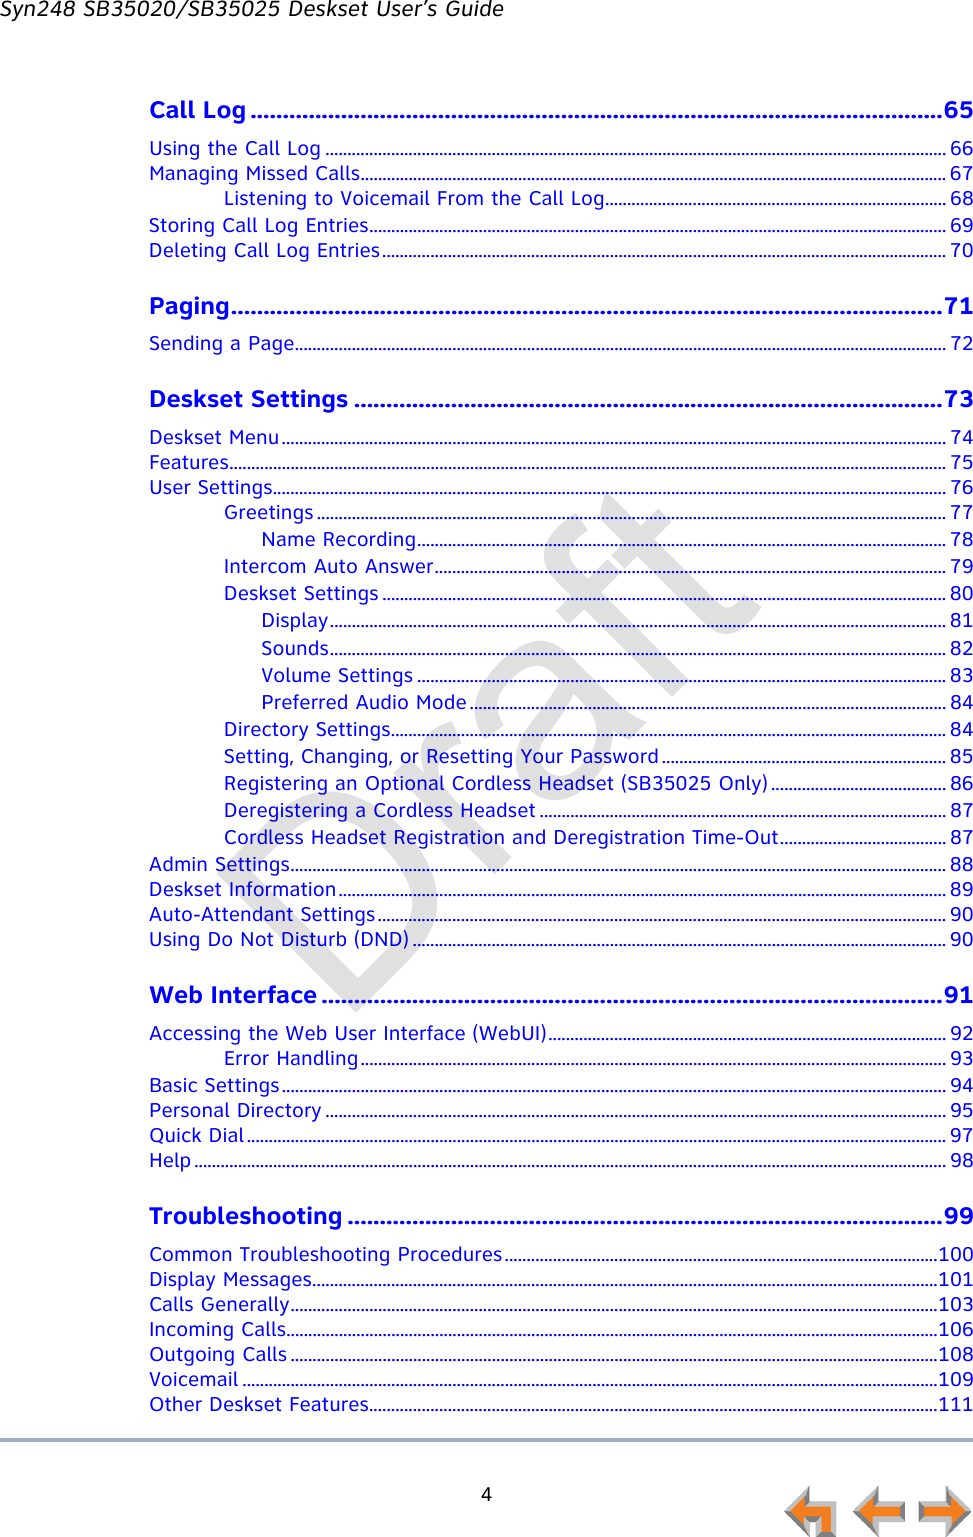
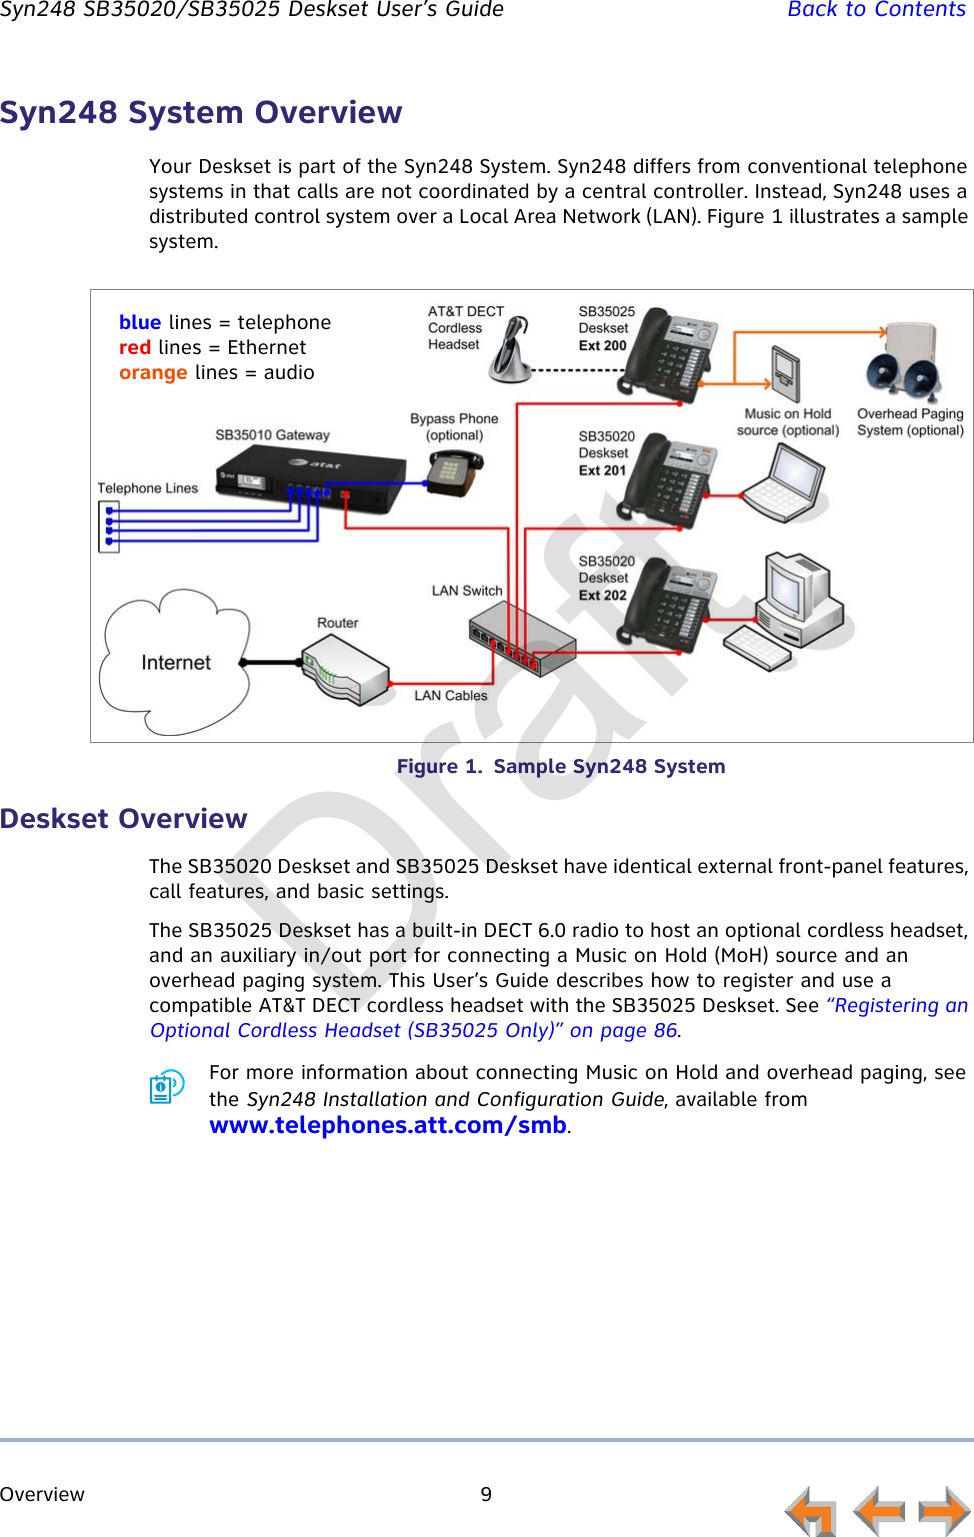
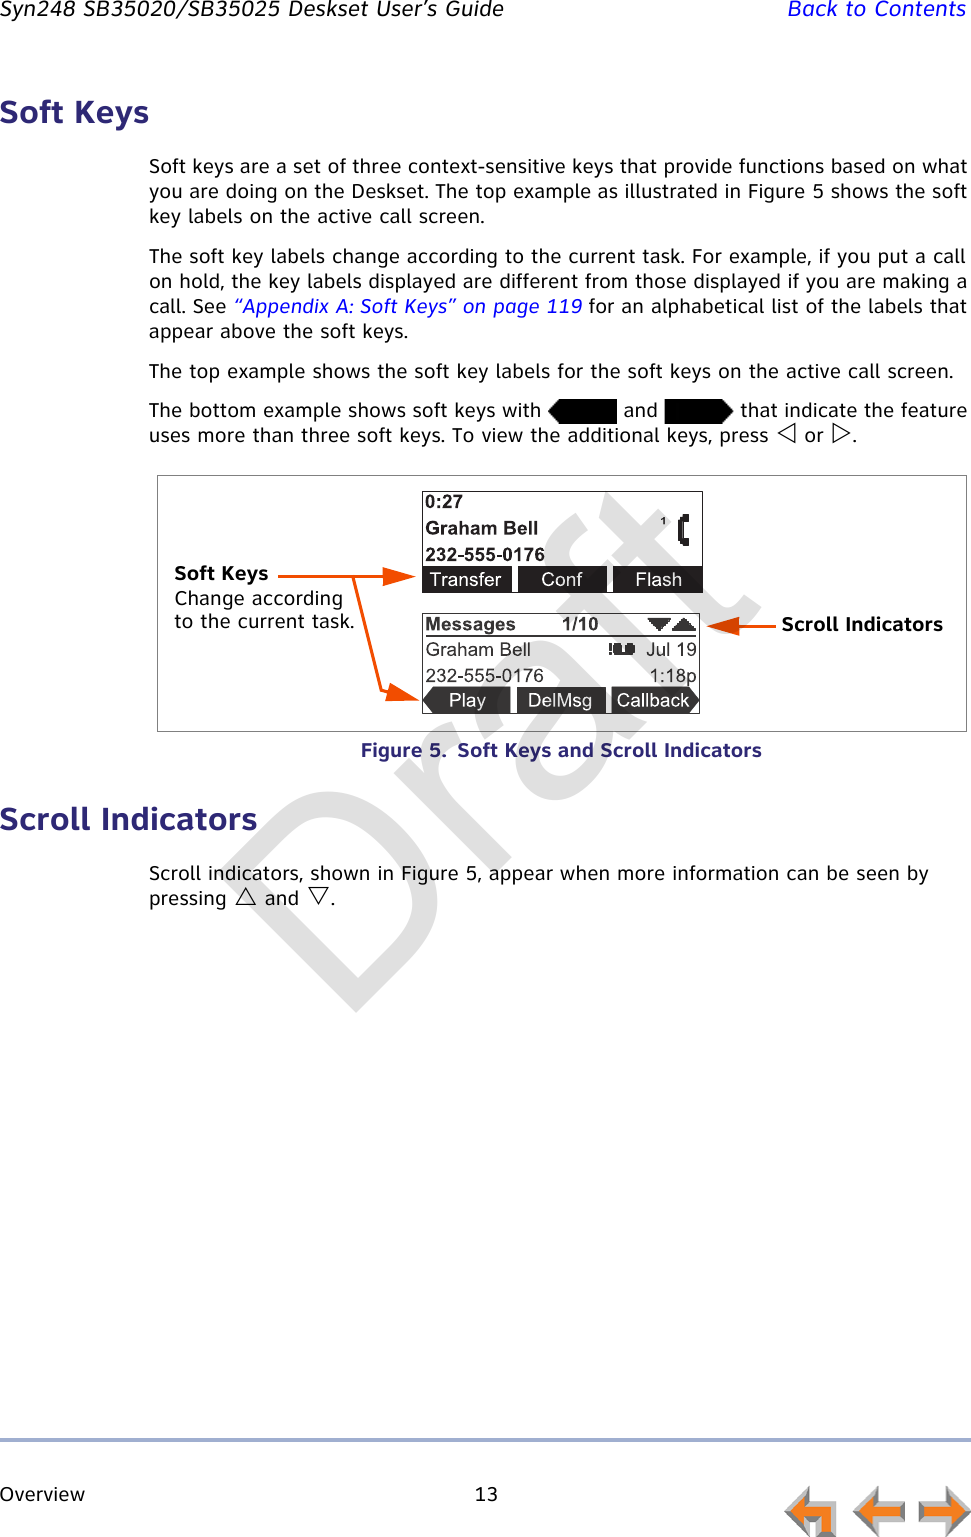
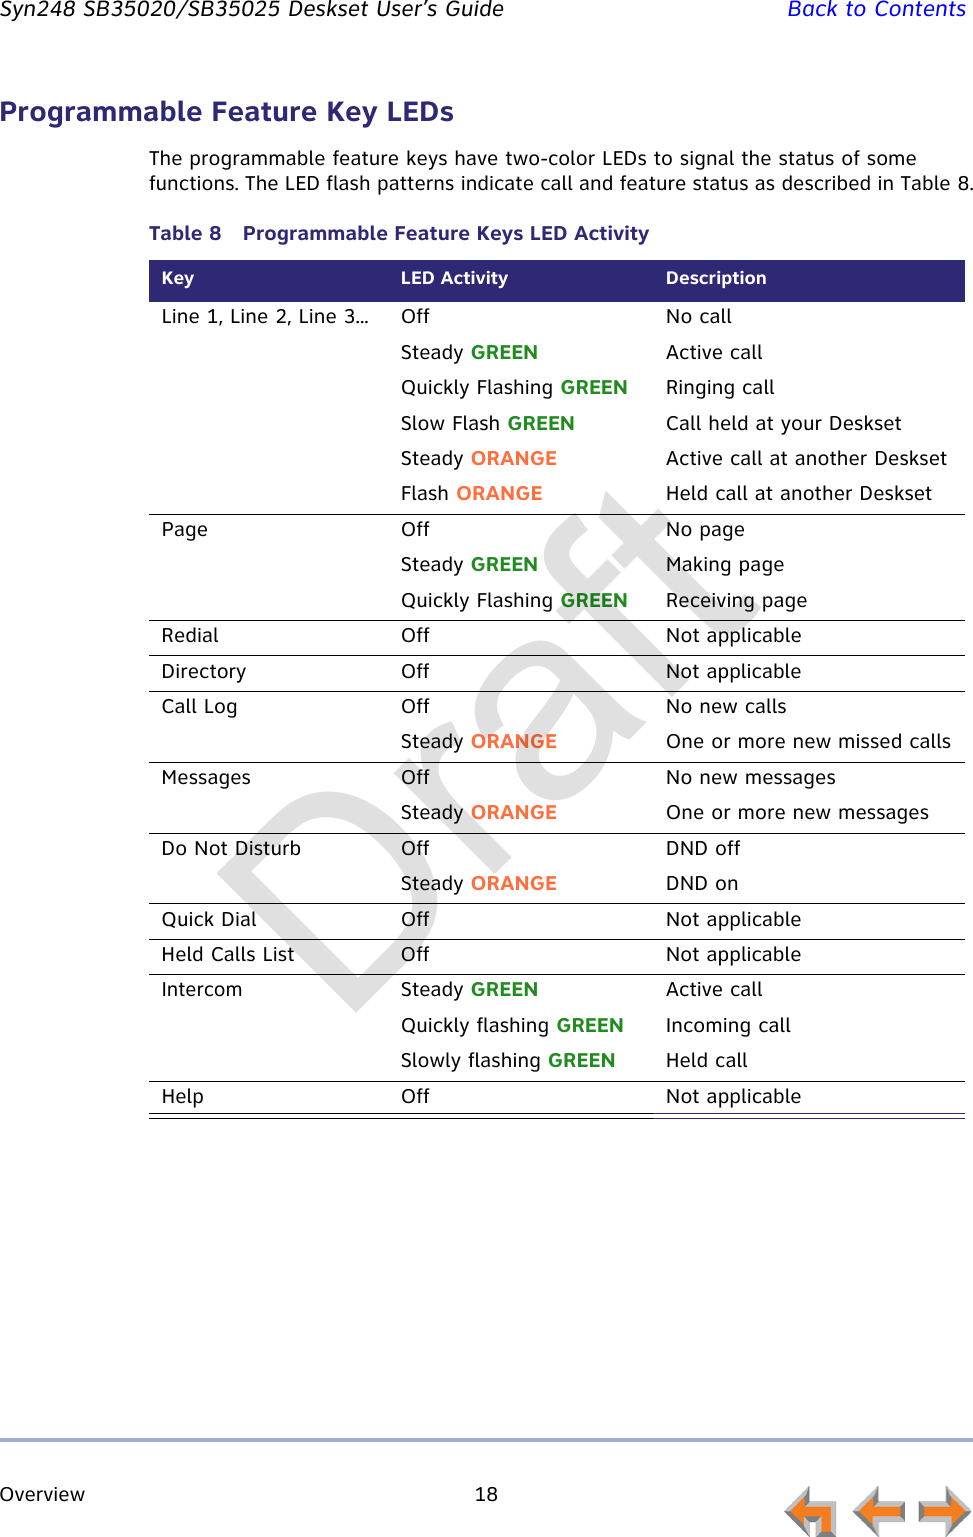
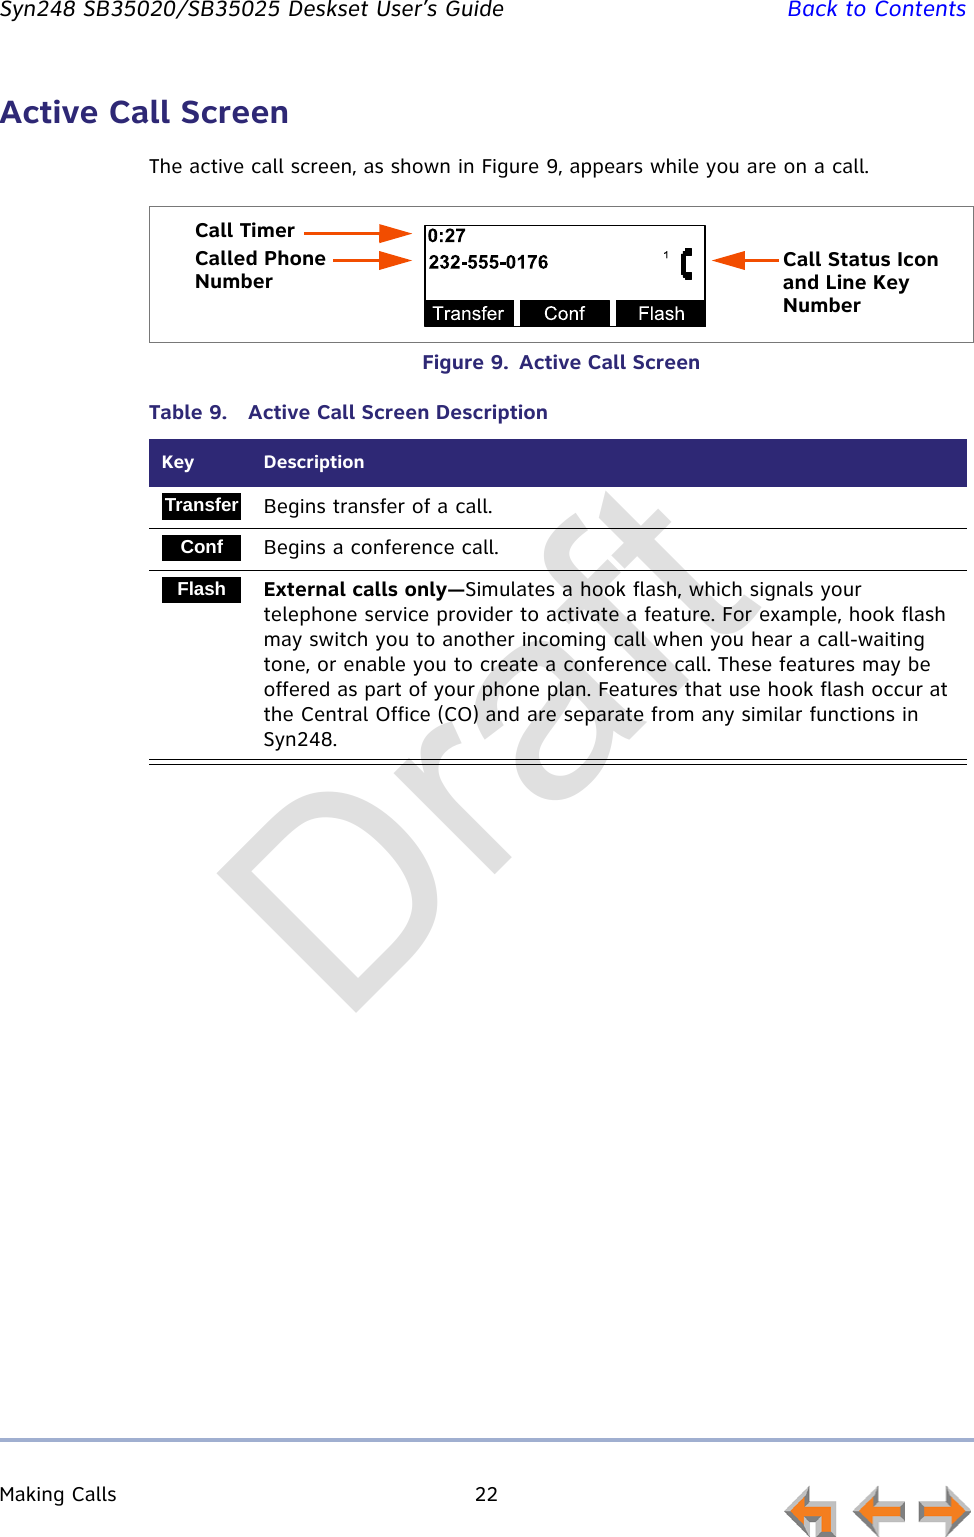
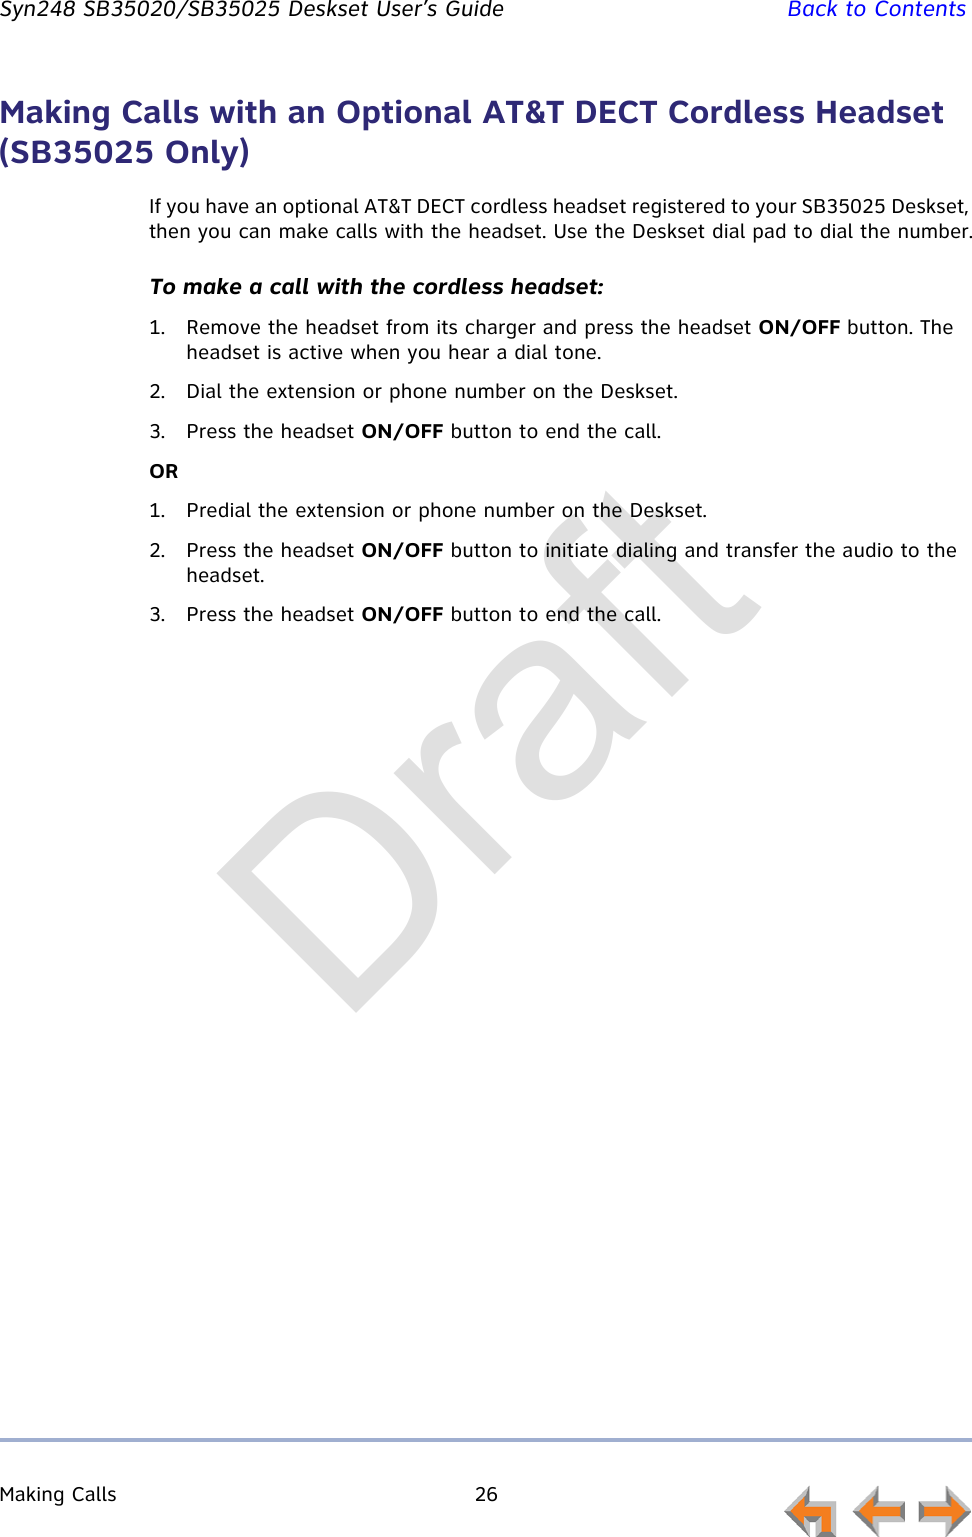
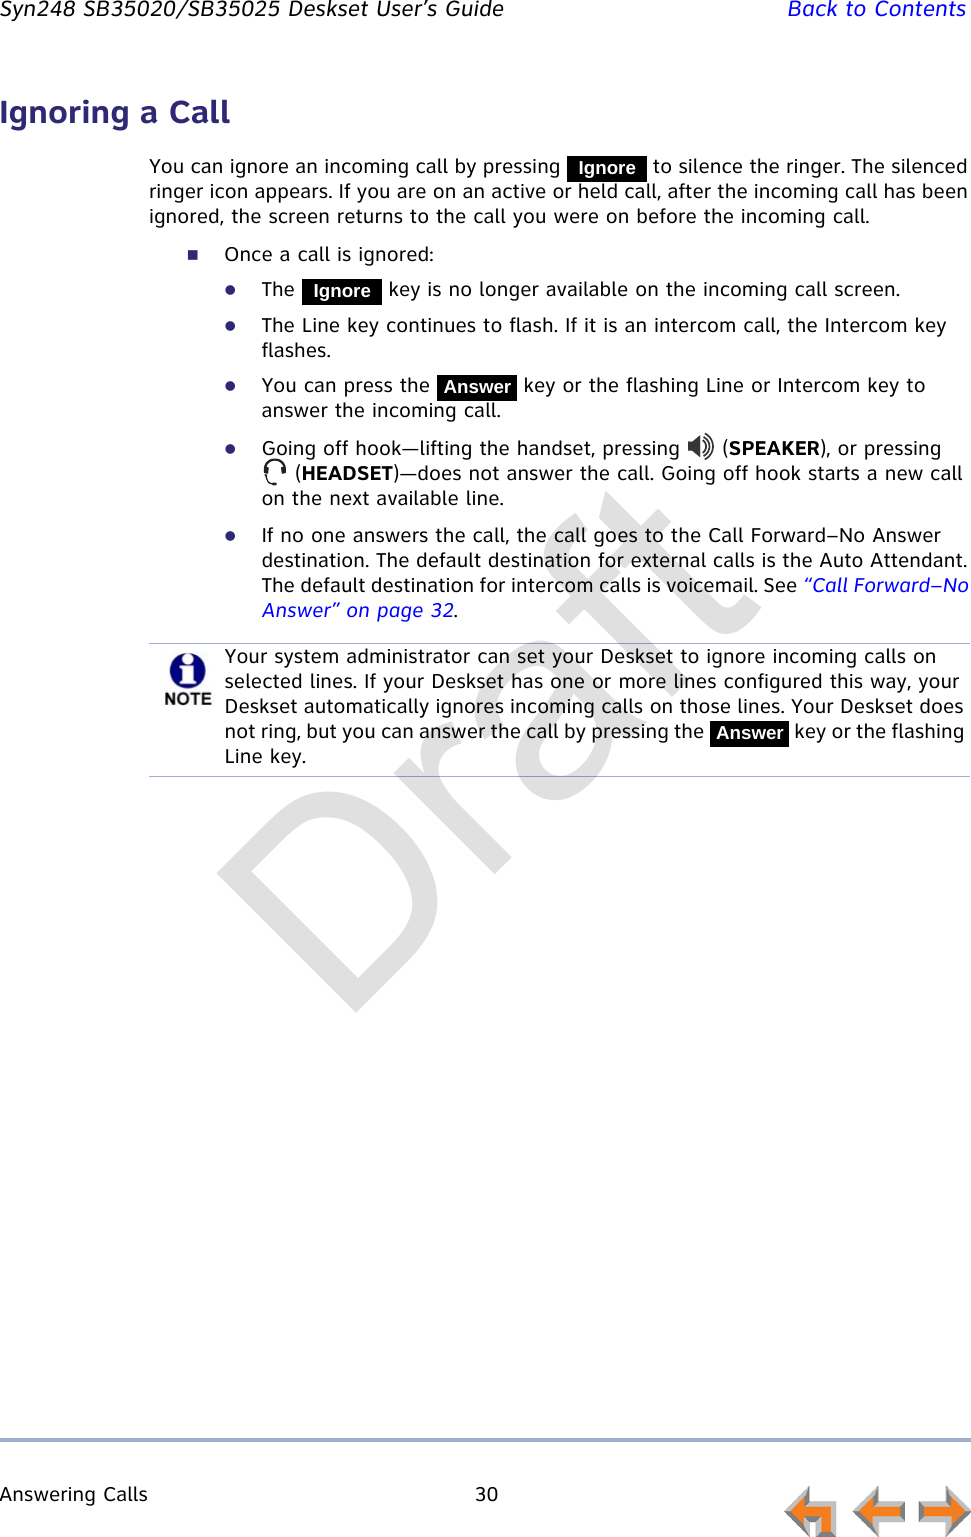
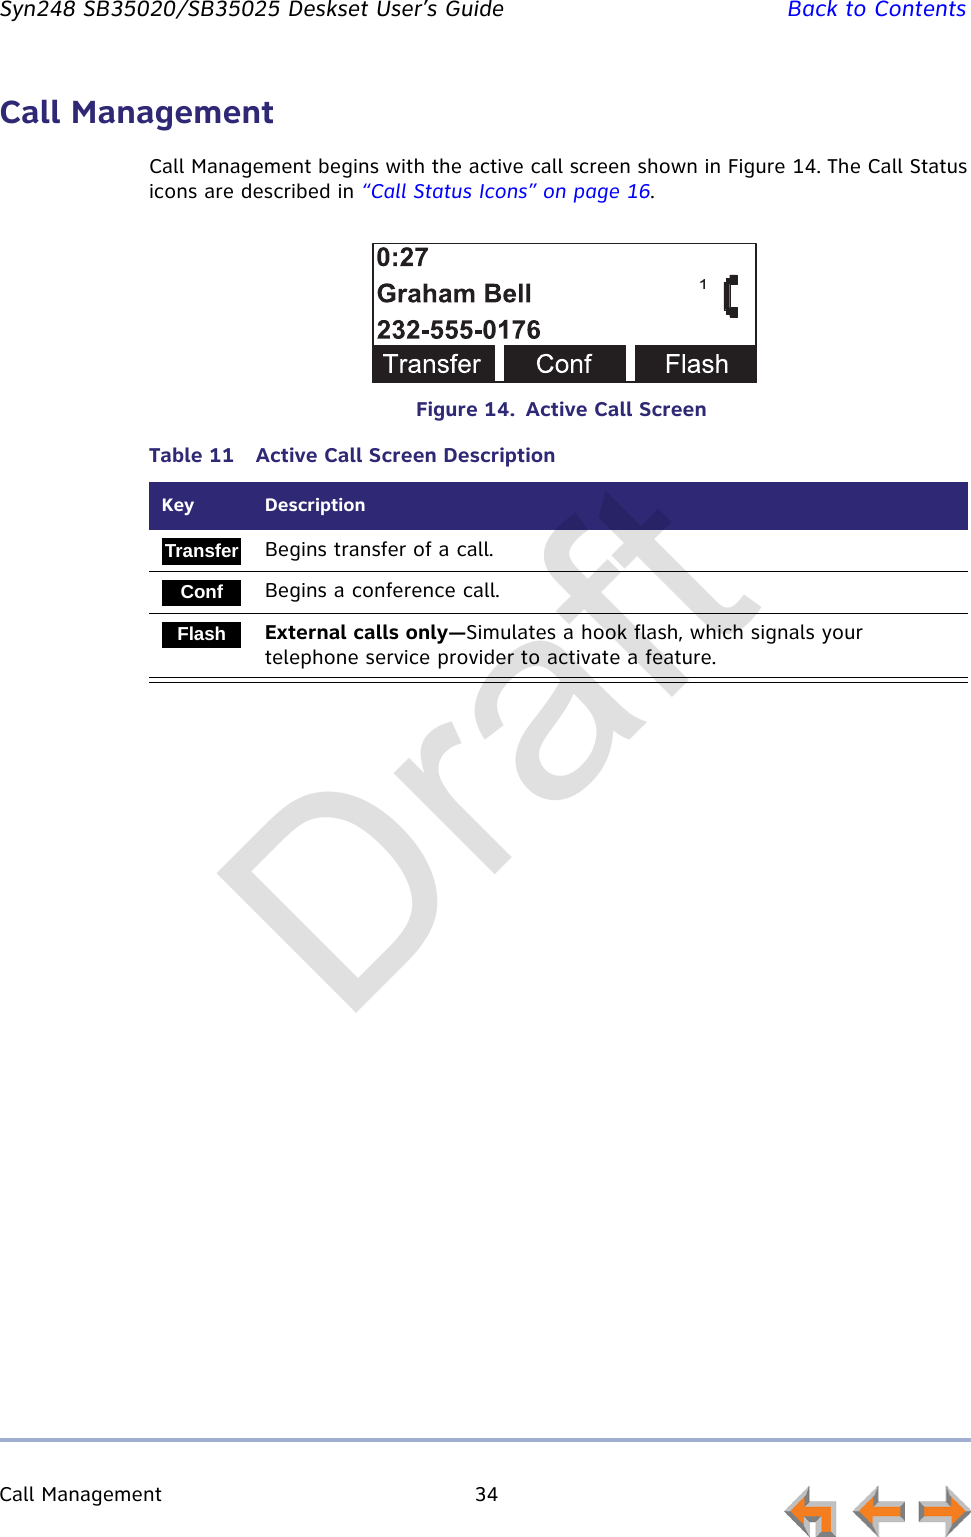
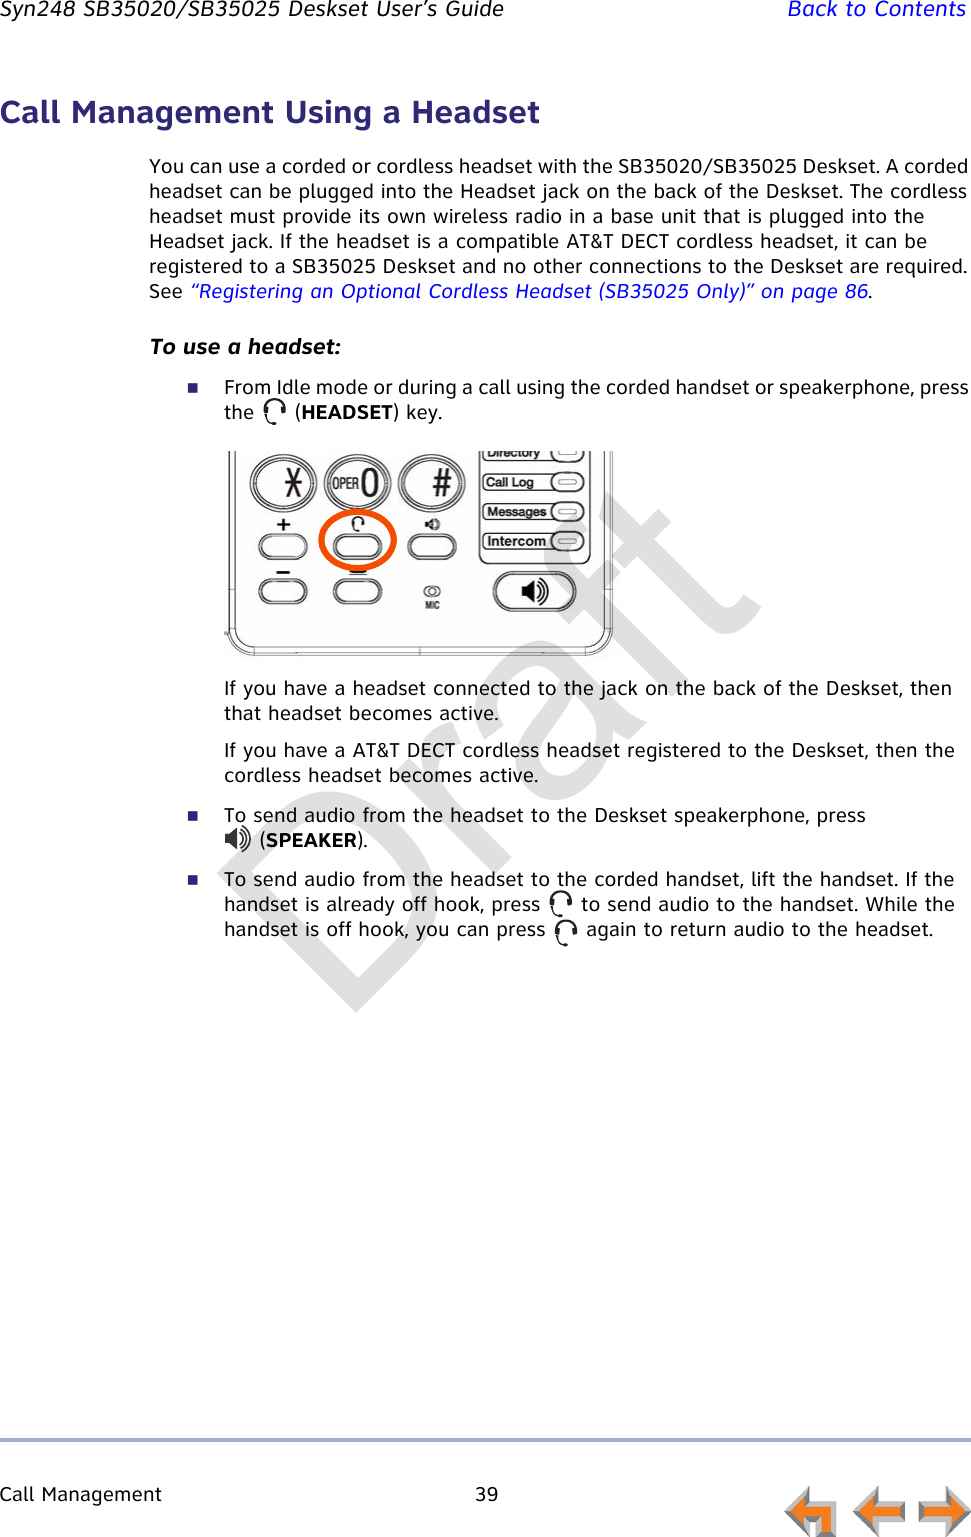
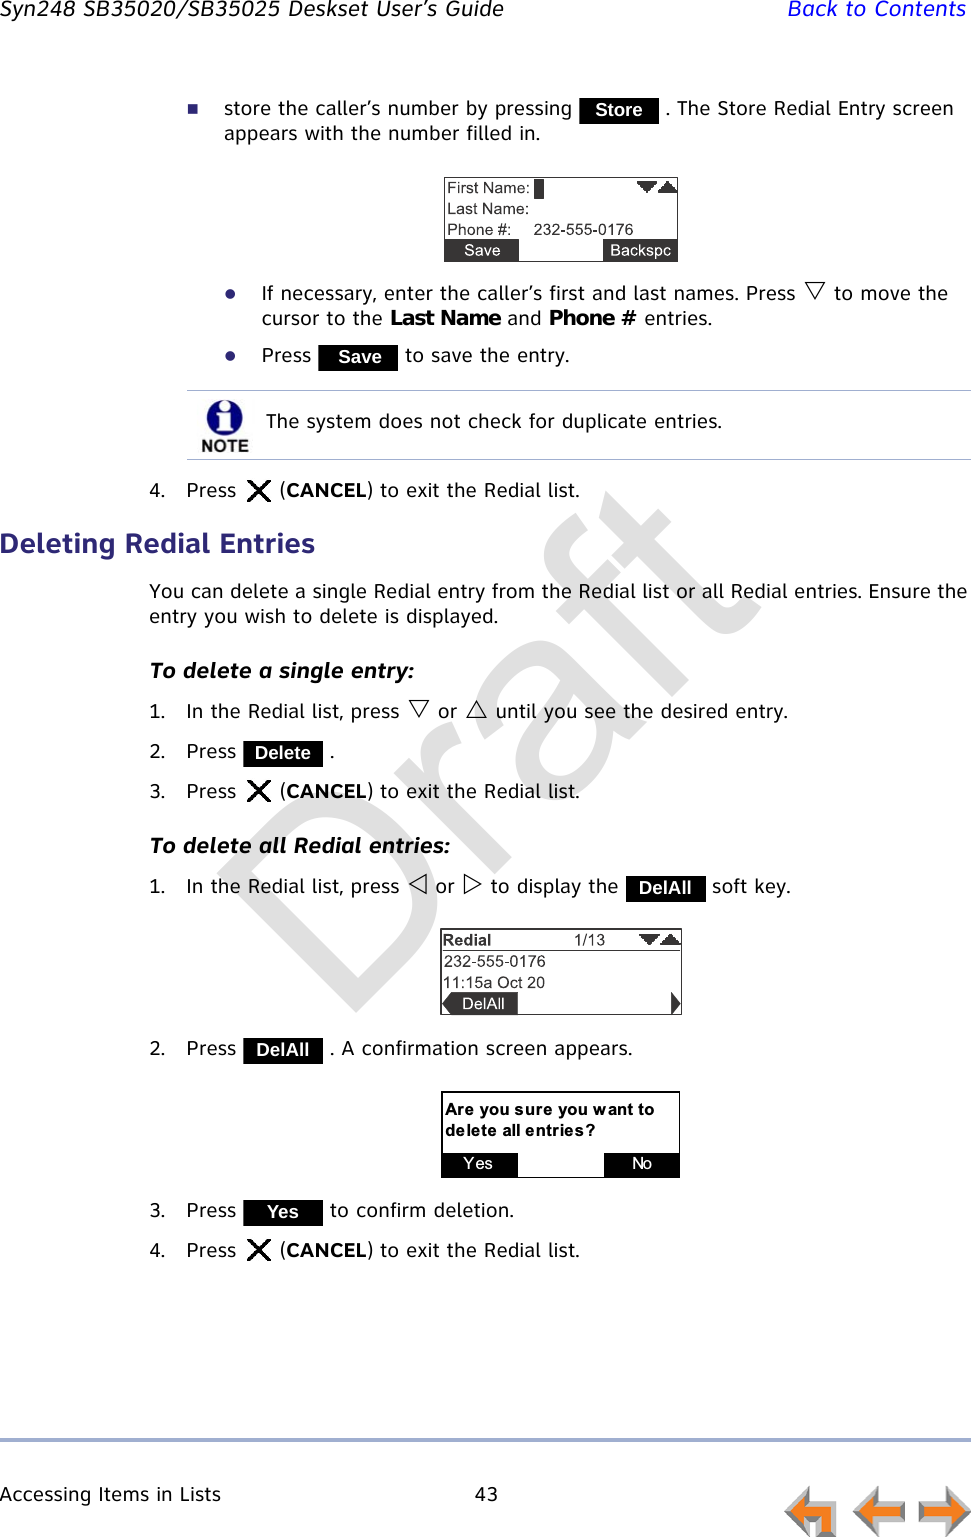
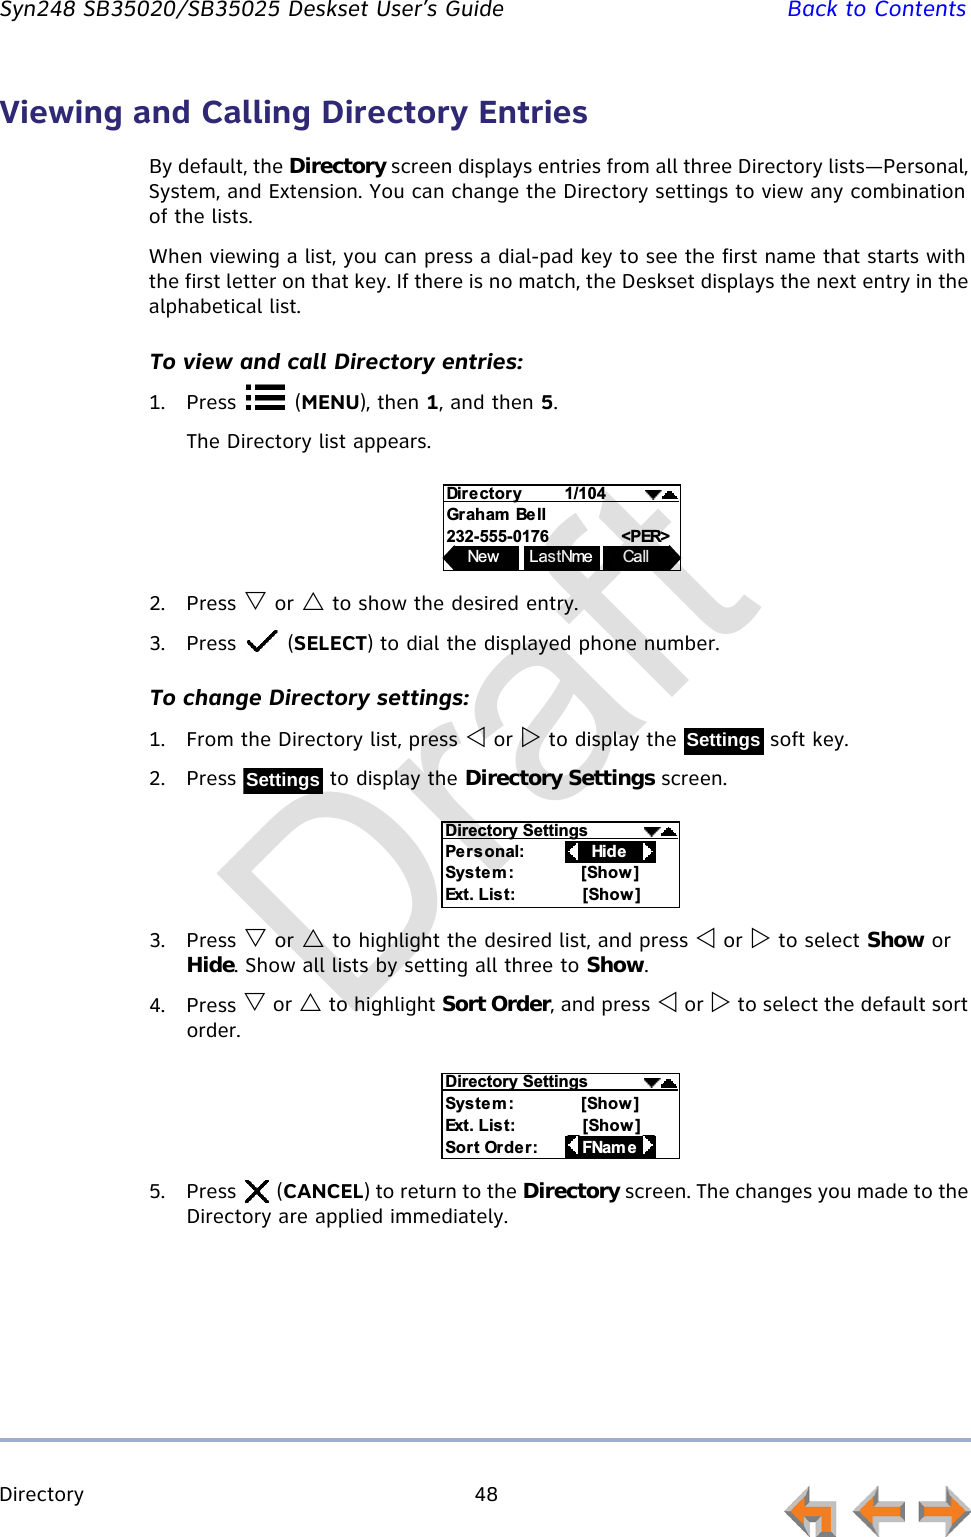
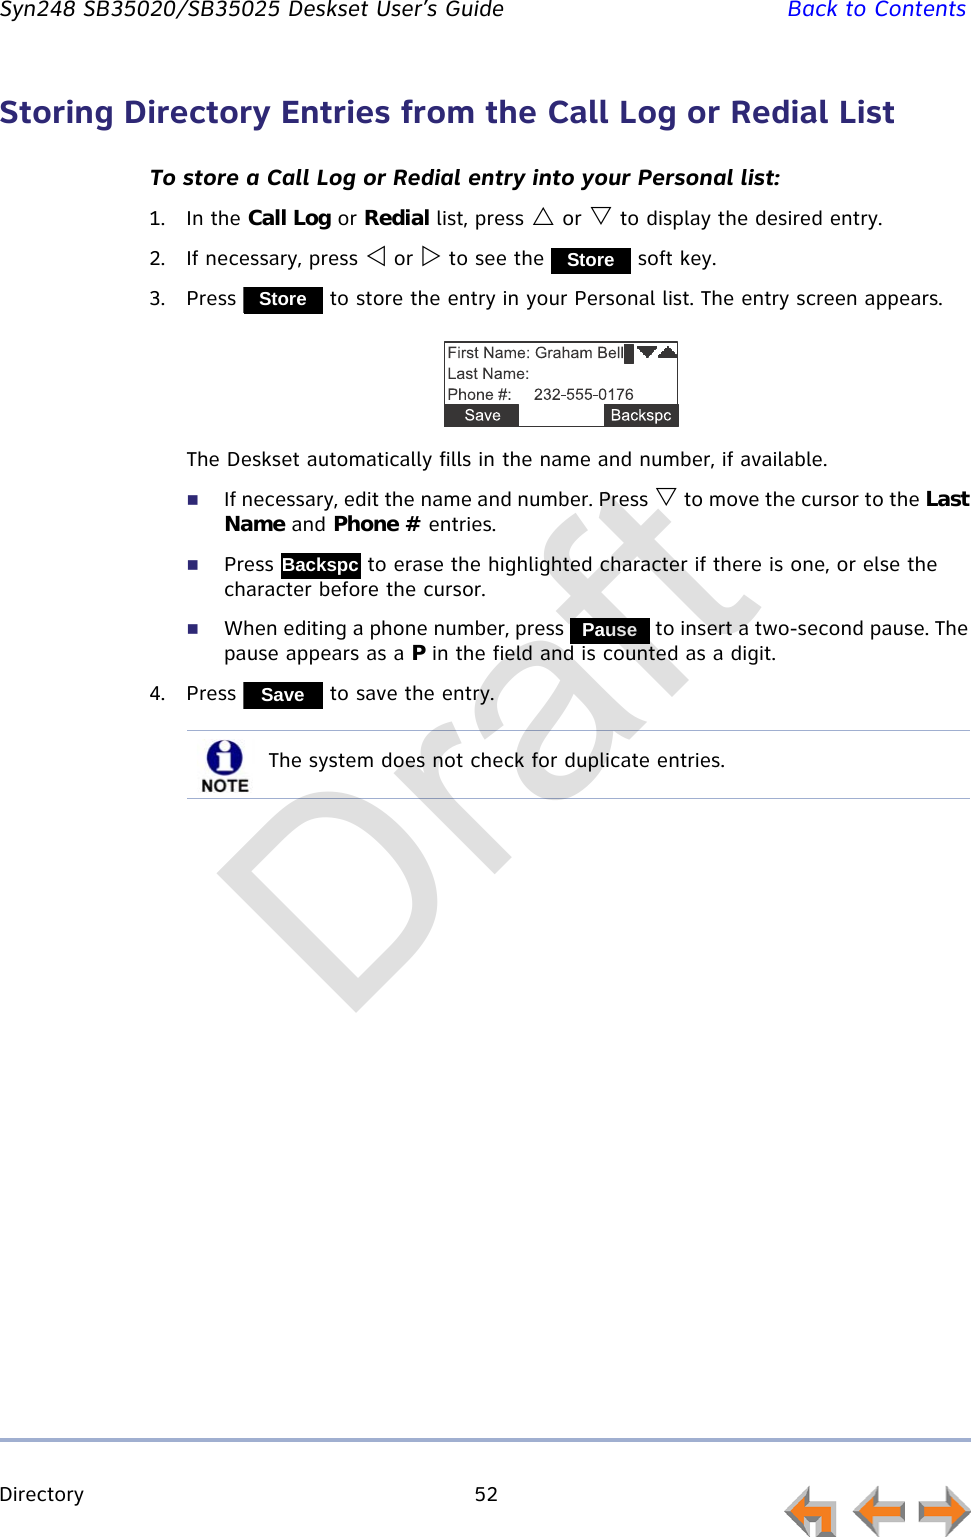
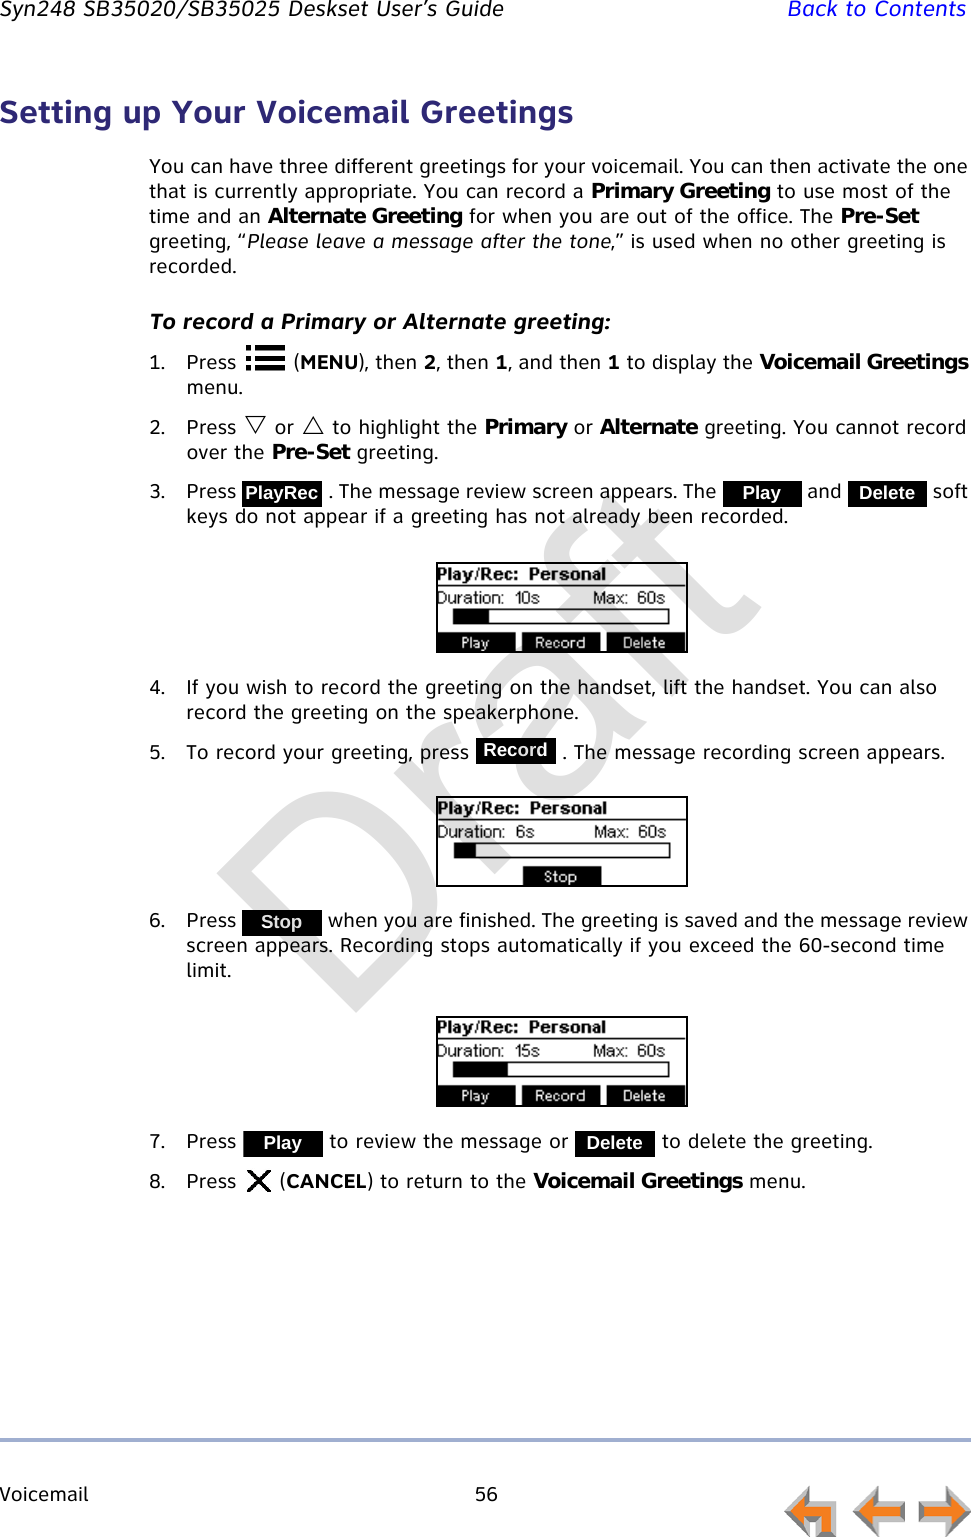
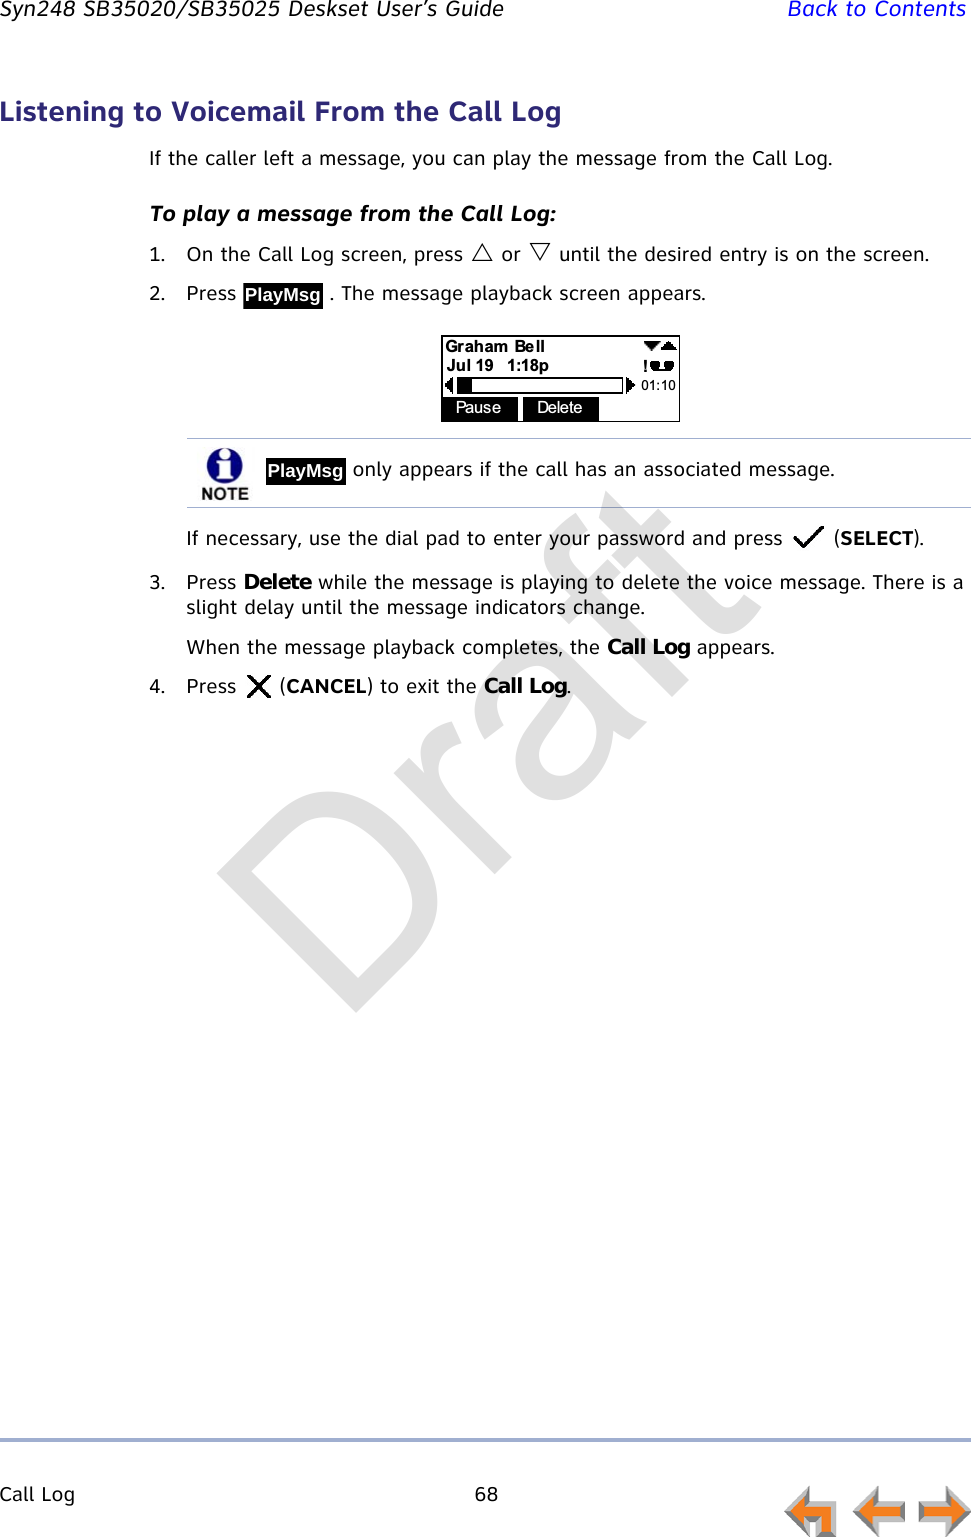
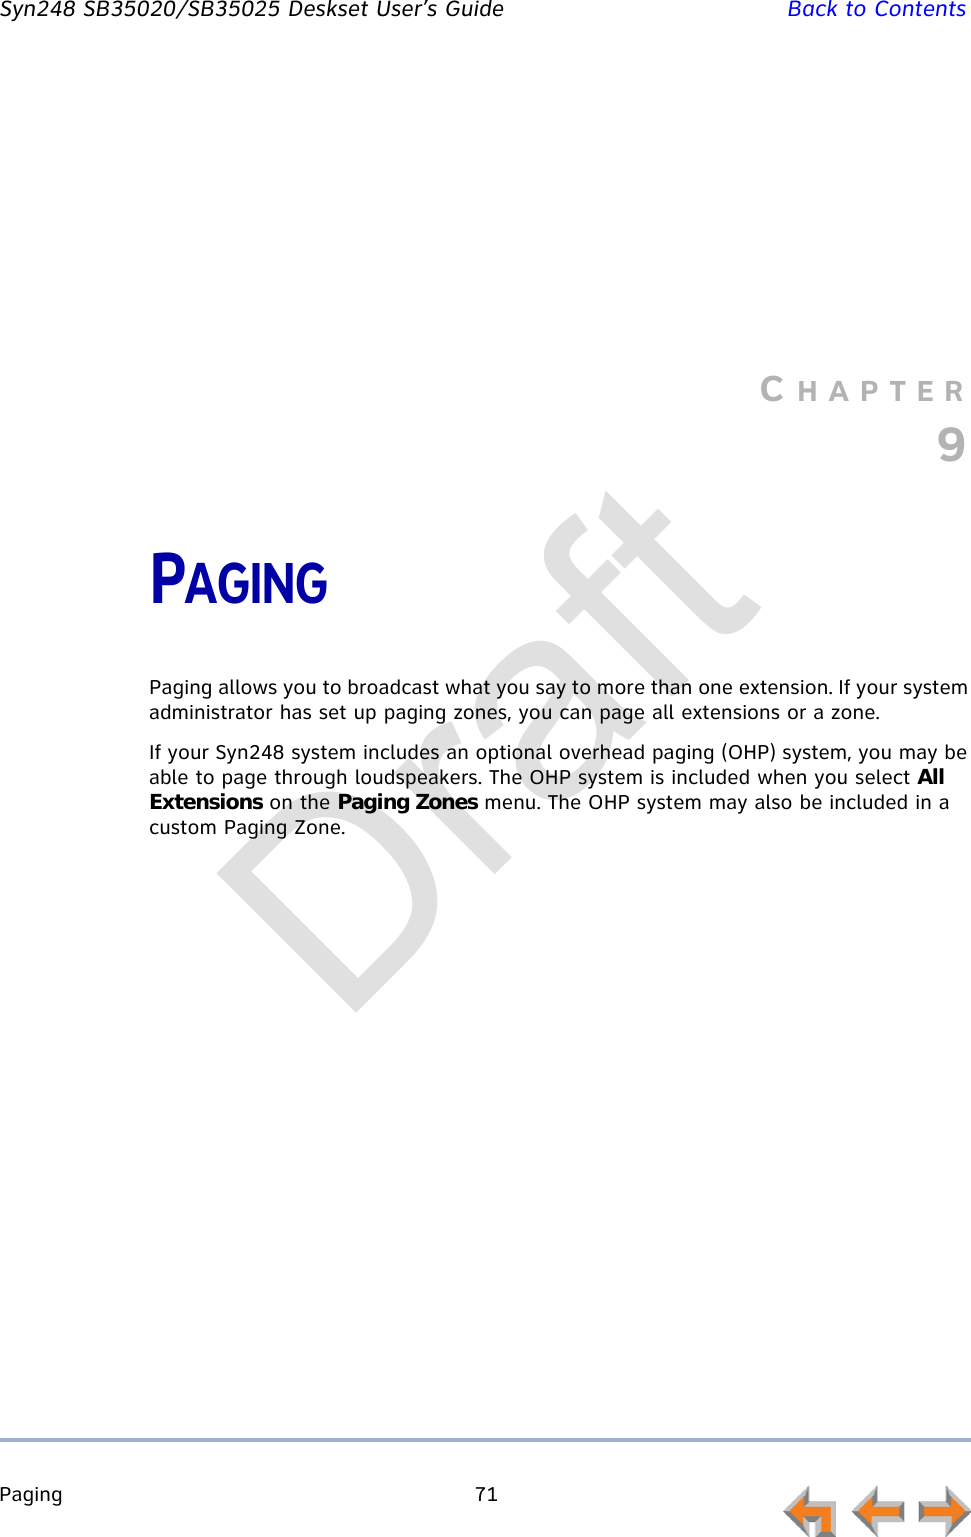
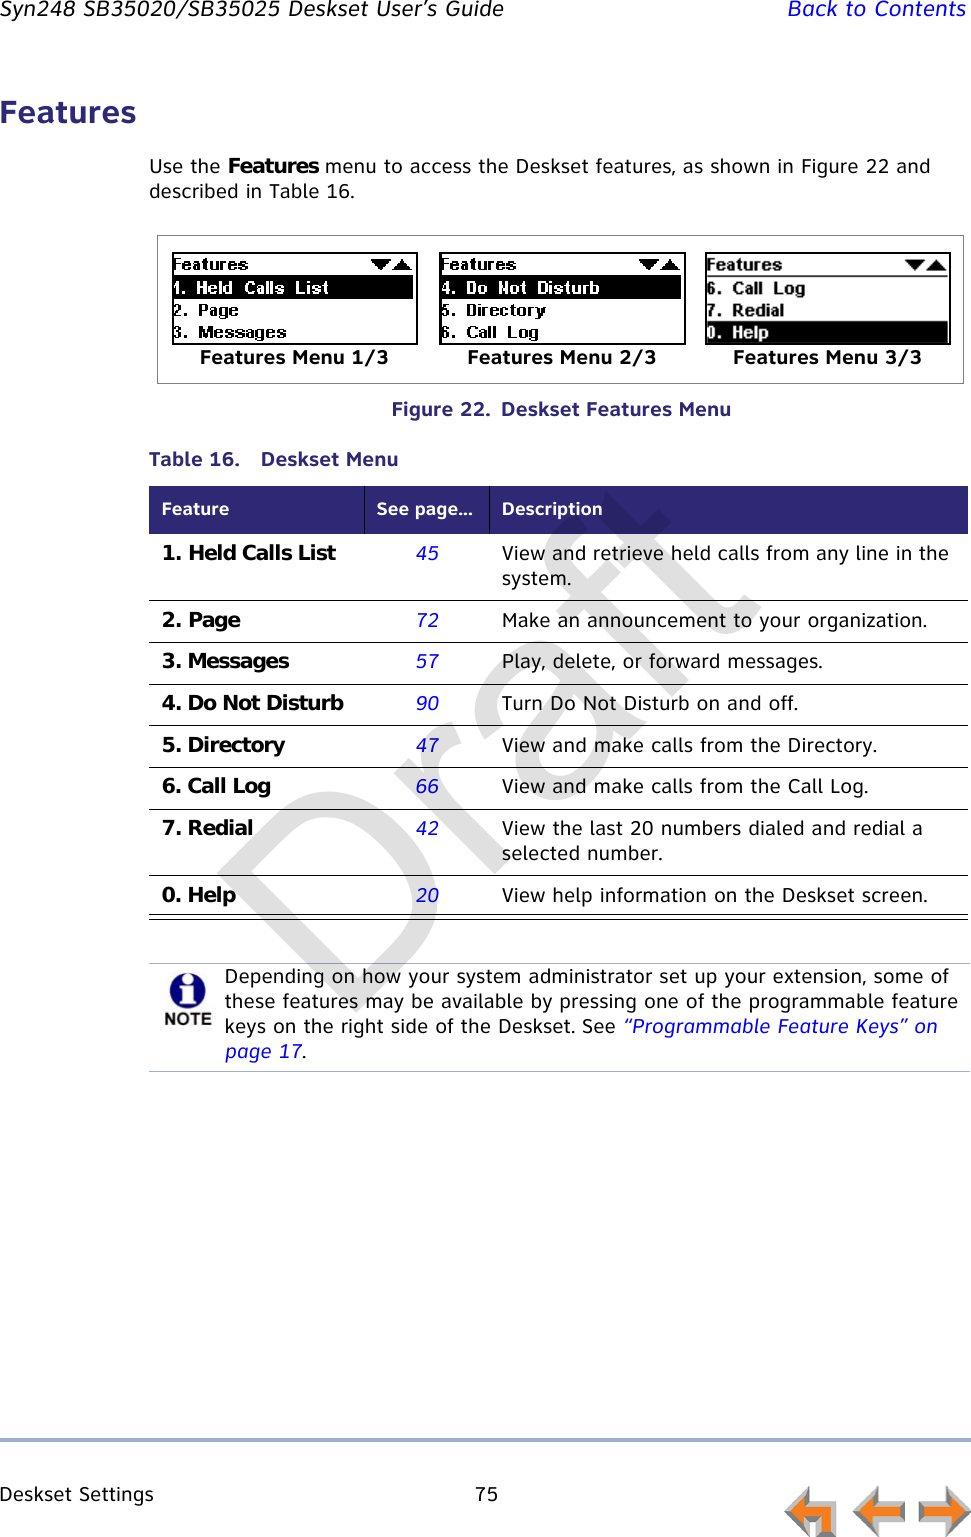
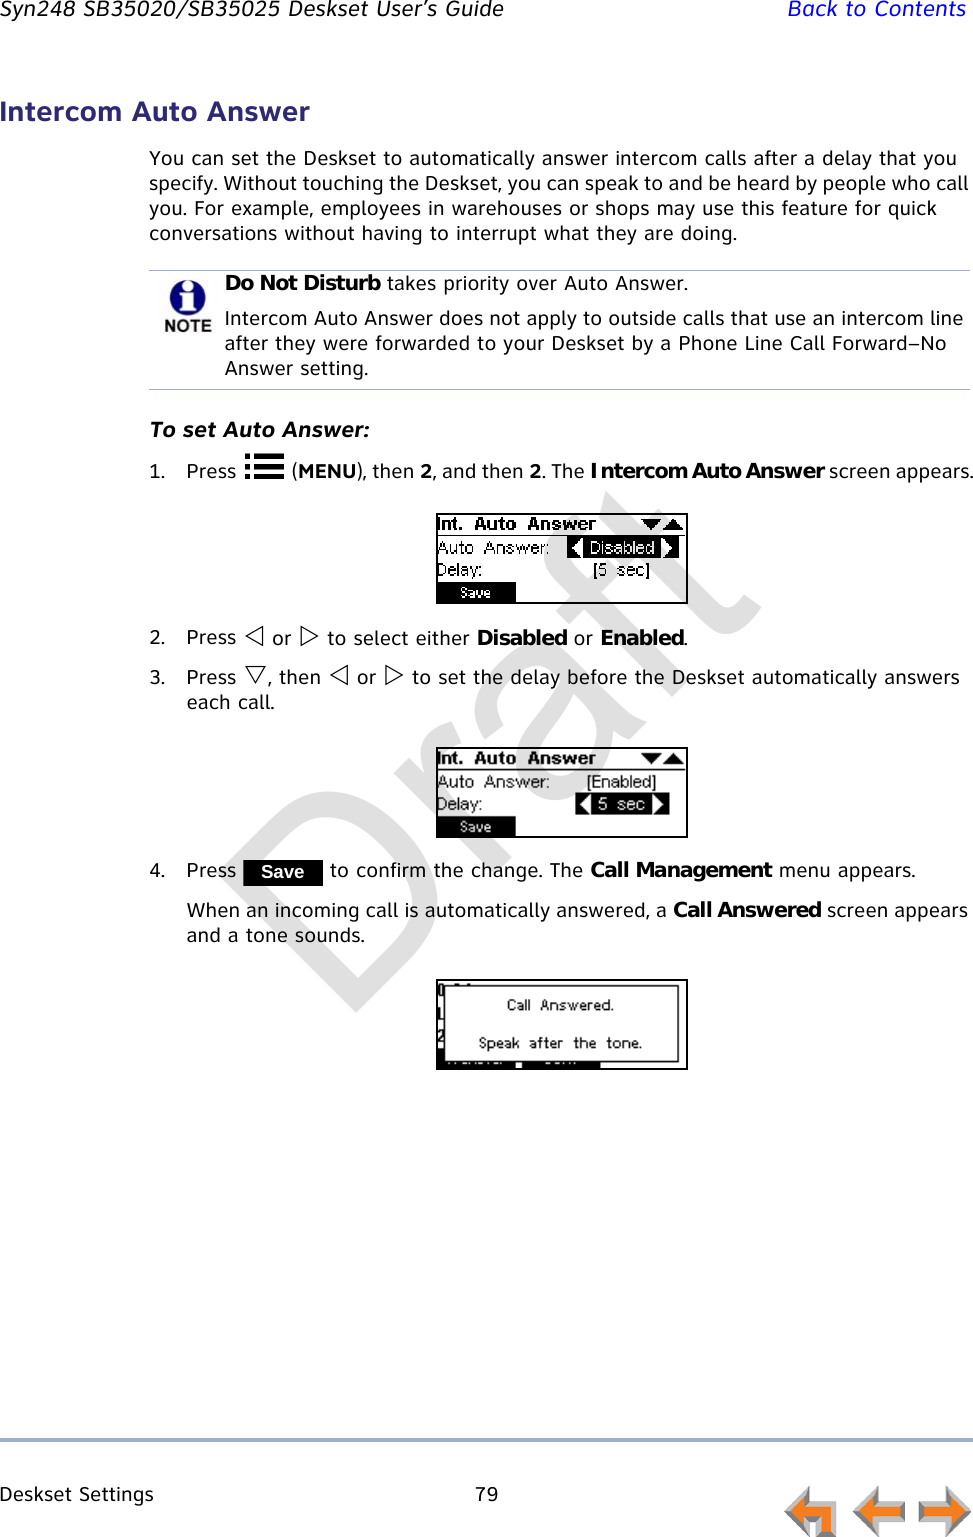
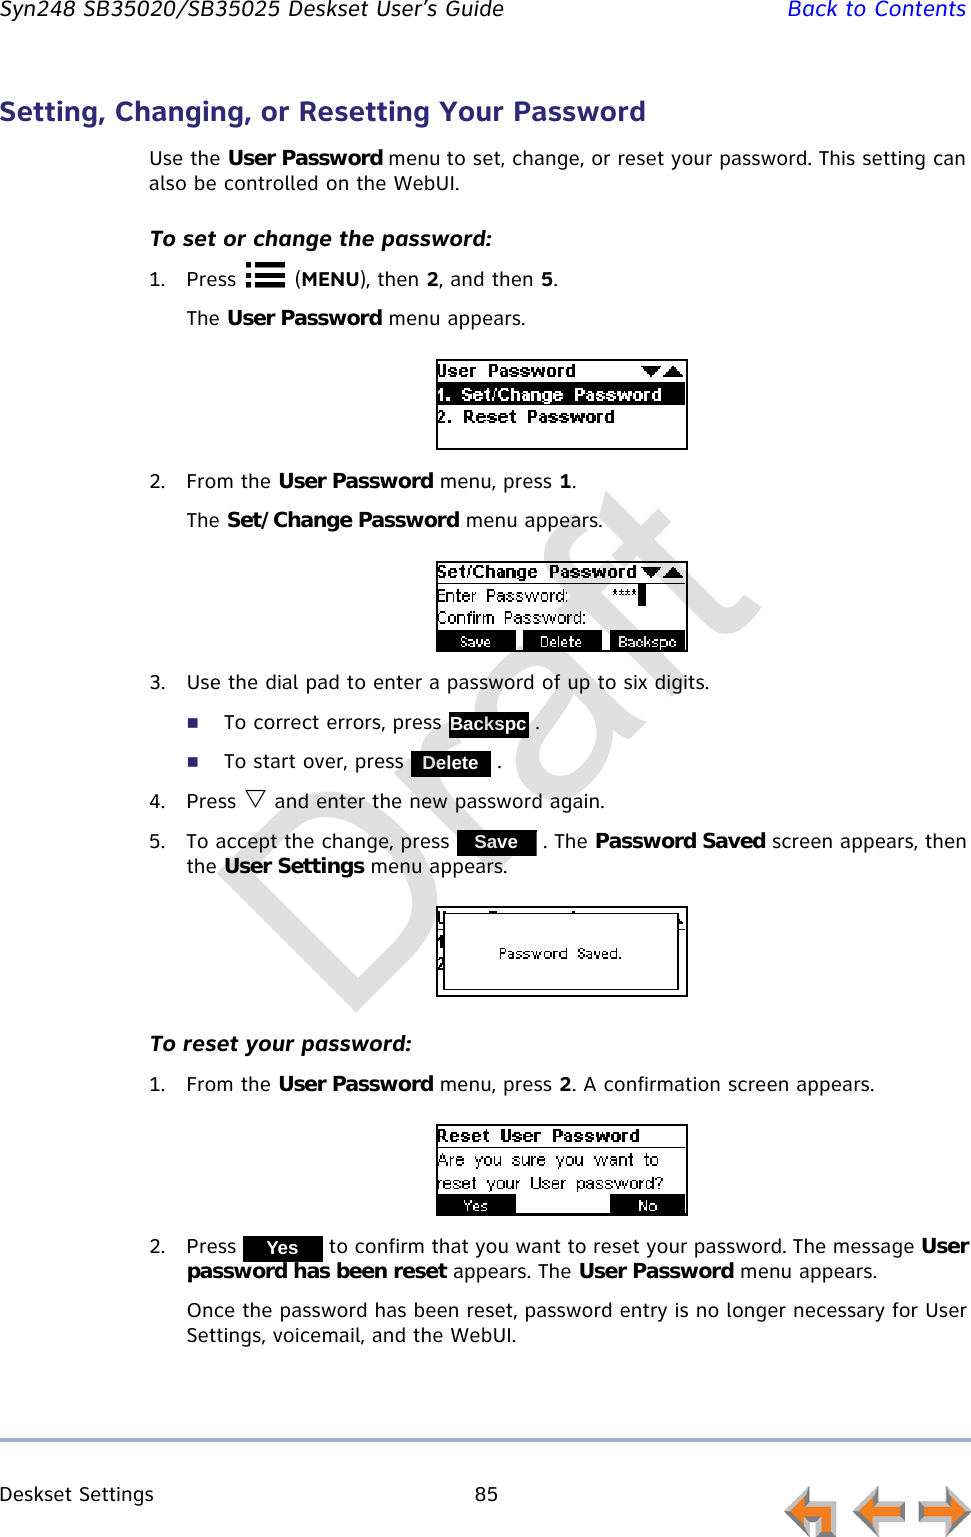
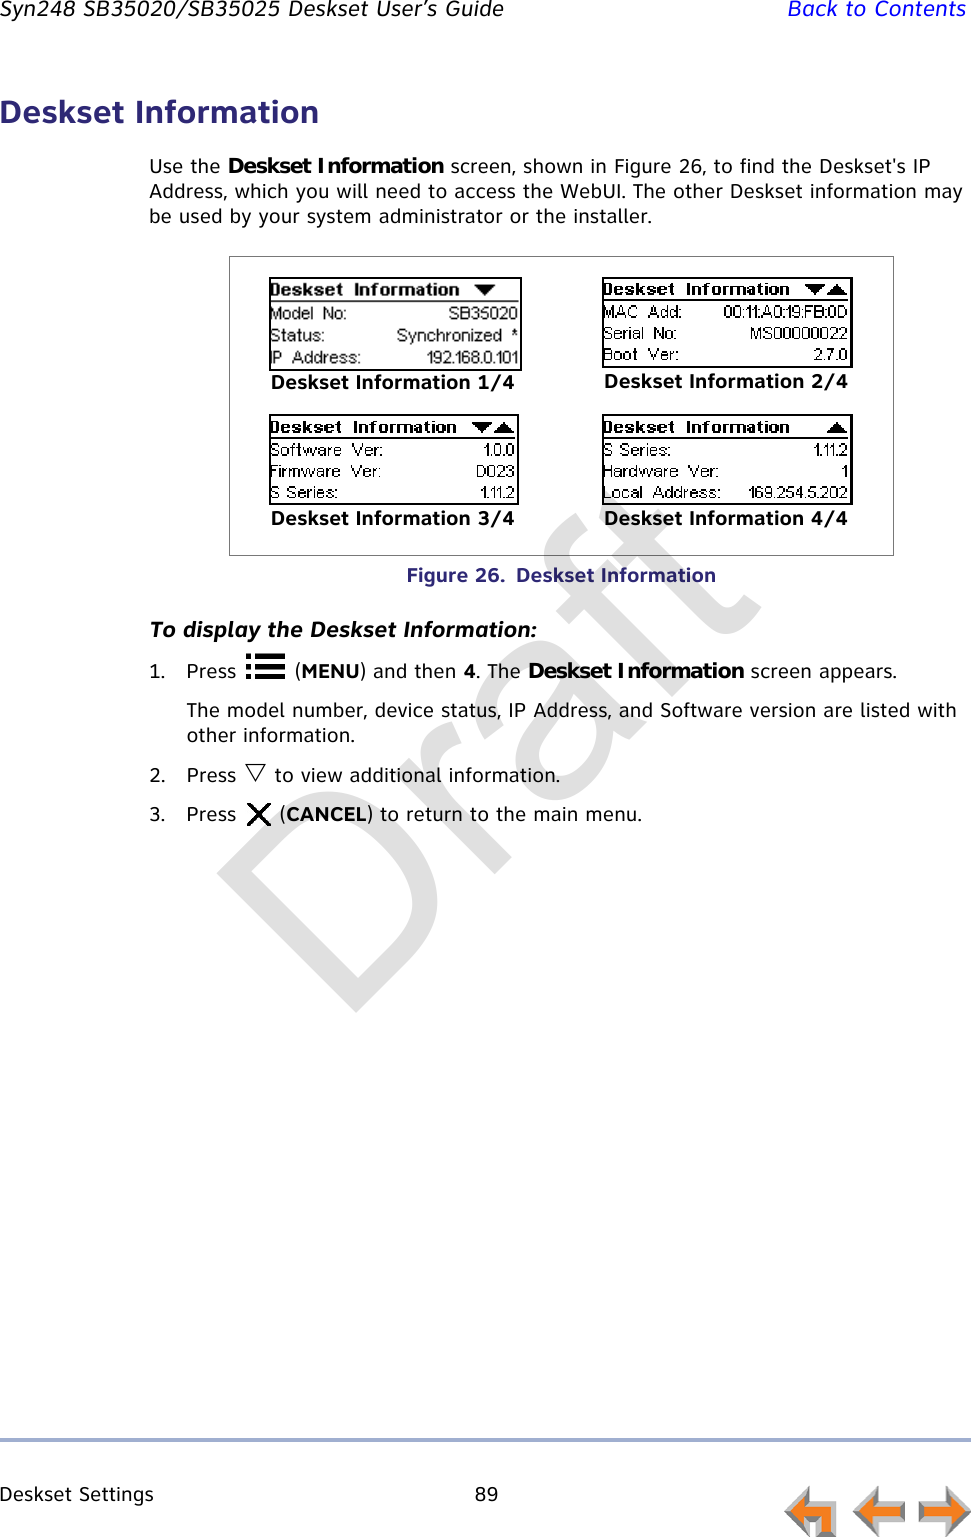
![Call Log 67 Syn248 SB35020/SB35025 Deskset User’s Guide Back to ContentsTo access the Call Log:1. Press (MENU), then 1, and then 6.The most recent Call Log entry appears.2. Press or until the desired entry is on the screen.3. Press (CANCEL) to exit the Call Log.Managing Missed CallsAll incoming calls are recorded in the Call Log. Unanswered calls that have not been reviewed are indicated by [NEW].To review and make calls from the Call Log:1. On the Call Log screen, press or to see the desired entry.Press to access dialing options before calling a number and to dial the displayed number. The Call Back screen appears.Press to dial the on-screen number.Call Log entries may not be in the proper format for dialing. In some areas, you need to remove the area code or add or remove a 1. Press or to view the dialing options. The following dialing options are available:nnn-nnnn (7 digits)1-nnn-nnnn (8 digits)nnn-nnn-nnnn (10 digits)1-nnn-nnn-nnnn (11 digits).Press to delete the displayed entry.2. Press (CANCEL) to exit the Call Log.CallbackCall StoreCall BackAngela Martin 732-555-7318 CallDeleteDraft](https://usermanual.wiki/VTech-Telecommunications/80-8479-00/User-Guide-2070890-Page-67.png)
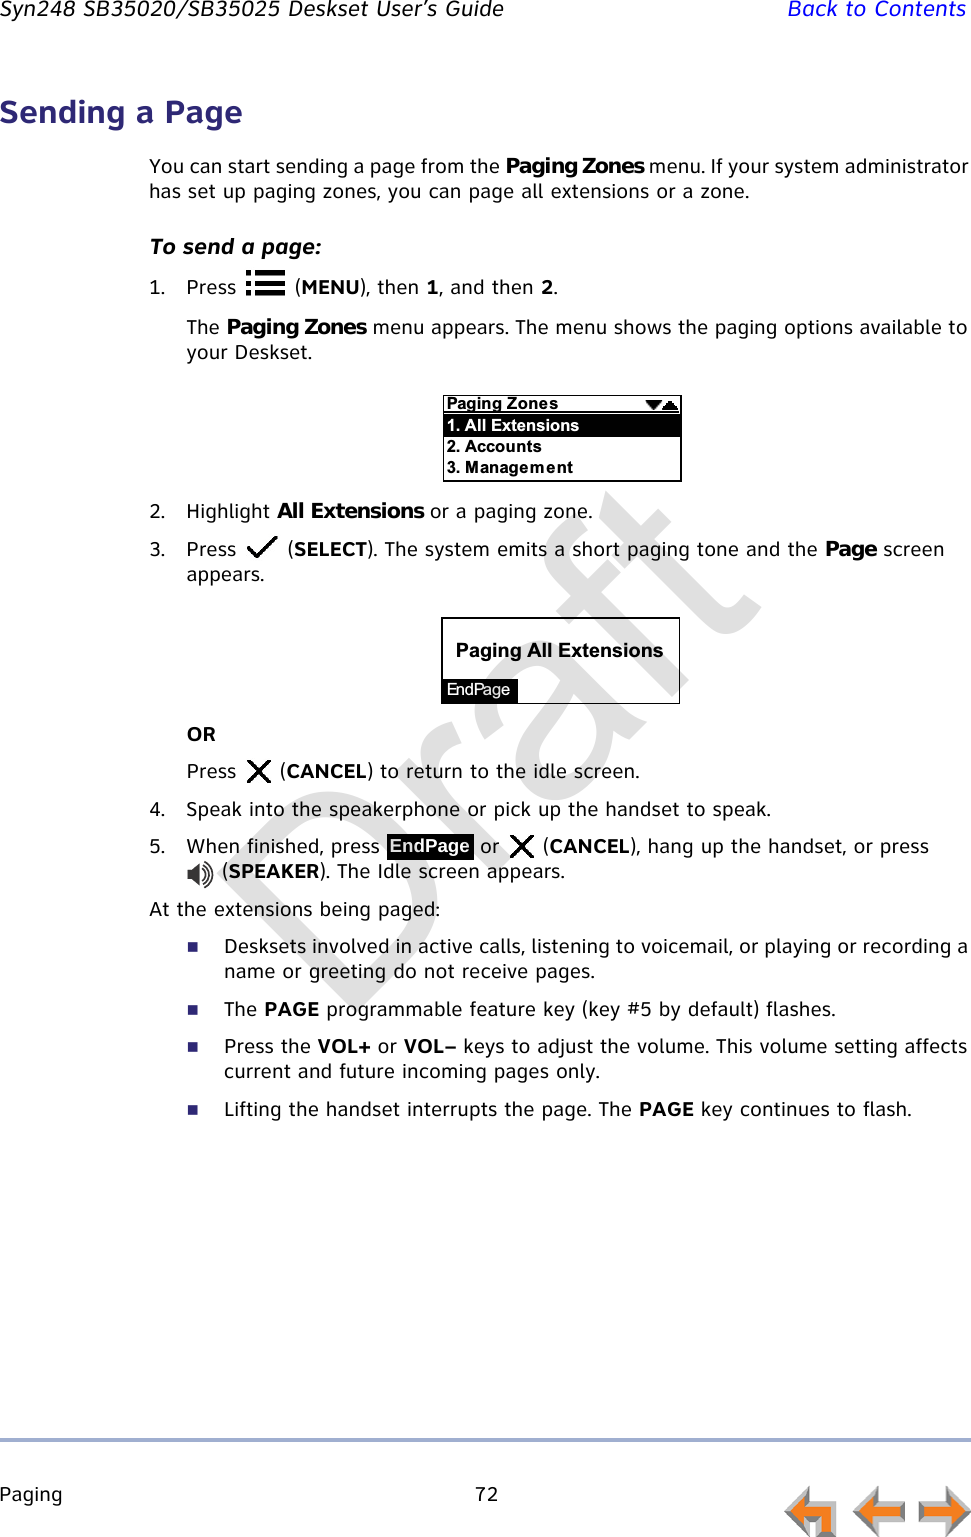
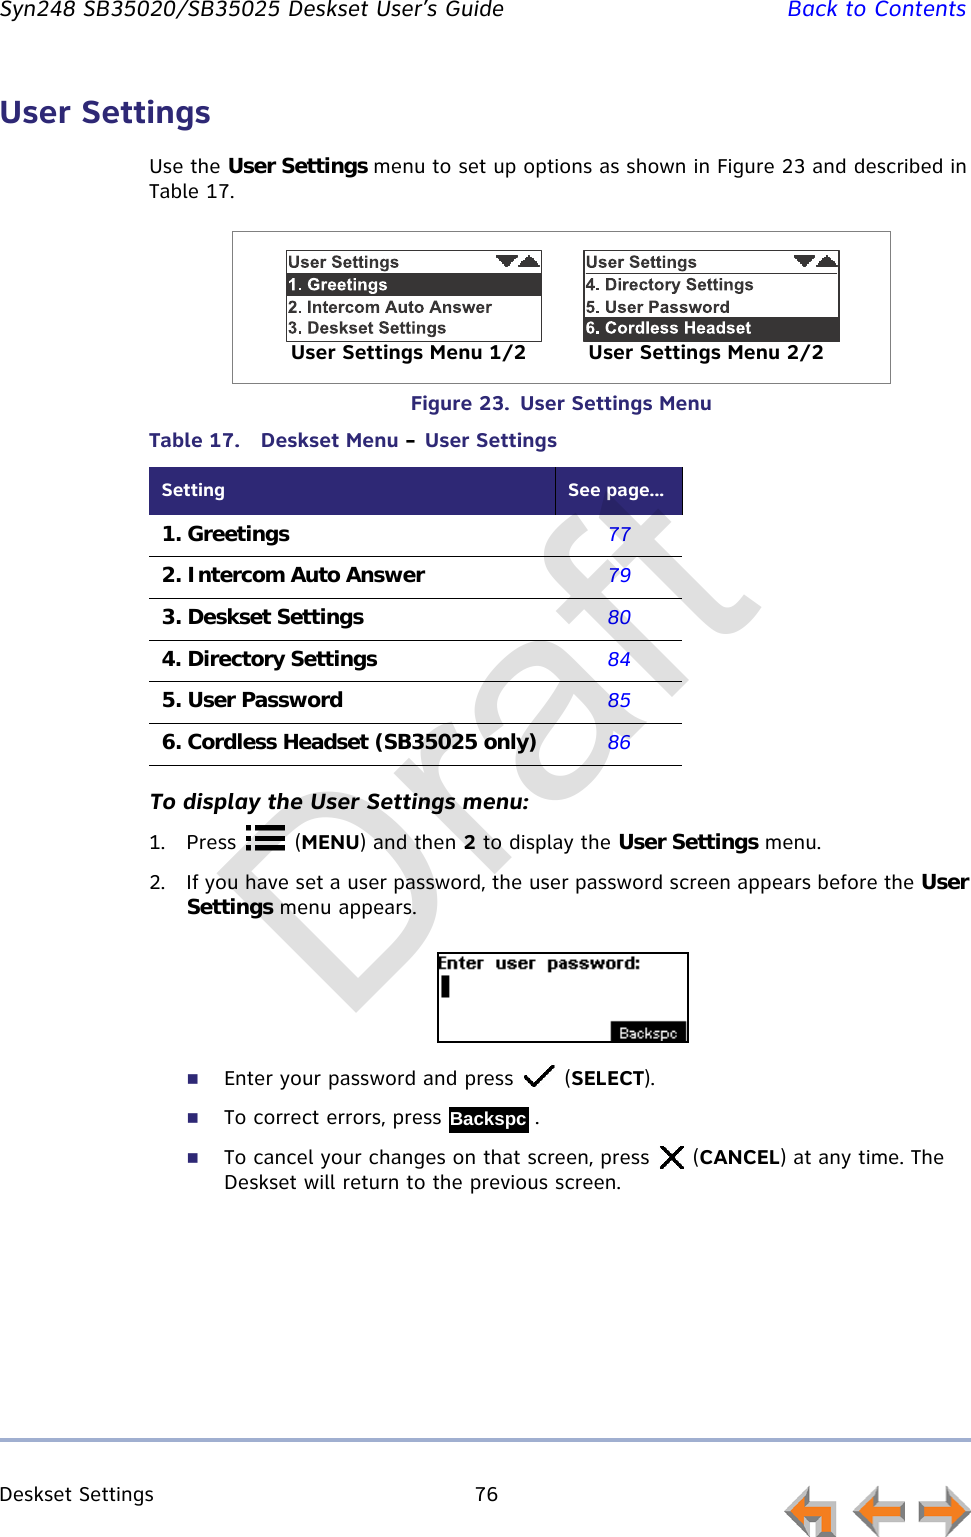

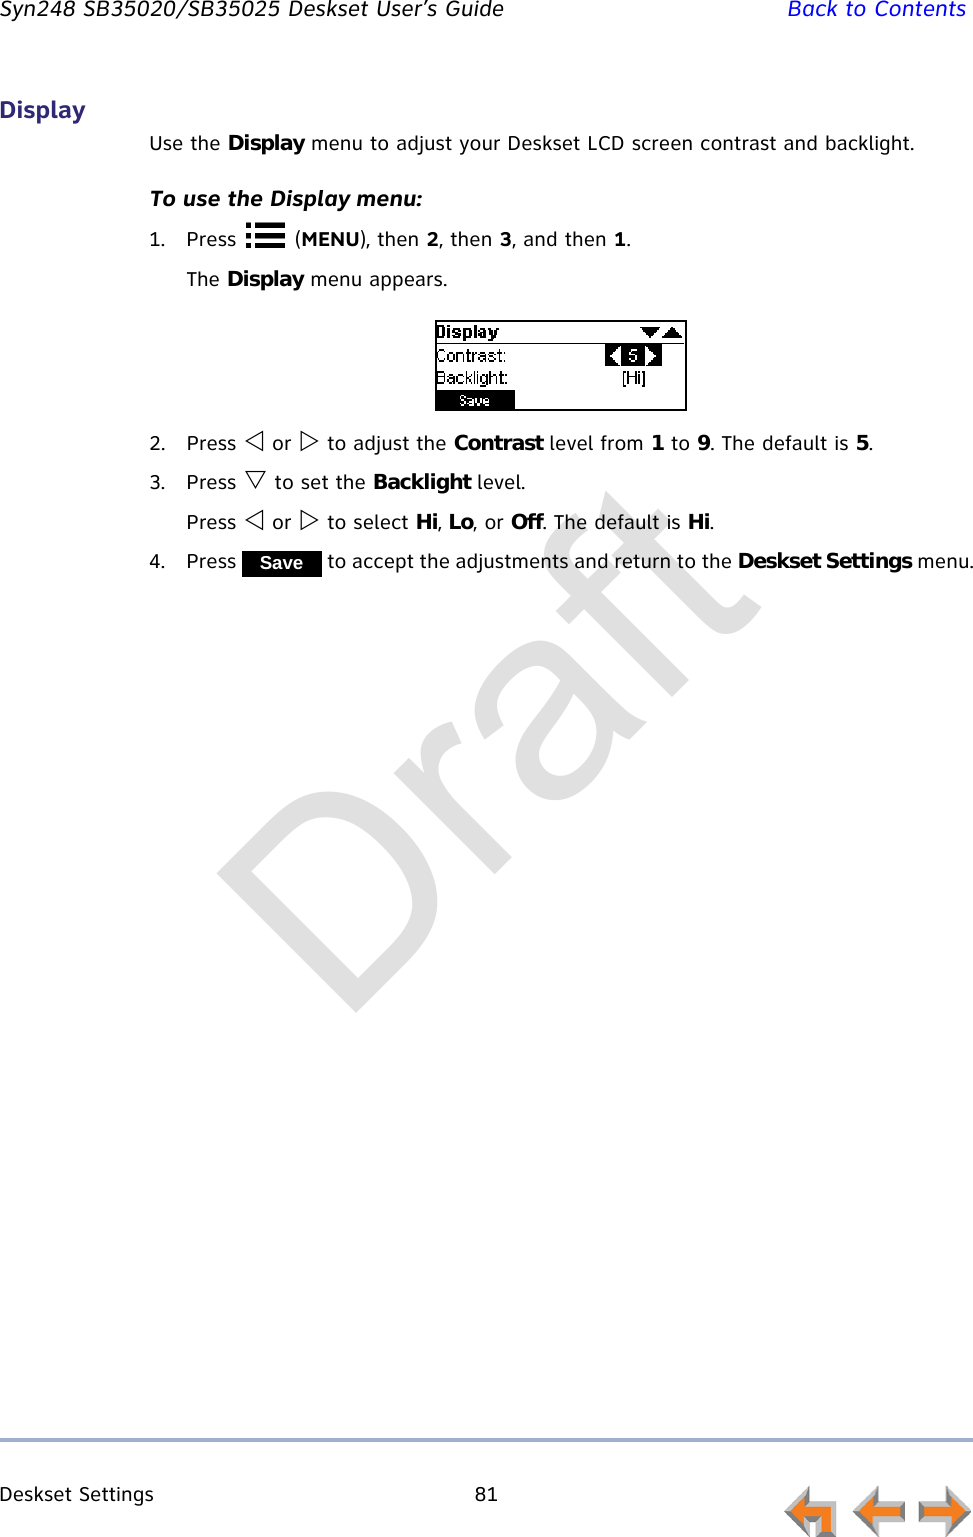

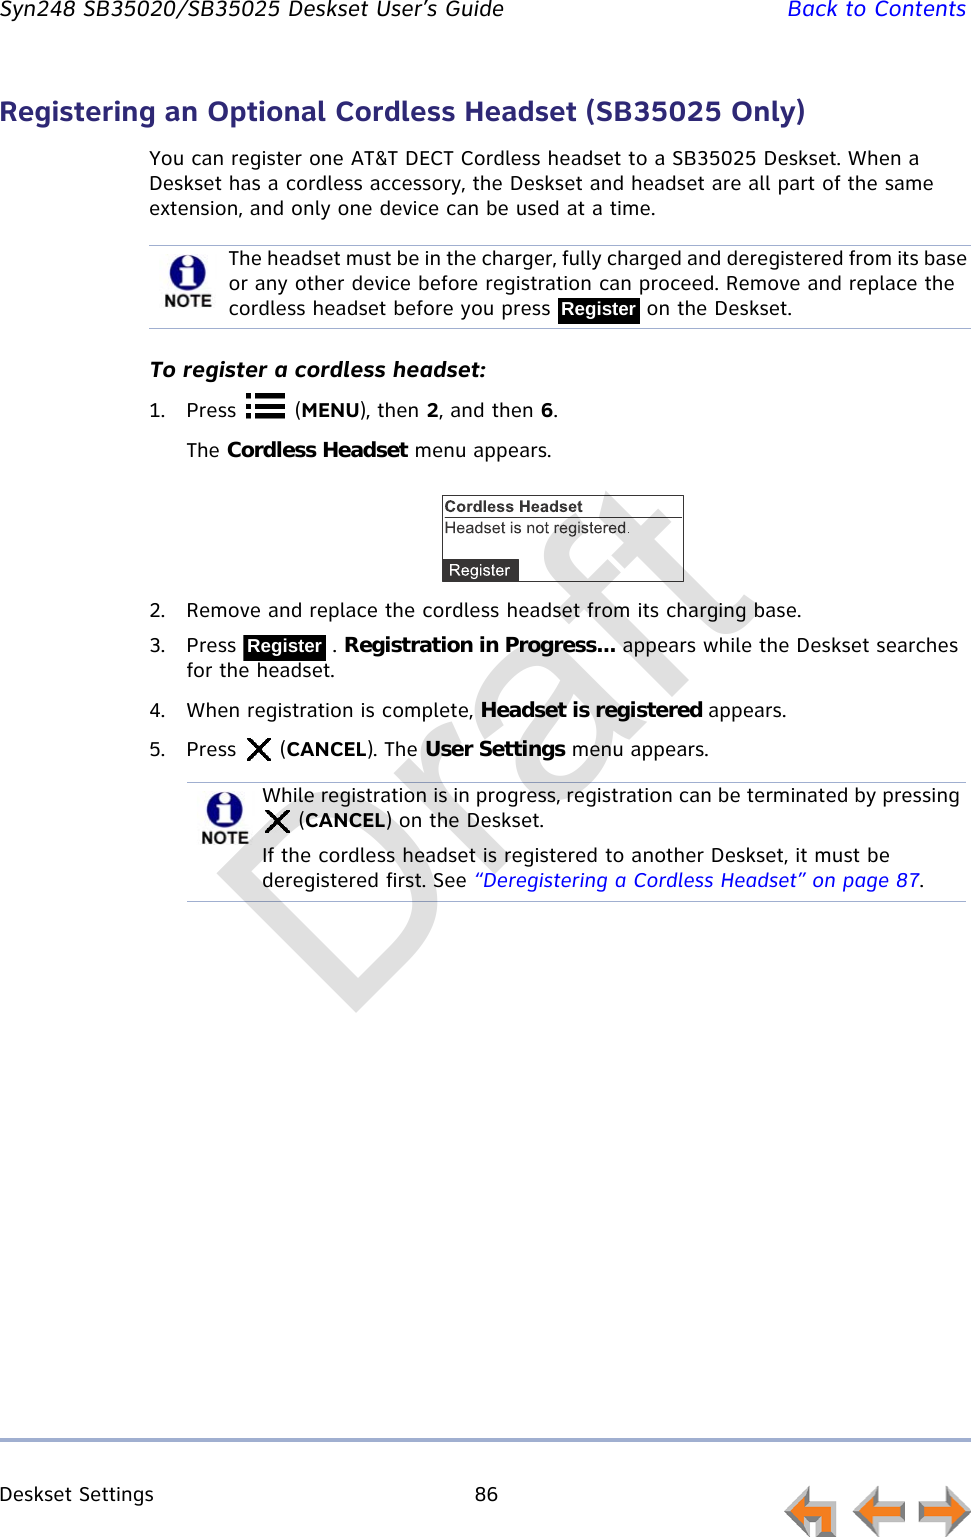
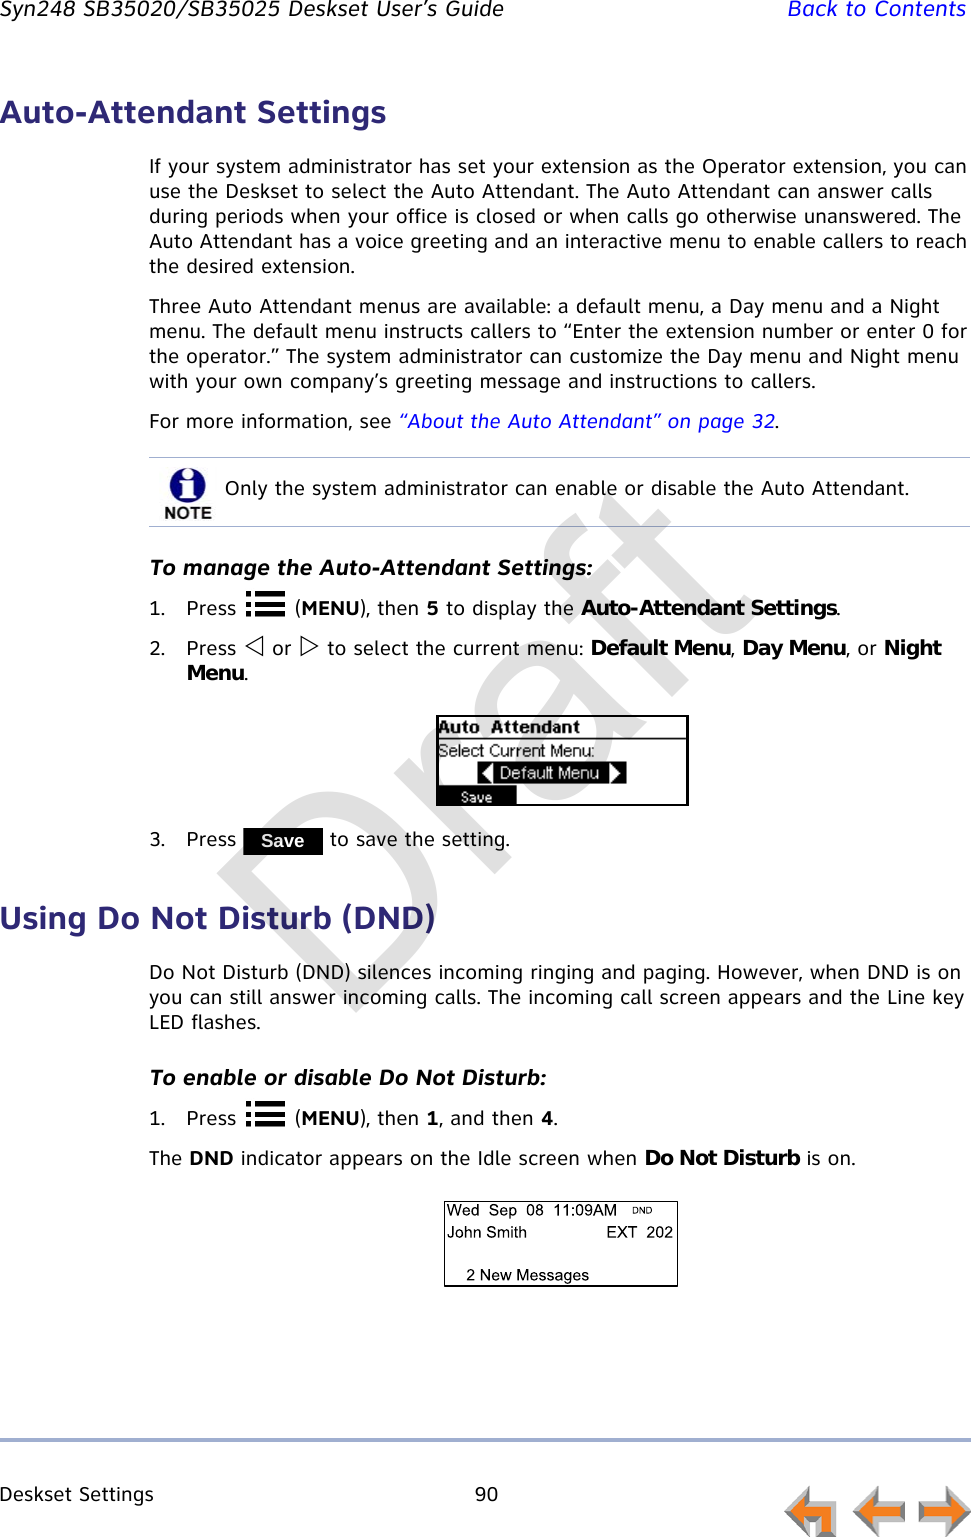
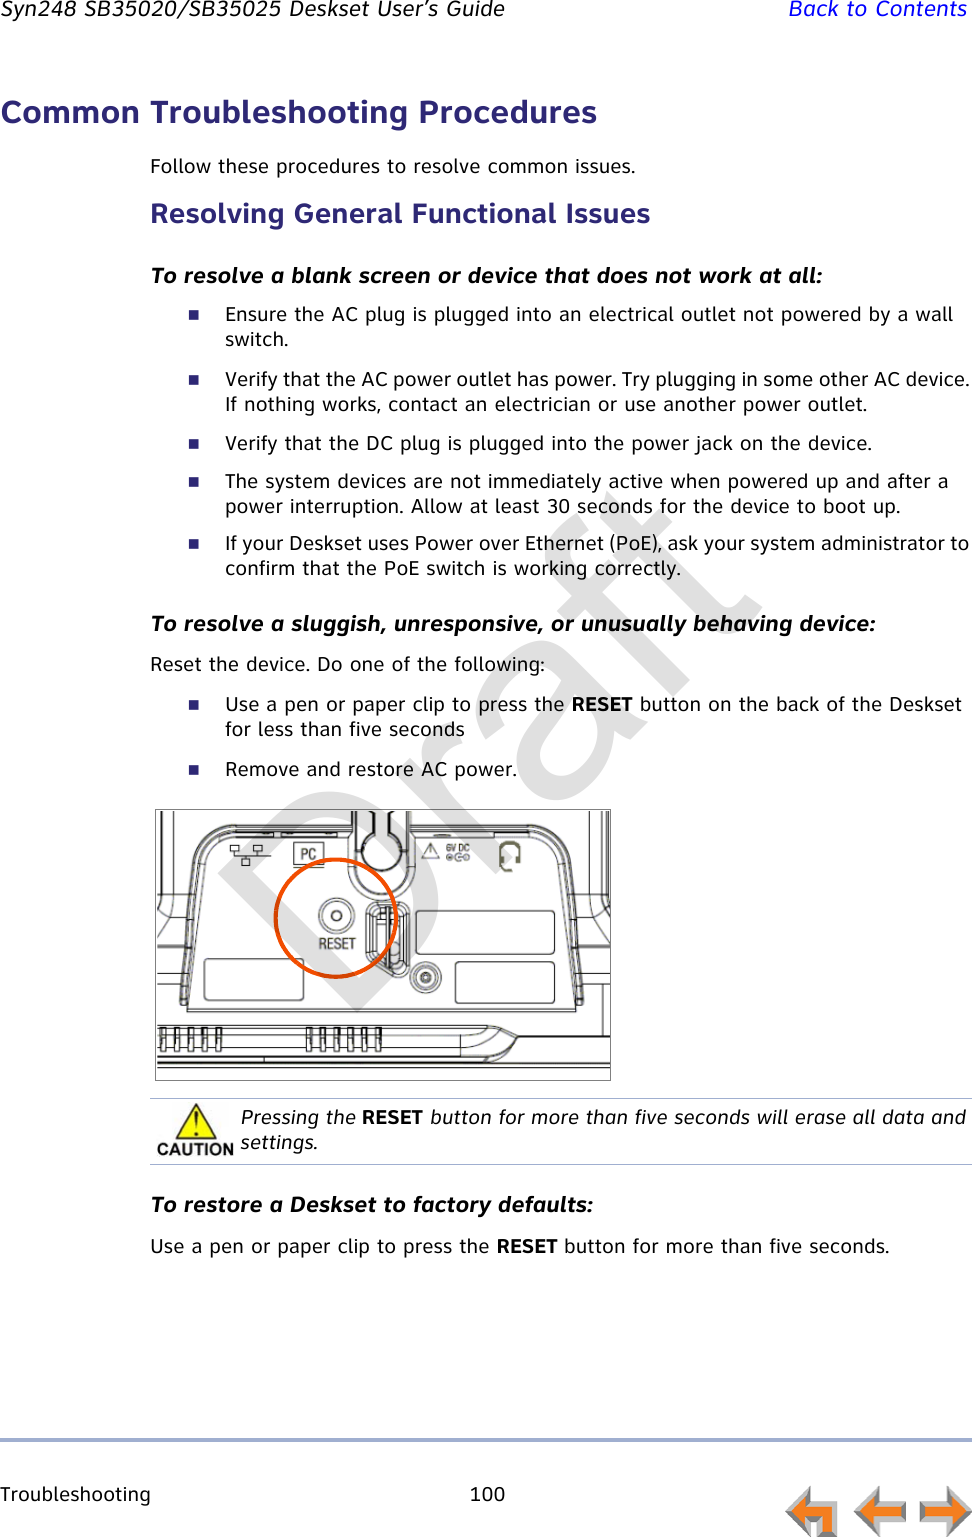
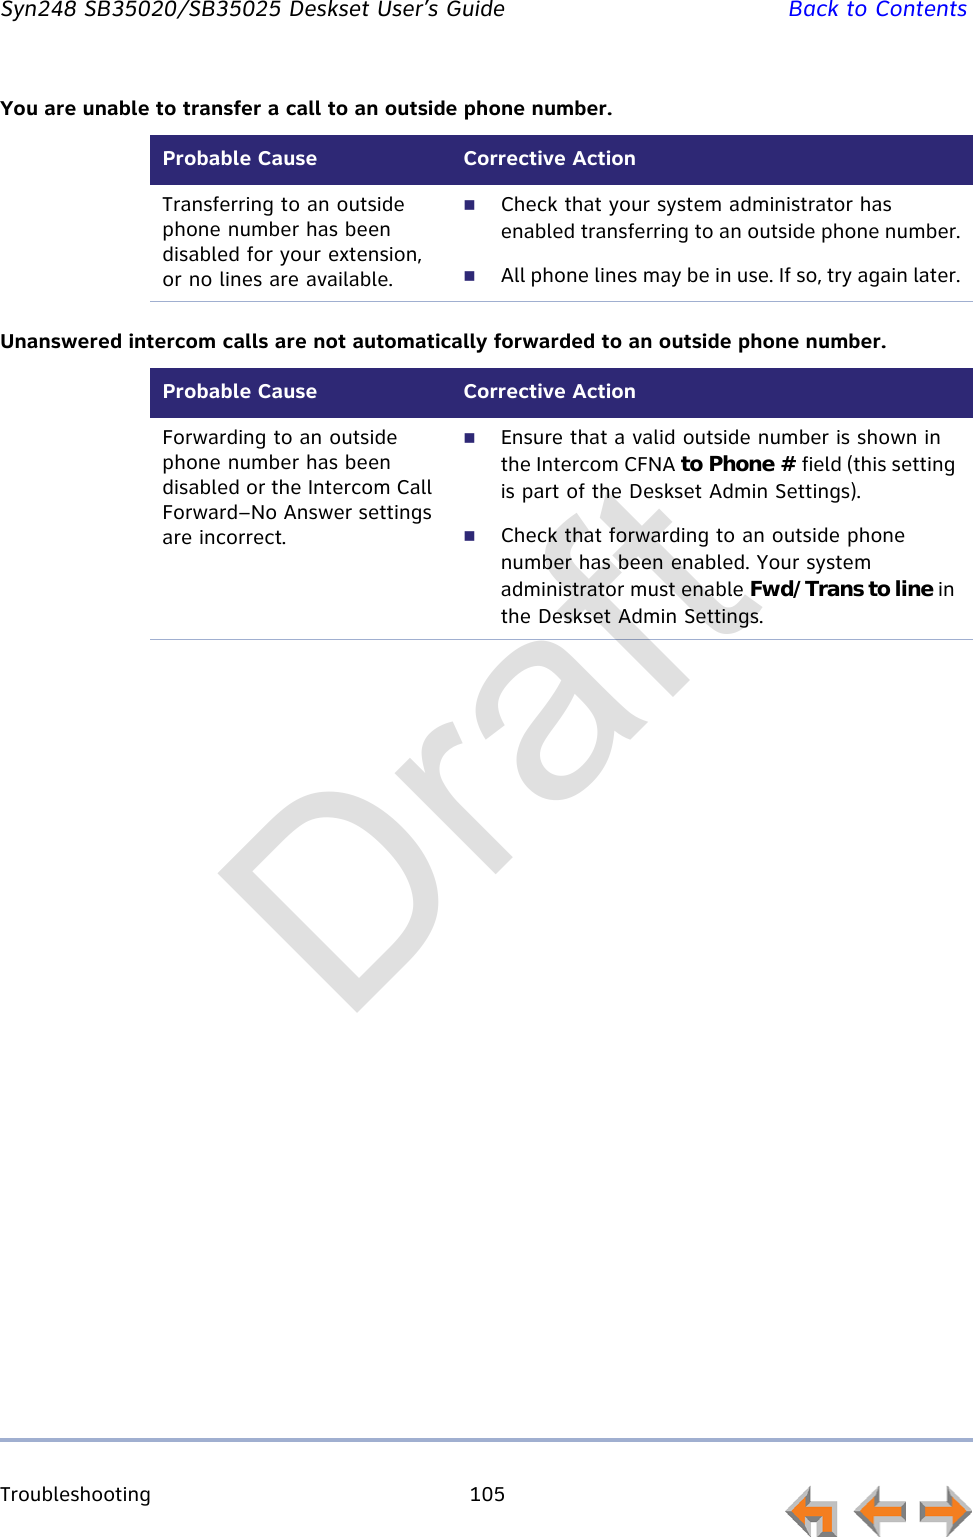
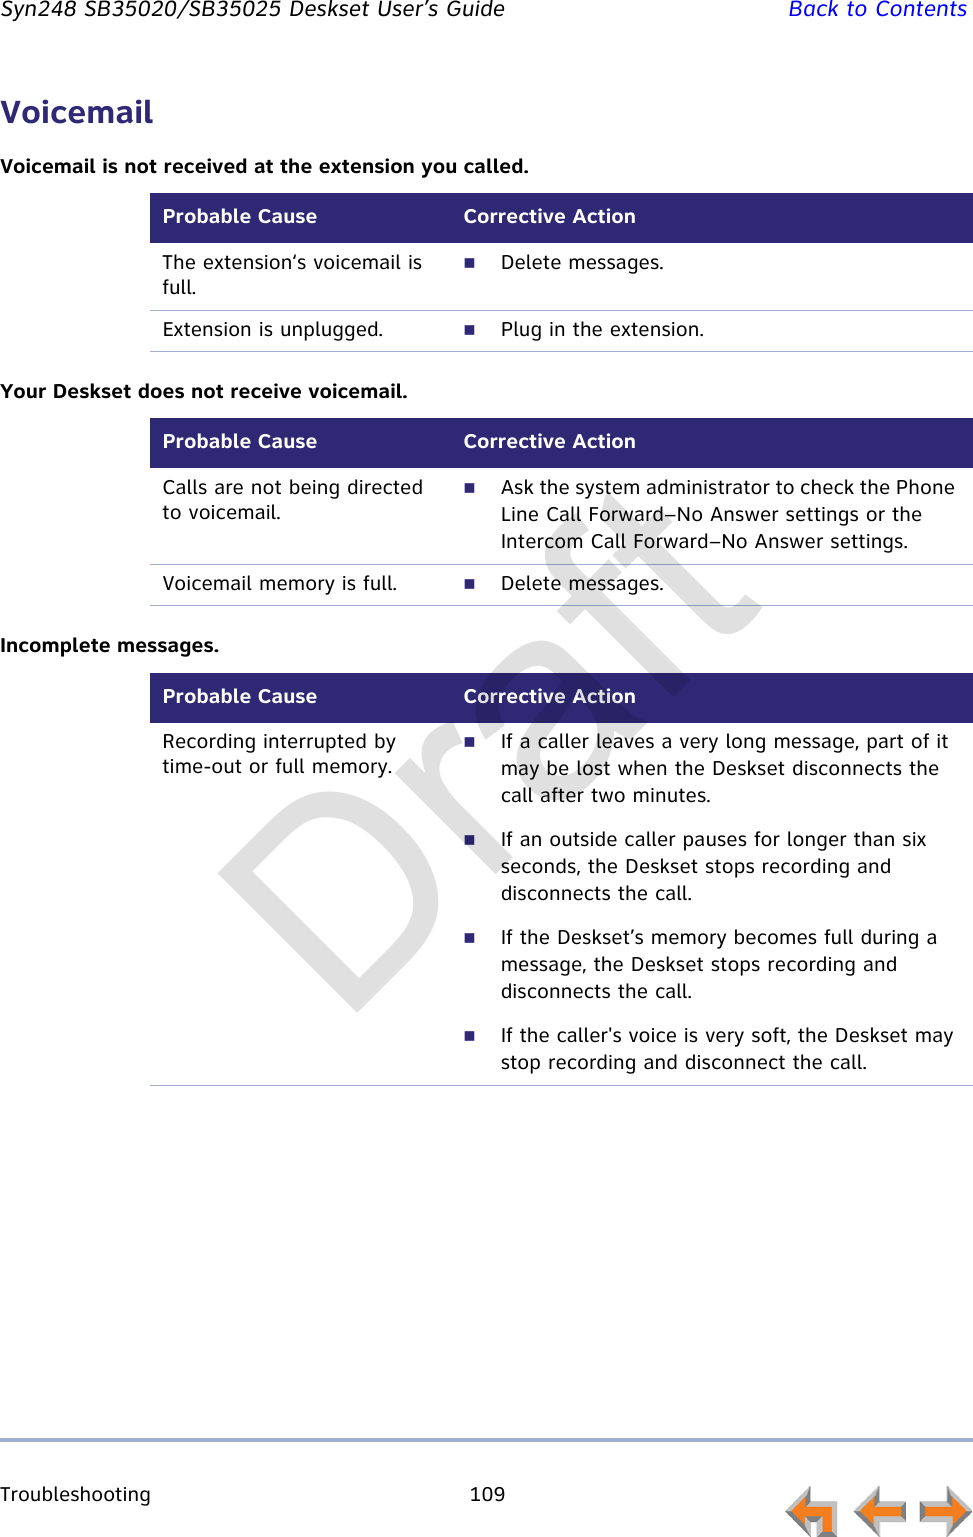
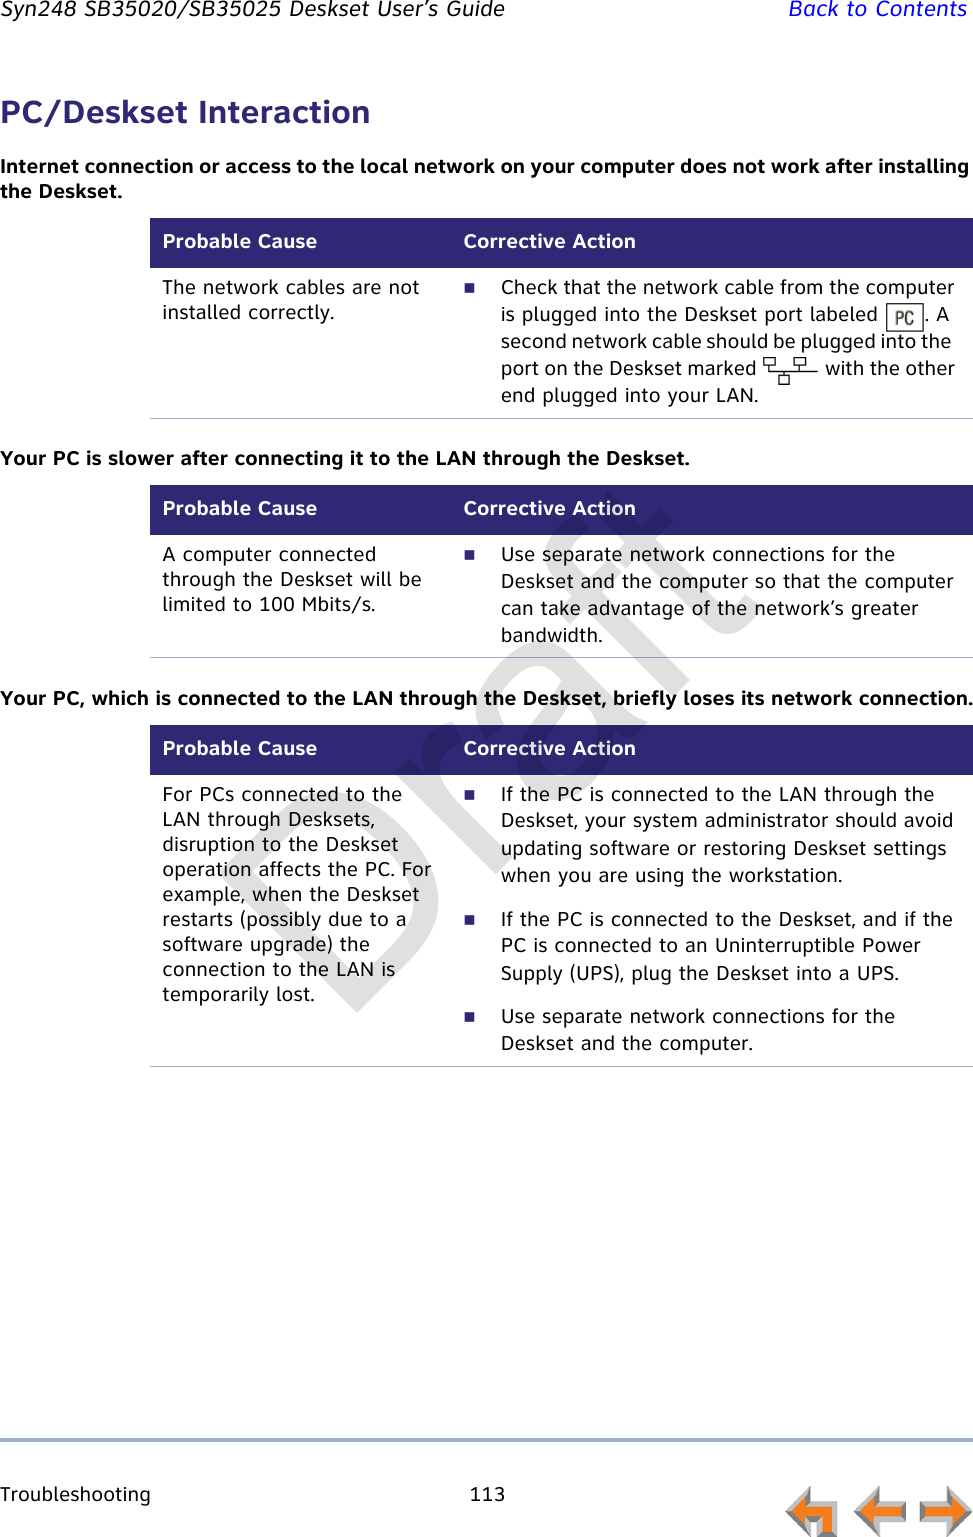
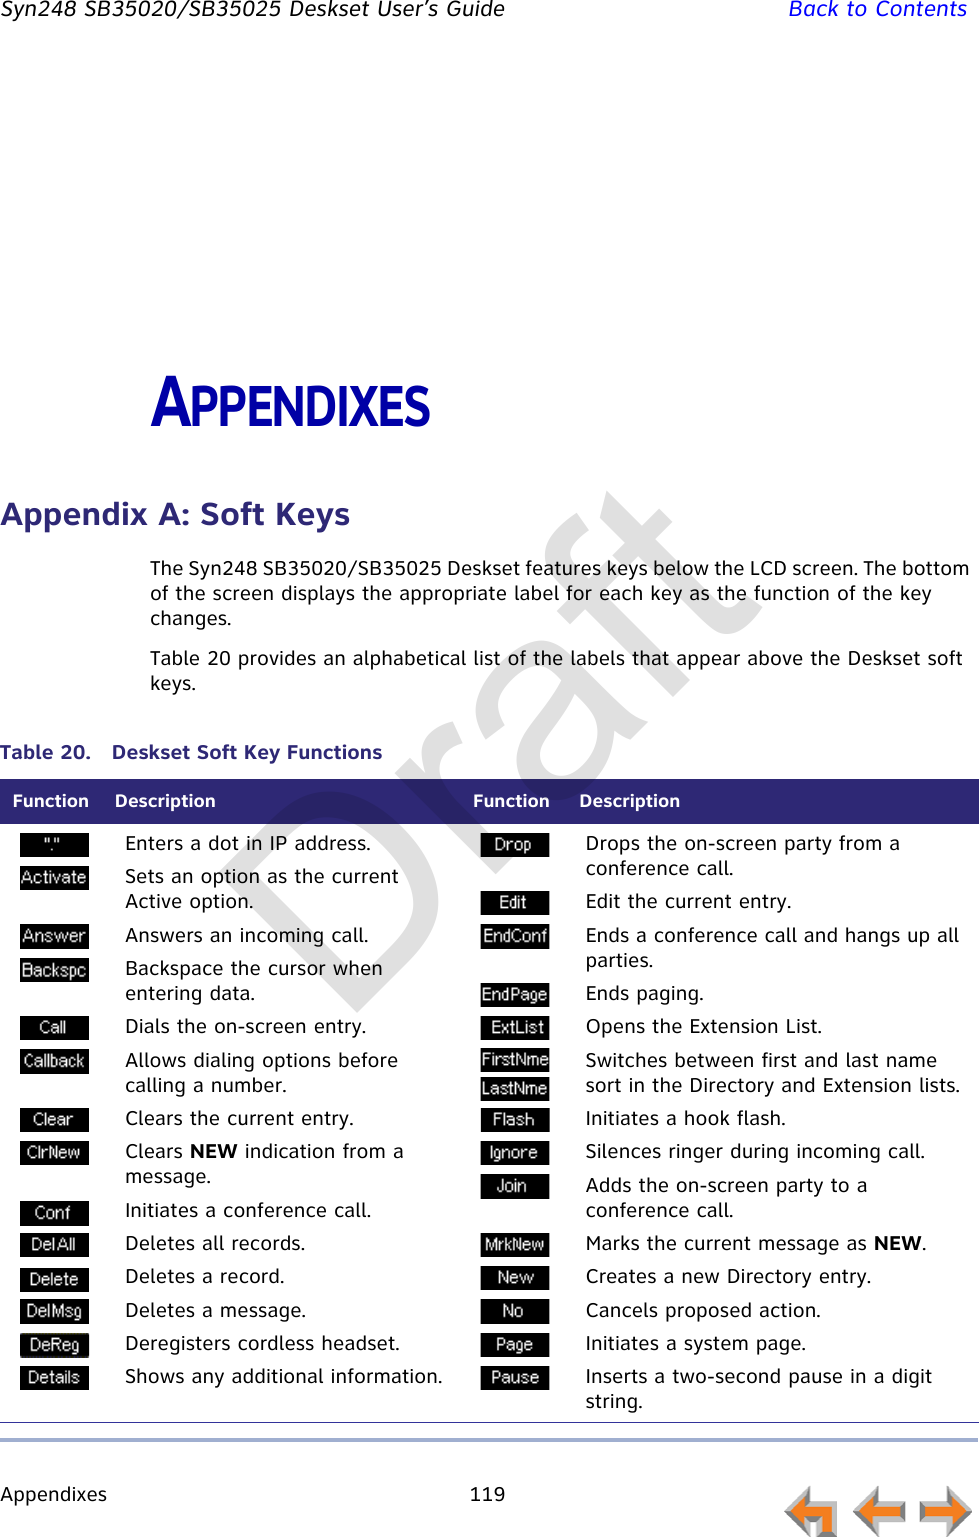
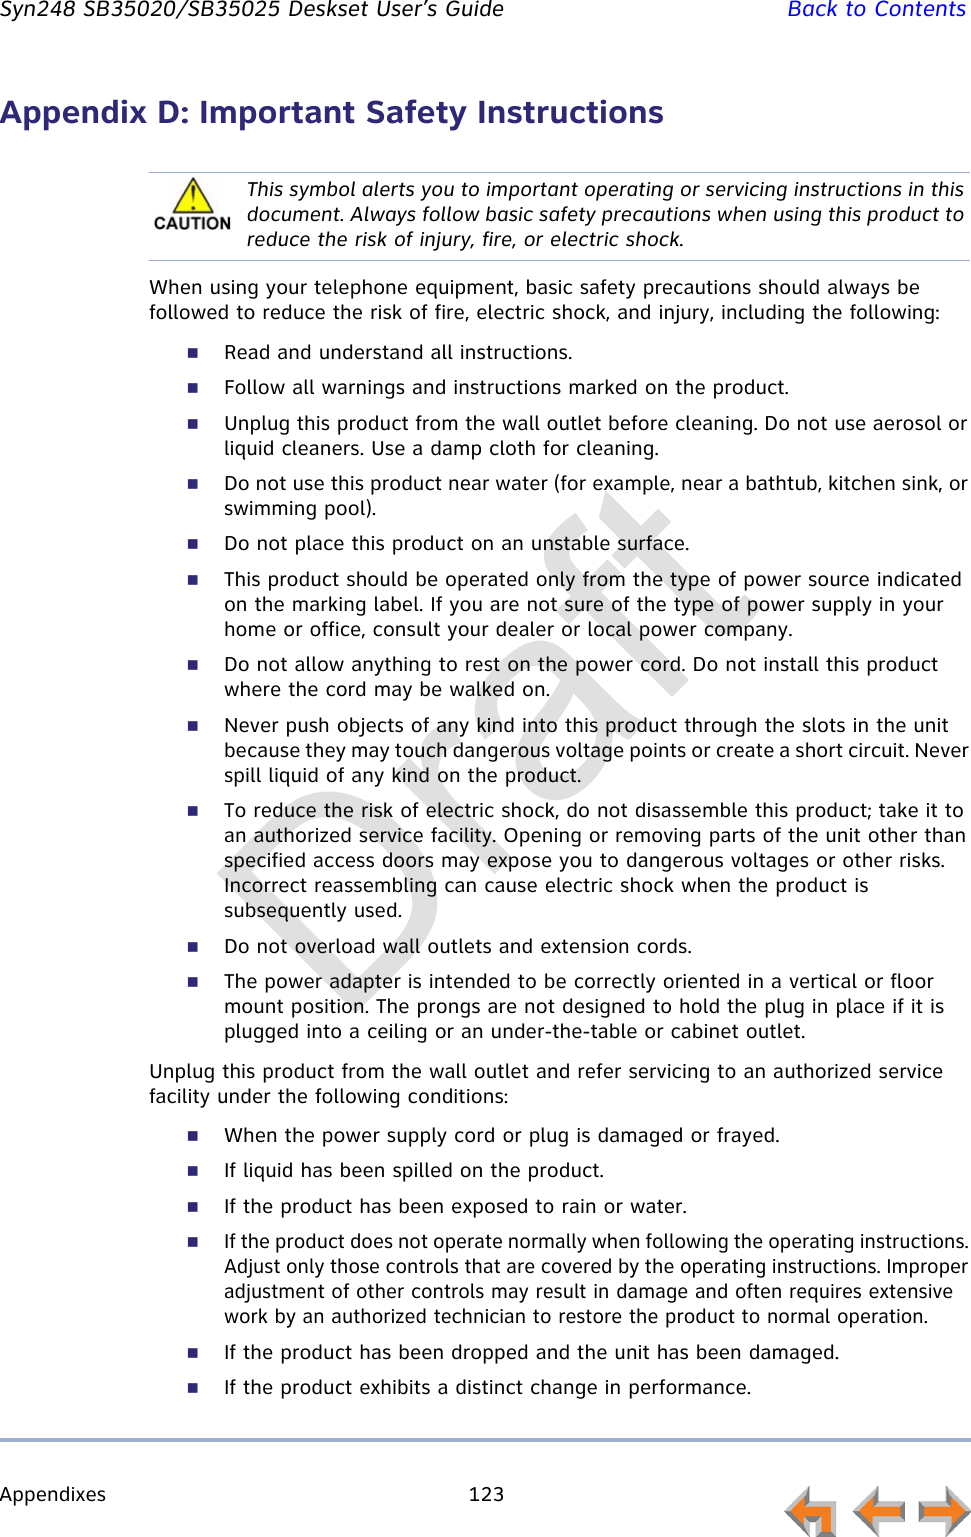
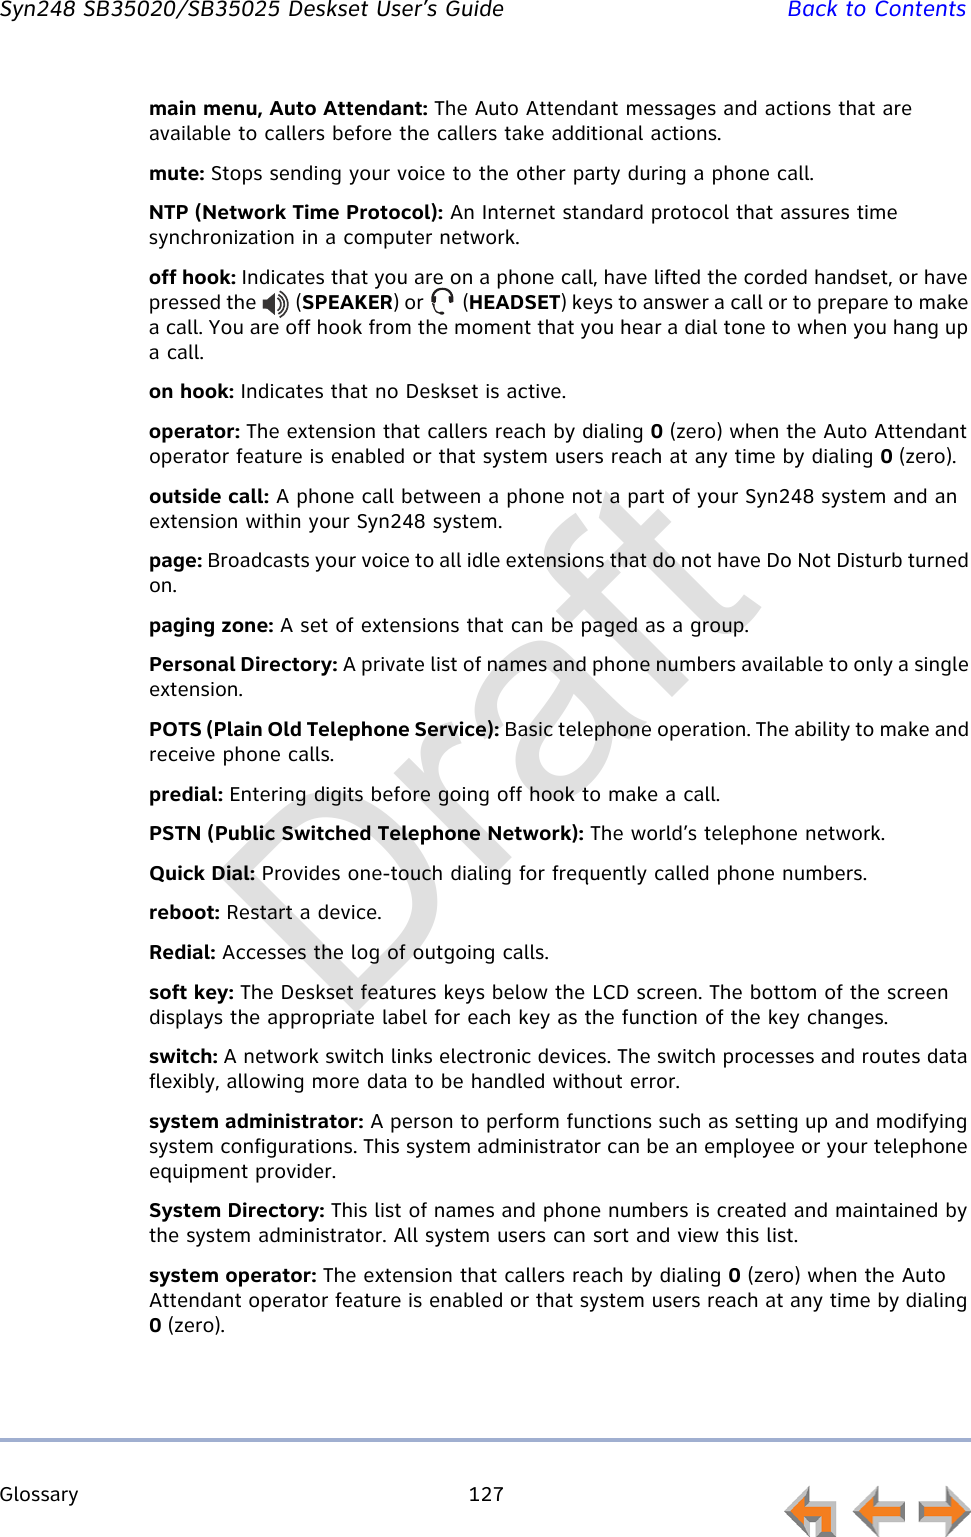
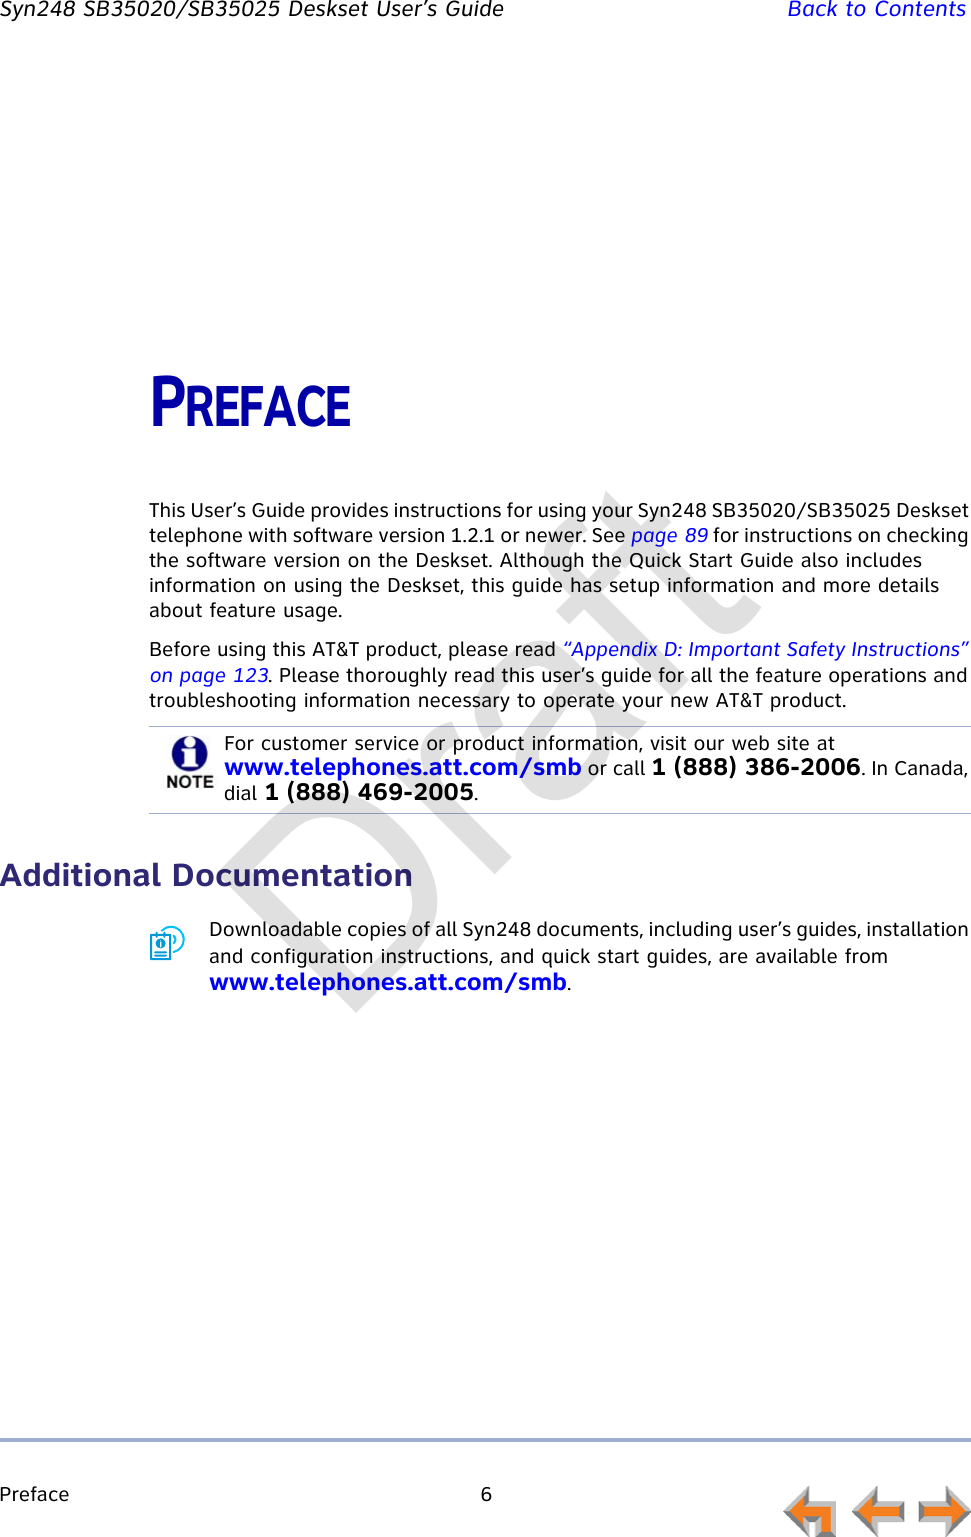
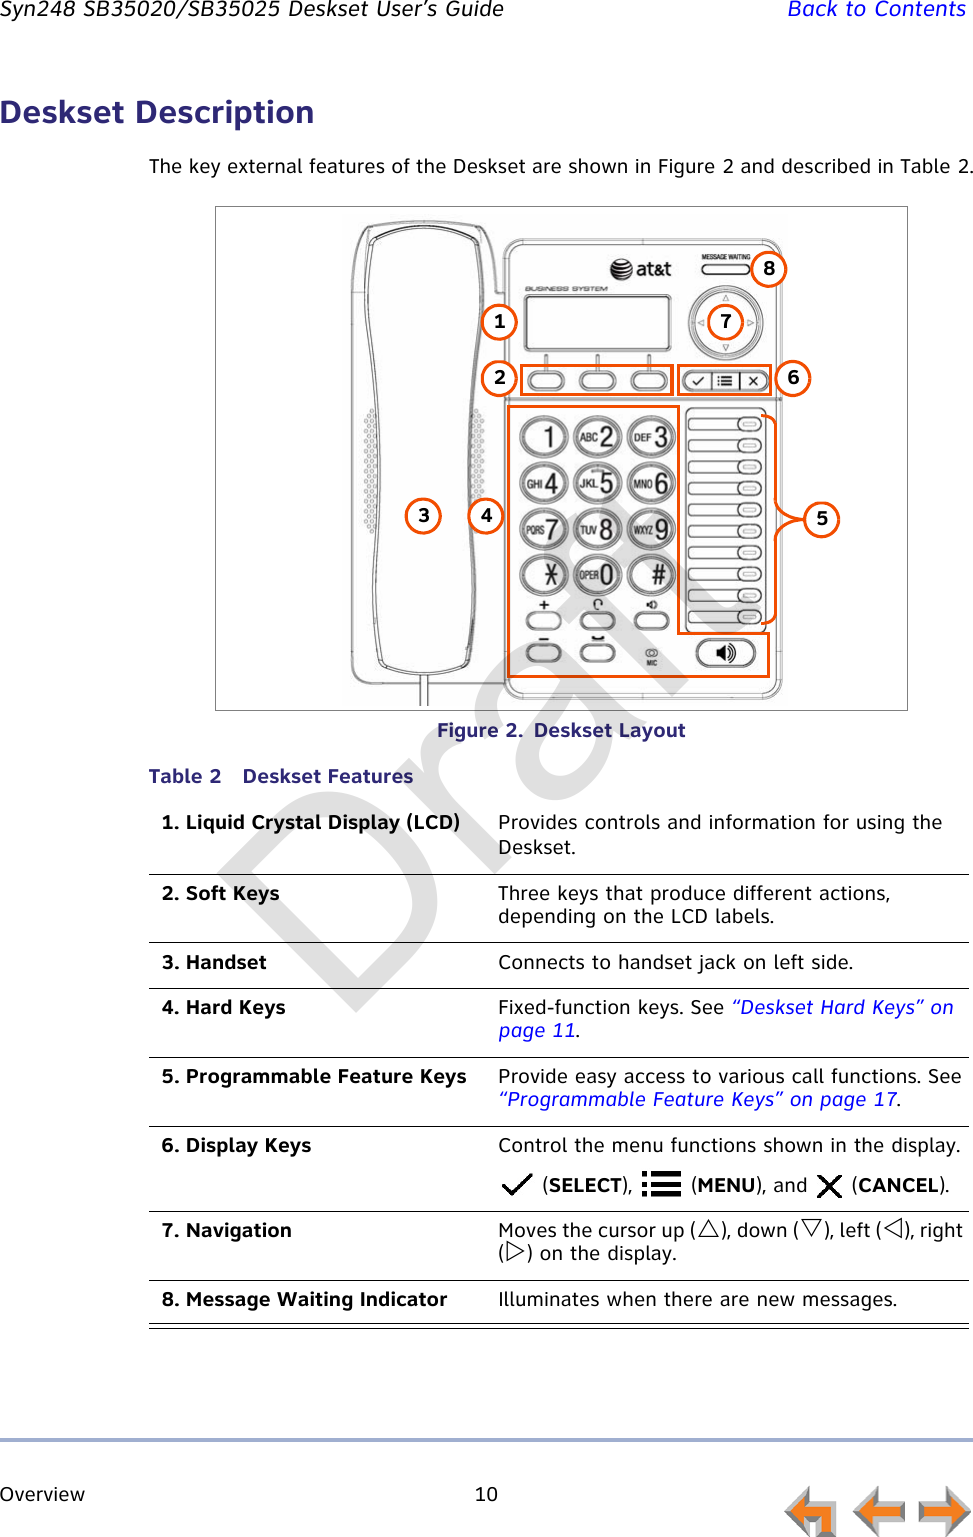
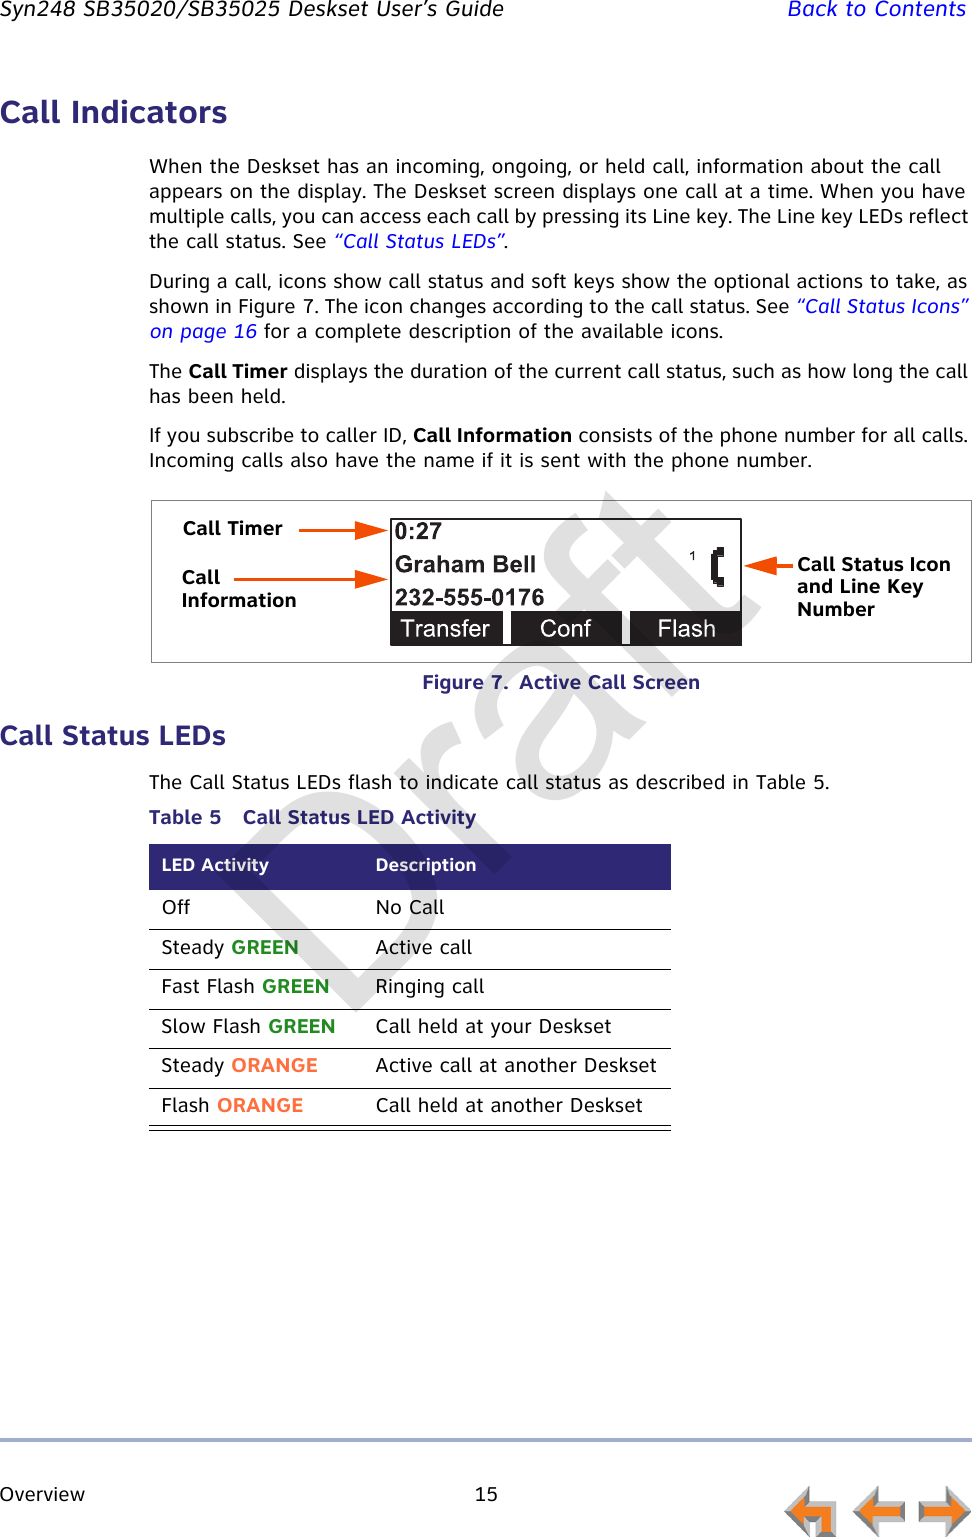
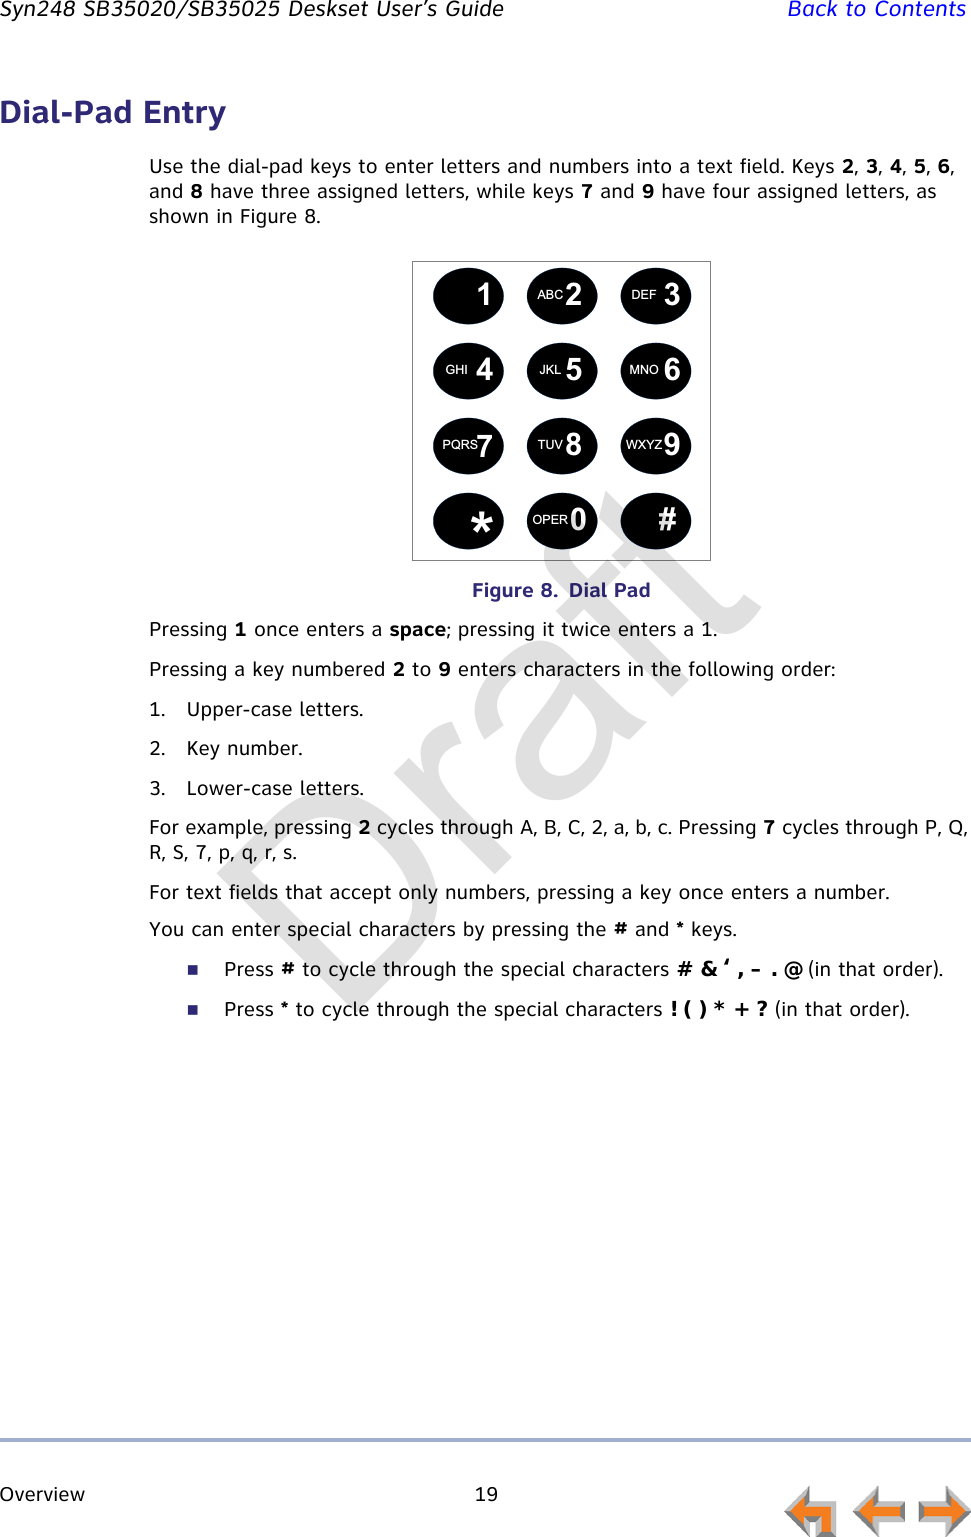
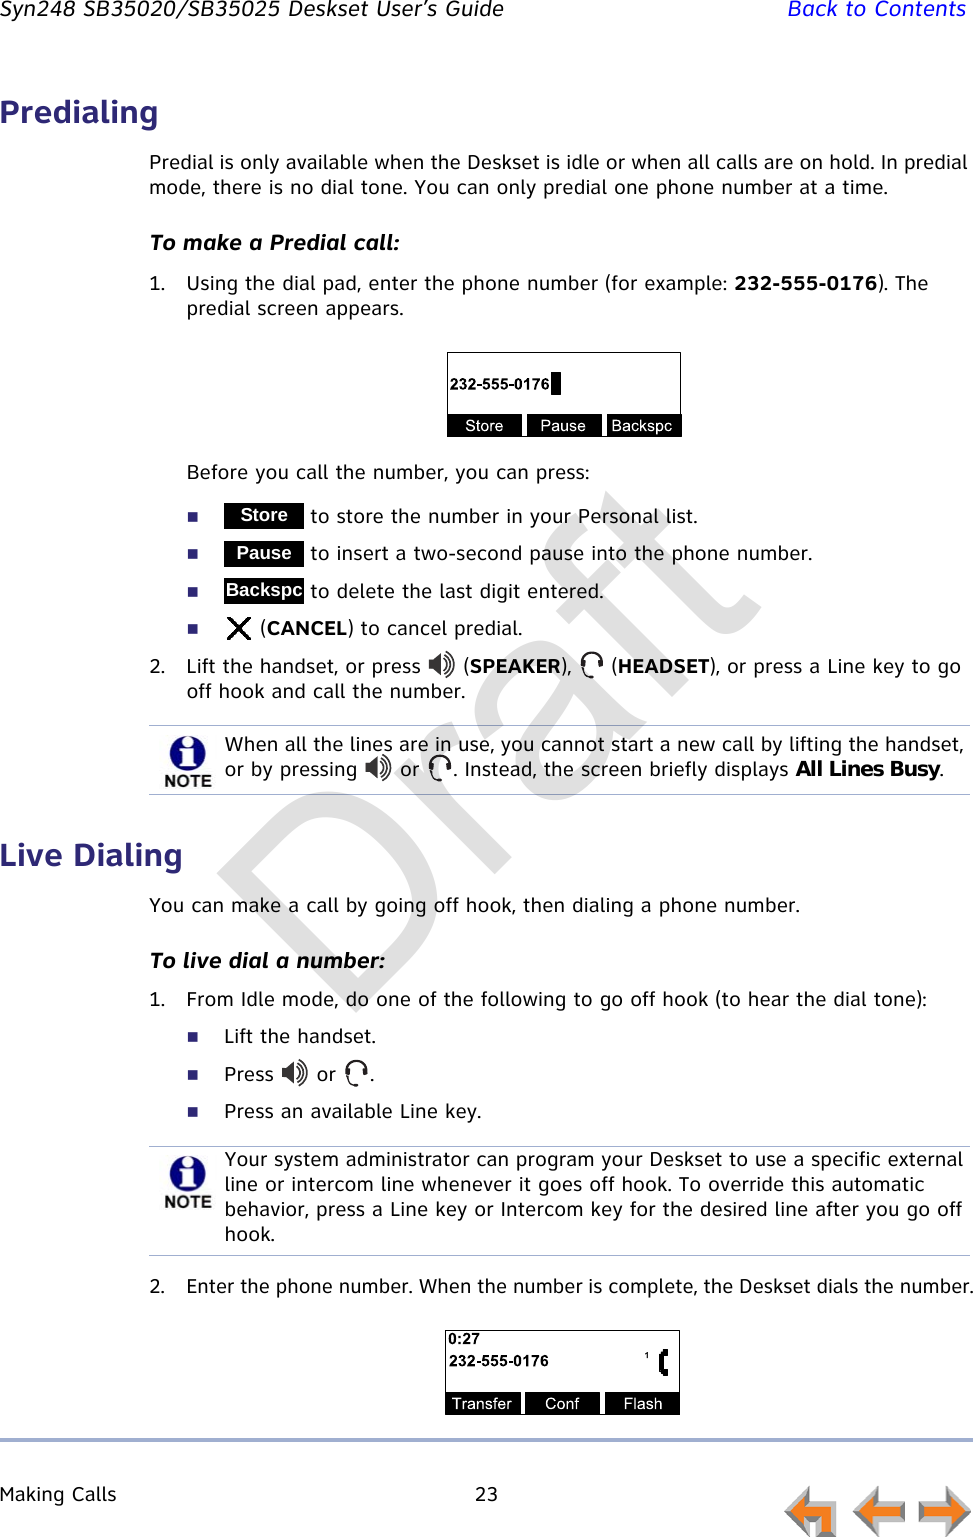
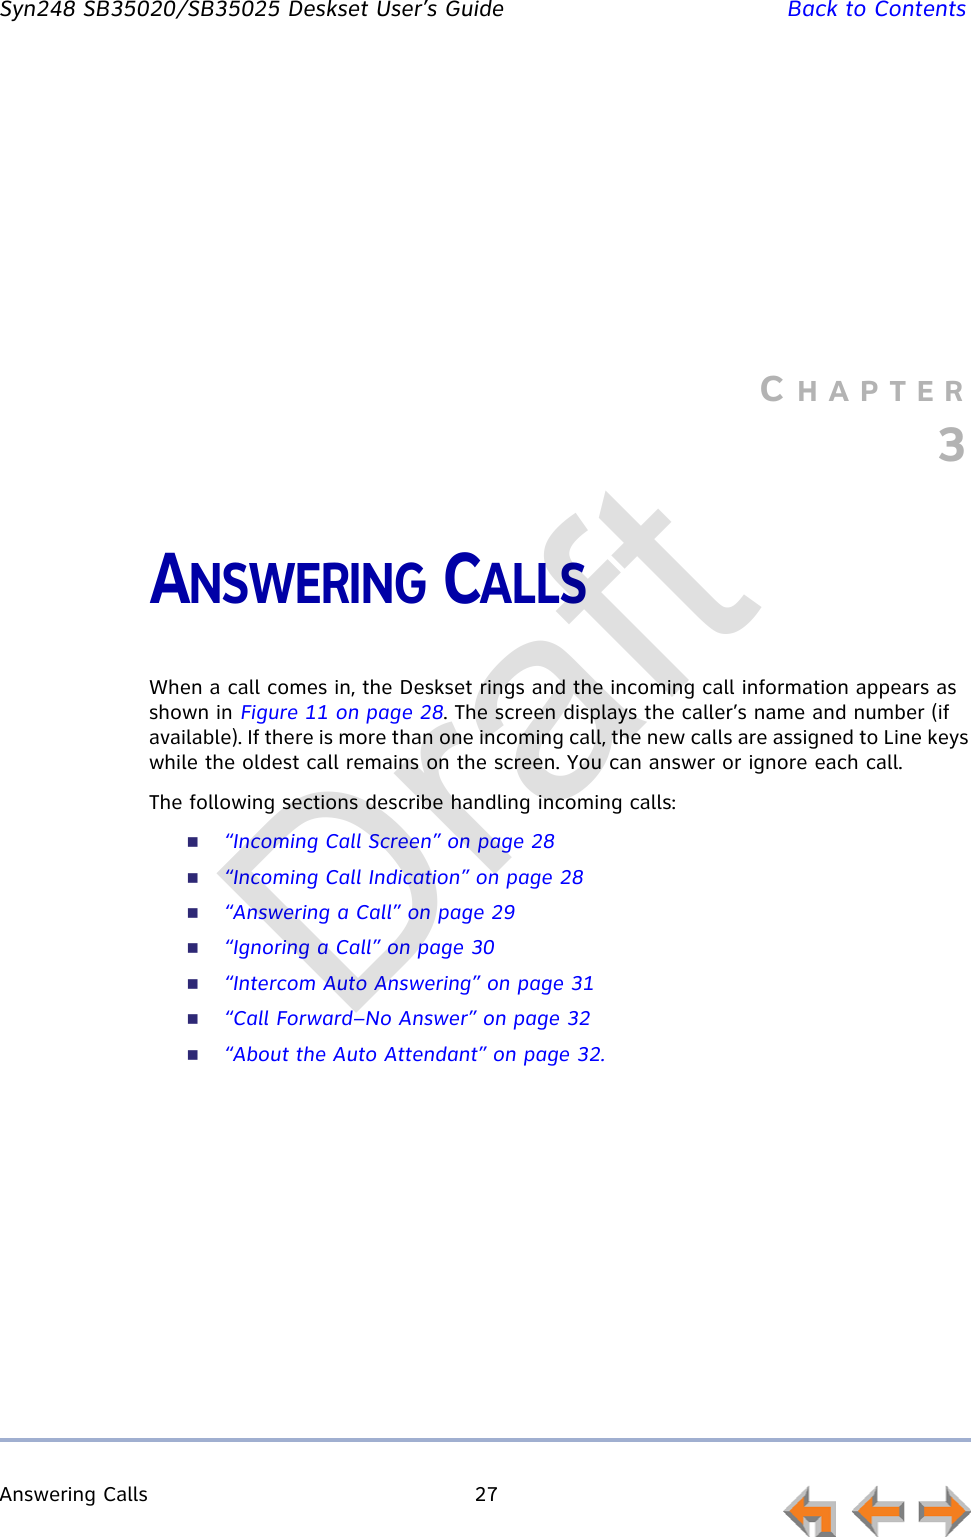
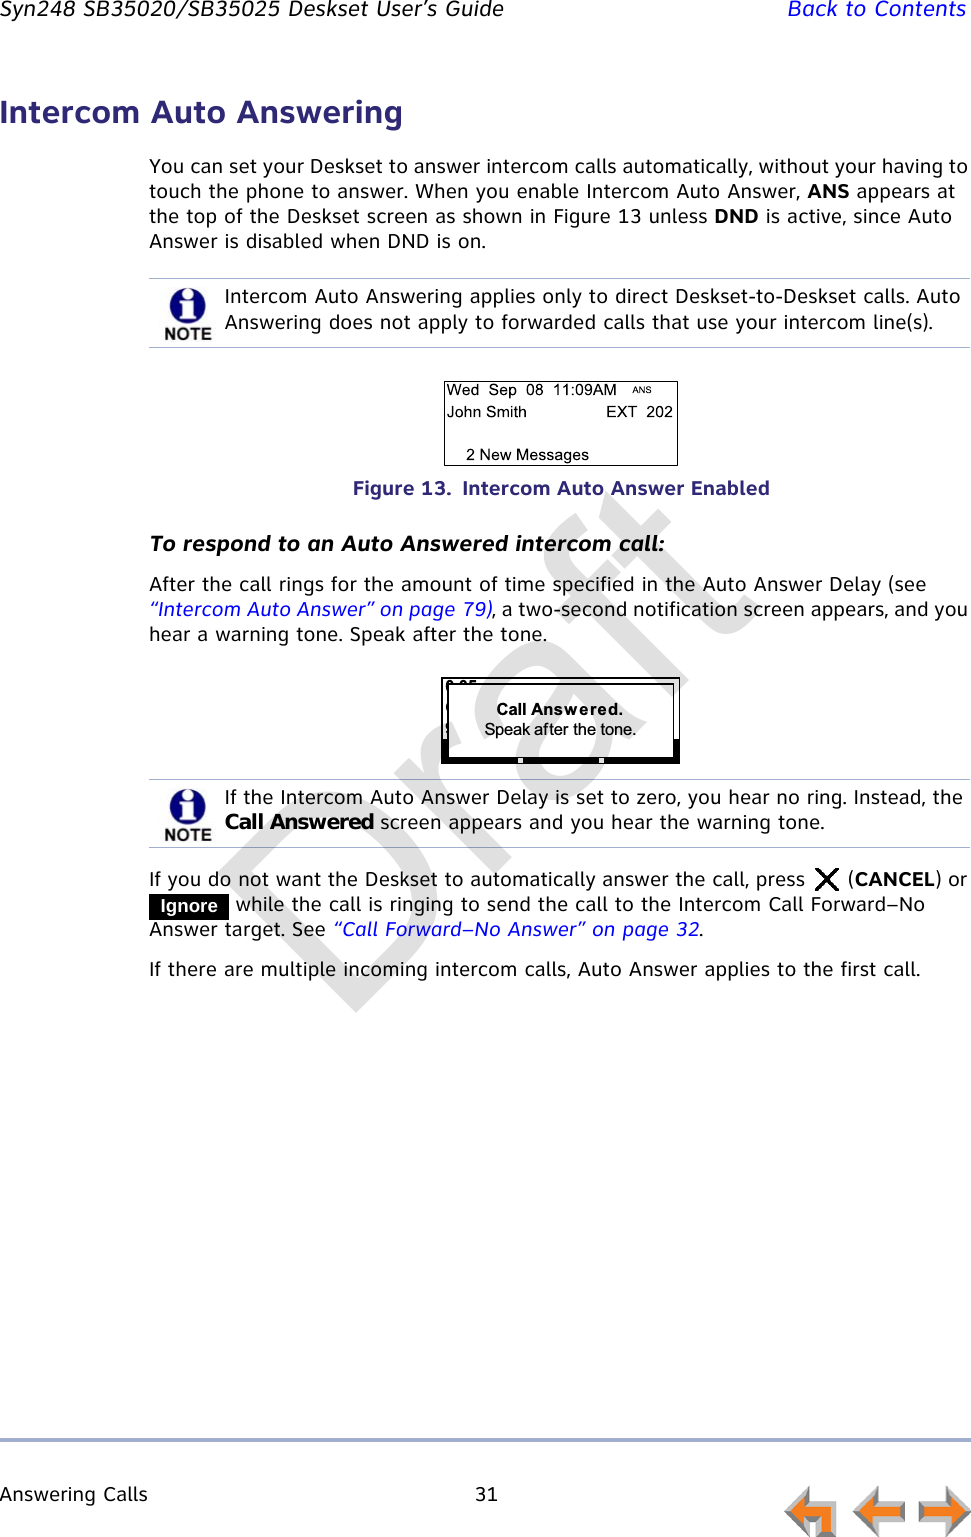
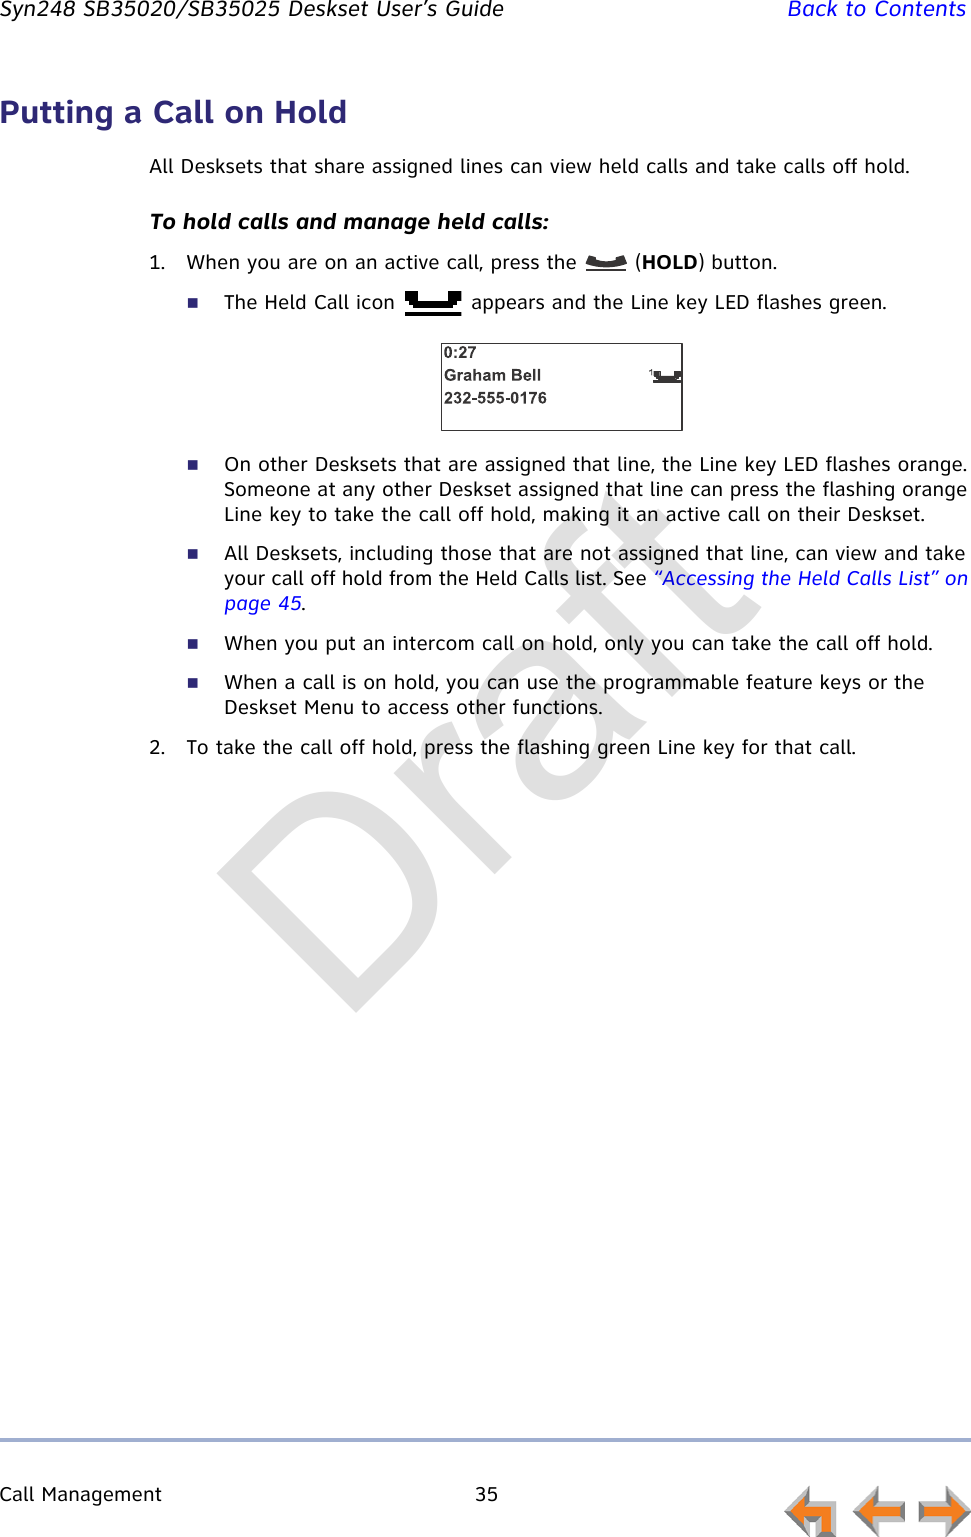
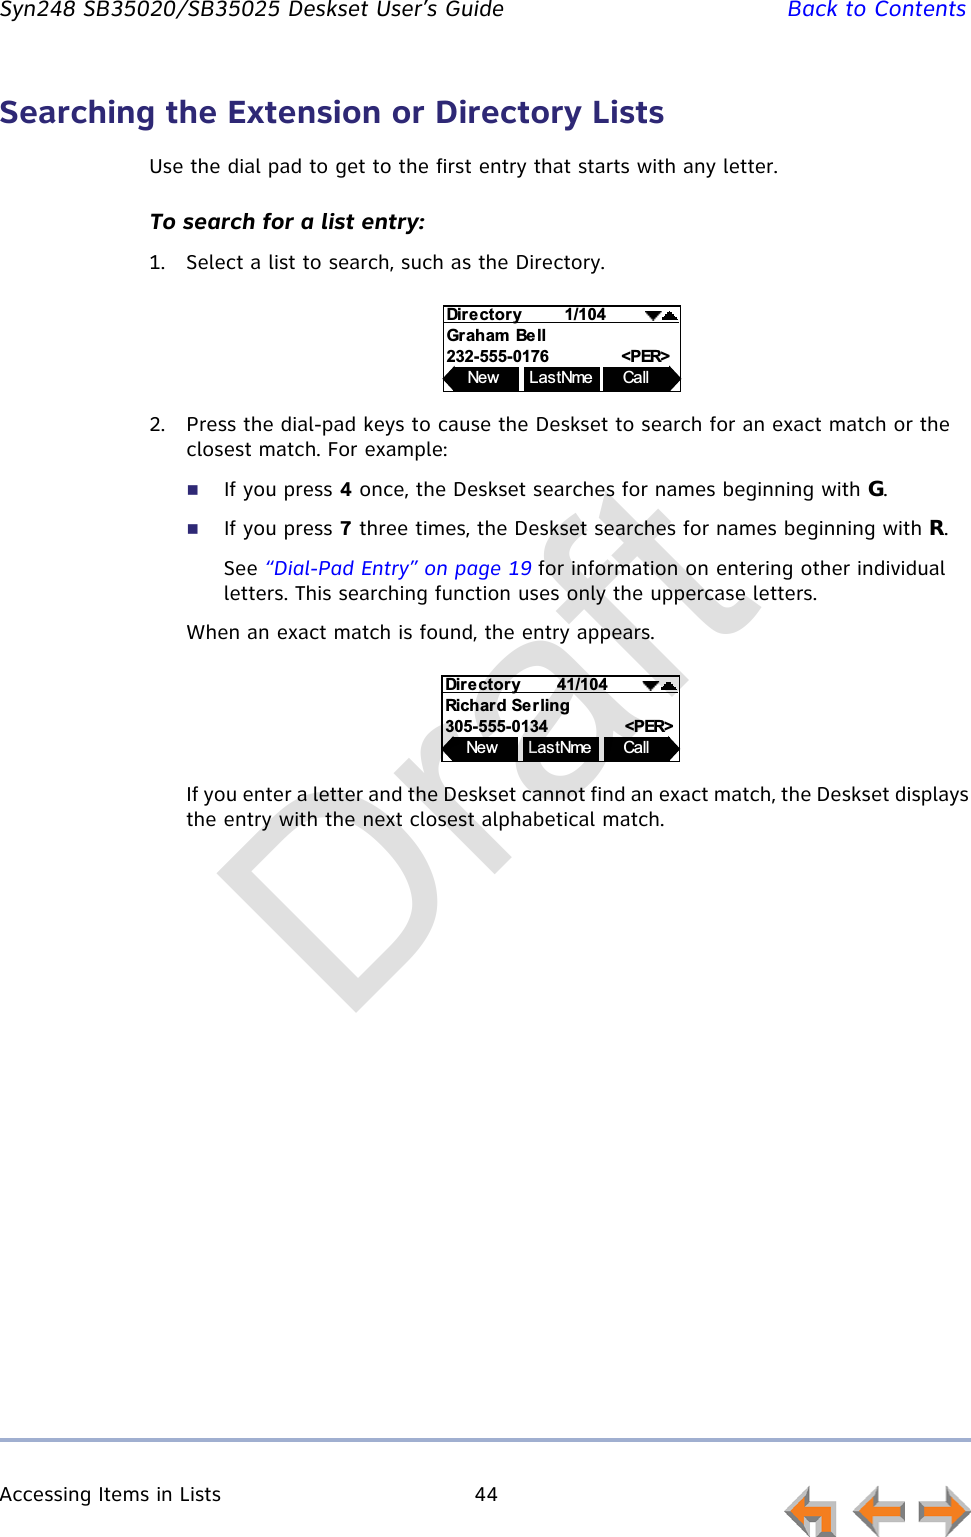
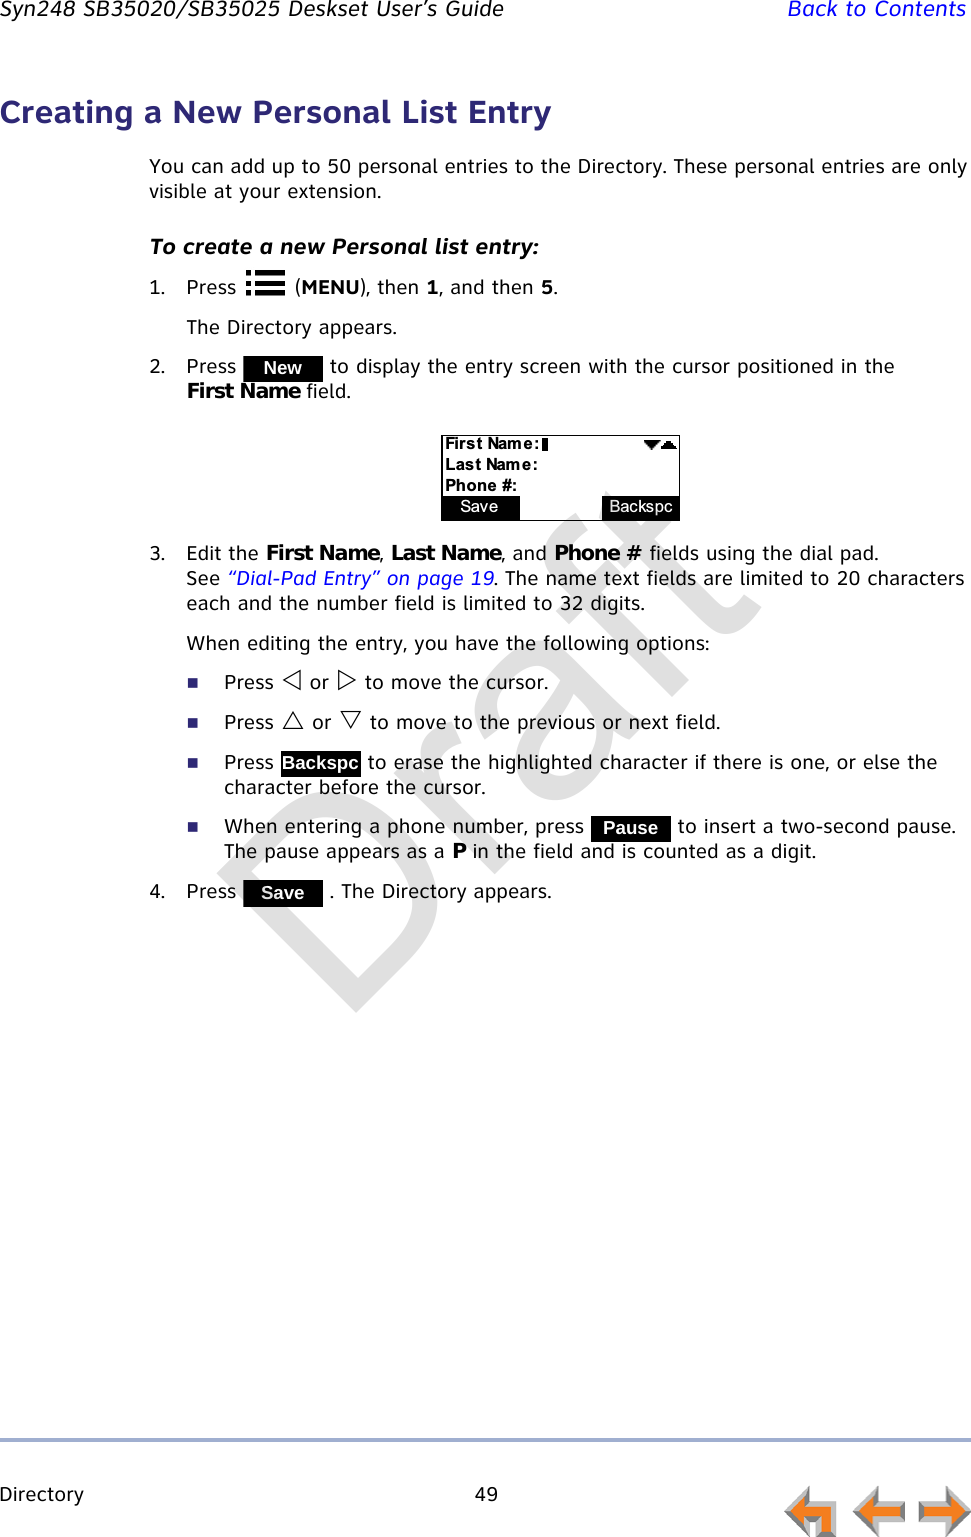
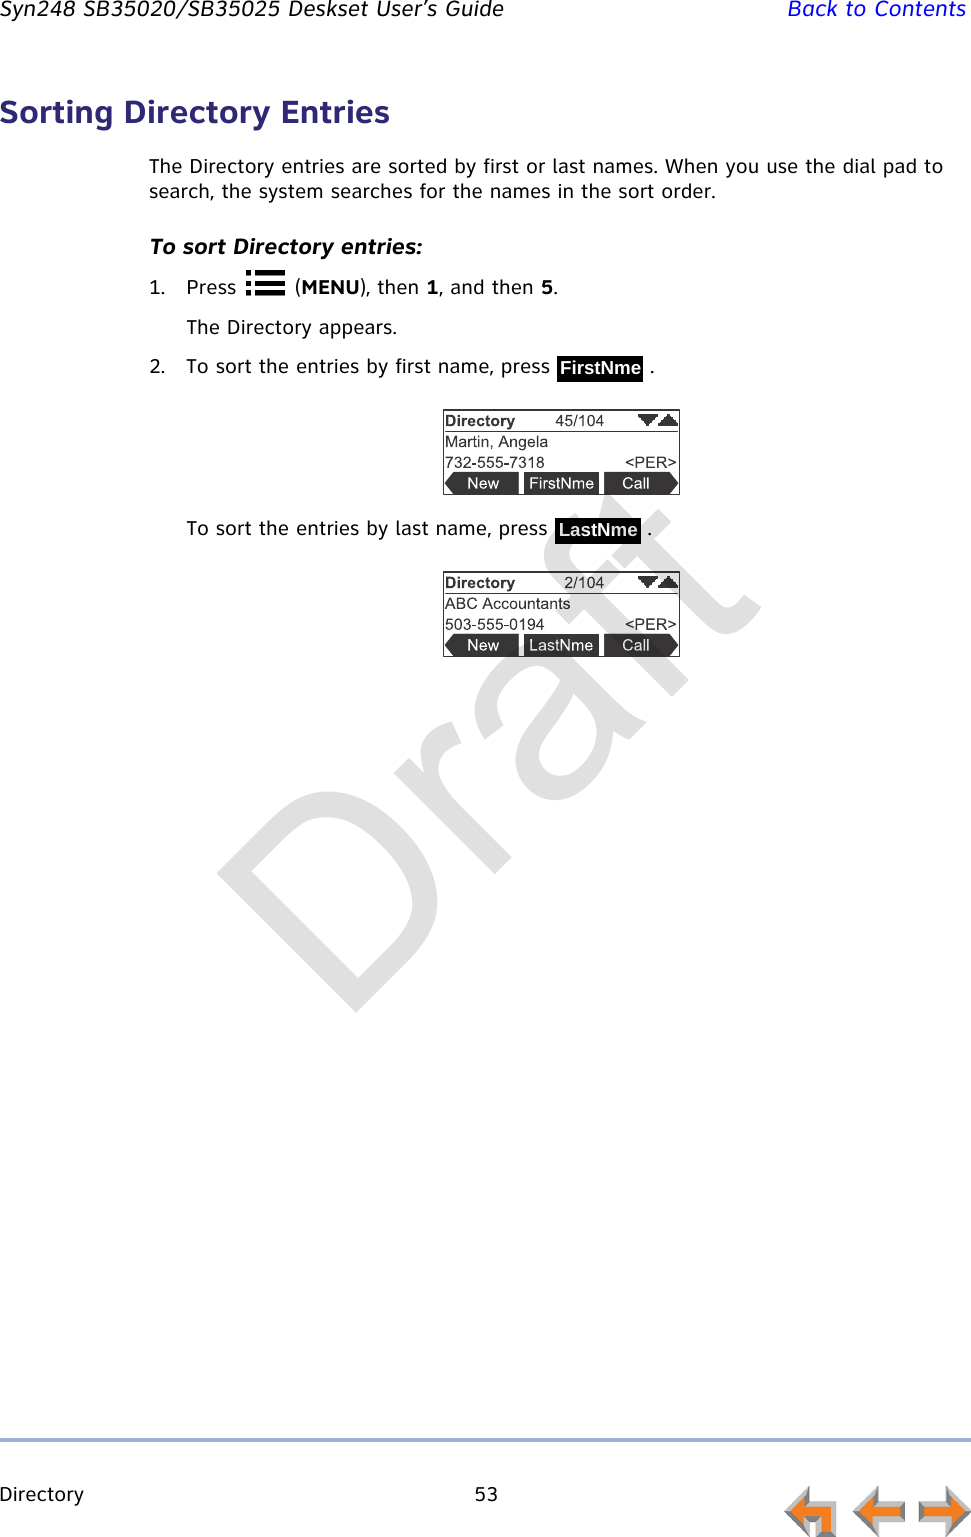
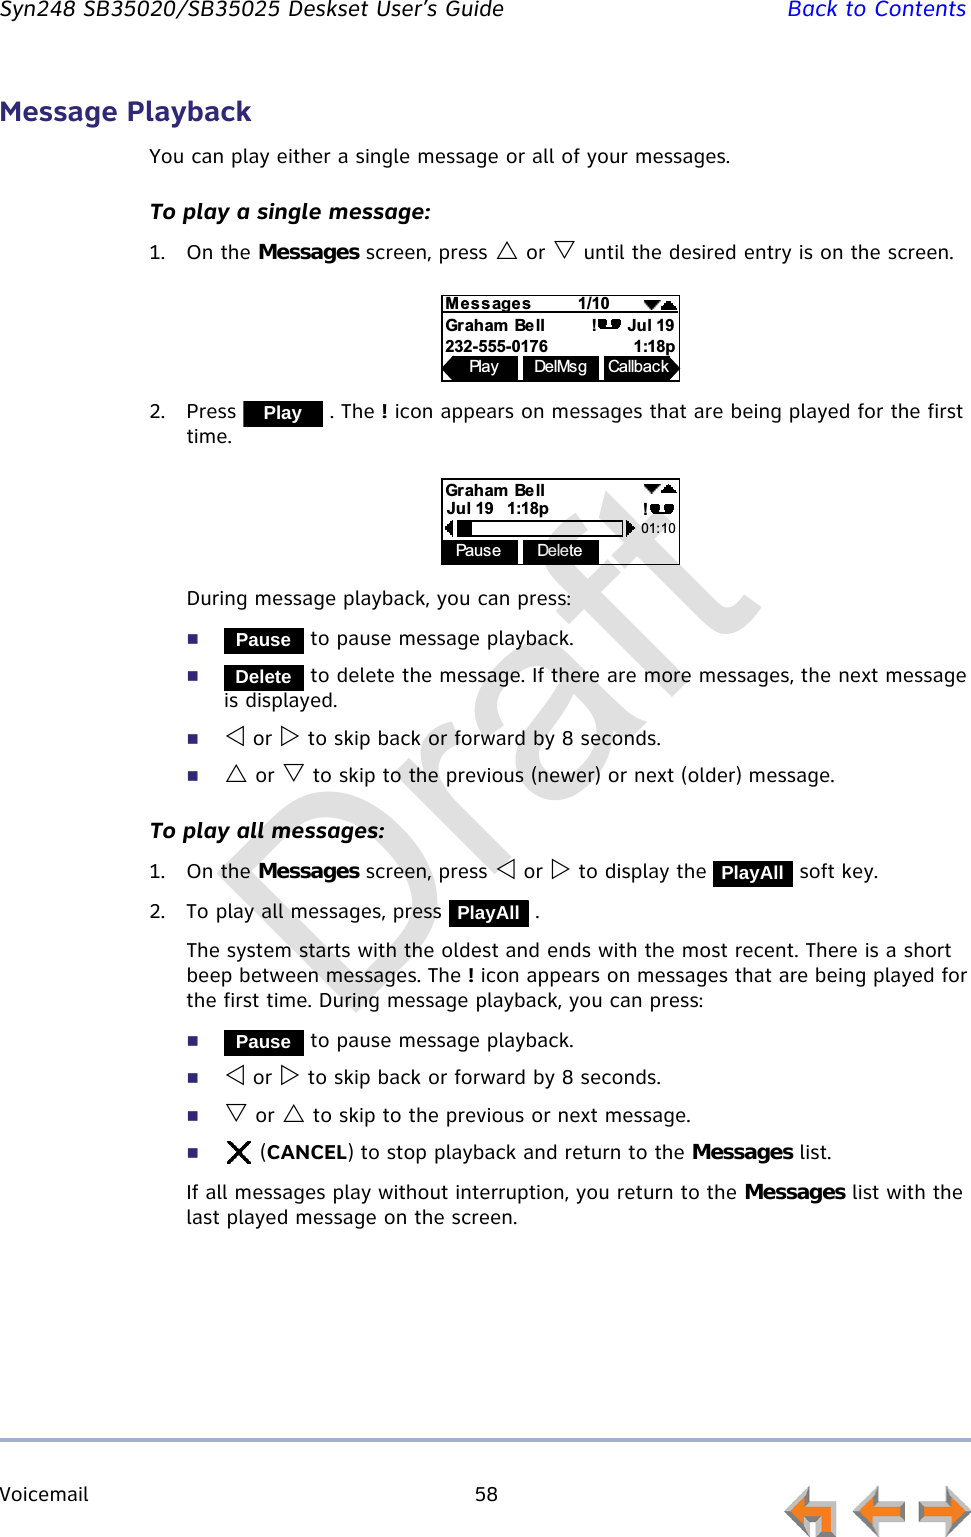
![Web Interface 96 Syn248 SB35020/SB35025 Deskset User’s Guide Back to ContentsTo edit Personal Directory entries:1. In the navigation menu at left, click Personal Directory. The Directory List page appears.2. Click [Edit] next to the entry to be edited. The Edit Personal Directory List Entry page appears.3. Complete the form with the desired information.4. Click to accept your changes or to reject the changes.To sort and delete Personal Directory entries:1. In the navigation menu at left, click Personal Directory to display the Directory List.2. To sort entries by last name, click . The button then changes to . This action only works during the current session. The sort order reverts to listing the names by first name when you log in the next time.3. To delete Directory entries:a. Click the check boxes for the entries you want to delete.b. Click . All of the selected entries are removed.Draft](https://usermanual.wiki/VTech-Telecommunications/80-8479-00/User-Guide-2070890-Page-96.png)