VTech Telecommunications 80-9087-00 1.9GHz Digital Modulation Cordless Phone - Base Unit Bluetooth Portion User Manual TL96X73 CIB i1 20130116 for approval
VTech Telecommunications Ltd 1.9GHz Digital Modulation Cordless Phone - Base Unit Bluetooth Portion TL96X73 CIB i1 20130116 for approval
User Manual
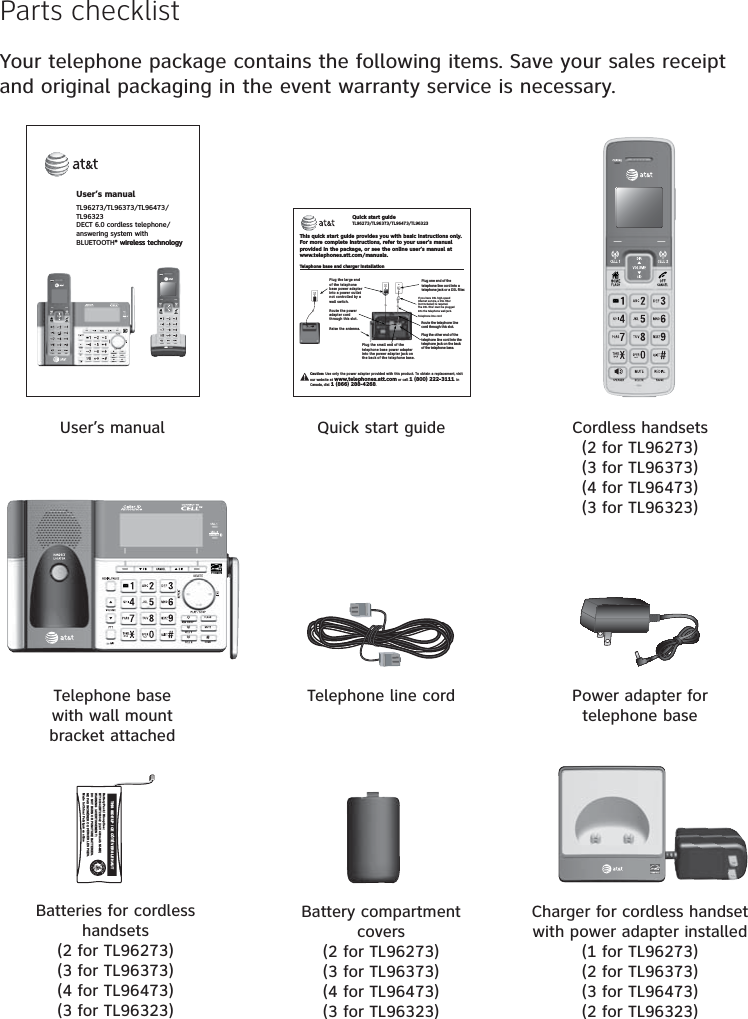
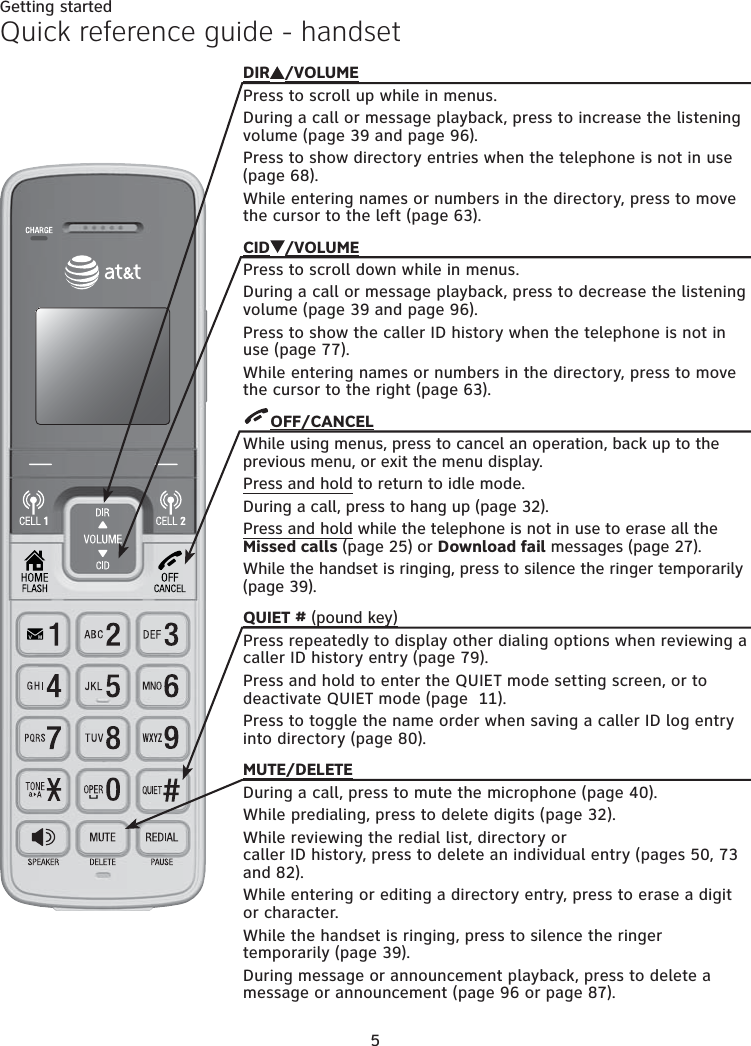
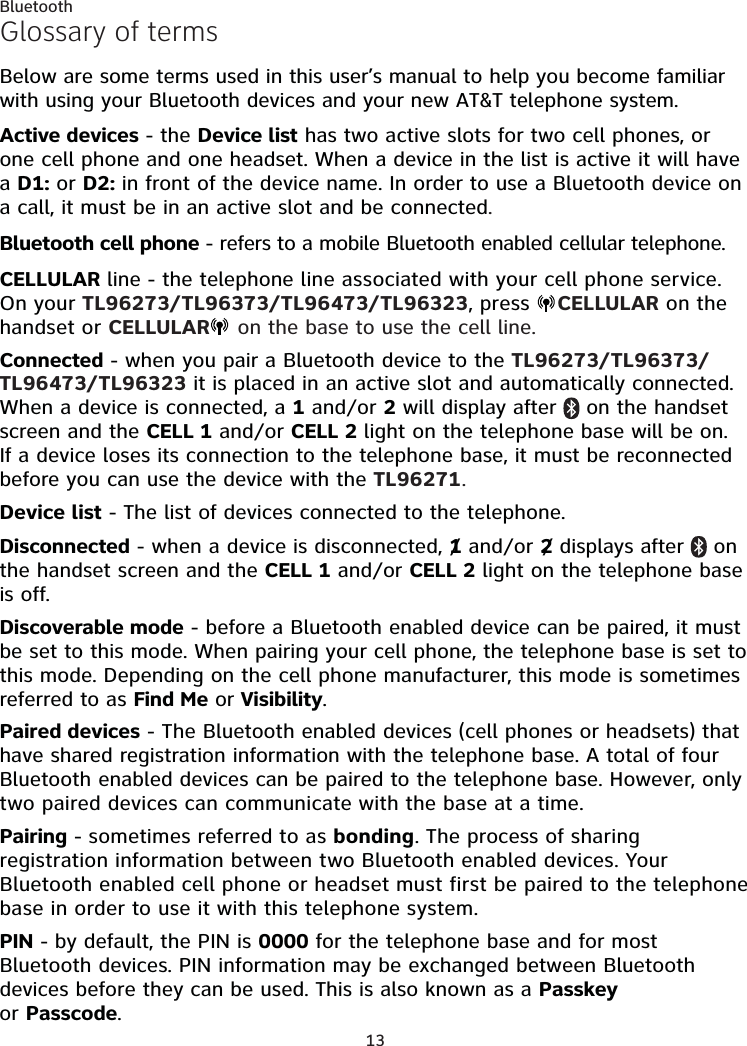
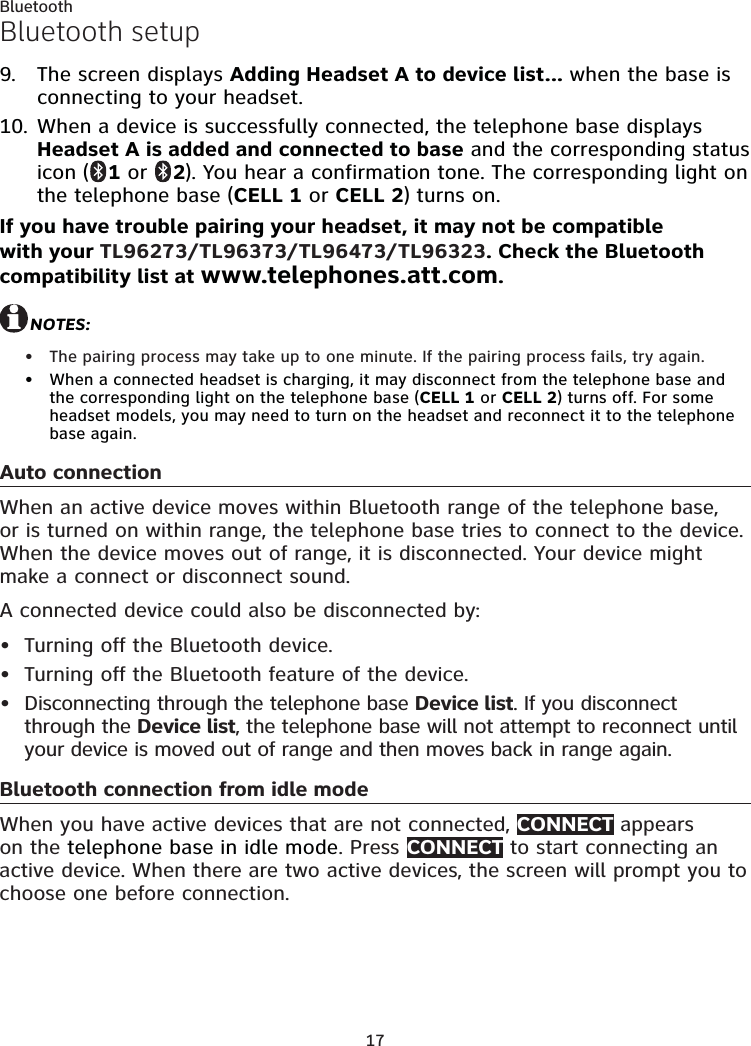
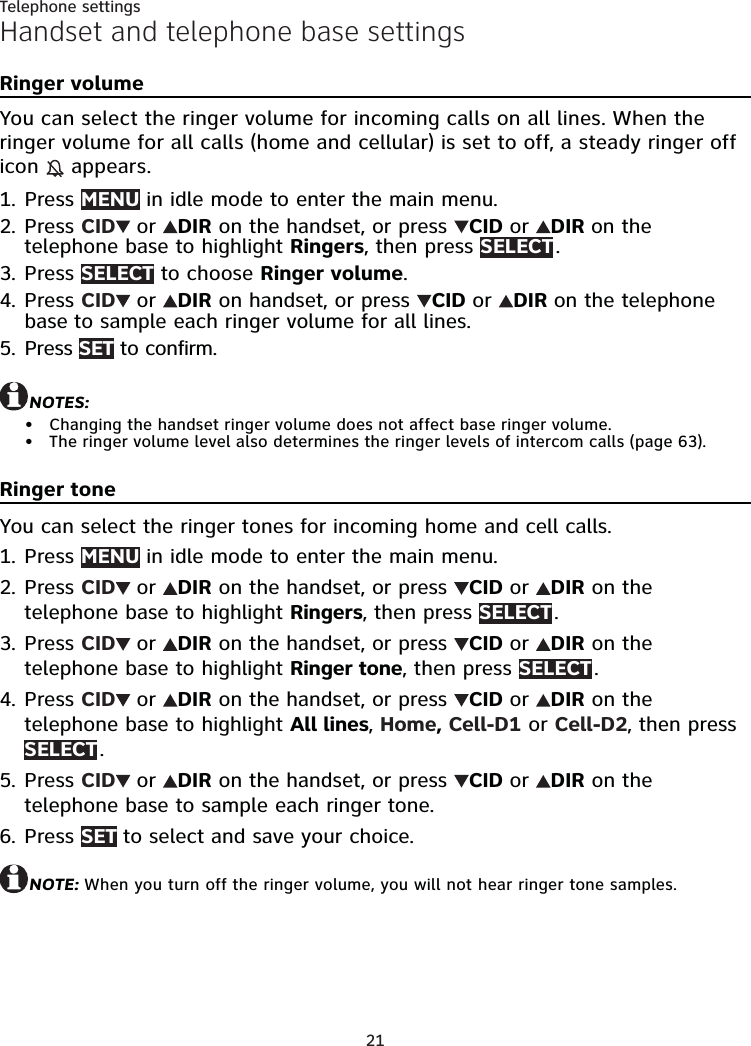
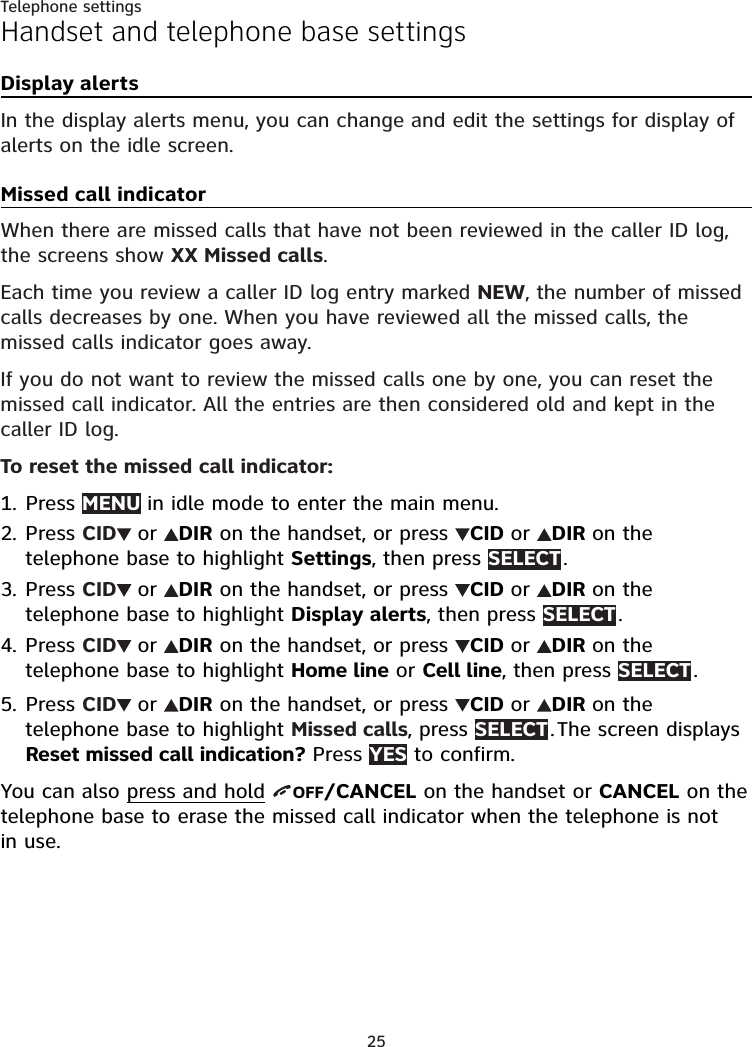
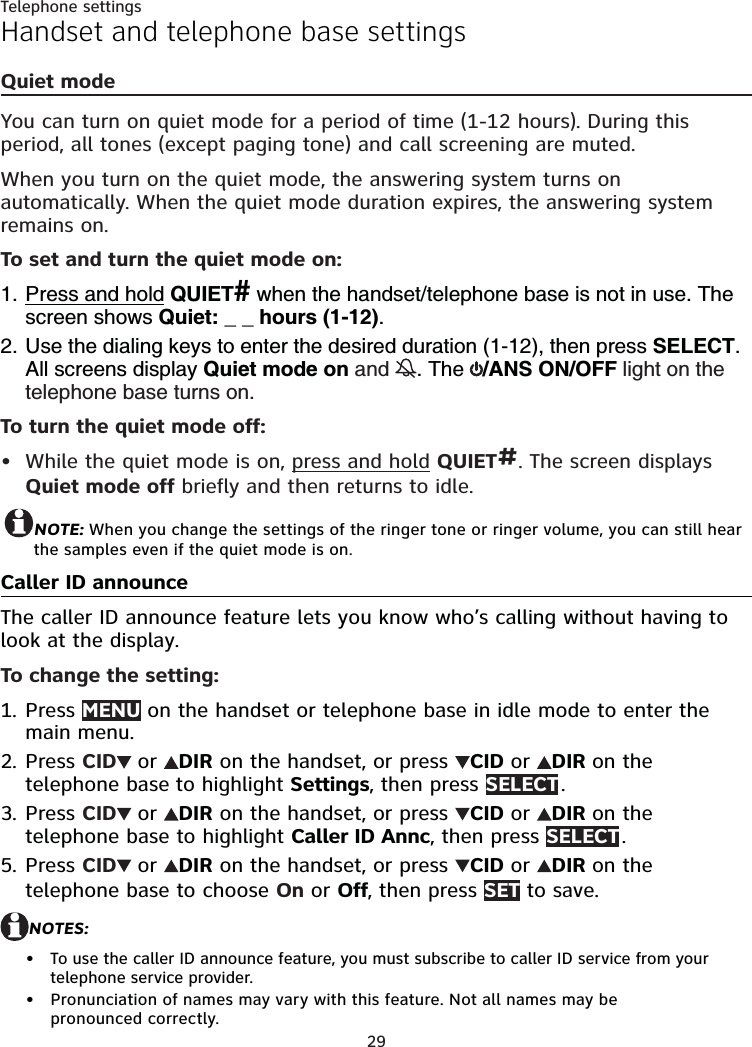
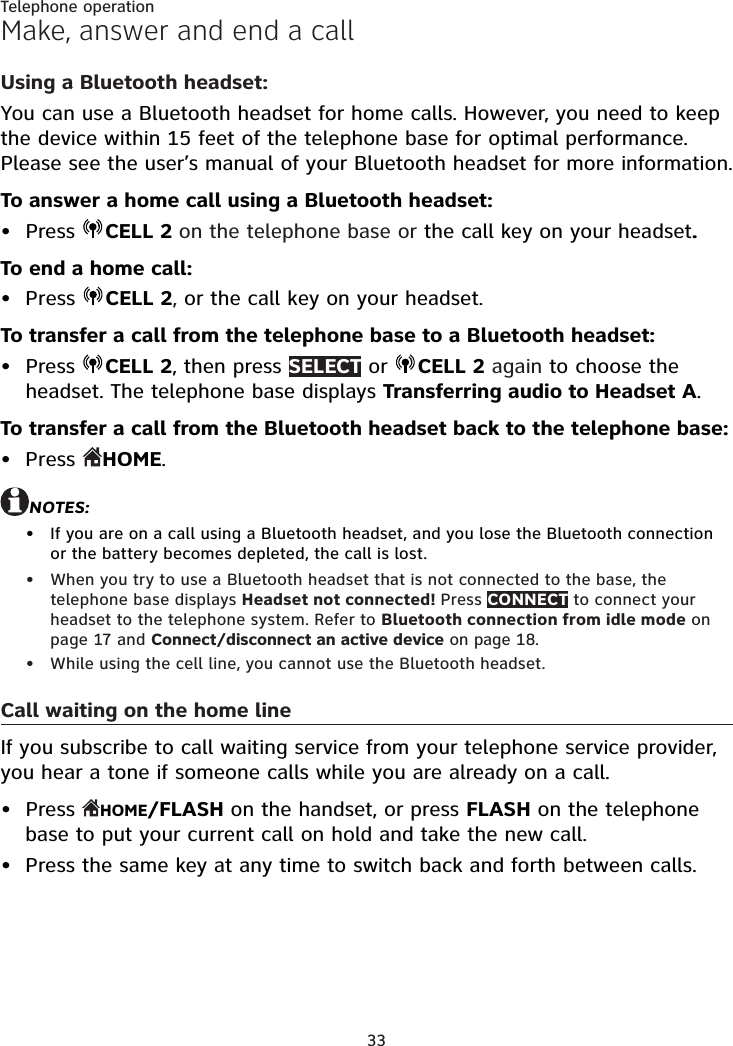
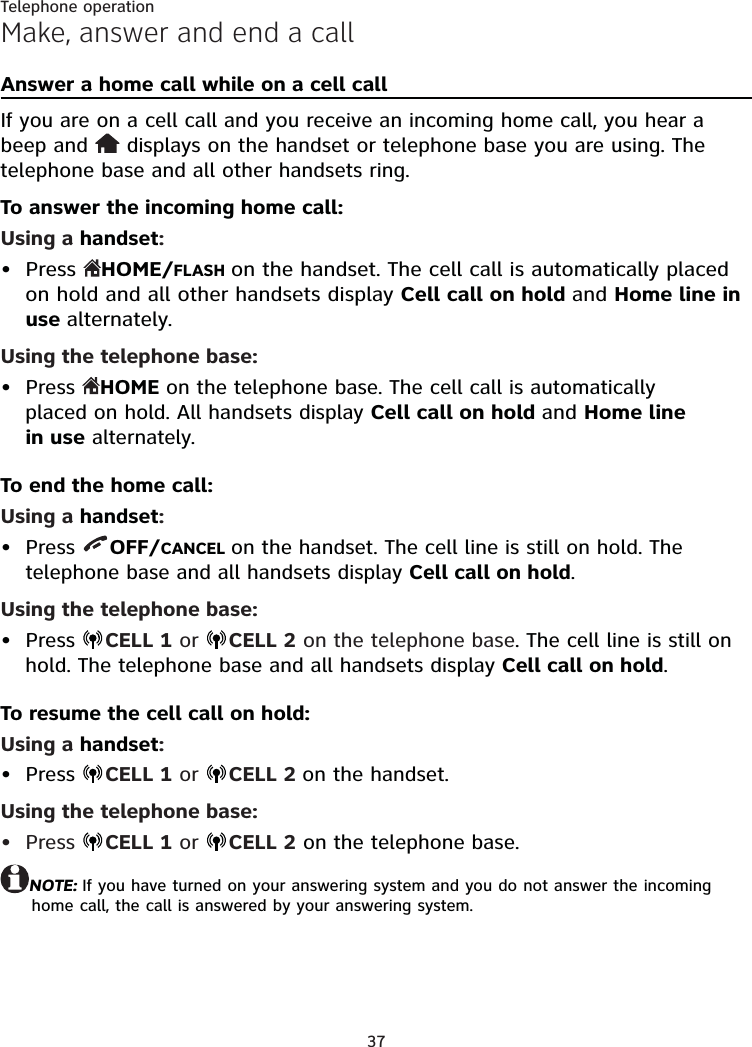


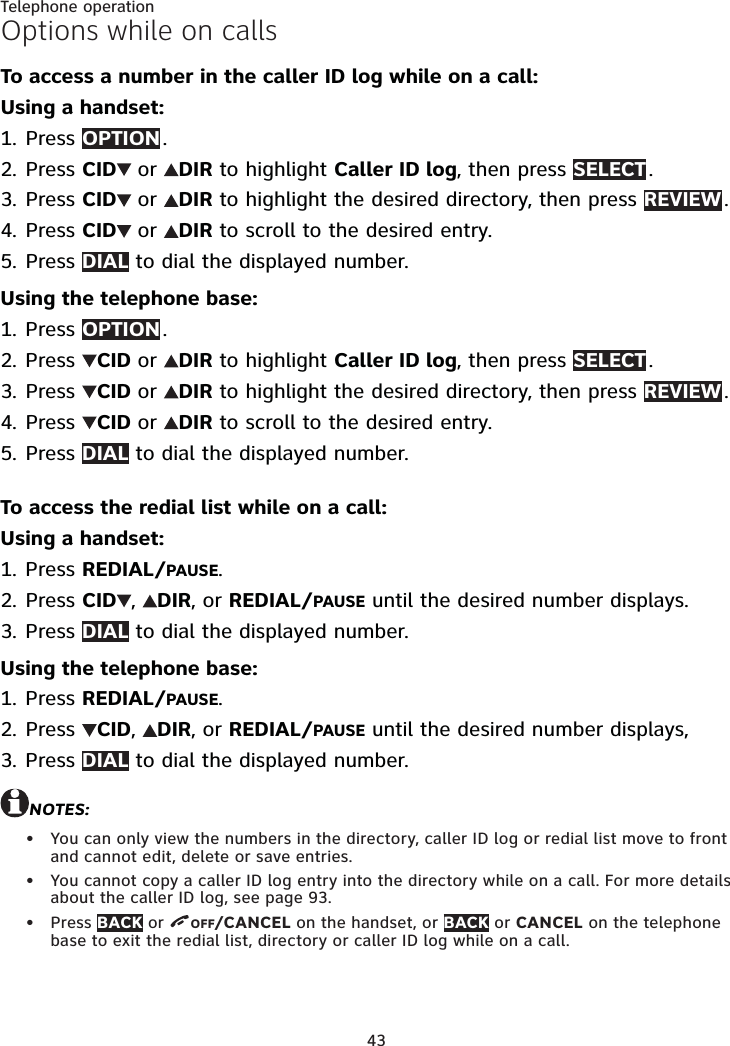

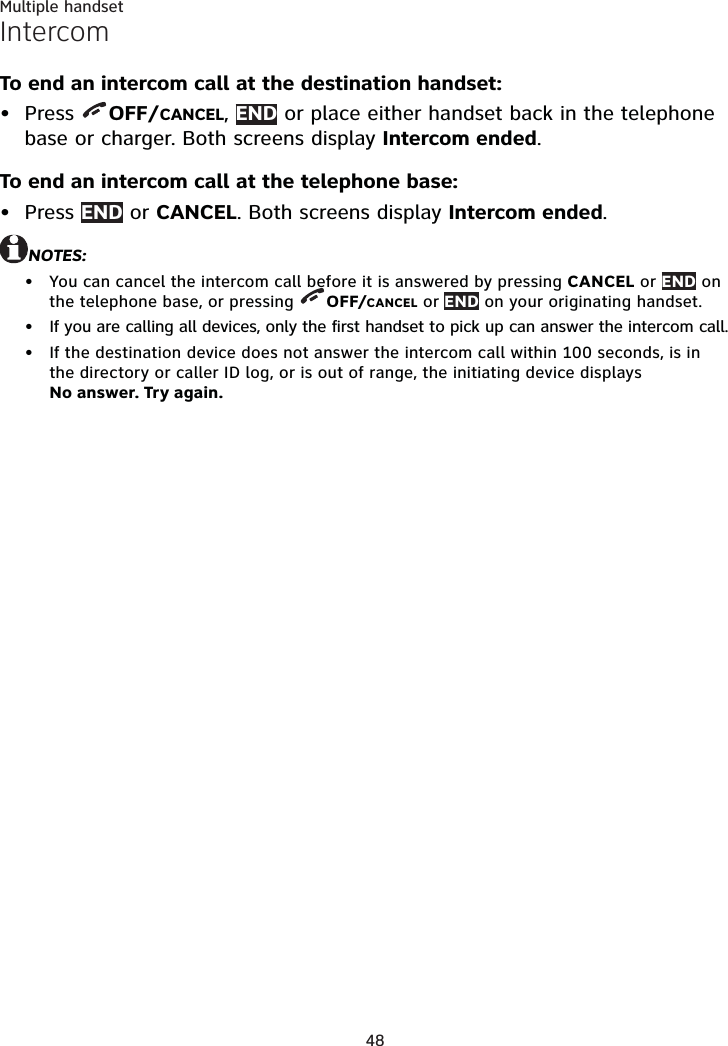

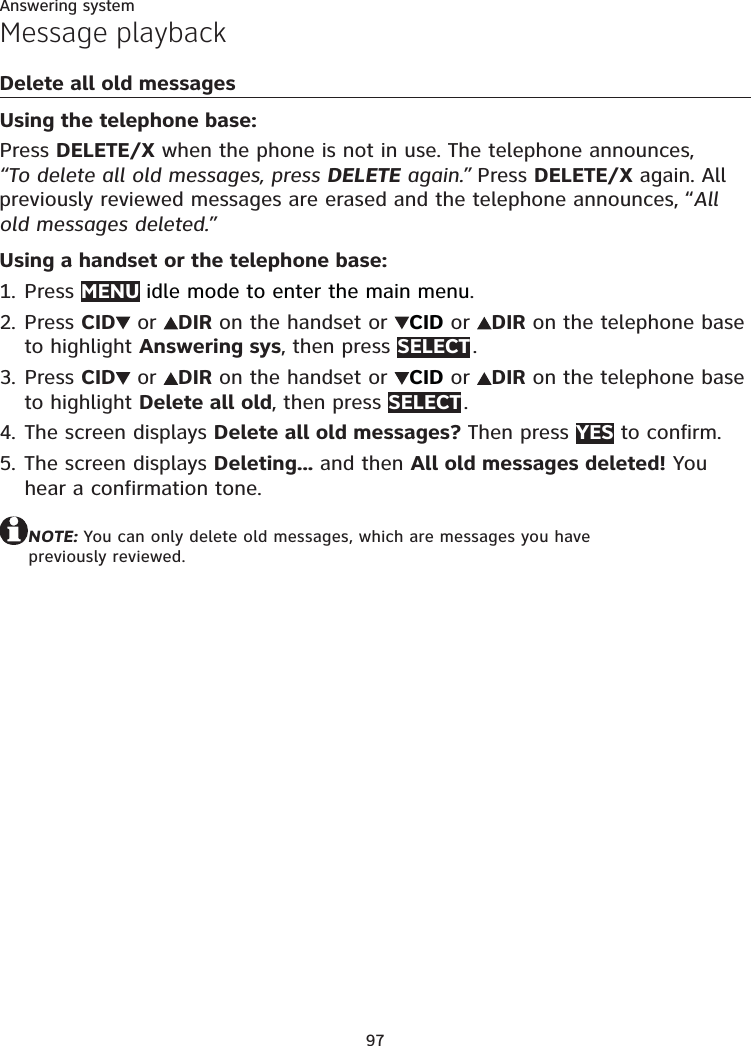
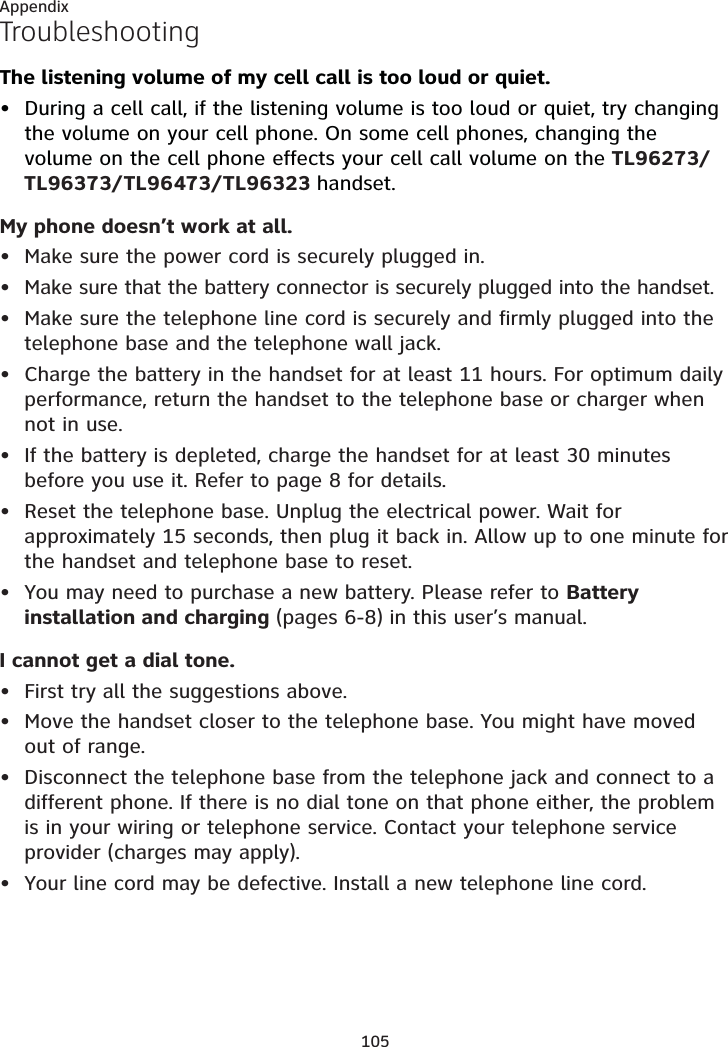
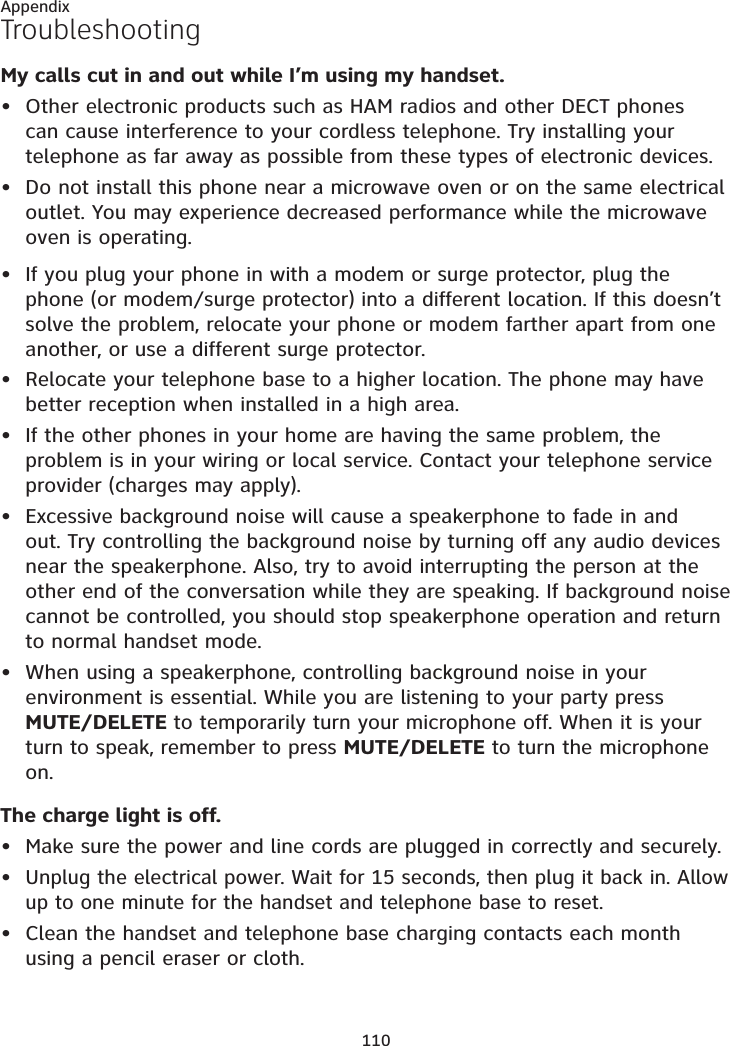
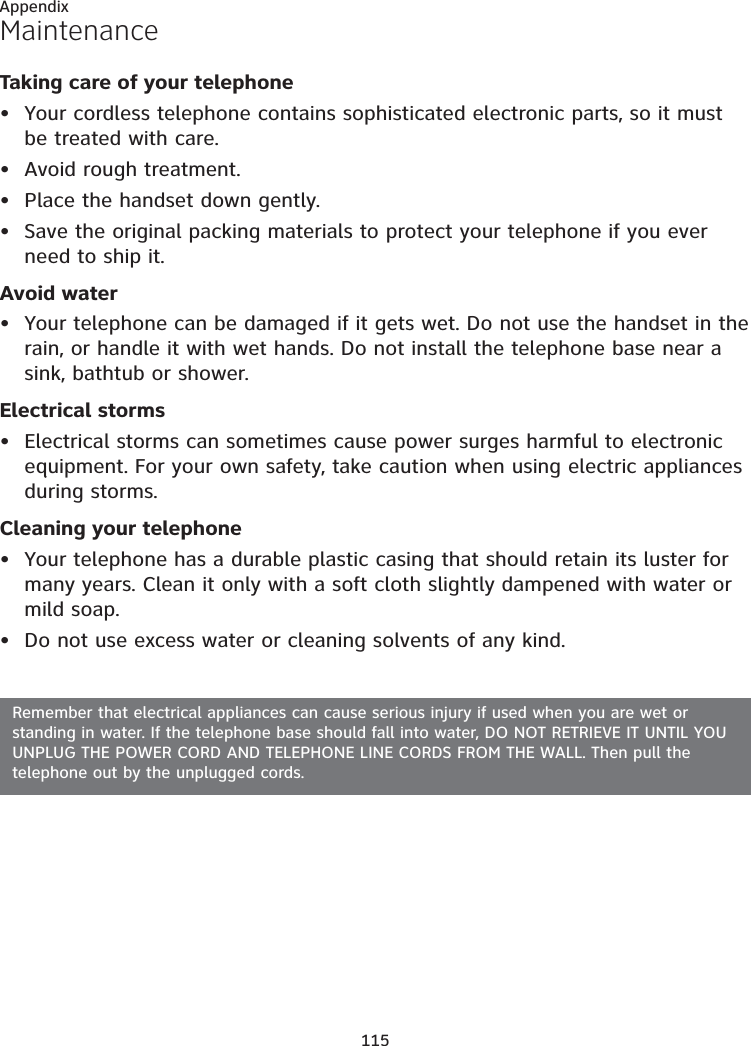
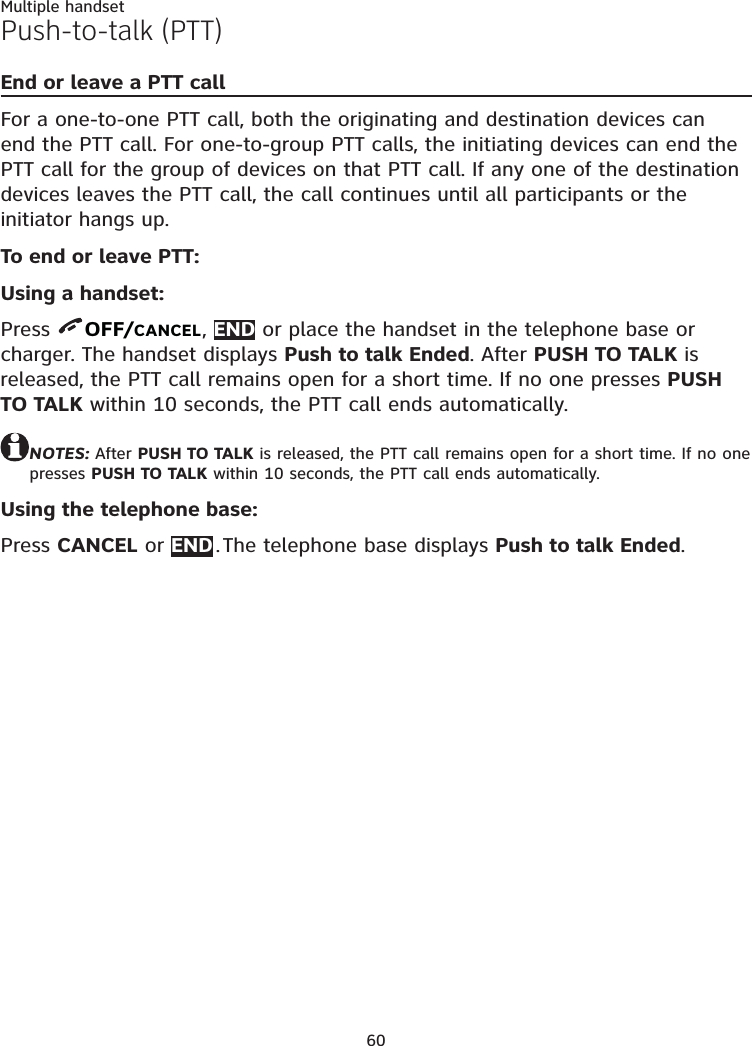
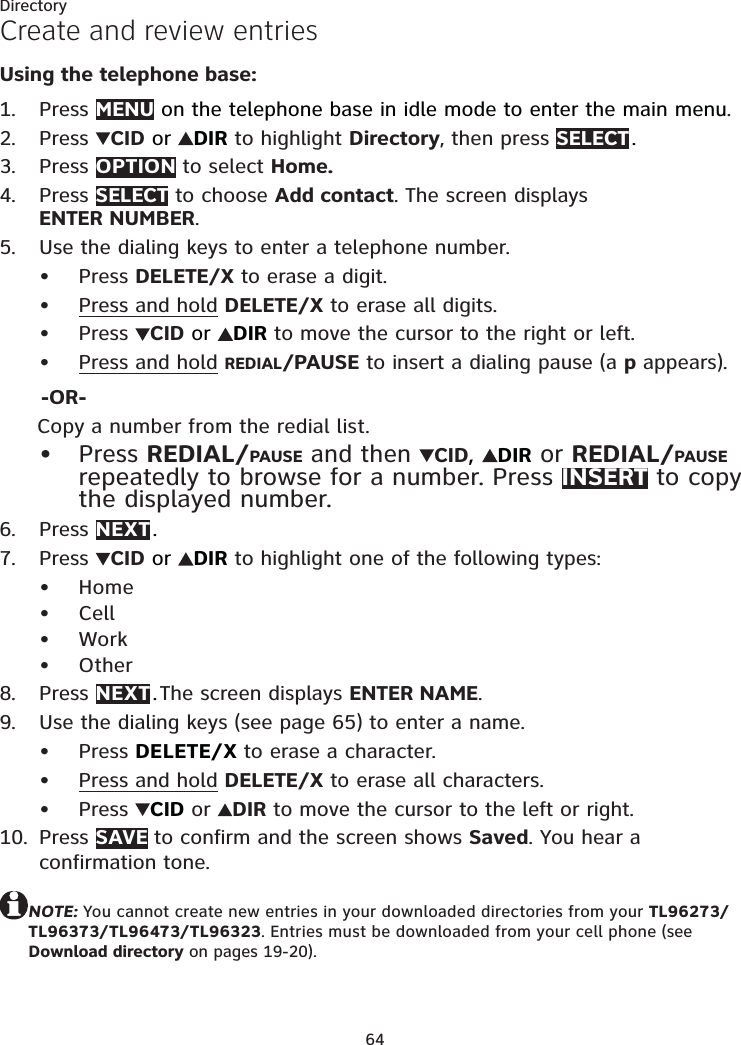
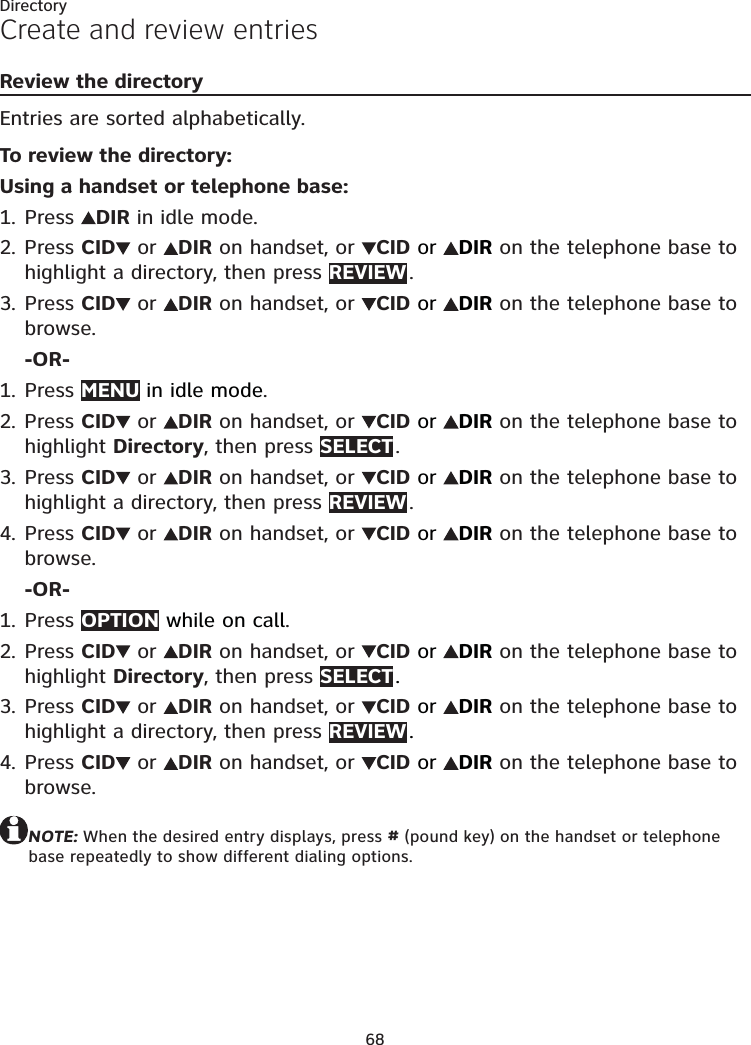
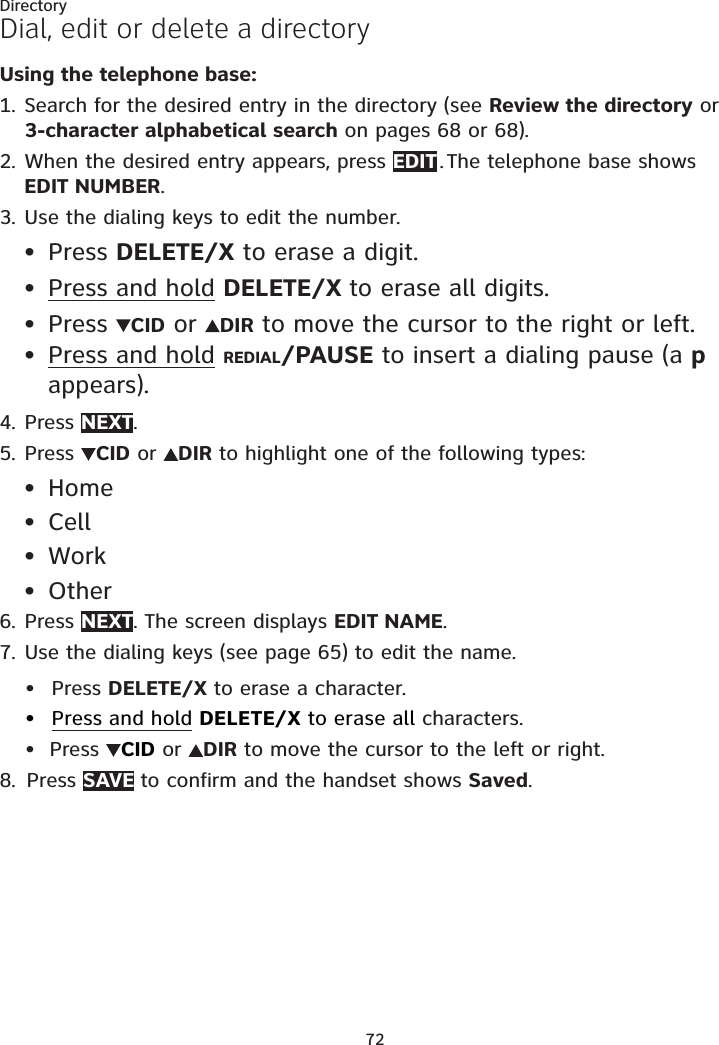
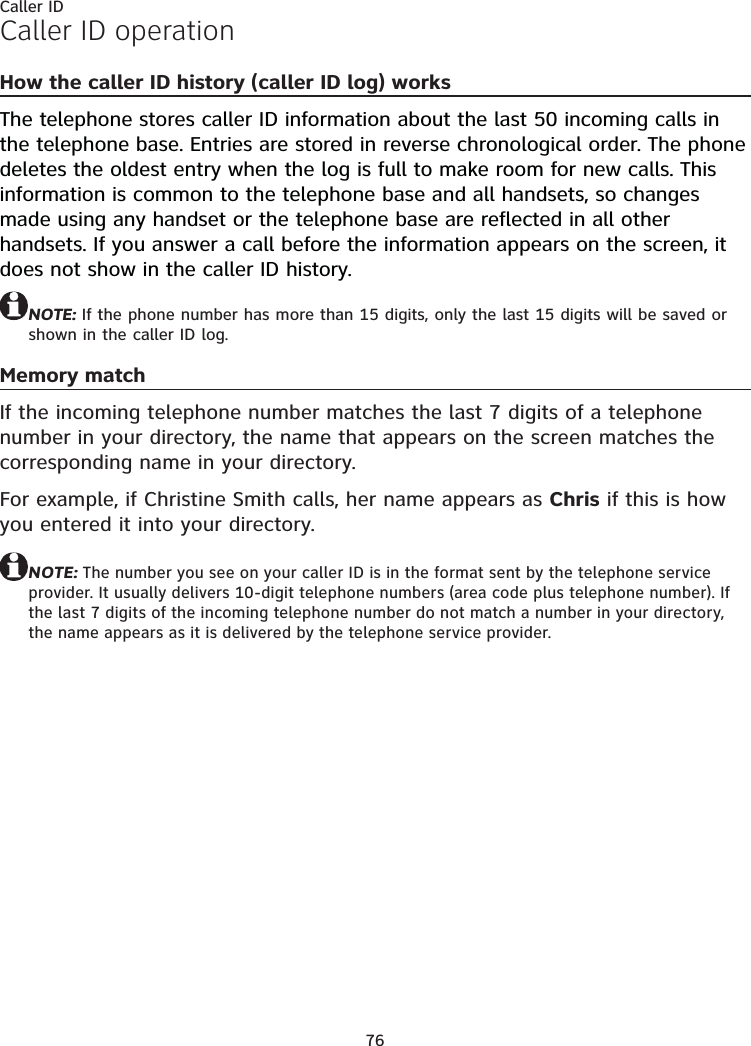
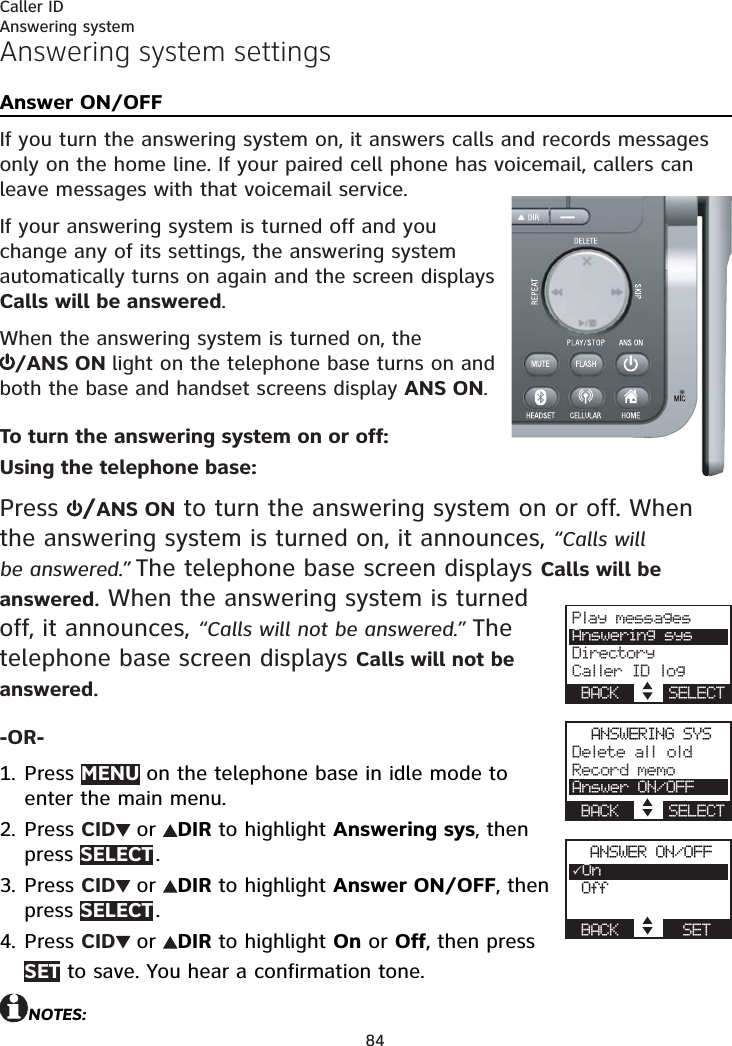
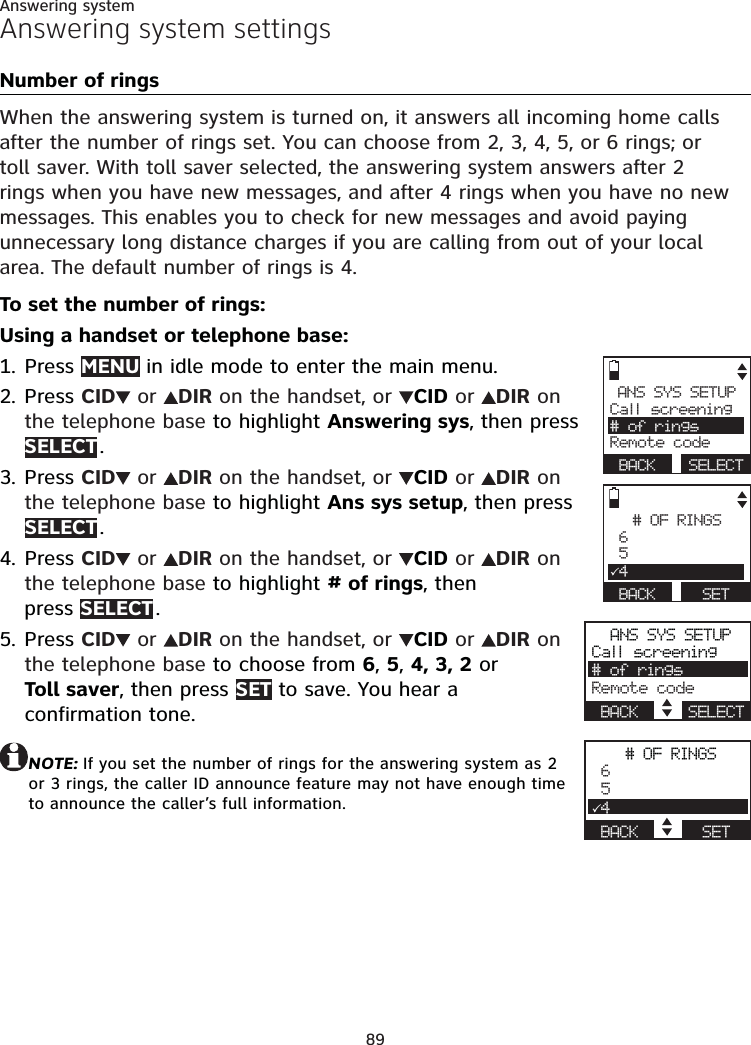
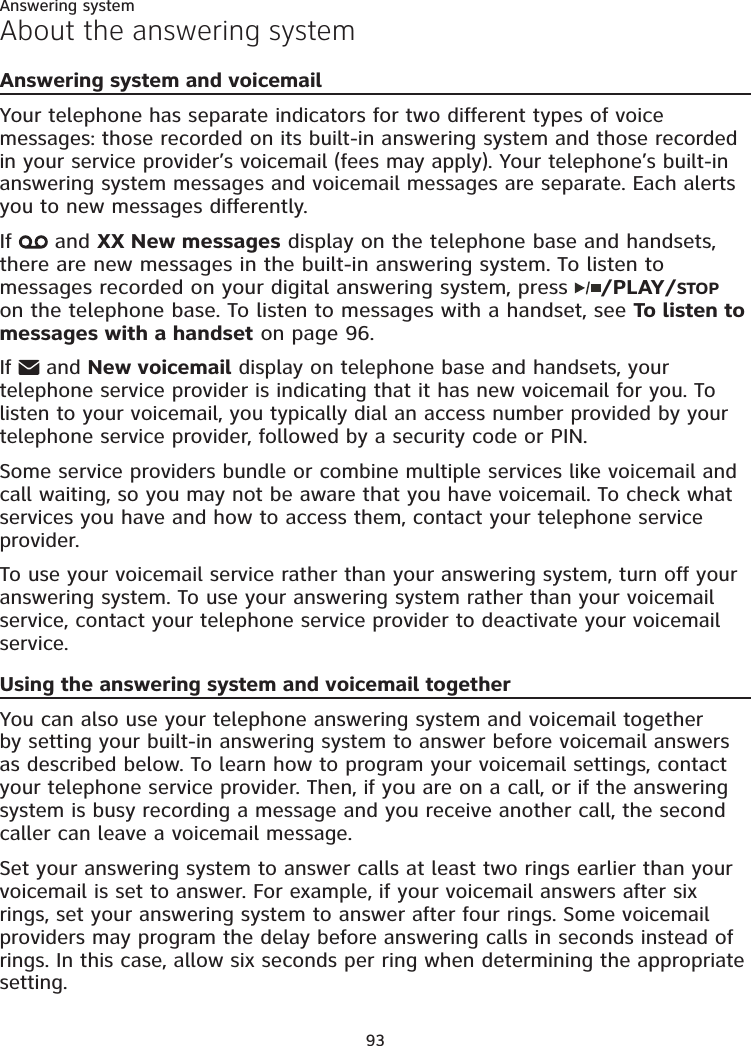
![53Multiple handsetPush-to-talk (PTT)Using the telephone base:Press PTT when the telephone base is not in use. The PUSH TO TALK menu displays.Press CID or DIR to highlight PTT On/Off, then press SELECT .Press CID or DIR to highlight On or Off, then press SELECT to save. You hear a confirmation tone.PTT to a single deviceUsing a handset:To begin a PTT call to a single device: Press PUSH TO TALK when the handset is not in use. Use the dialing keys to enter a device number (0 for telephone base, 1-9 for handsets 1-9, TONE and 0 for handset 10, TONE and 1 for handset 11, or TONE and 2 for handset 12) to create the push-to-talk session.-OR-Press PUSH TO TALK when the handset is not in use. Then press CID or DIR to scroll to the desired handset or the telephone base. Press SELECT or PUSH TO TALK to create the push-to-talk session.Your handset displays Connecting to HANDSET X... or Connecting to BASE 0... for a few seconds. When the connection is made, both yours and the destination handsets display Press and hold [PTT] to talk and beep once.Press and hold PUSH TO TALK on your handset. A chirp indicates your microphone is on. Speak towards the handset. Your voice is broadcast to the destination handset. While you are speaking, the handset displays PTT To HANDSET X (X represents the destination handset number) or PTT To BASE 0.Release PUSH TO TALK after speaking. Both handsets beep once again. After the handsets beep, you can press and hold PUSH TO TALK to continue speaking or the destination device can respond (see Answer a PTT call on page 57).1.2.3.1.••2.3.4.](https://usermanual.wiki/VTech-Telecommunications/80-9087-00/User-Guide-1913541-Page-59.png)
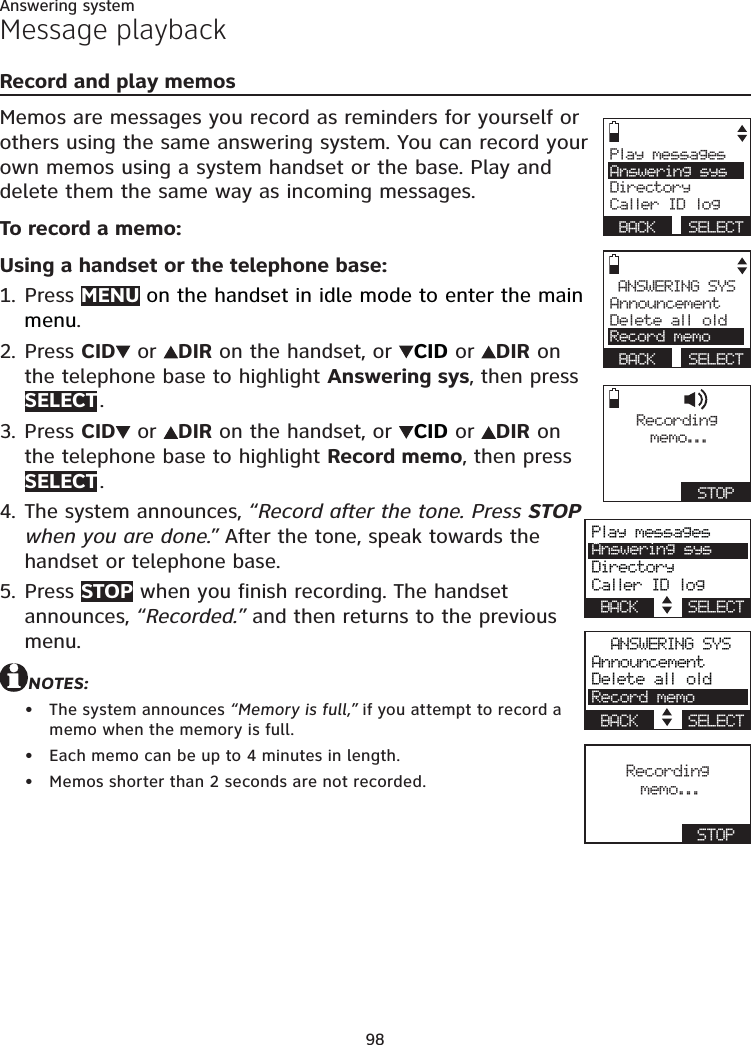
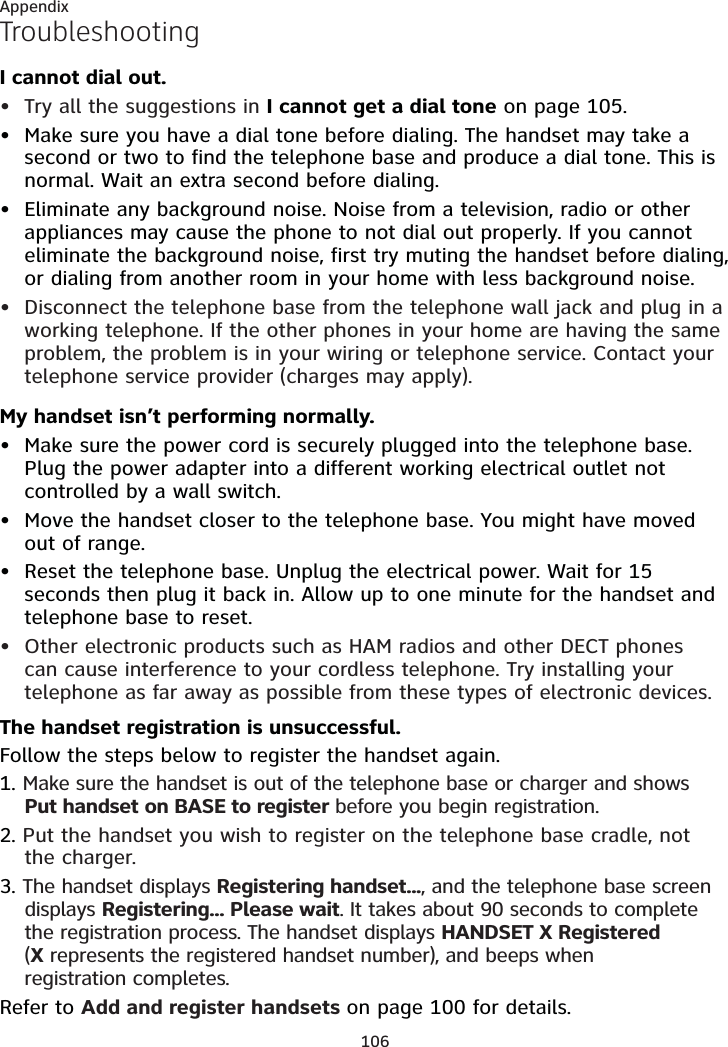
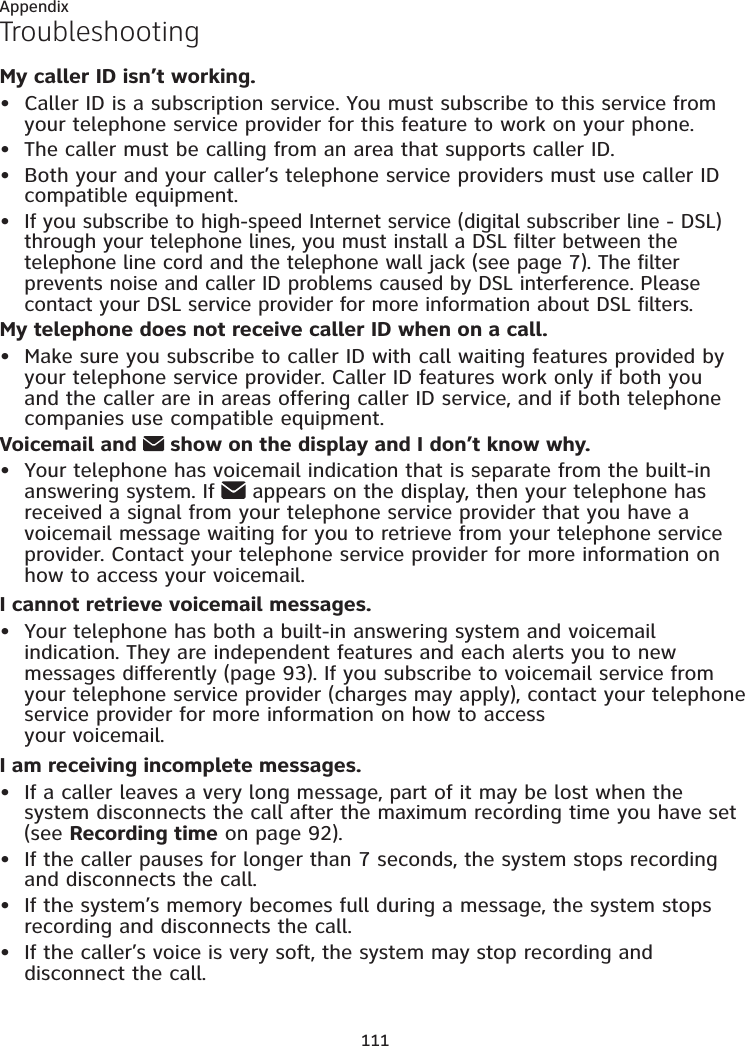
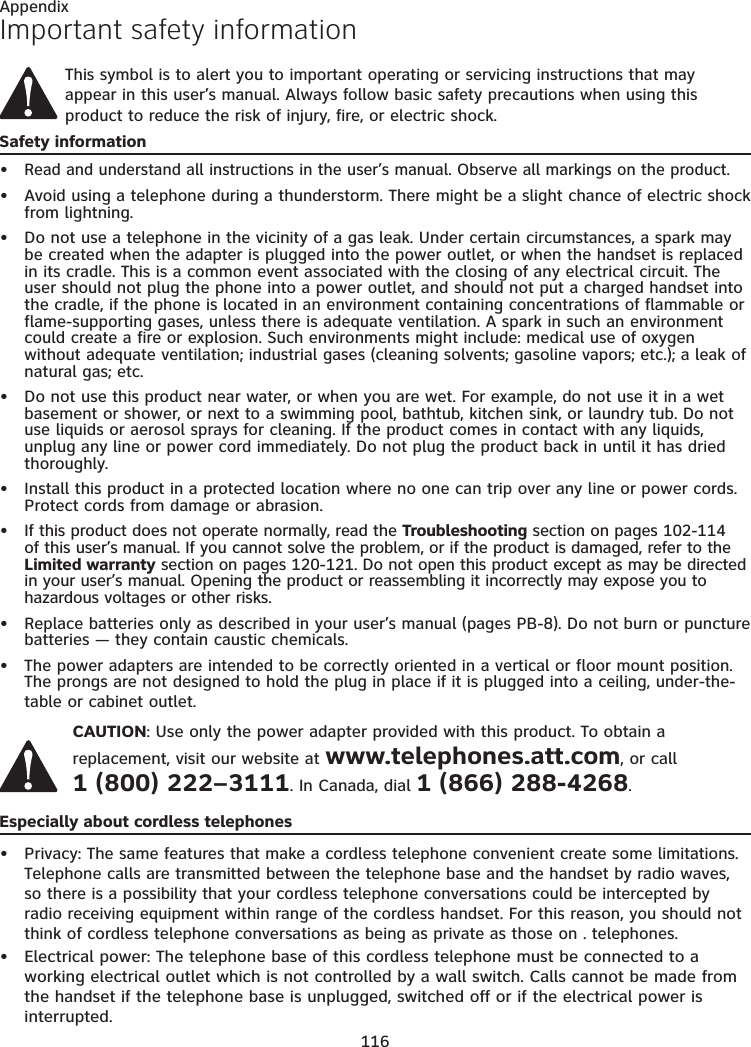
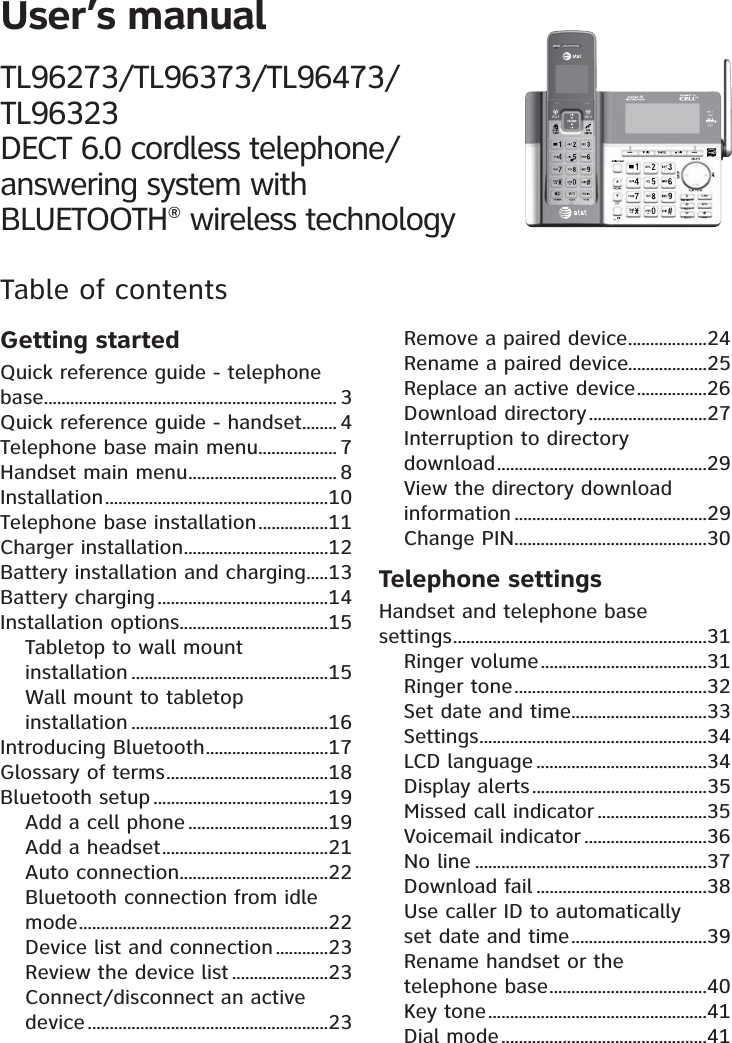
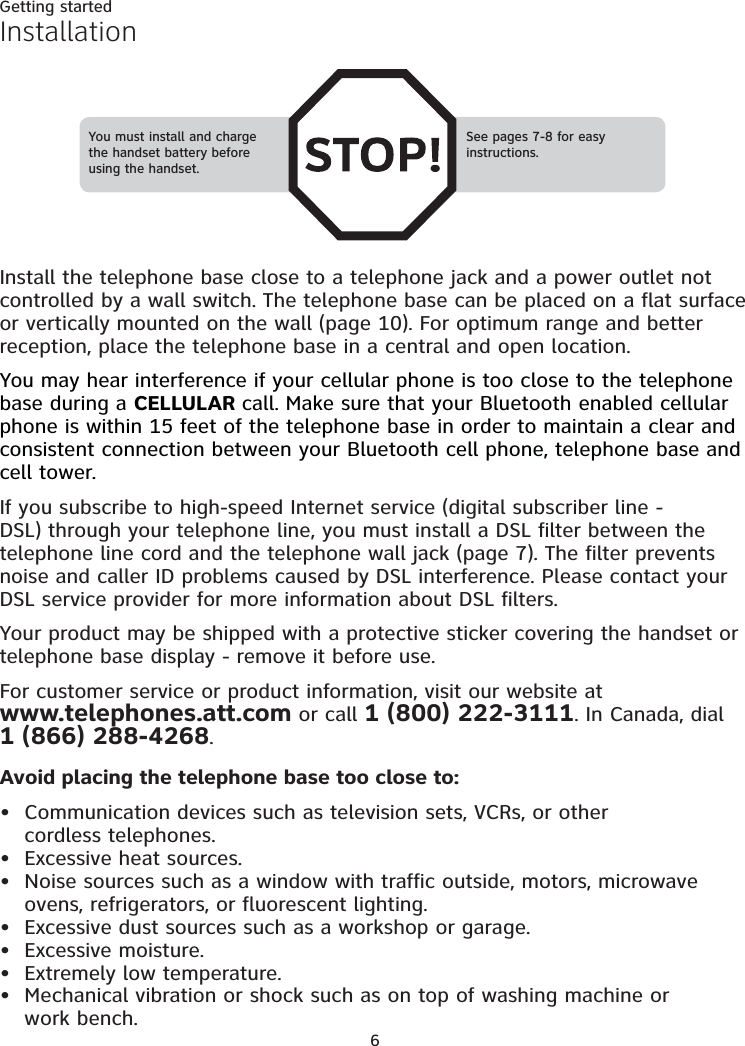
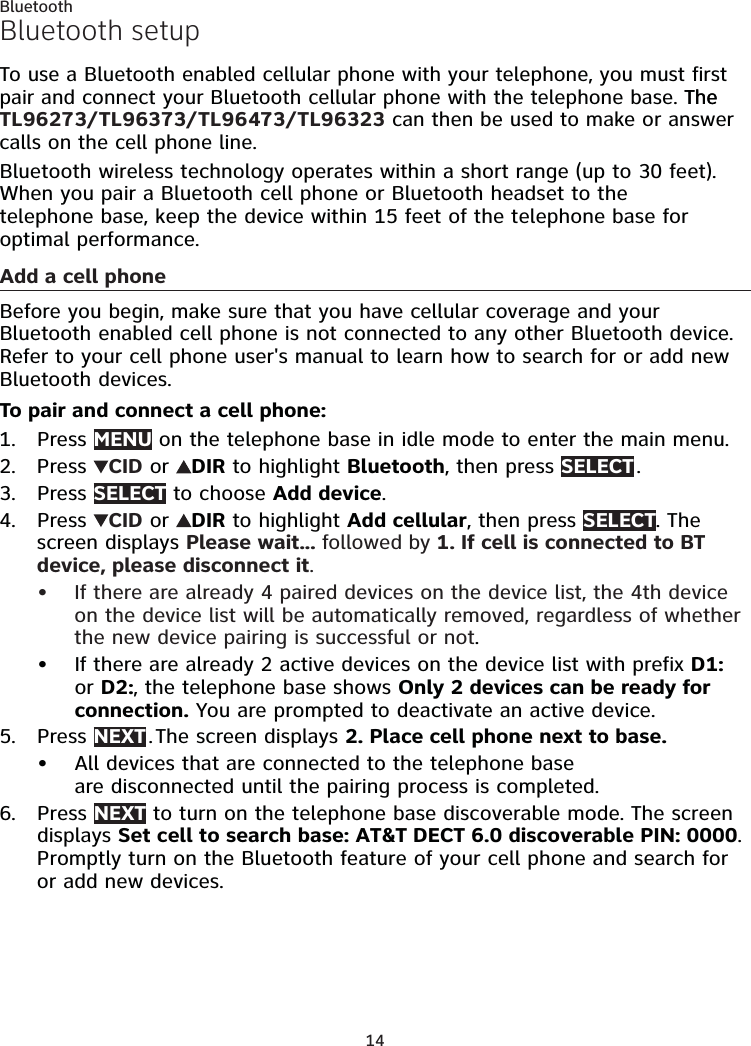
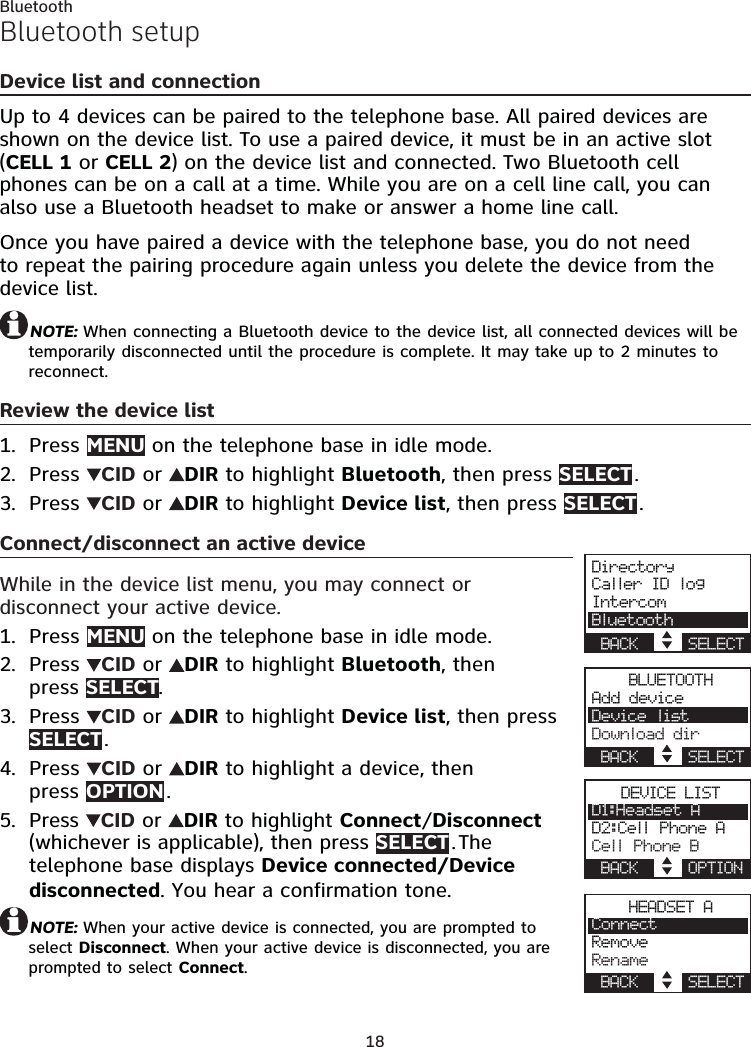
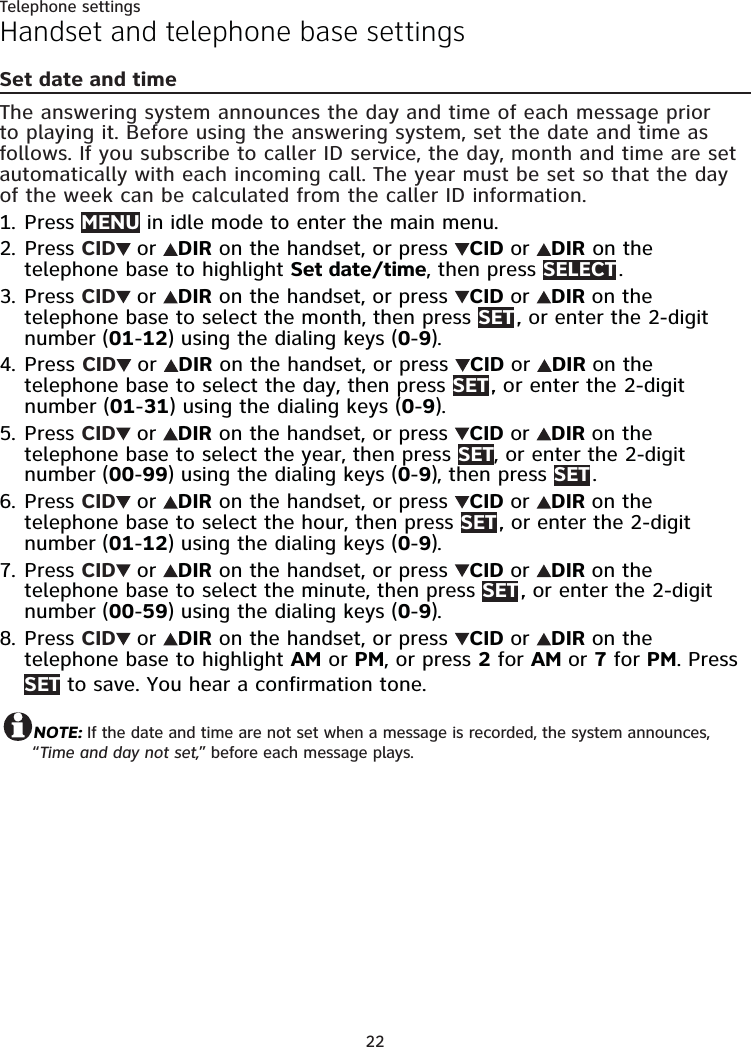
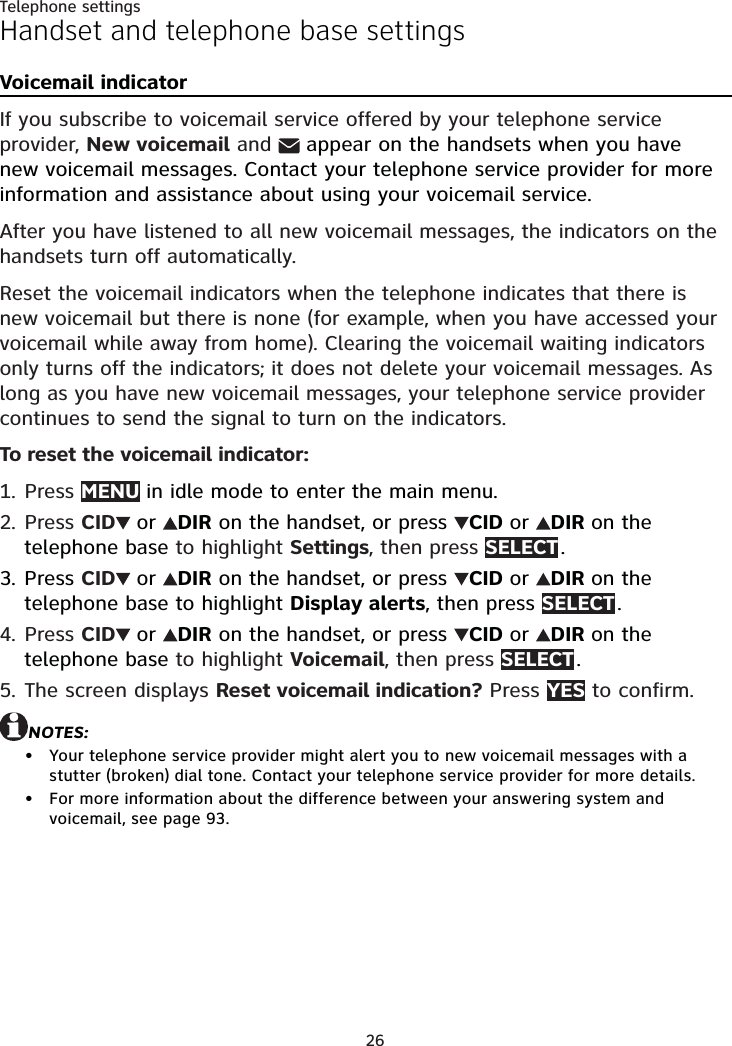
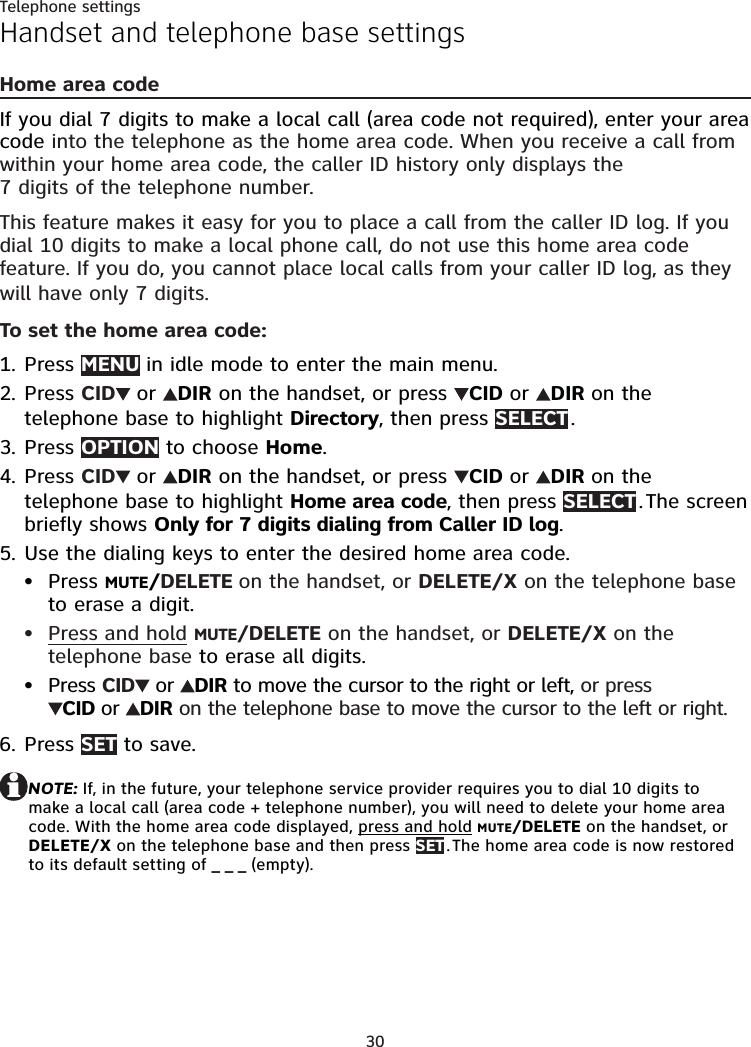
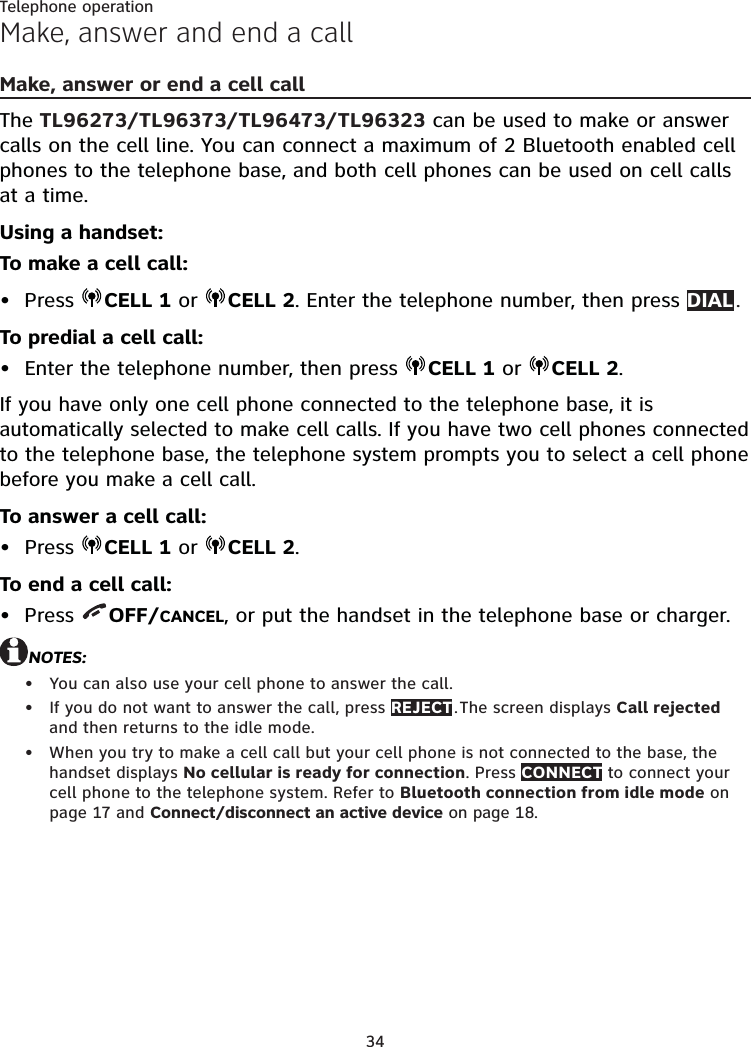
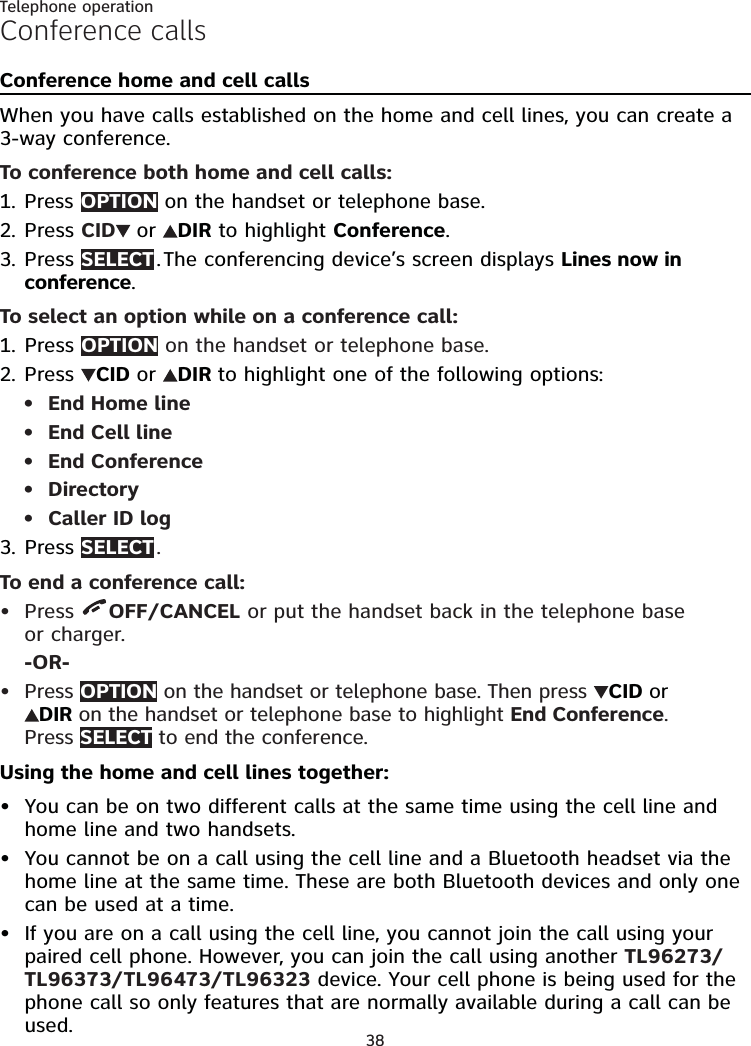
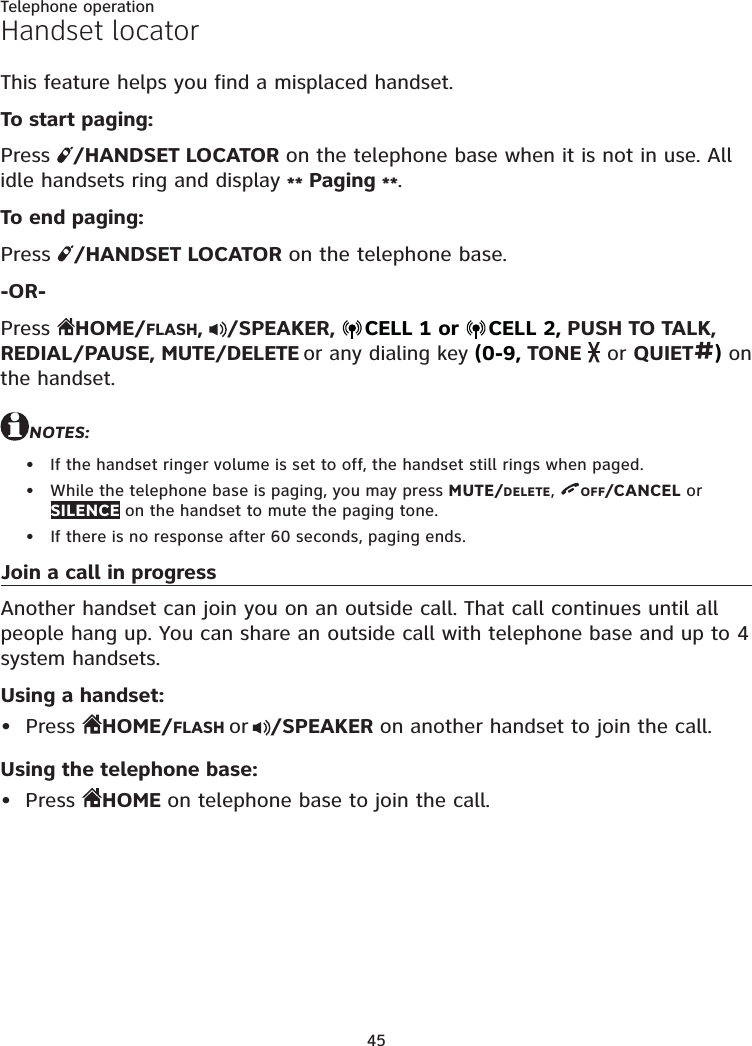
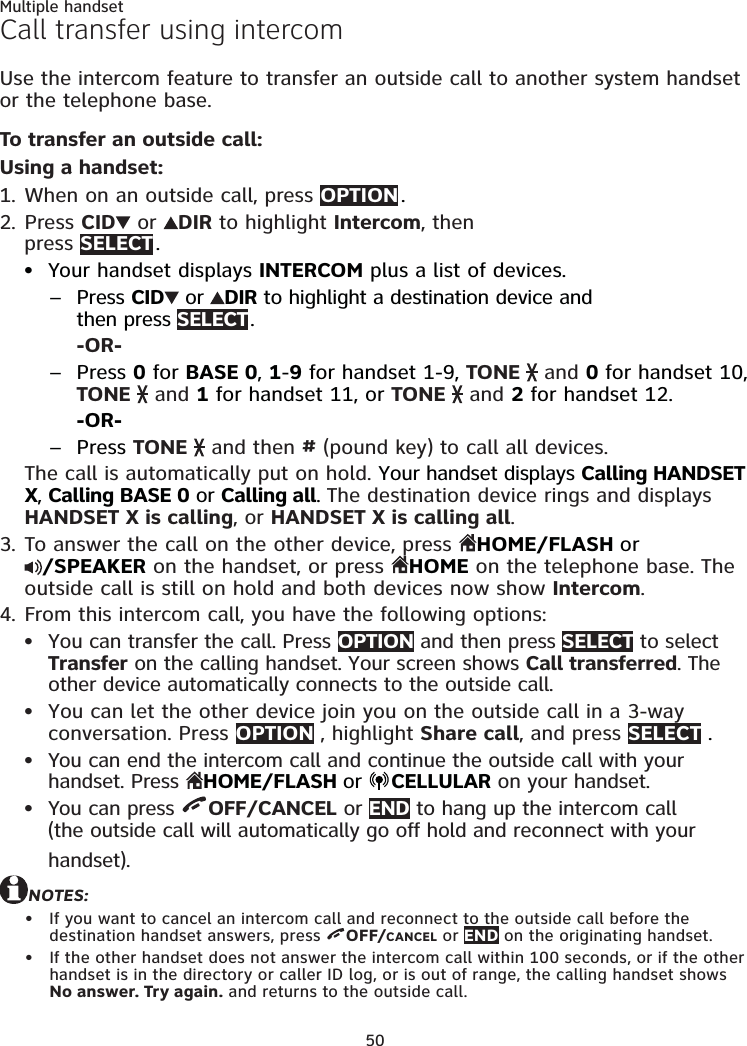
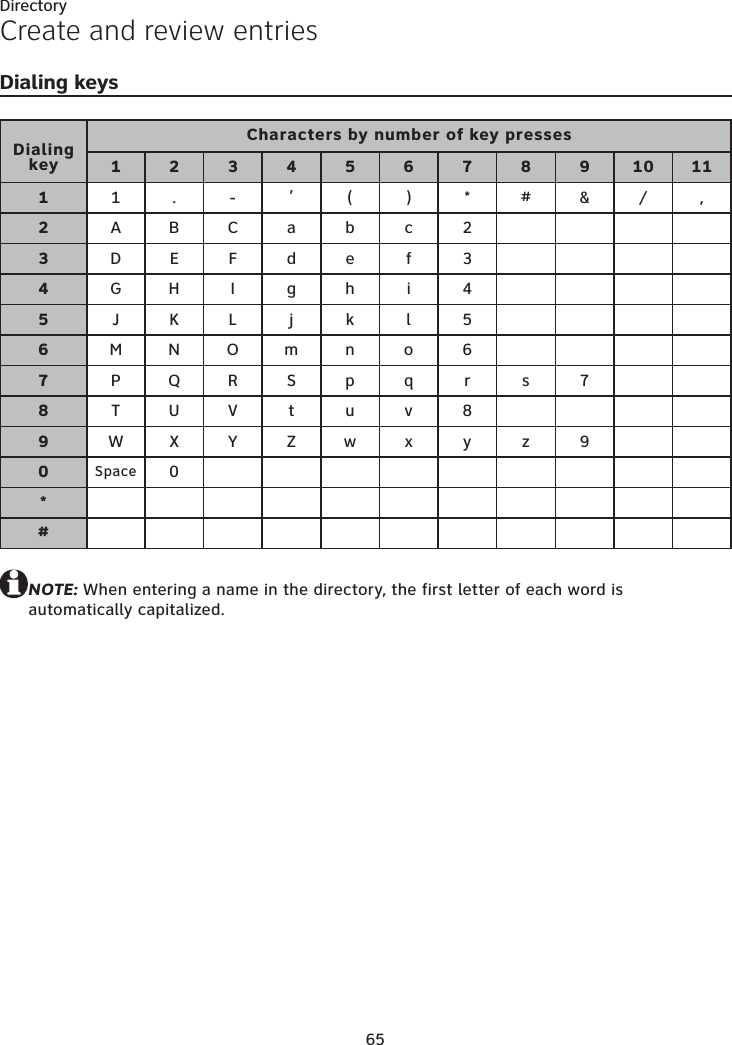
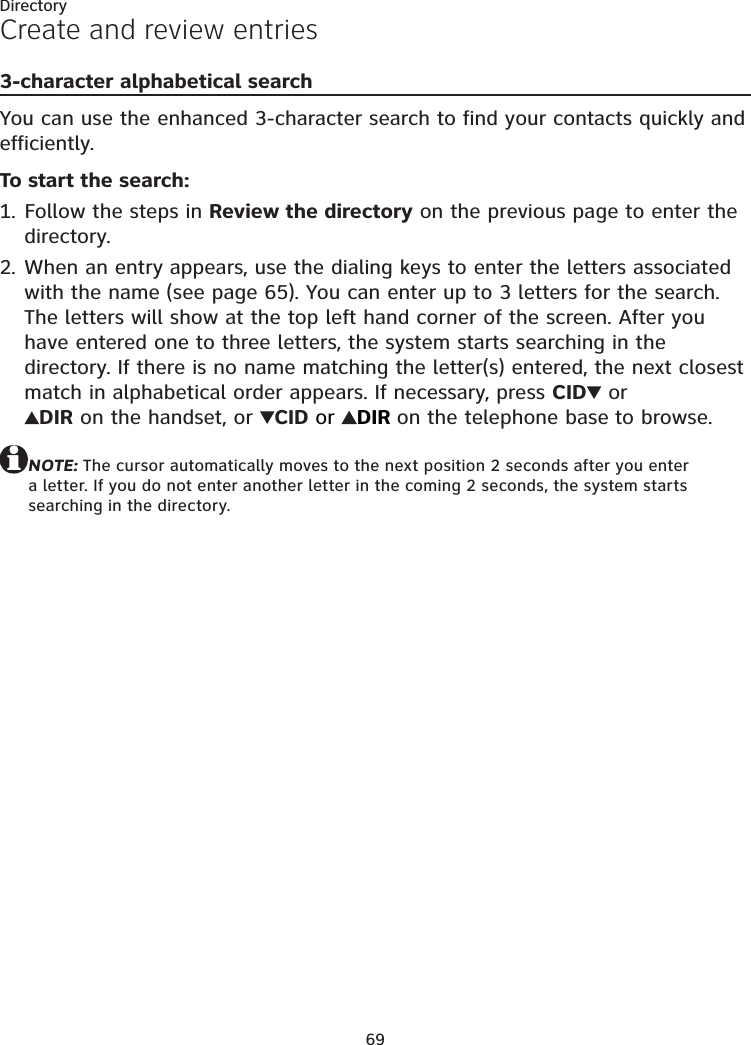
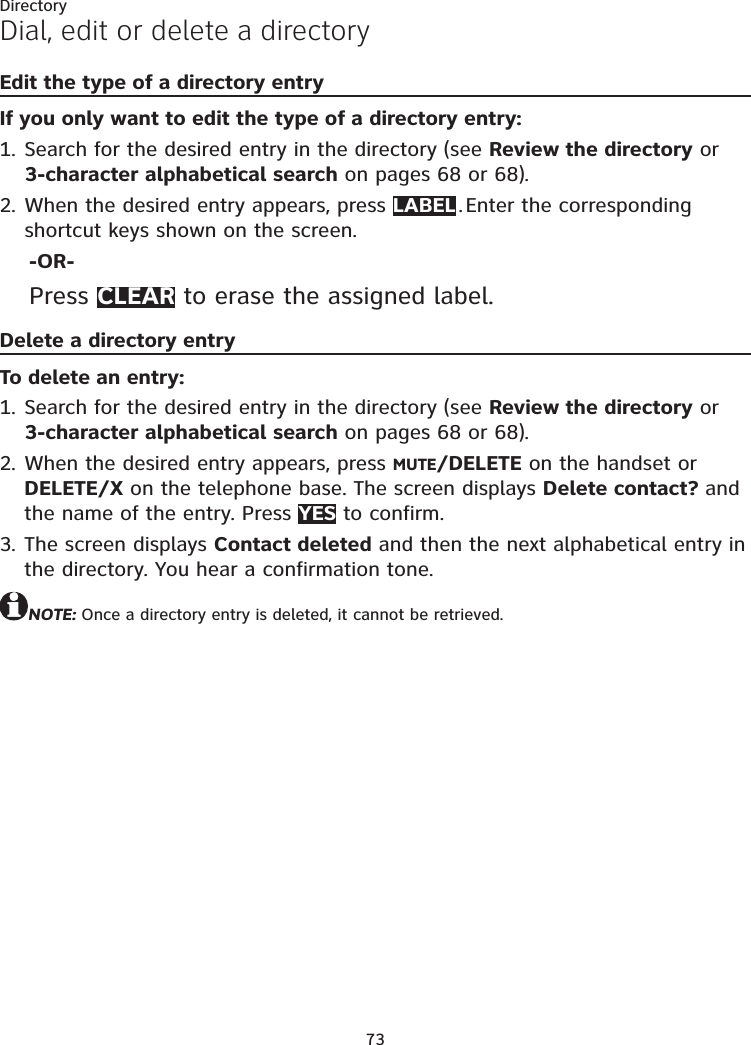
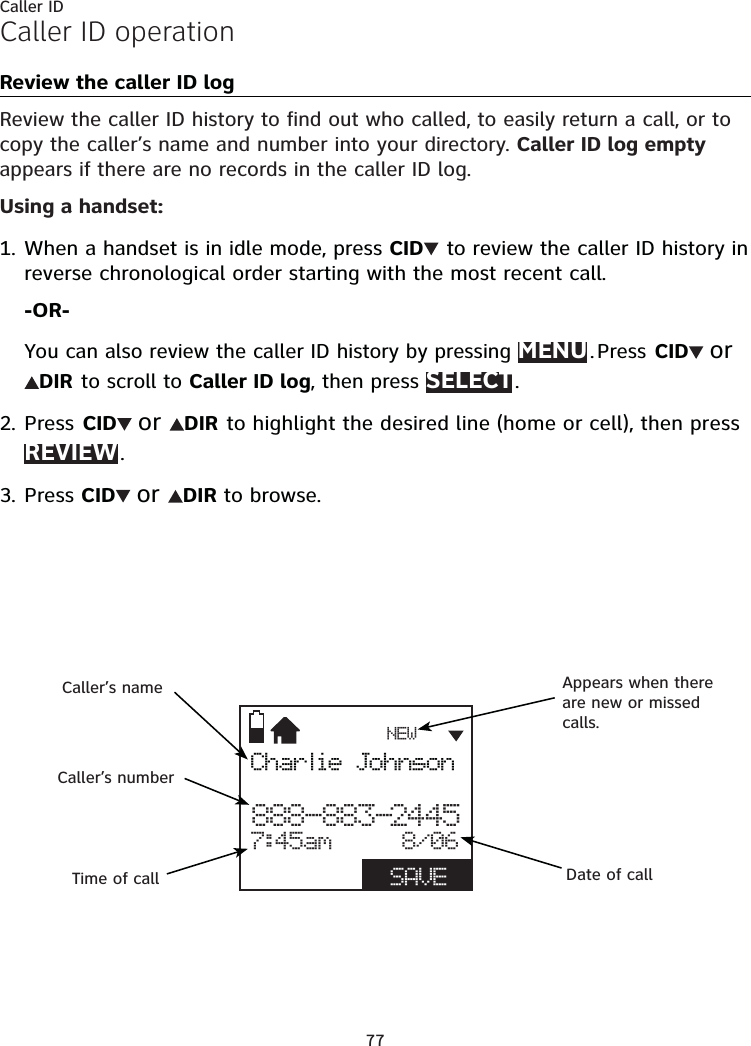
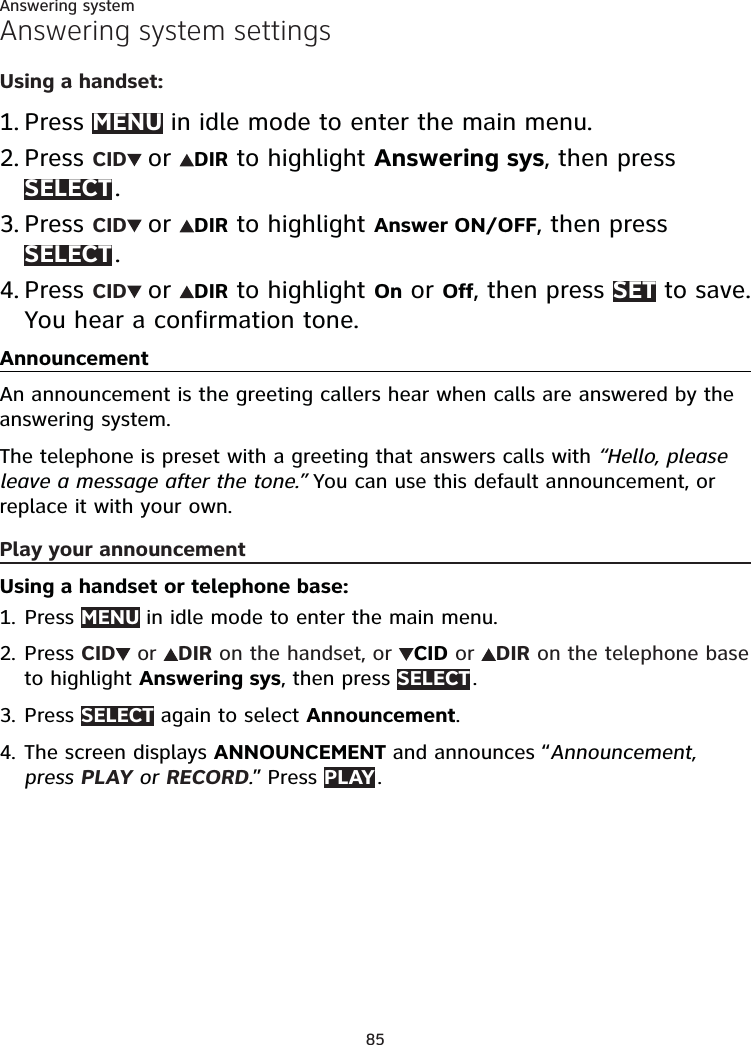
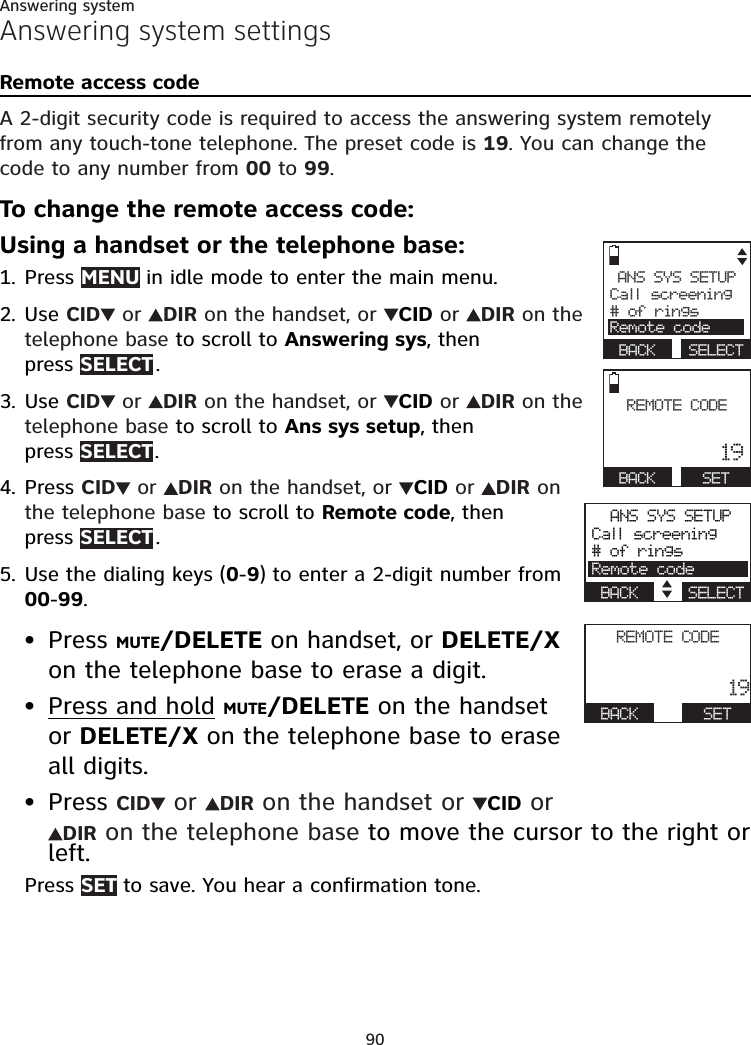
![54Multiple handsetPush-to-talk (PTT)To end the PTT call, press OFF/CANCEL or END . The handset displays Push to talk Ended for a few seconds.-OR-Place the handset in the telephone base or charger to end the PTT call.NOTE: After PUSH TO TALK is released, the PTT call remains open for a short time. If no one presses PUSH TO TALK within 10 seconds, the PTT call ends automatically.Using the telephone base:To begin a PTT call to a single device: Press PTT when the telephone base is not in use. Use the dialing keys to enter a handset number (1-9 for handsets 1-9, TONE and 0 for handset 10, TONE and 1 for handset 11, or TONE and 2 for handset 12) to create the push-to-talk session.-OR- Press PTT when the telephone base is not in use. Then press CID or DIR to scroll to the desired handset. Press SELECT or PTT to create the push-to-talk session.The telephone base displays Connecting to HANDSET X... for a few seconds. When the connection is made, both screens display Press and hold [PTT] to talk and beep once.Press and hold PTT on the telephone base. A chirp indicates your microphone is on. Speak towards the MIC. Your voice is broadcast to the destination handset. While you are speaking, the telephone base displays PTT To HANDSET X (X represents the destination handset number).Release PUSH TO TALK after speaking. The telephone base and the destination handset beep once again. After the handset beeps, you can press and hold PUSH TO TALK to continue speaking or the destination handset can respond (see Answer a PTT call on page 57).To end the PTT call, press CANCEL or END . The telephone base displays Push to talk Ended for a few seconds.NOTE: After PTT is released, the PTT call remains open for a short time. If no one presses PTT within 10 seconds, the PTT call ends automatically.2.1.••2.3.4.5.](https://usermanual.wiki/VTech-Telecommunications/80-9087-00/User-Guide-1913541-Page-60.png)
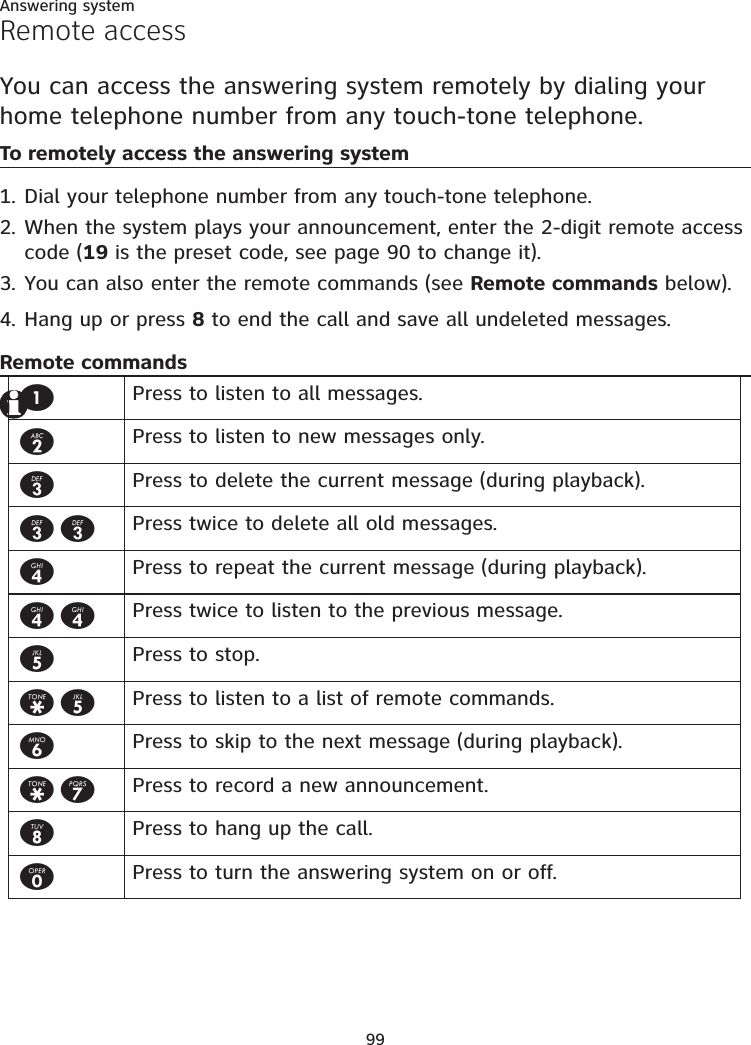
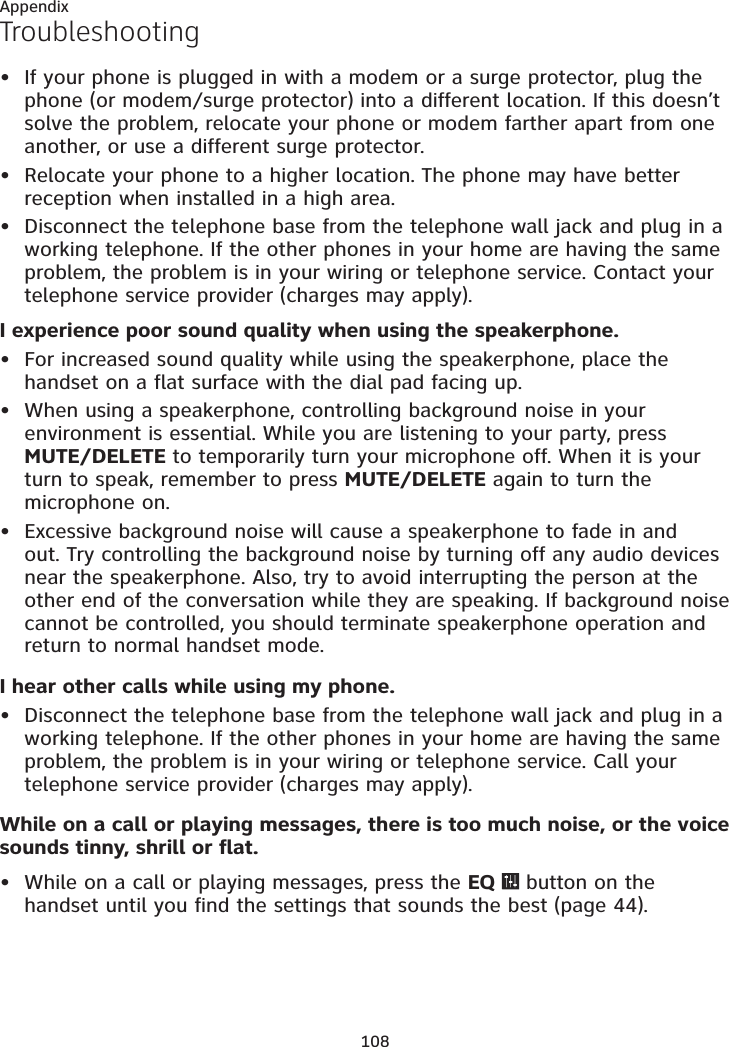
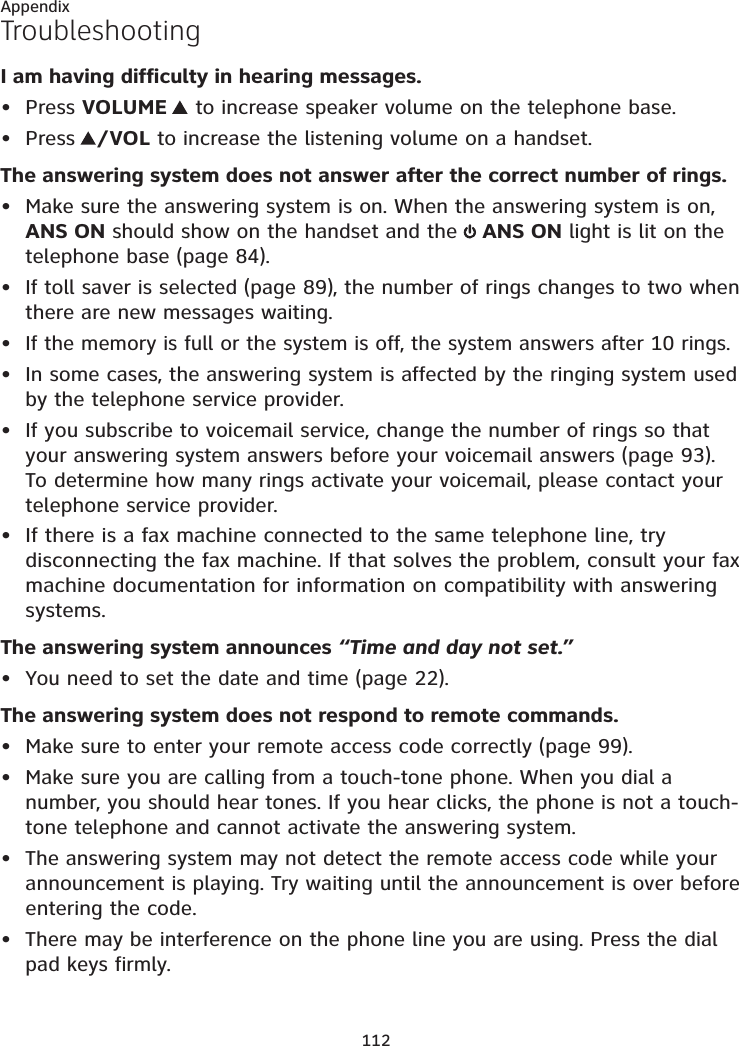
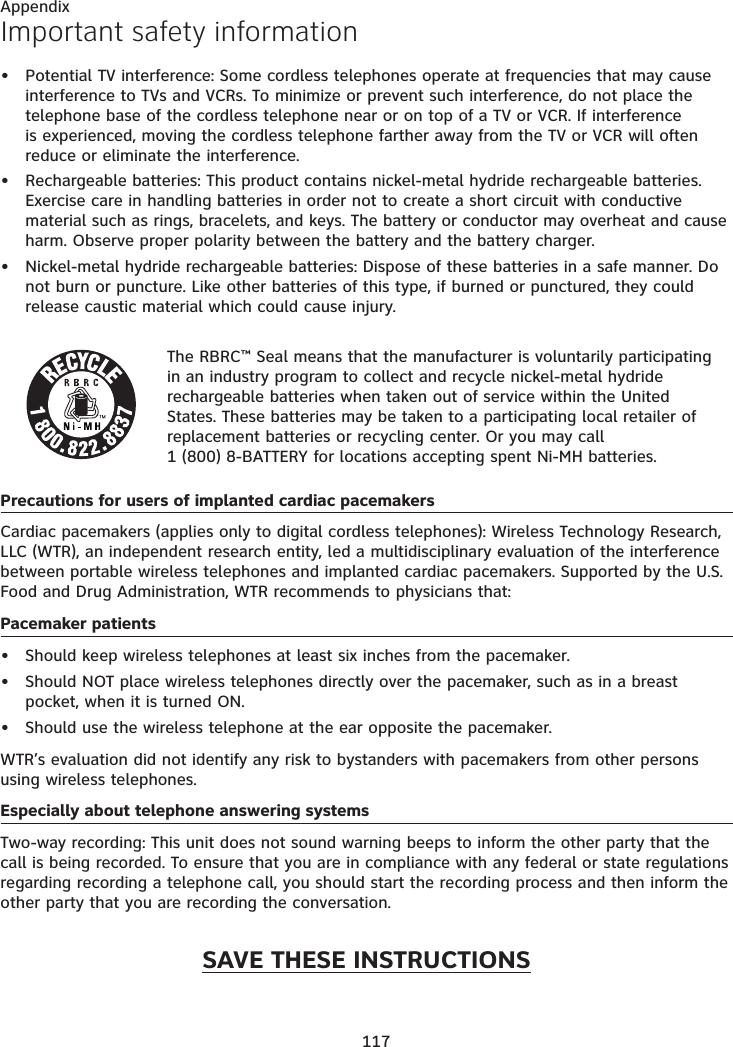
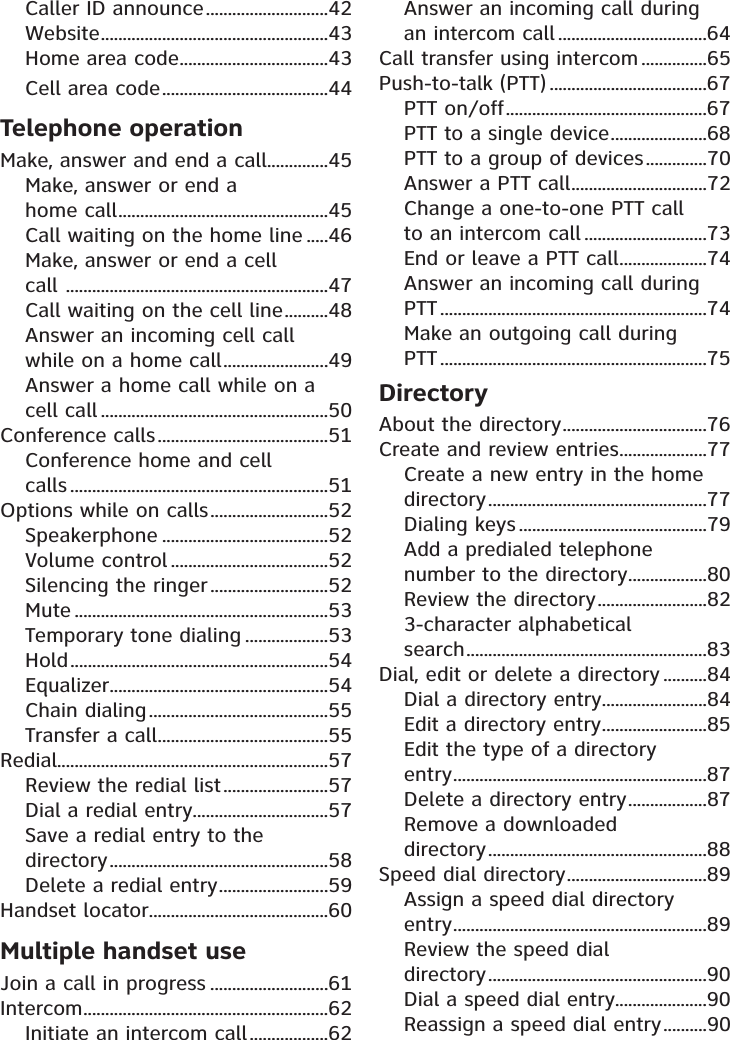
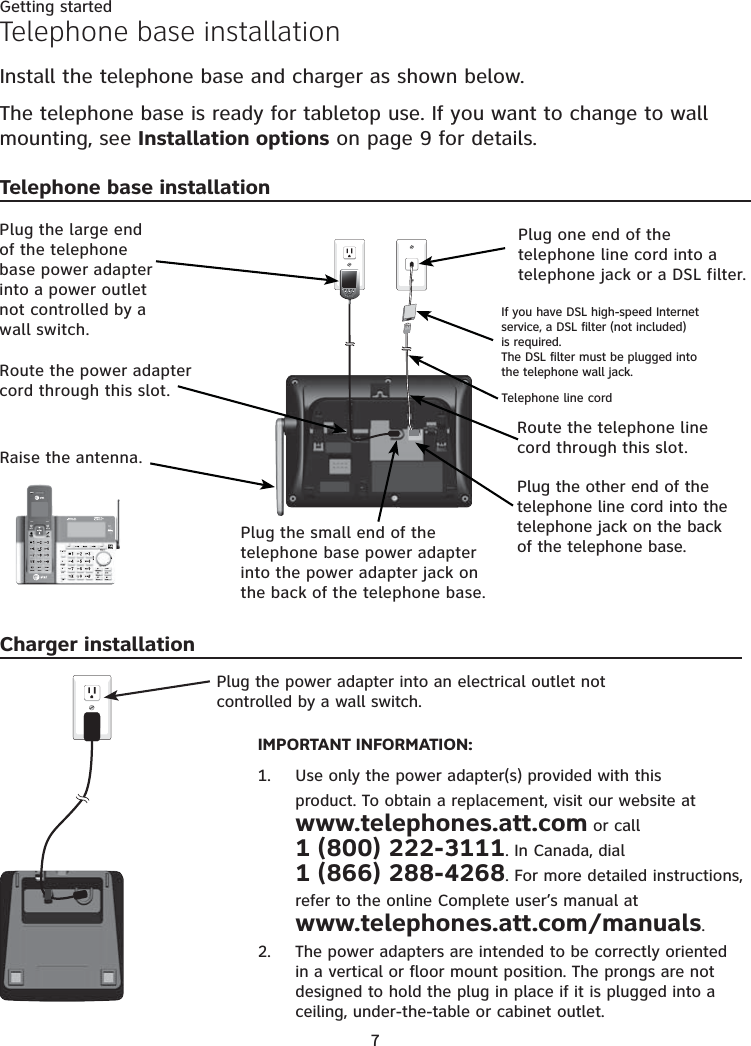
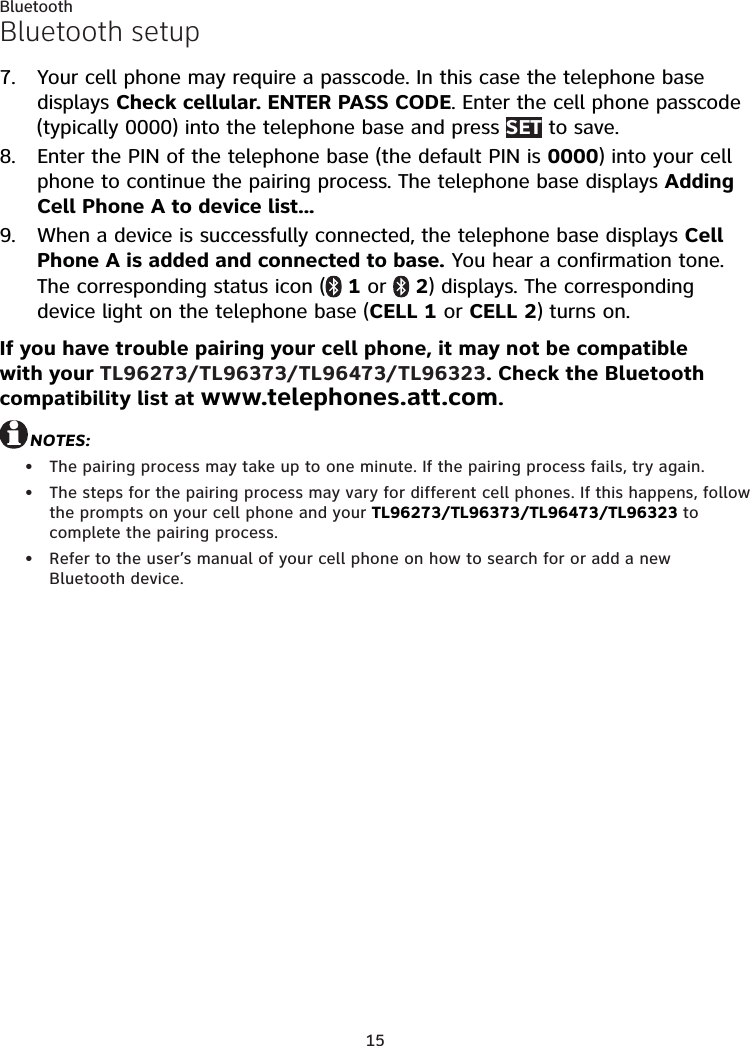
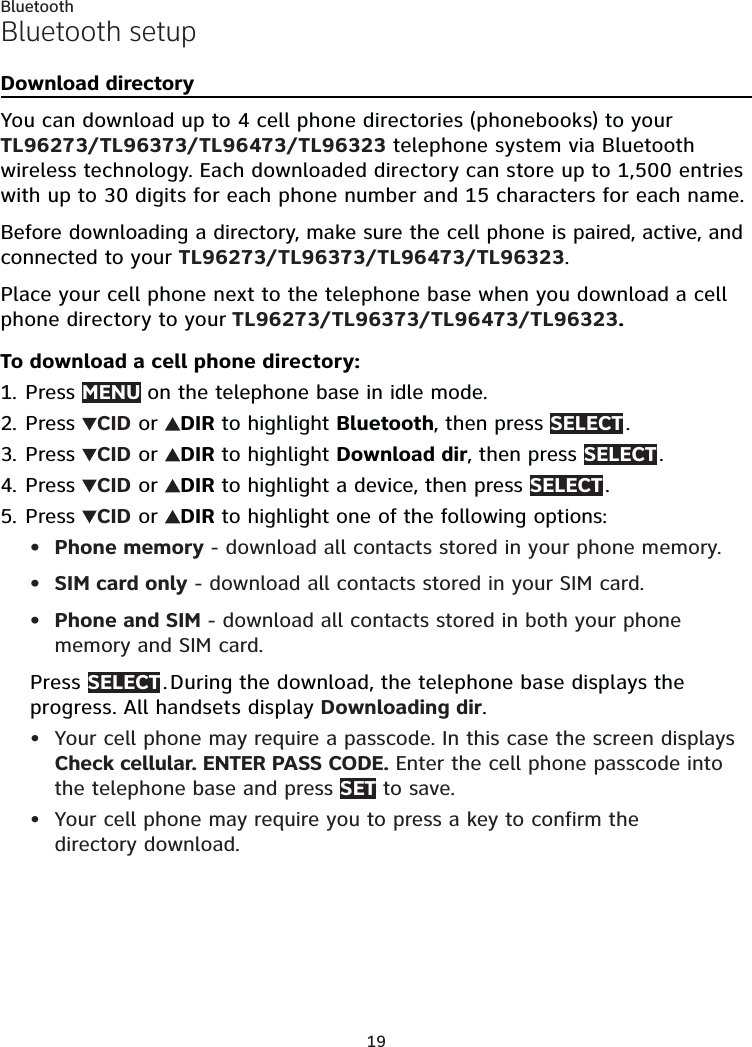
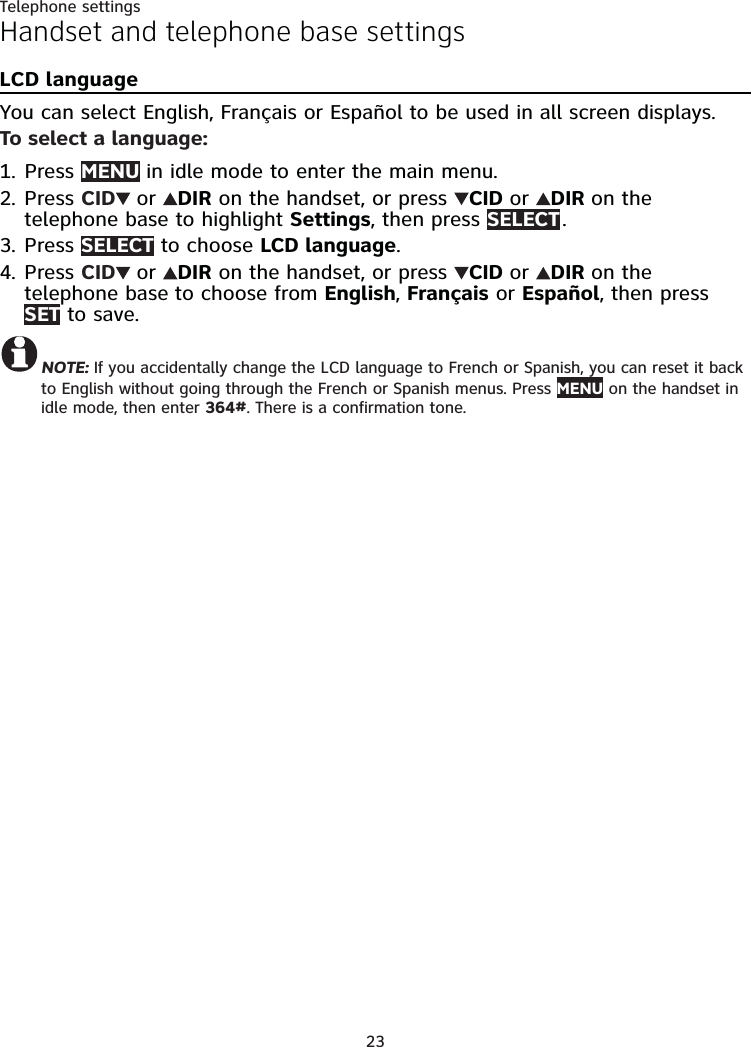
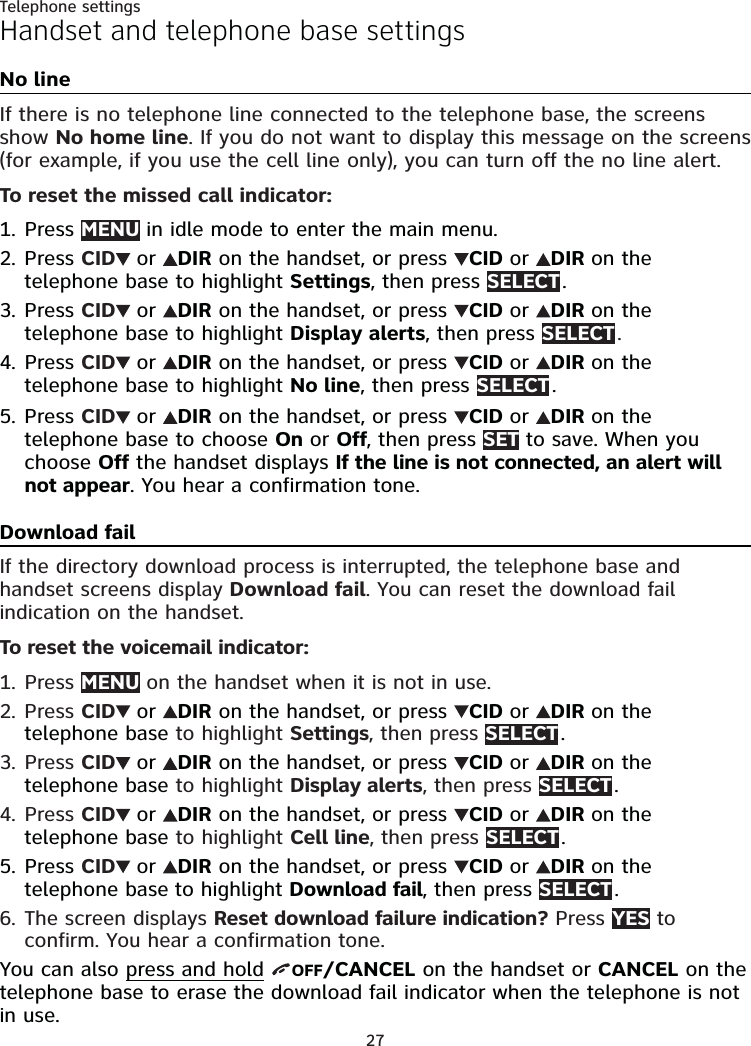
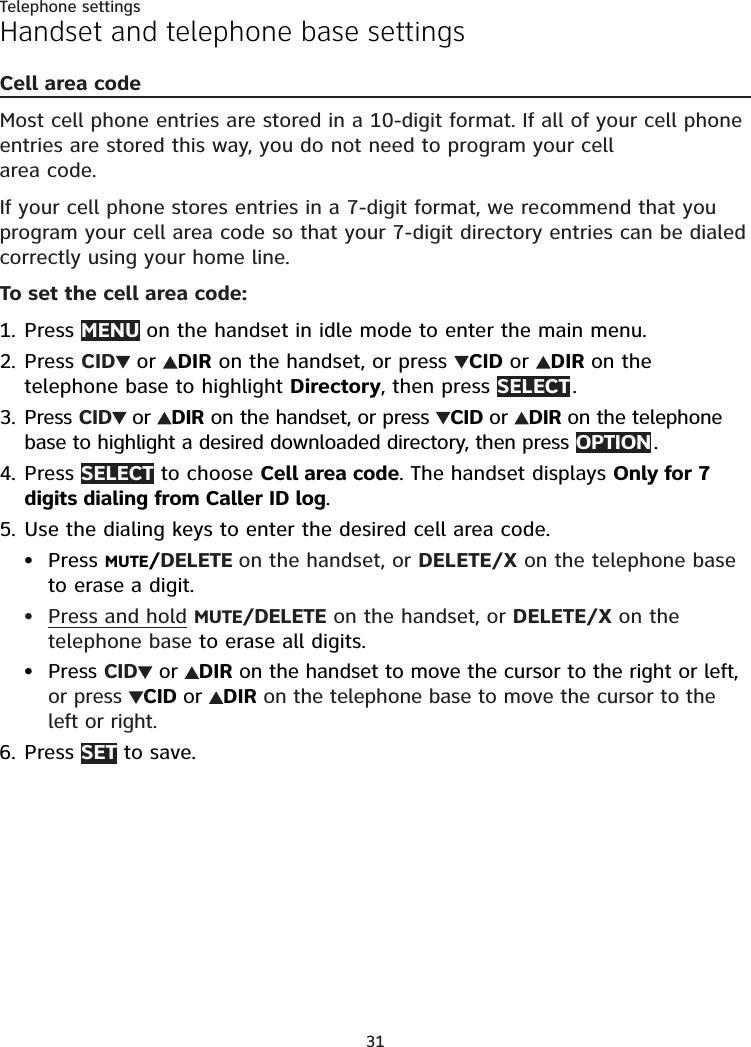
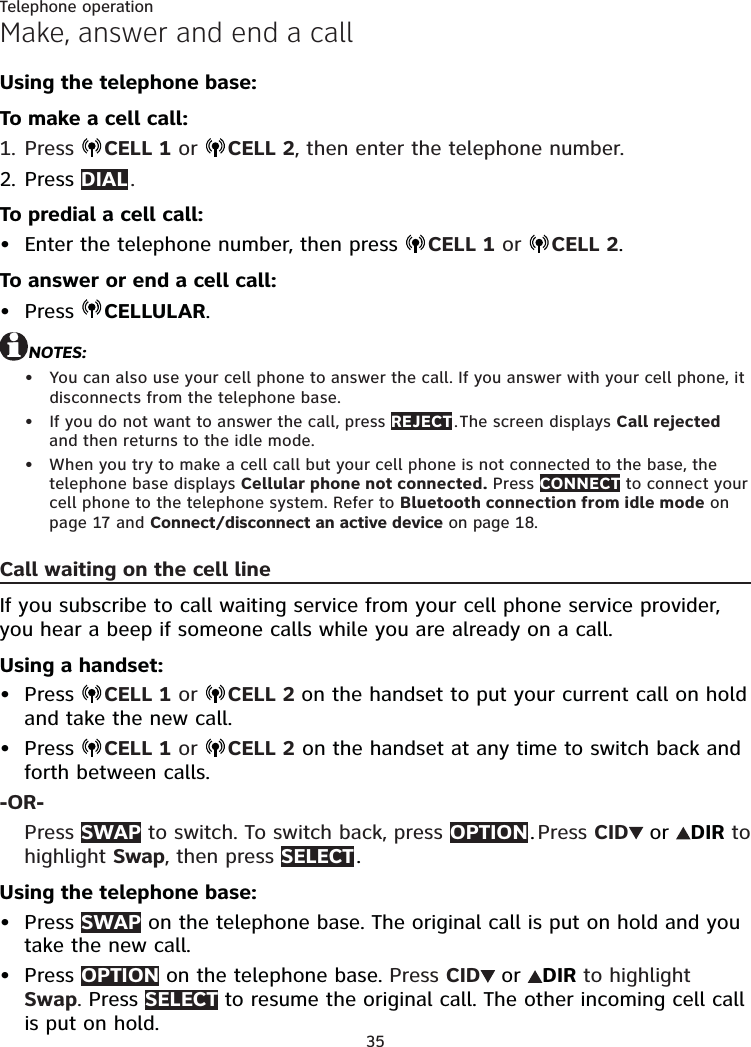
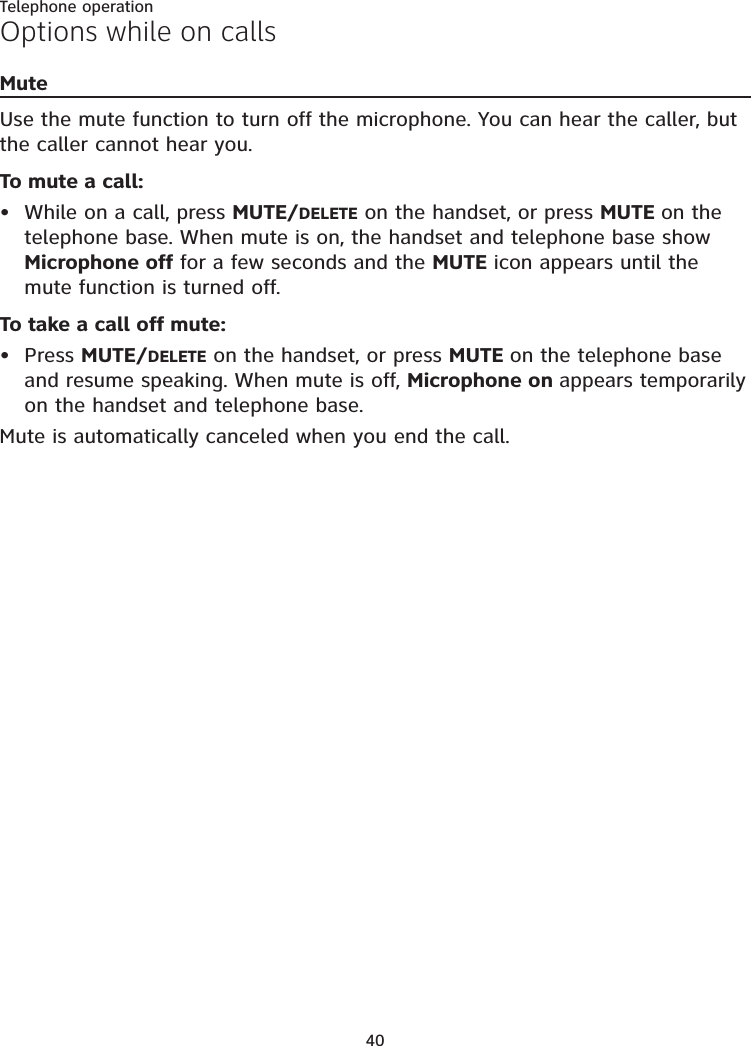
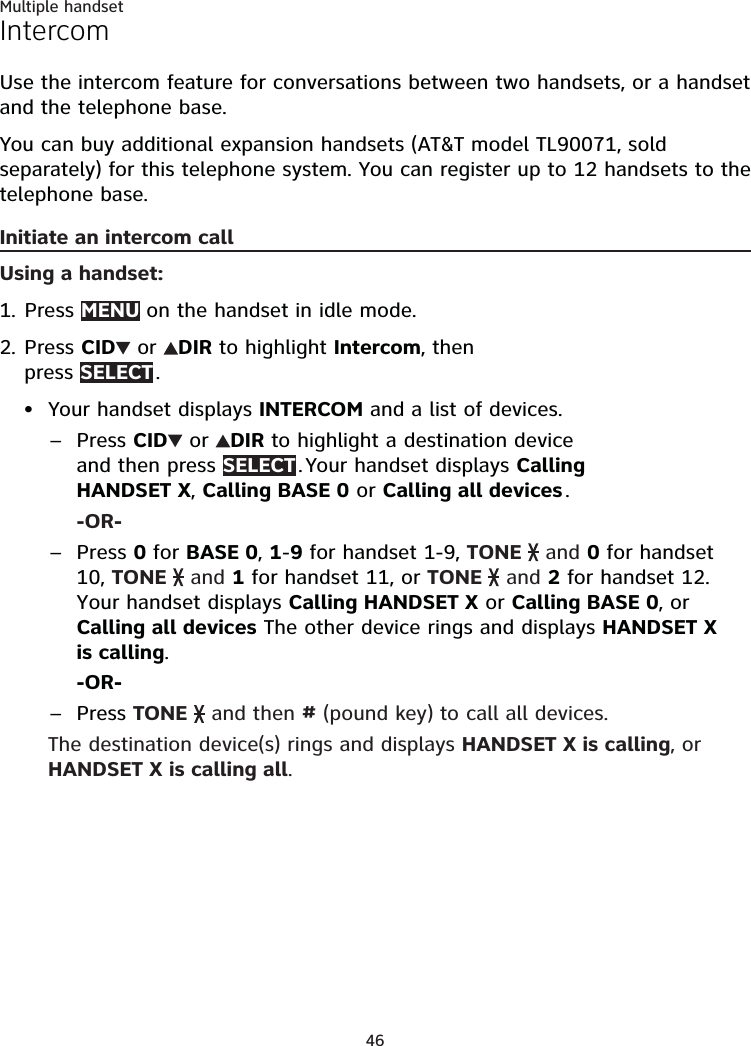
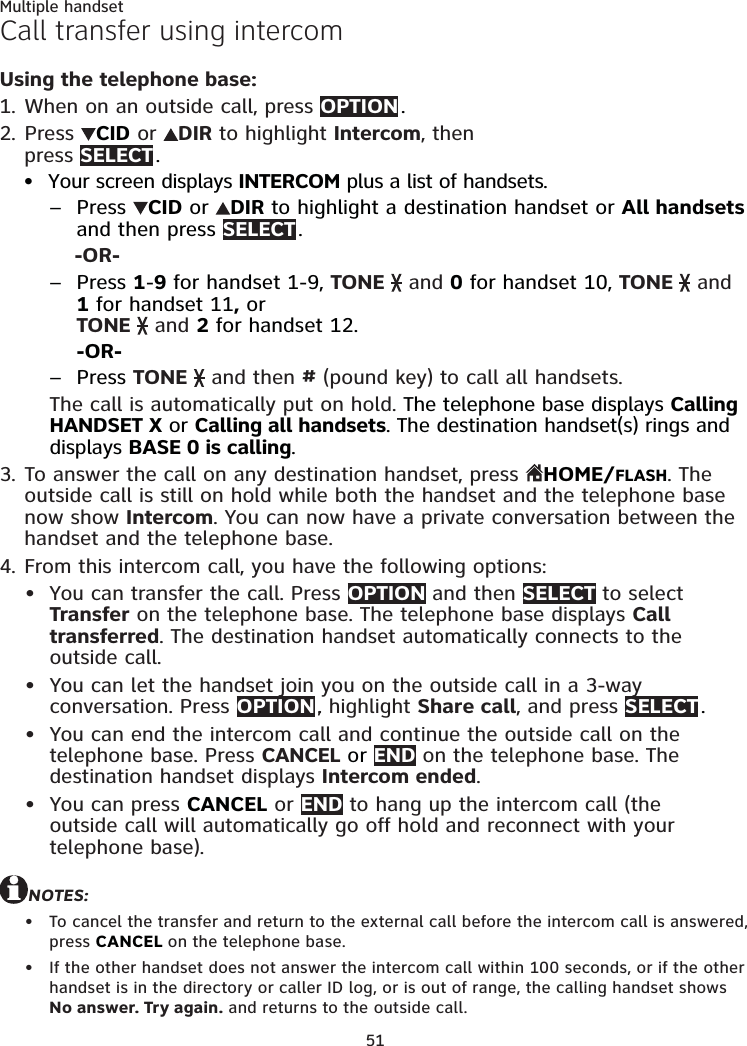
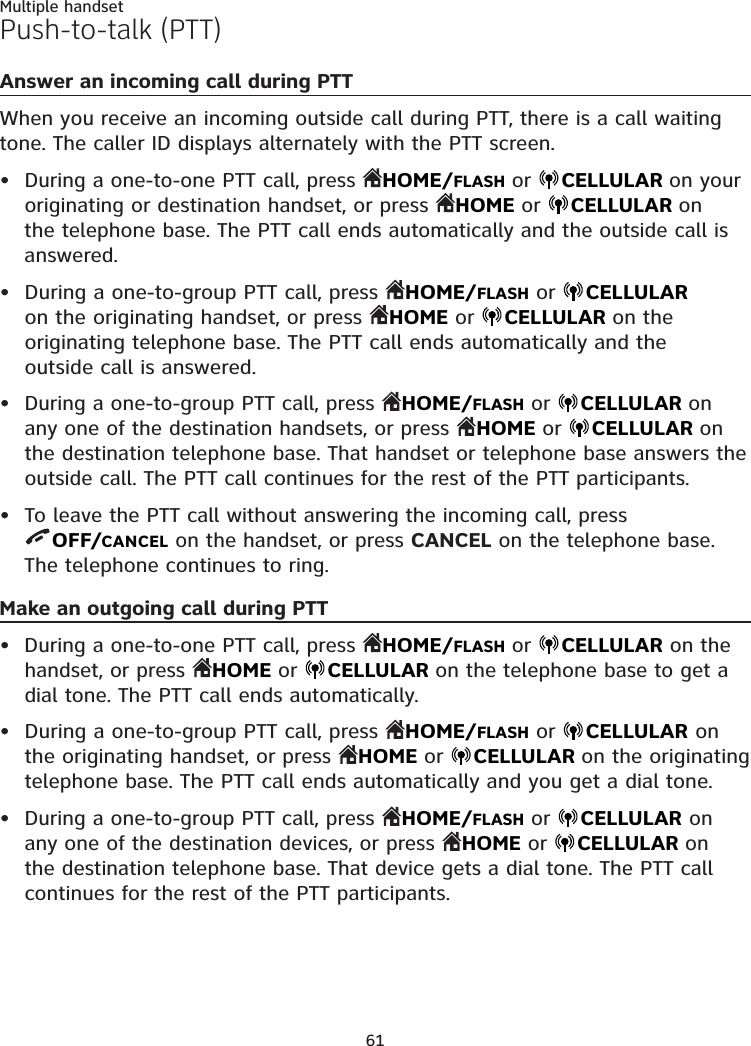
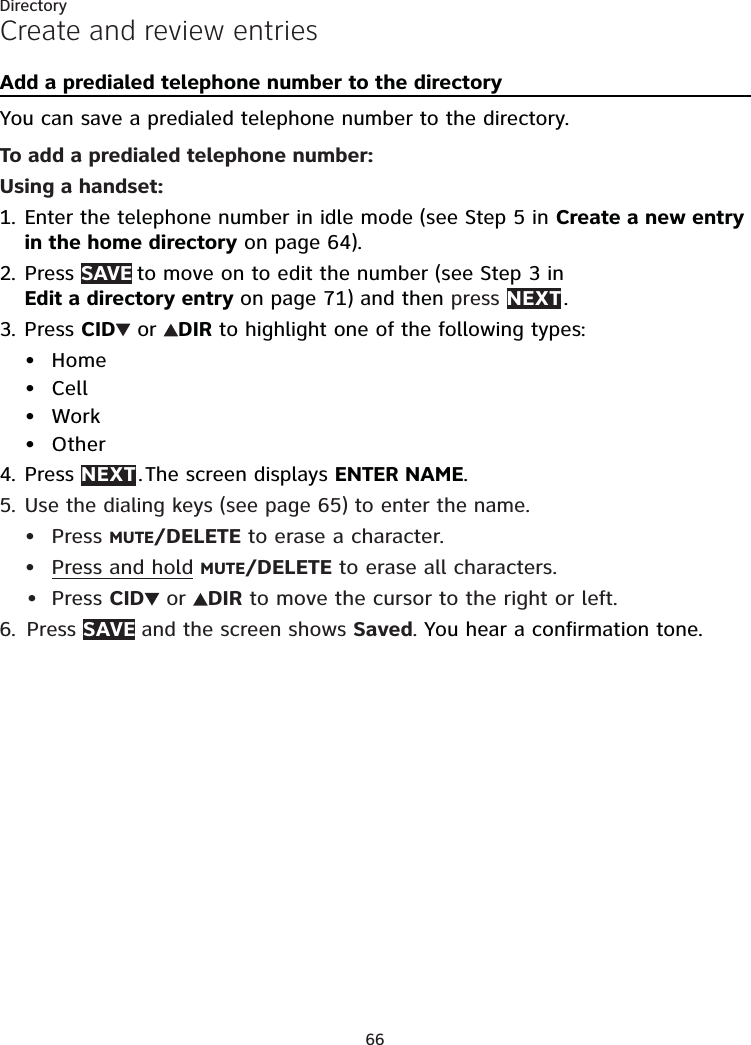
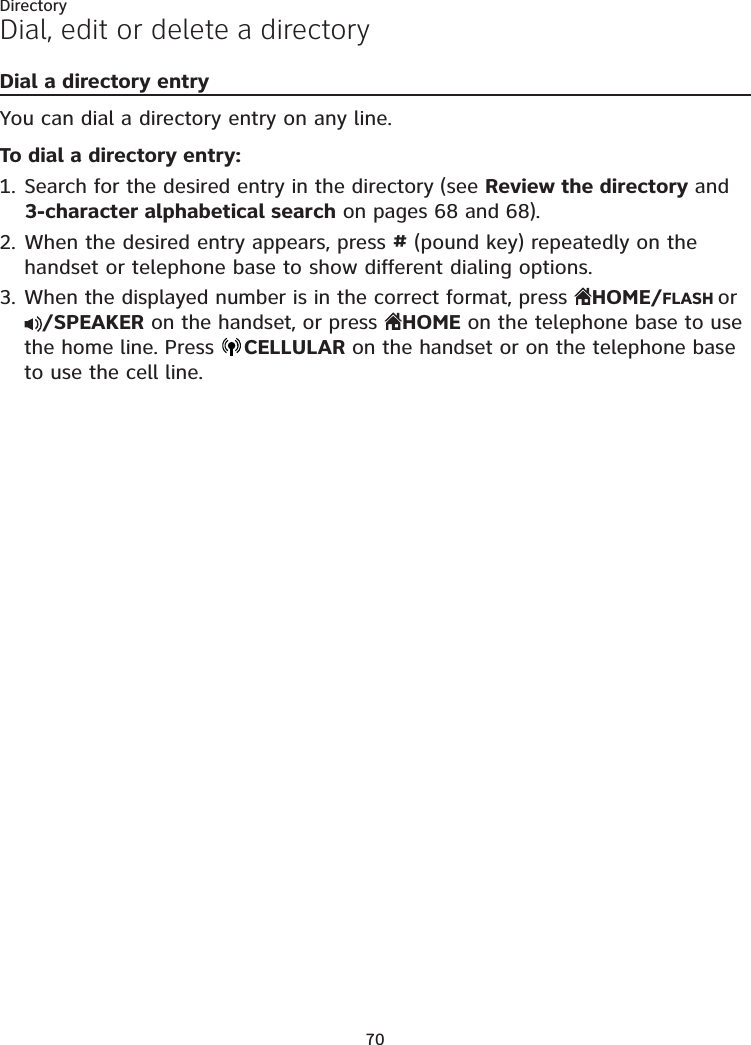
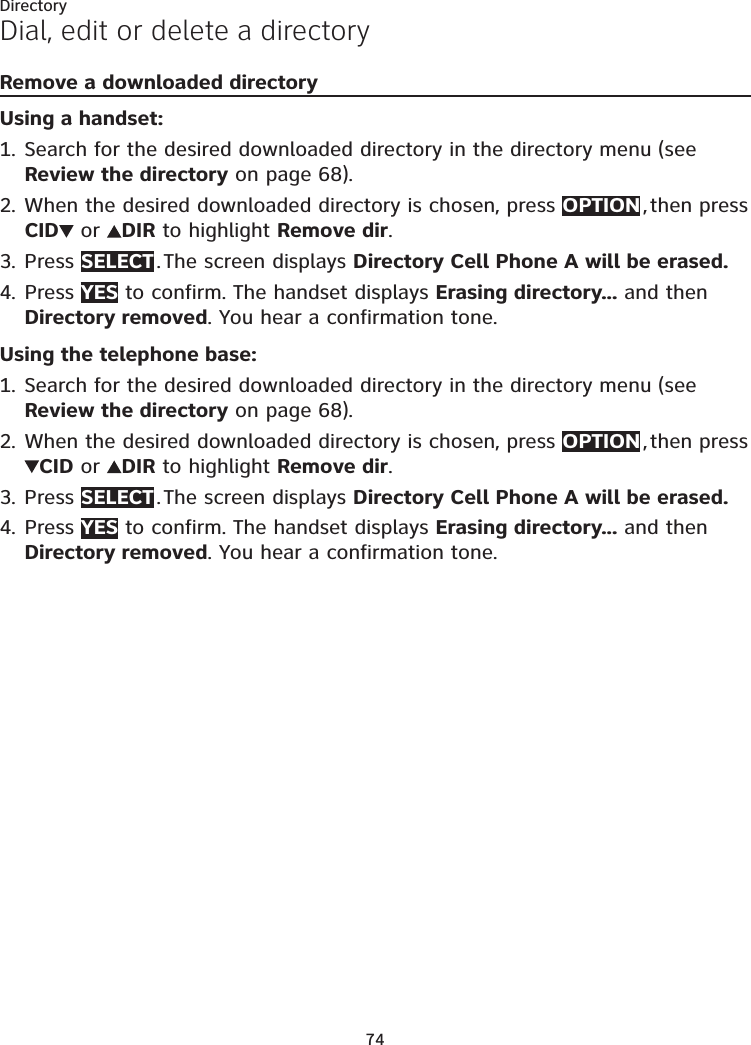
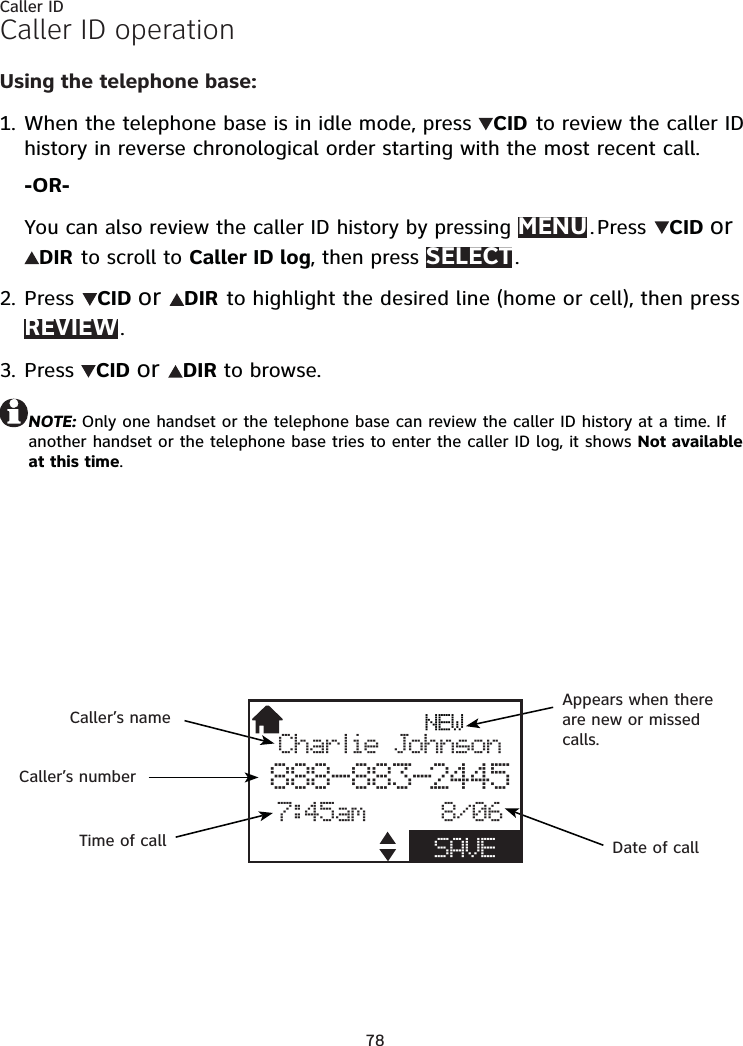
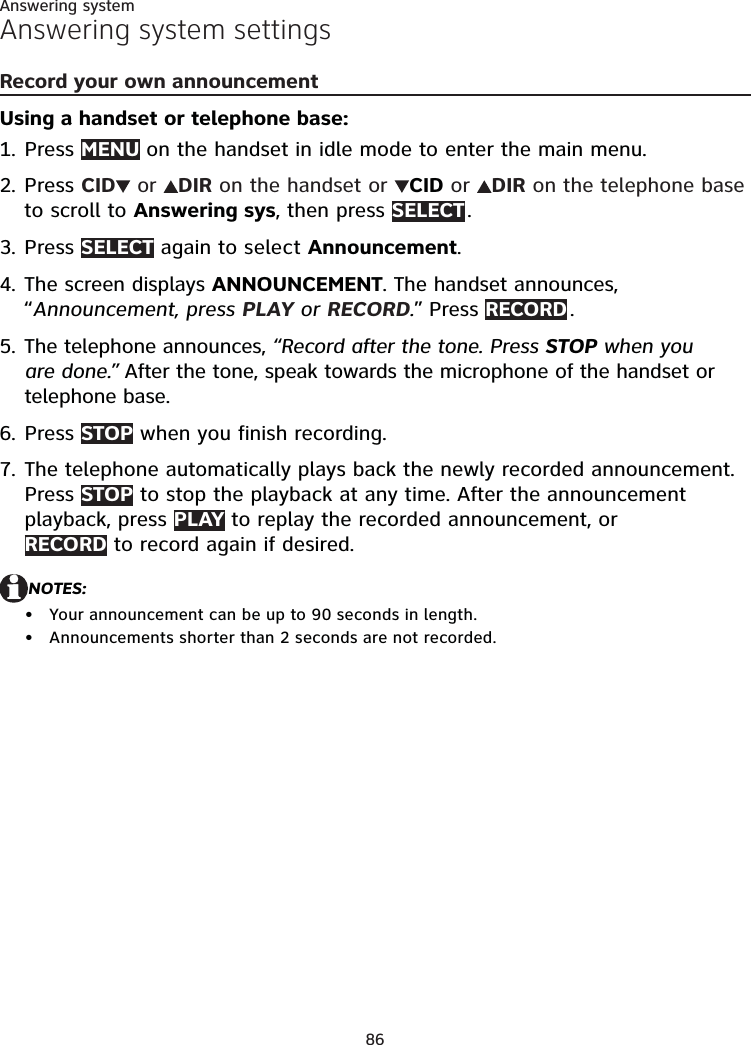
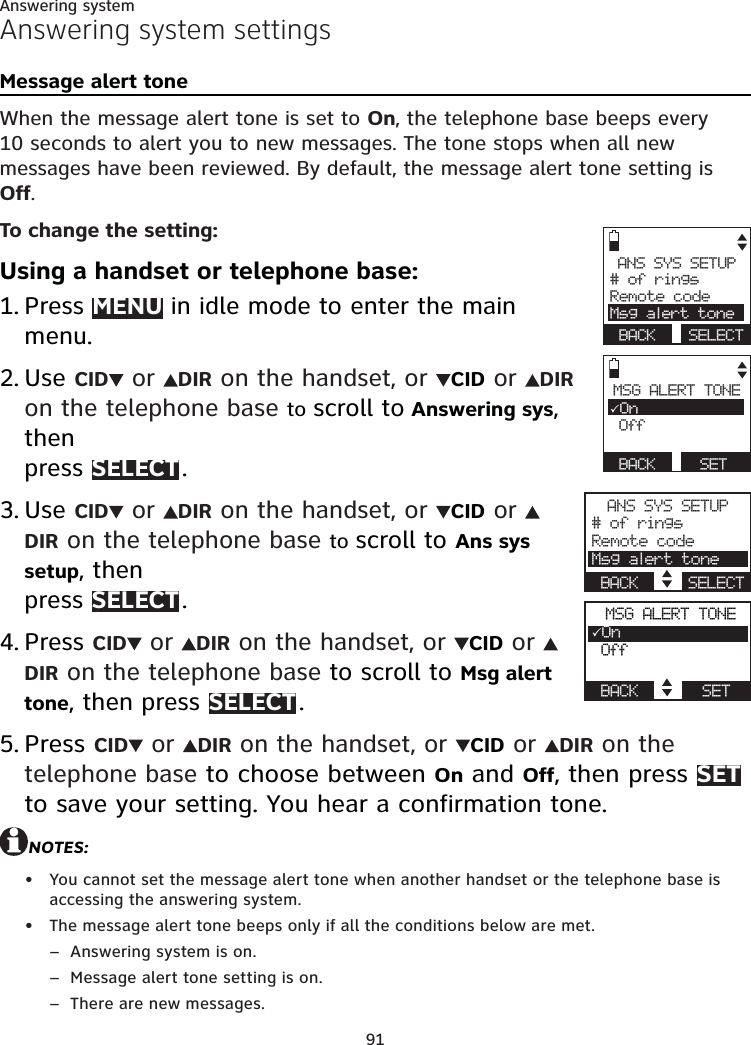
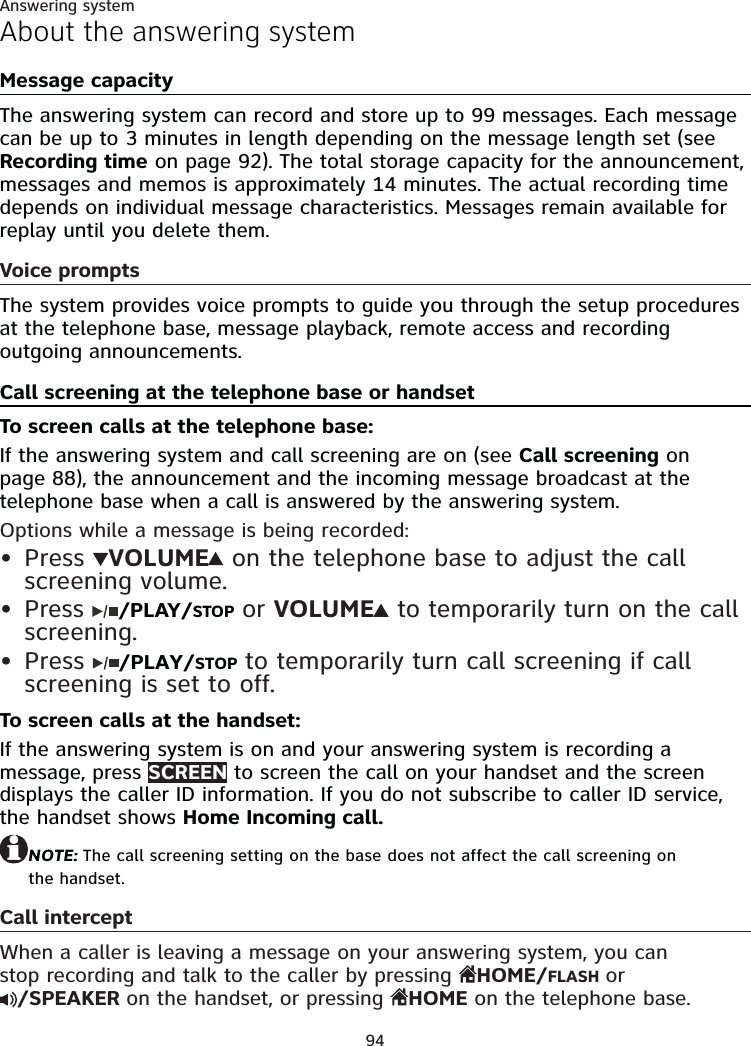
![55Multiple handsetPush-to-talk (PTT)PTT to a group of devicesWhen there are multiple handsets registered to the phone system, PTT supports one-to-group calls. PTT supports a maximum of one-to-four calls when two to five handsets are registered, and a maximum of one-to-three calls when six or more handsets are registered. The first three or four registered handsets and the telephone base will be eligible to use this feature. Other handsets can only use PTT for one-to-one calls. Using a handset:To begin a PTT call to a group of devices:Press and hold PUSH TO TALK when the handset is not in use.-OR-Press PUSH TO TALK when the handset is not in use, then press TONE and # (pound key).-OR-Press PUSH TO TALK when the handset is not in use. Press CID or DIR to highlight Group, then press SELECT or PUSH TO TALK.Your handset displays Connecting to group... for a few seconds. When the connection is made, both your and the destination devices display Press and hold [PTT] to talk and beep once.Press and hold PUSH TO TALK on your handset. A chirp indicates your microphone is on. Speak towards the handset. Your voice is broadcast to the destination devices. While you are speaking, the handset displays PTT To base & handset X (X represents the destination device numbers).Release PUSH TO TALK after speaking. All eligible devices beep once again. After the handsets beeps, you can press and hold PUSH TO TALK to continue speaking or the destination devices can respond (see Answer a PTT call on page 57).Press OFF/CANCEL or END to end the PTT call. The handset displays Push to talk Ended for a few seconds.-OR-Place the handset in the telephone base or charger to end the PTT call.NOTE: After PUSH TO TALK is released, the PTT call remains open for a short time. If no one presses PUSH TO TALK within 10 seconds, the PTT call ends automatically.1.•••2.3.4.](https://usermanual.wiki/VTech-Telecommunications/80-9087-00/User-Guide-1913541-Page-61.png)
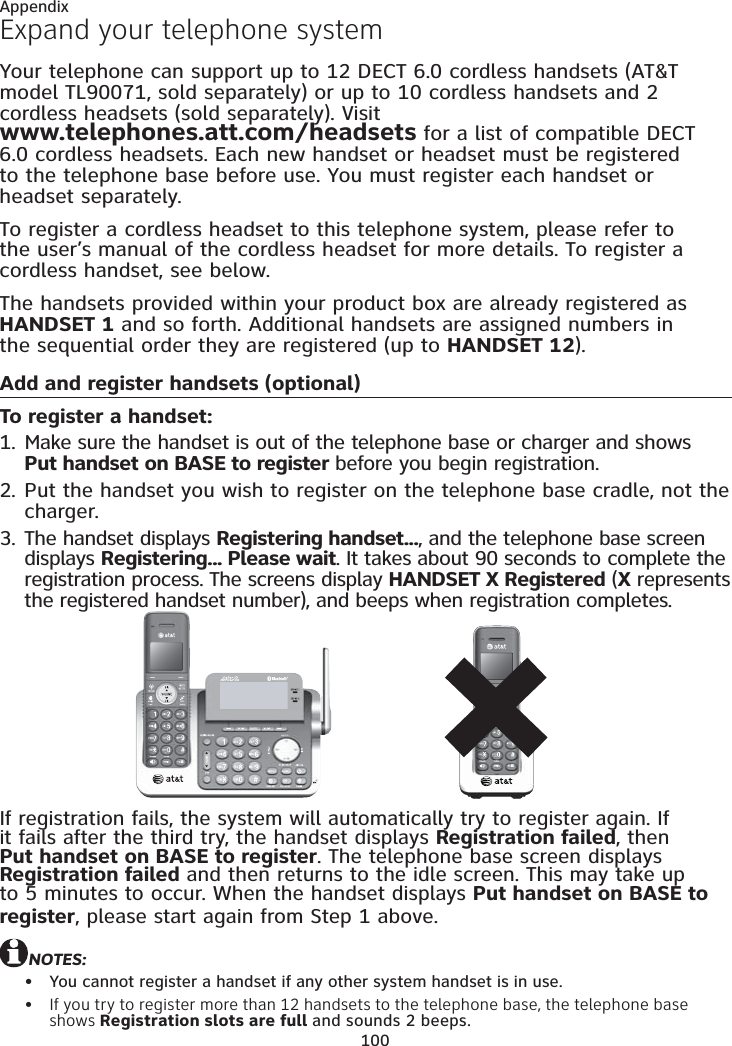
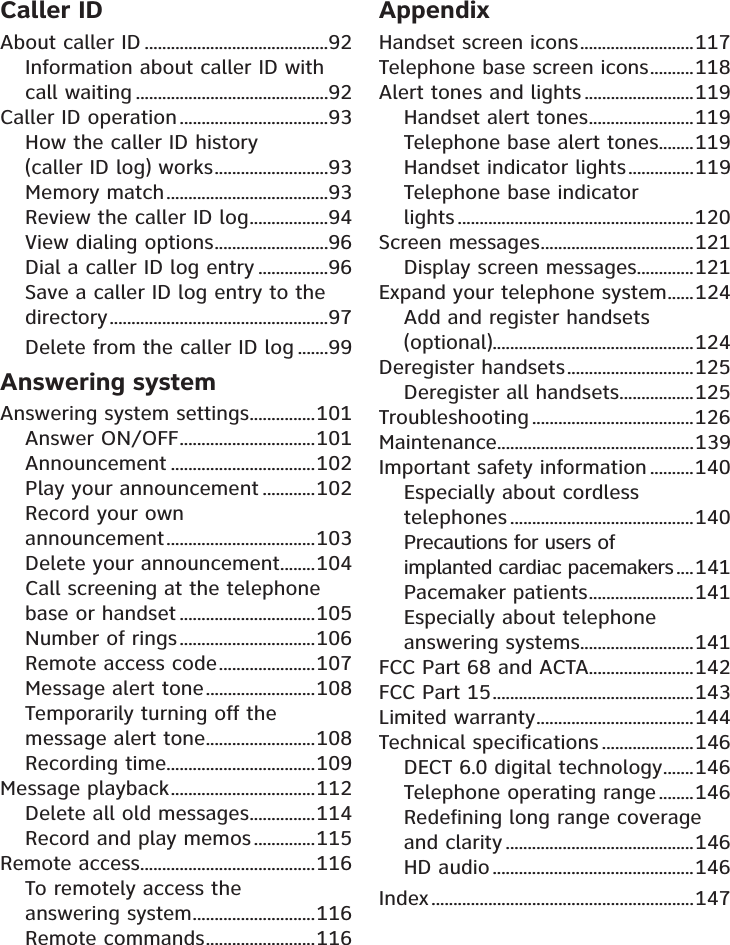
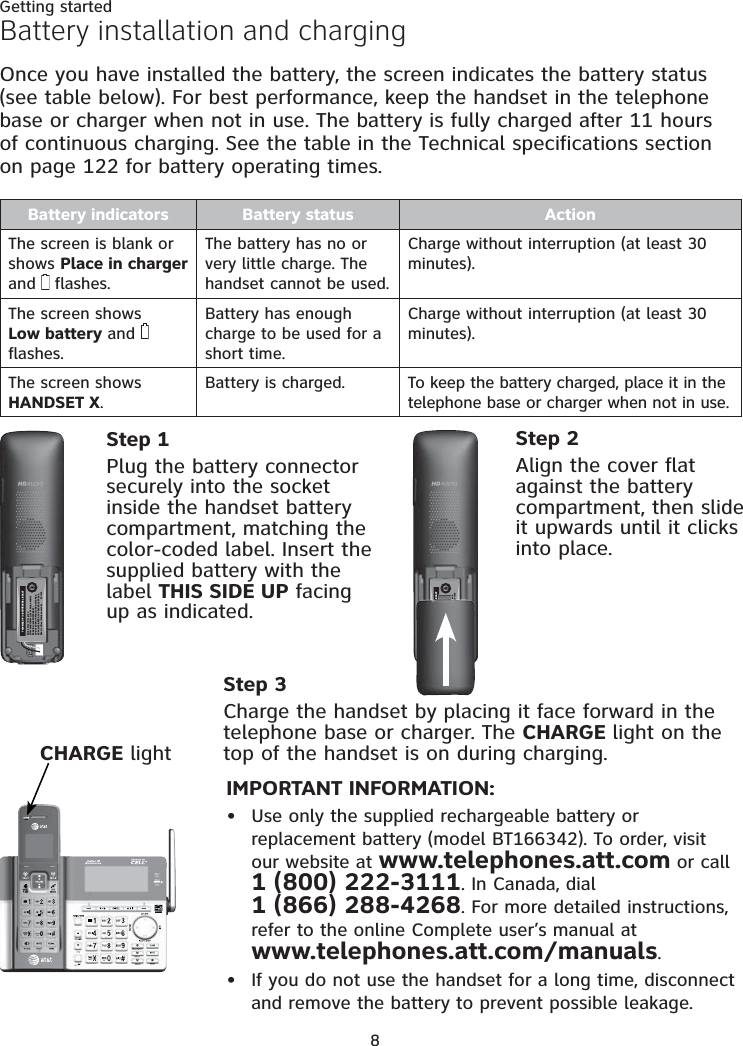
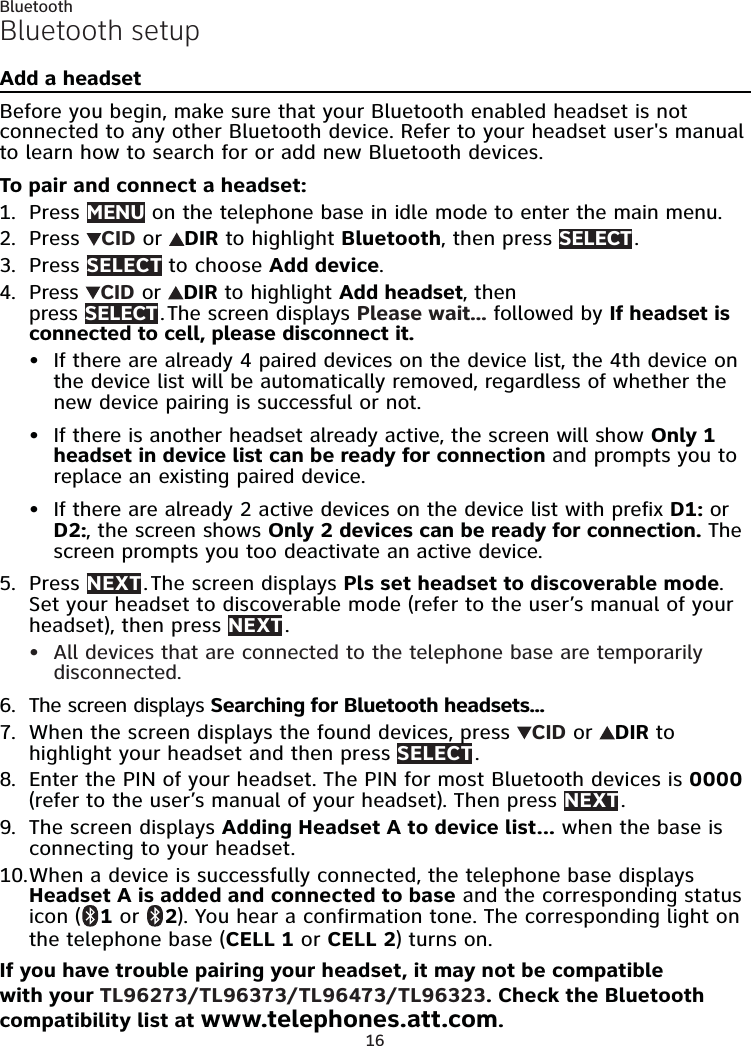
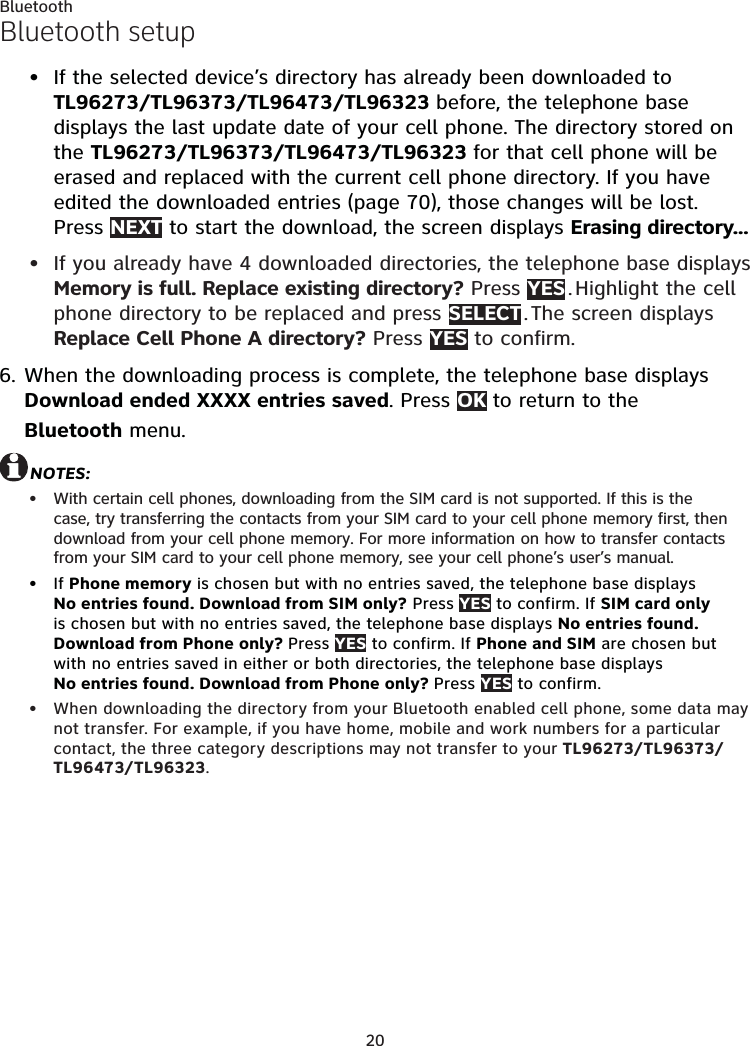
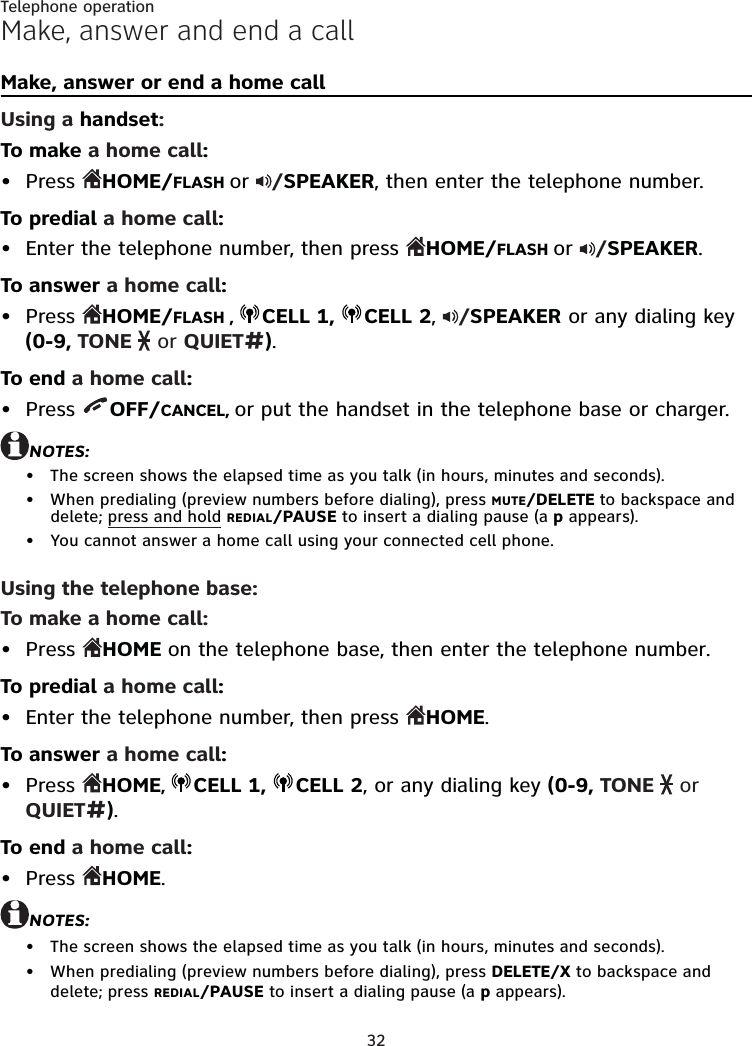
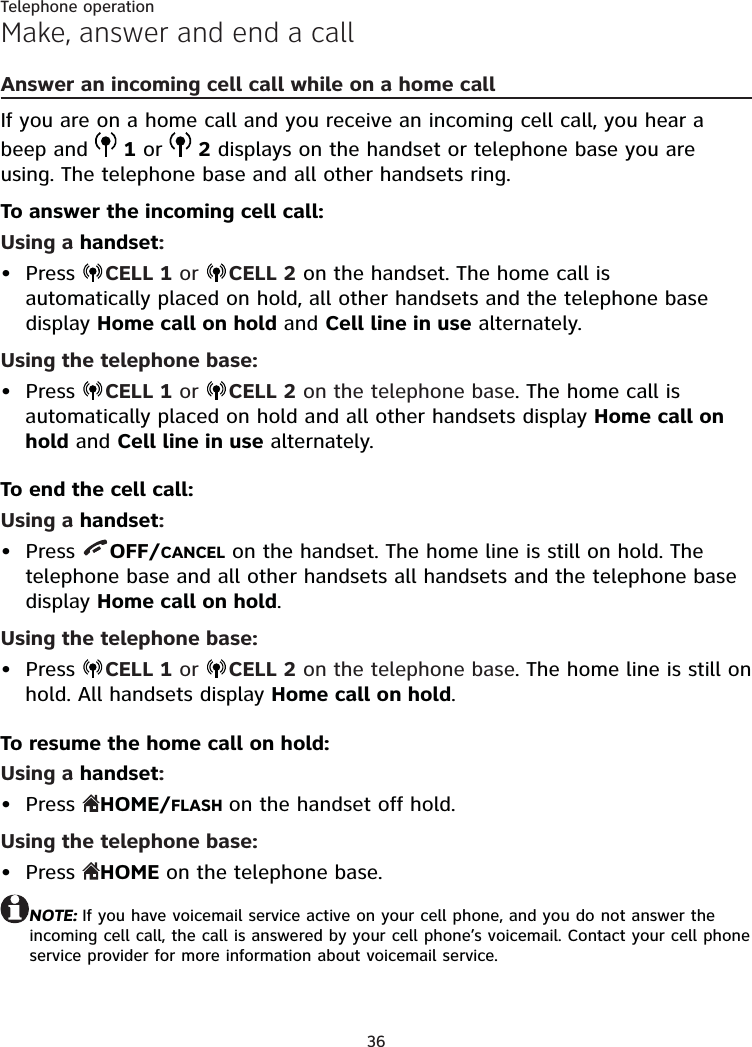
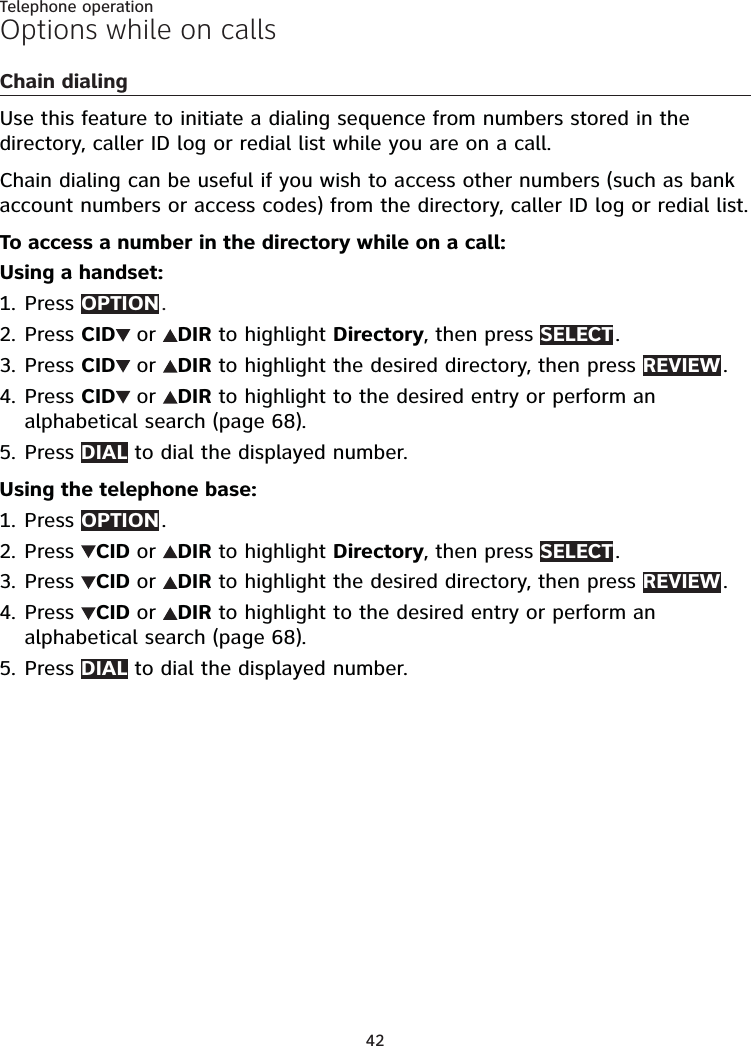
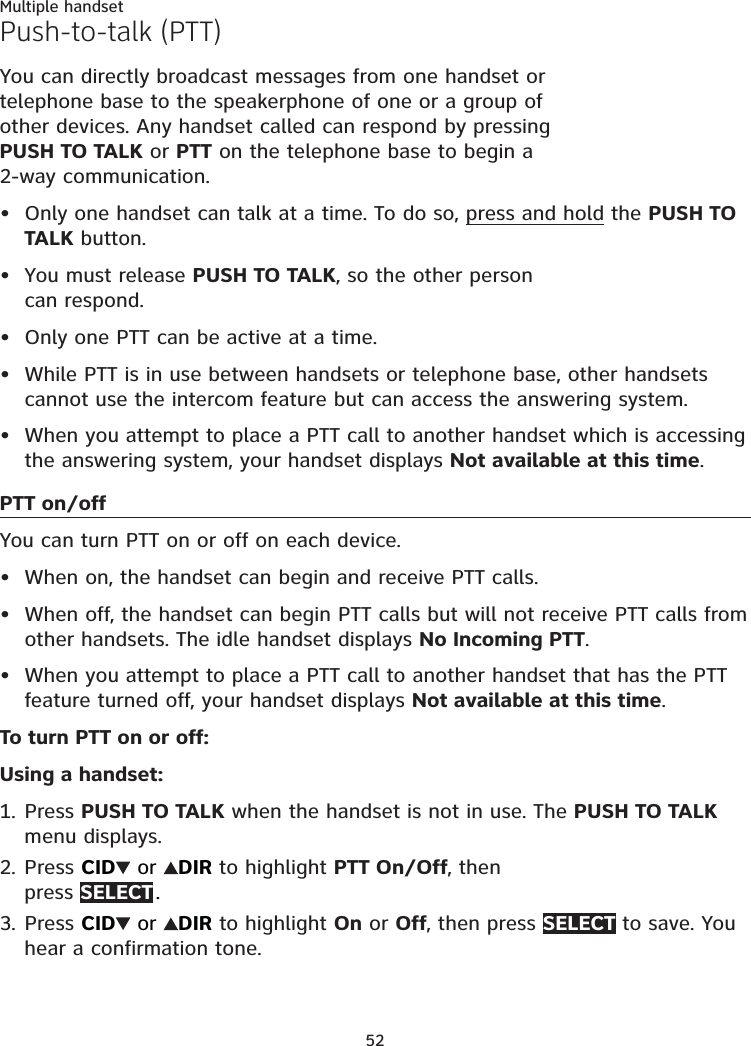
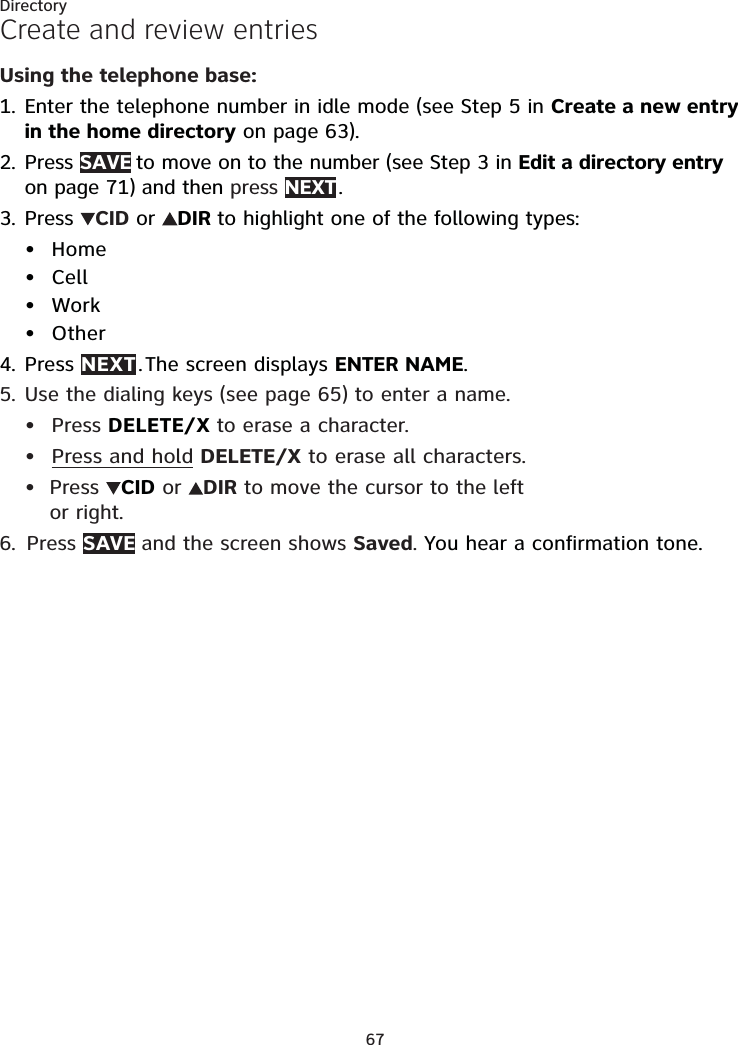
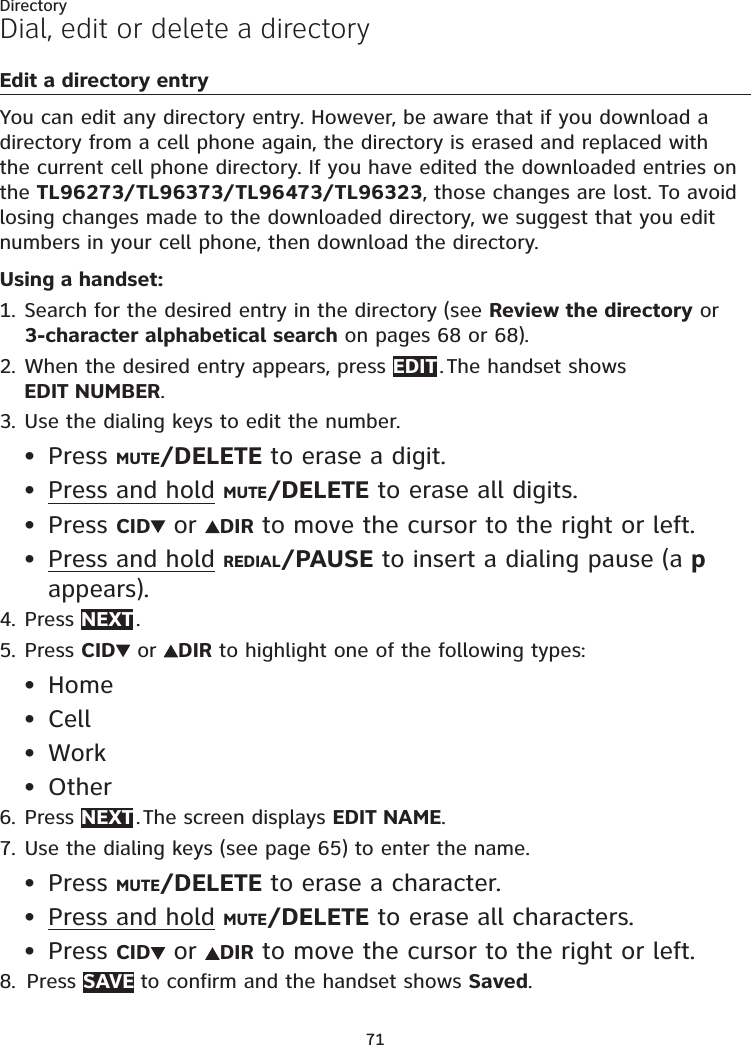
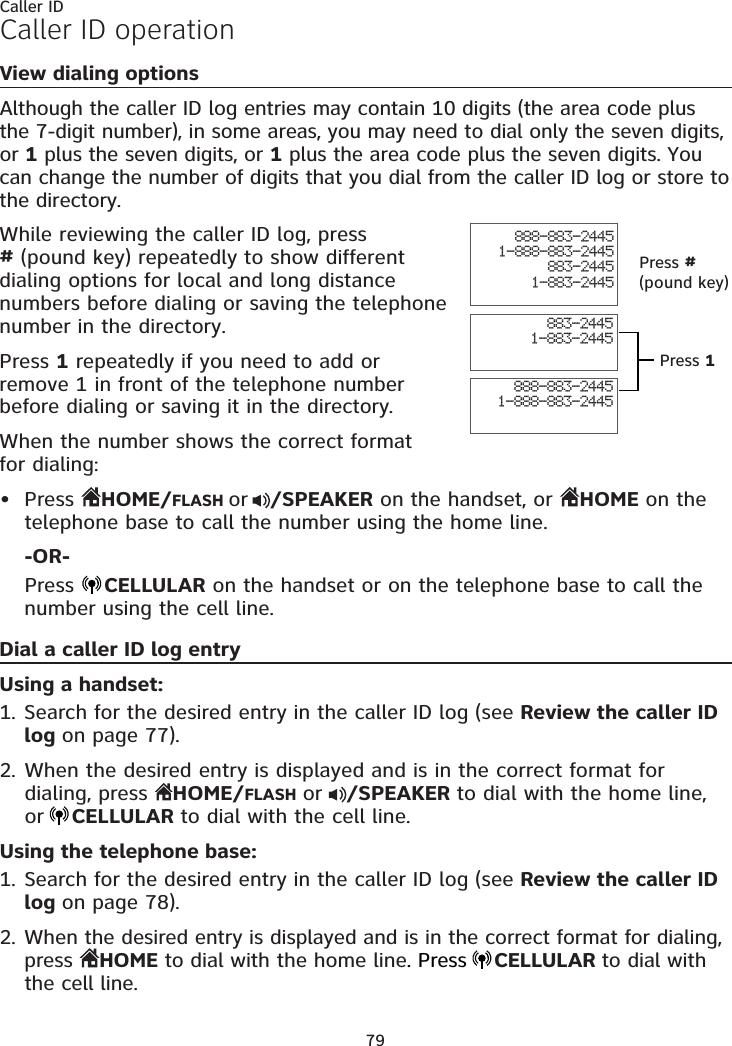
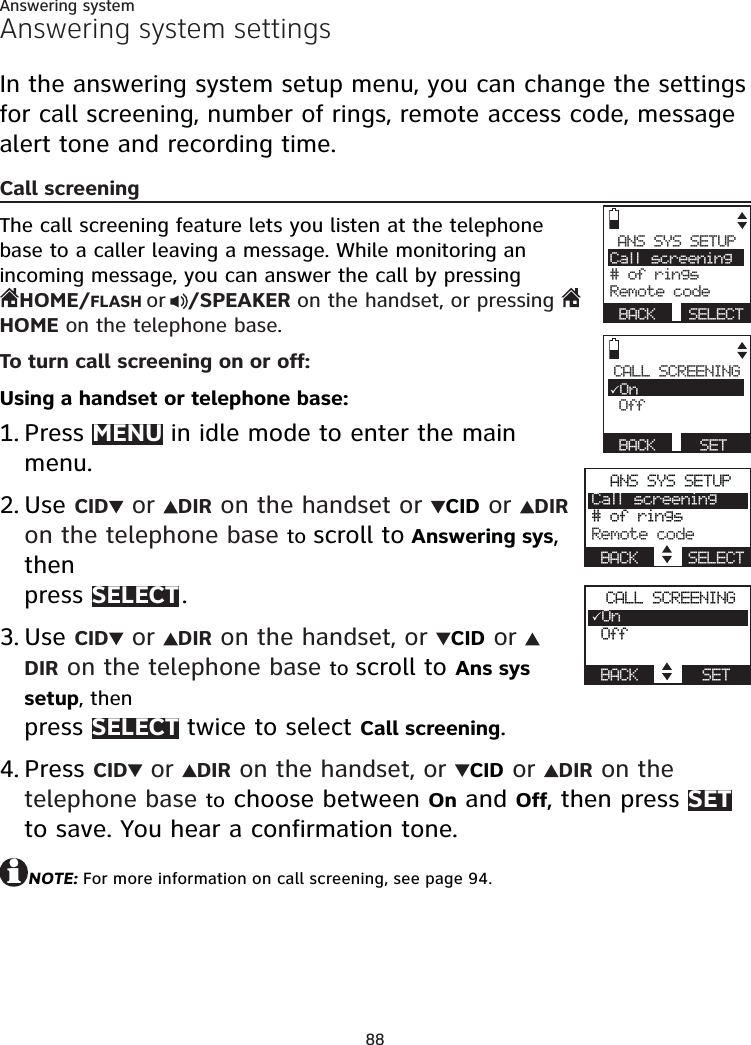
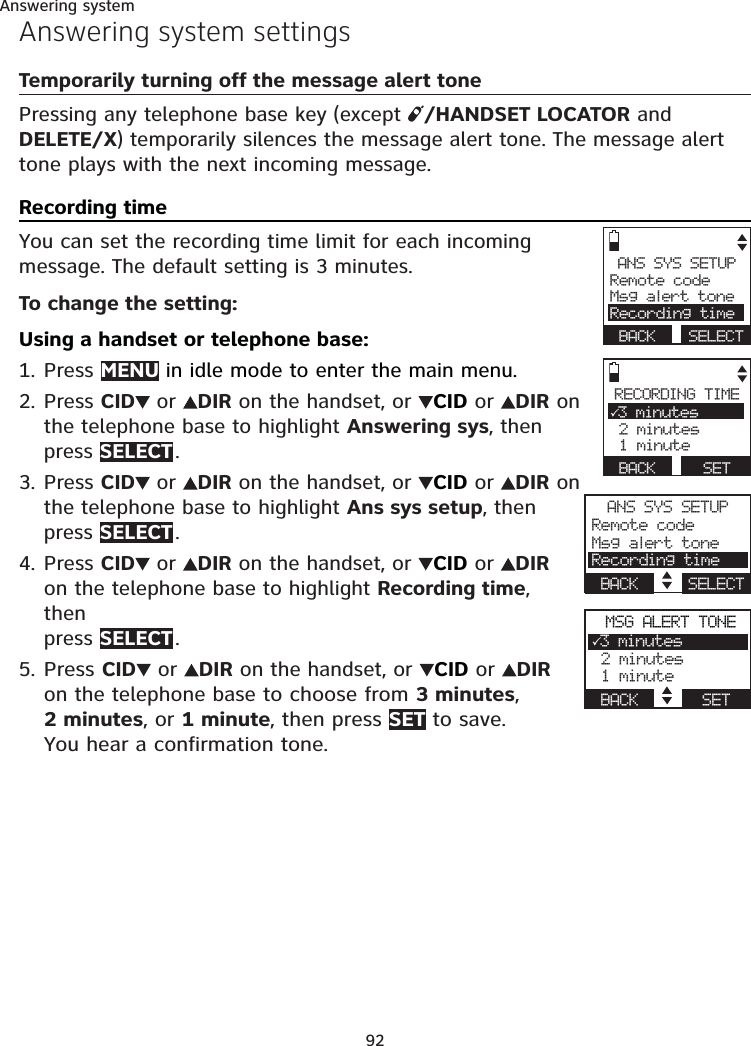
![56Multiple handsetPush-to-talk (PTT)Using the telephone base:To begin a PTT call to a group of devices:Press and hold PTT when the telephone base is not in use.-OR-Press PTT when the telephone base is not in use, then press TONE and # (pound key).-OR-Press PTT when the telephone base is not in use. Press CID or DIR to highlight Group, then press SELECT or PTT.Your screen displays Connecting to group... for a few seconds. When the connection is made, both screens display Press and hold [PTT] to talk and beep once.Press and hold PTT on the telephone base. A chirp indicates your microphone is on. Speak towards the microphone. Your voice is broadcast to the destination handsets. While you are speaking, the screen displays PTT To handset X (X represents the destination handset numbers).Release PTT after speaking. All eligible handsets beep once again. After the telephone base beeps, you can press and hold PTT to continue speaking or the destination handsets can respond (see Answer a PTT call on page 57).Press CANCEL or END to end the PTT call. The telephone base displays Push to talk Ended for a few seconds.NOTE: After PTT is released, the PTT call remains open for a short time. If no one presses PTT within 10 seconds, the PTT call ends automatically.1.•••2.3.4.](https://usermanual.wiki/VTech-Telecommunications/80-9087-00/User-Guide-1913541-Page-62.png)
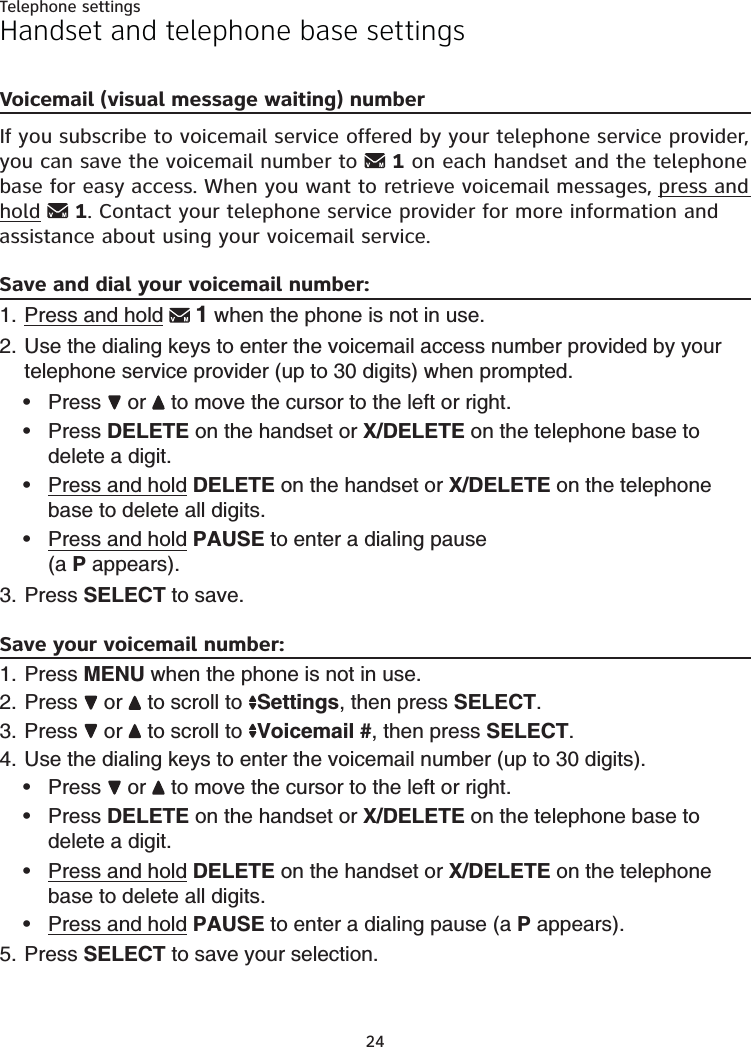
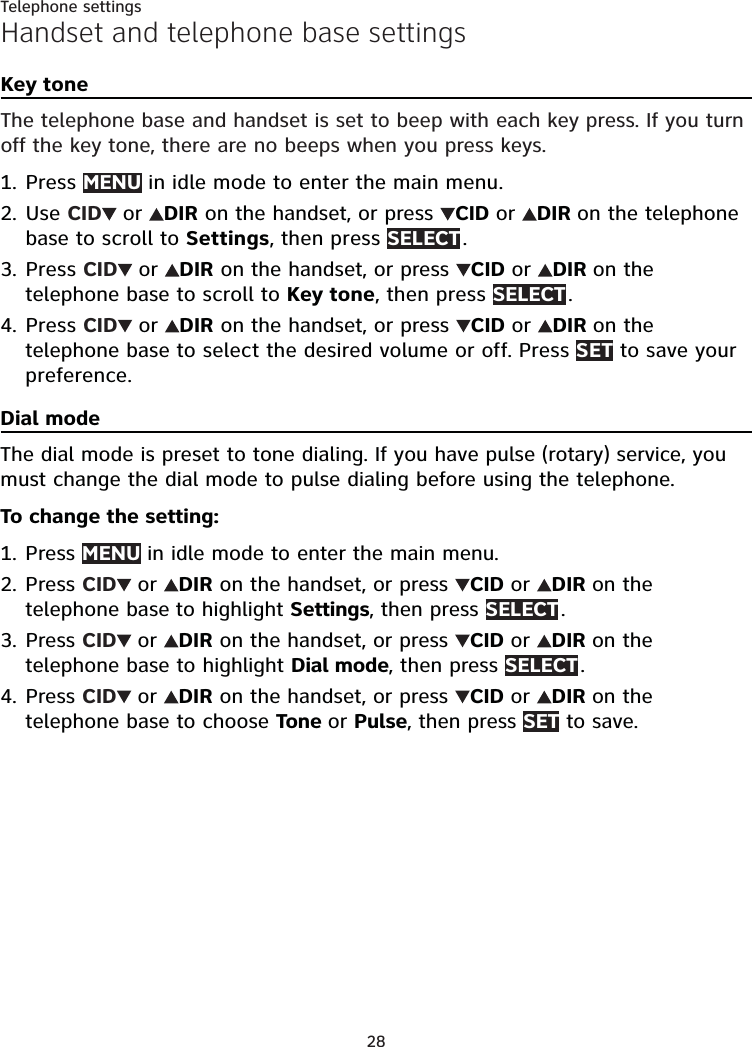
![57Multiple handsetPush-to-talk (PTT)Answer a PTT callYou can respond to a PTT call whenever the speakerphone light is off, as described below.Using a handset:When your handset receives a PTT call, the handset beeps, and you hear the other caller’s voice. The speakerphone light is on, and the handset displays PTT From BASE 0 To handset: Y or PTT From HANDSET X To handset: Y (X represents the initiating handset number and Y represents your handset number and other destination device numbers if any; a maximum of 4 device numbers appear).When the caller finishes, the handset beeps and displays Press and hold [PTT] to talk, and the speakerphone light turns off.Press and hold PUSH TO TALK on your handset. When you hear a chirp, speak towards the handset.While you are speaking, your handset displays PTT To BASE 0 or PTT To HANDSET X, or PTT To base & handset: X.Your voice is broadcast to all destination devices.The speakerphone light is off.Release PUSH TO TALK when you finish speaking. Your handset beeps. After the beep, if your speakerphone light is off, you can press and hold PUSH TO TALK to continue speaking or the destination devices can respond.•••](https://usermanual.wiki/VTech-Telecommunications/80-9087-00/User-Guide-1913541-Page-63.png)
![58Multiple handsetPush-to-talk (PTT)Using the telephone base:When the telephone base receives a PTT call, the telephone base beeps, and you hear the other caller’s voice, the speakerphone light is on, and the telephone base displays PTT From HANDSET X To Base 0 or PTT From HANDSET X To base & HS: Y (X represents the initiating handset number and Y represents other handset numbers; a maximum of 4 handset numbers appear).When the caller finishes, the telephone base beeps and displays Press and hold [PTT] to talk, and the speakerphone light is off.Press and hold PTT on the telephone base. When you hear a chirp, speak towards the handset.While you are speaking, the telephone base displays PTT To HANDSET X.Your voice is broadcast to all destination handsets.The speakerphone light is off.Release PTT when you finish speaking. The telephone base beeps. After the beep, you can press and hold PTT to continue speaking or the destination handsets can respond.•••](https://usermanual.wiki/VTech-Telecommunications/80-9087-00/User-Guide-1913541-Page-64.png)
![59Multiple handsetPush-to-talk (PTT)Change a one-to-one PTT call to an intercom callYou can convert a one-to-one PTT conversation to an intercom call.Using a handset:When your handset displays Press and hold [PTT] to talk, press INTCOM . Your handset displays Switch to Intercom? Press SELECT to confirm. Your handset then displays Calling HANDSET Y (Y represents the destination handset number) or Calling BASE 0. The destination handset temporarily displays Push to talk Ended and then HANDSET X is calling (X represents the originating handset number).On the destination device, press HOME/FLASH or /SPEAKER on the handset or HOME on the telephone base to answer the intercom call. Both devices now display Intercom.To end the intercom call, press OFF/CANCEL, END or place the handset in the telephone base or charger. Both devices display Intercom ended.Using the telephone base:When the telephone base displays Press and hold [PTT] to talk, press INTCOM . The telephone base displays Switch to Intercom? Press SELECT .The telephone base then displays Calling HANDSET Y (Y represents the destination handset number). The destination handset temporarily displays Push to talk Ended and then BASE 0 is calling.On the destination handset, press HOME/FLASH or /SPEAKER to answer the intercom call. Both screens now display Intercom.To end the intercom call, press CANCEL or END on the telephone base. Both screens display Intercom ended.1.•2.3.1.•2.3.](https://usermanual.wiki/VTech-Telecommunications/80-9087-00/User-Guide-1913541-Page-65.png)
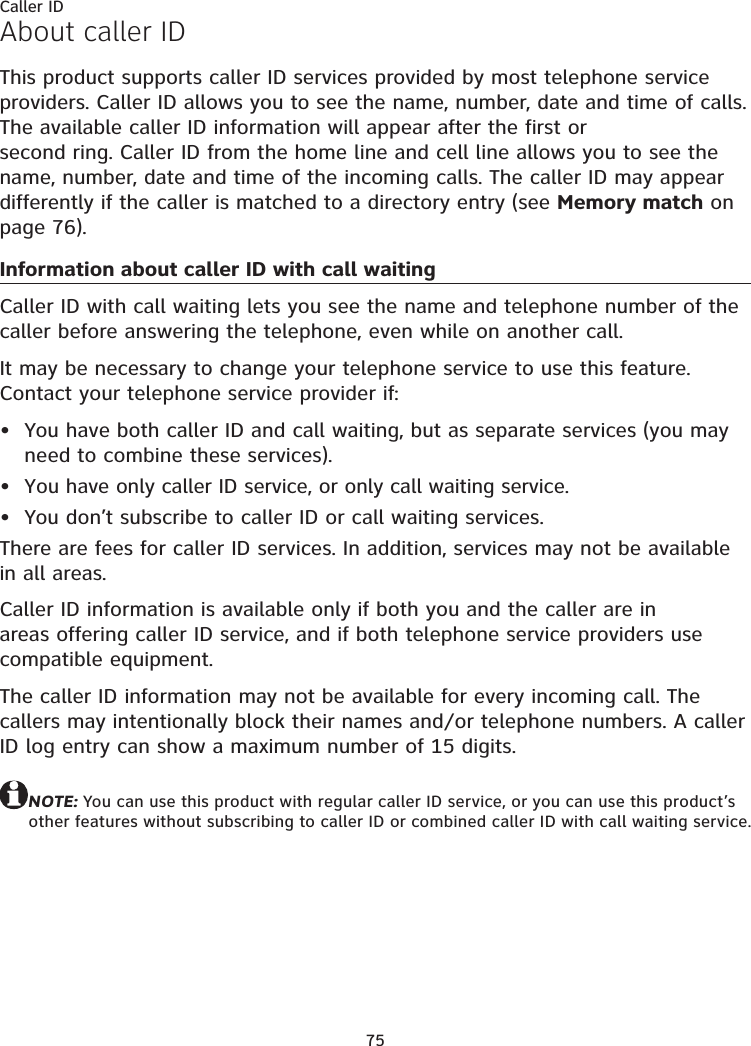

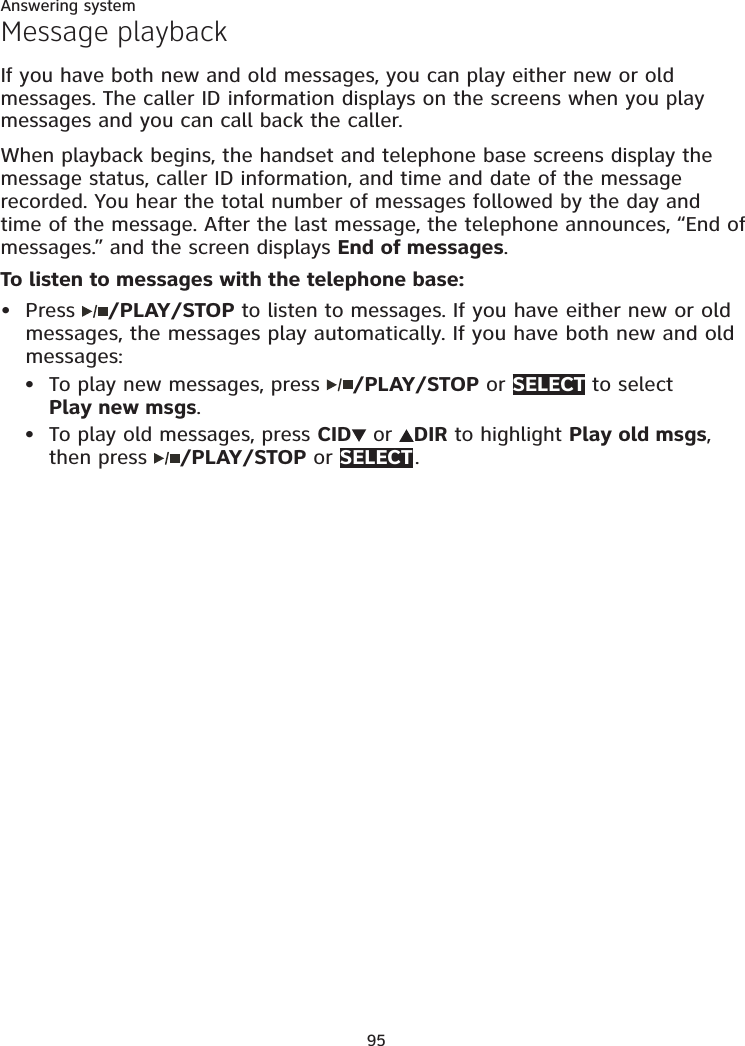
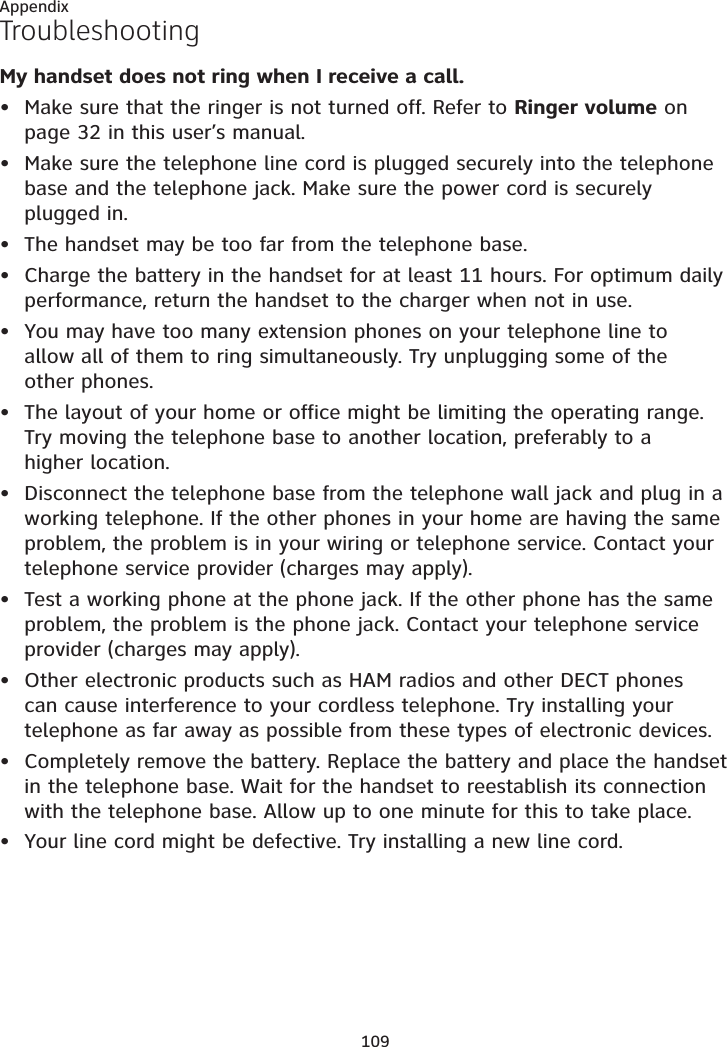
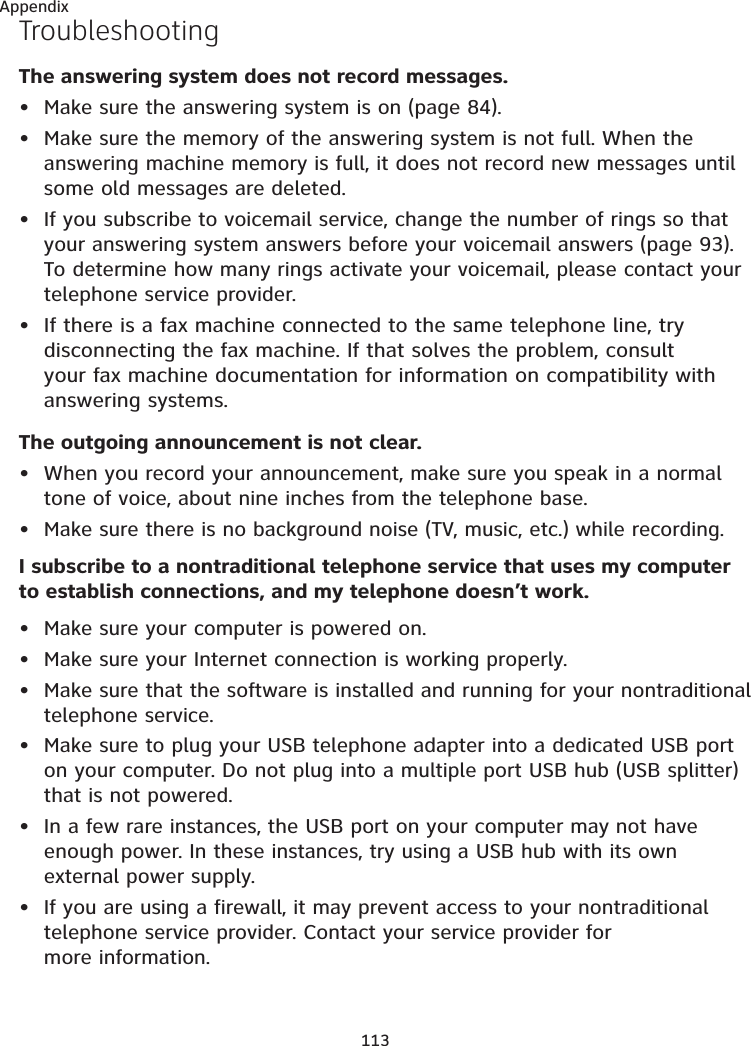
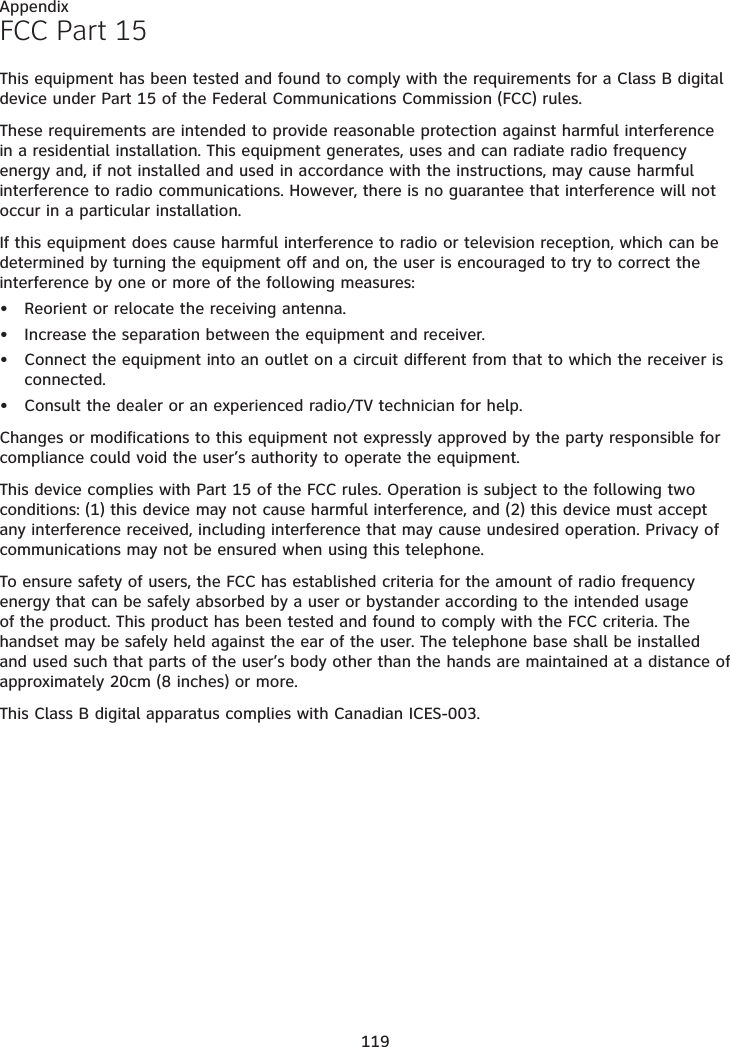
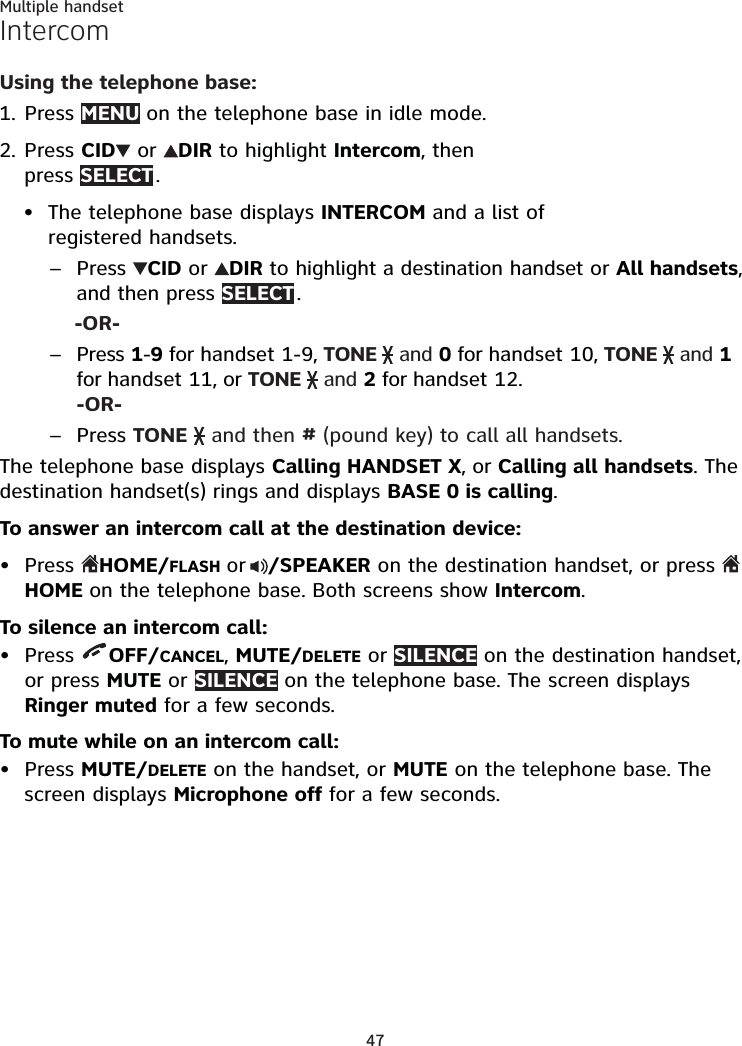
![96Answering systemMessage playbackTo listen to messages with a handset:Press MENU in idle mode. Press SELECT to select Play messages. If you have either new or old messages, the messages play automatically. If you have both new and old messages:To play new messages, press SELECT to select Play new msgs.To play old messages, press CID or DIR to highlight Play old msgs, then press SELECT .When the handset is playing a message, its screen shows [2]-Call info and the caller’s name or number. If the caller’s information is unavailable, the handset shows No caller info.Options during playback:Press EQ button to adjust the message playback audio quality.Press /SPEAKER to play the messages through the handset earpiece. Press /SPEAKER again to return to playing messages though the speakerphone.Press CID/VOLUME/DIR to adjust the speakerphone volume.Press SKIP to skip to the next message.Press REPEAT to repeat the message currently playing. Press REPEAT twice to listen to the previous message.Press MUTE/DELETE to delete the current message. The handset displays Message deleted briefly and the system advances to the next message.1.2.••••••••](https://usermanual.wiki/VTech-Telecommunications/80-9087-00/User-Guide-1913541-Page-102.png)