VTech Telecommunications 80-9300-00 1.9GHz DECT Cordless Phone - Deskset User Manual SB35031 User Guide
VTech Telecommunications Ltd 1.9GHz DECT Cordless Phone - Deskset SB35031 User Guide
UserManual.wiki
>
VTech Telecommunications
>
80 9300 00 User Manual
User Manual
Navigation menu
Upload a User Manual
Namespaces
Wiki Guide
HTML
PDF
Info
Views
User Manual
Discussion / Help
Navigation

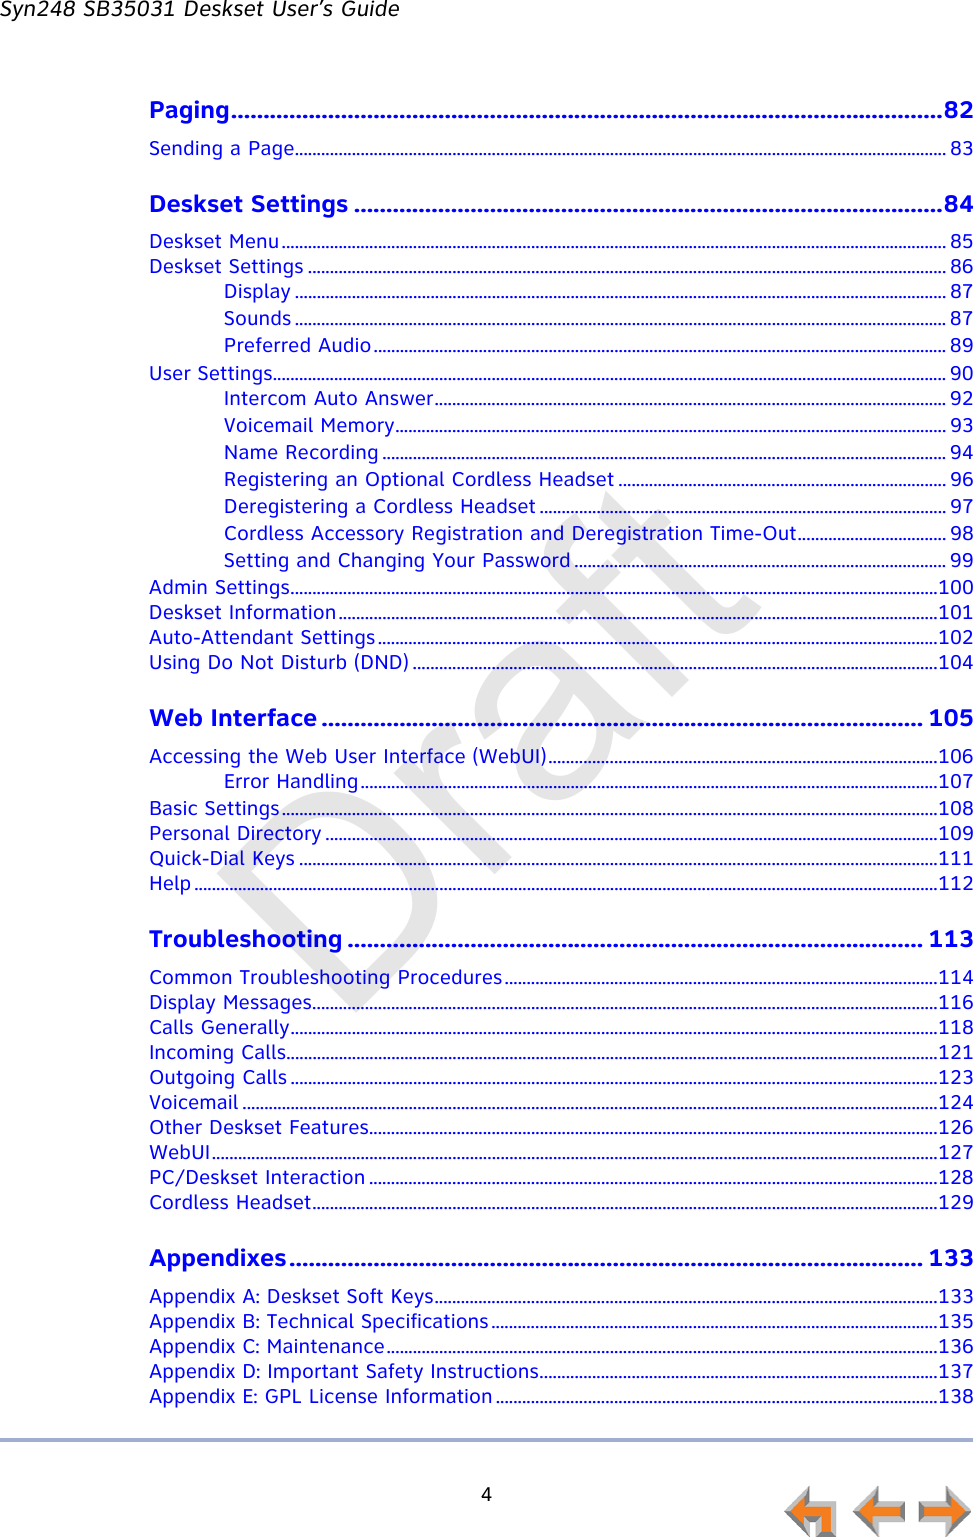


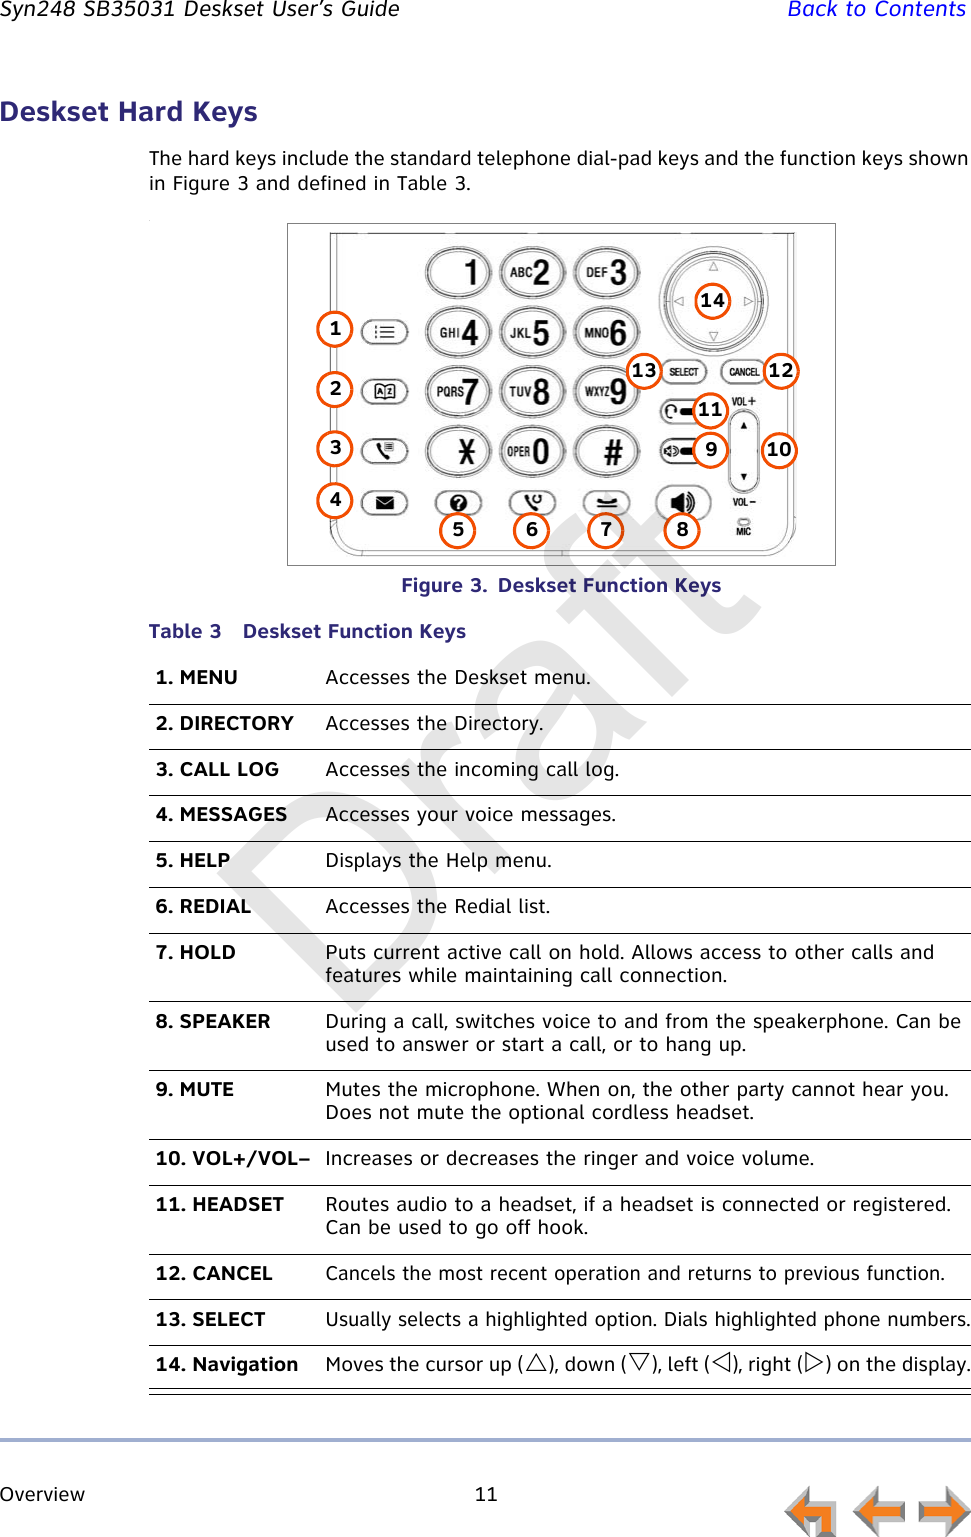
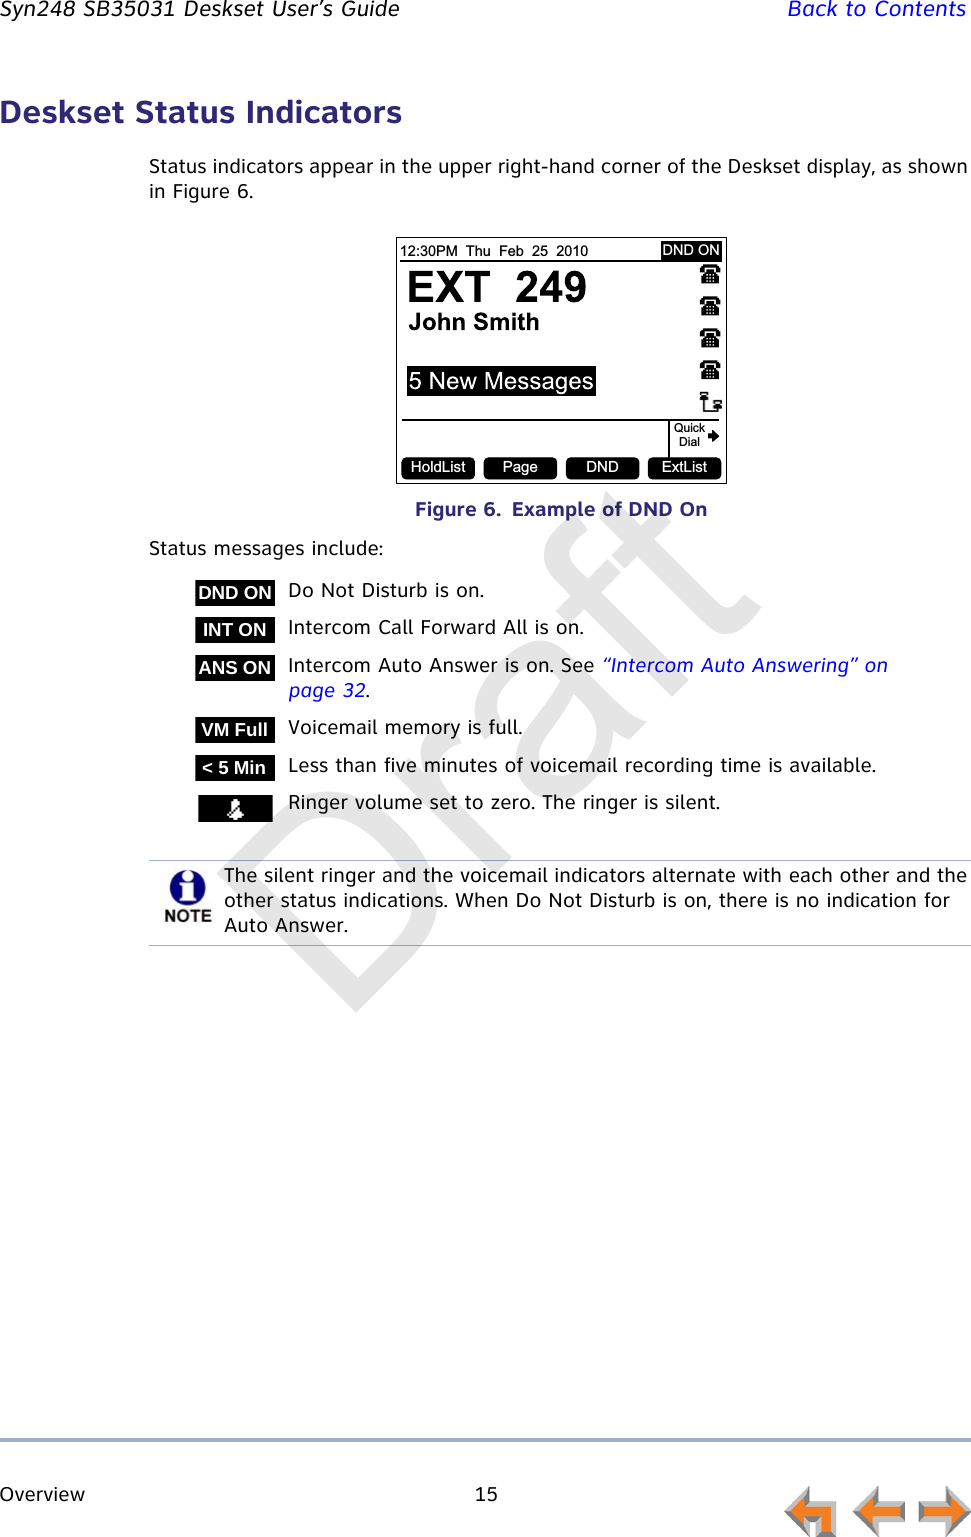
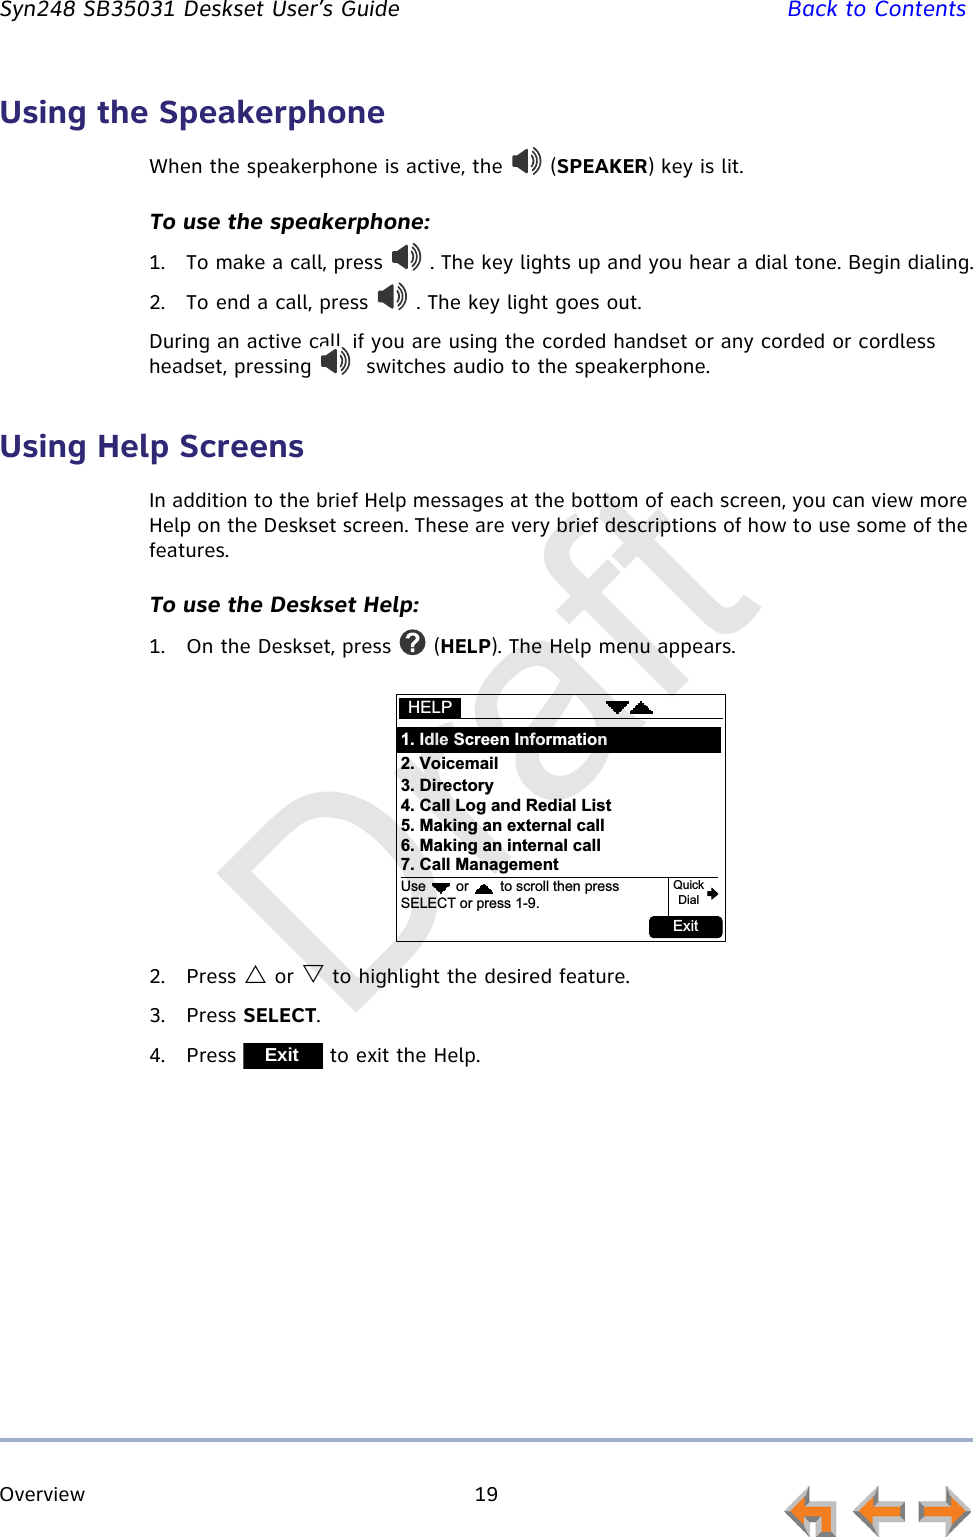
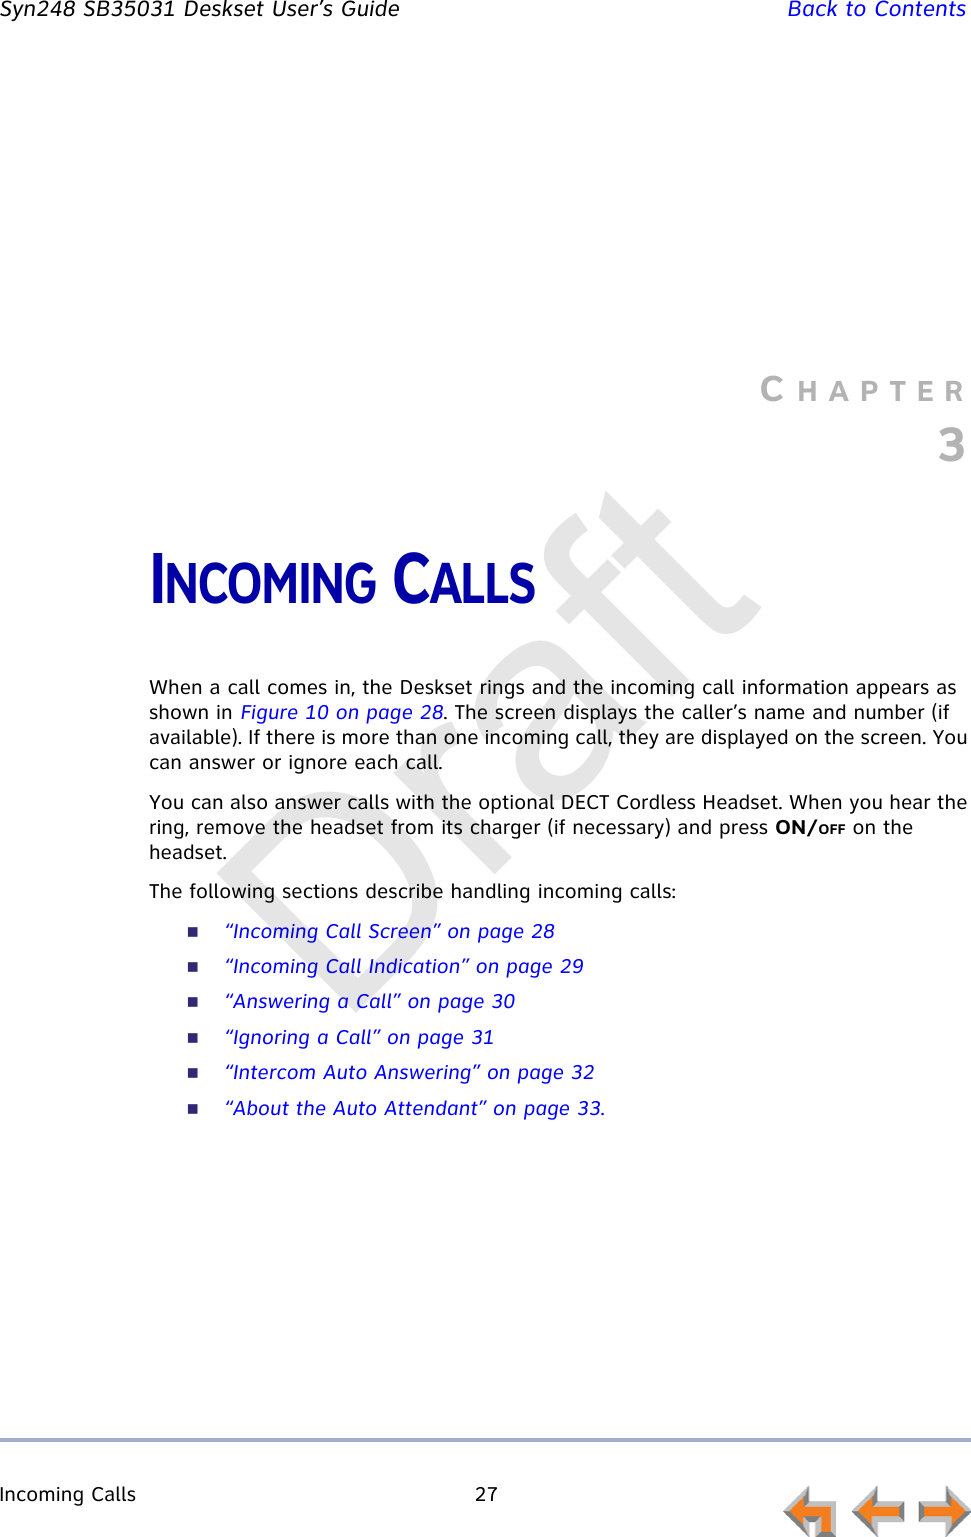
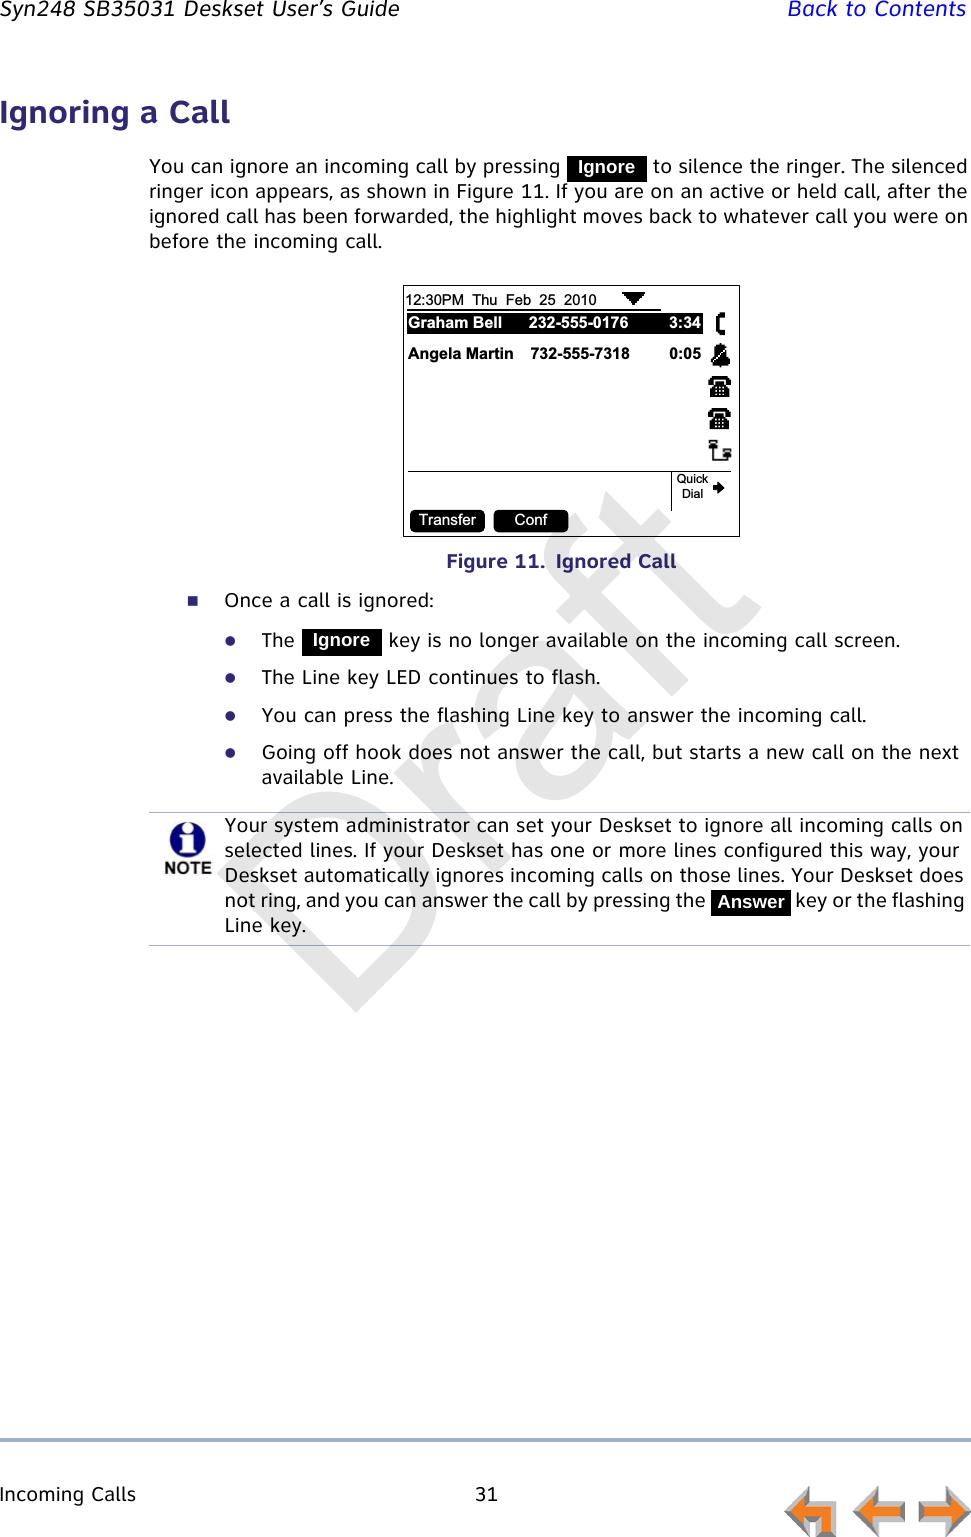
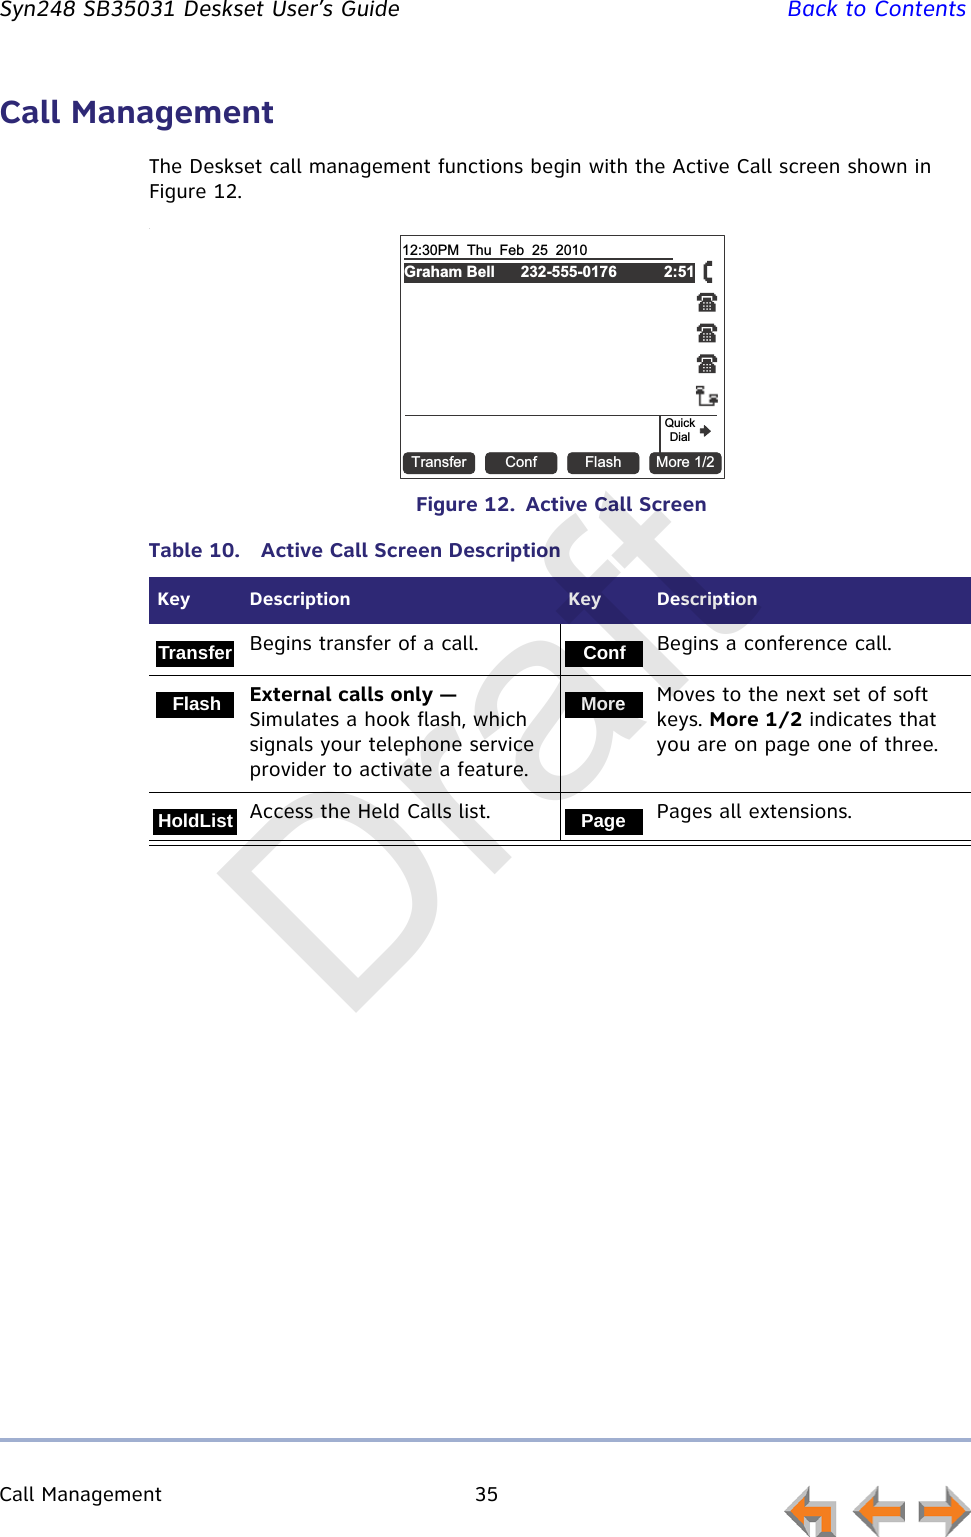
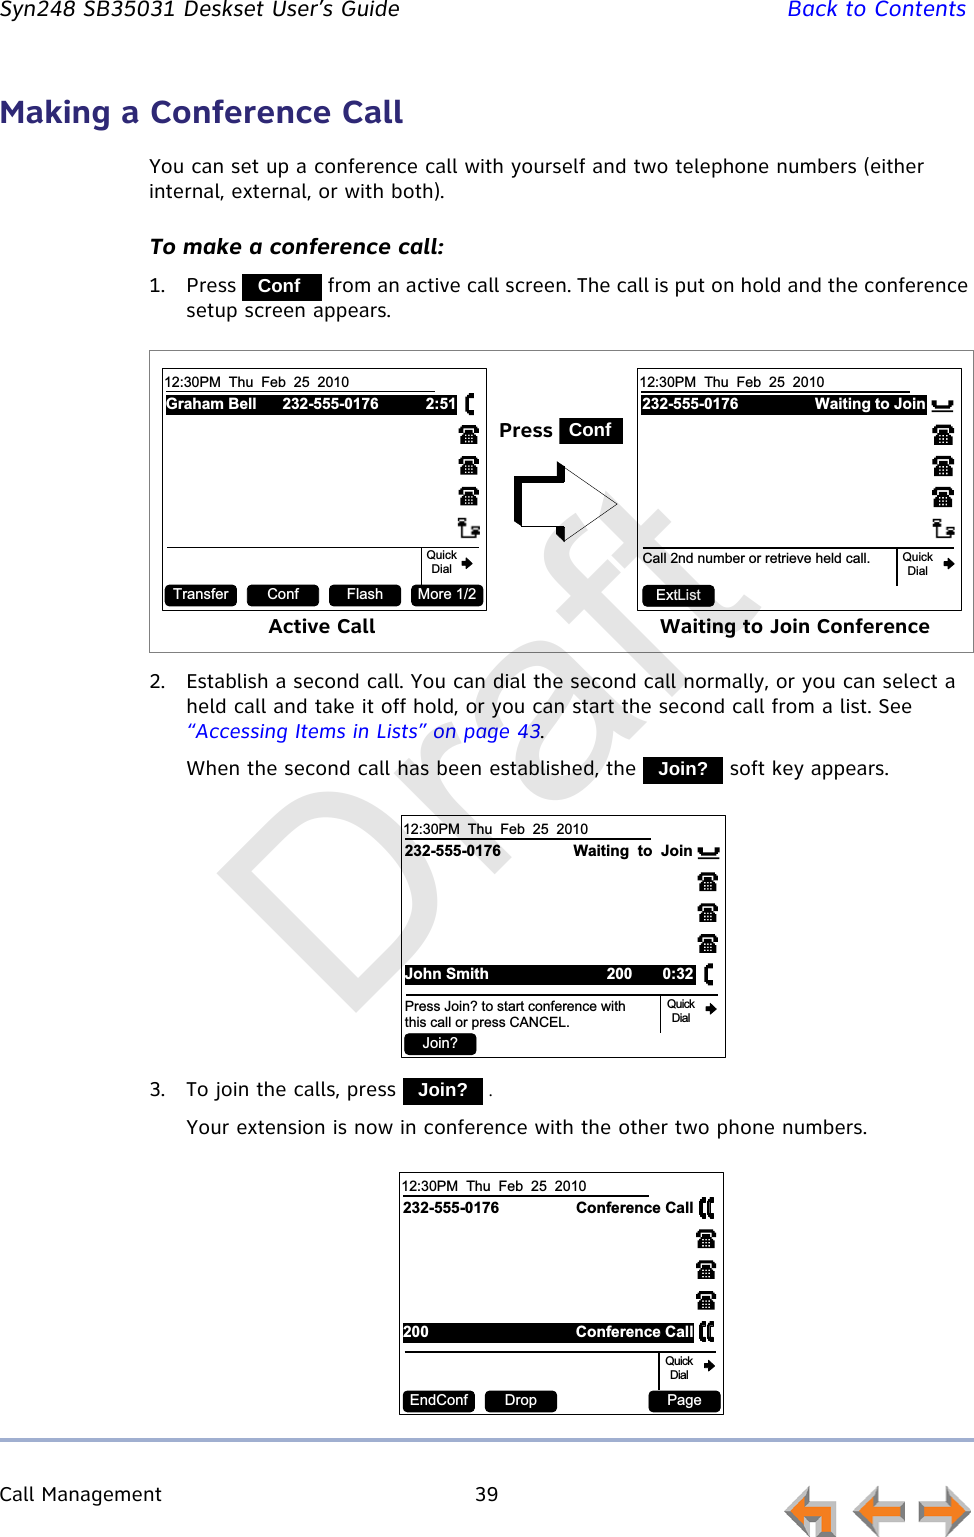
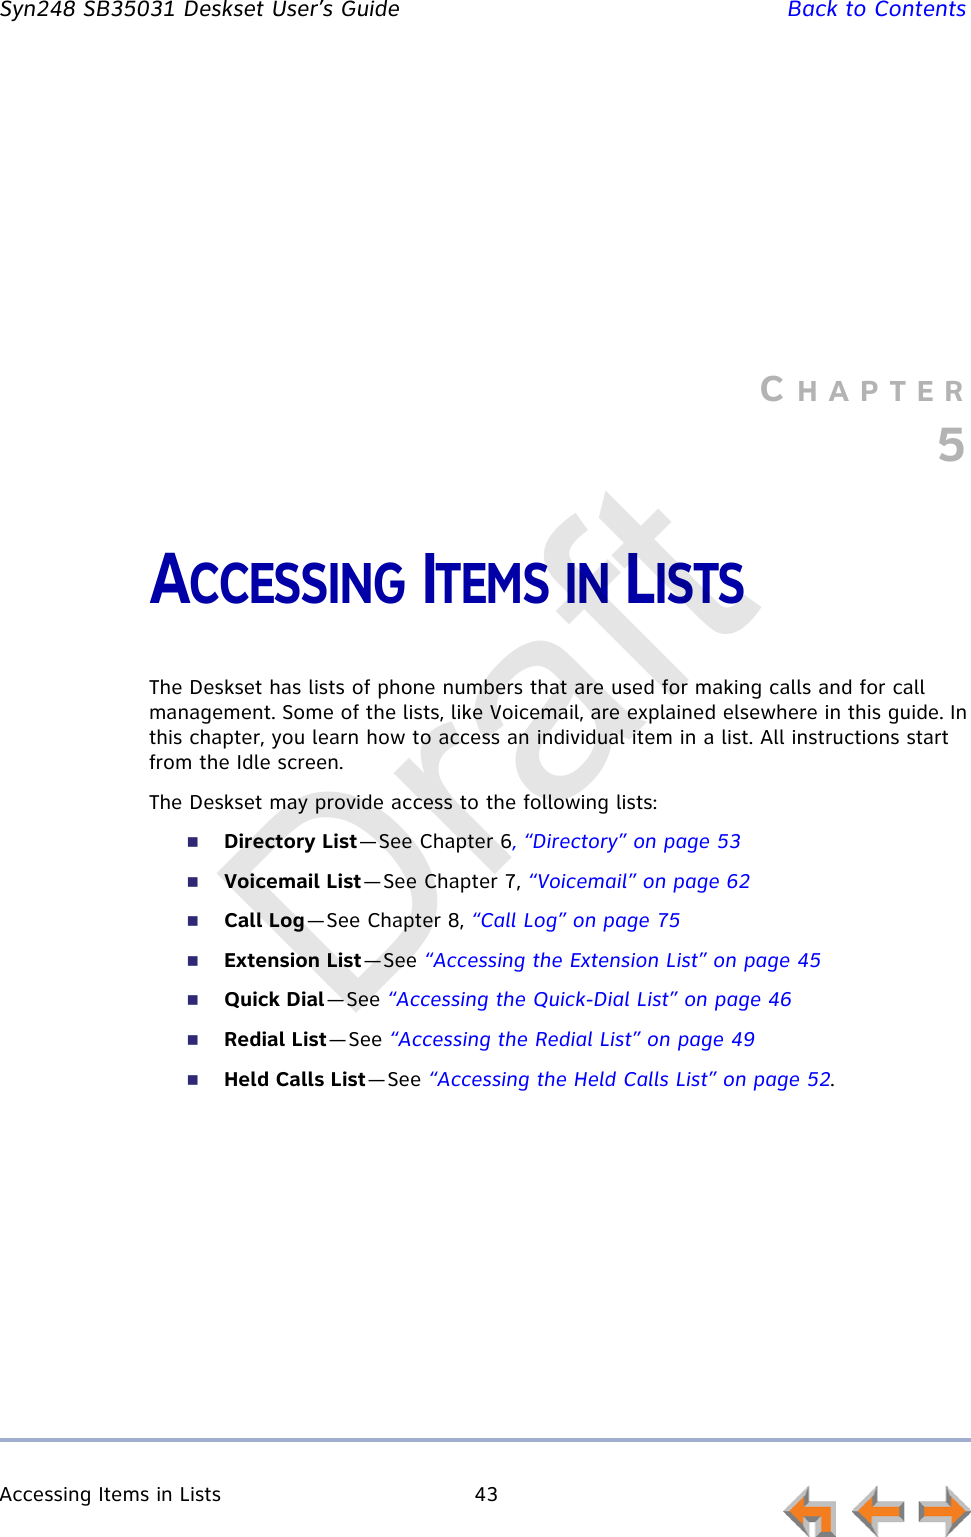

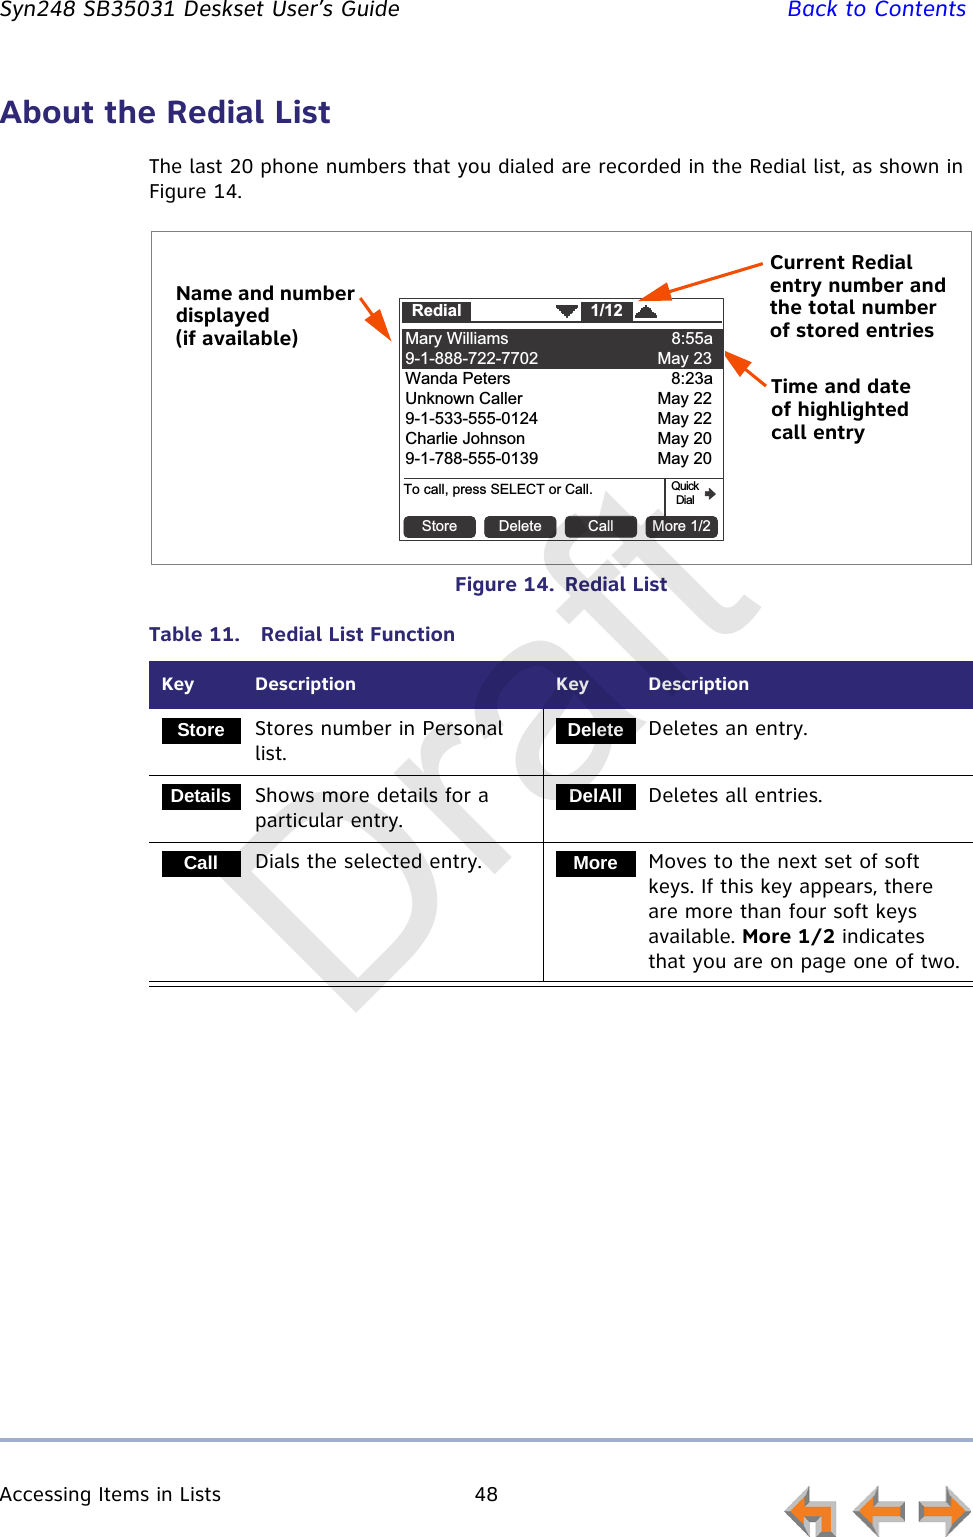
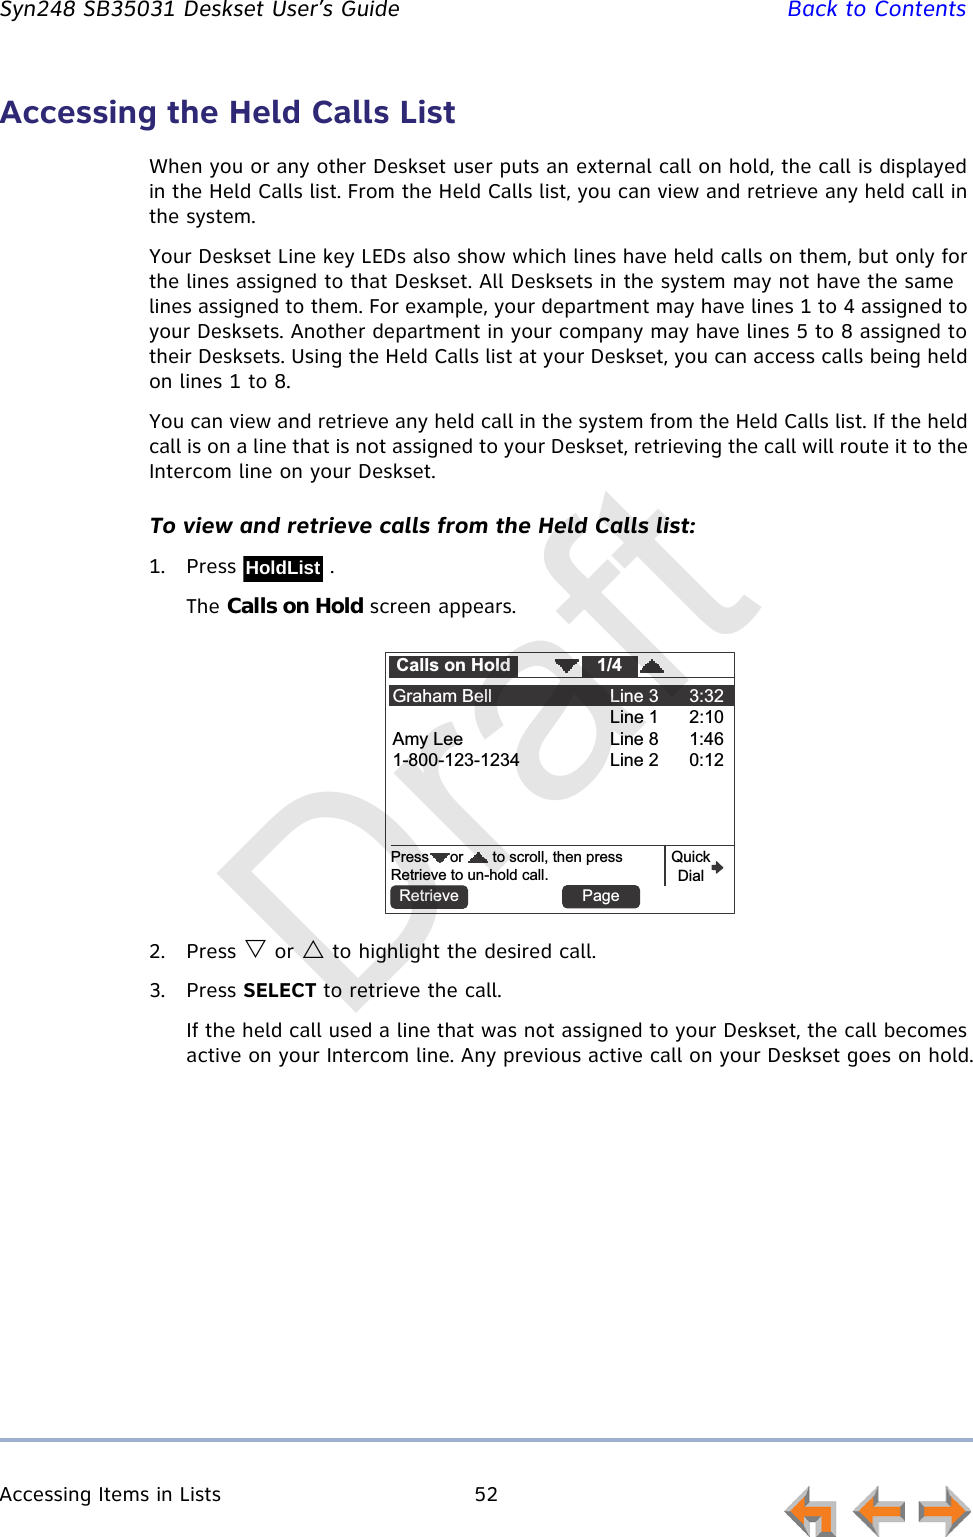
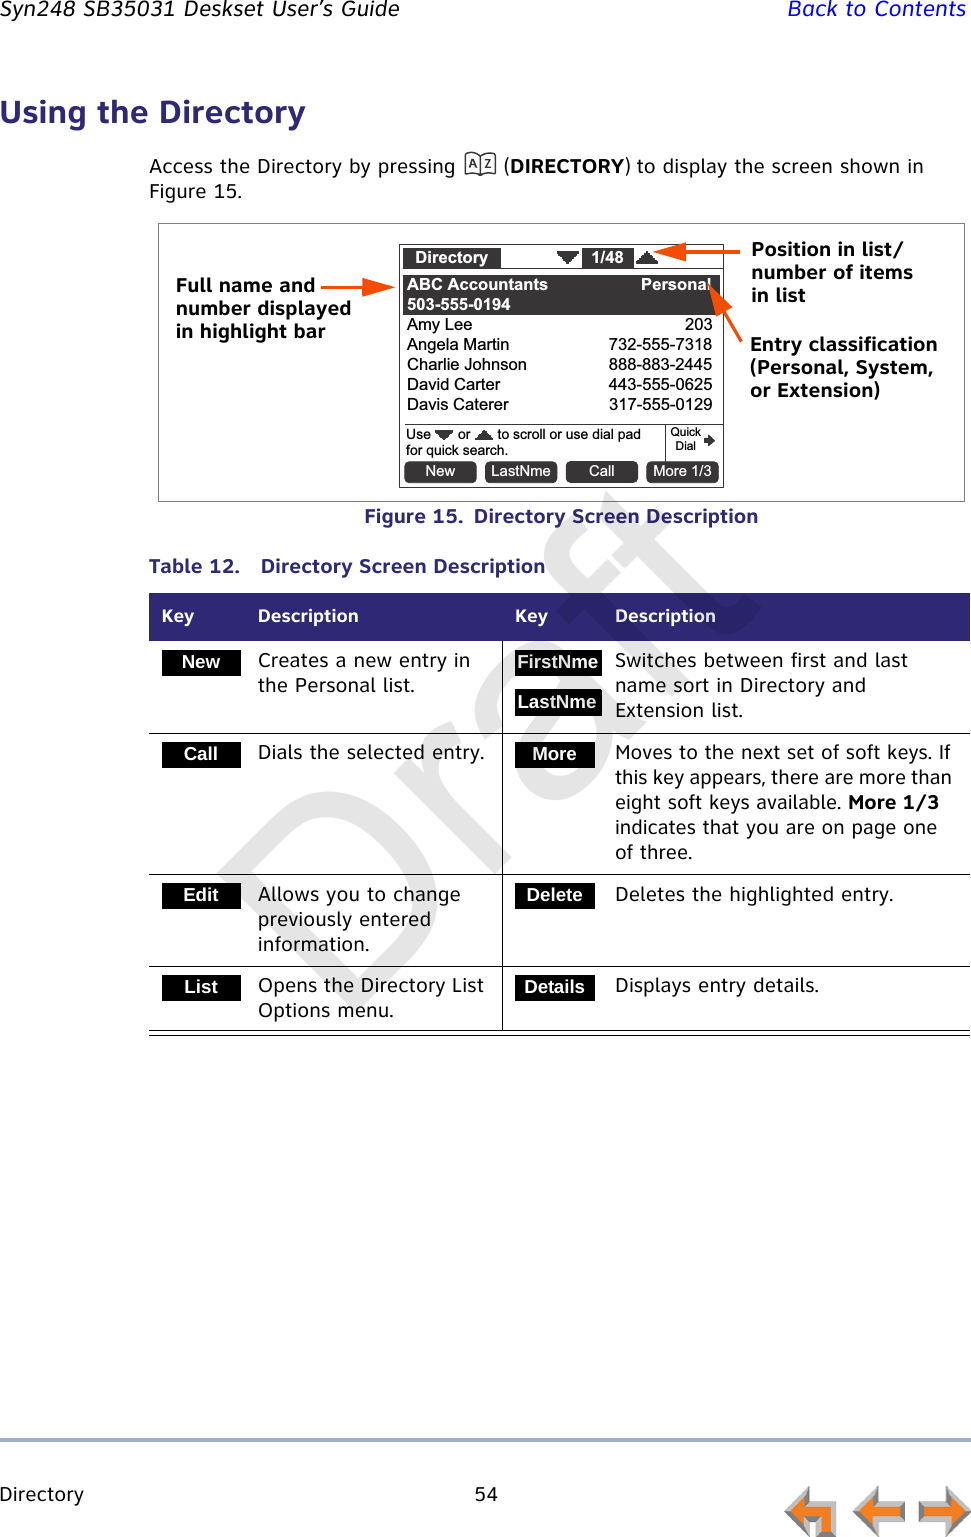
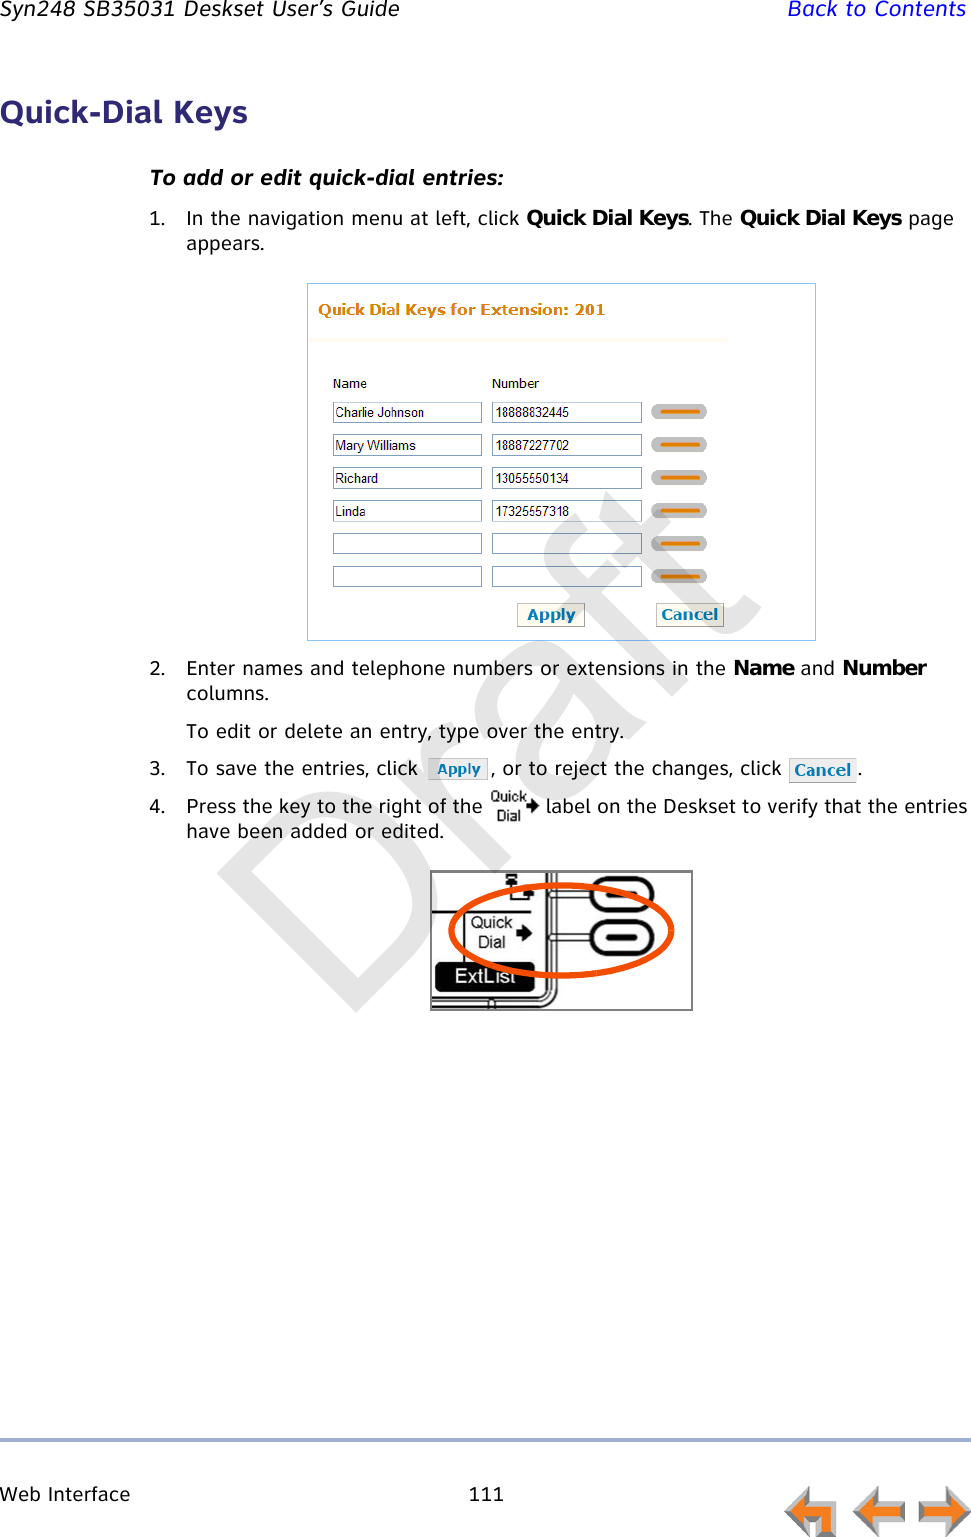
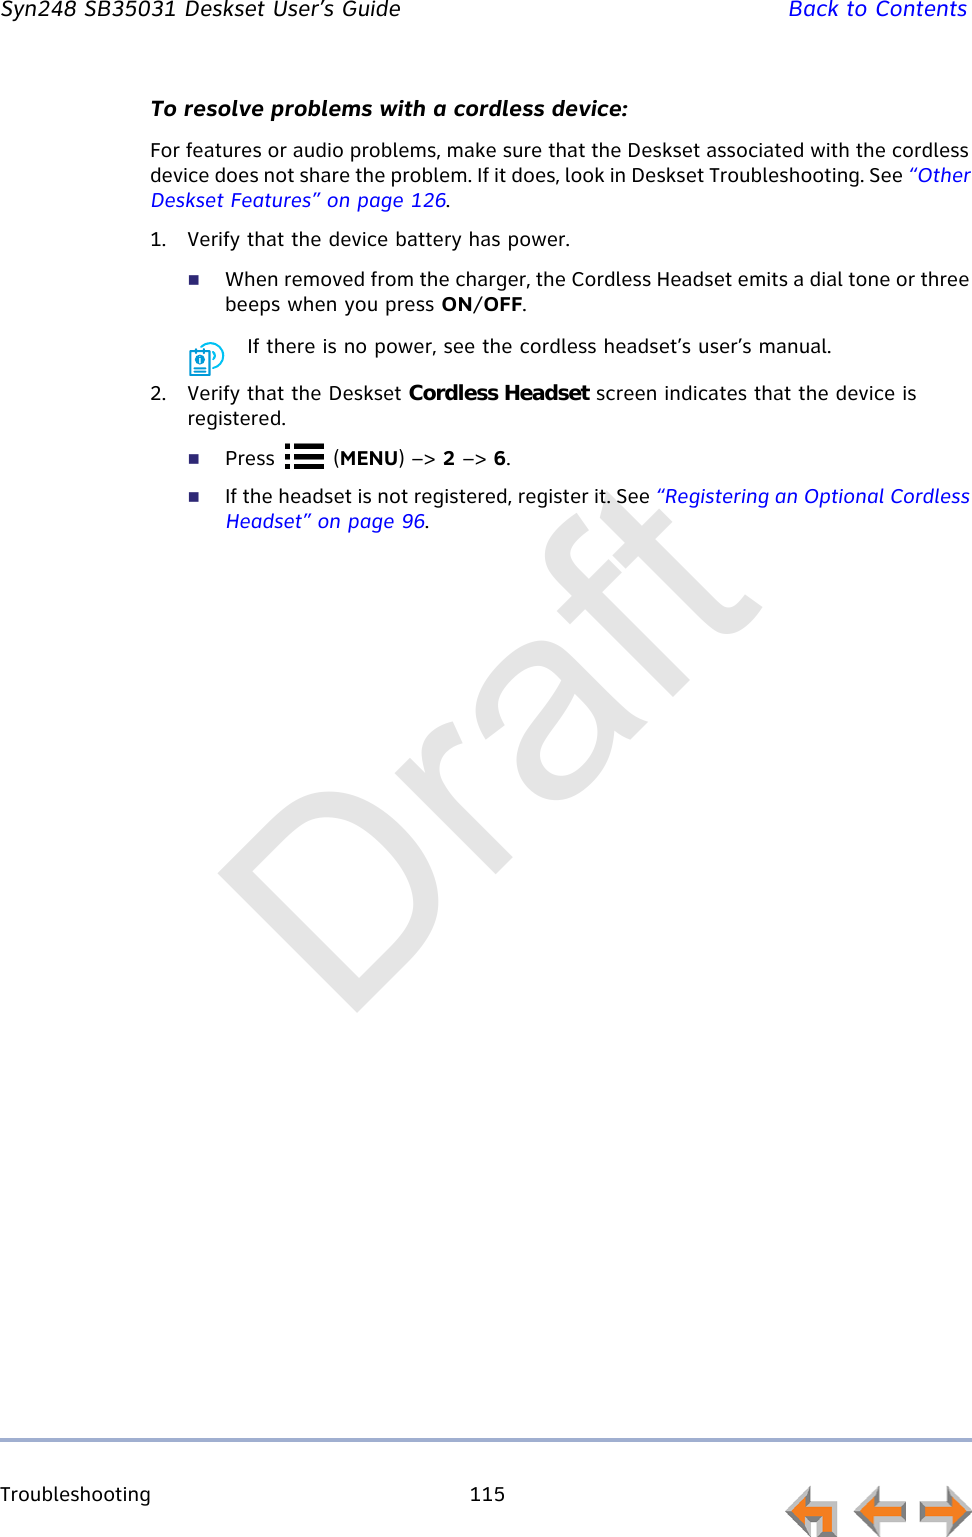
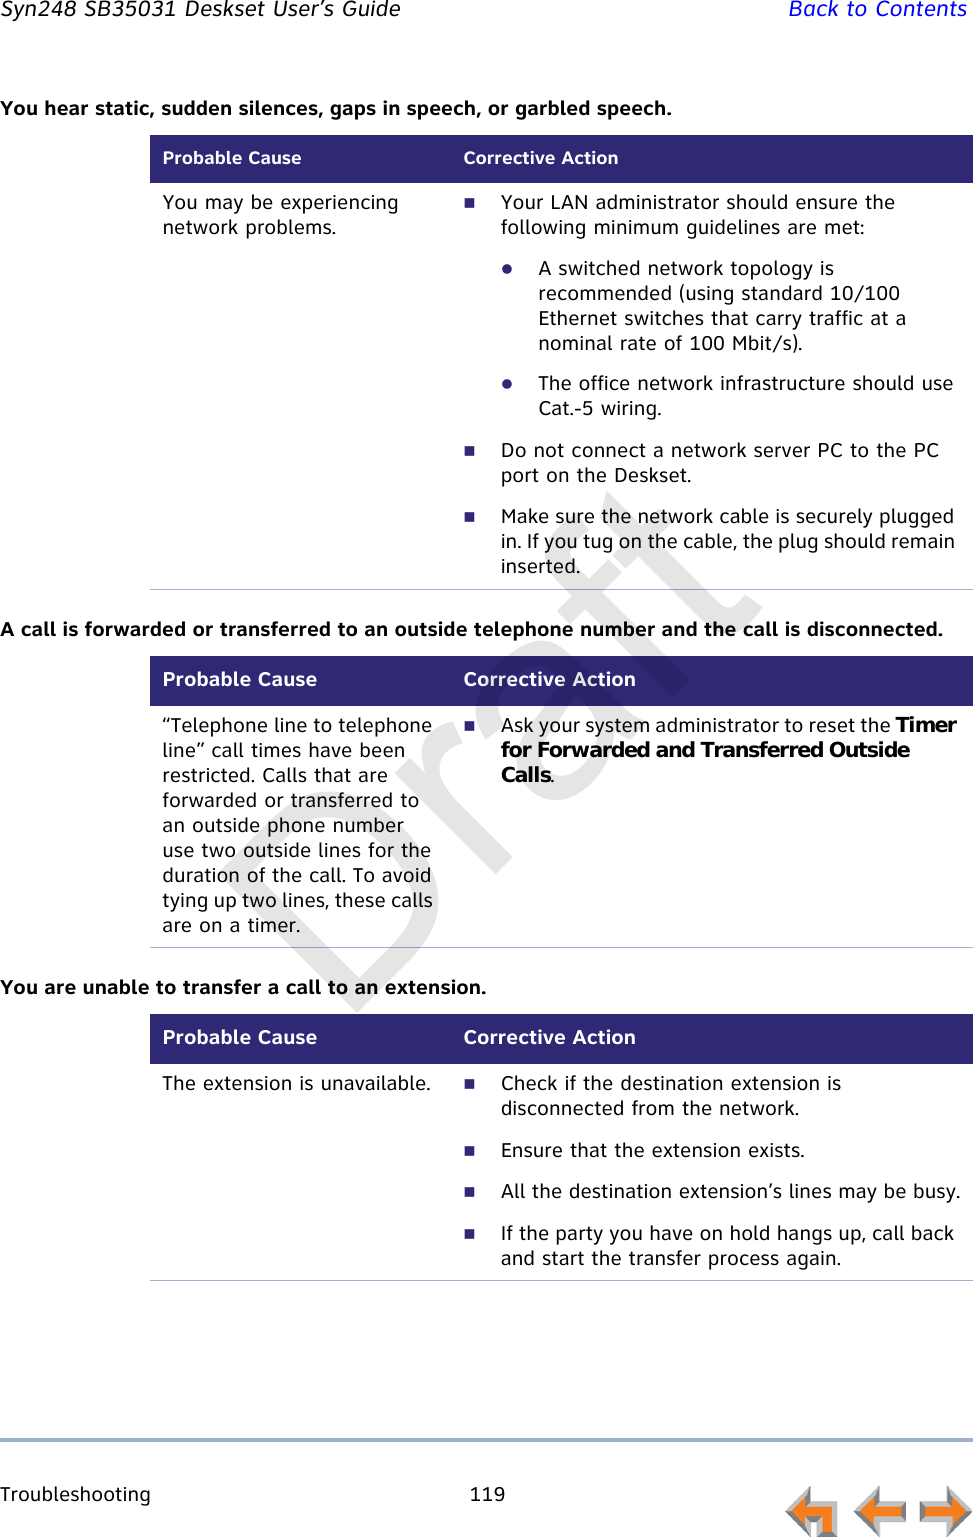
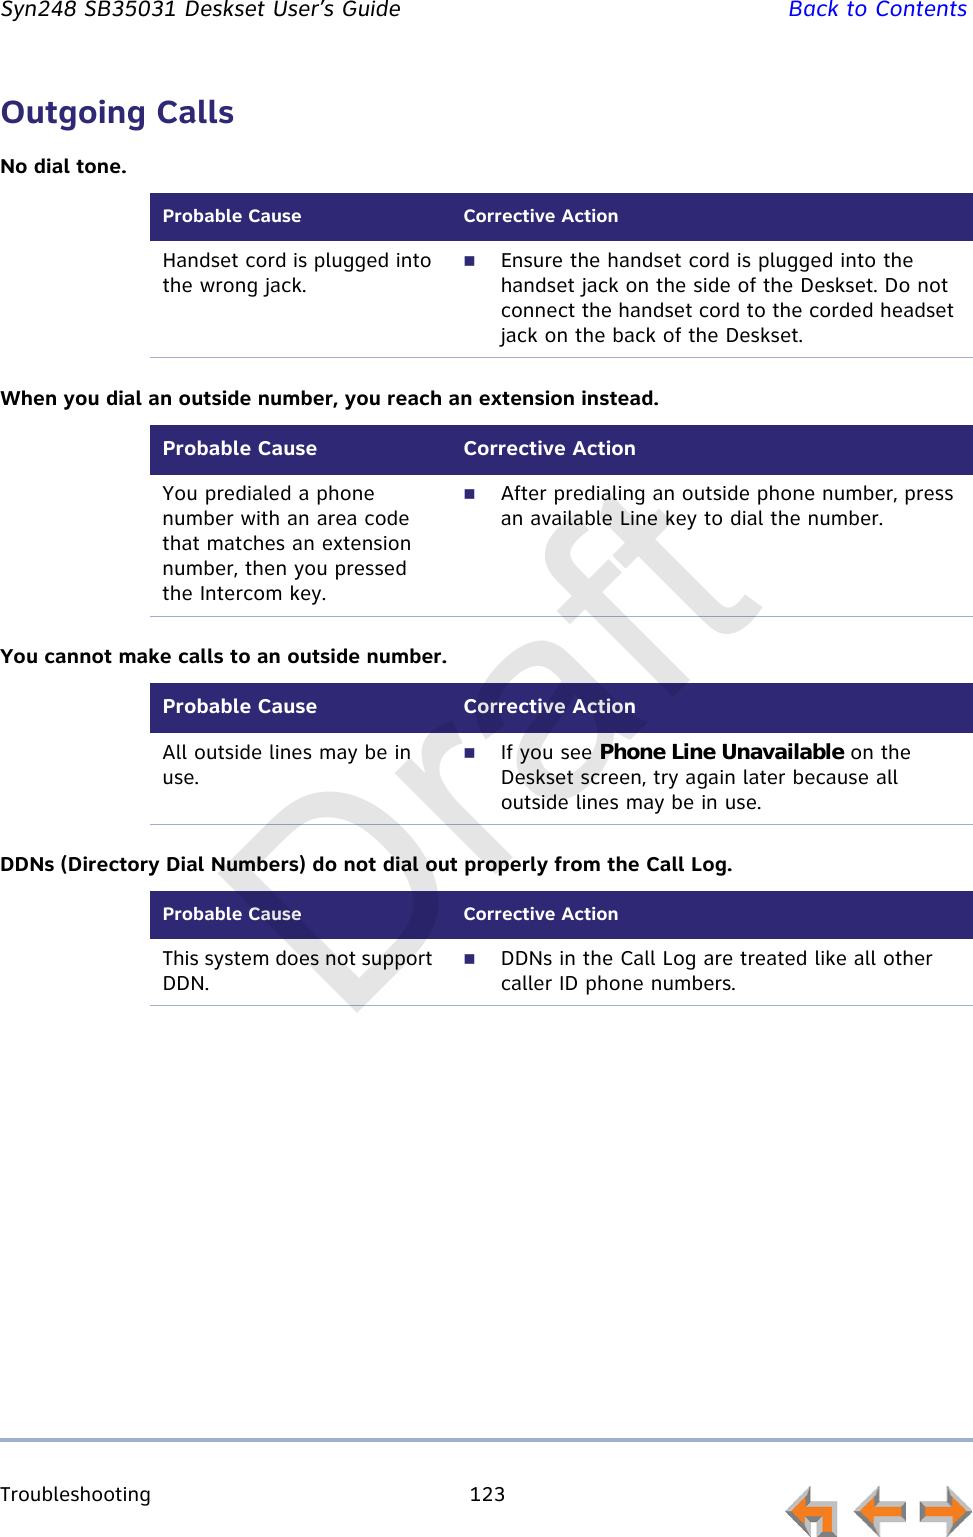
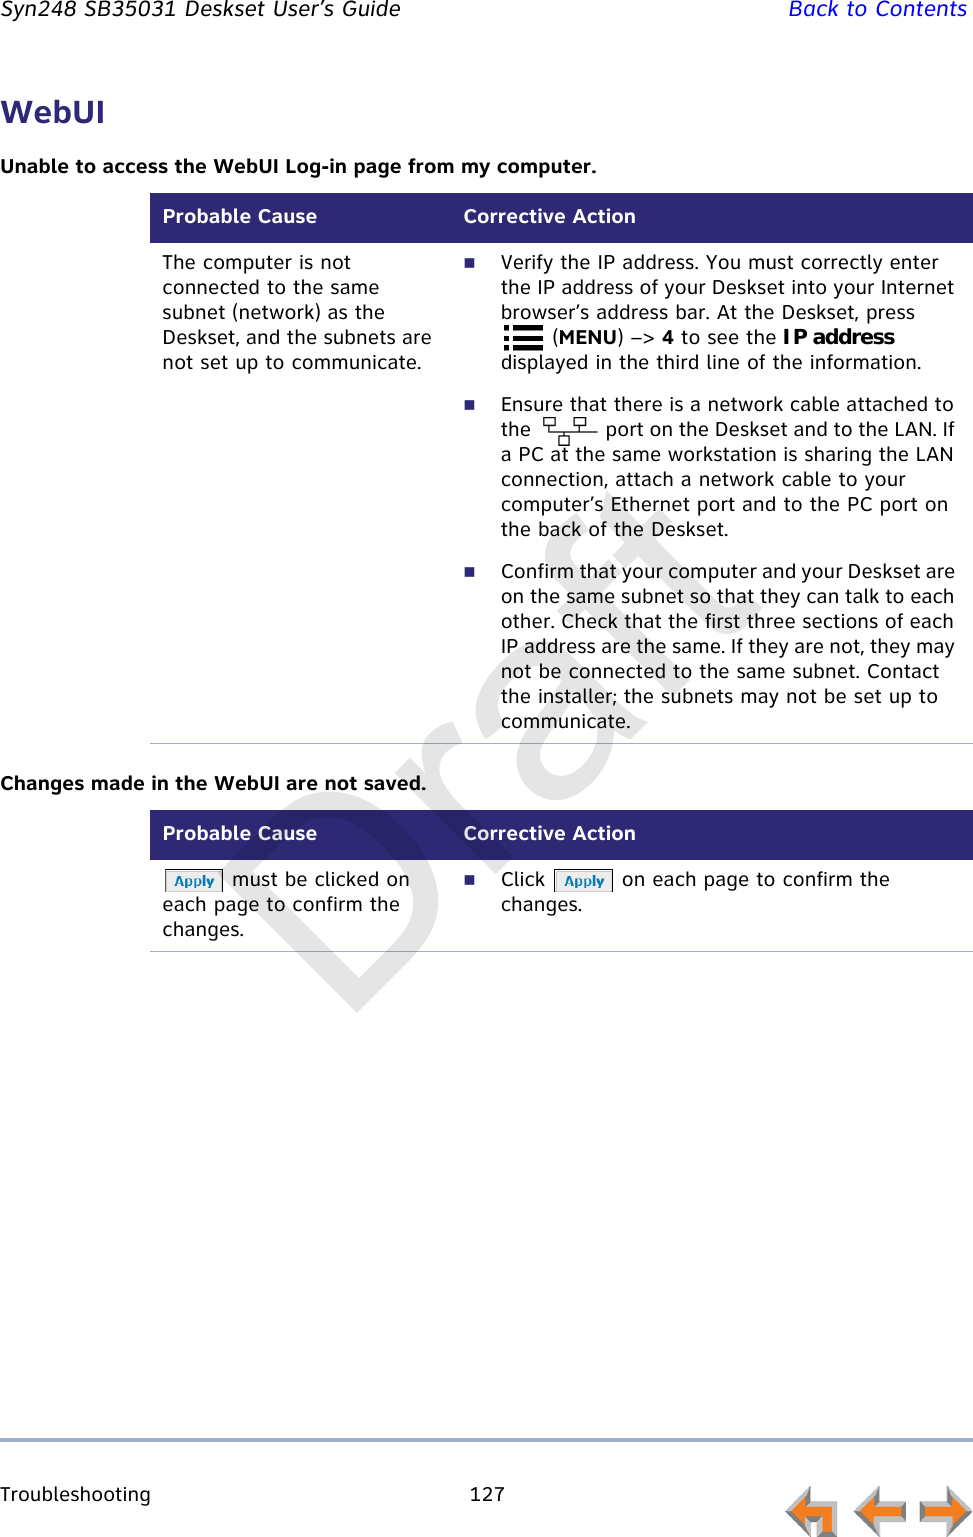
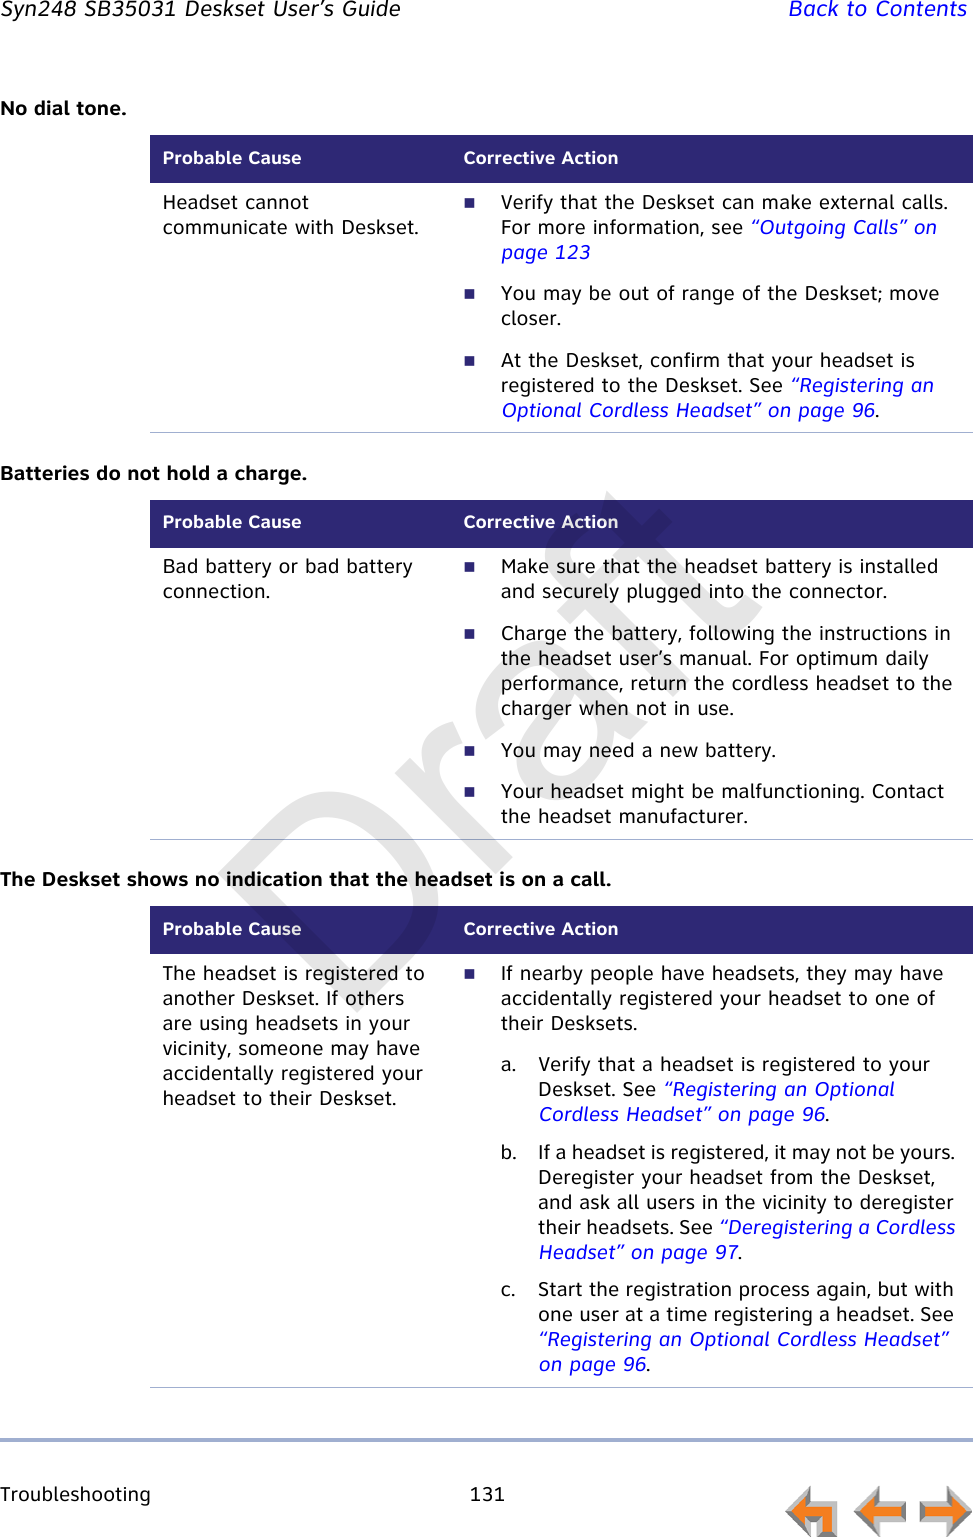
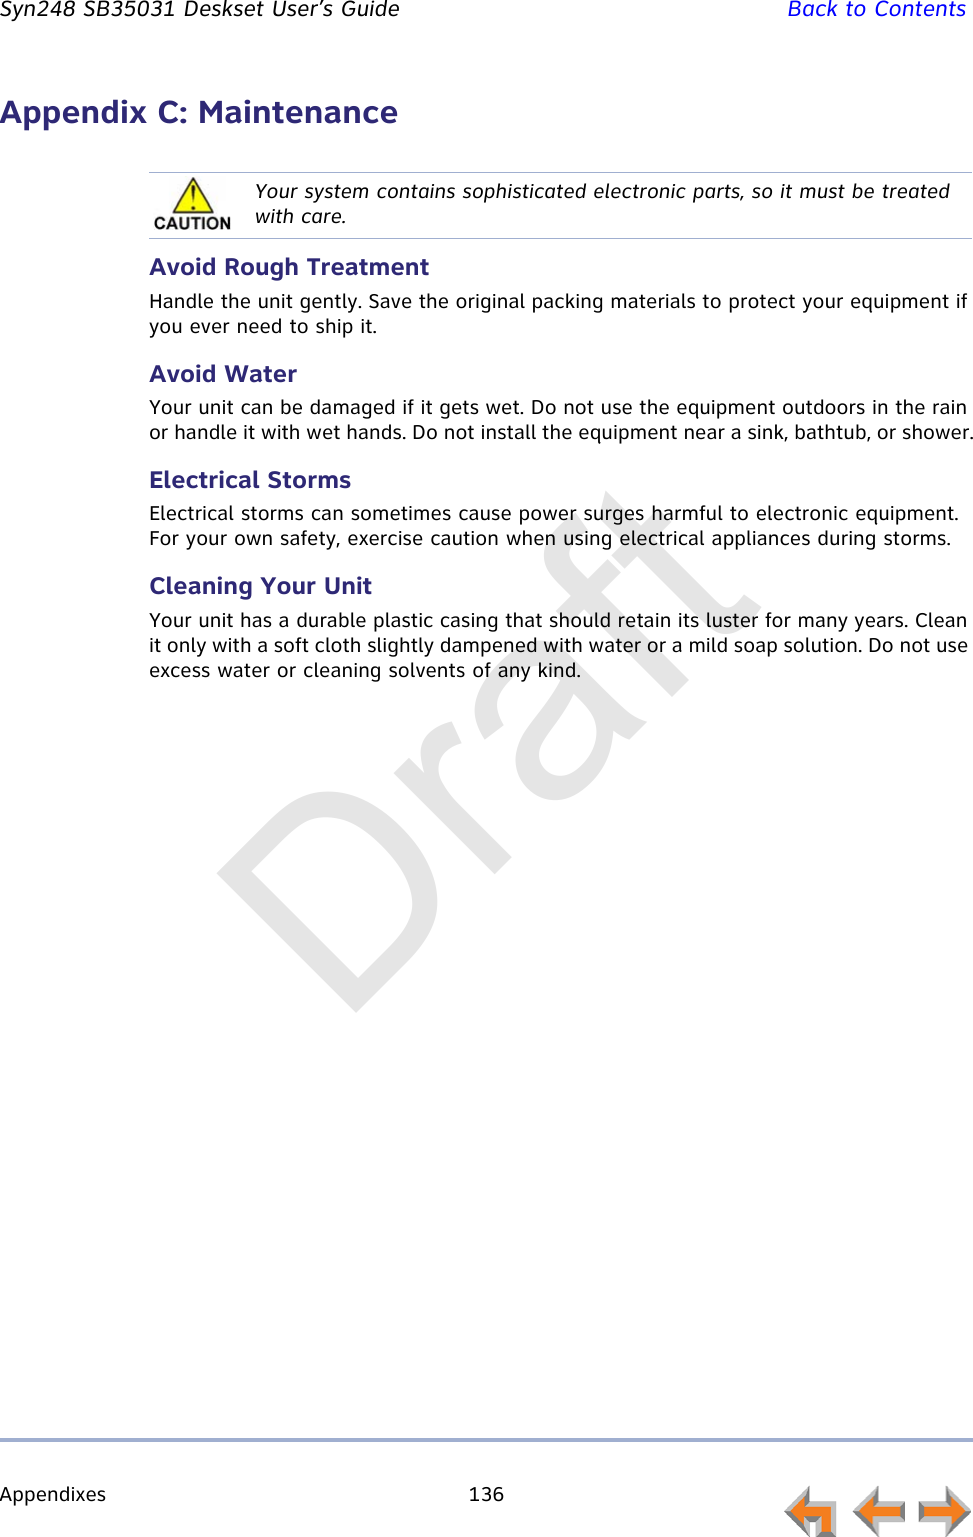
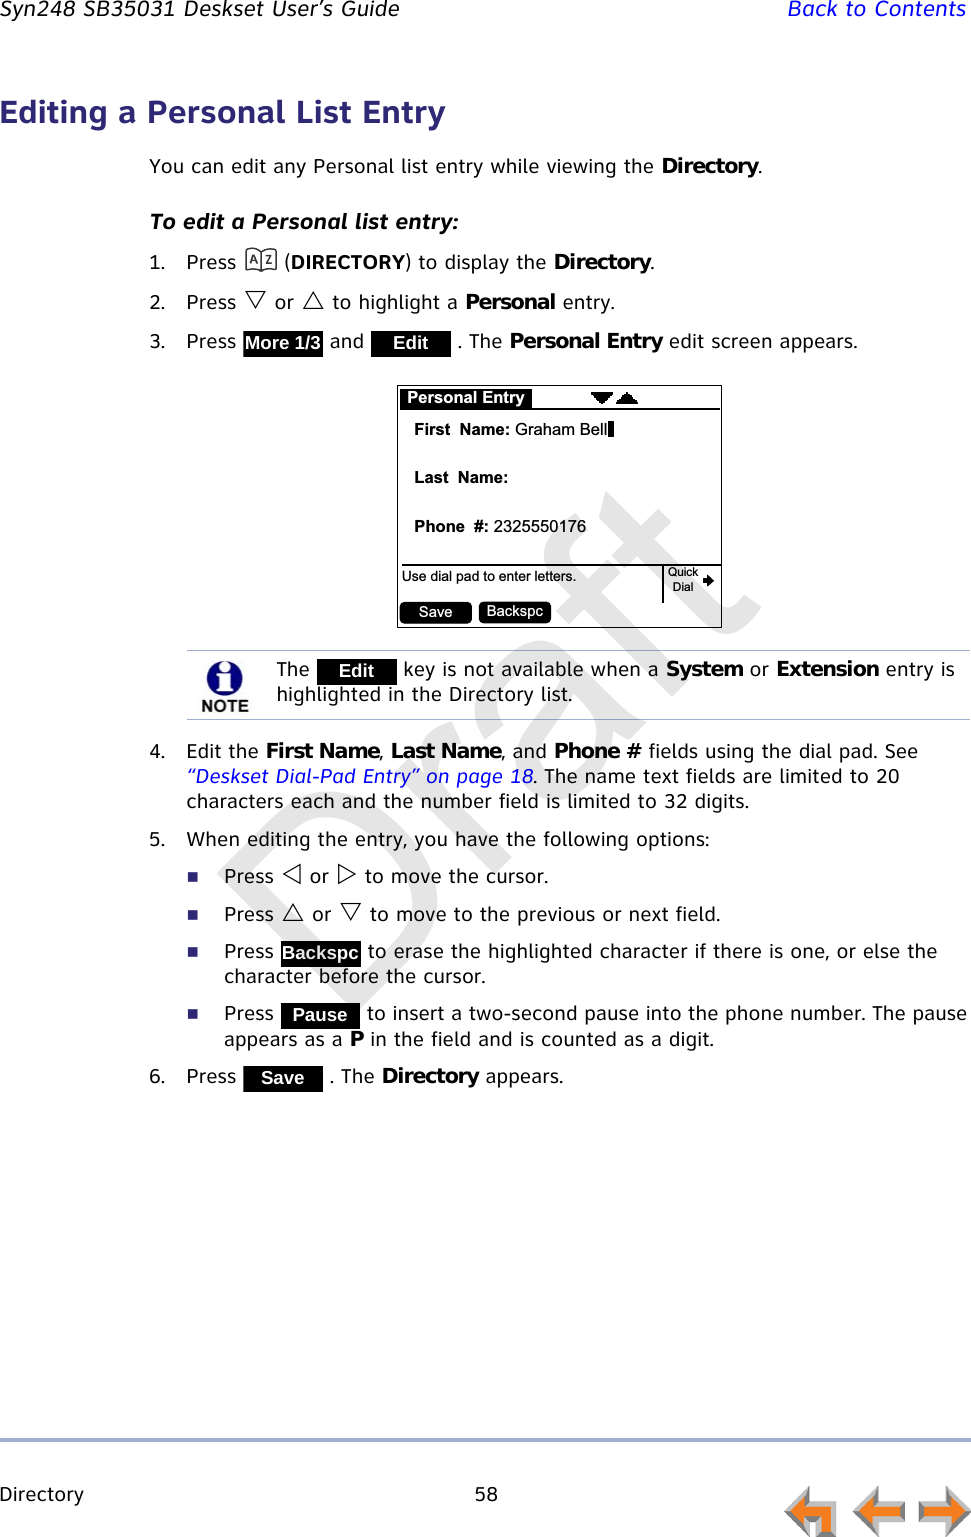
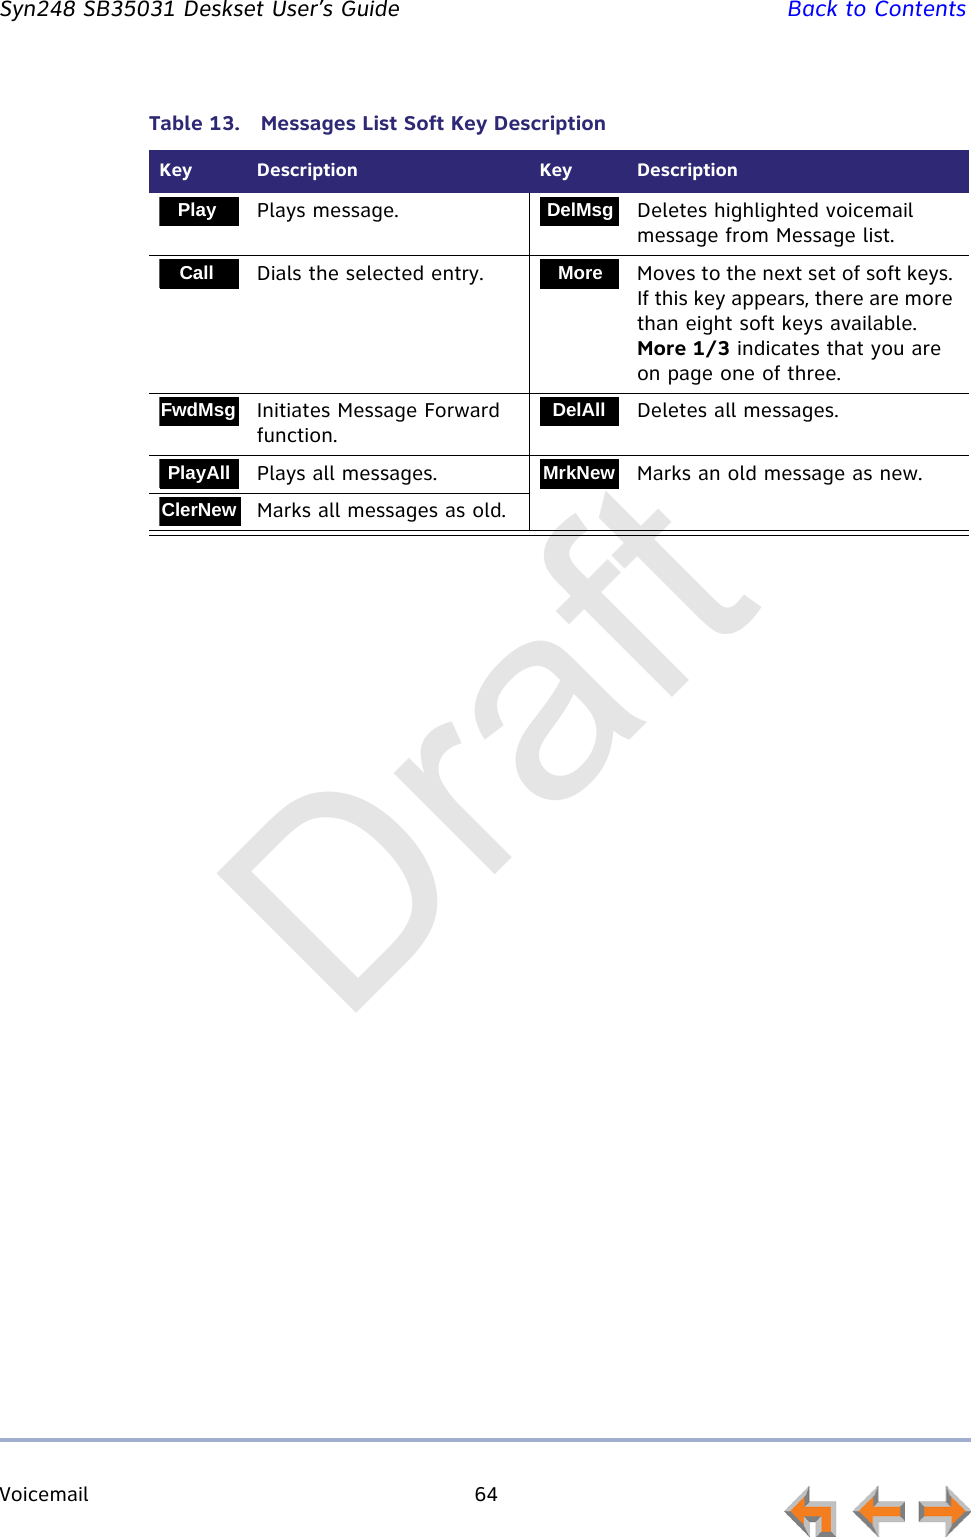
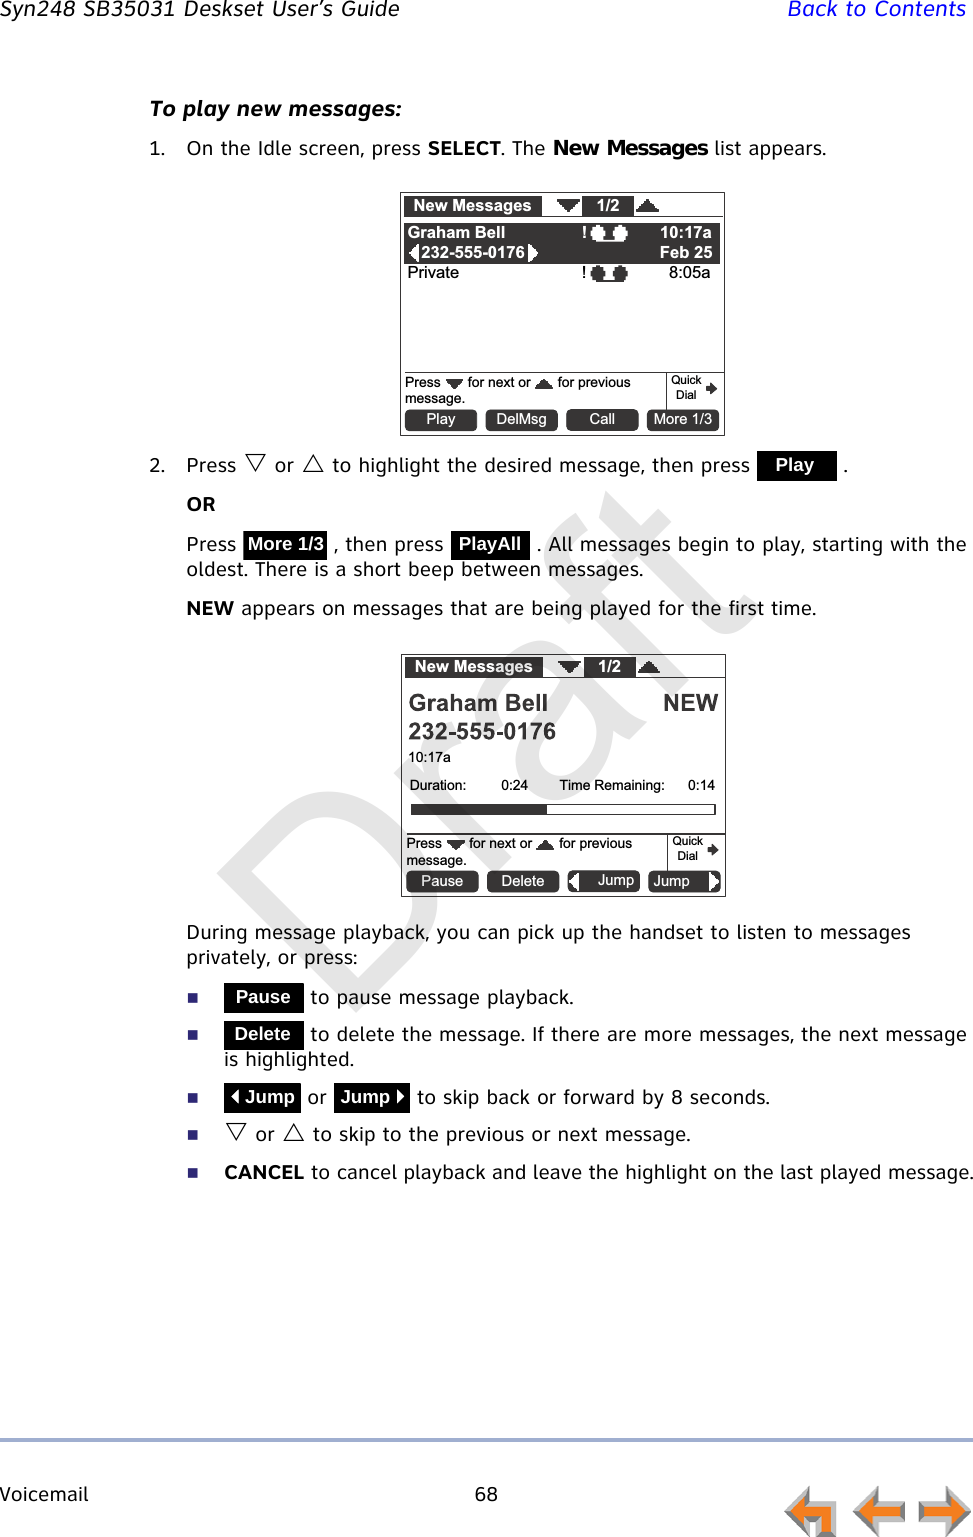
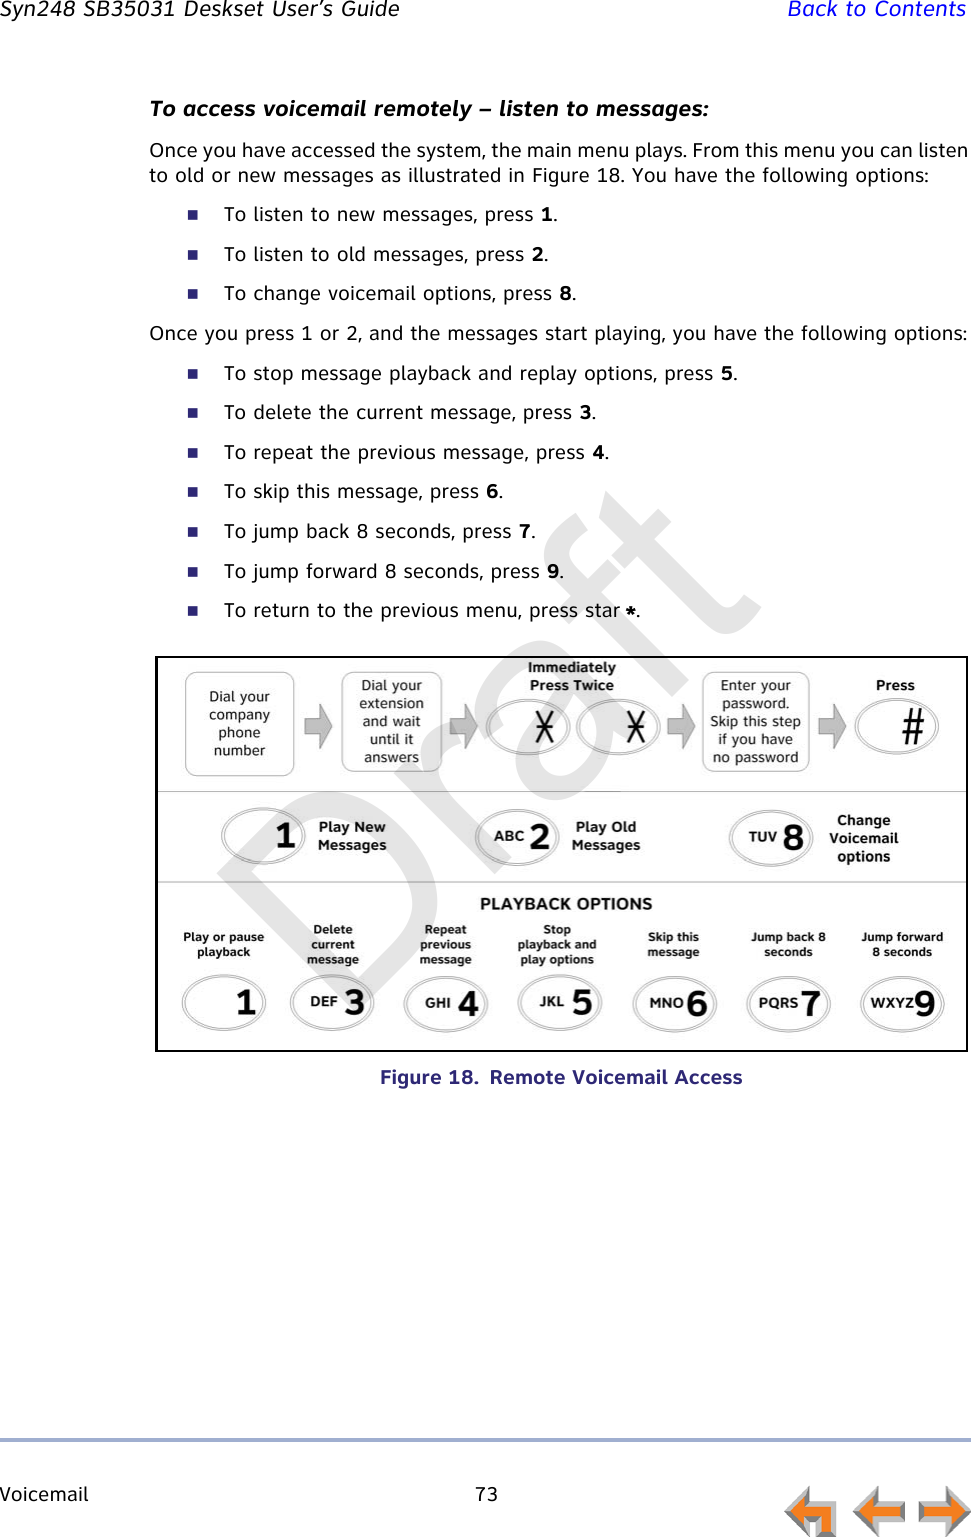
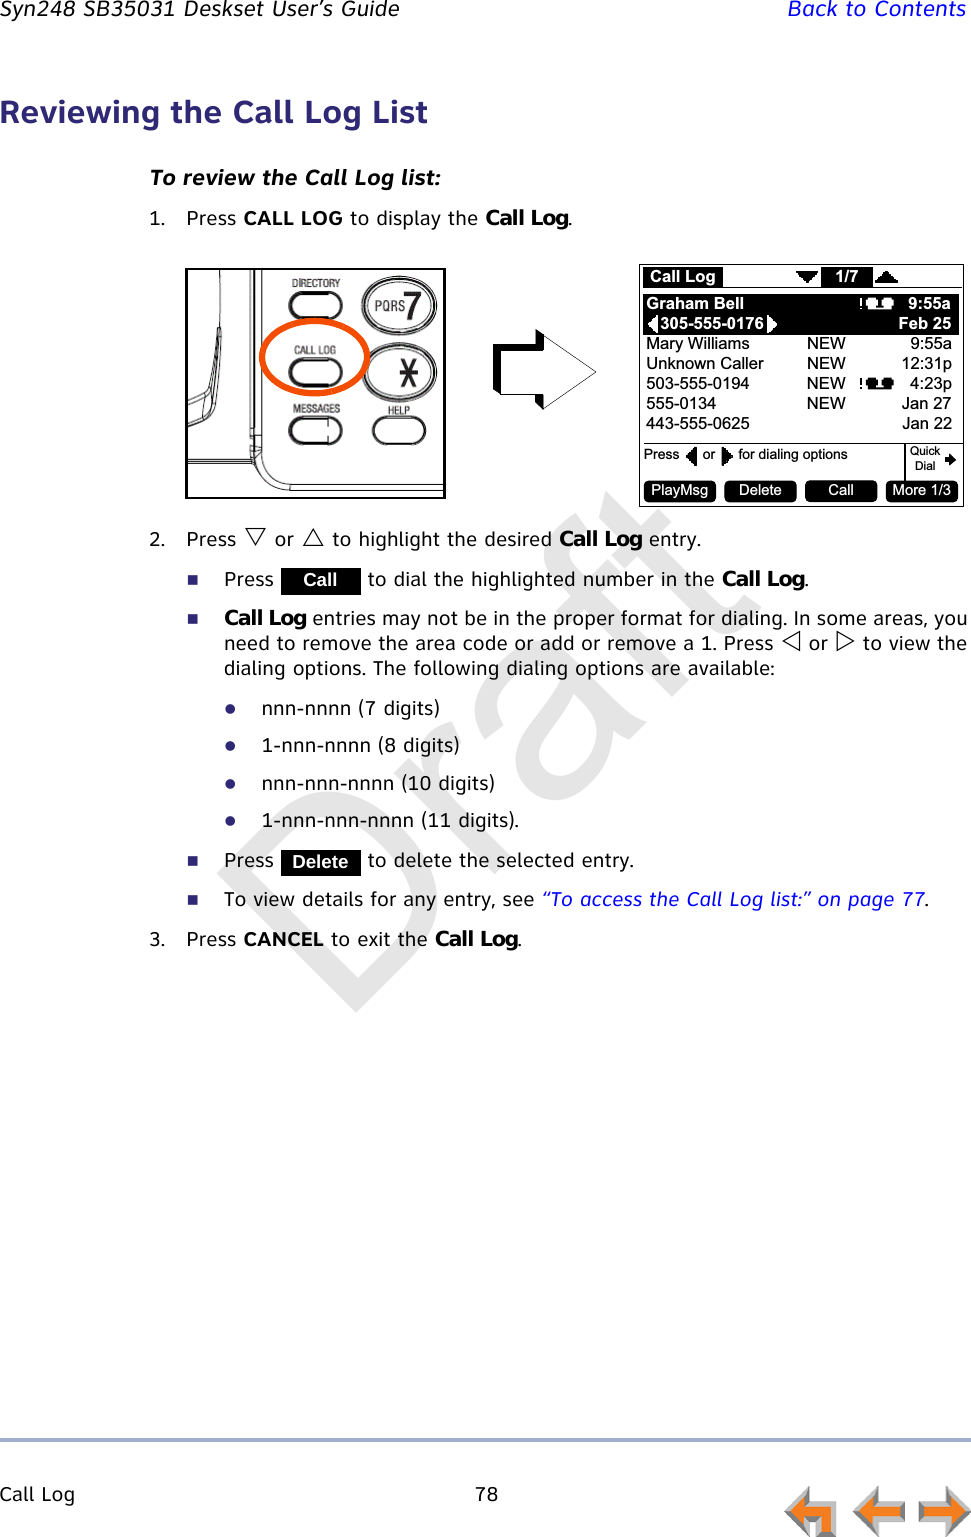
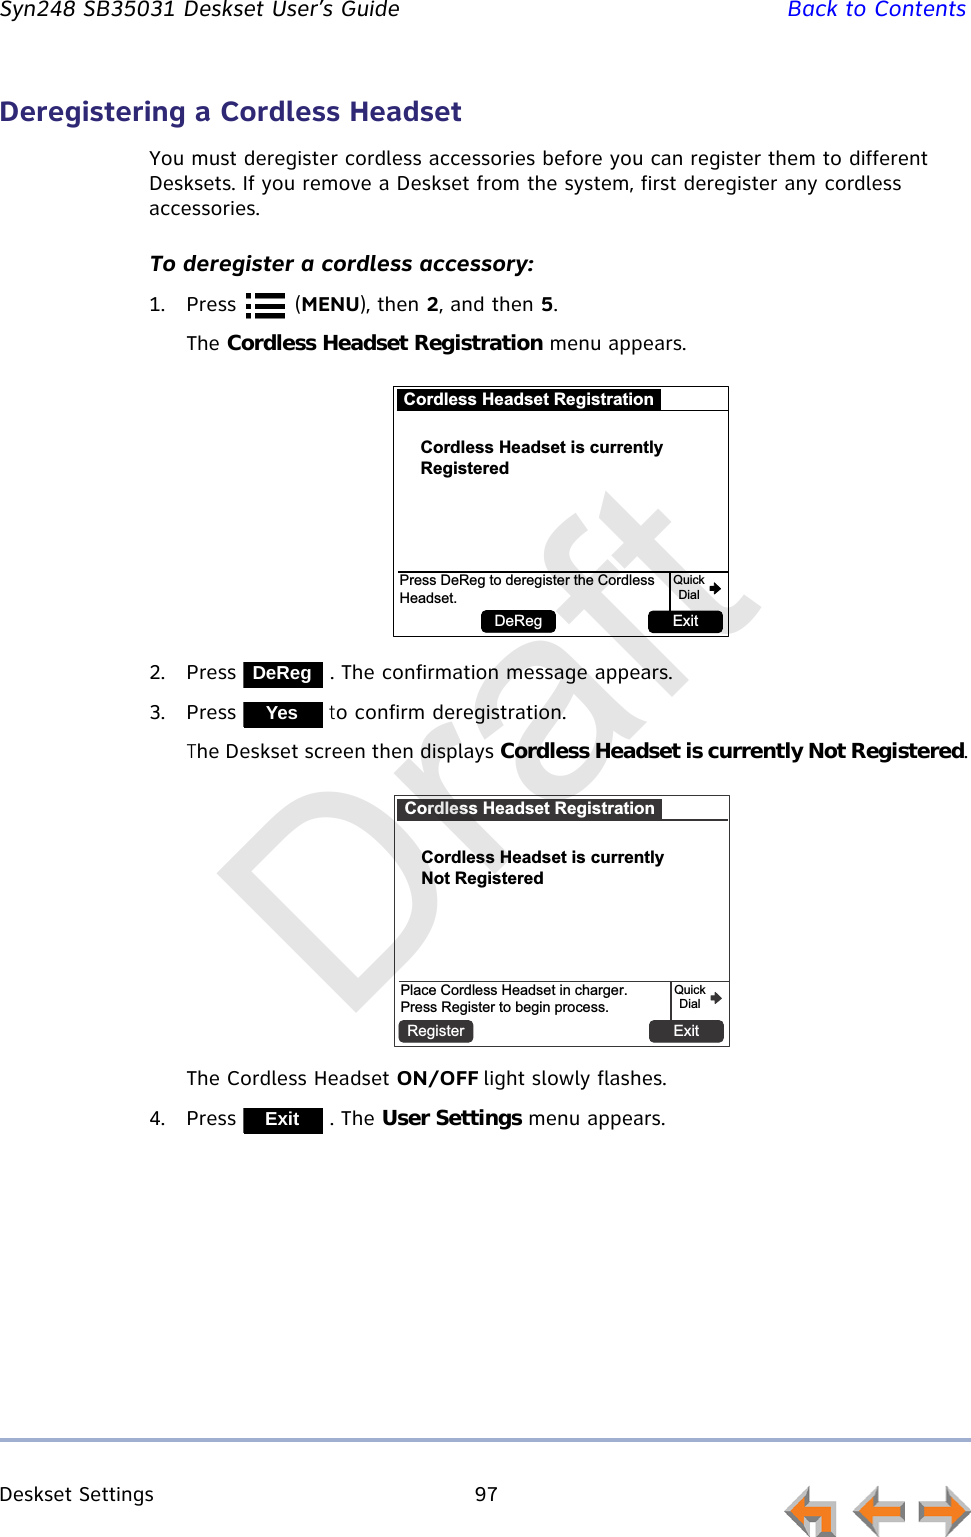
![Directory 55 Syn248 SB35031 Deskset User’s Guide Back to ContentsViewing Directory EntriesYou can view all Directory entries in one list, or you can view only the Personal list, System list, or Extension list. Within a list, you can press a dial-pad key to see the first name that starts with the first letter on that key. If there is no match, the set displays the next entry in the alphabetical list.To view and call Directory entries:1. Press (DIRECTORY). The Directory list appears. 2. Press or to highlight the desired entry.3. If necessary, press until appears, then press to see names and numbers that are too long to be displayed on the Directory list.4. Press to dial the displayed phone number.DirectoryABC Accountants Personal503-555-0194Amy Lee 203Angela Martin 732-555-7318Charlie Johnson 888-883-2445David Carter 443-555-0625Davis Caterer 317-555-0129Call1/48LastNmeQuickDialNew More 1/3Use or to scroll or use dial pad for quick search.MoreDetailsDetailsDirectoryABC Accountants503-555-0194[Personal]To call, press SELECT or Call.1/48QuickDialCallDeleteEditCallDraft](https://usermanual.wiki/VTech-Telecommunications/80-9300-00/User-Guide-2072387-Page-55.png)
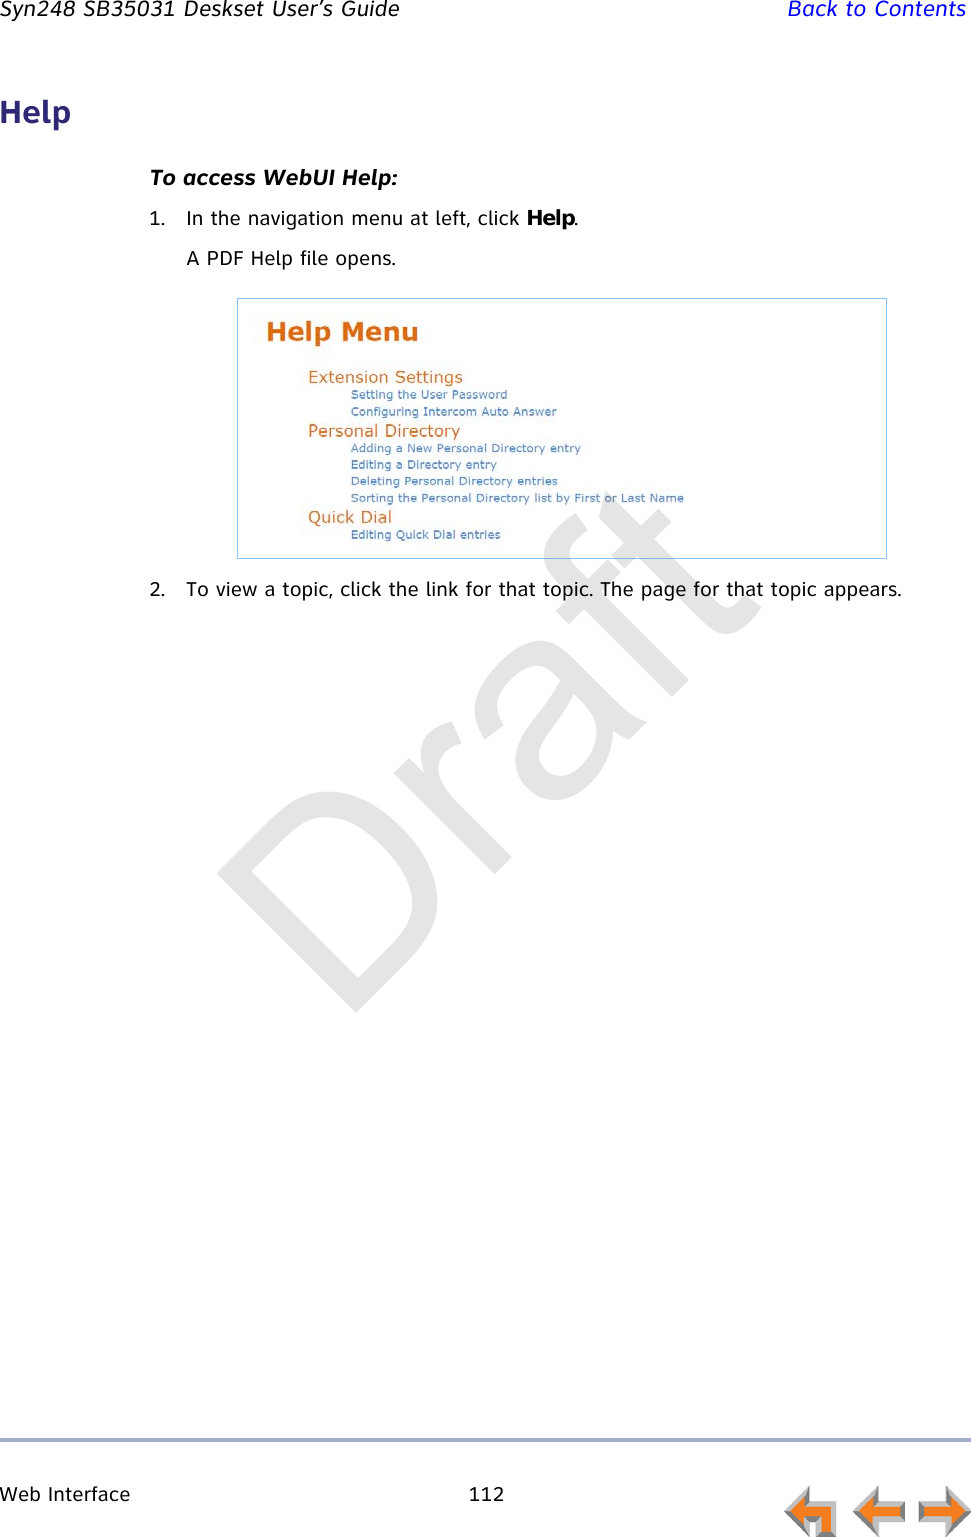
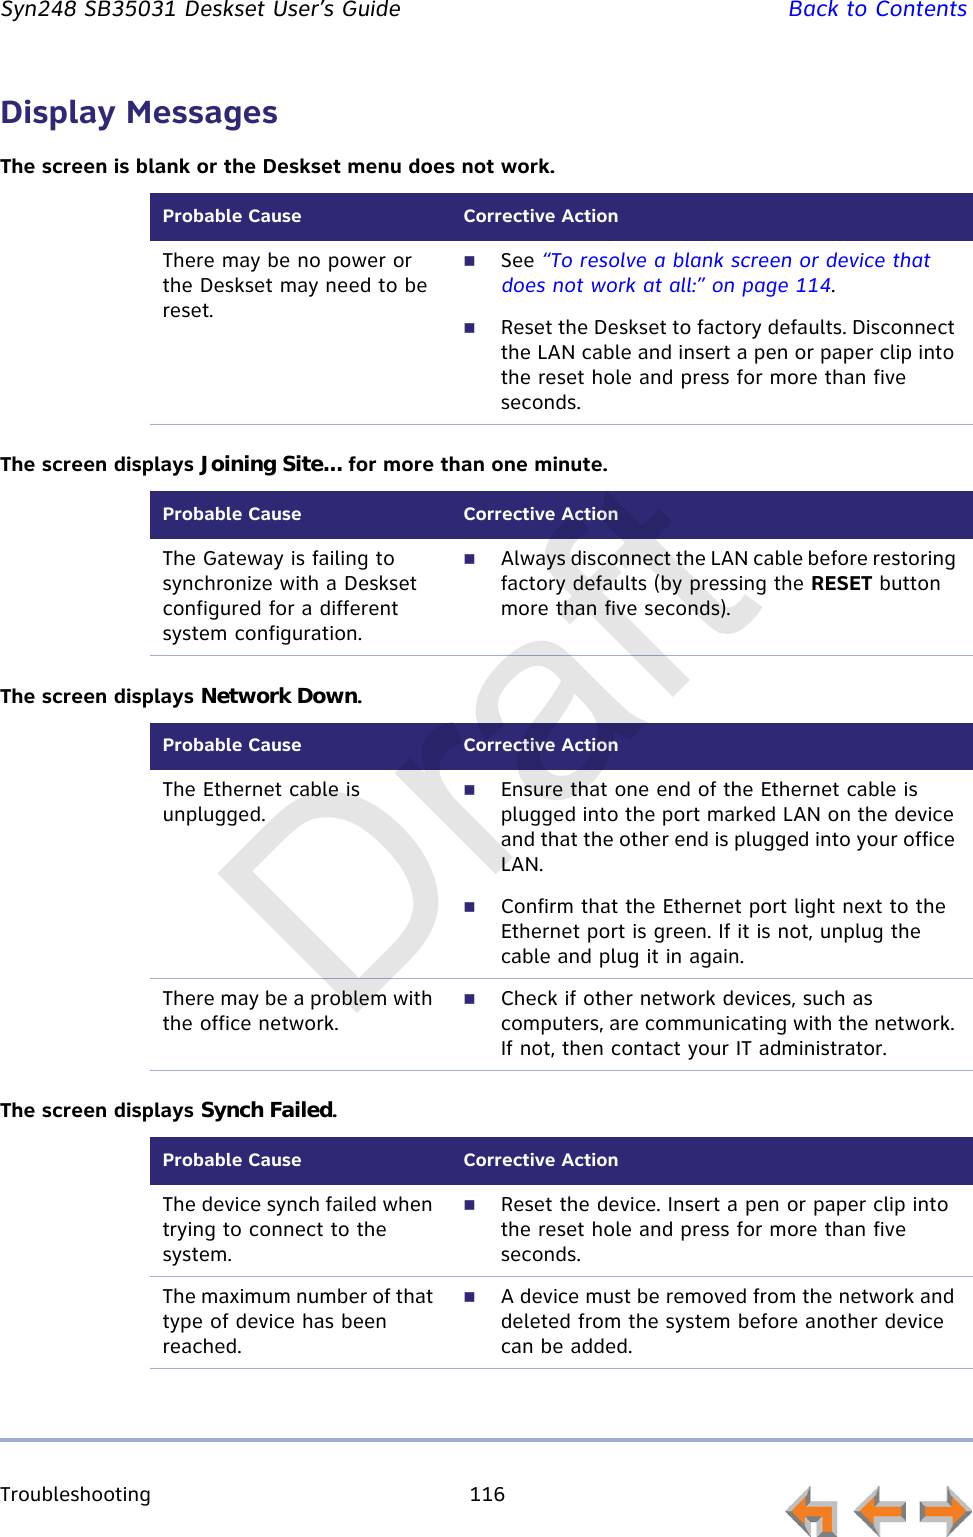
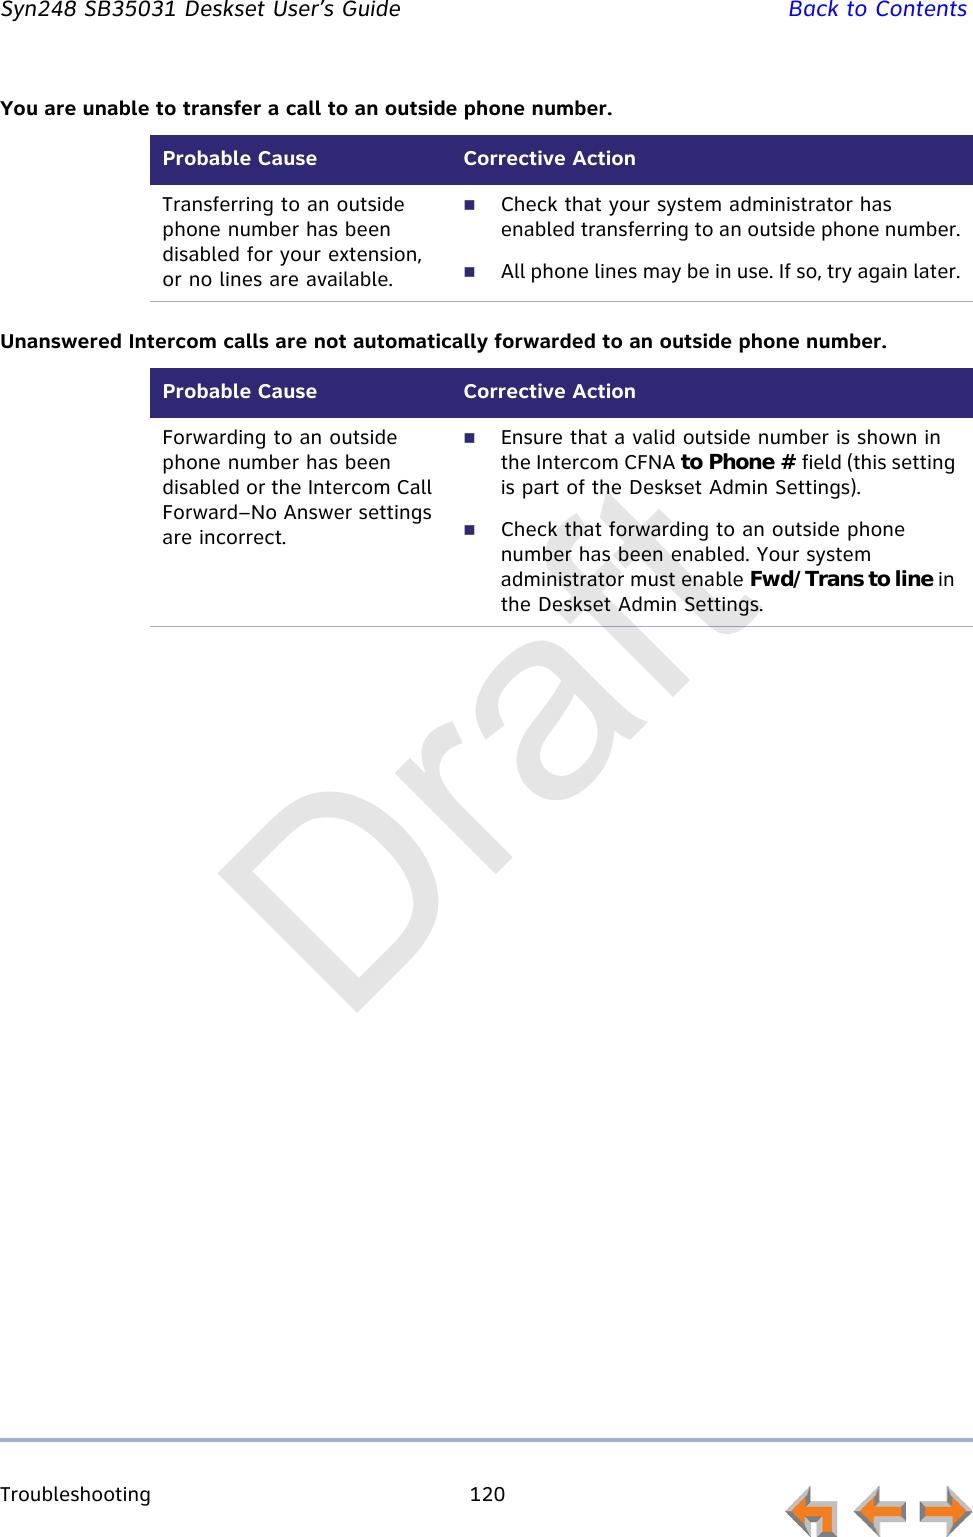
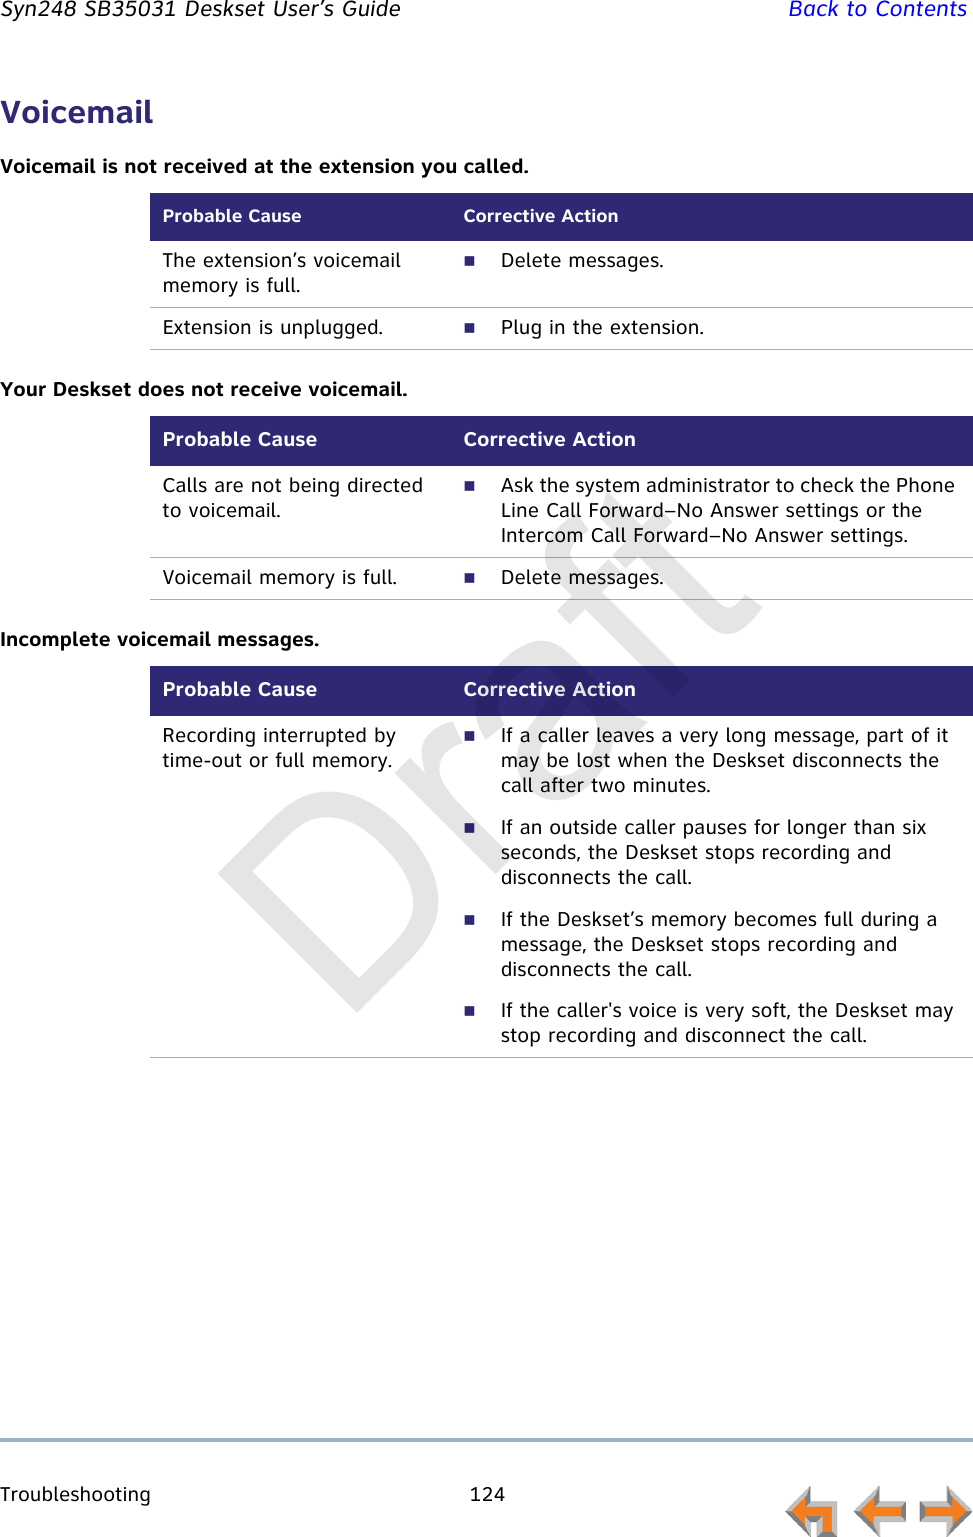
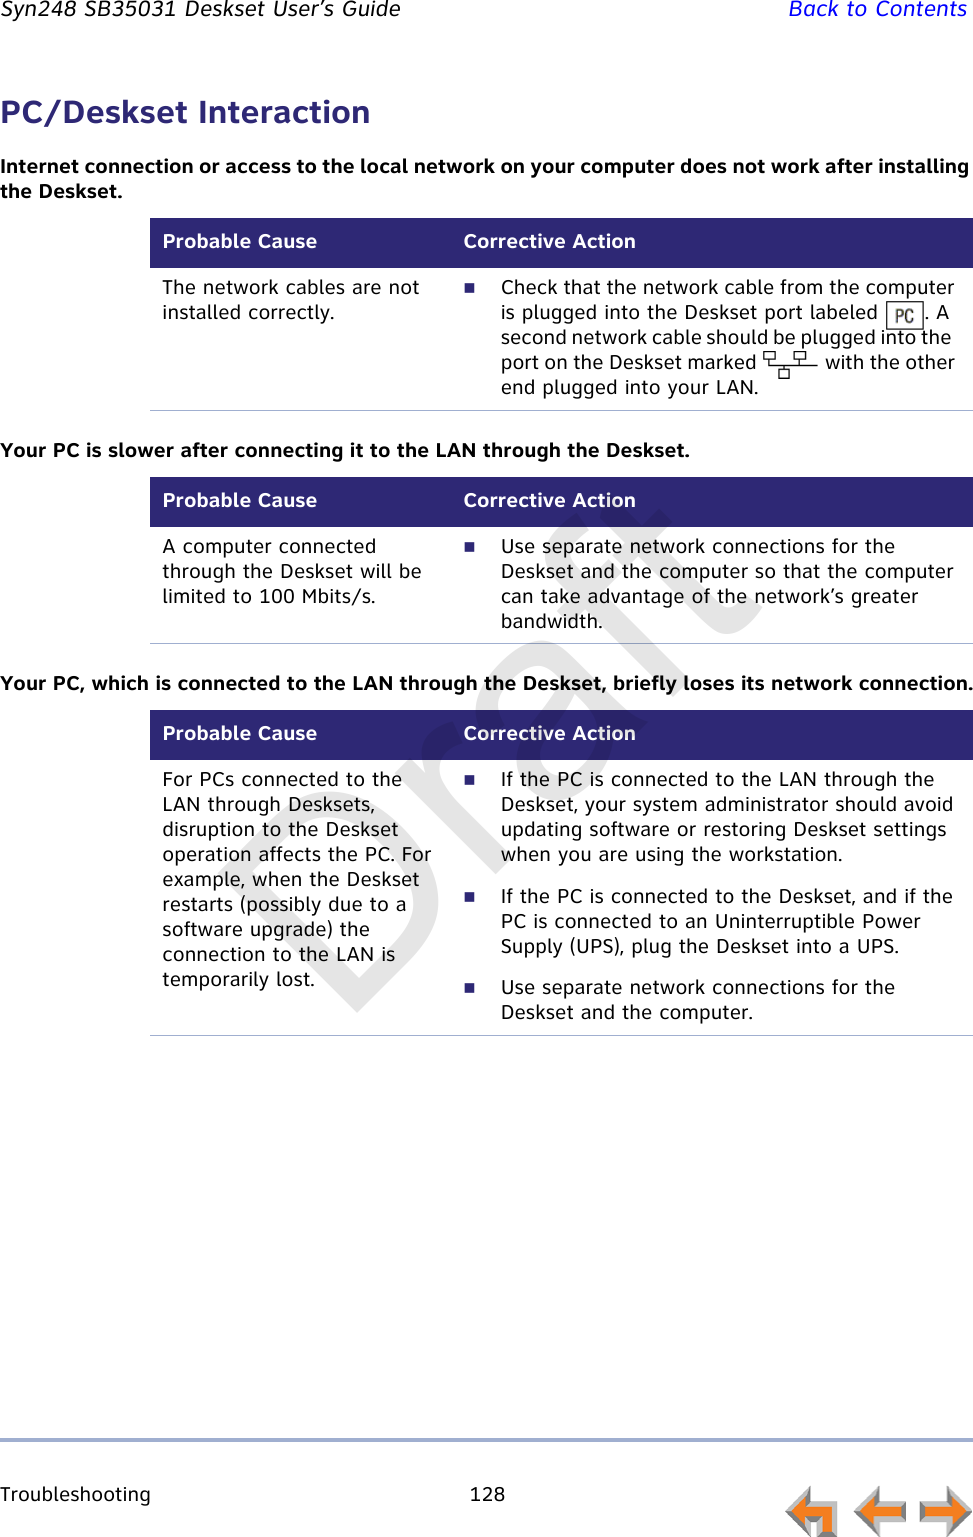
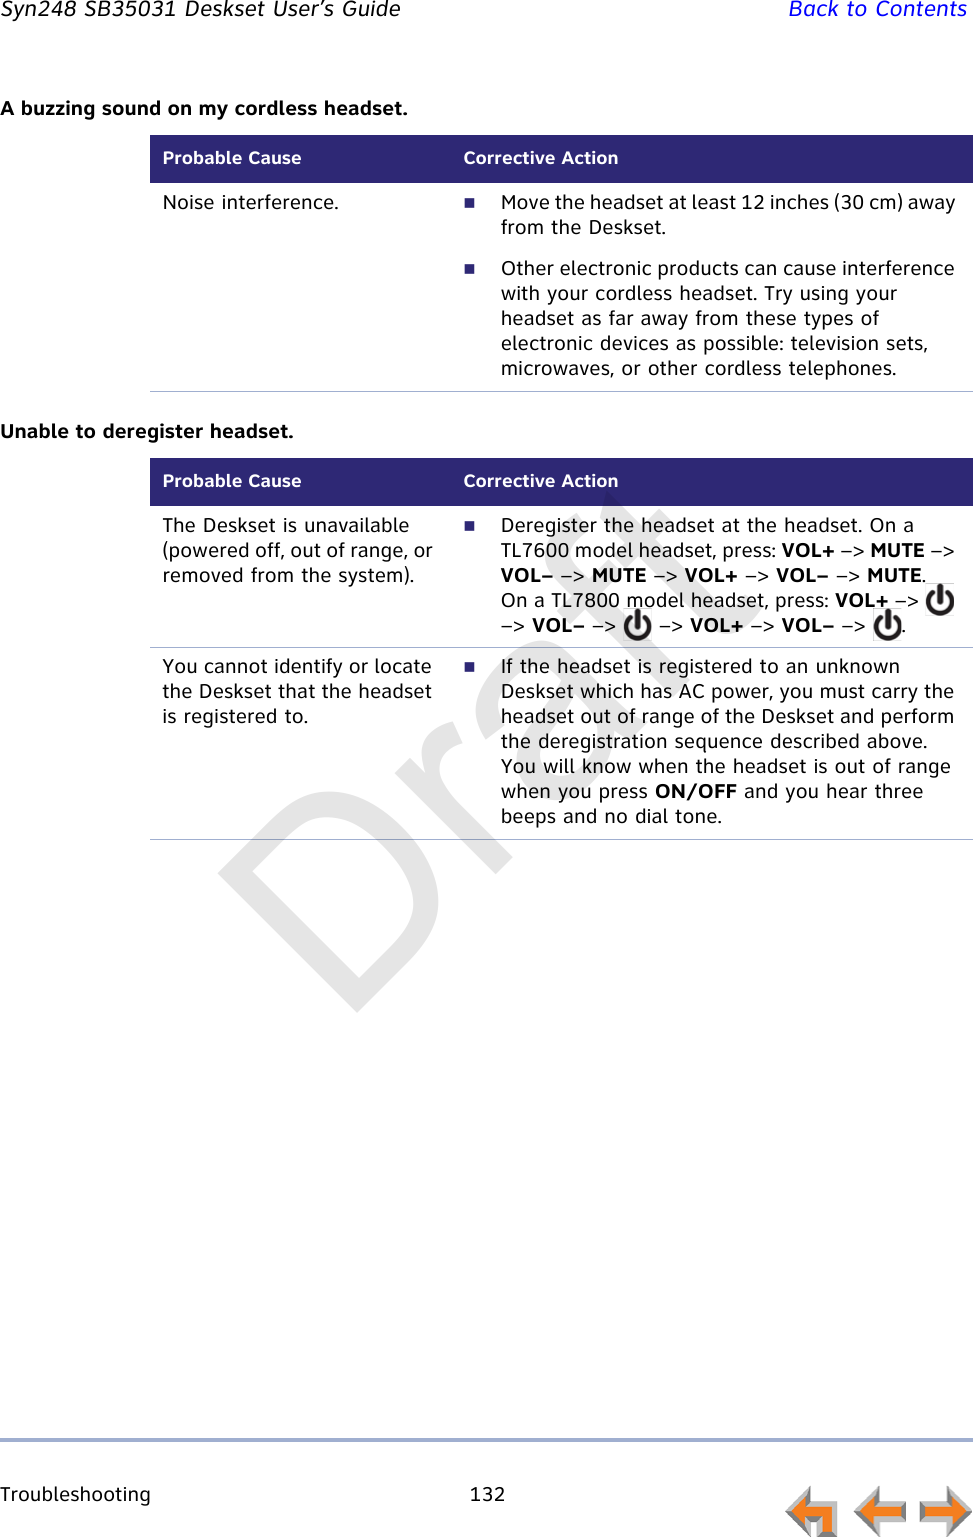
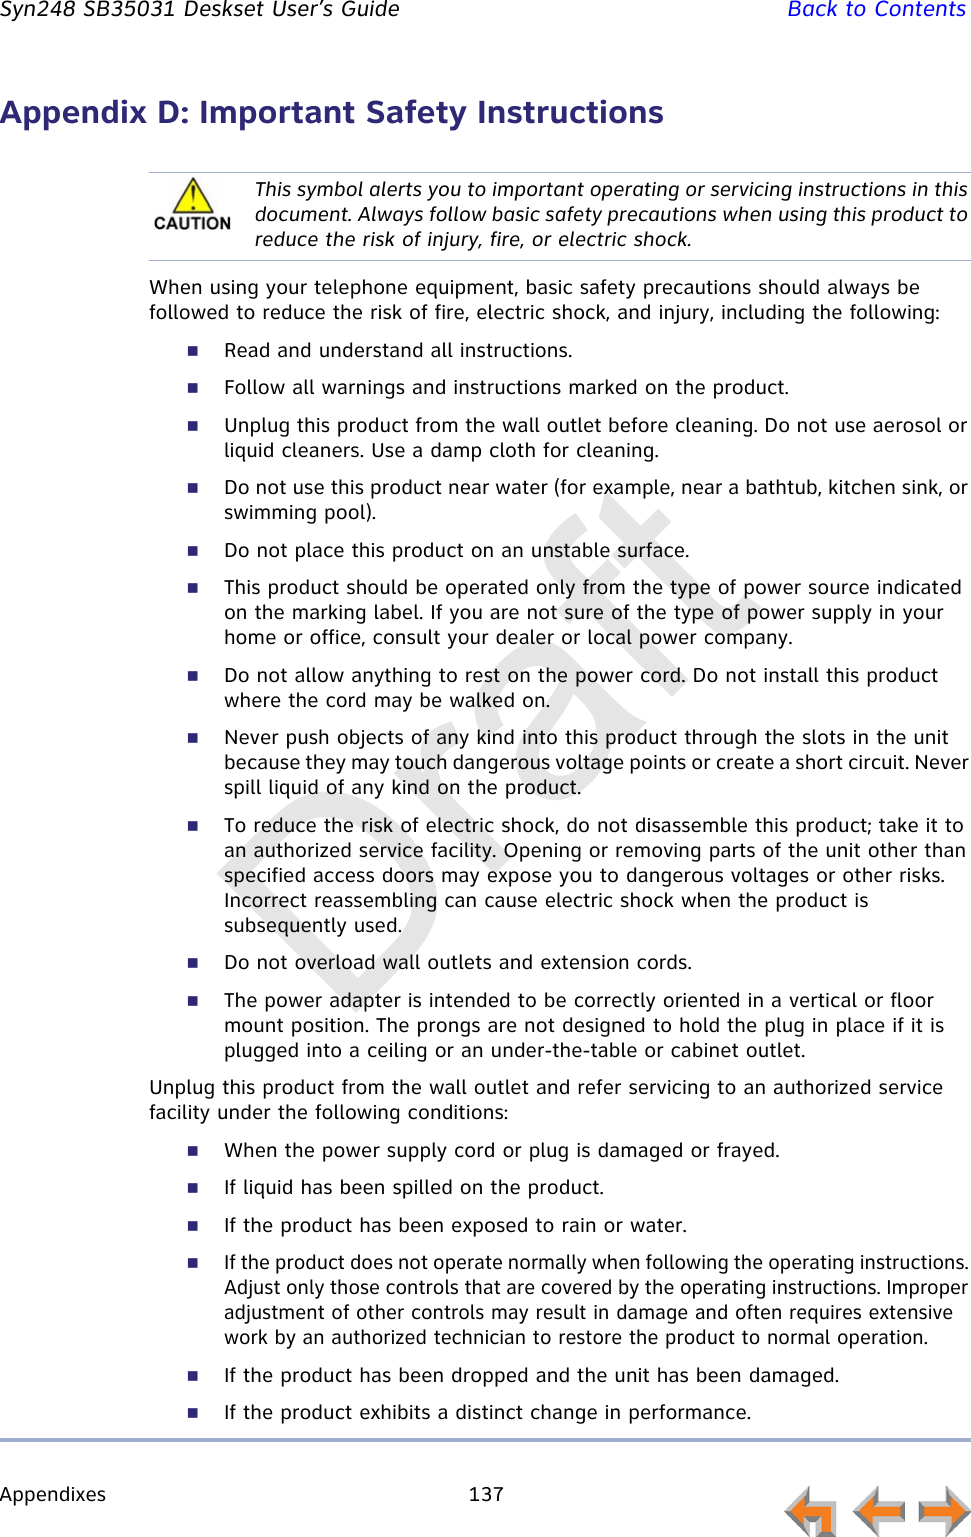
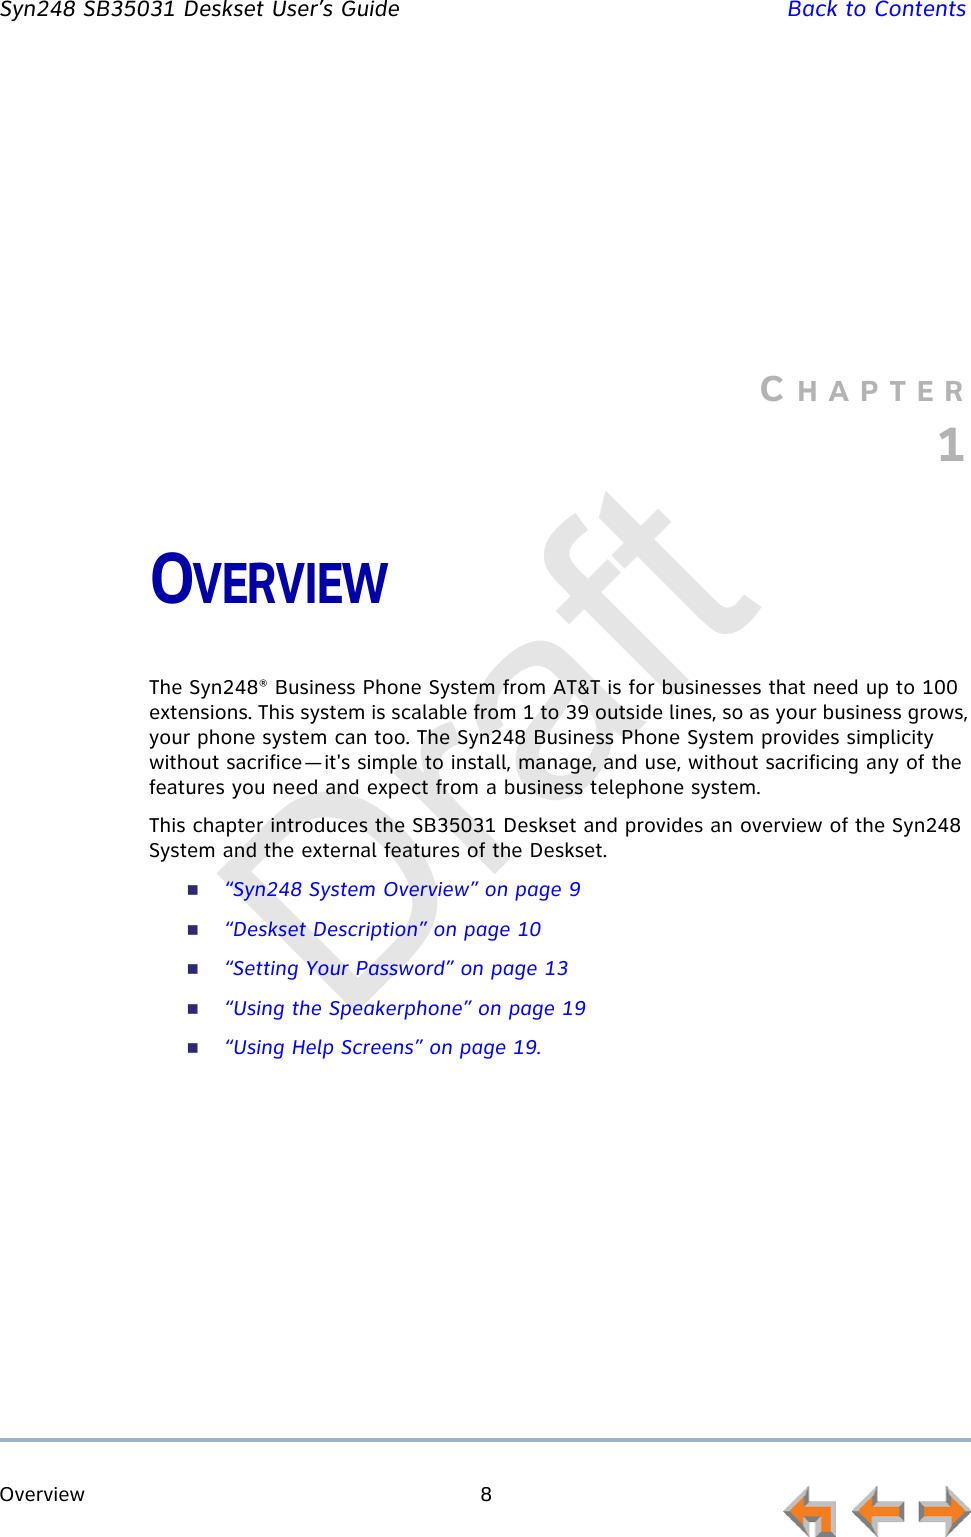
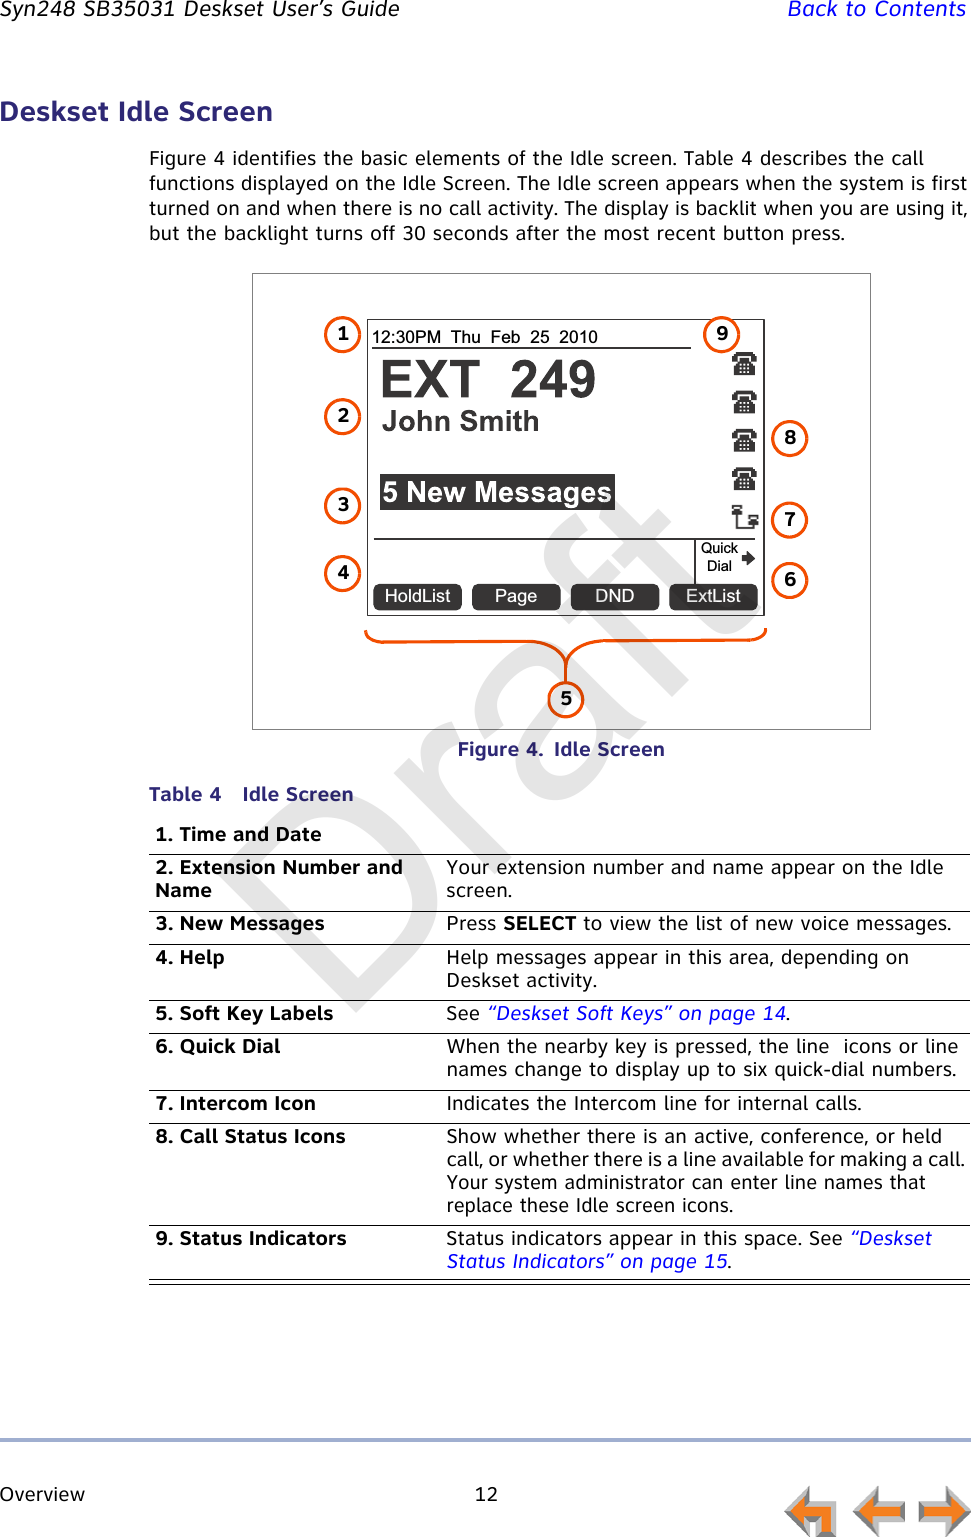
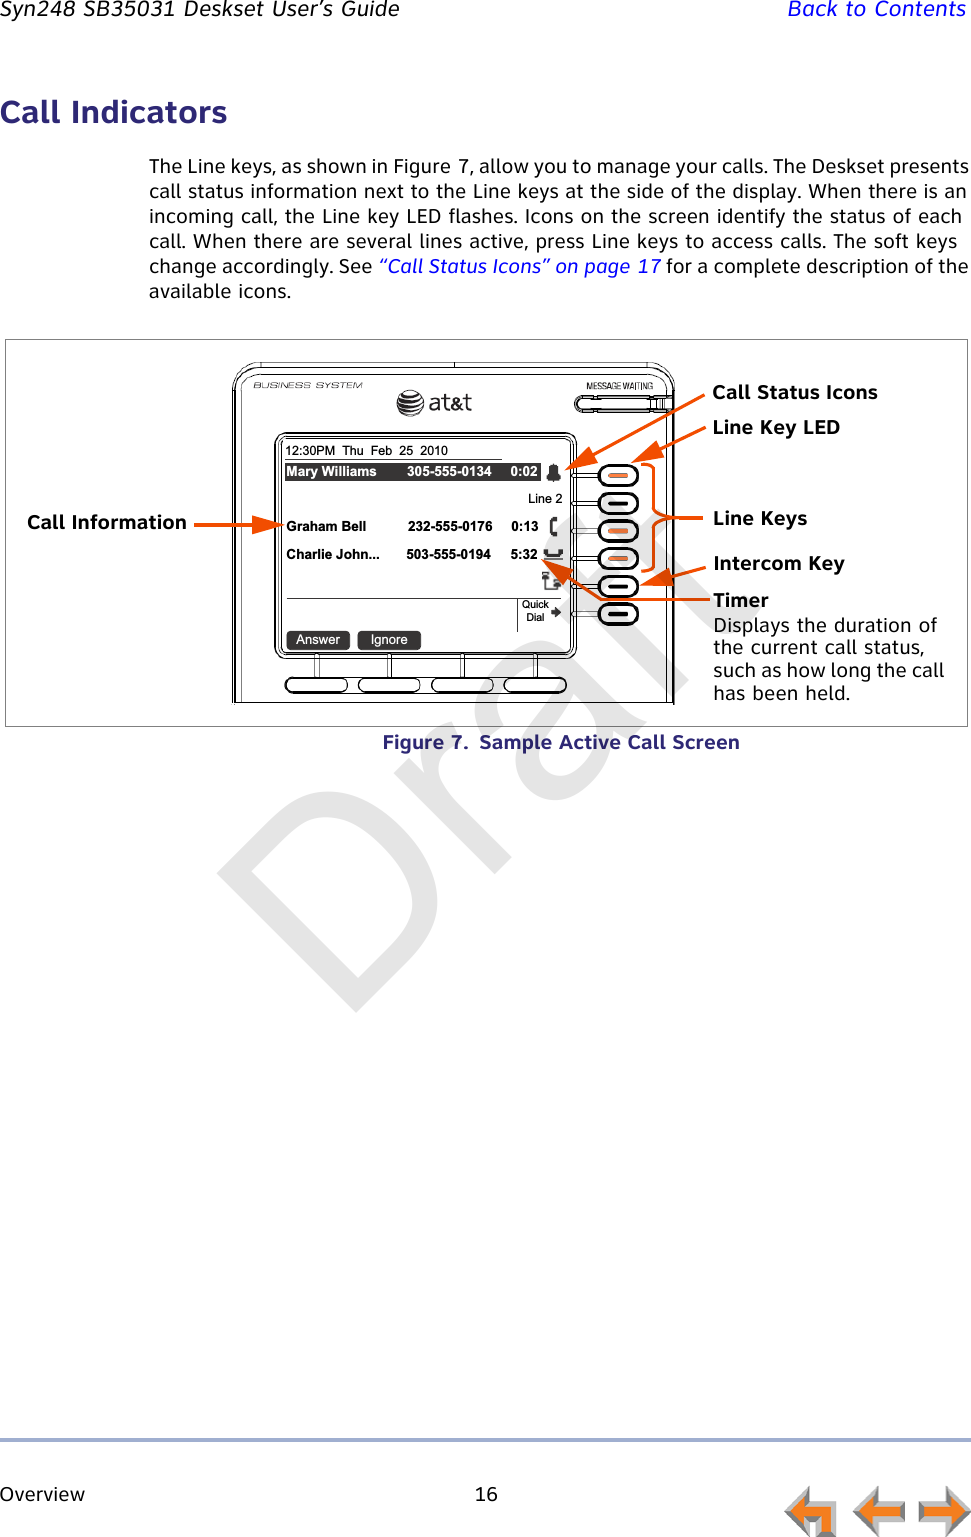
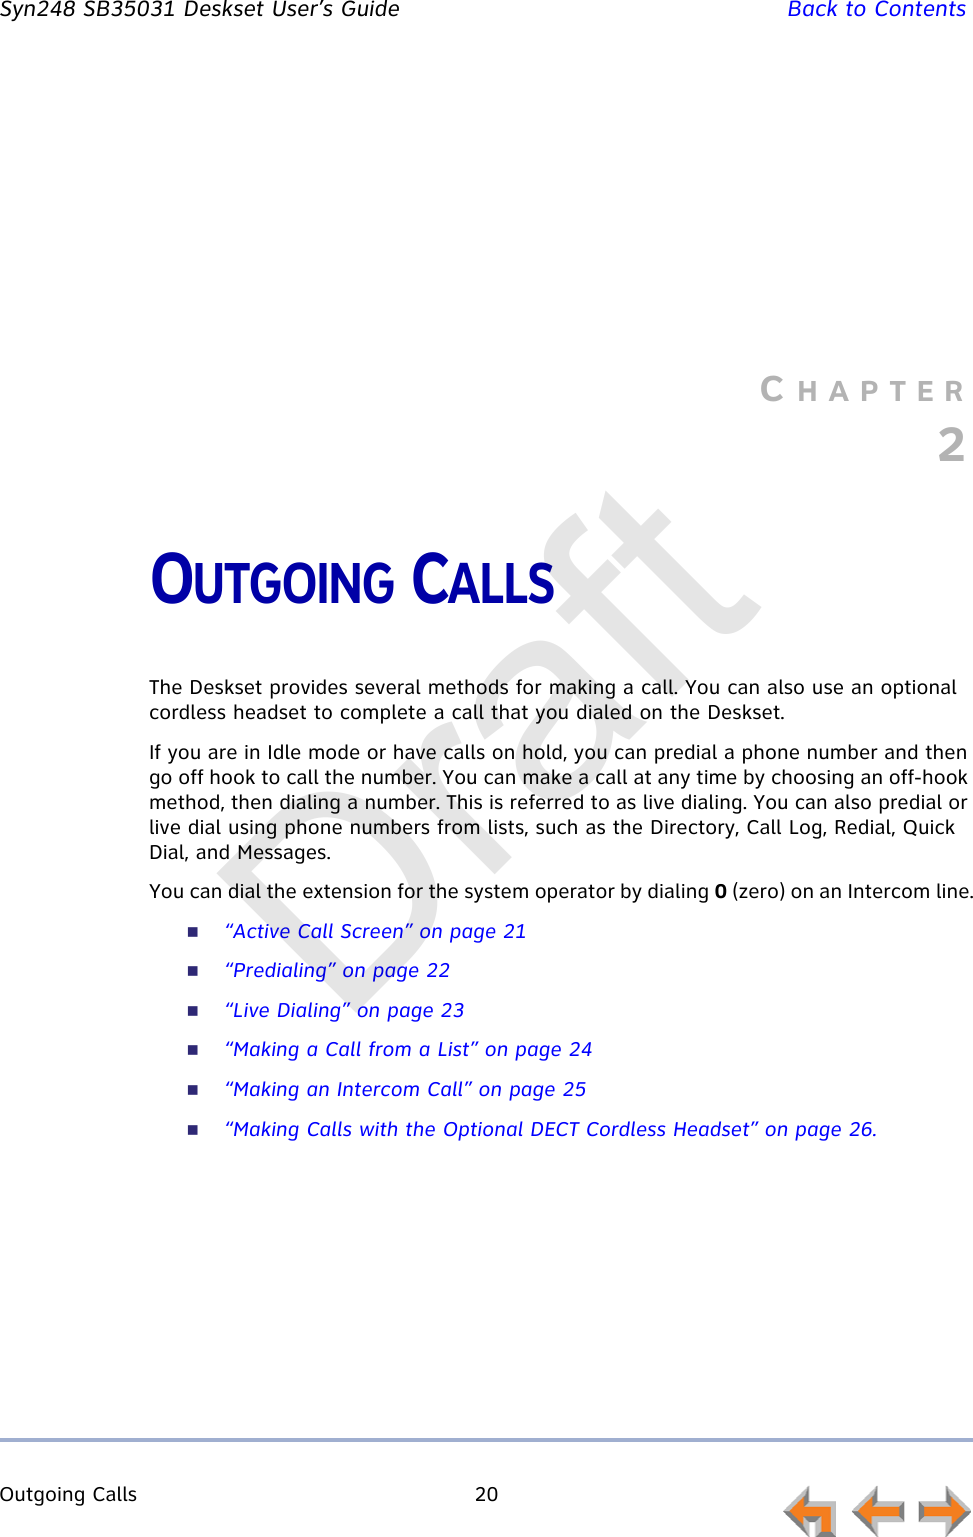
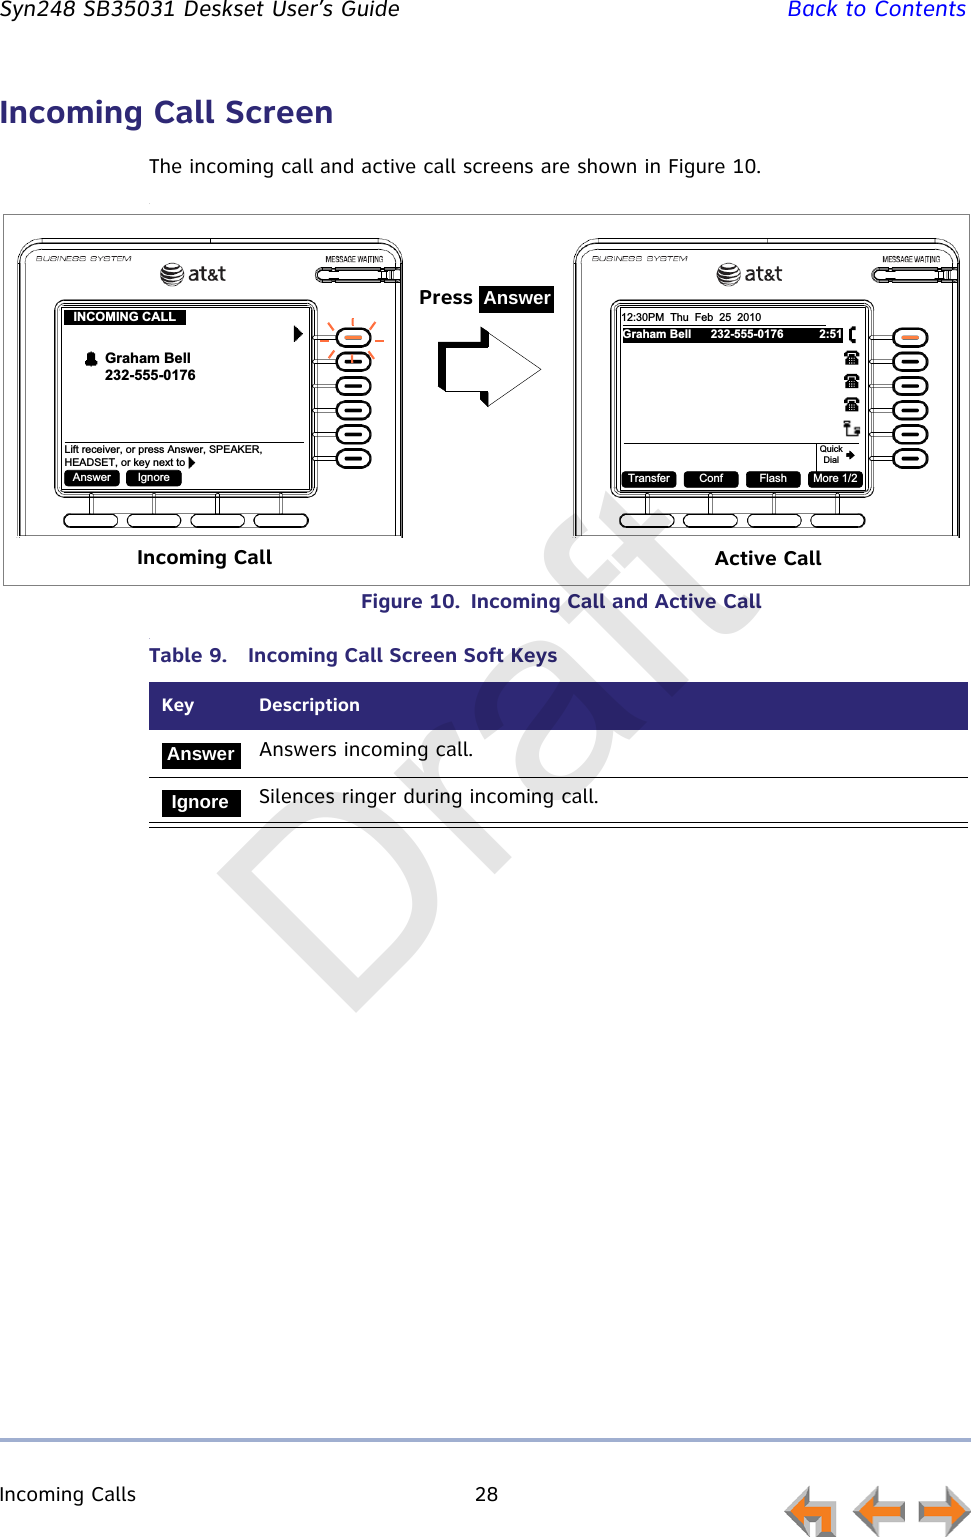
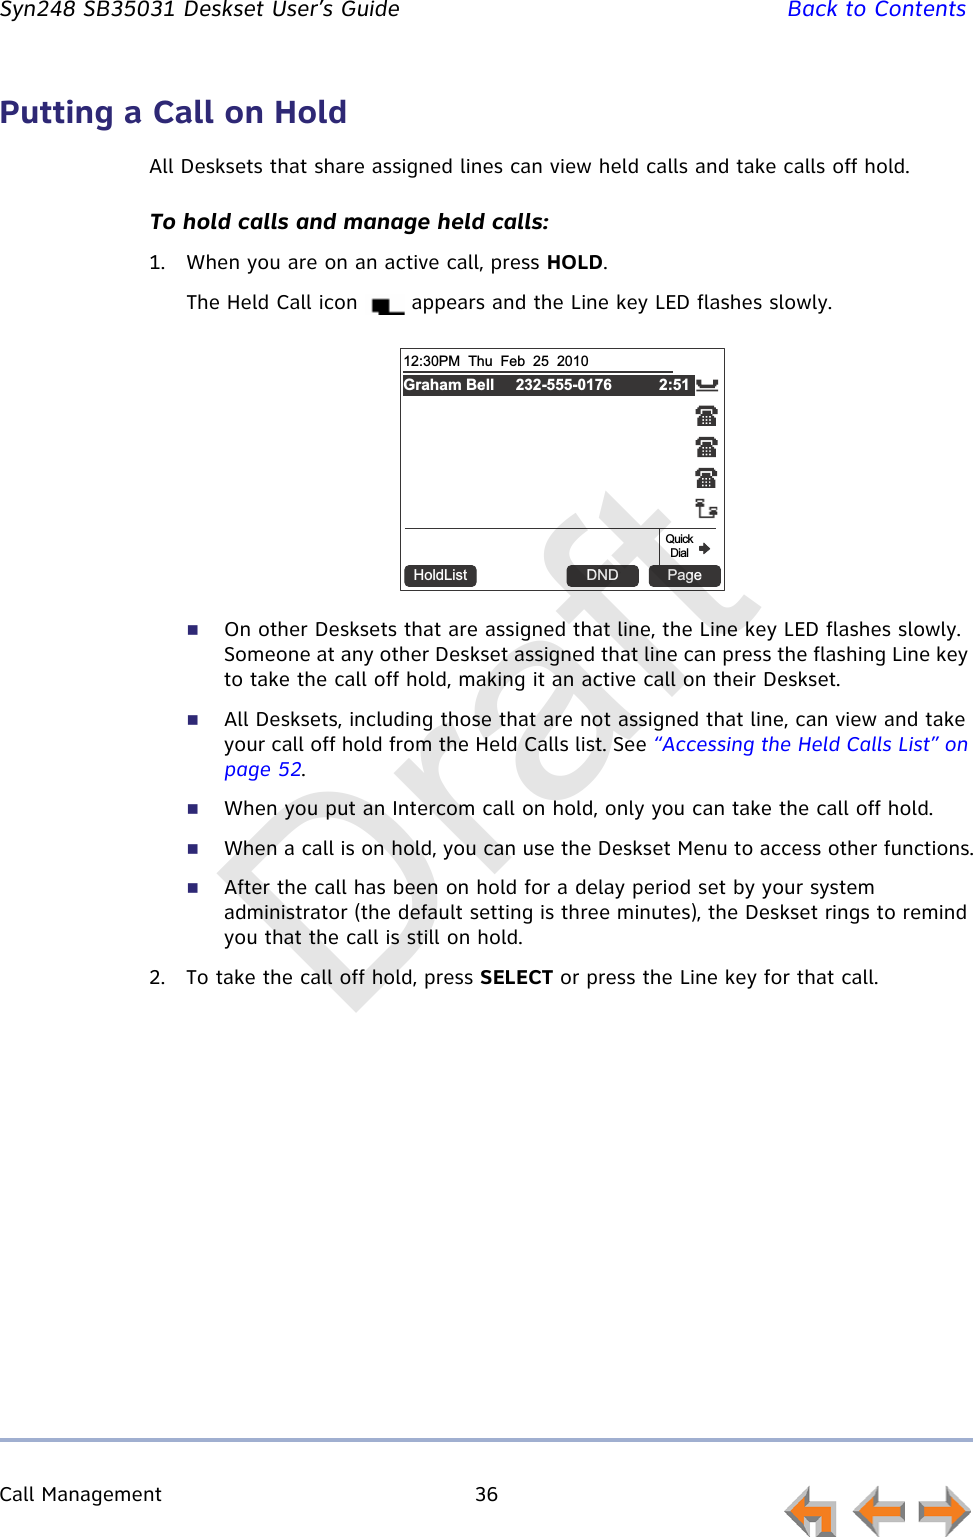
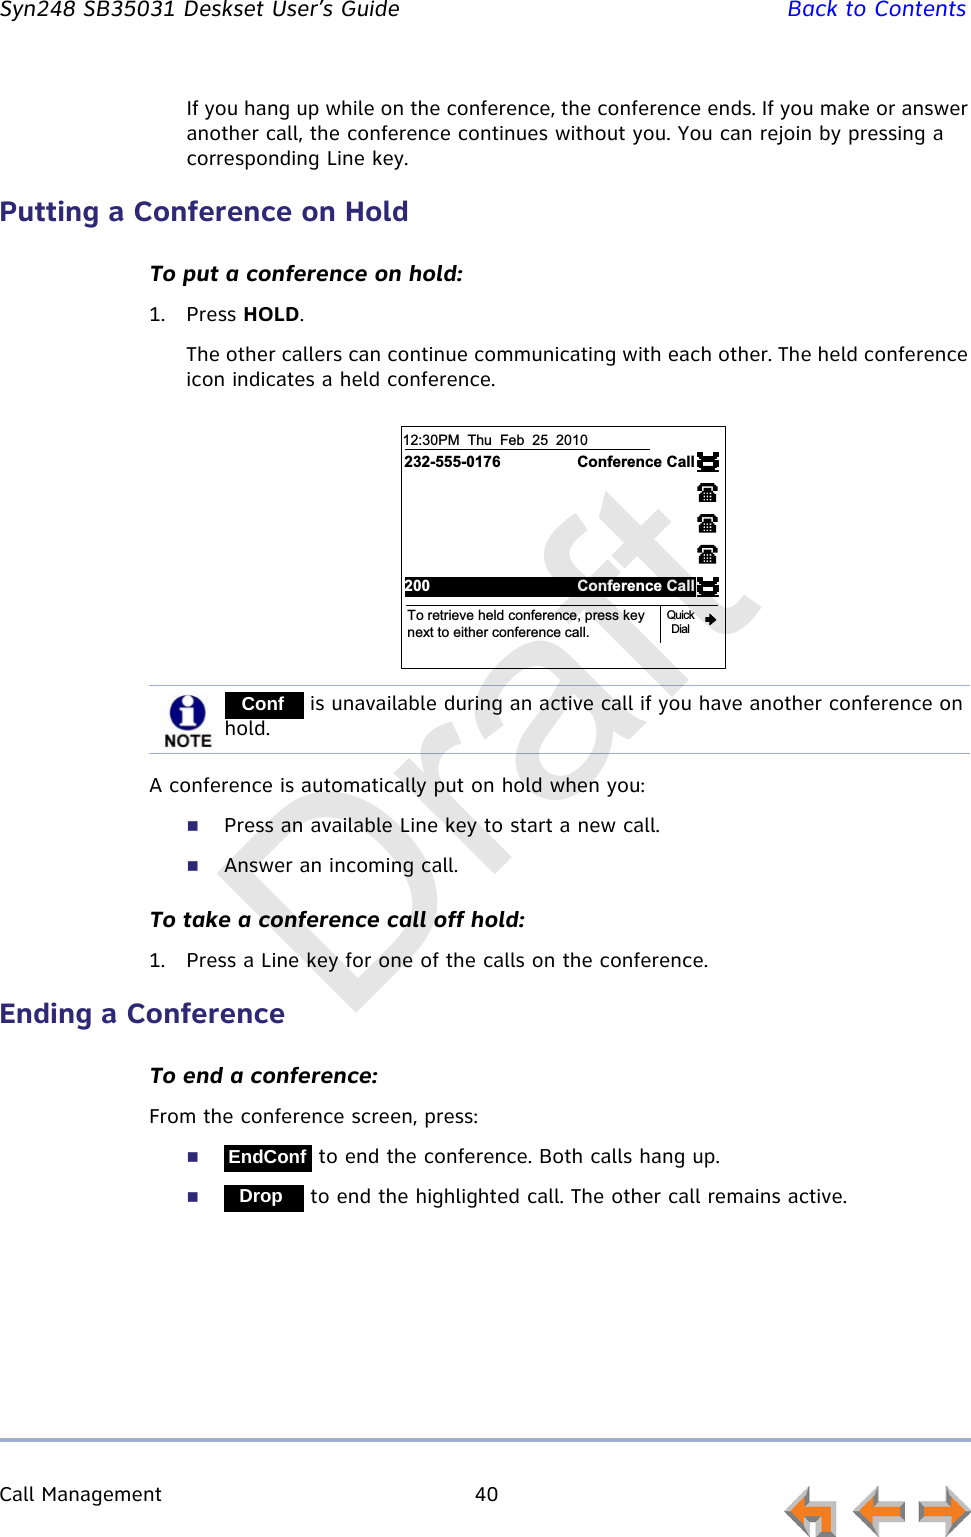
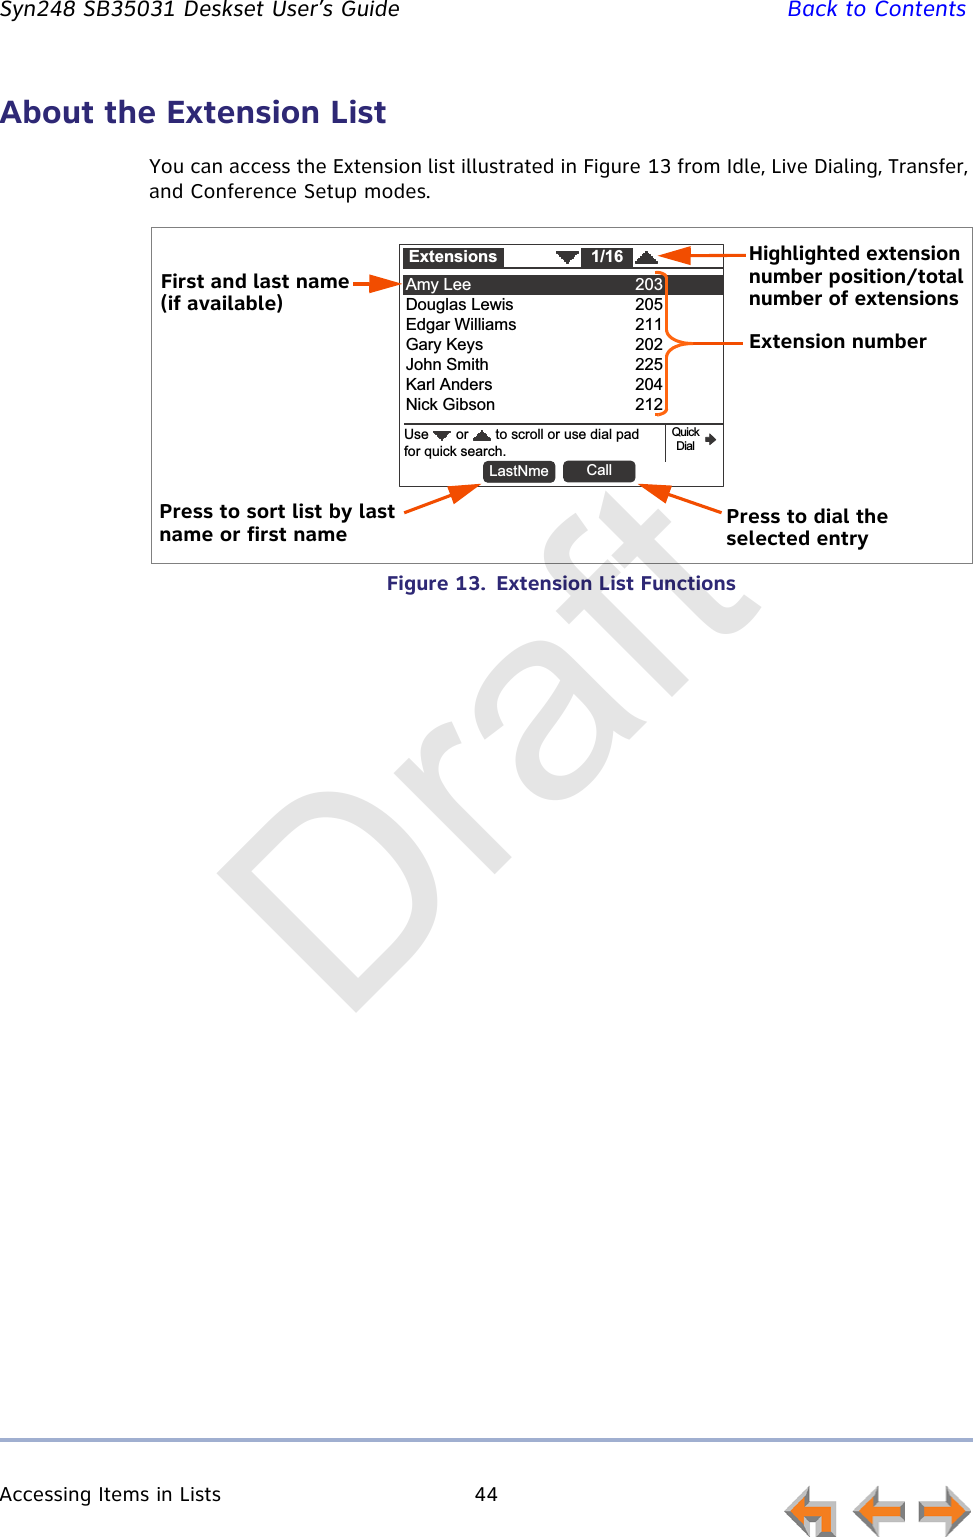
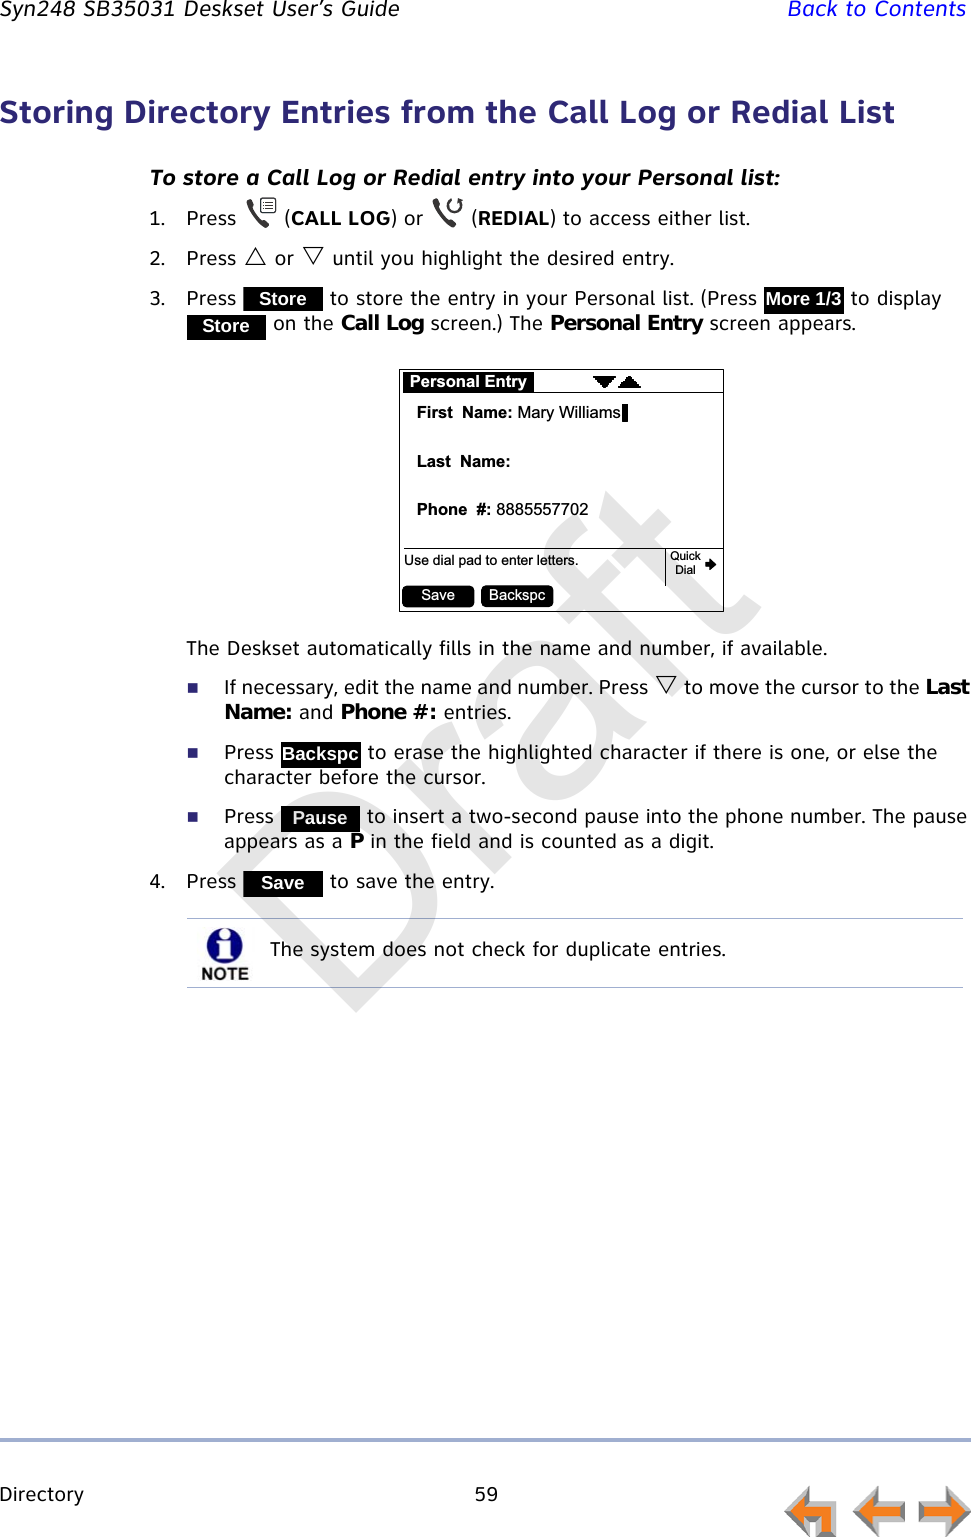
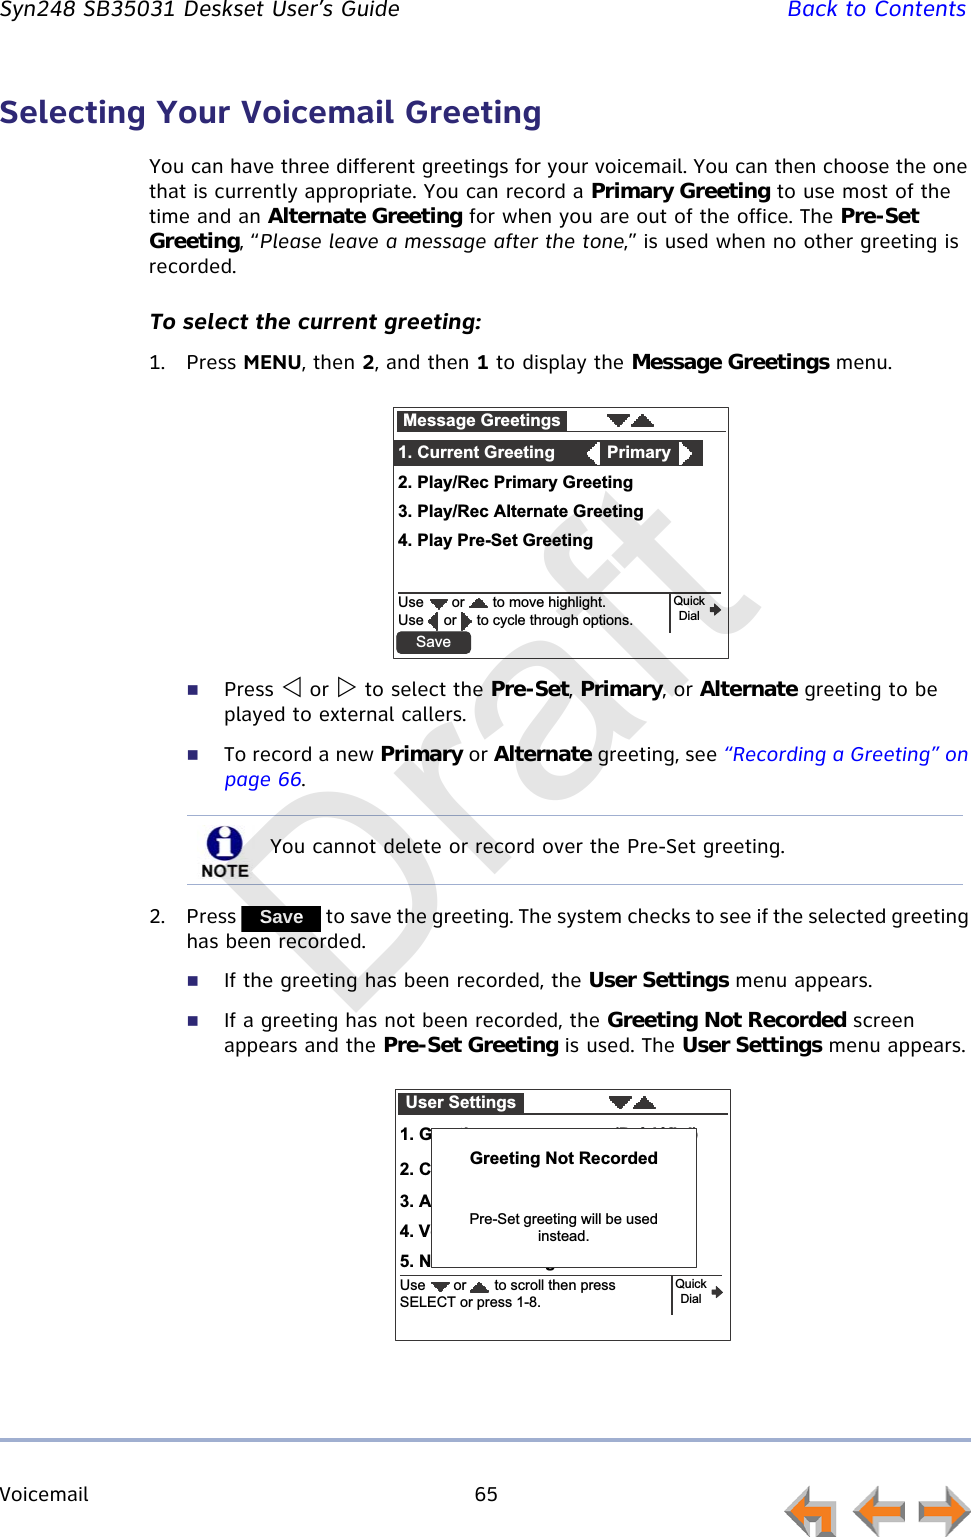
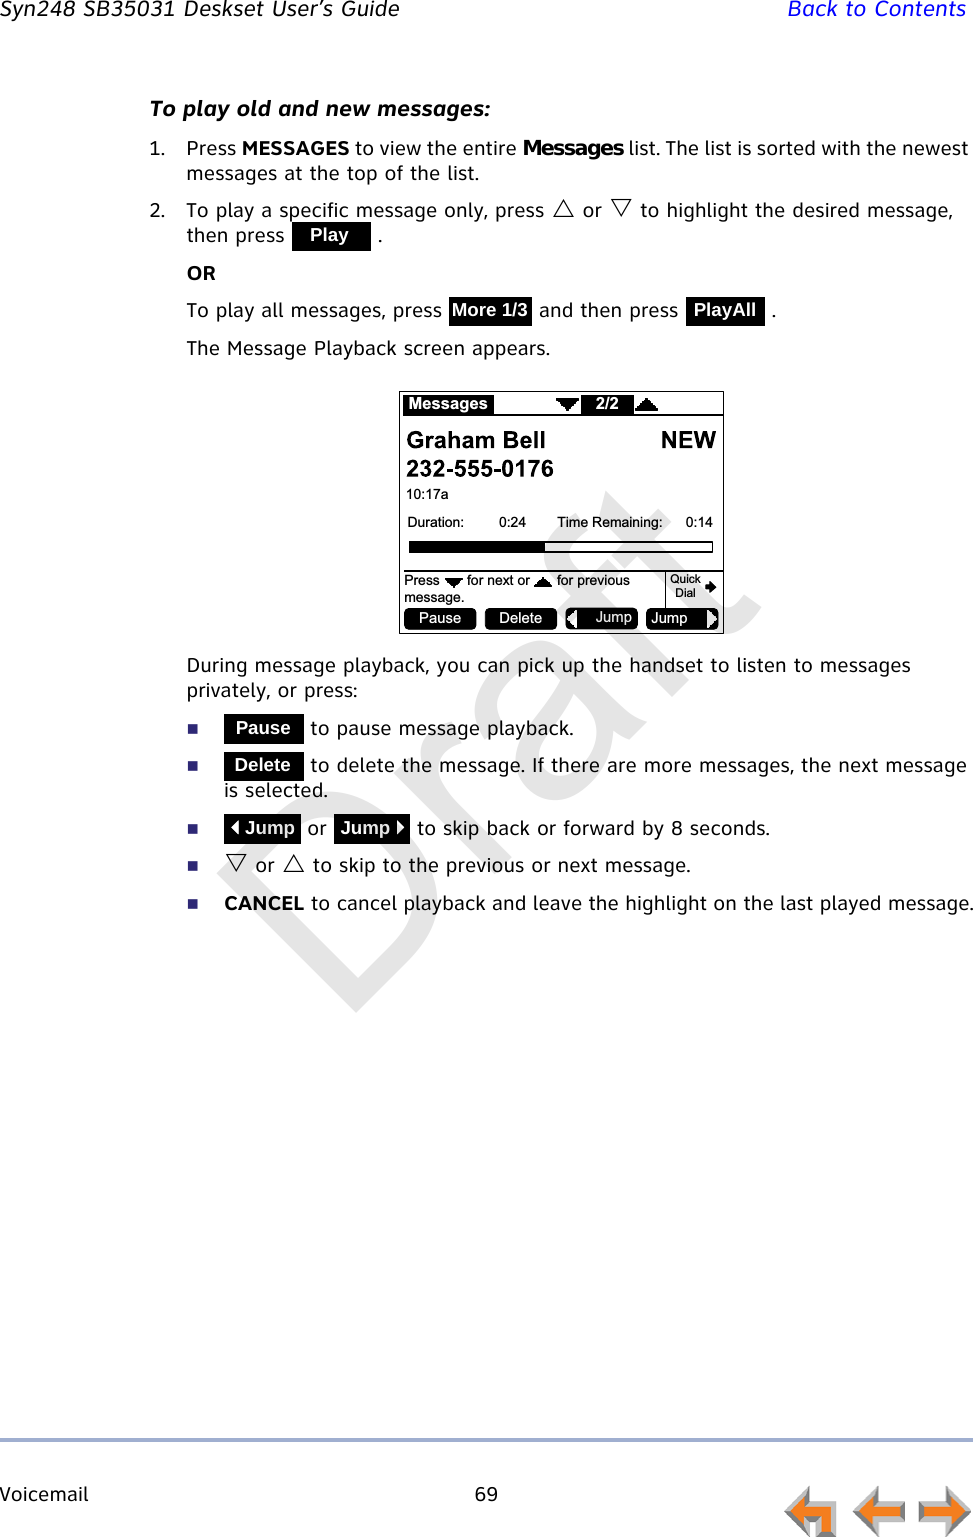
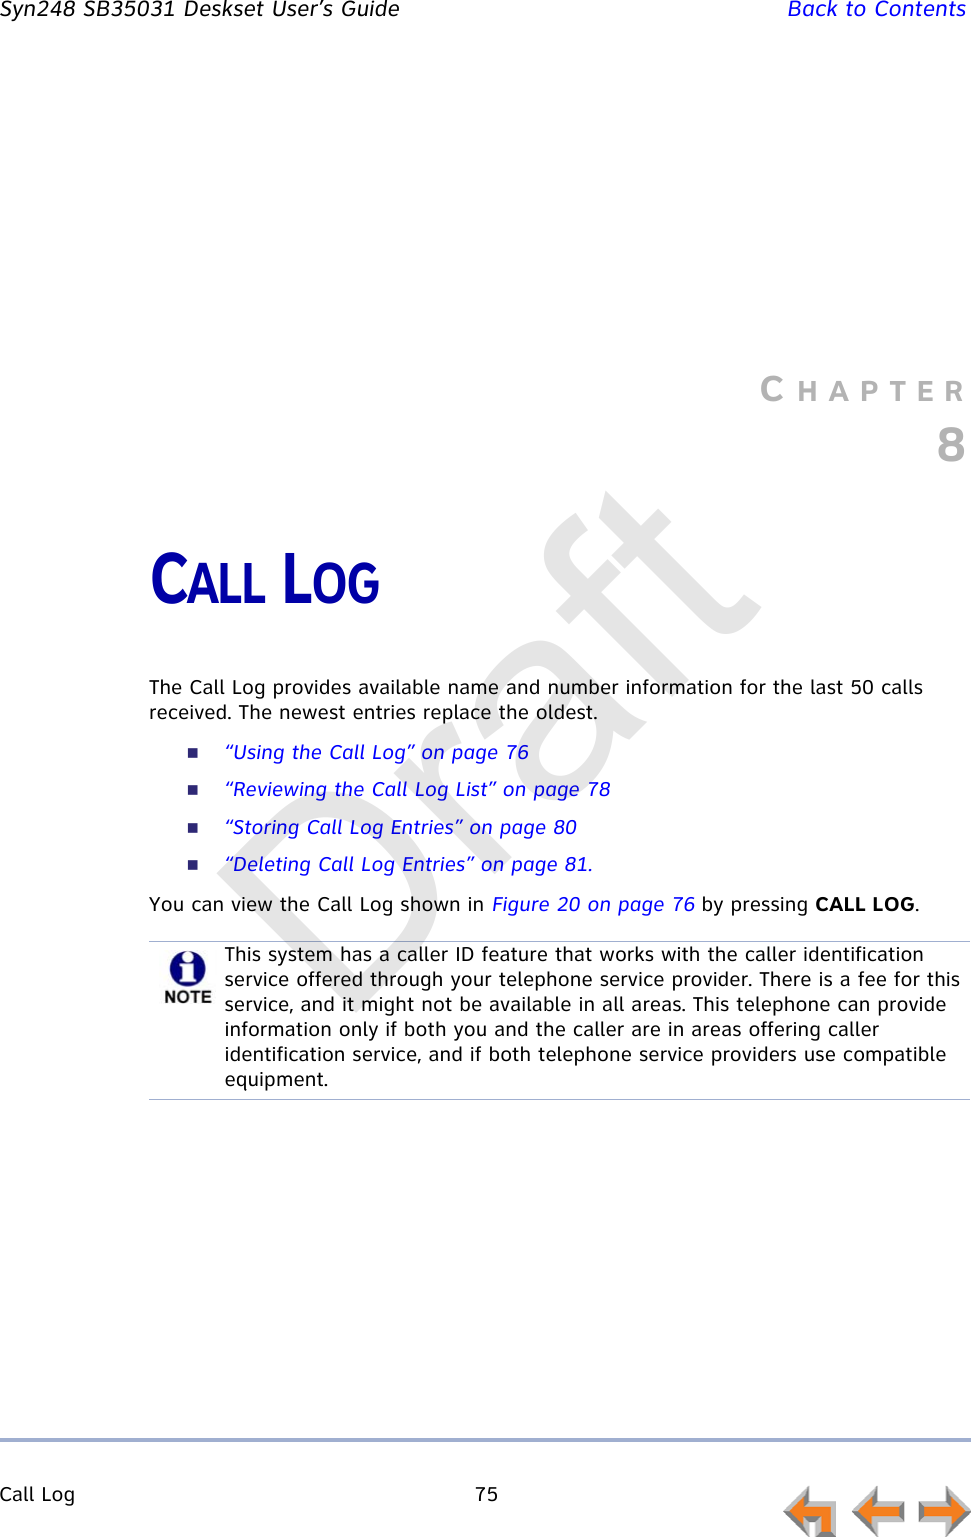
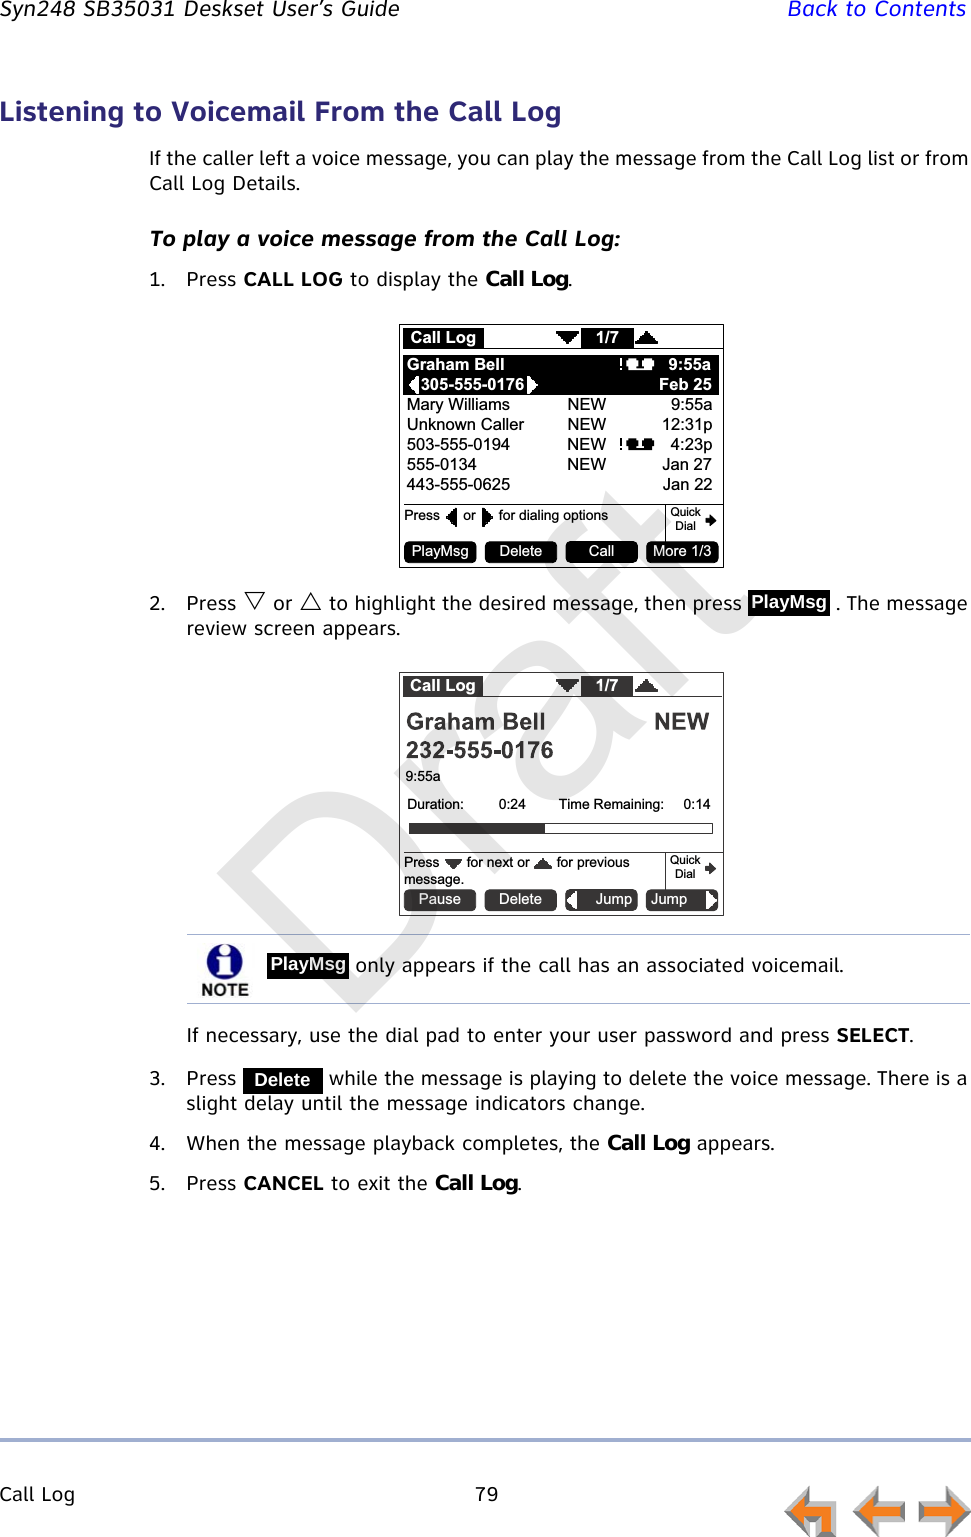
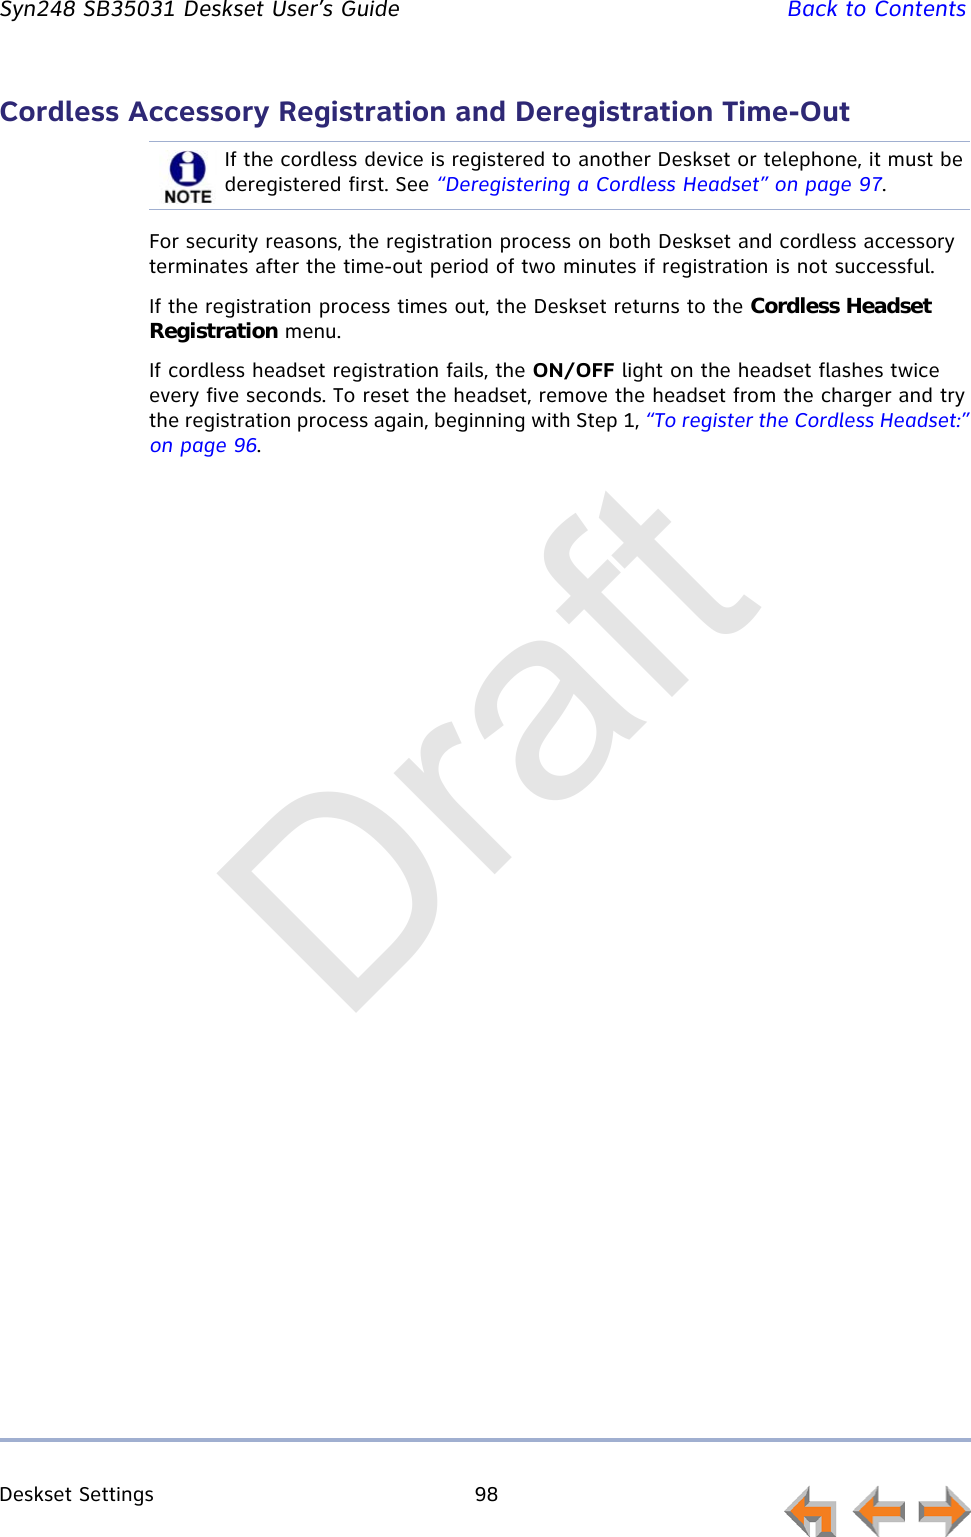
![Directory 56 Syn248 SB35031 Deskset User’s Guide Back to ContentsTo change Directory settings:1. From the Directory list, press to display the second set of Directory soft keys.If the Directory is empty, and do not appear.2. Press . The Directory List appears.3. Press or to highlight the desired list, and press SELECT.The selected list appears.4. Press to display the Directory List screen again.5. To change the default list, press or to highlight the desired list, then press .6. Press CANCEL to return to the Directory.More 1/3DirectoryABC Accountants Personal503-555-0194Amy Lee 203Angela Martin 732-555-7318Charlie Johnson 888-883-2445David Carter 443-555-0625Davis Caterer 317-555-0129List1/48DeleteQuickDialEdit More 2/3Use or to scroll or use dial pad for quick search.EditDeleteListDirectory List1. All3. System list2. Personal listUse or to scroll then press SELECT or press 1-4.QuickDial4. Extension listList:[Set]Set?ListSet?Draft](https://usermanual.wiki/VTech-Telecommunications/80-9300-00/User-Guide-2072387-Page-56.png)


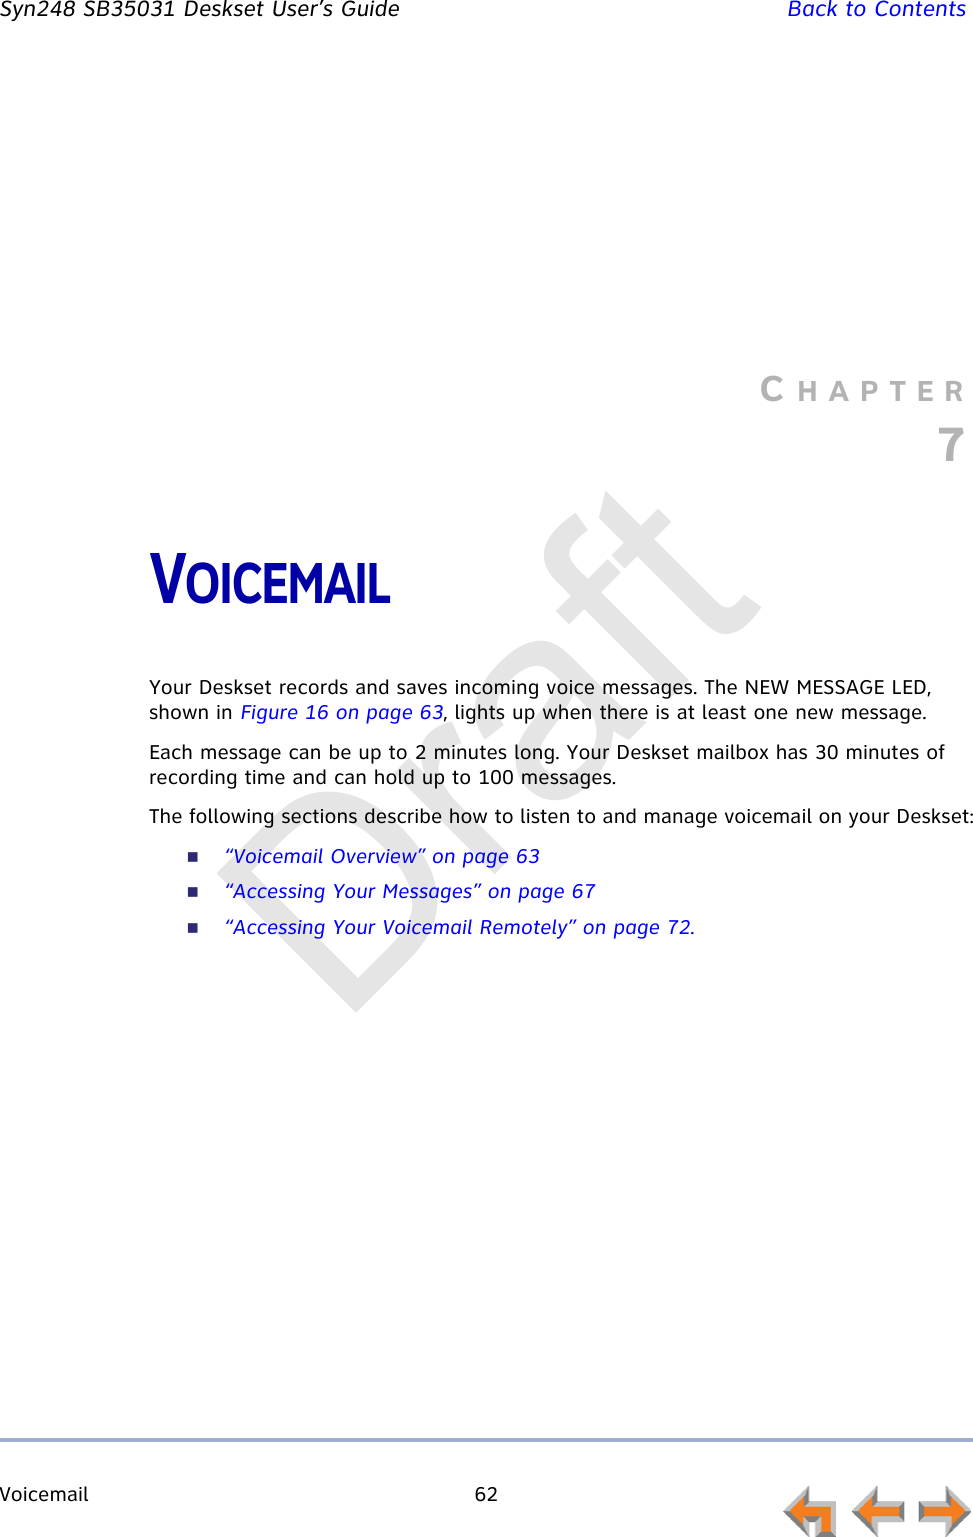
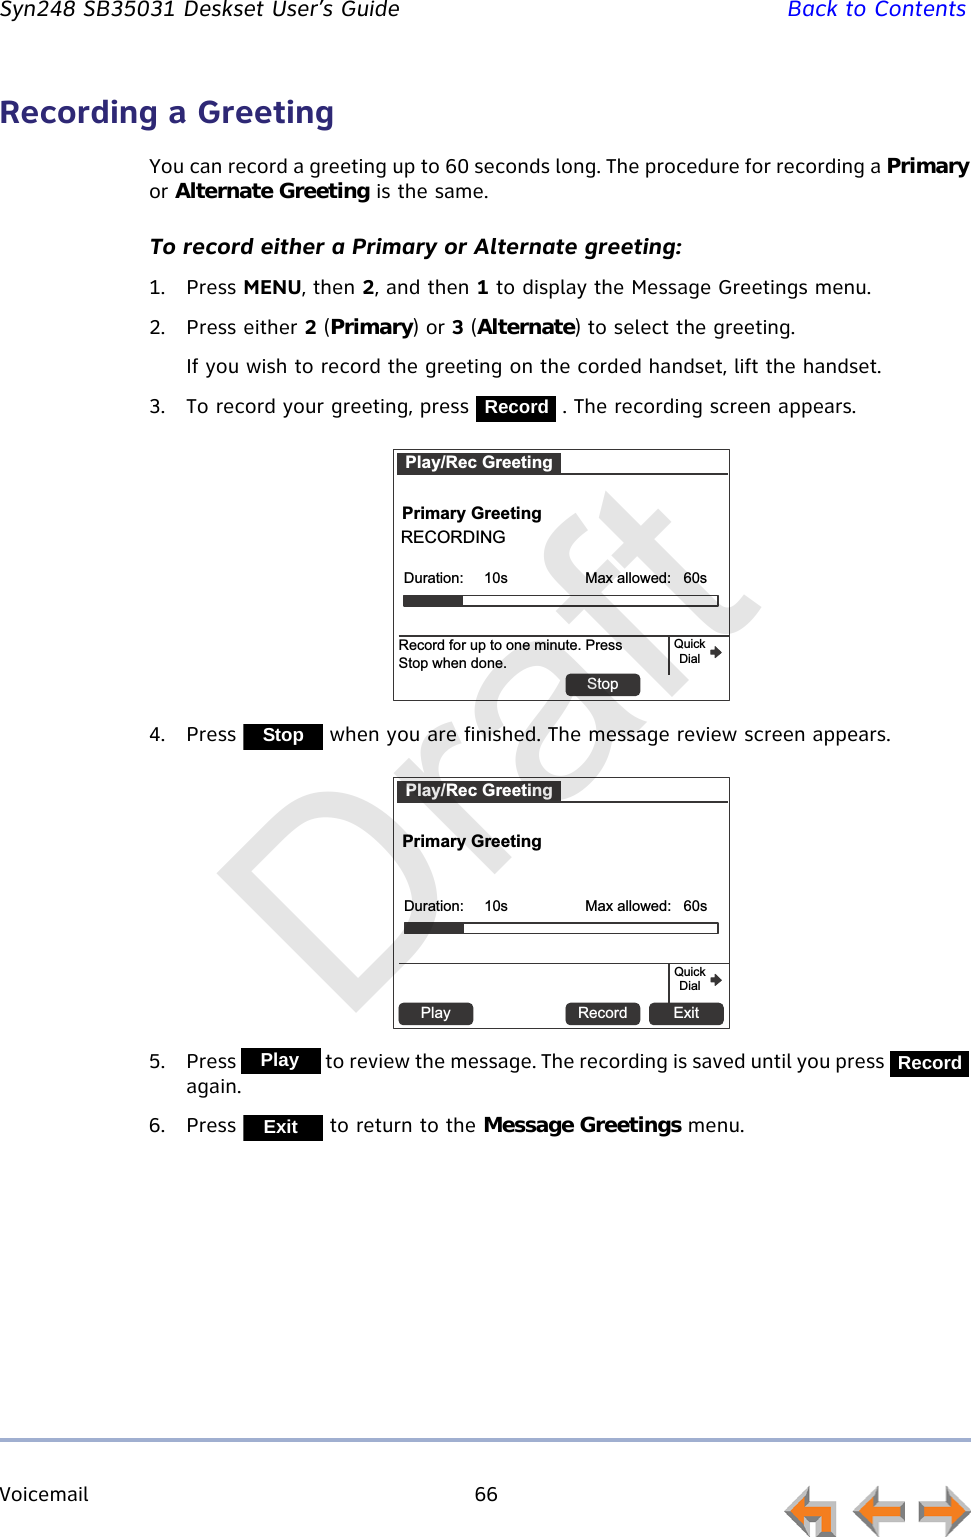
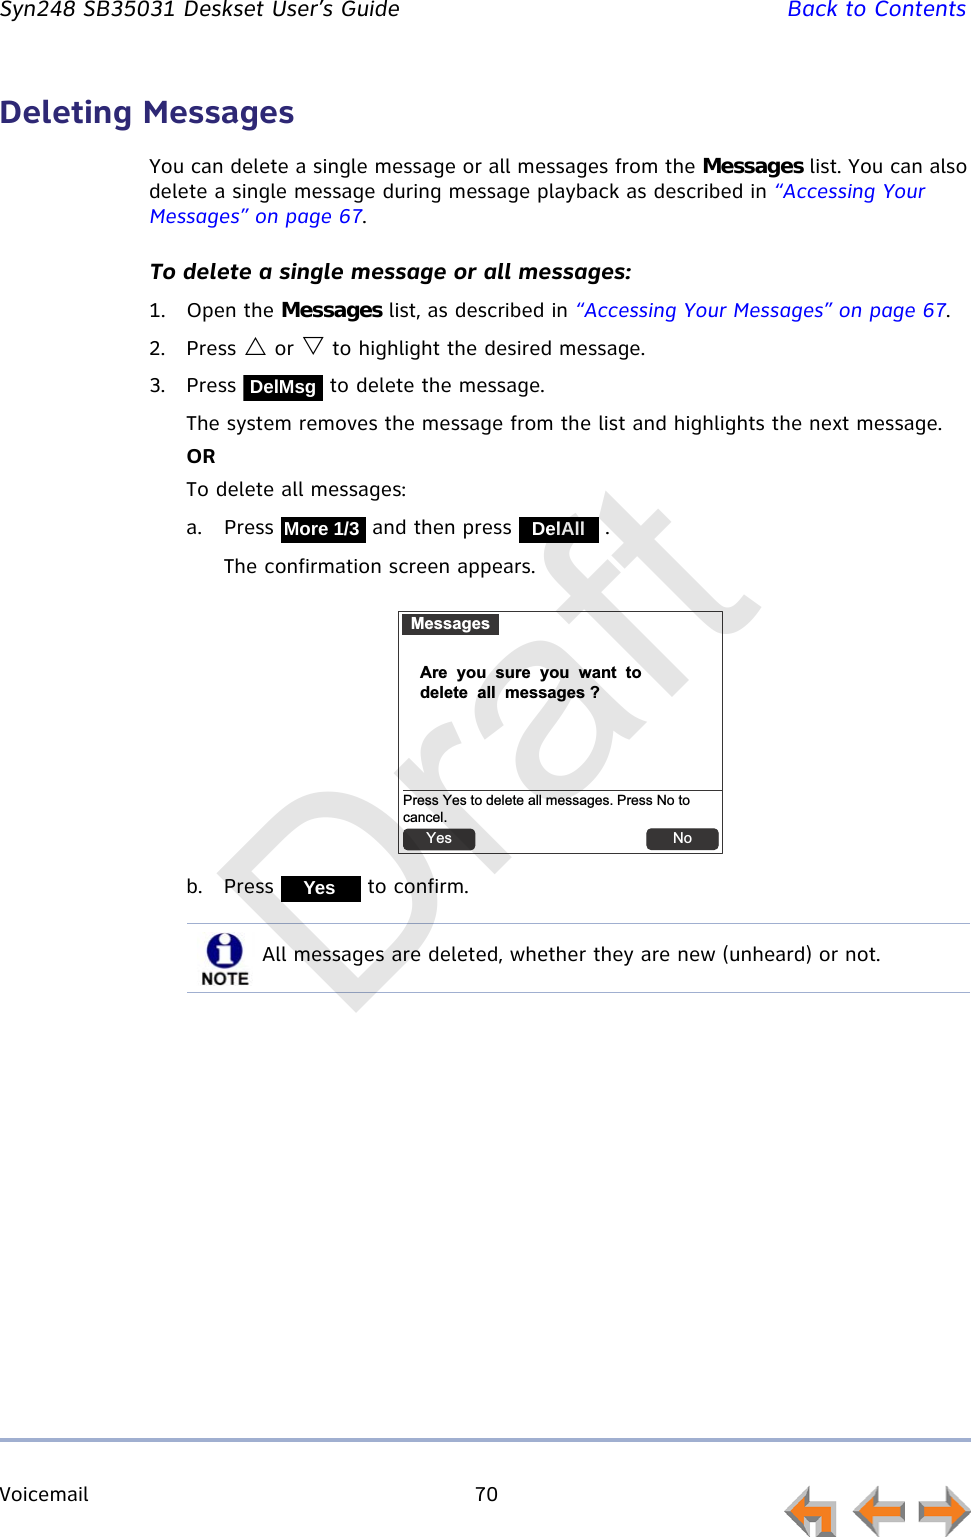


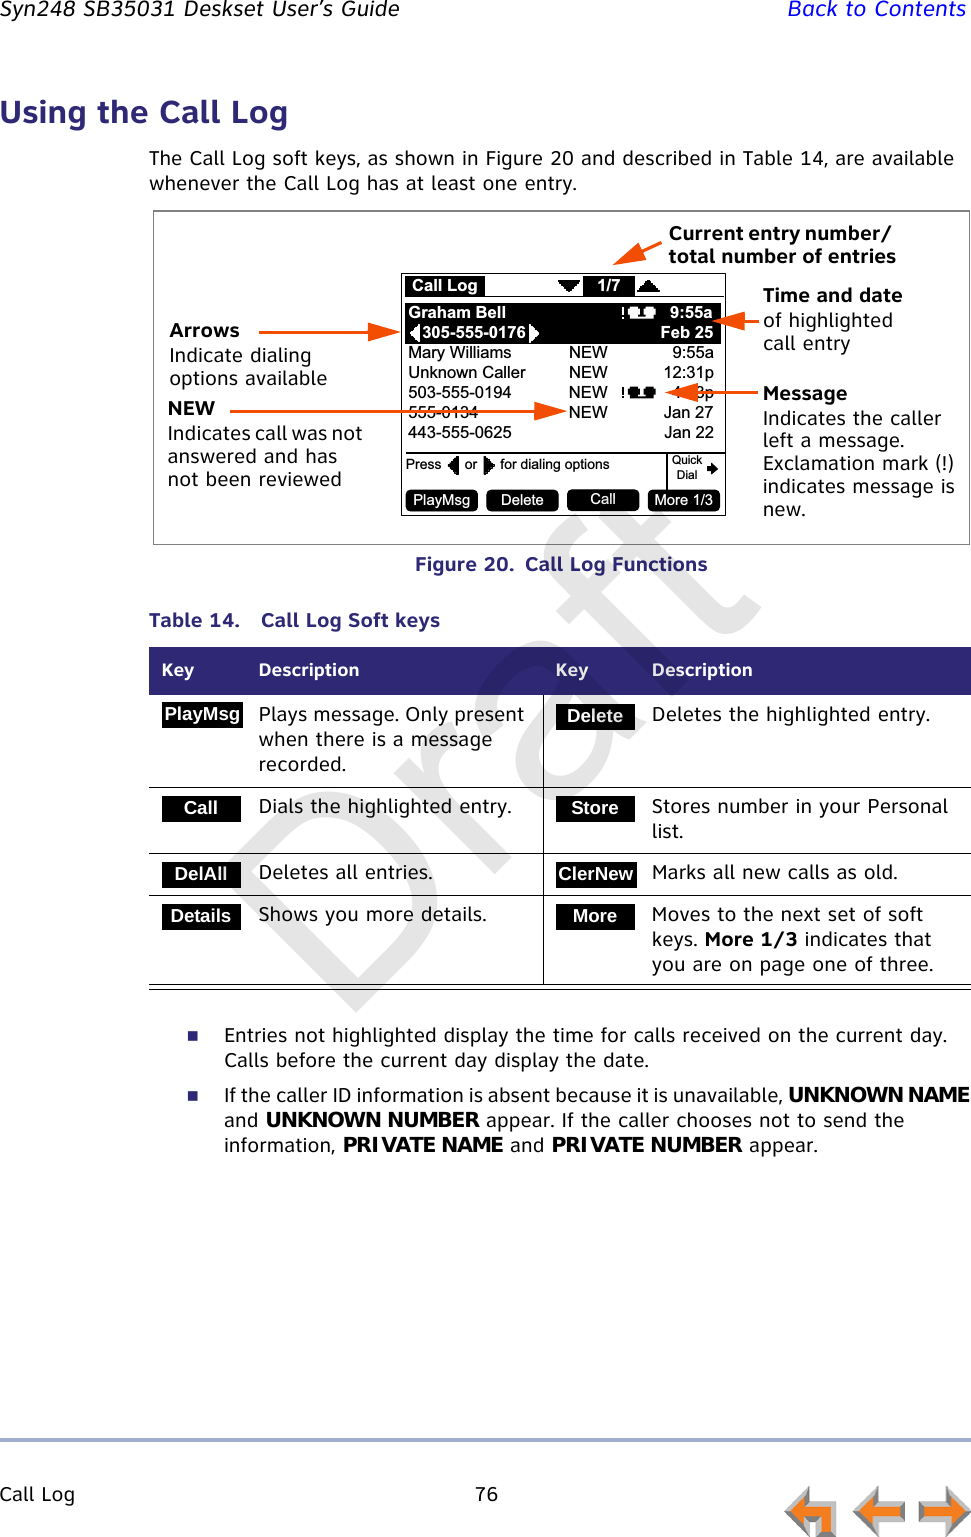
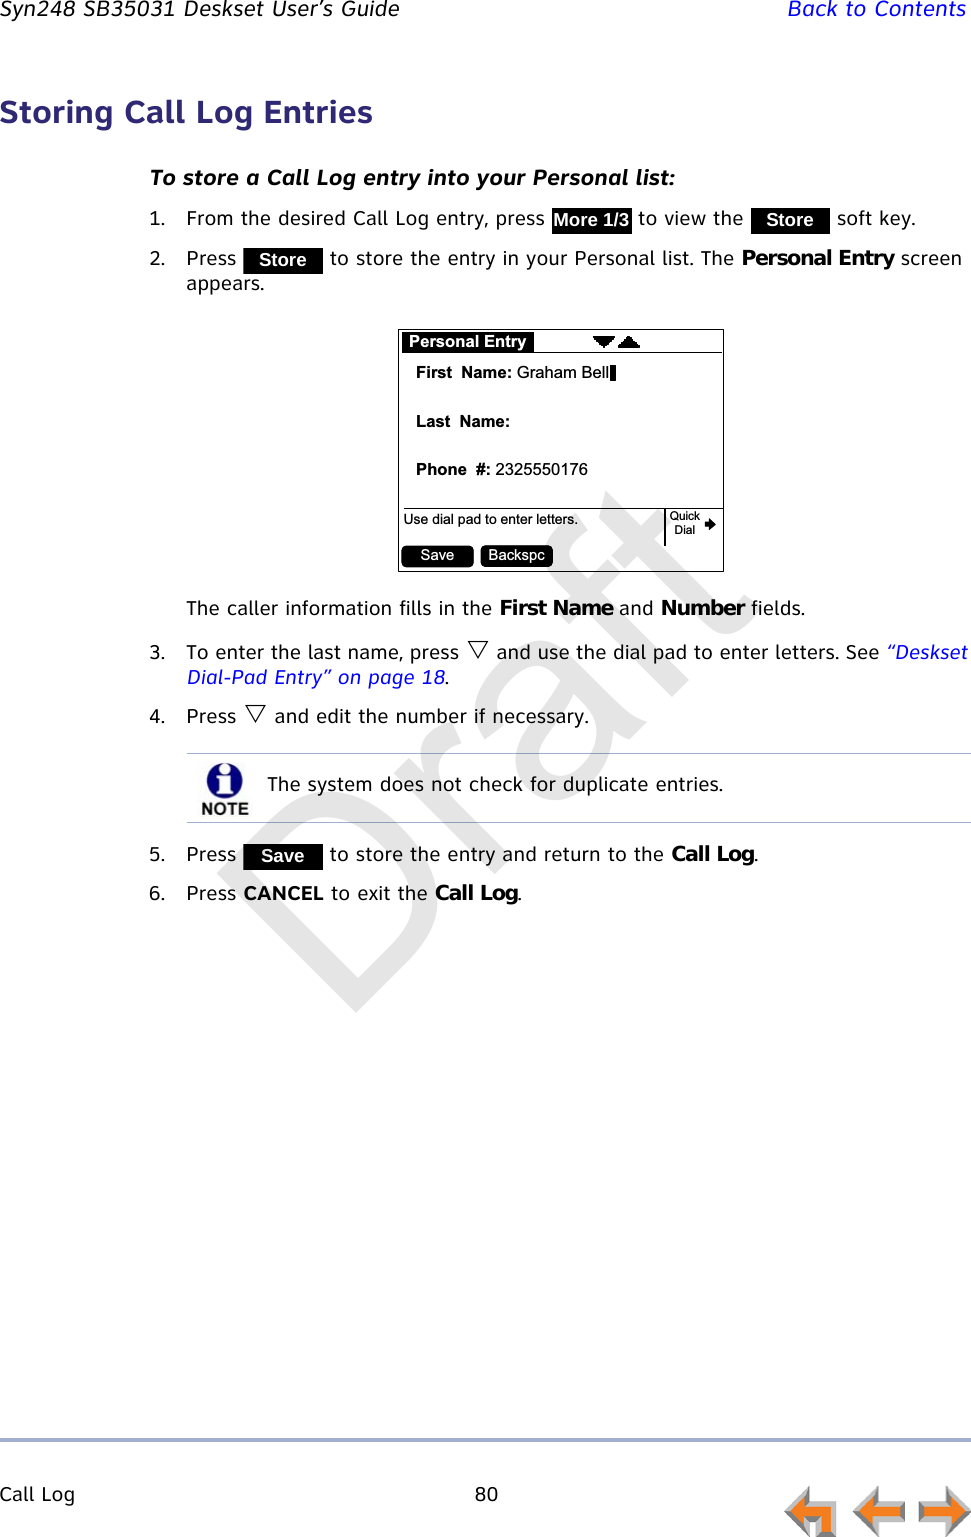
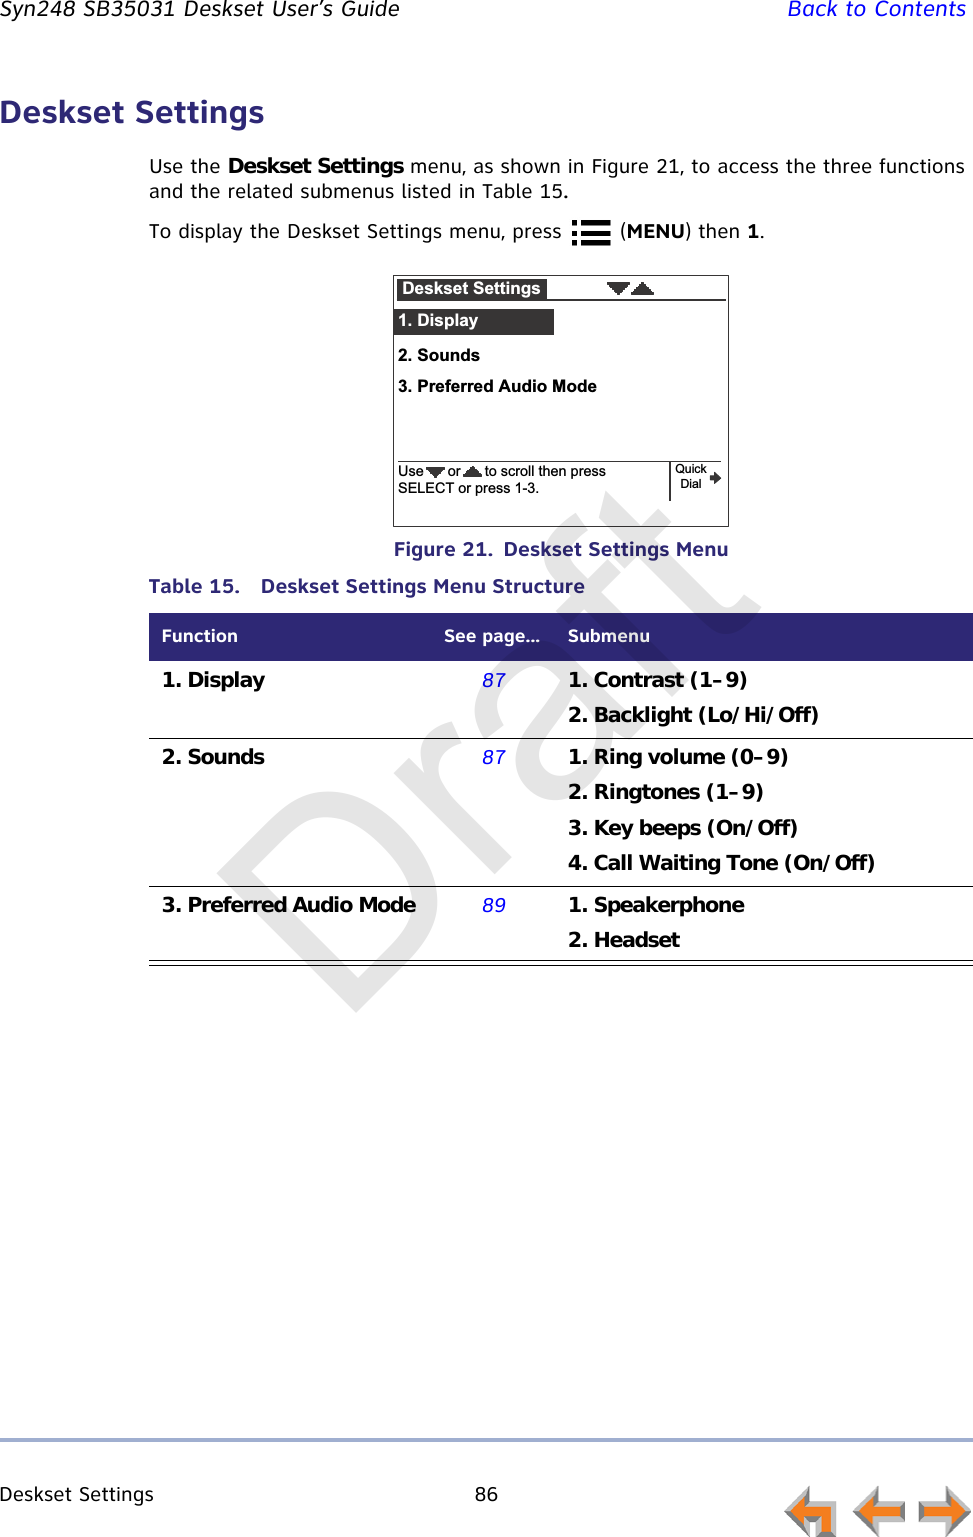
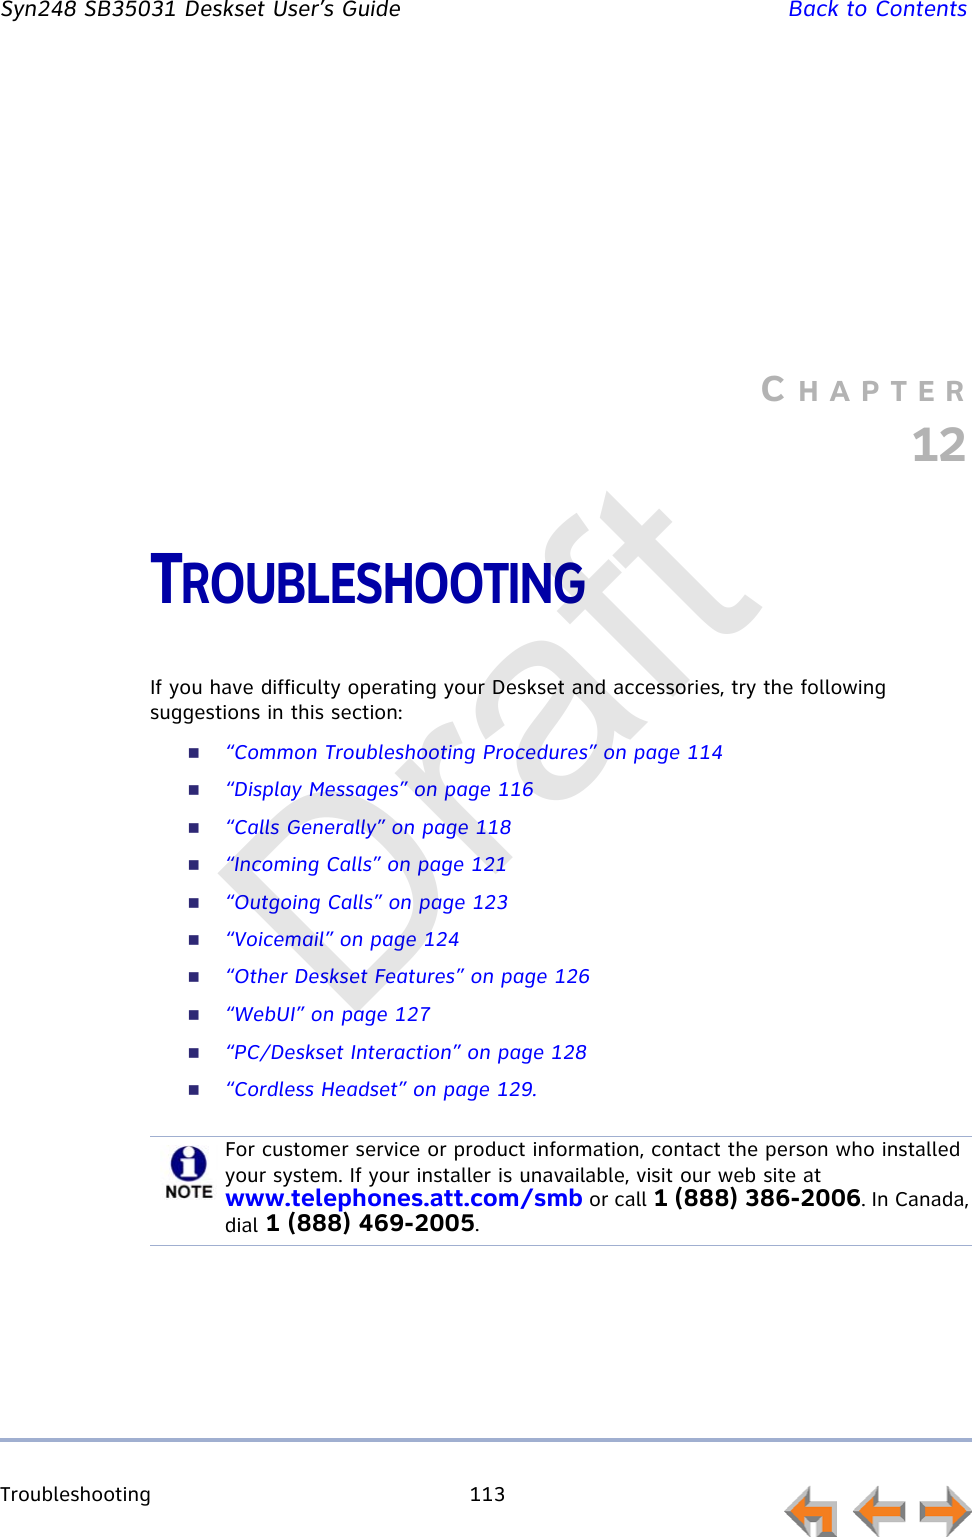
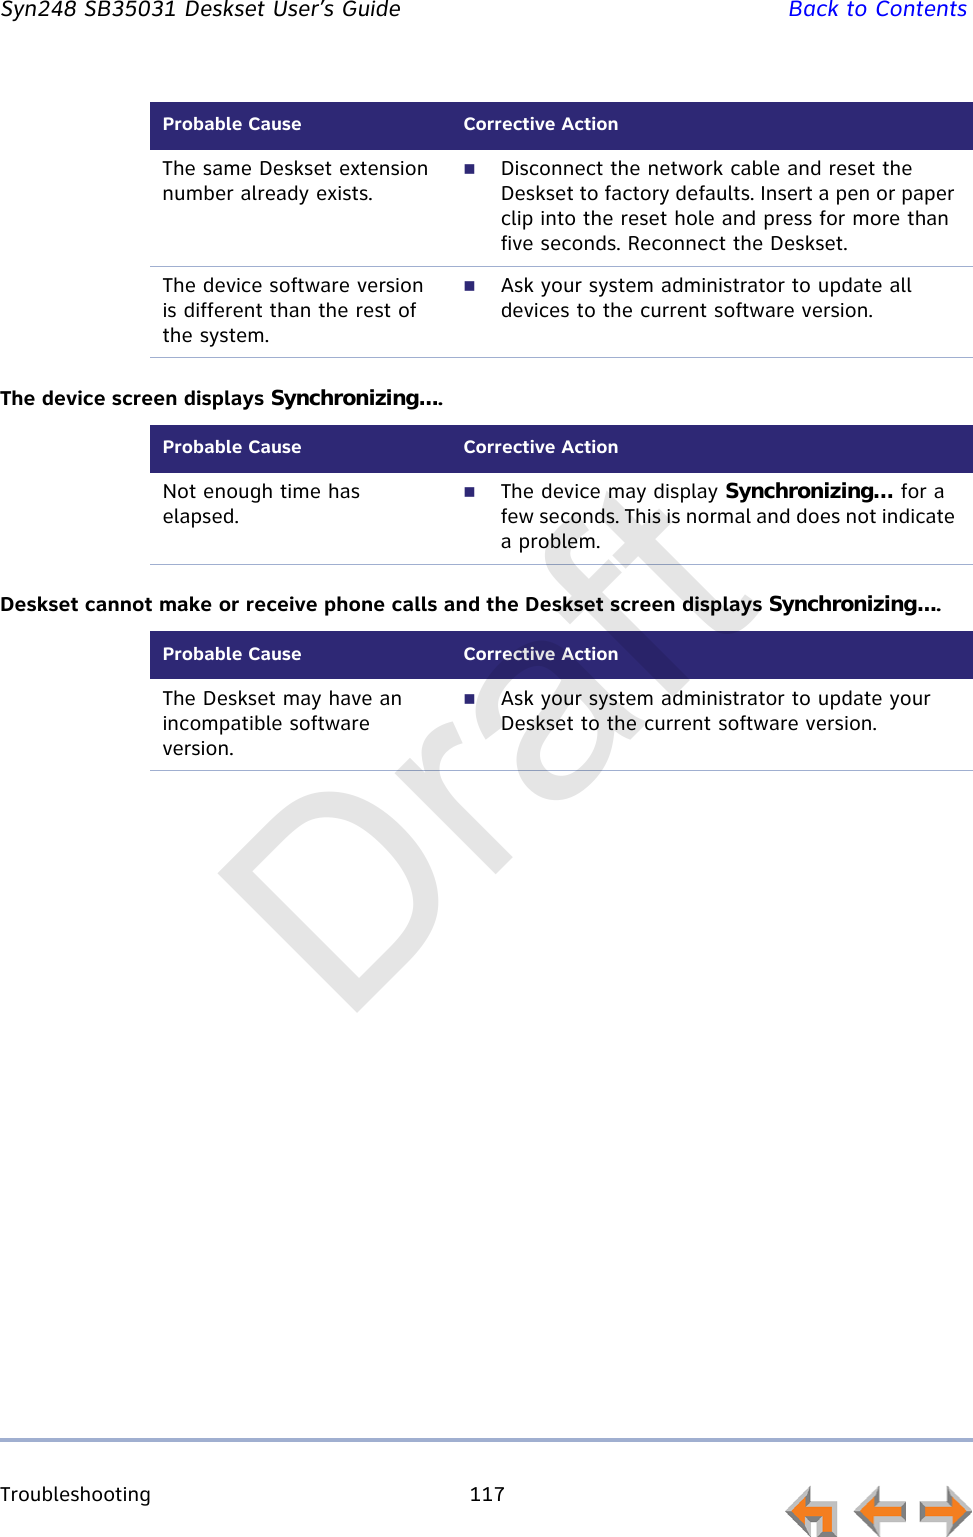
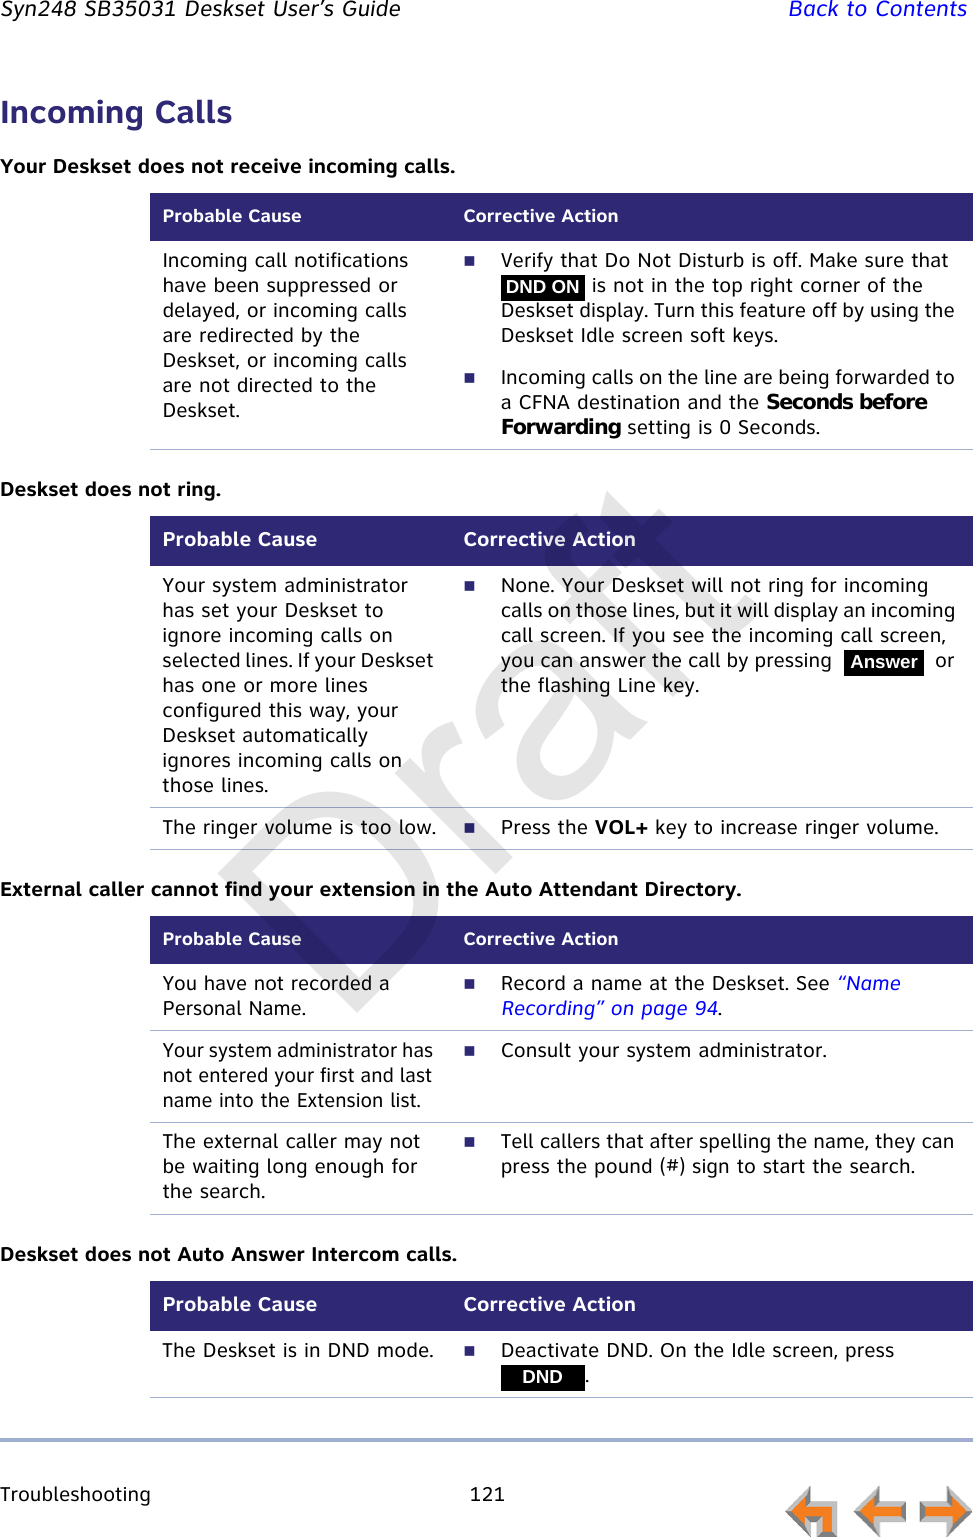
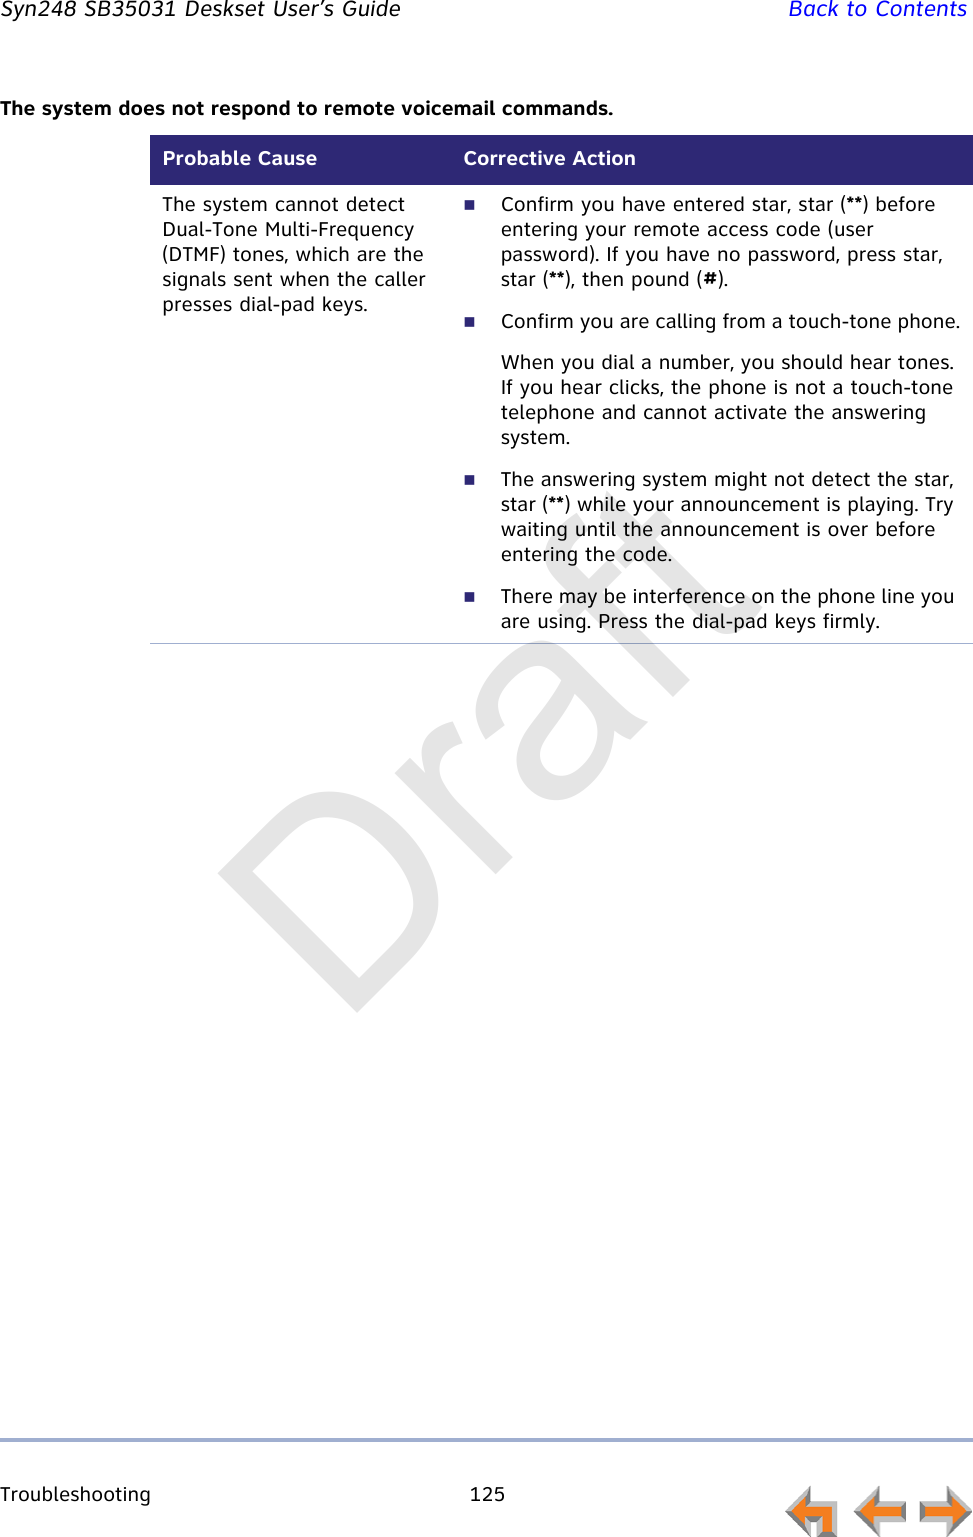
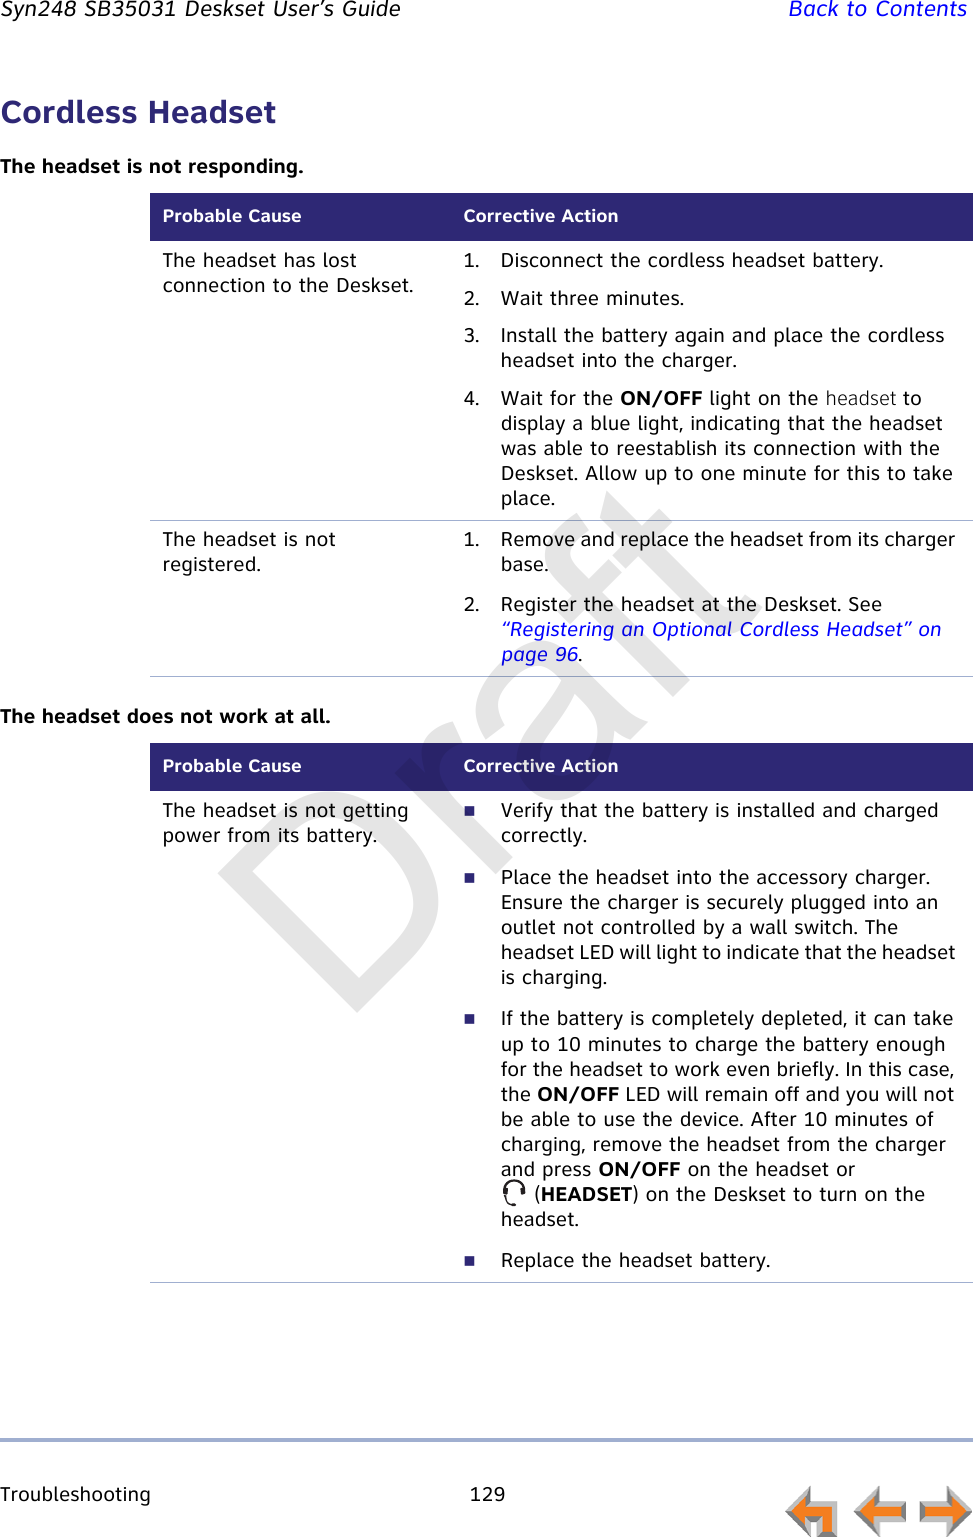
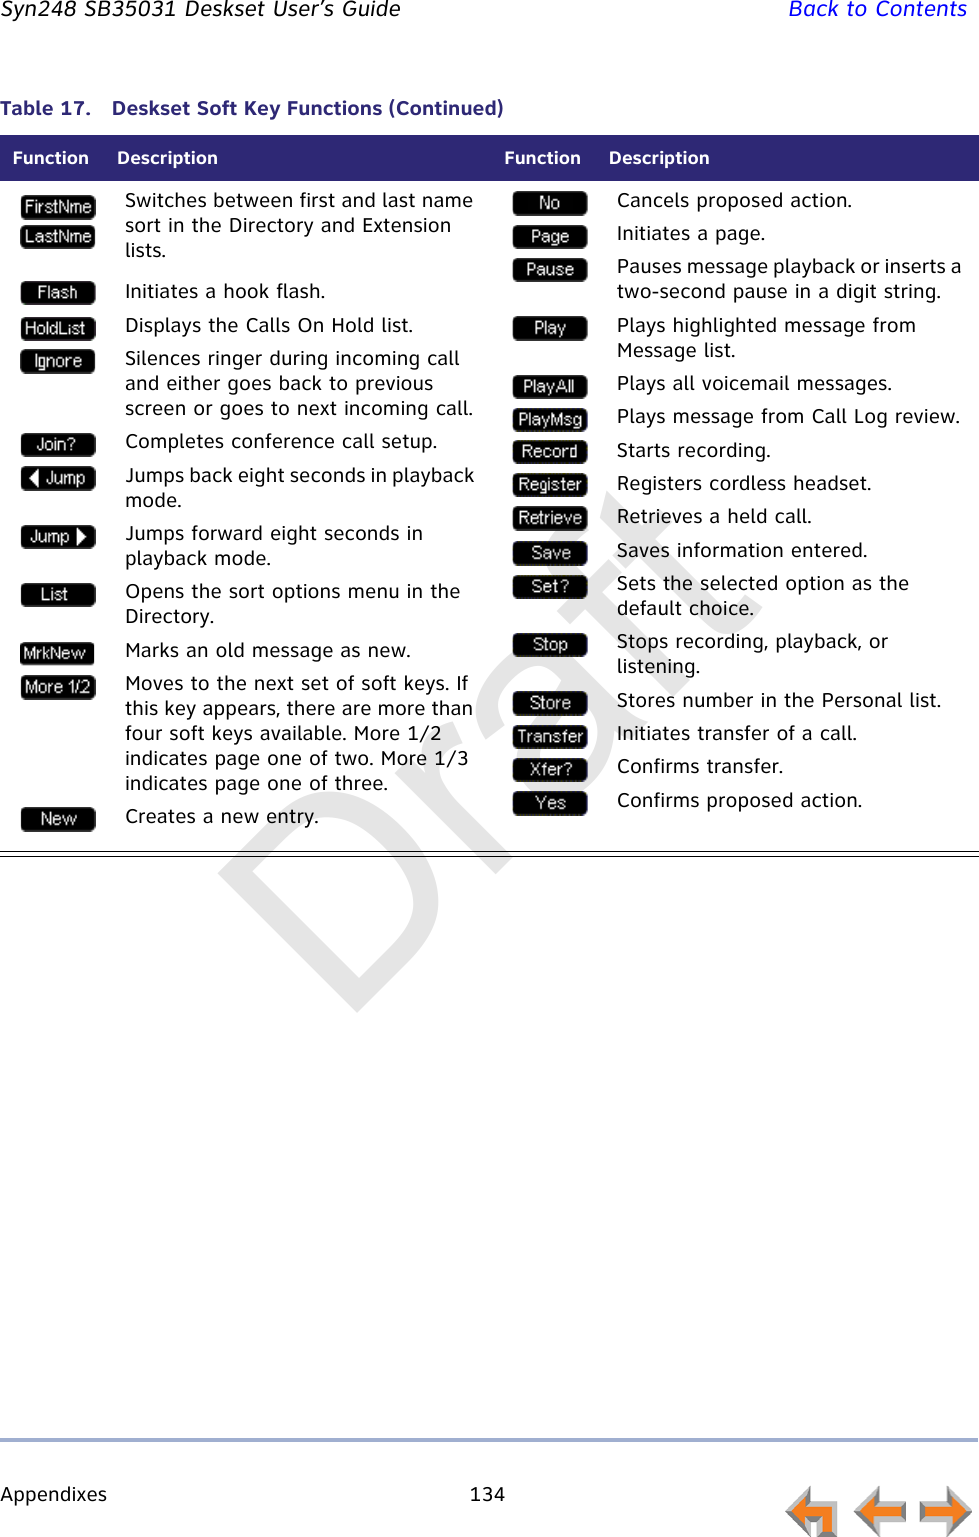
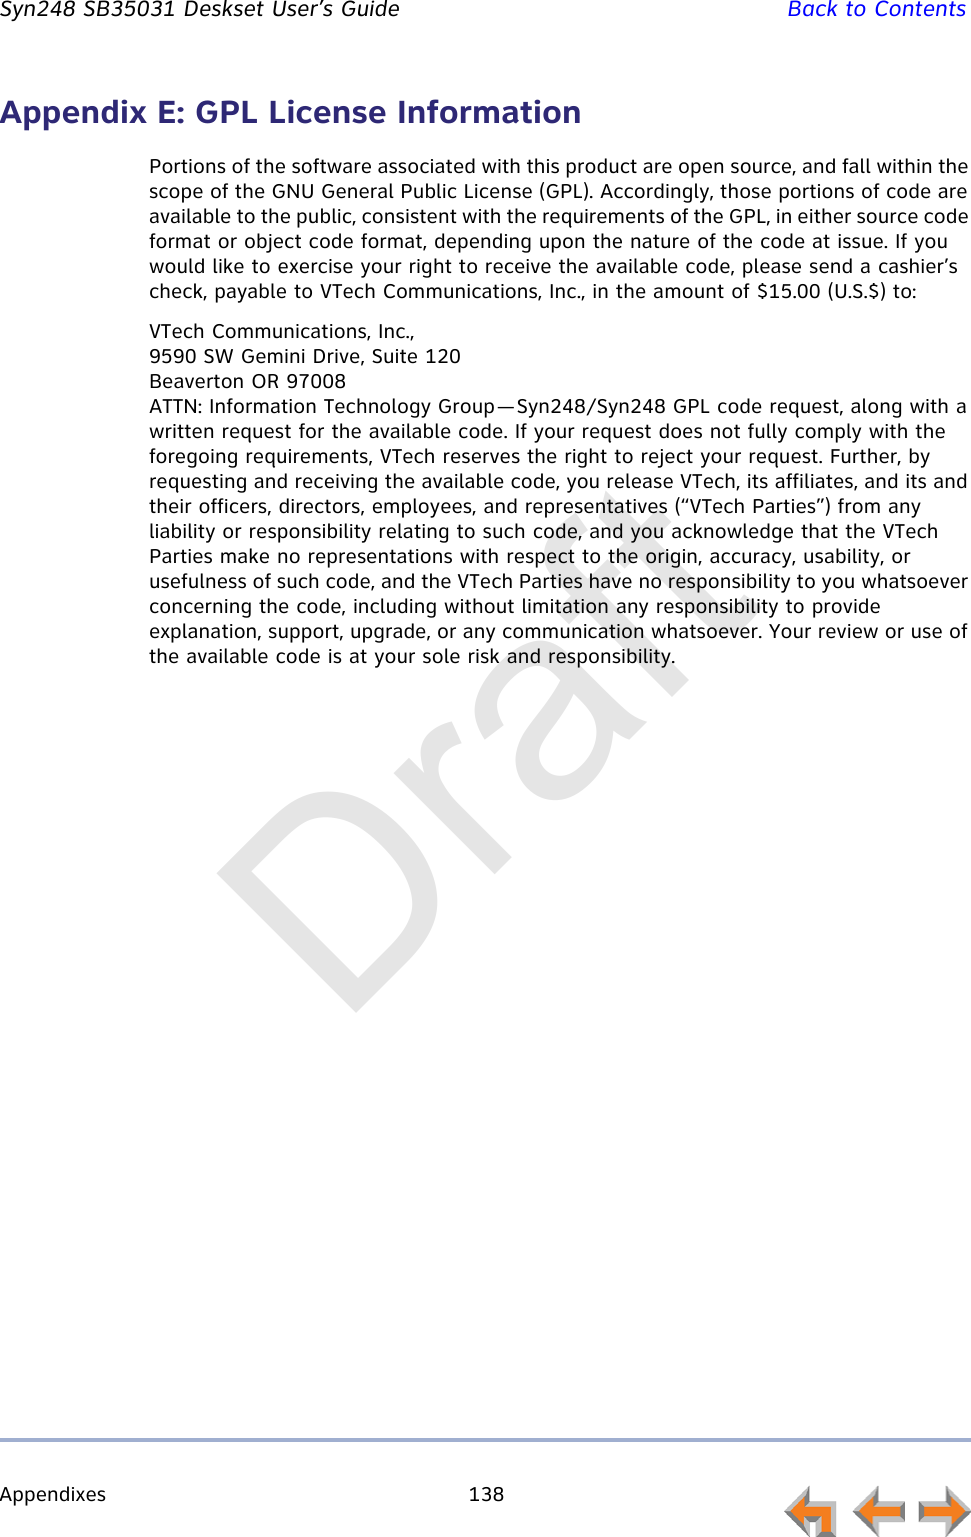
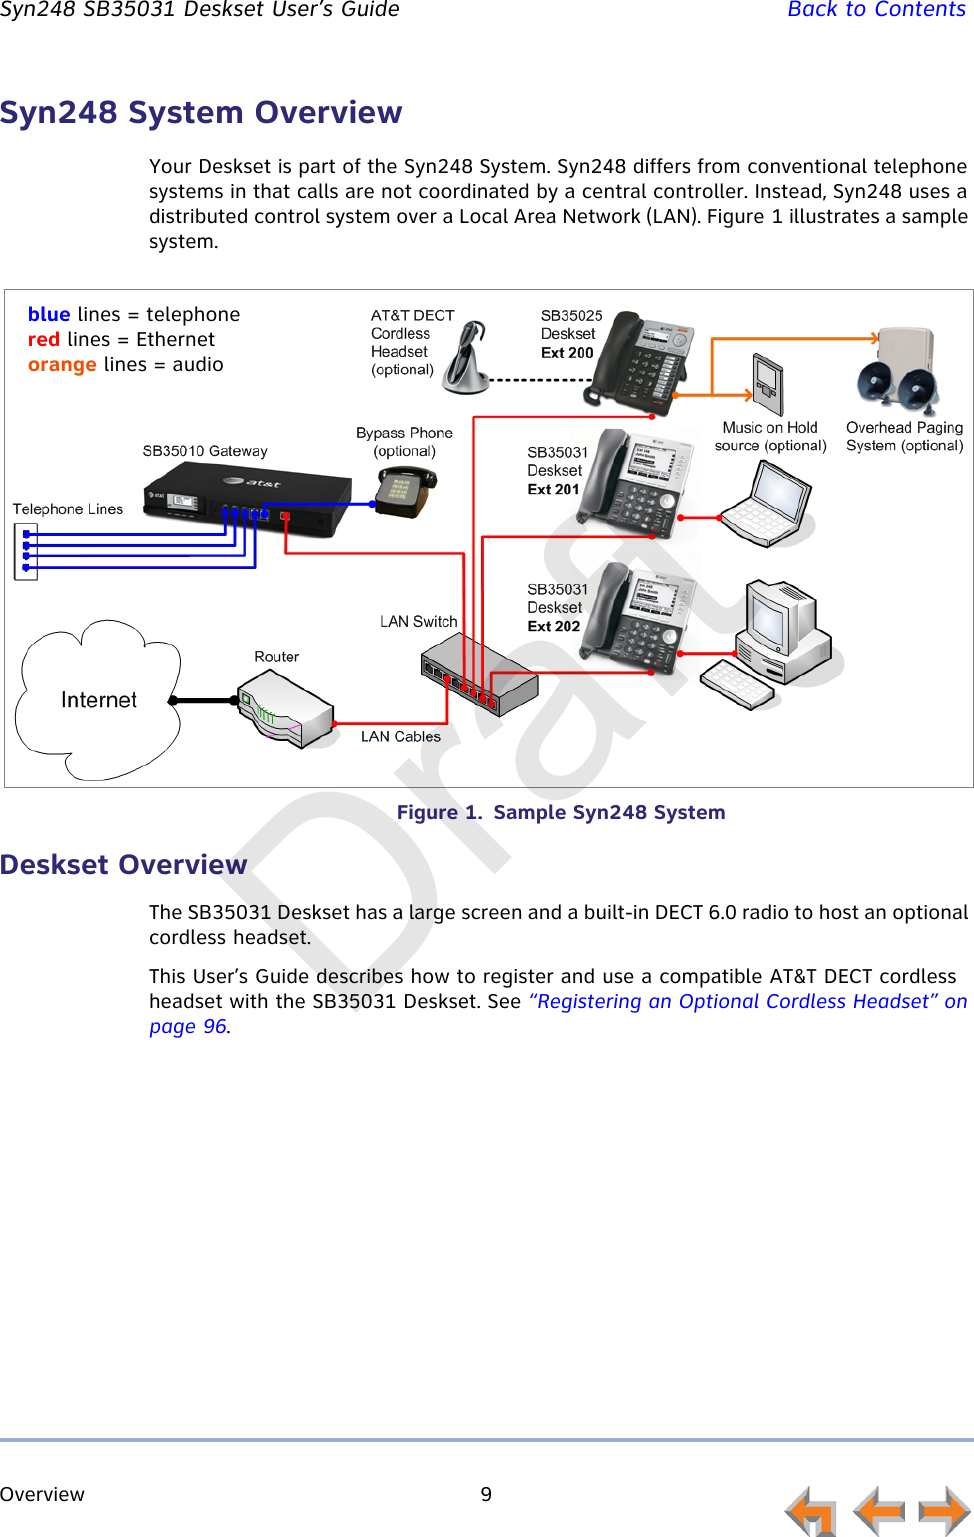
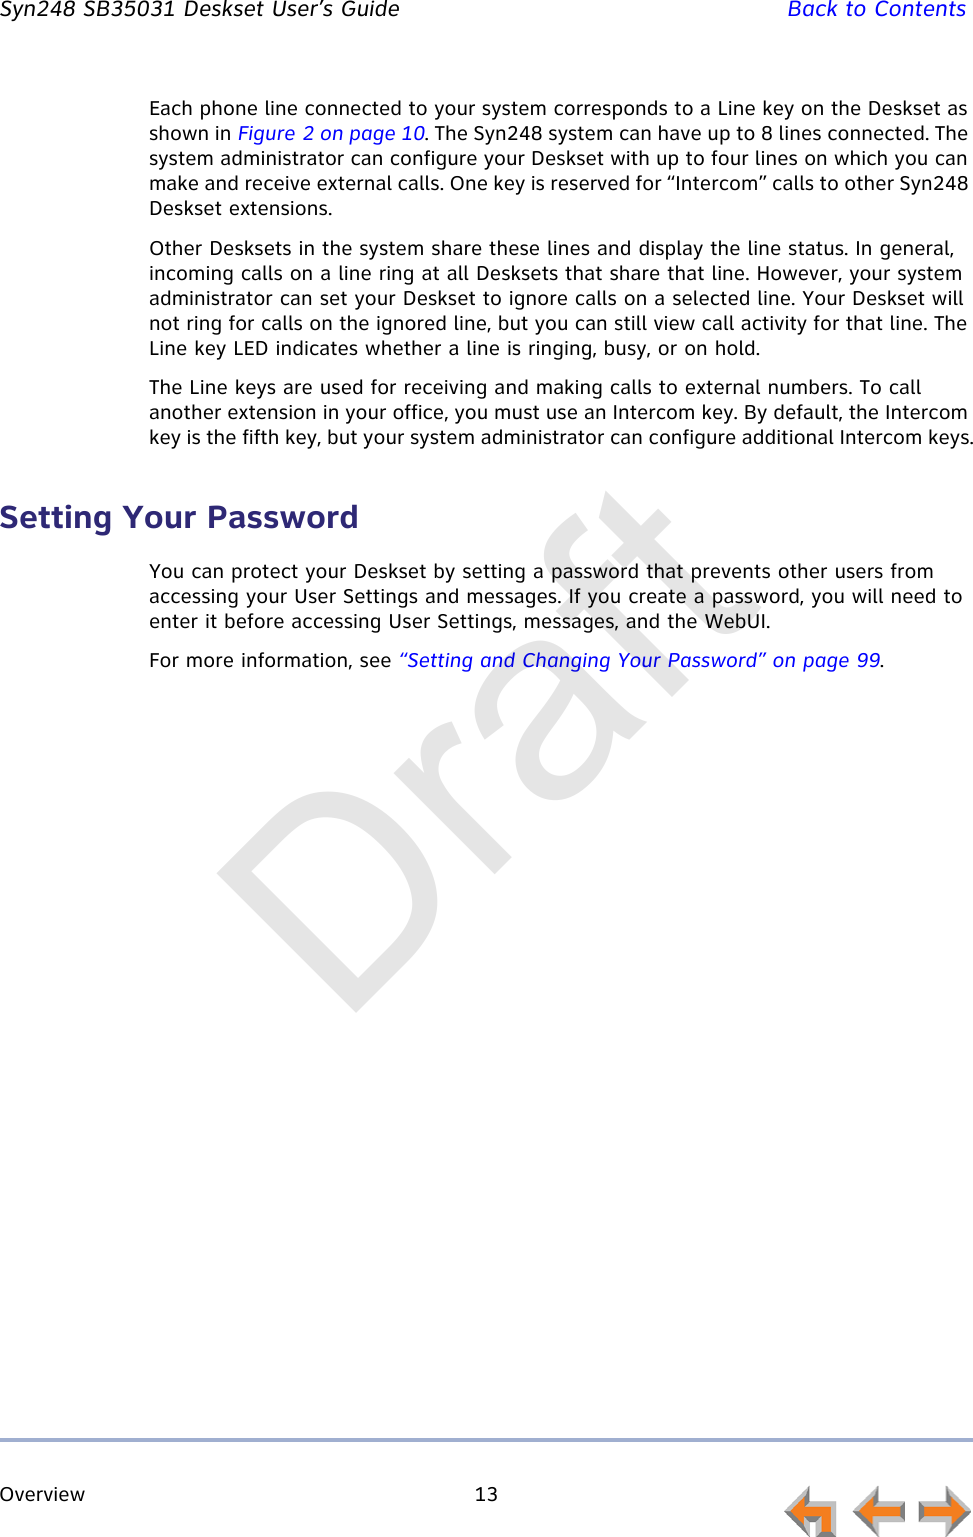
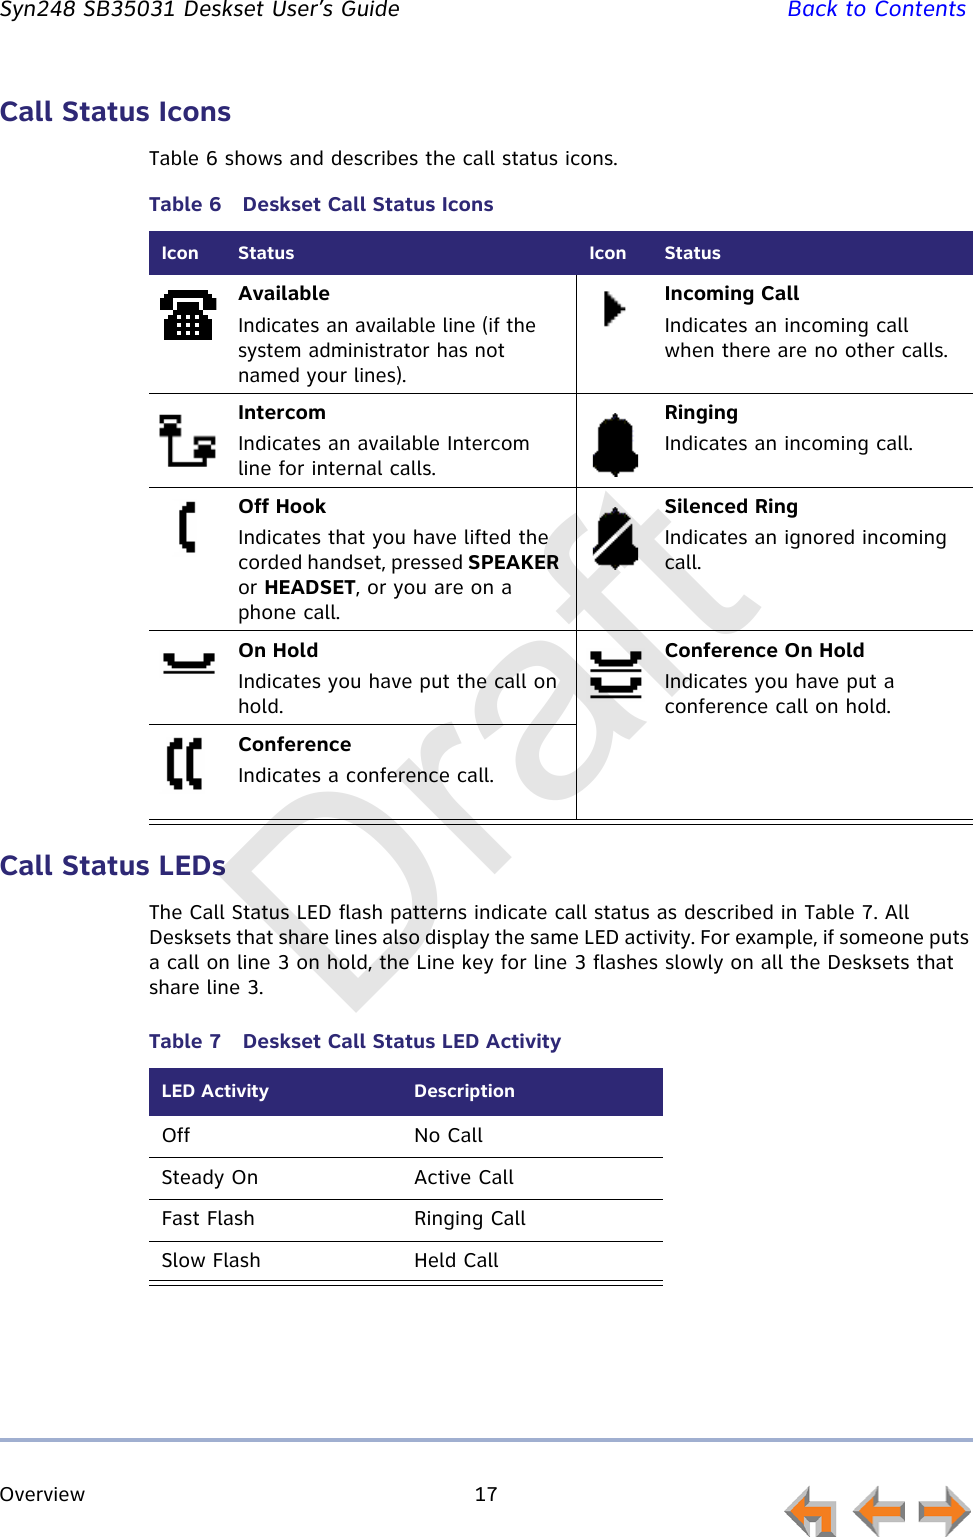
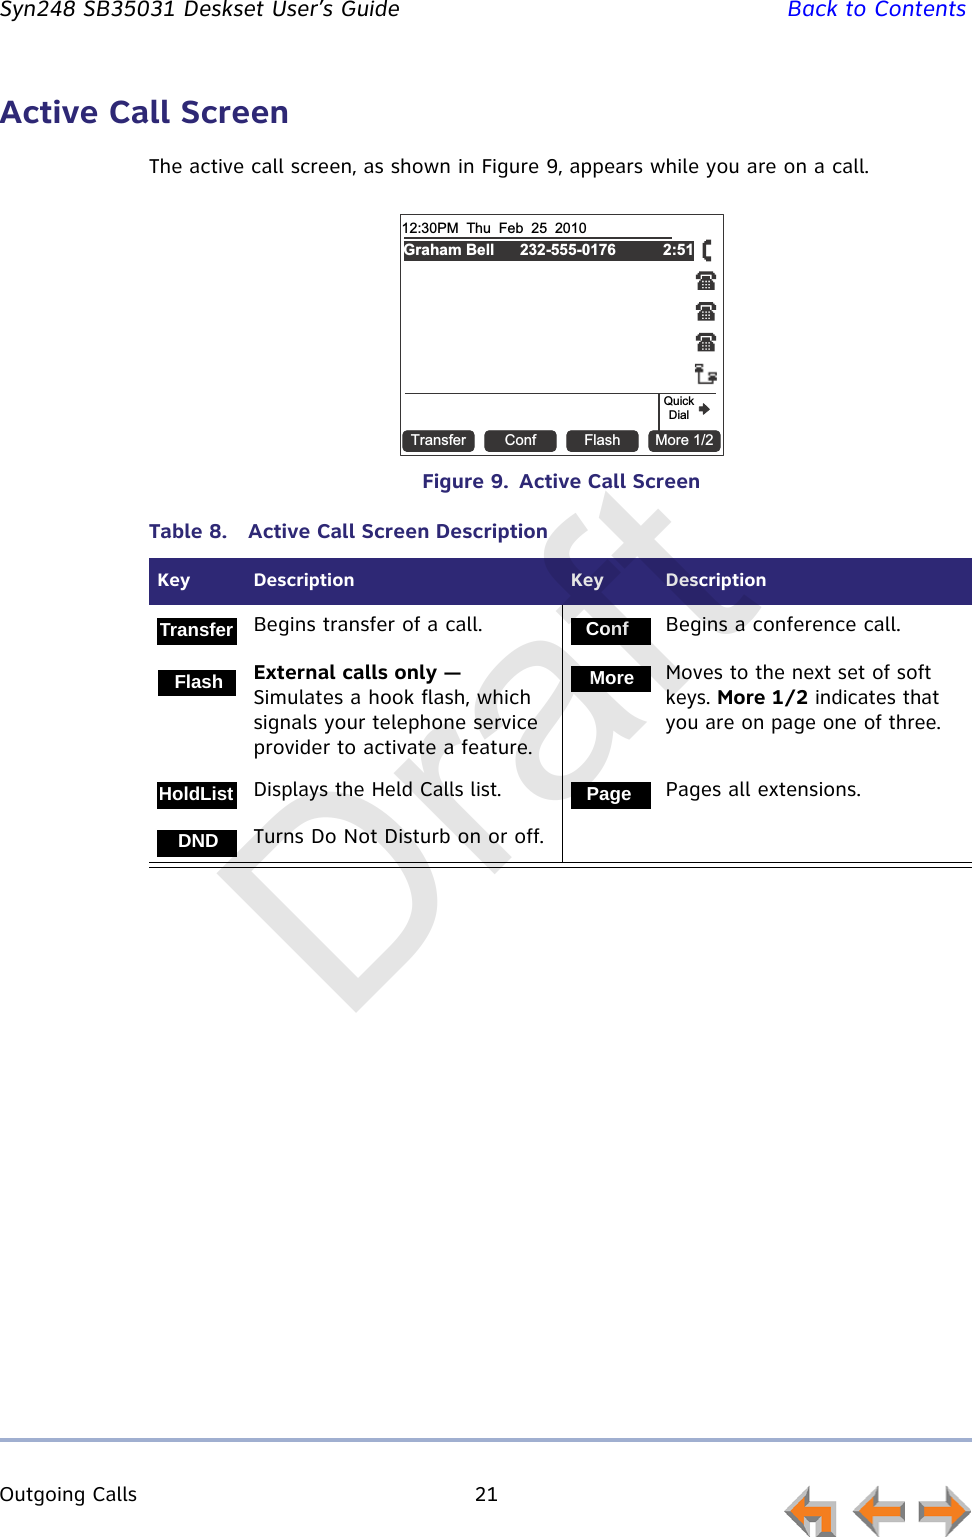
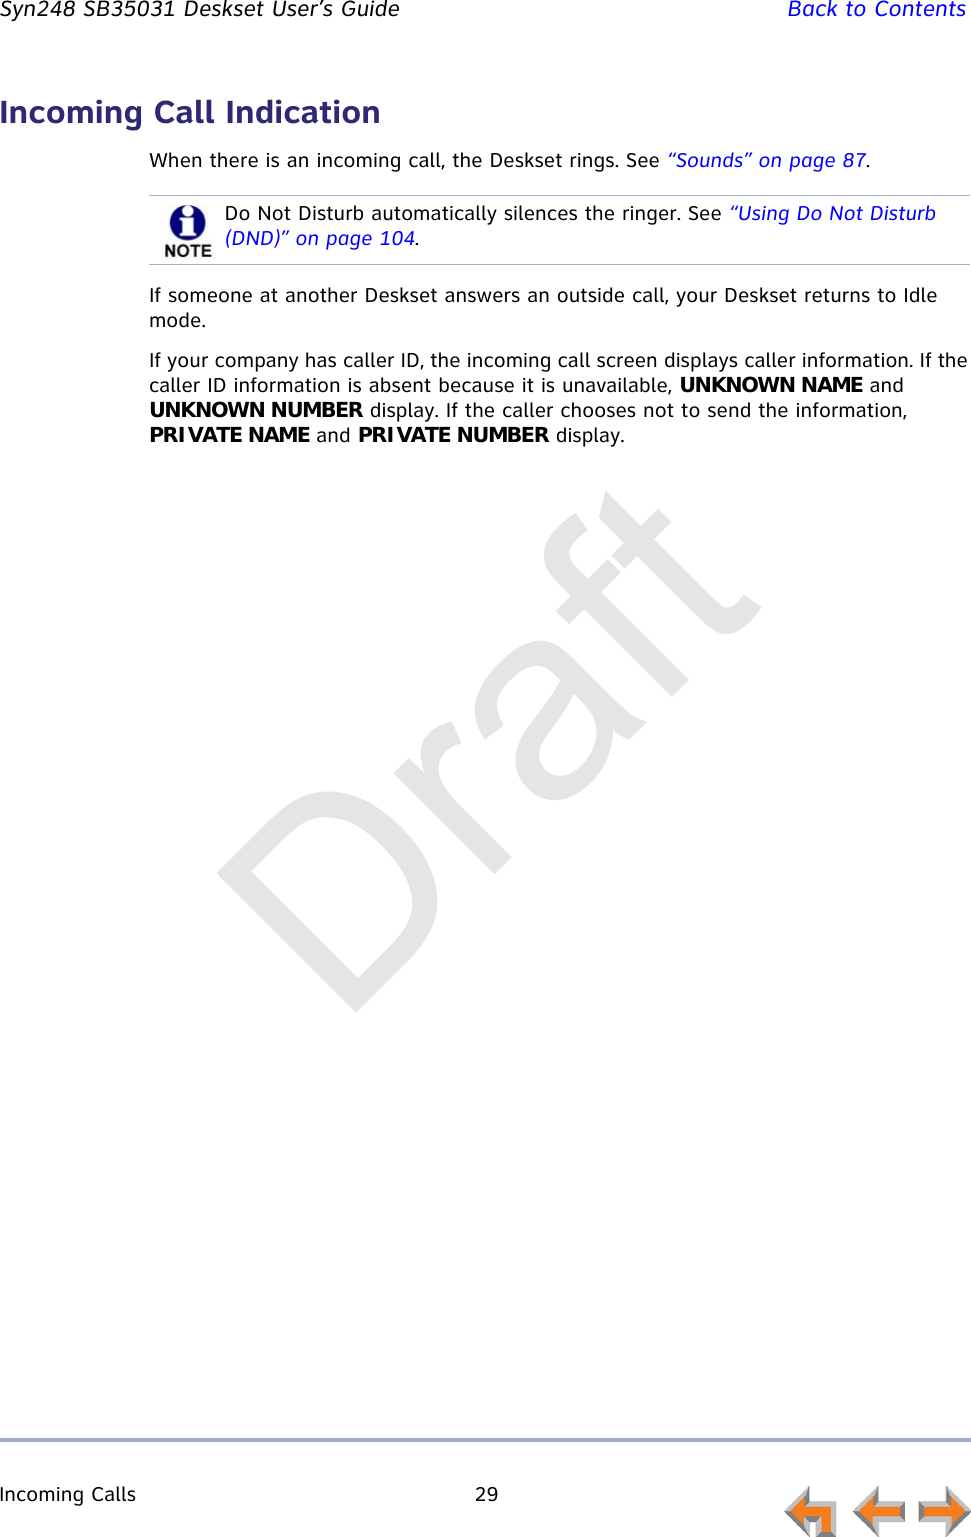
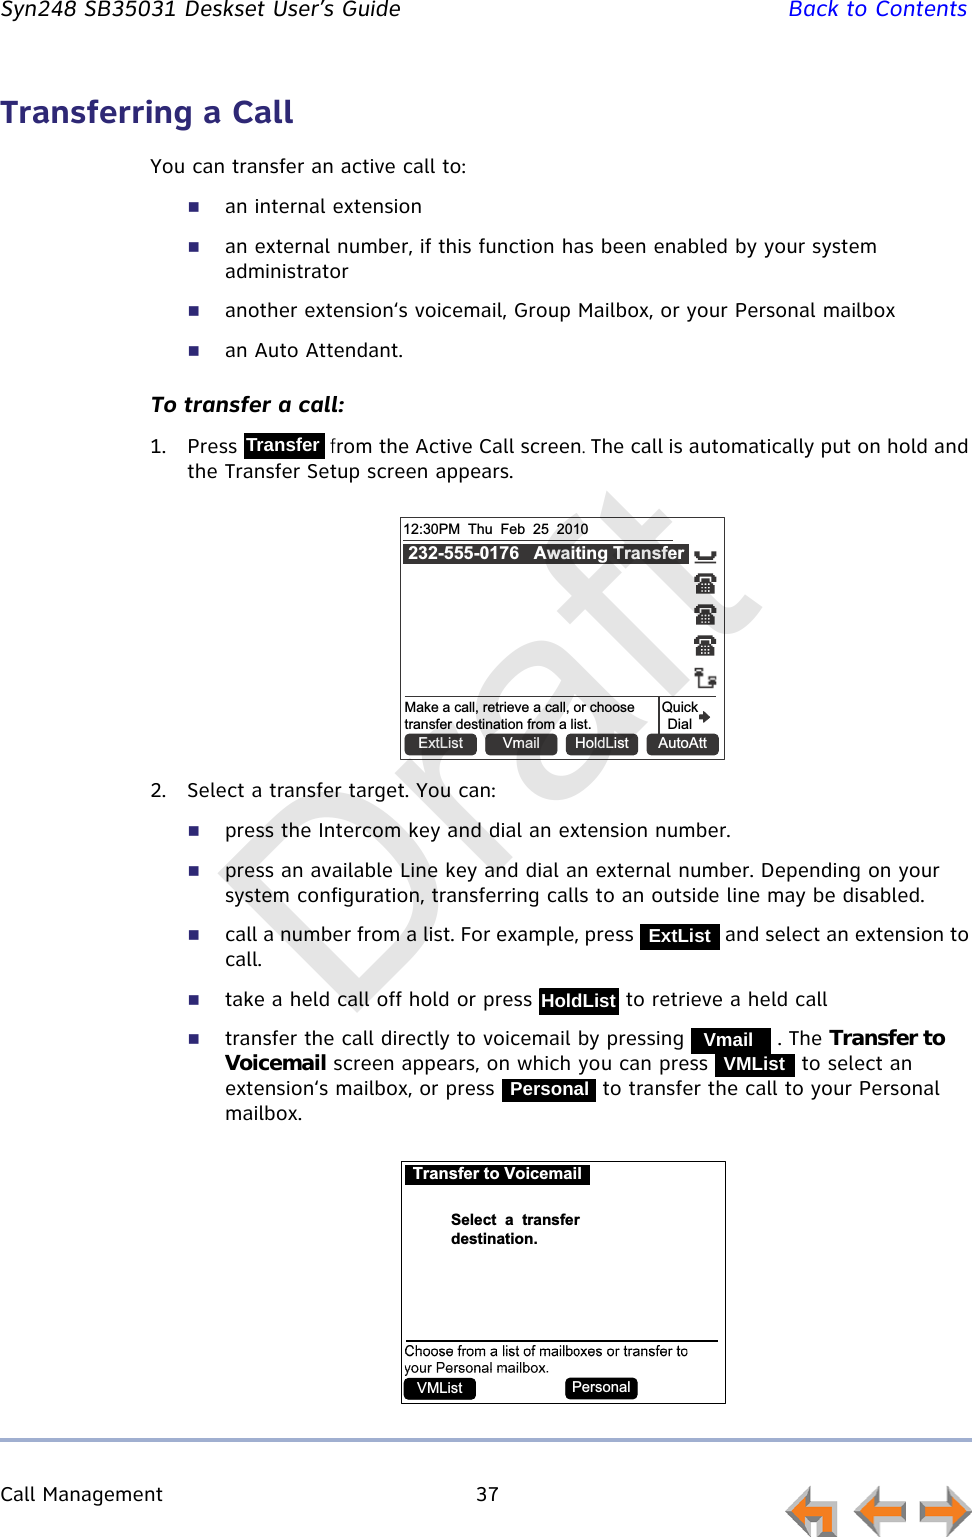
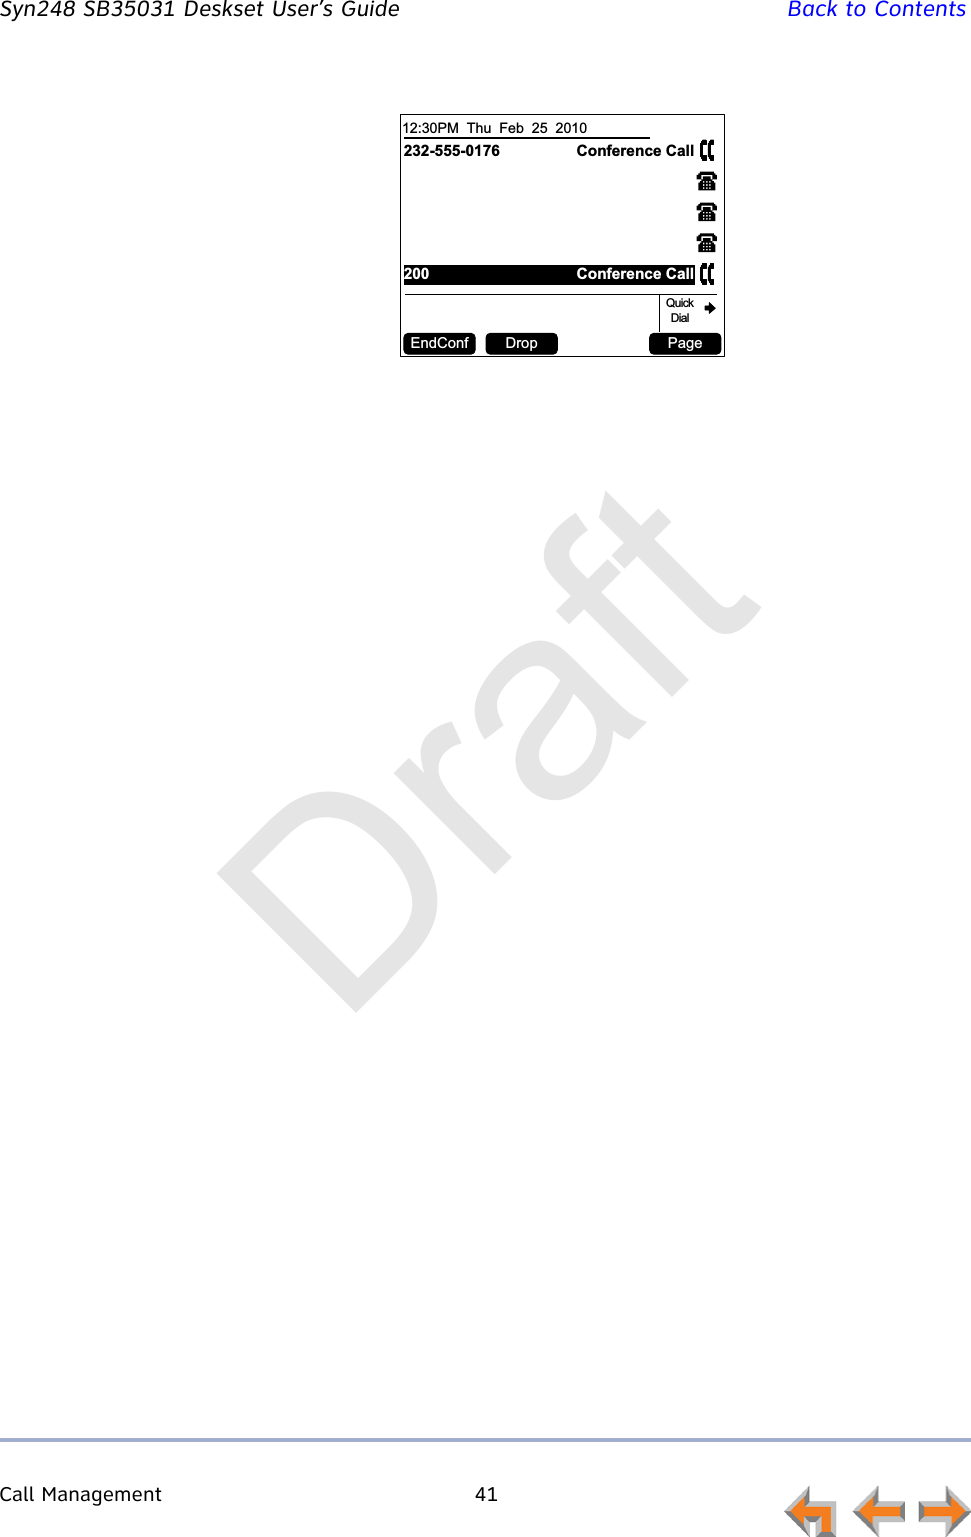
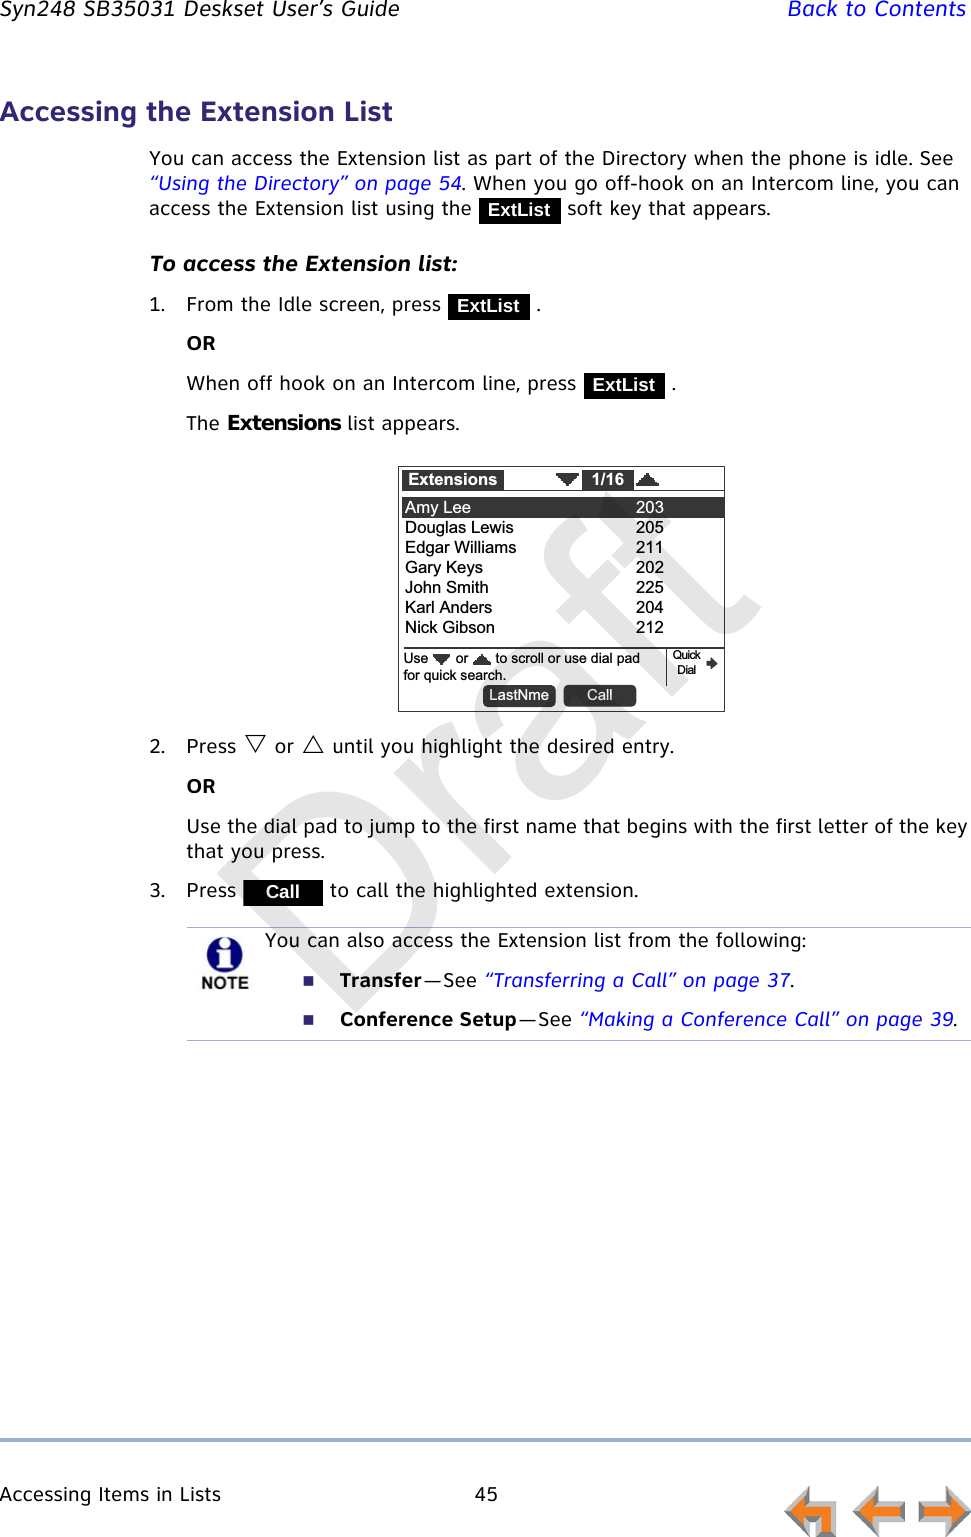
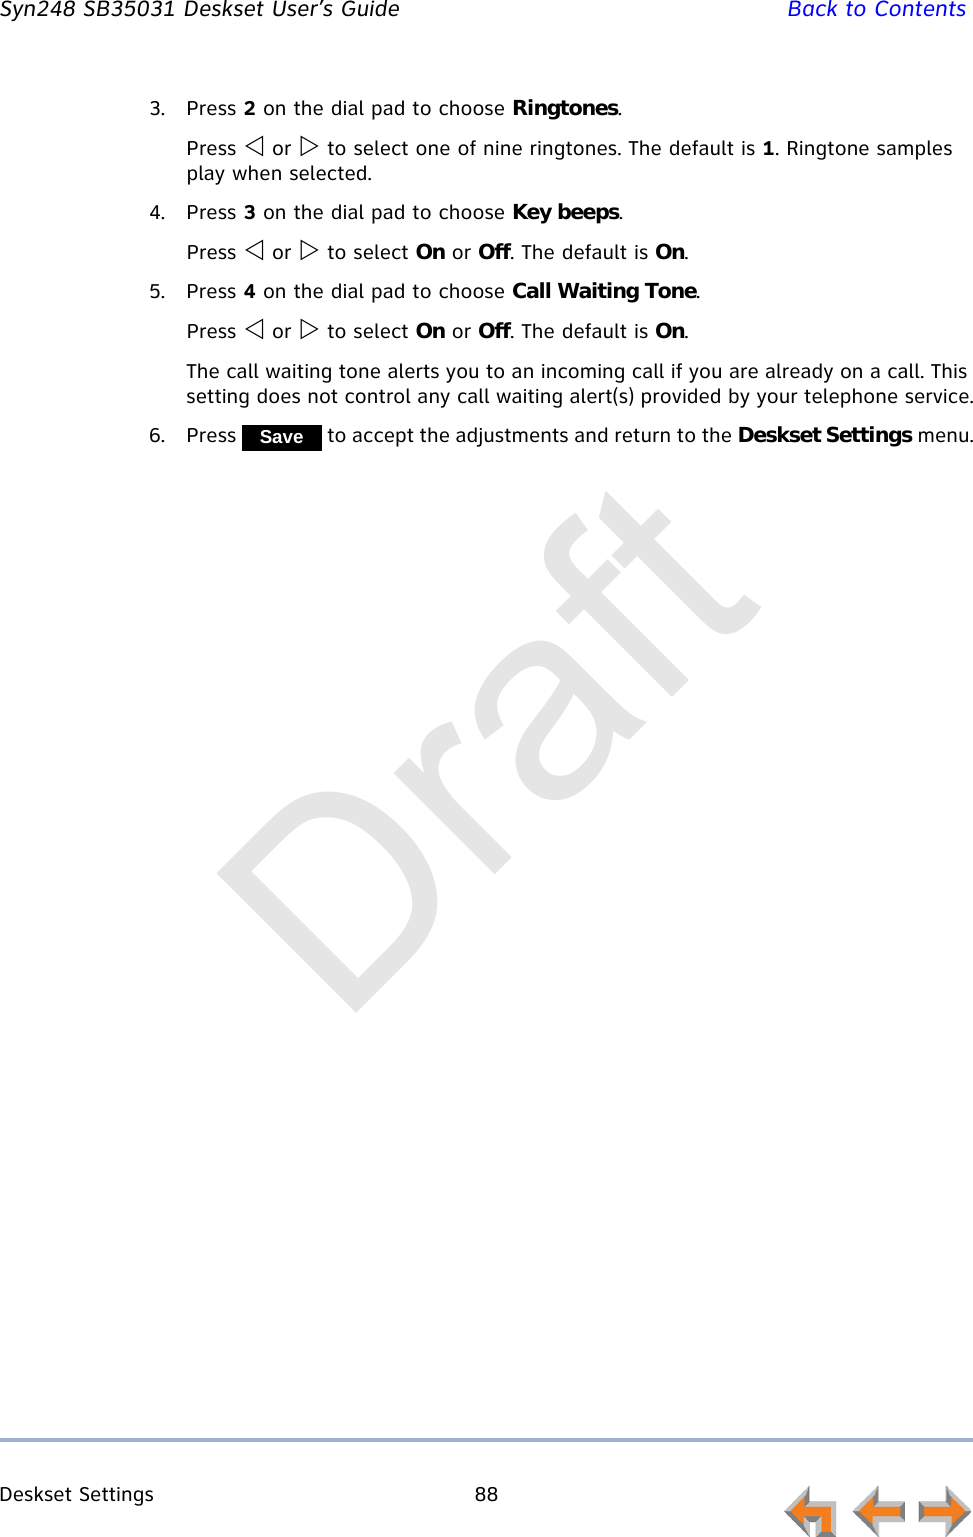
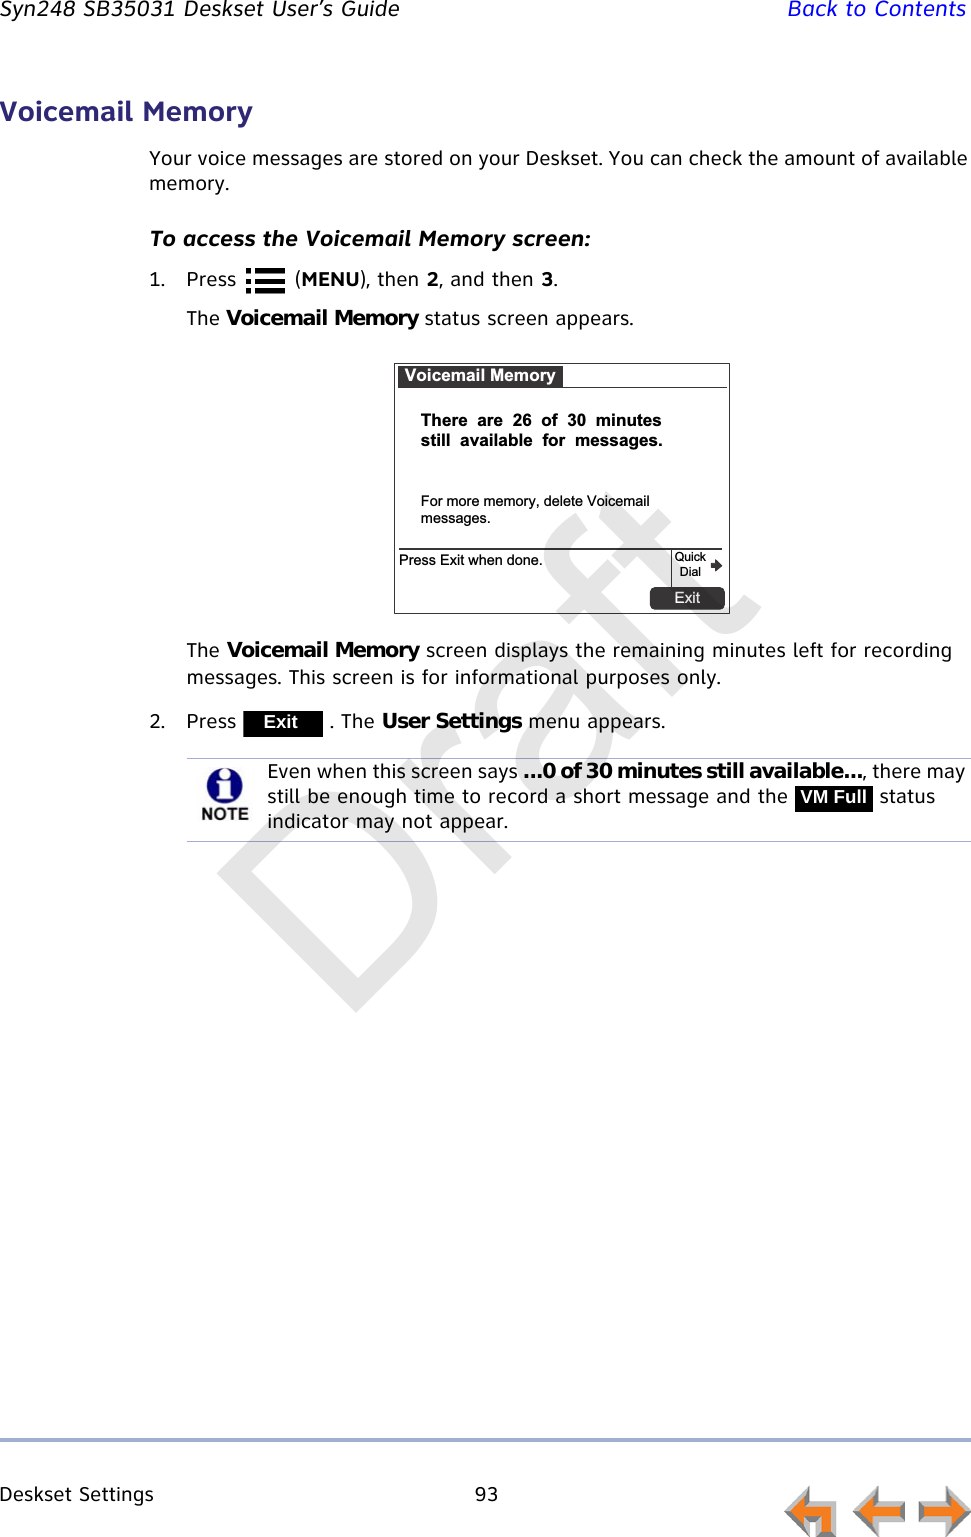
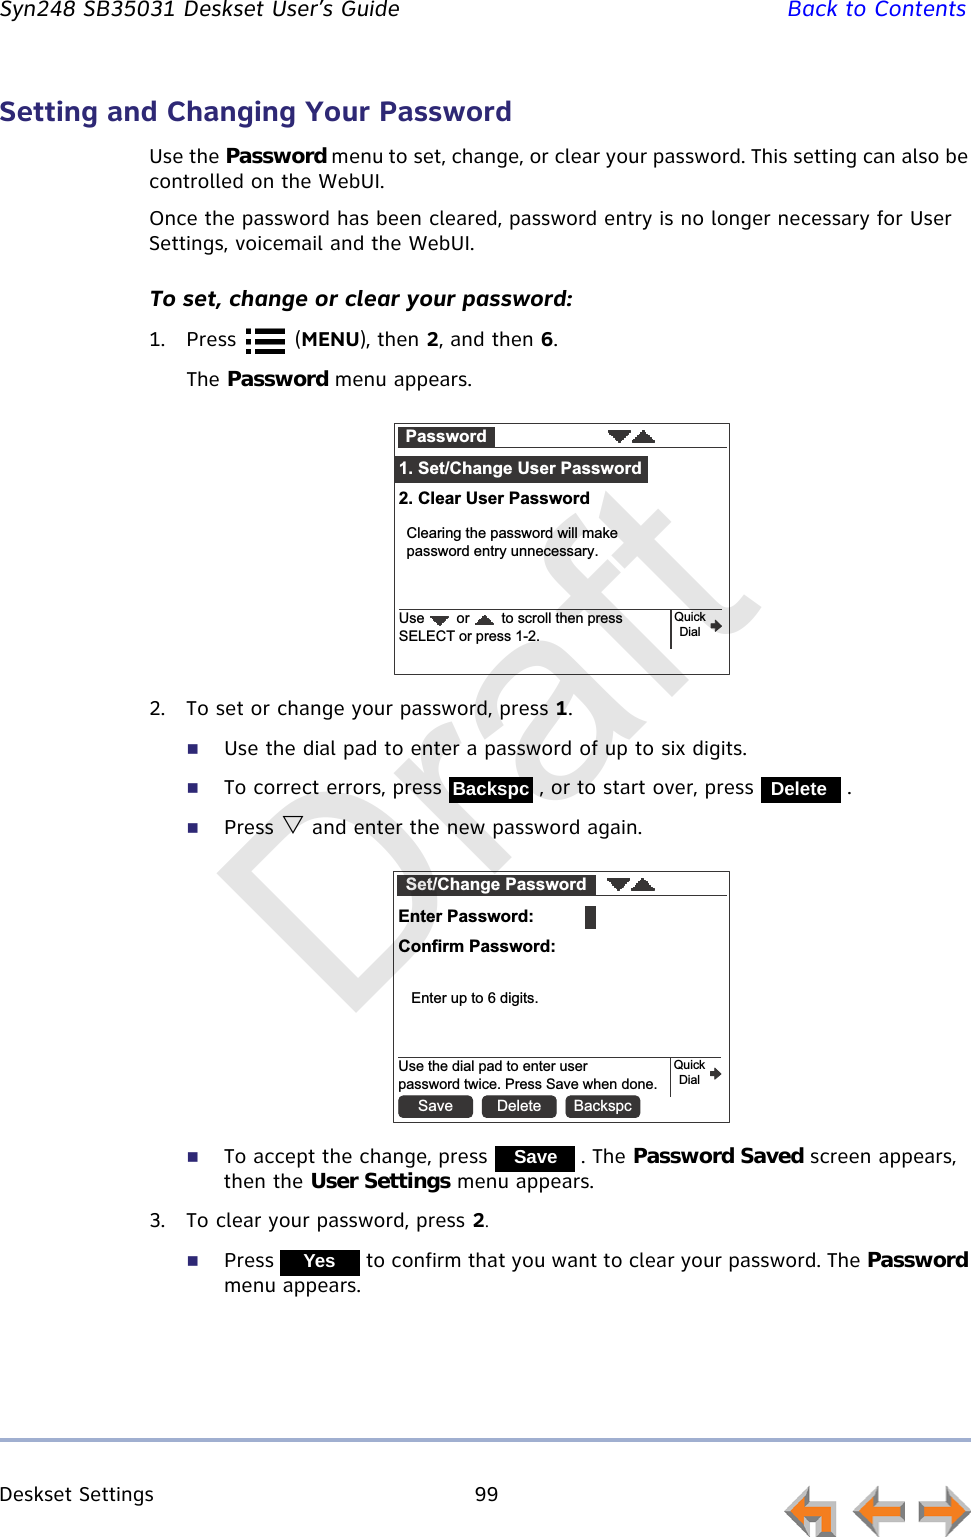
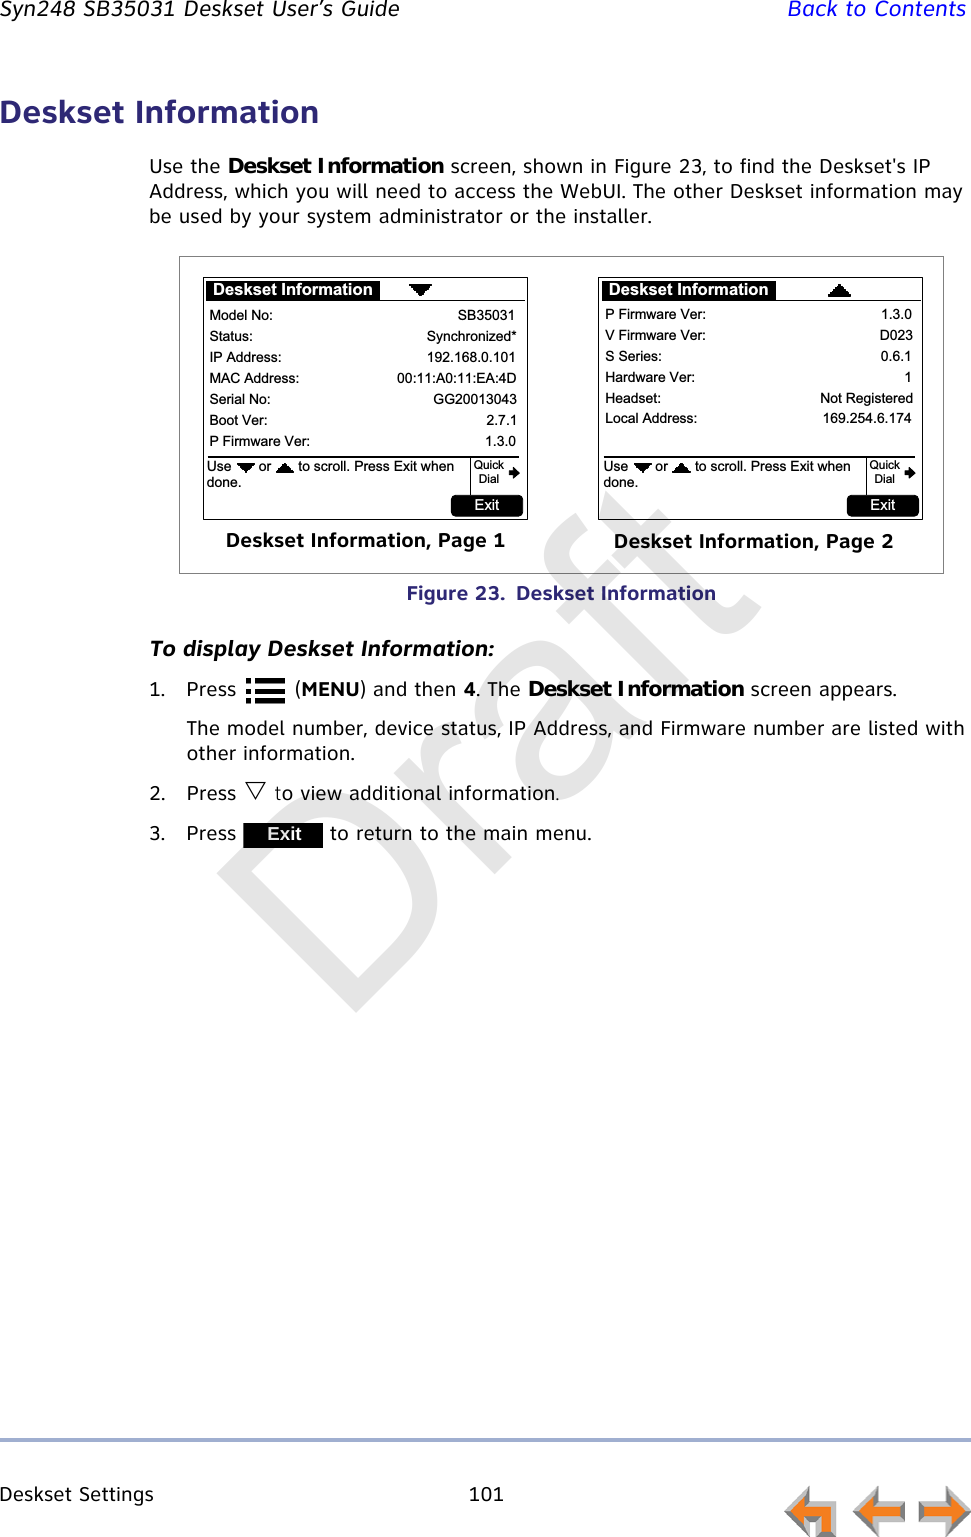
![Deskset Settings 87 Syn248 SB35031 Deskset User’s Guide Back to ContentsDisplayUse the Display menu to adjust your Deskset LCD contrast and backlight.To access the Display menu:1. Press (MENU), then 1, and then 1. The Display menu appears.2. Press 1 to set the desired Contrast level.Press or to adjust the level from 1 to 9. The default is 5.3. Press 2 to set the desired Backlight level.Press or to cycle through Hi, Lo, or Off. The default is Hi.4. Press to accept the adjustments and return to the Deskset Settings menu.SoundsUse the Sounds menu to set the ring volume, delay the beginning of audible ringing, pick one of nine ringtones, or turn key beeps on and off.To access the Sounds menu:1. Press (MENU), then 1, and then 2. The Sounds menu appears.2. Press 1 on the dial pad to choose Ring Volume.Press or to adjust the Ring Volume from 0 to 9. The default is 3. A ringer sample plays.To turn off the ringer, decrease the volume to zero. Display1. Contrast 52. Backlight [Hi]Use or to move highlight.Use or to cycle through options.SaveQuick DialSaveSounds1. Ring volume 1Use or to move highlight.Use or to cycle through options.Save2. Ringtones [1]3. Key Beeps [Off]Quick Dial4. Call Waiting Tone [On]Draft](https://usermanual.wiki/VTech-Telecommunications/80-9300-00/User-Guide-2072387-Page-87.png)
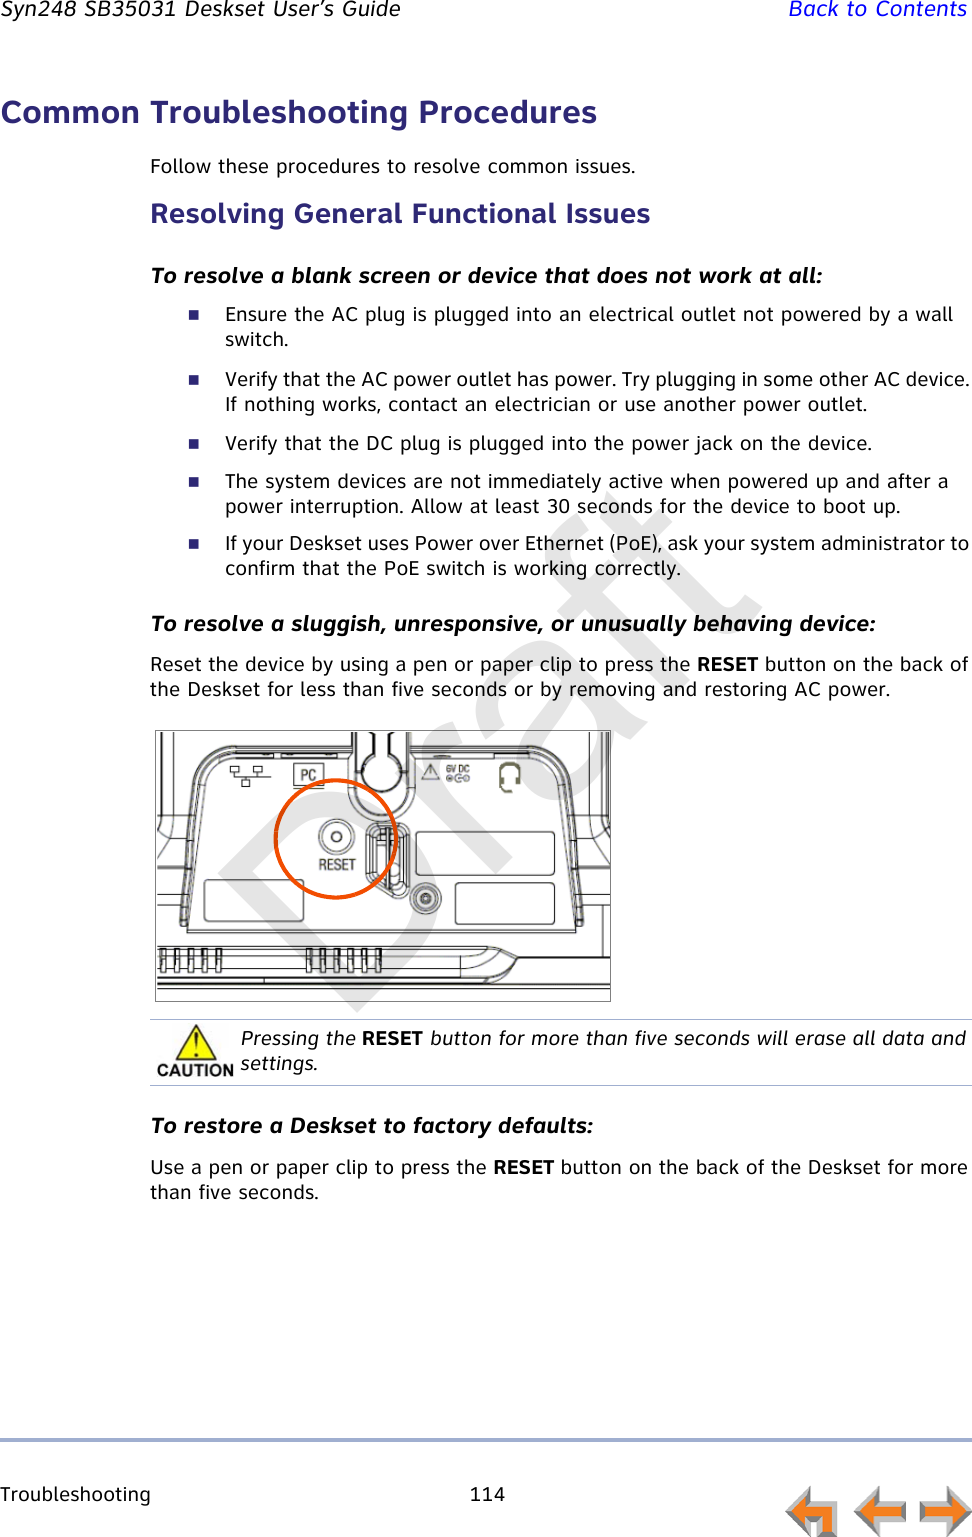
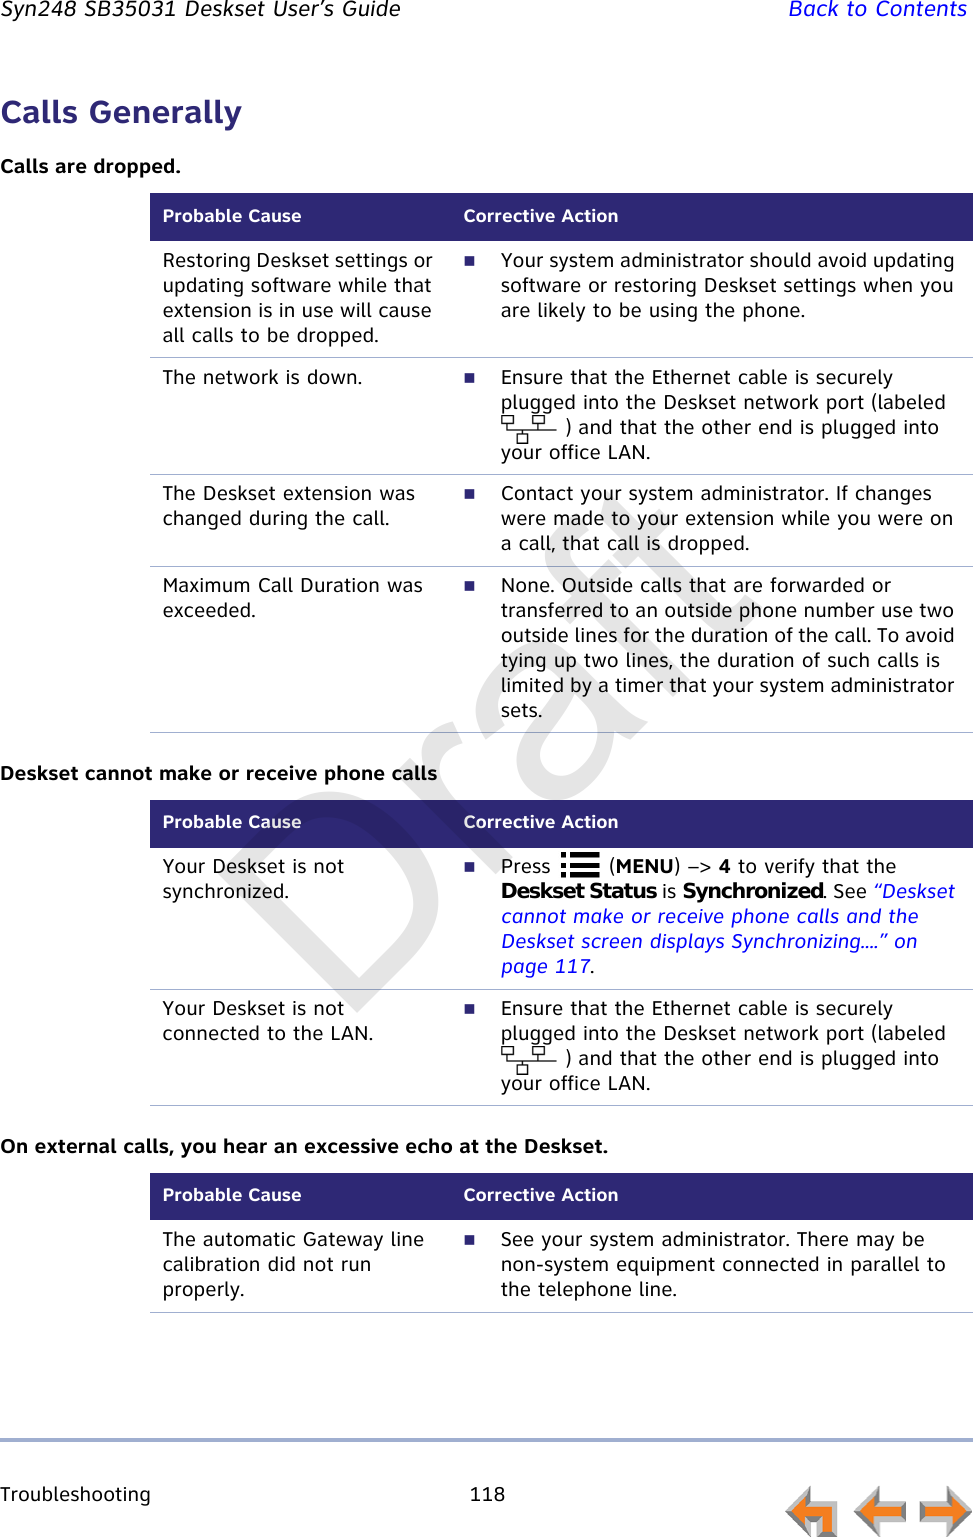
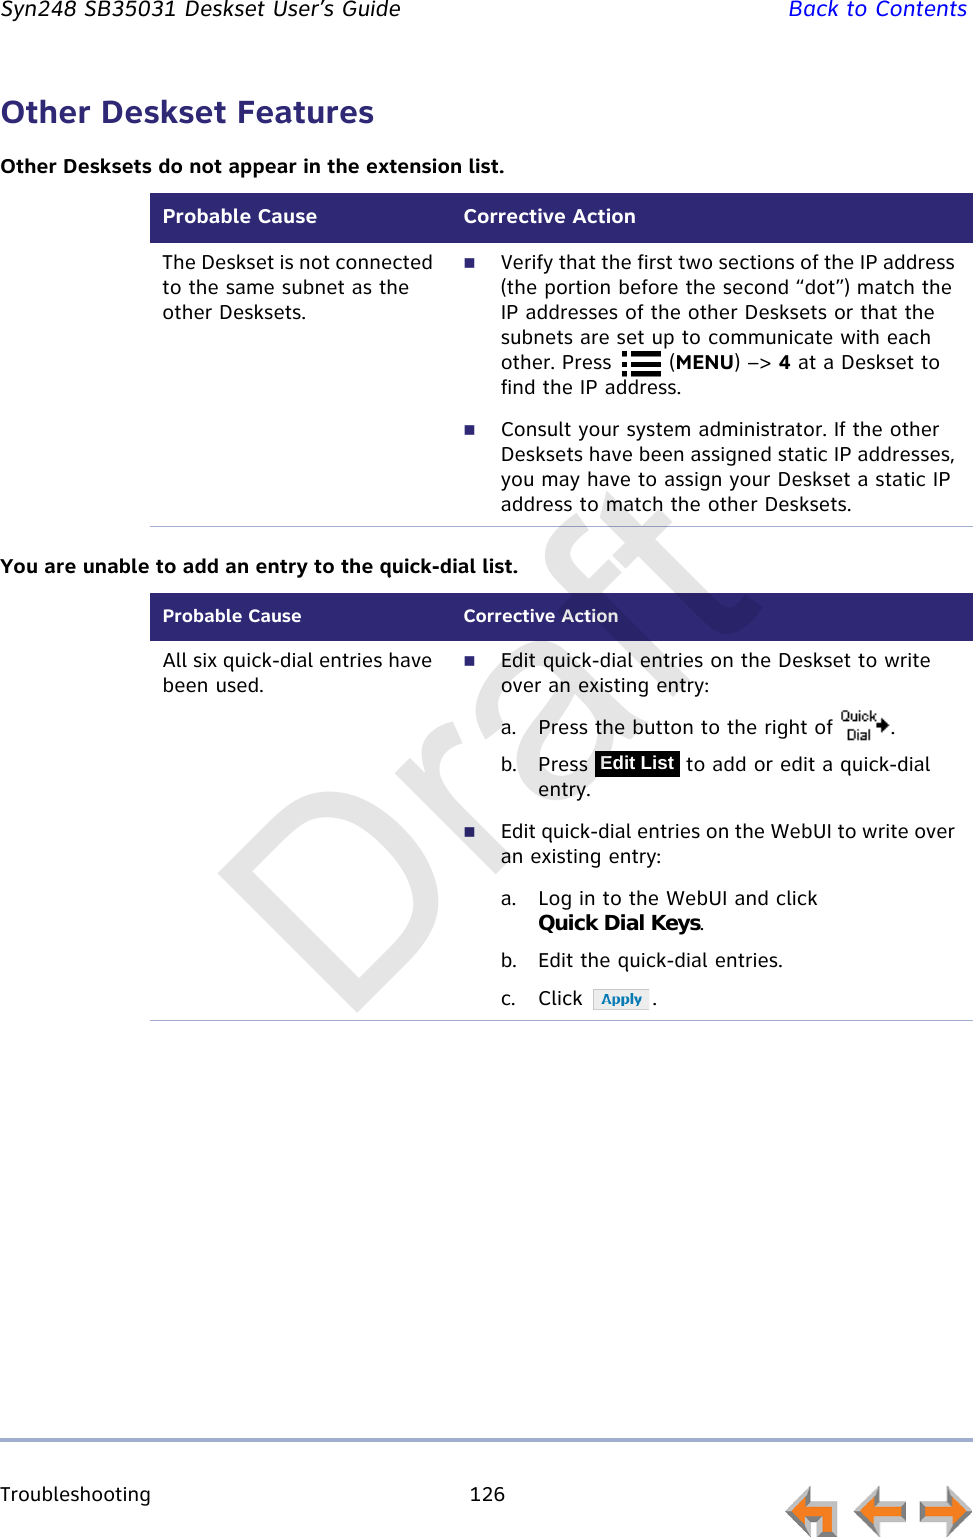
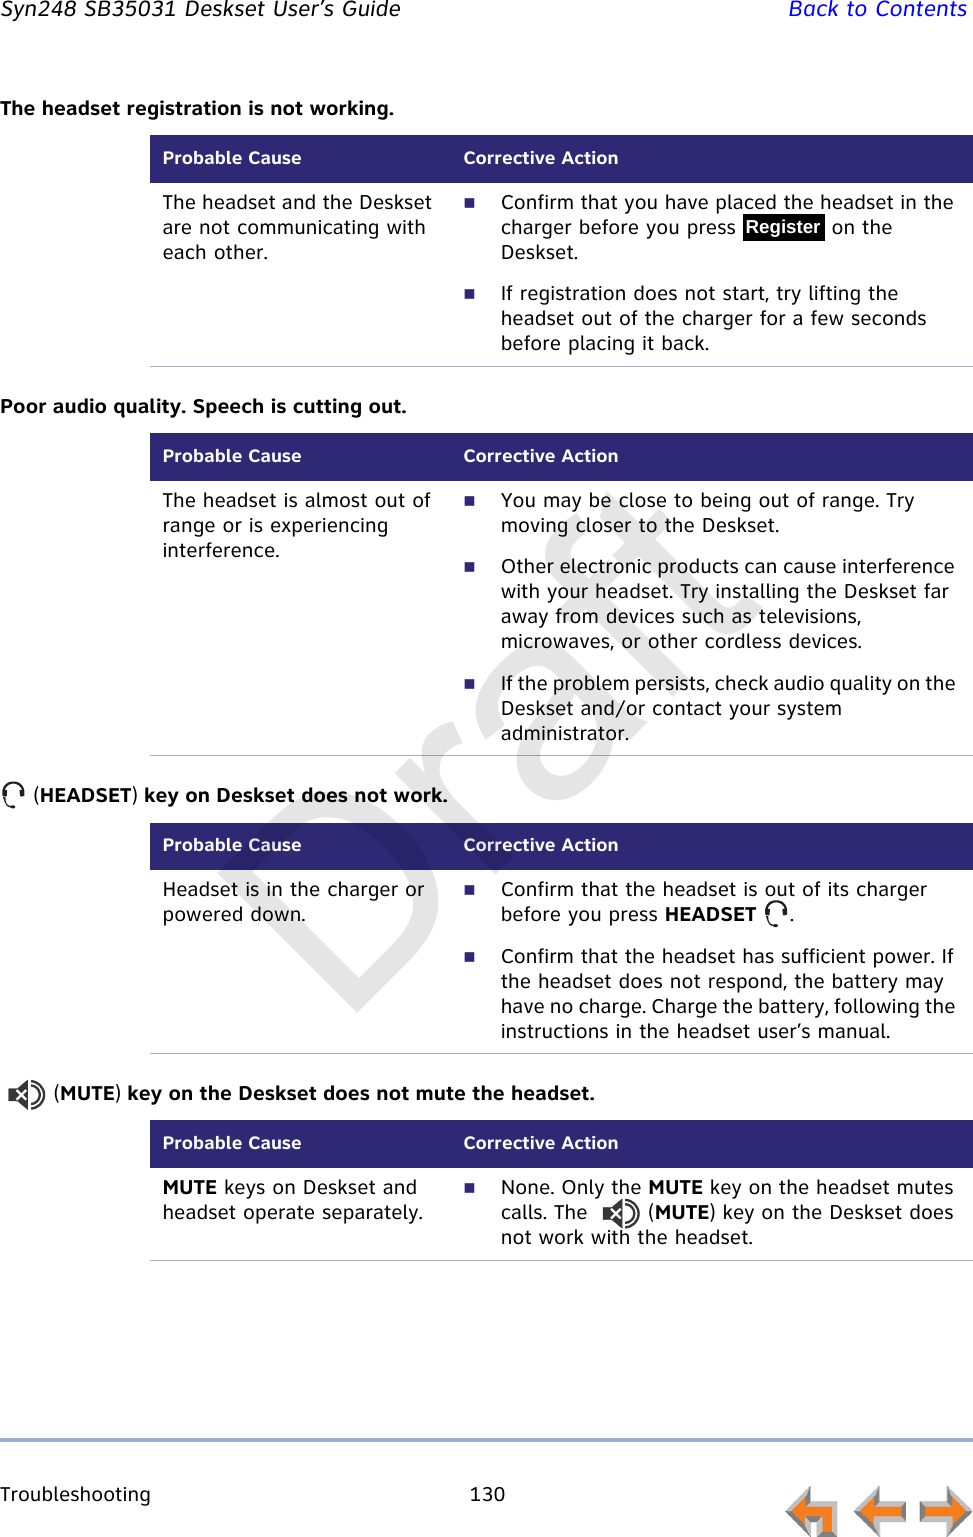
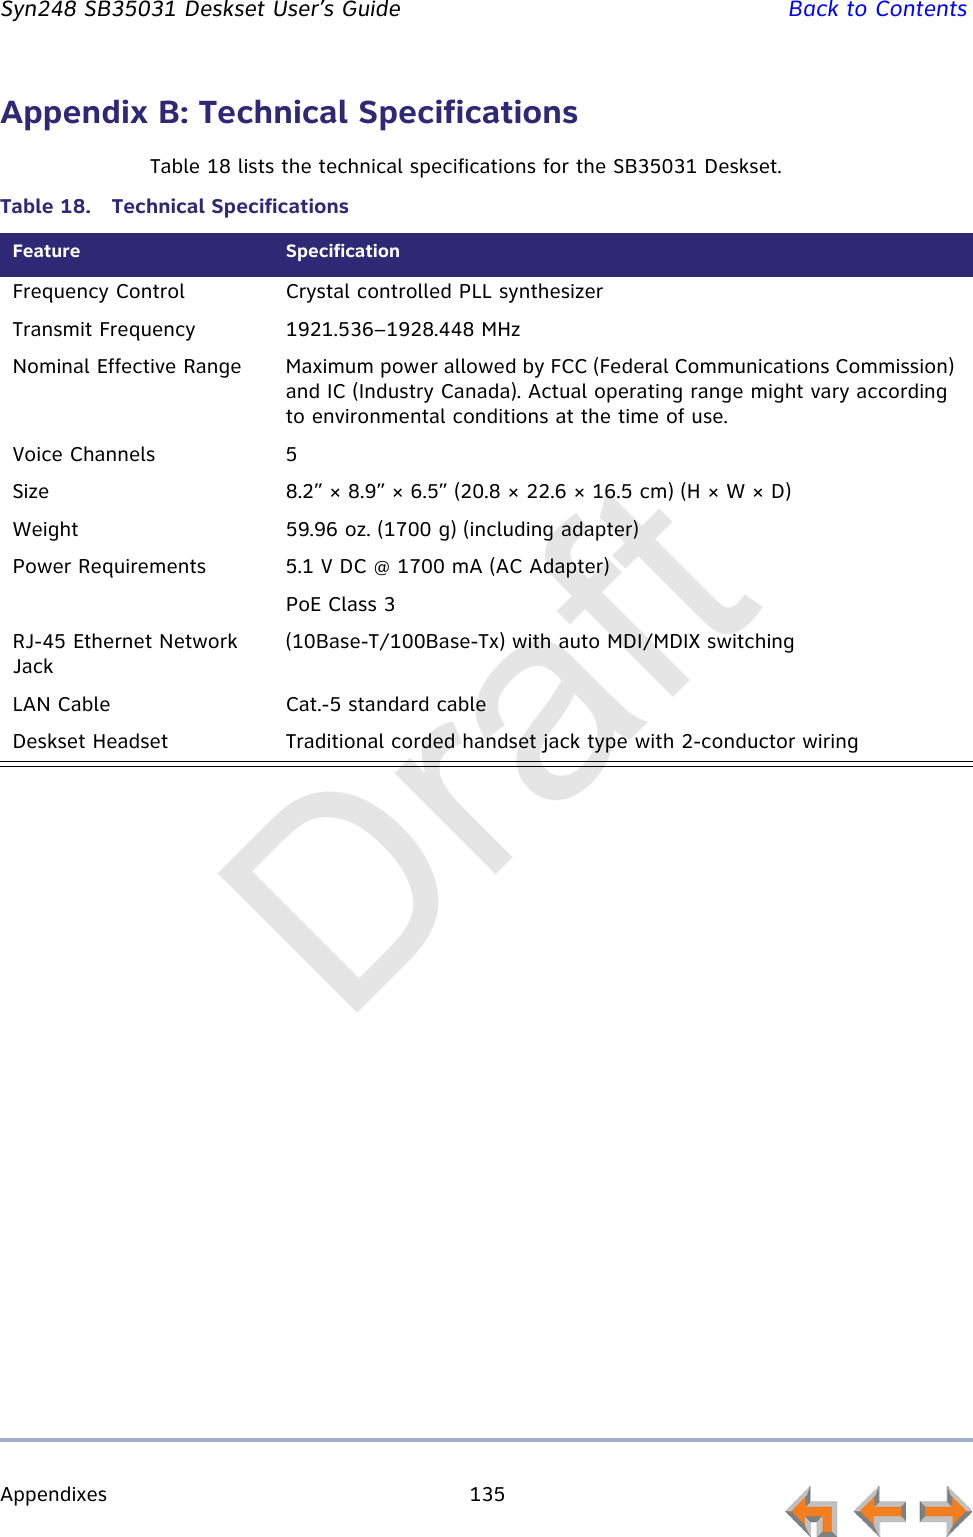
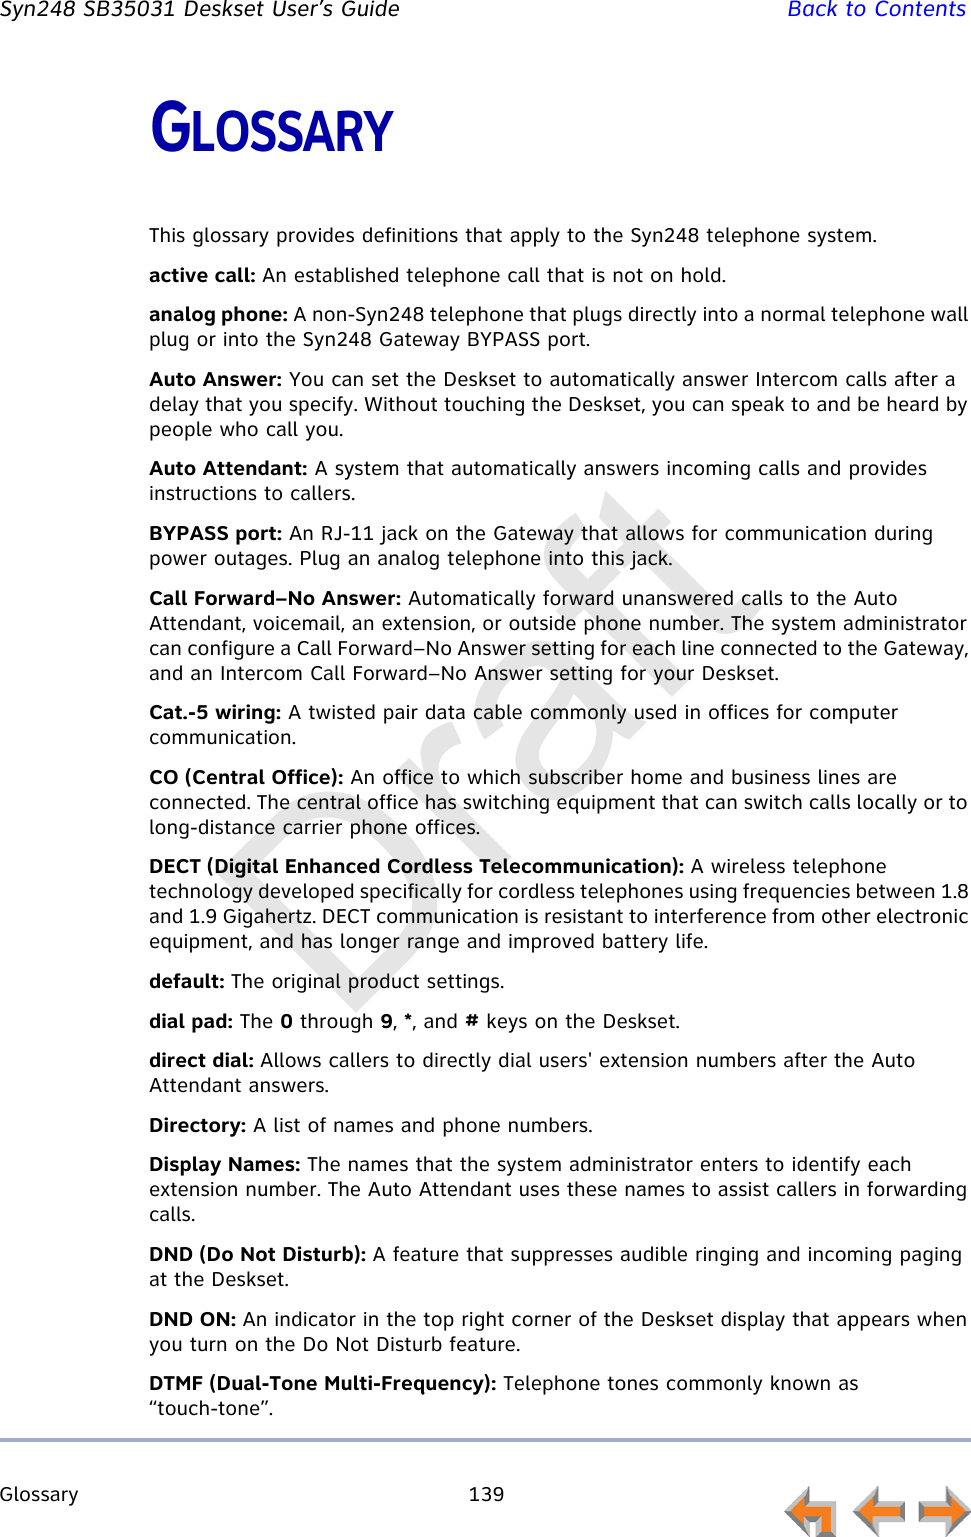
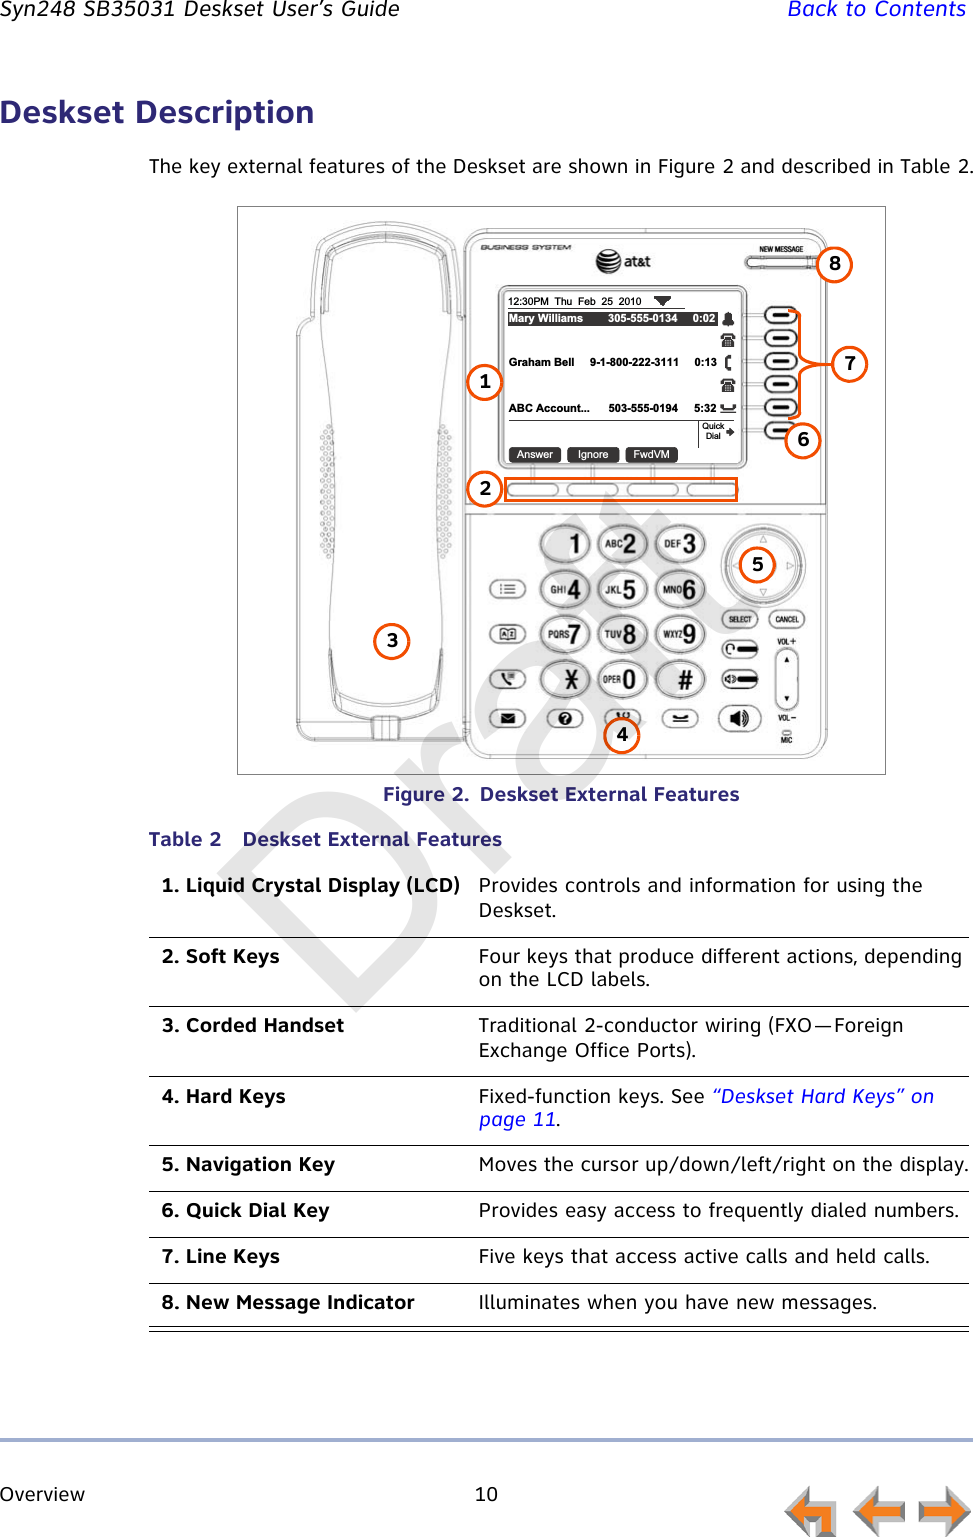
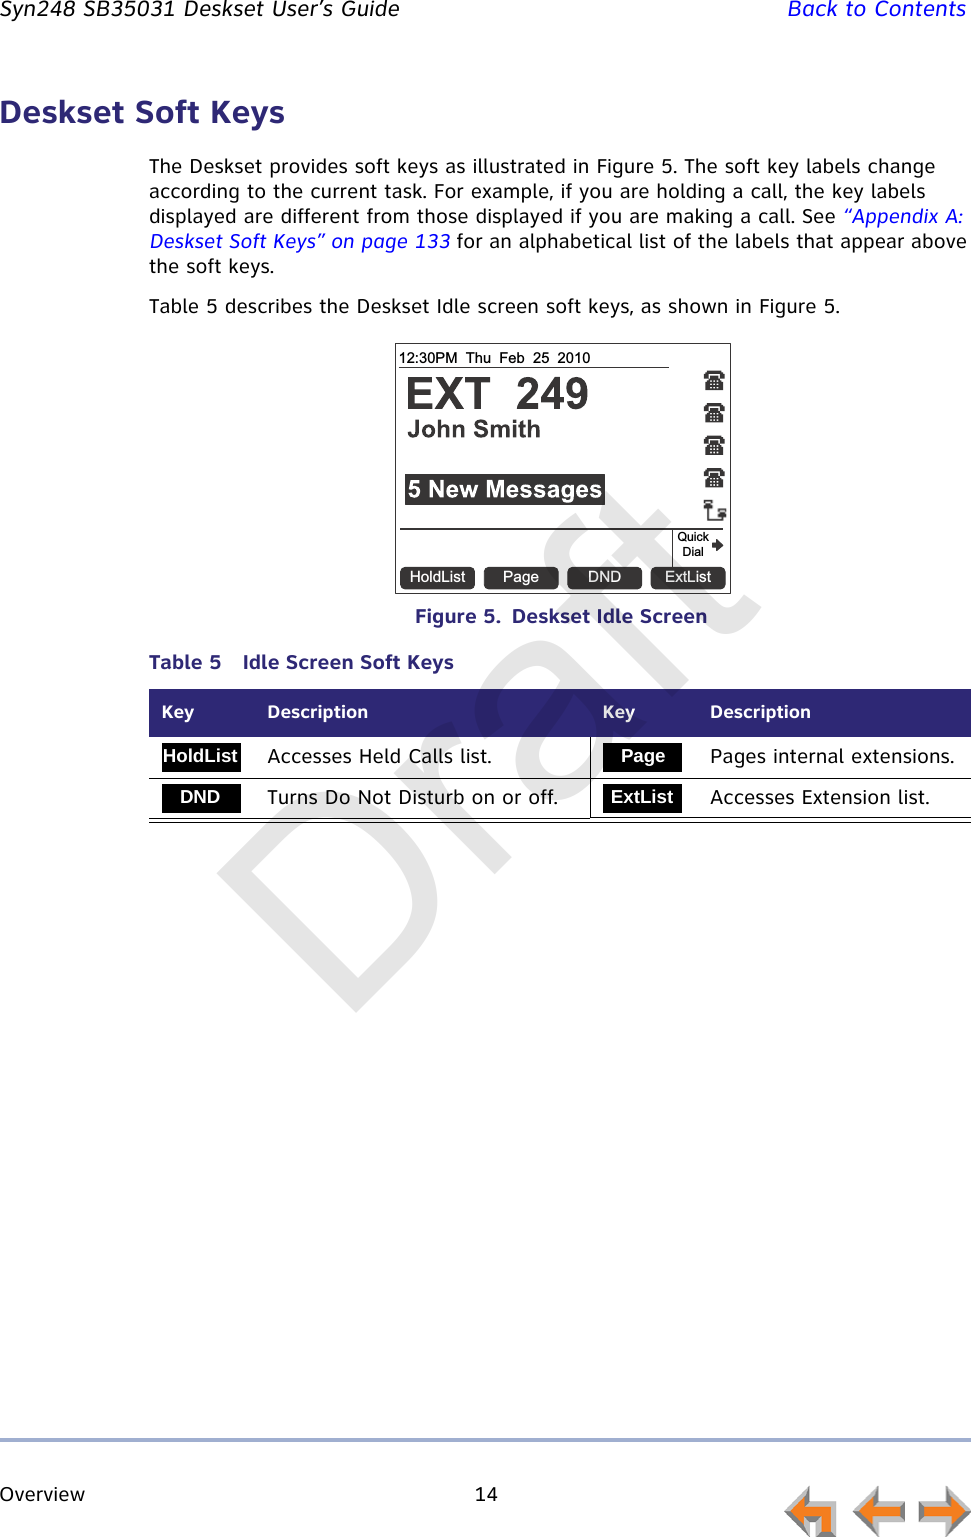
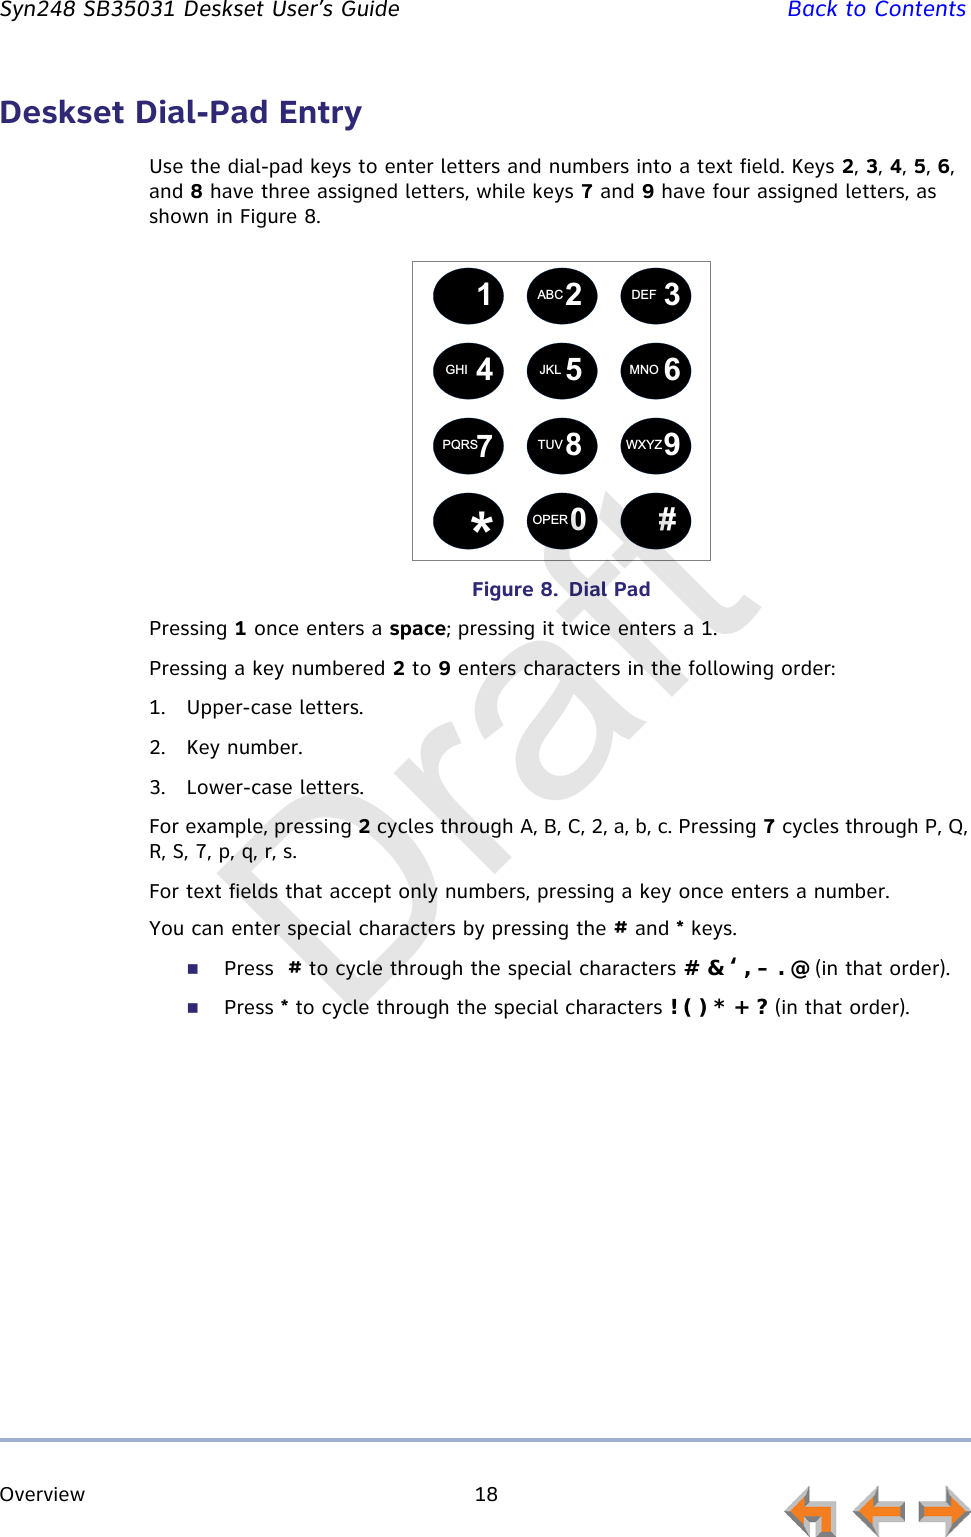
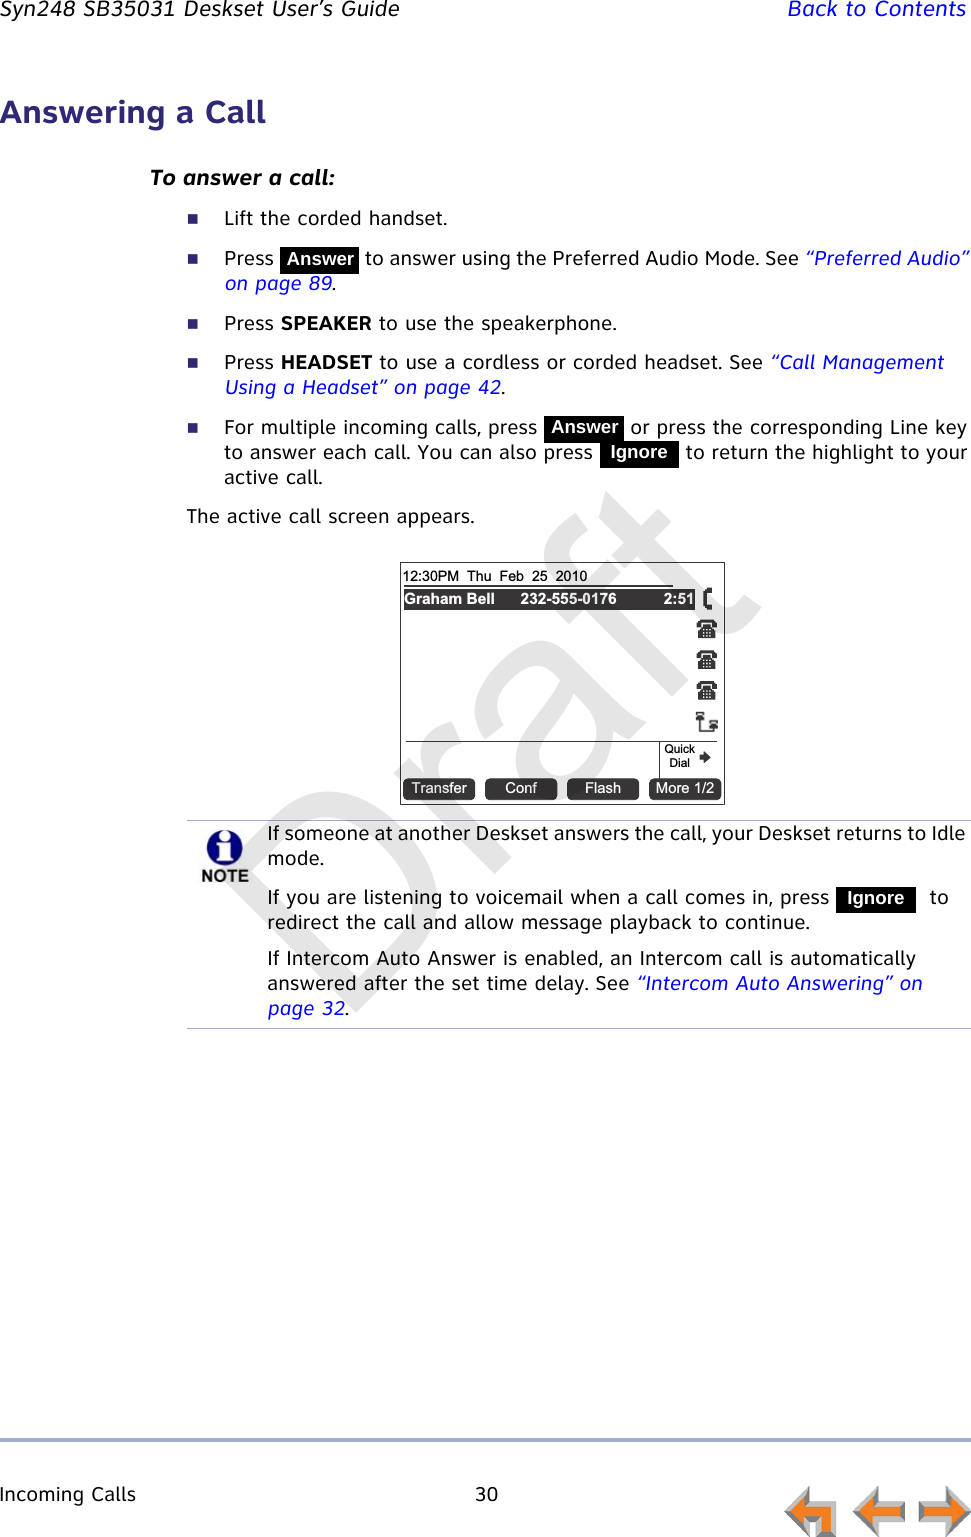
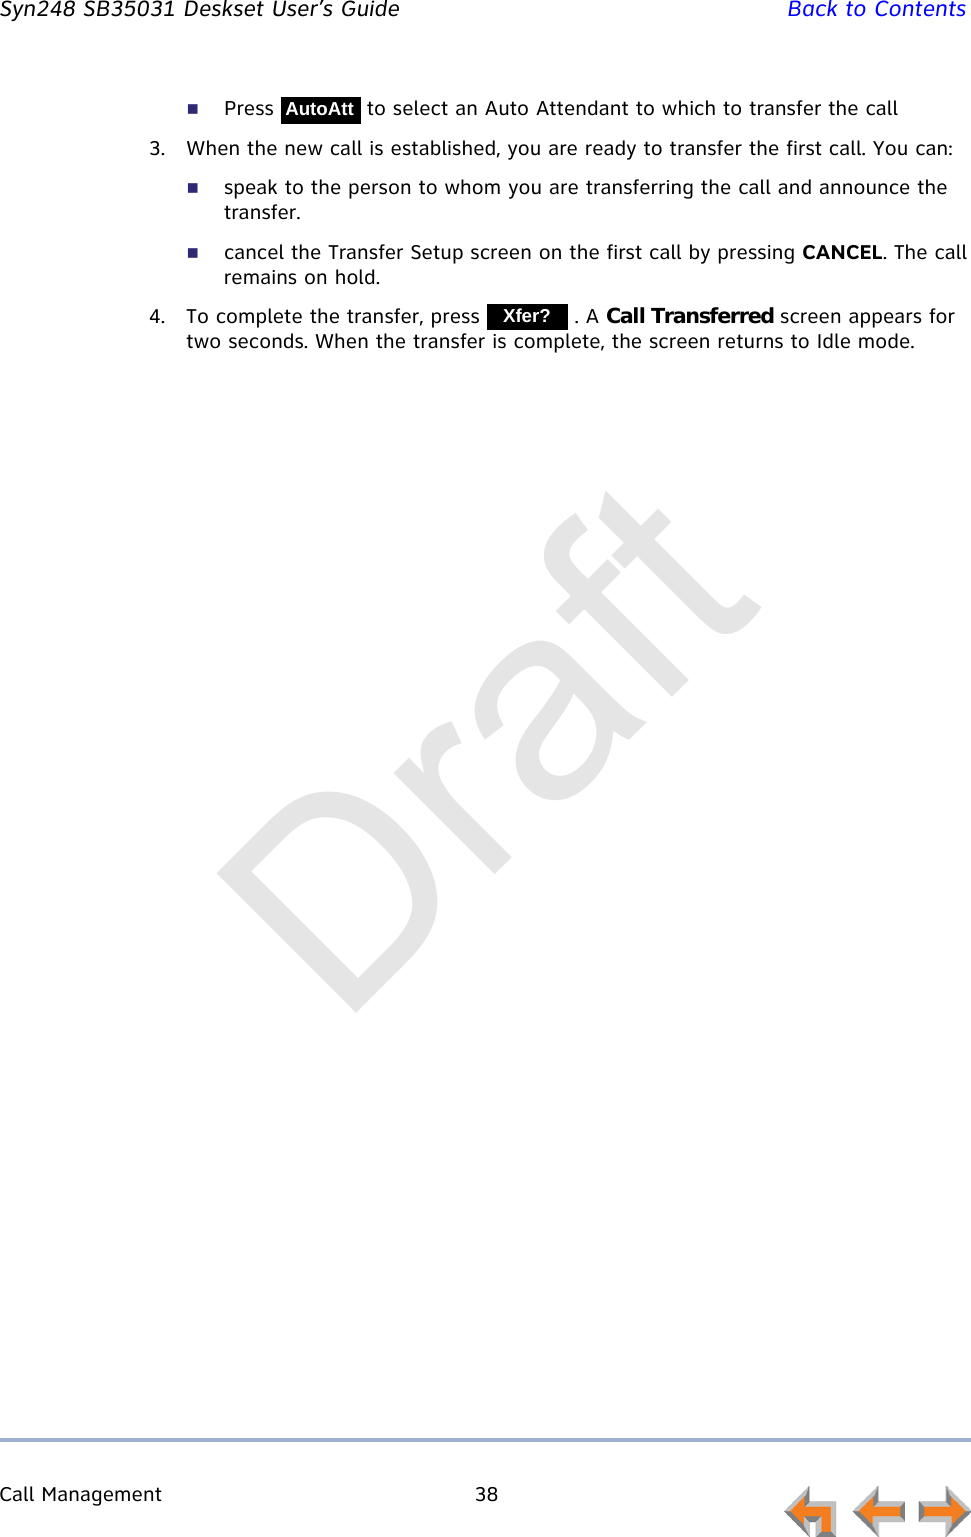
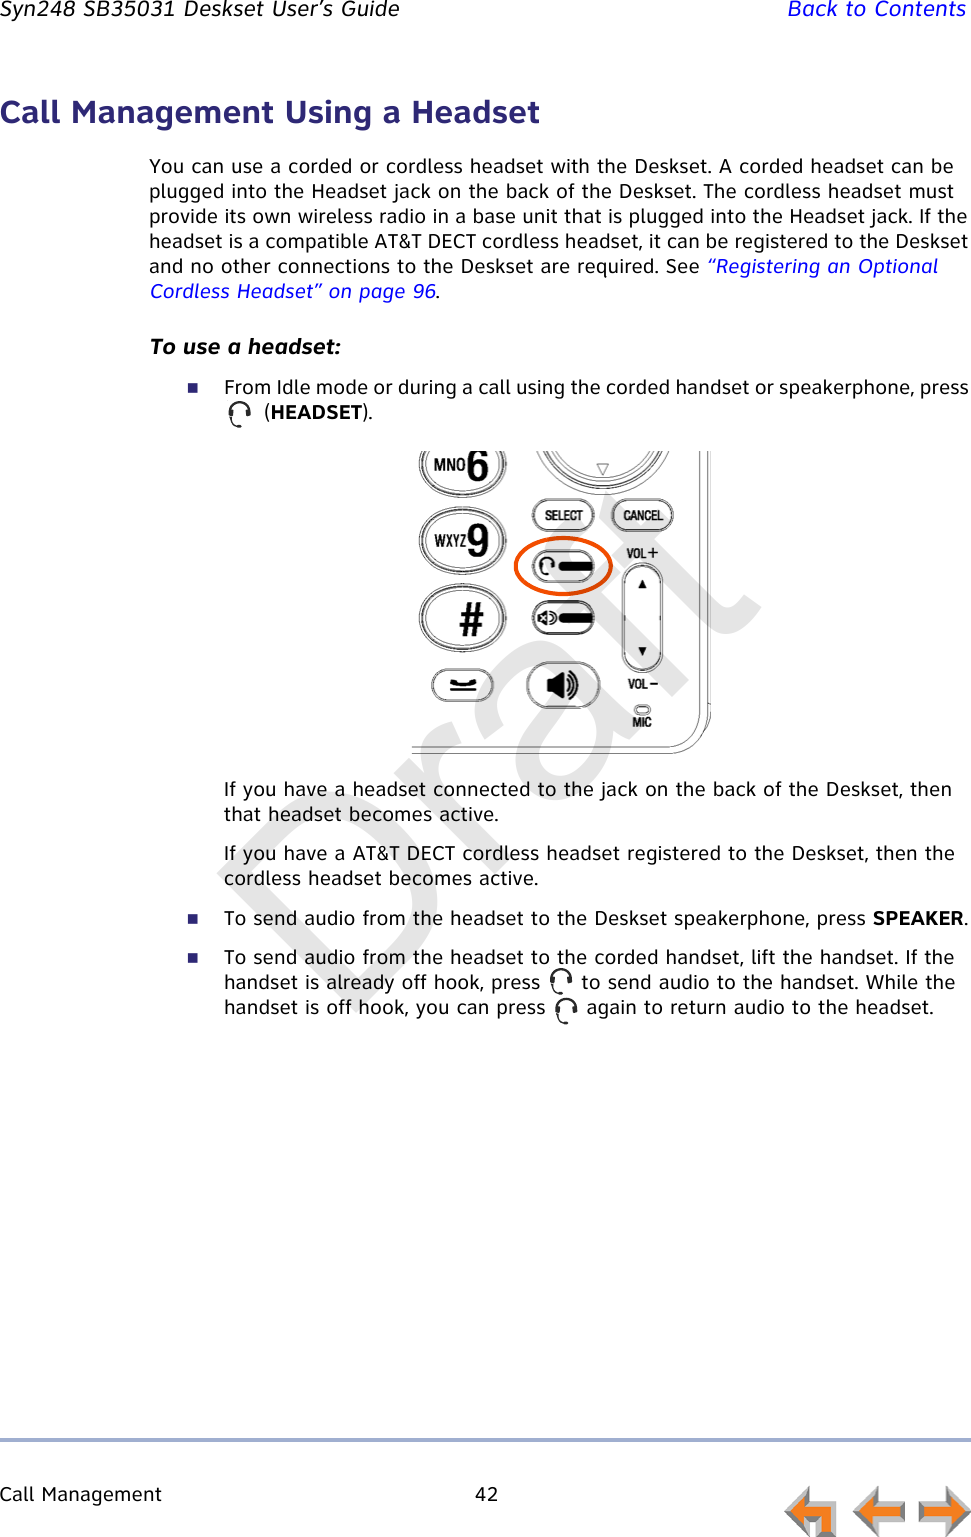
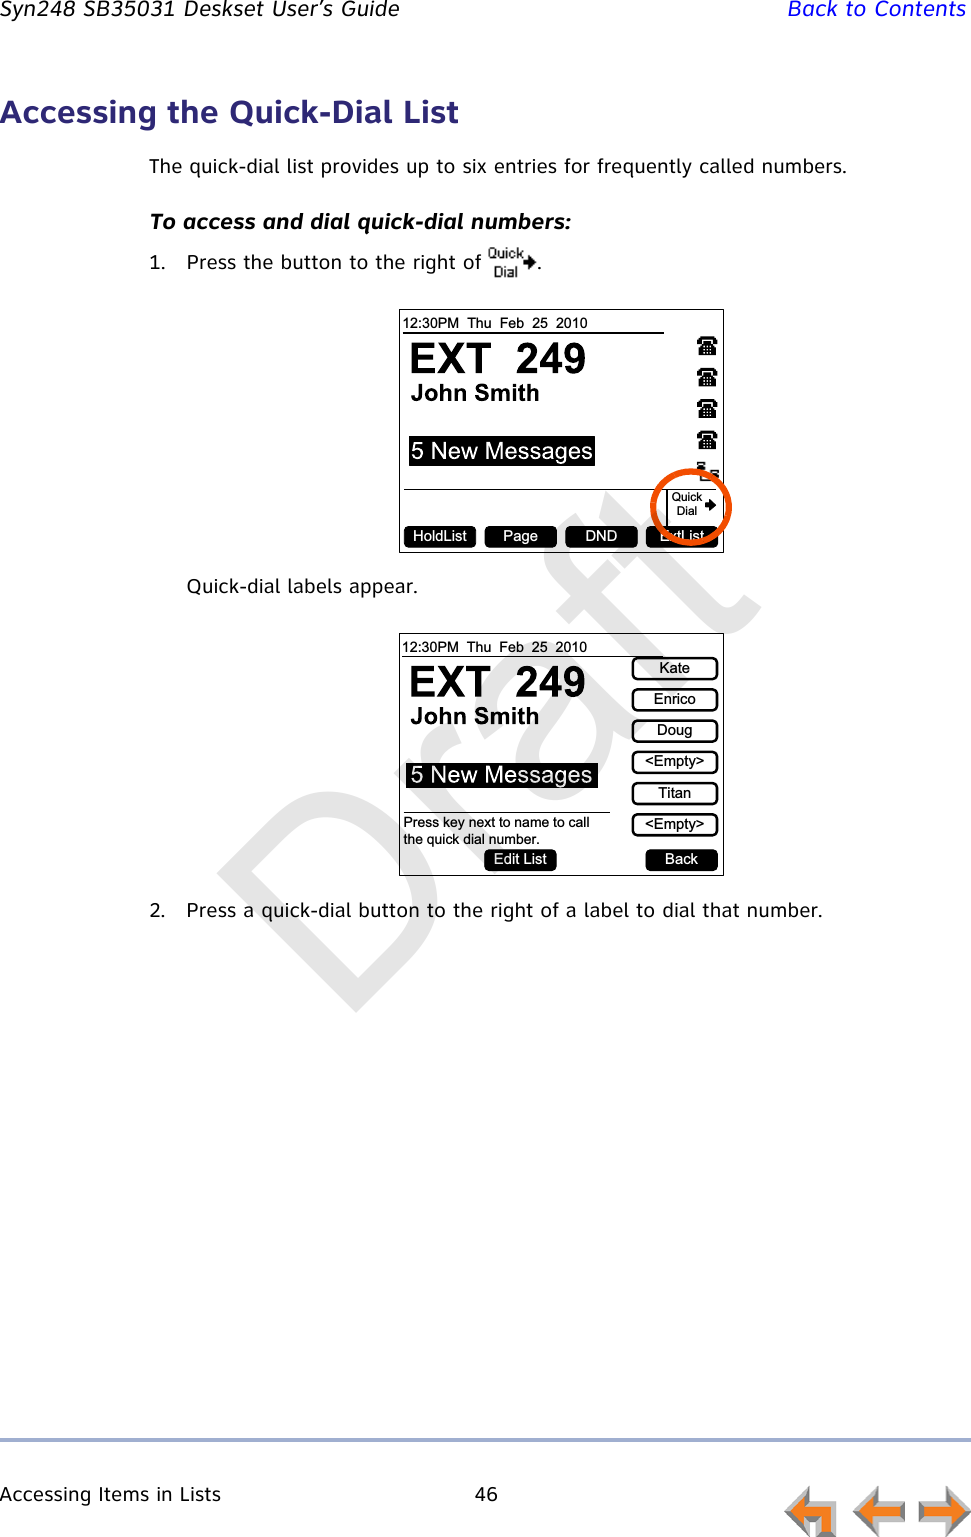
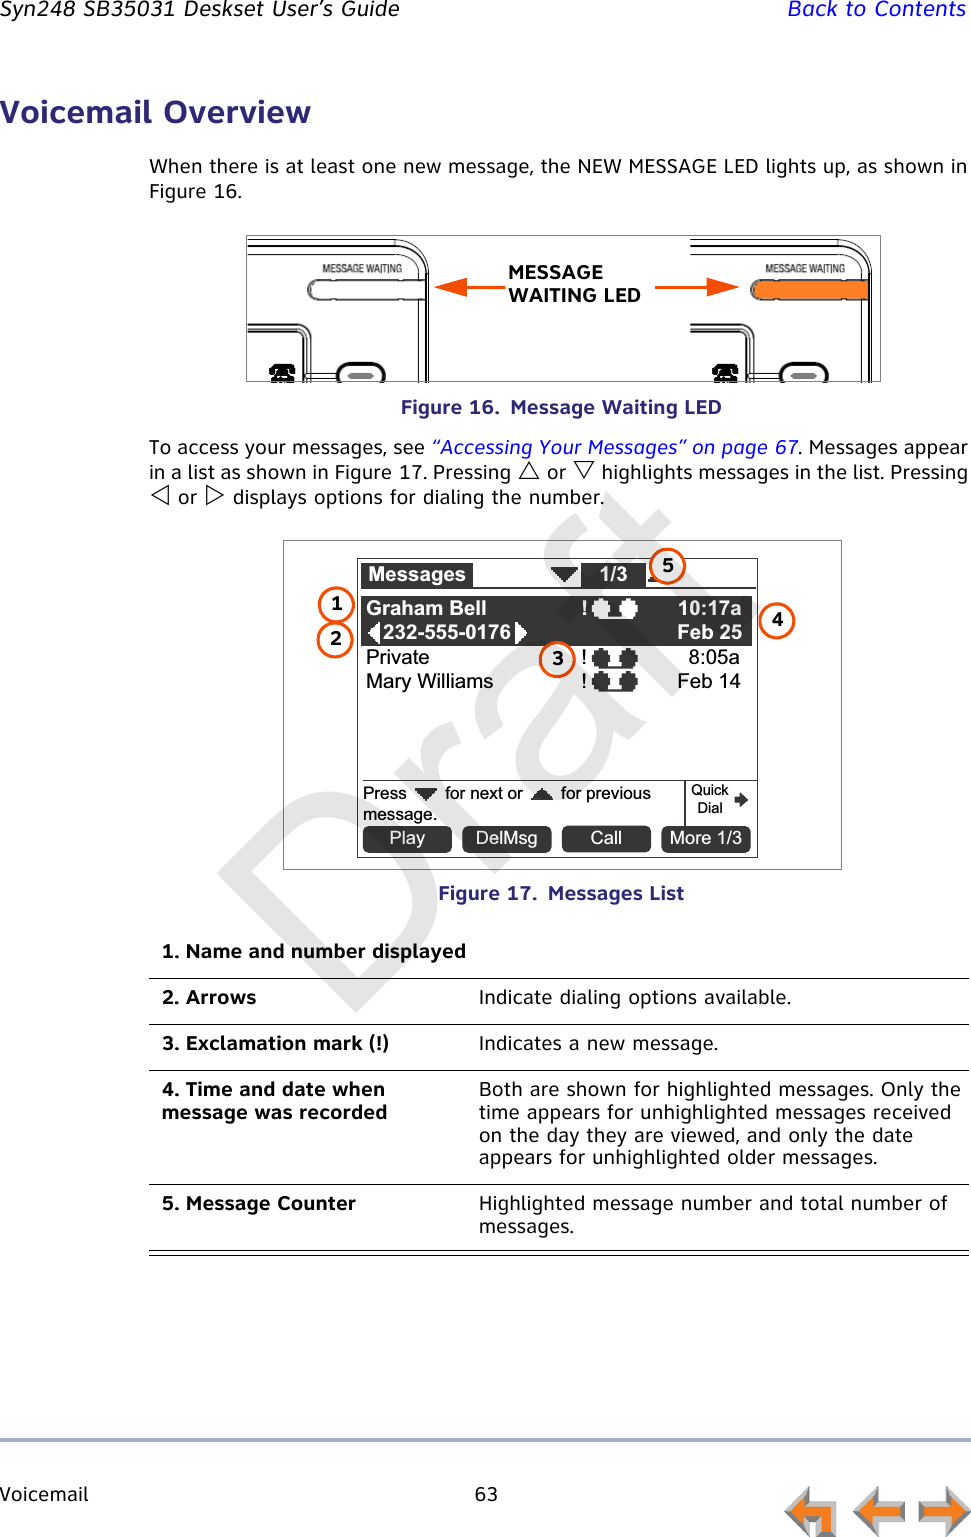
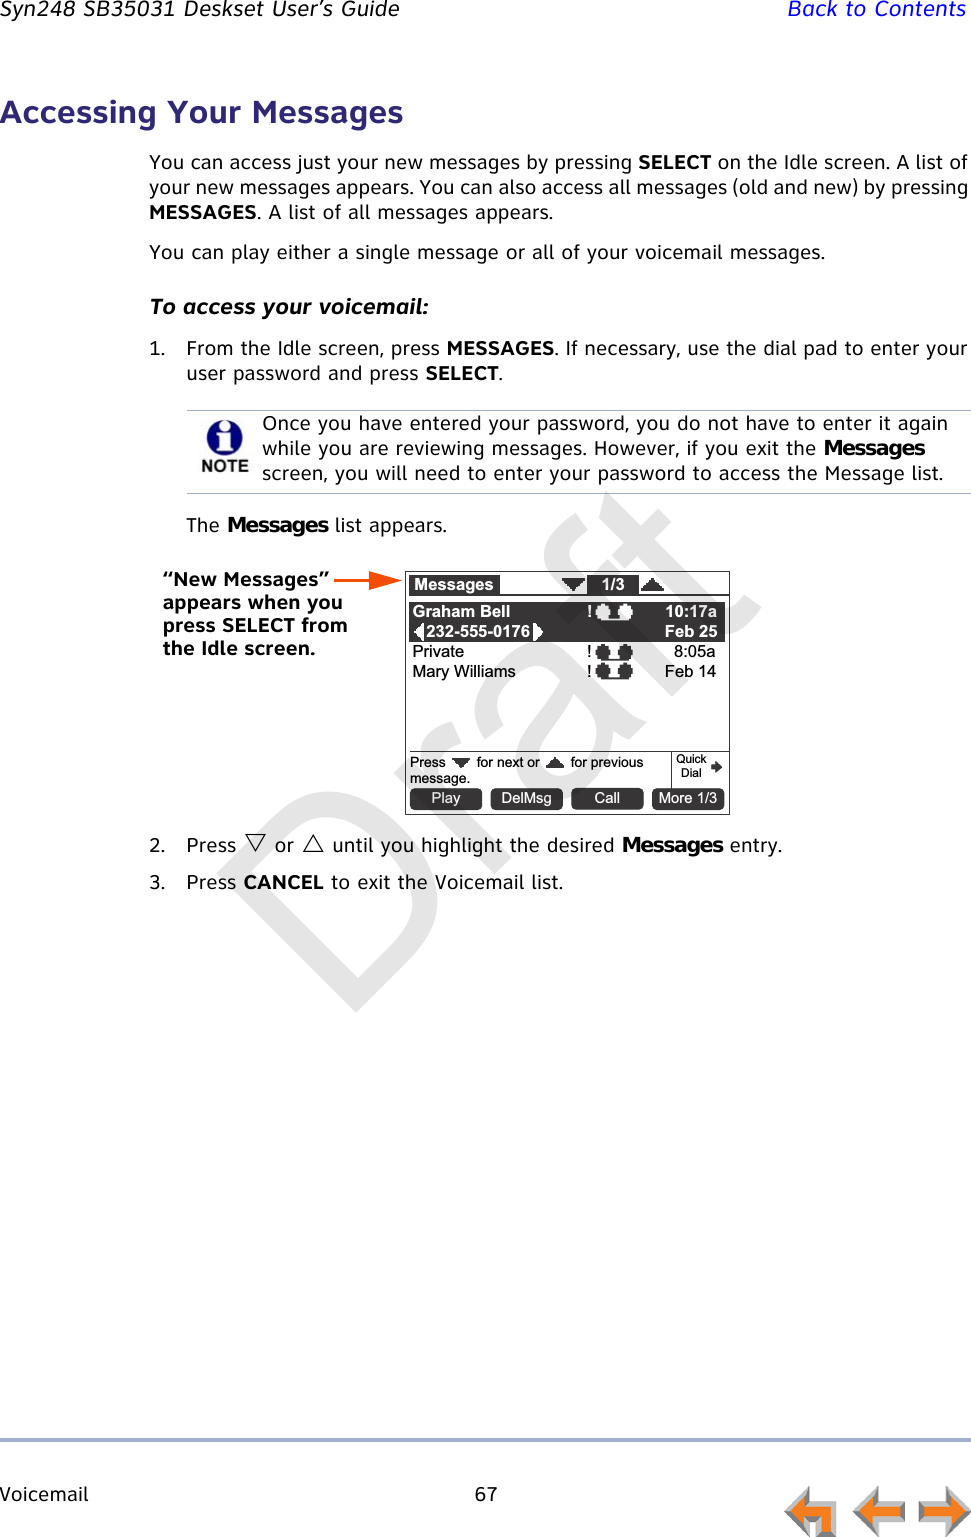
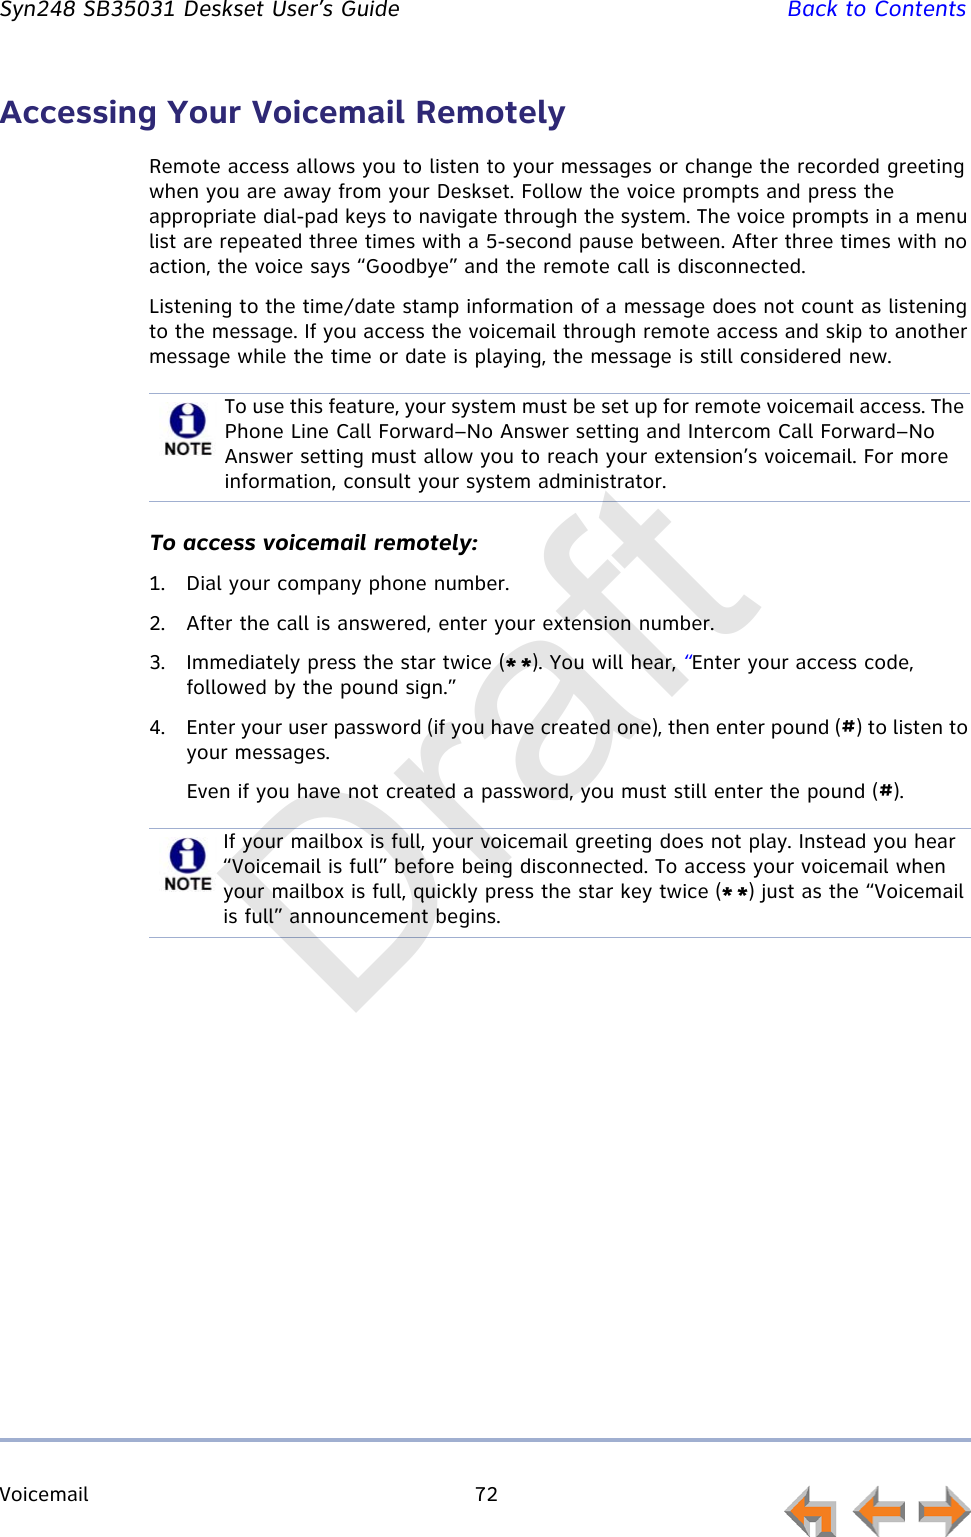
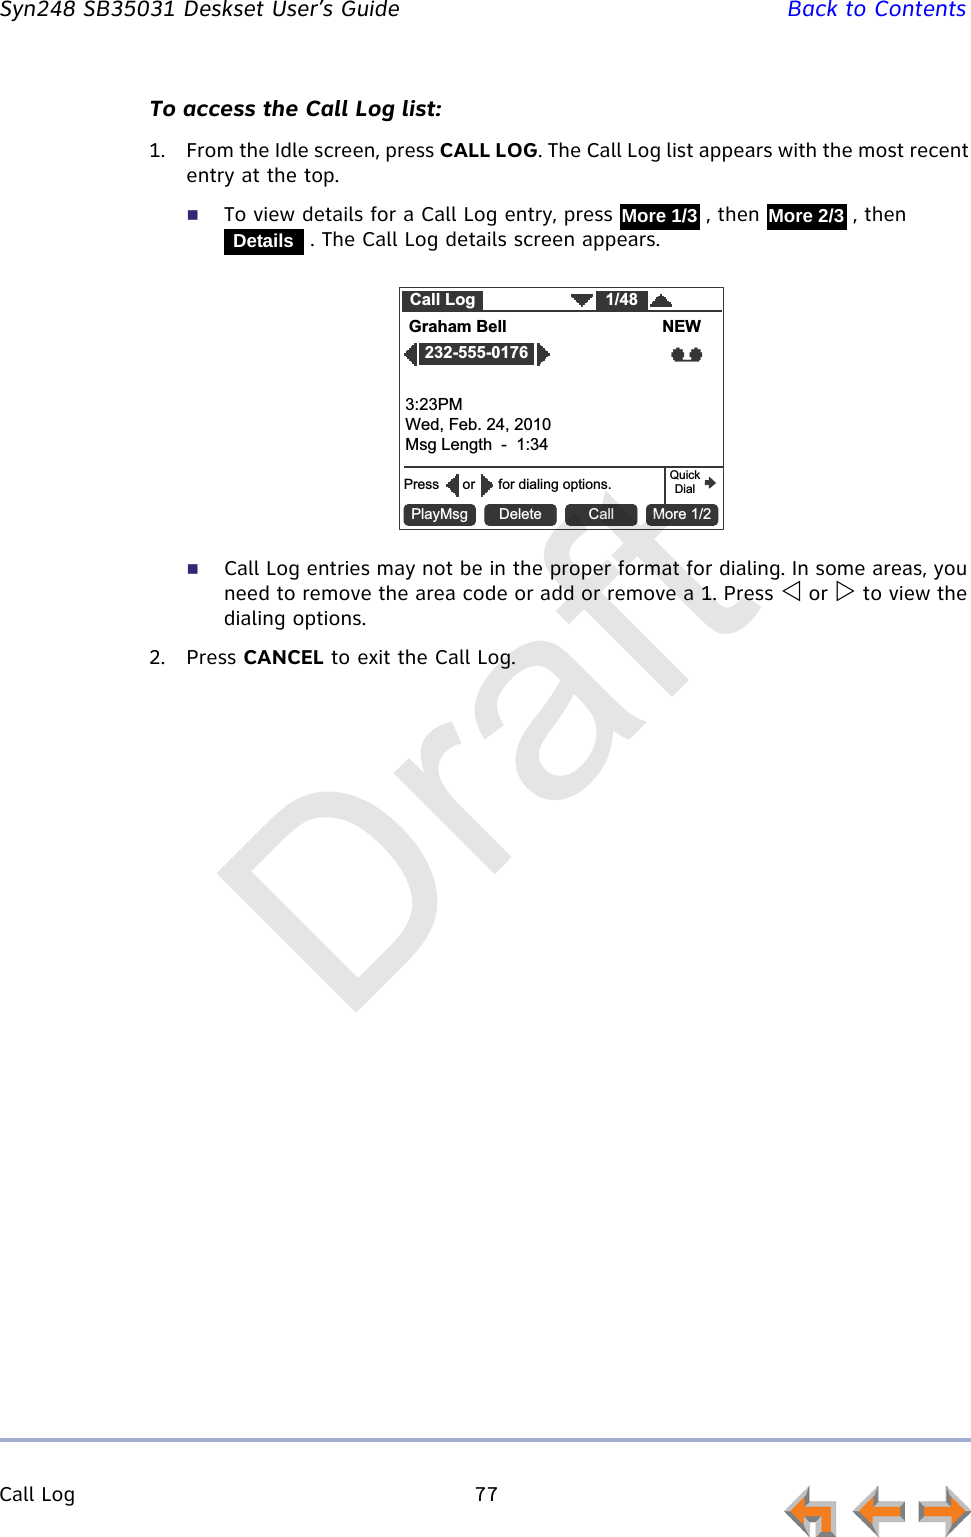
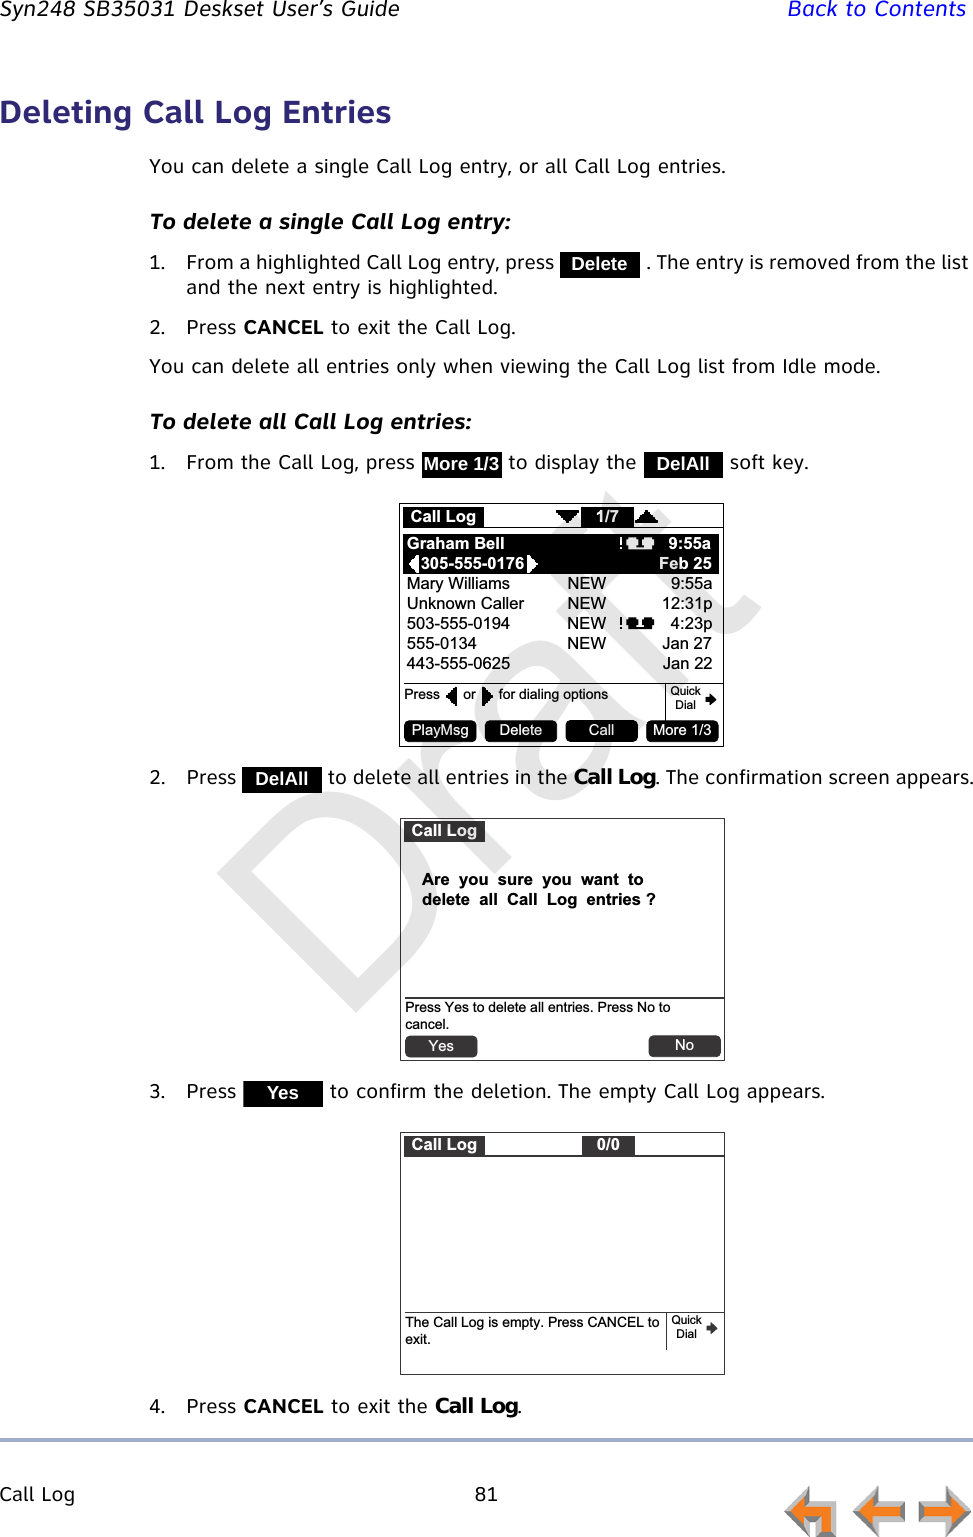
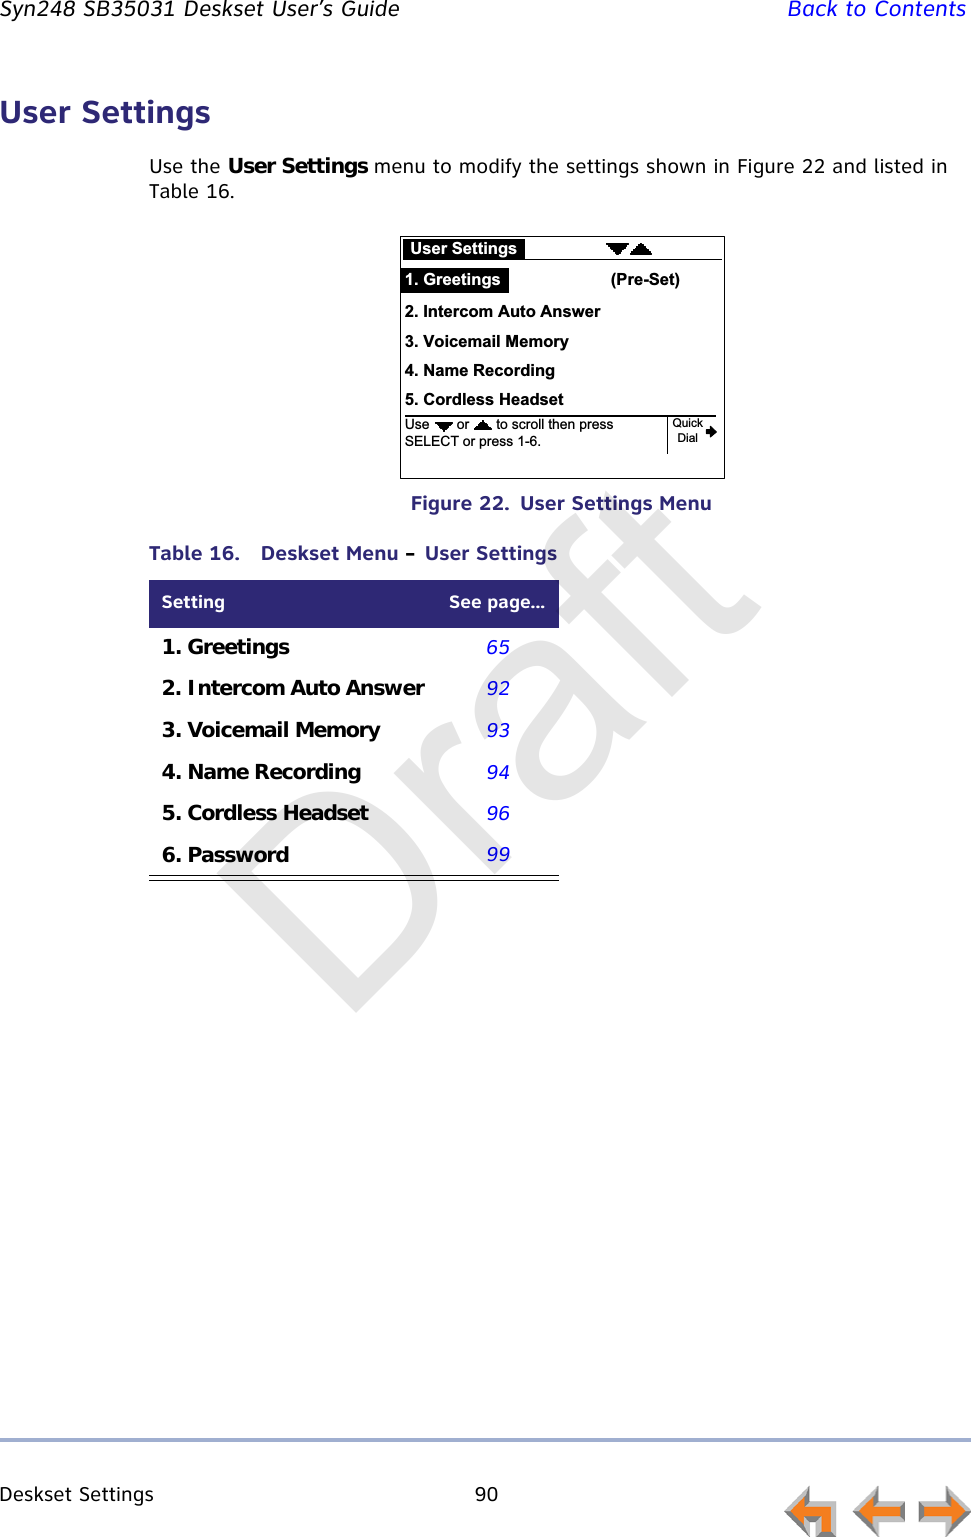
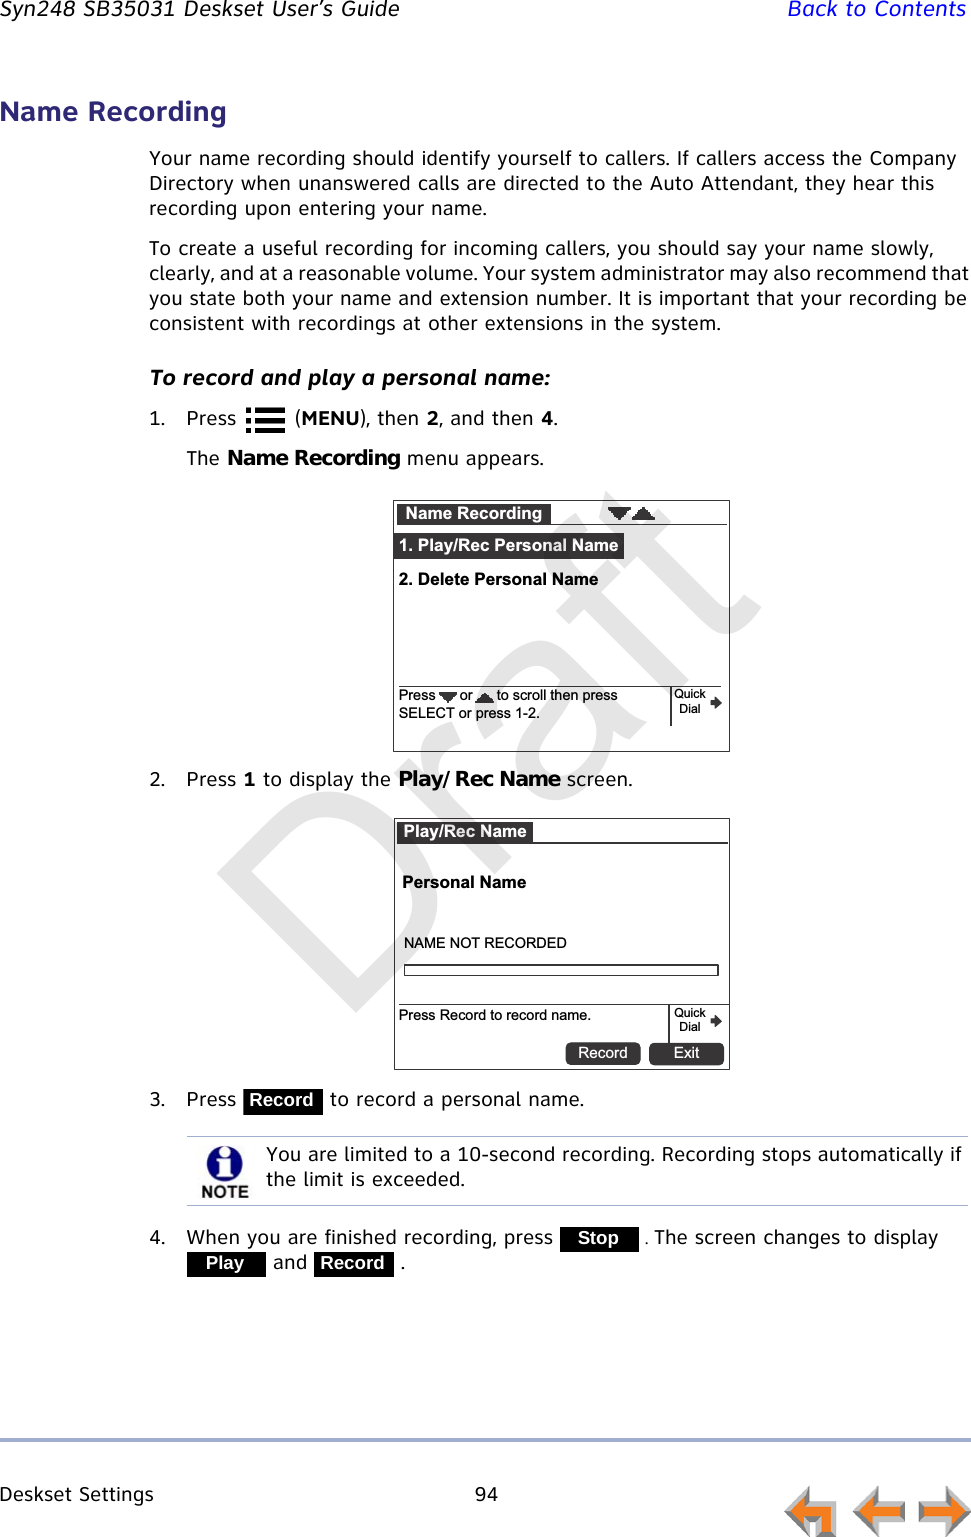
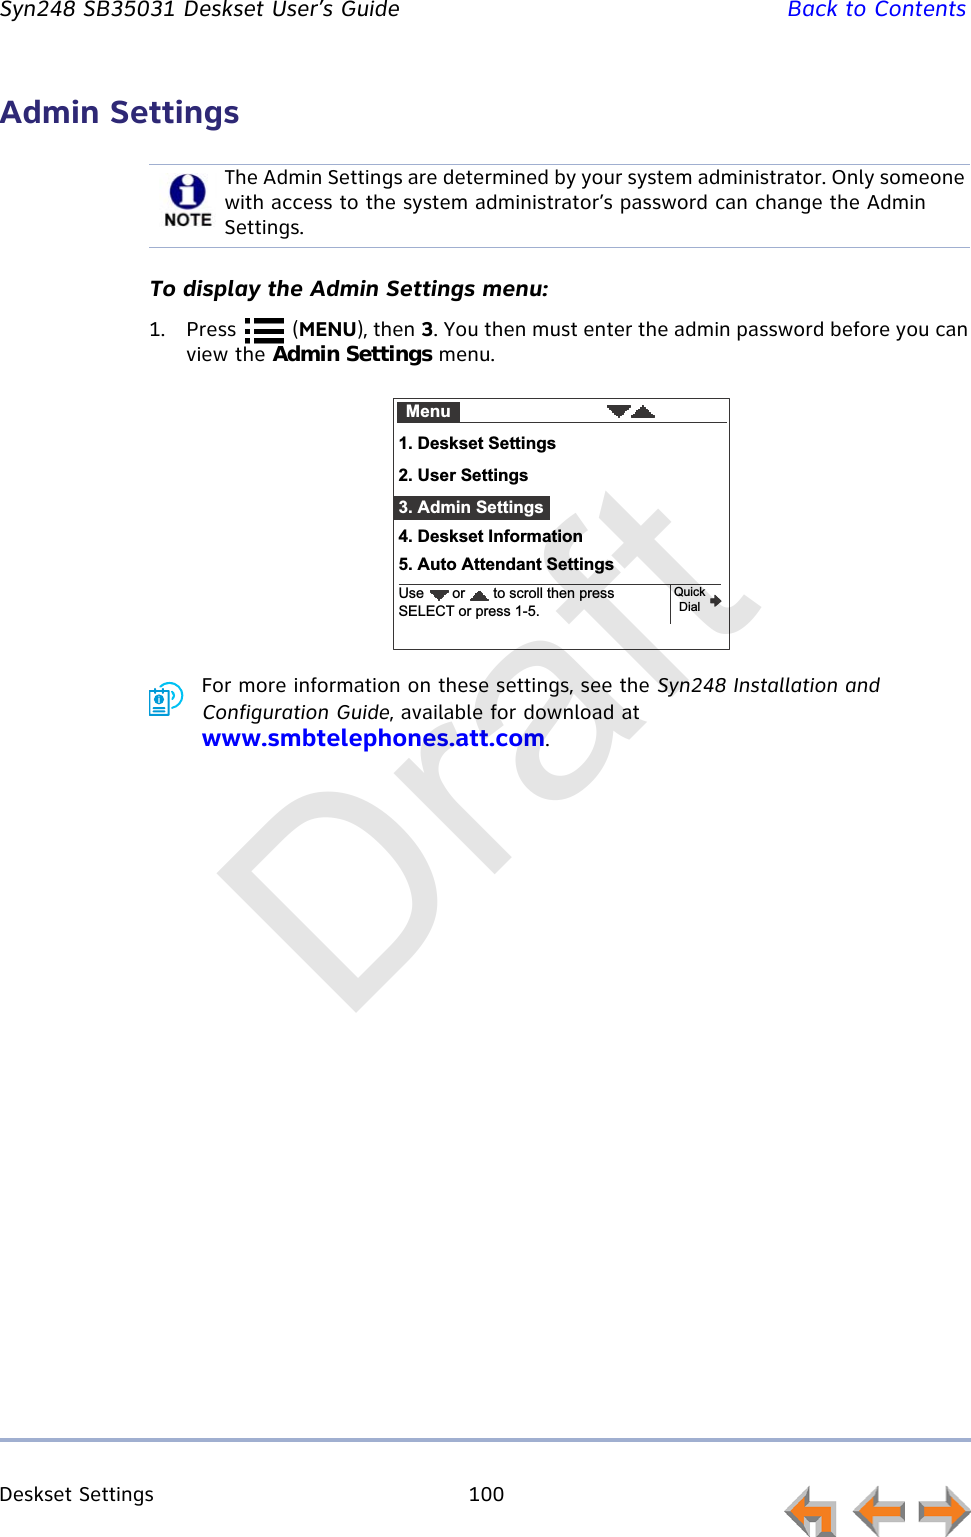
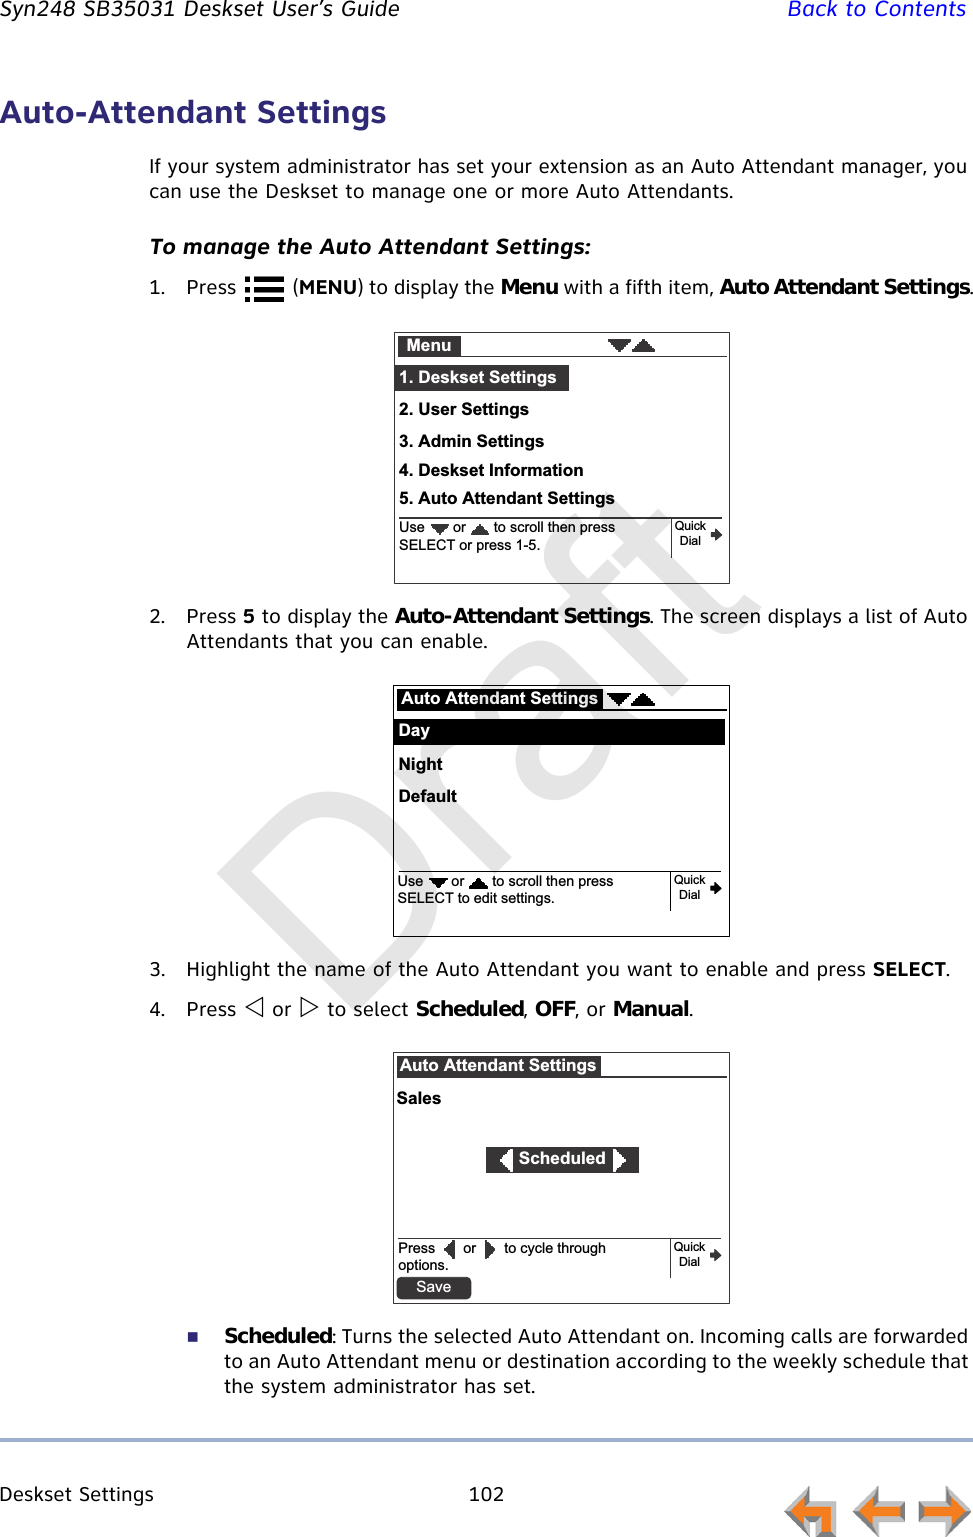
![Deskset Settings 89 Syn248 SB35031 Deskset User’s Guide Back to ContentsPreferred AudioWhen you press a Line key or , the call is answered in the Preferred Audio mode. You can set the audio preferences to Headset or Speakerphone by using the Preferred Audio menu. Lifting the corded handset takes first priority in all instances.To access the Preferred Audio menu:1. Press (MENU), then 1, and then 3. The Preferred Audio menu appears.2. Select the preferred audio:Press 1 to select the Speakerphone.Press 2 to select the Headset.3. Press to set your audio preference.4. Press to accept the adjustments and return to the Deskset Settings menu.AnswerPreferred Audio1. Speakerphone2. HeadsetUse or to scroll or press 1-2. Press Set? then press Save.QuickDialSave[Set]Choose where you hear your call when you press a Line key.Set?Set?SaveDraft](https://usermanual.wiki/VTech-Telecommunications/80-9300-00/User-Guide-2072387-Page-89.png)
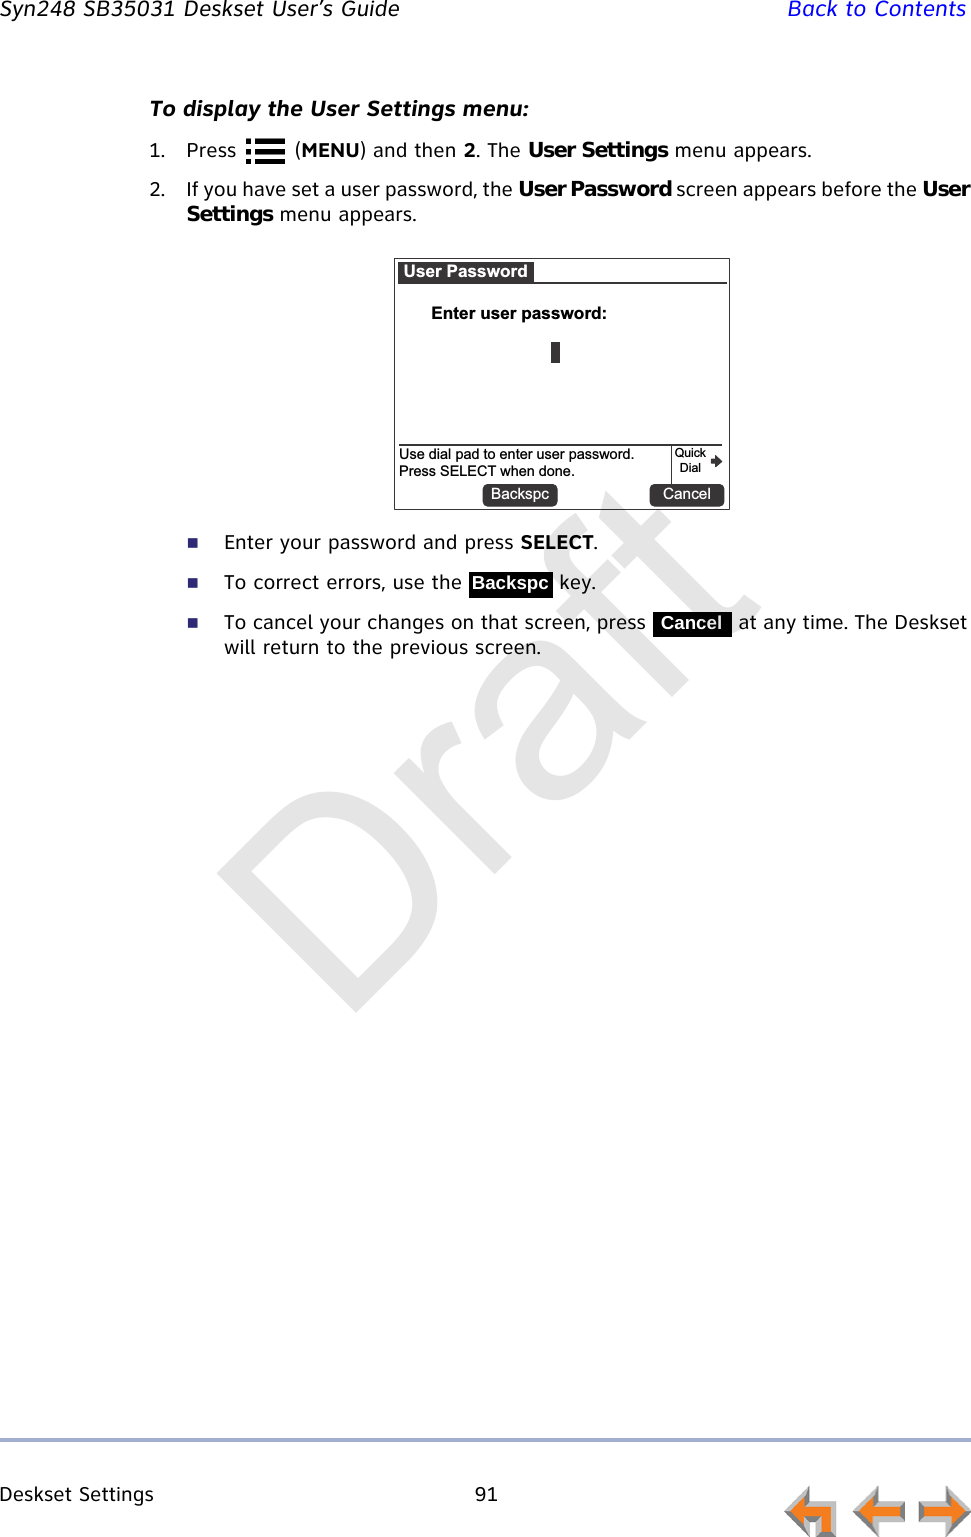
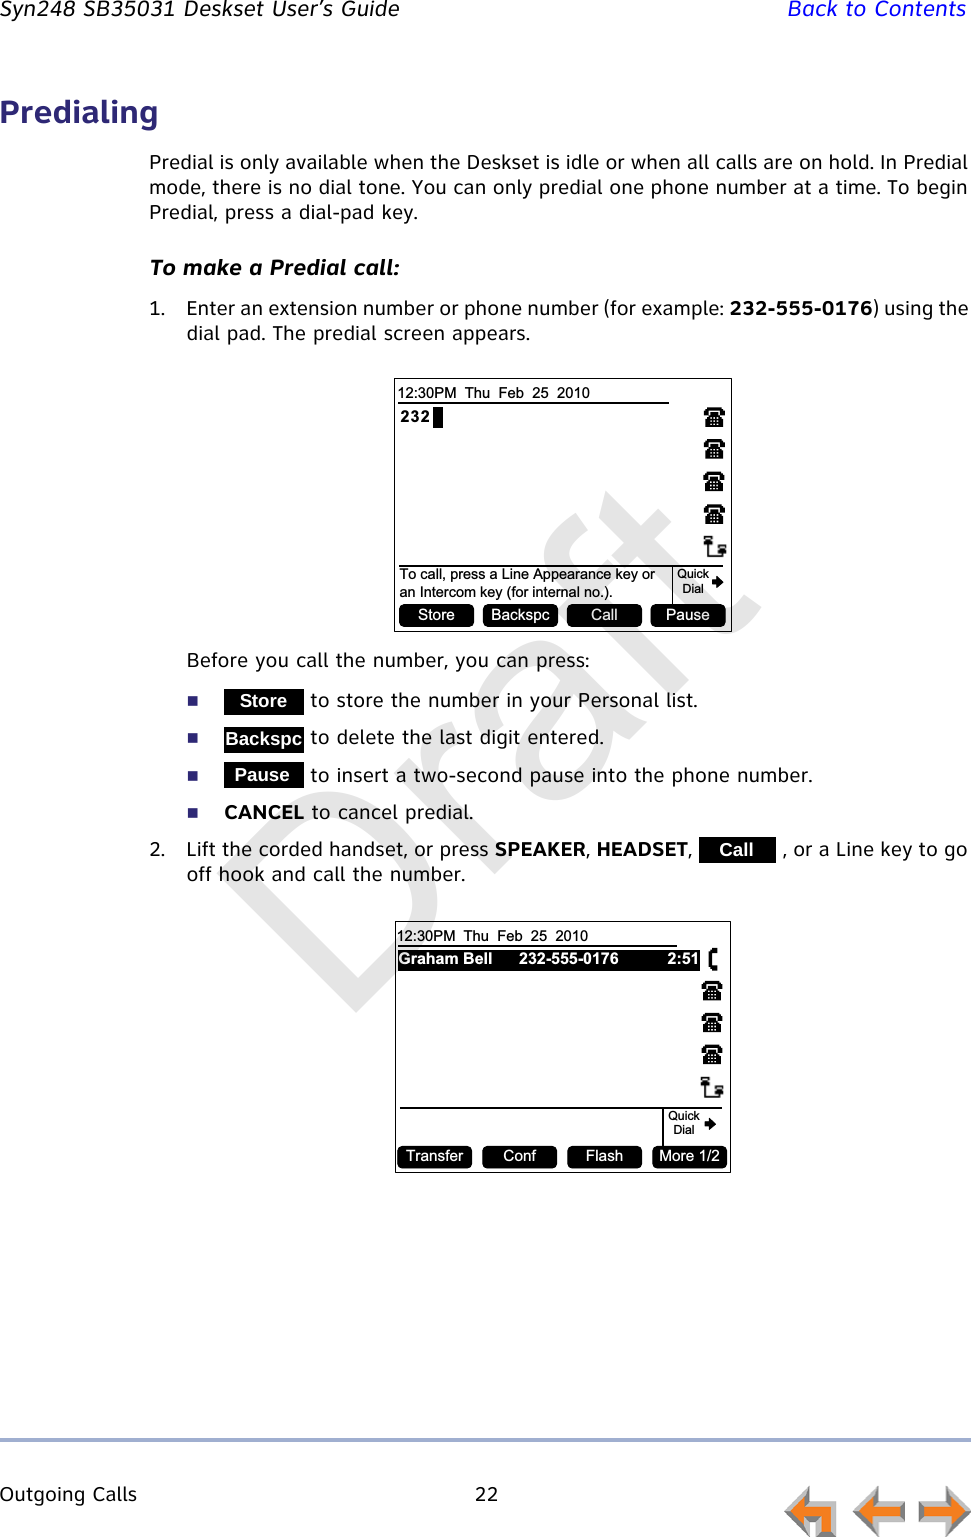
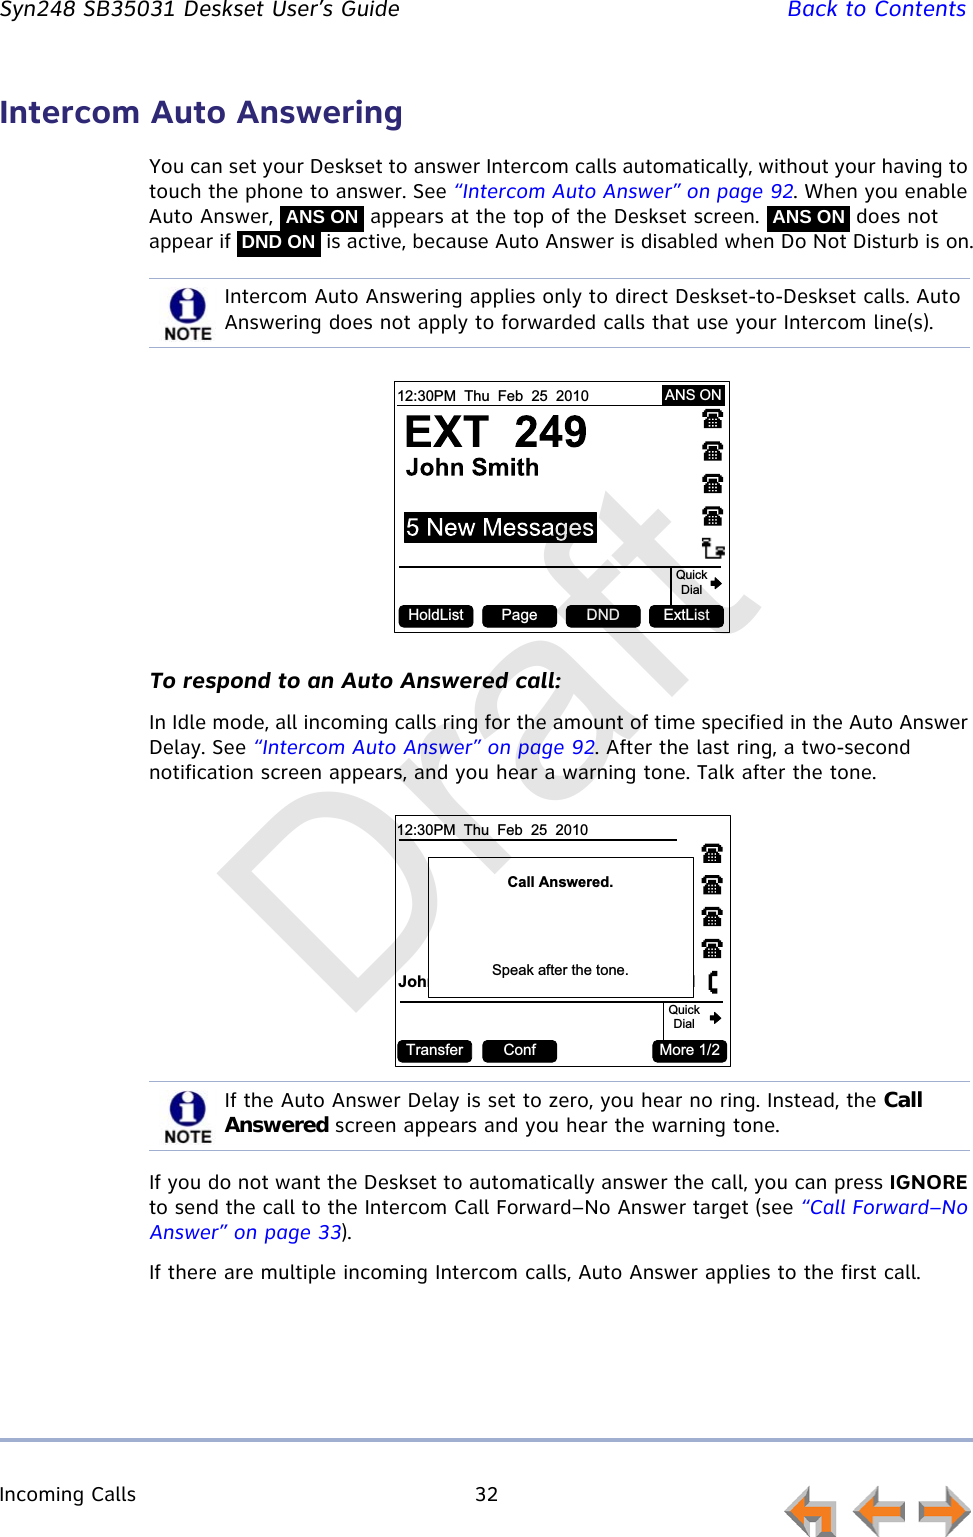
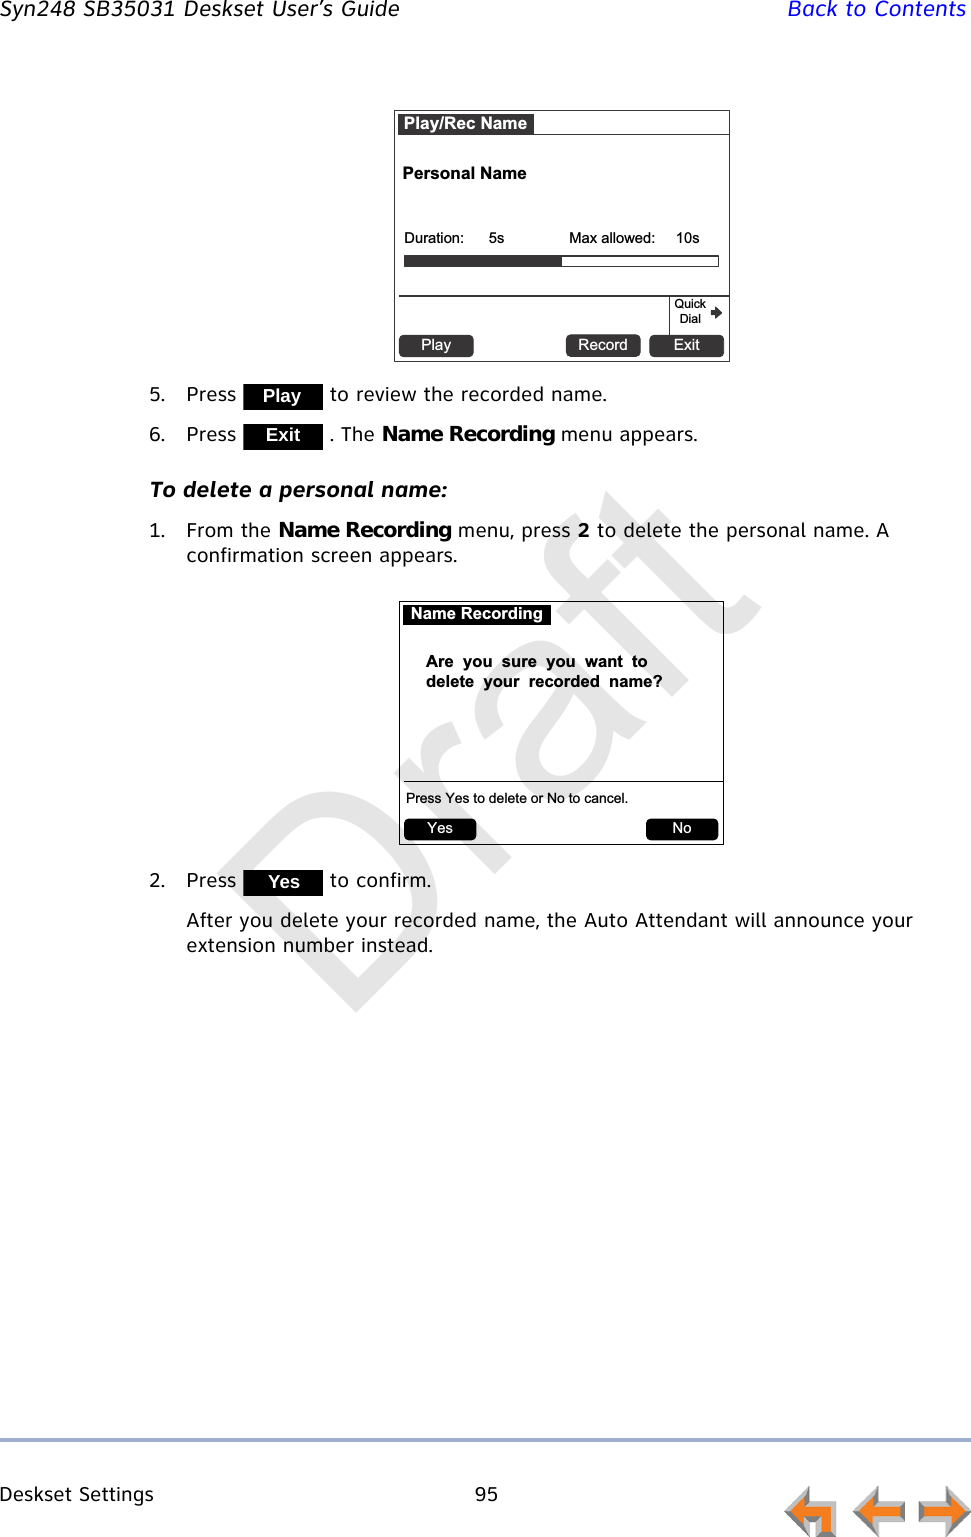
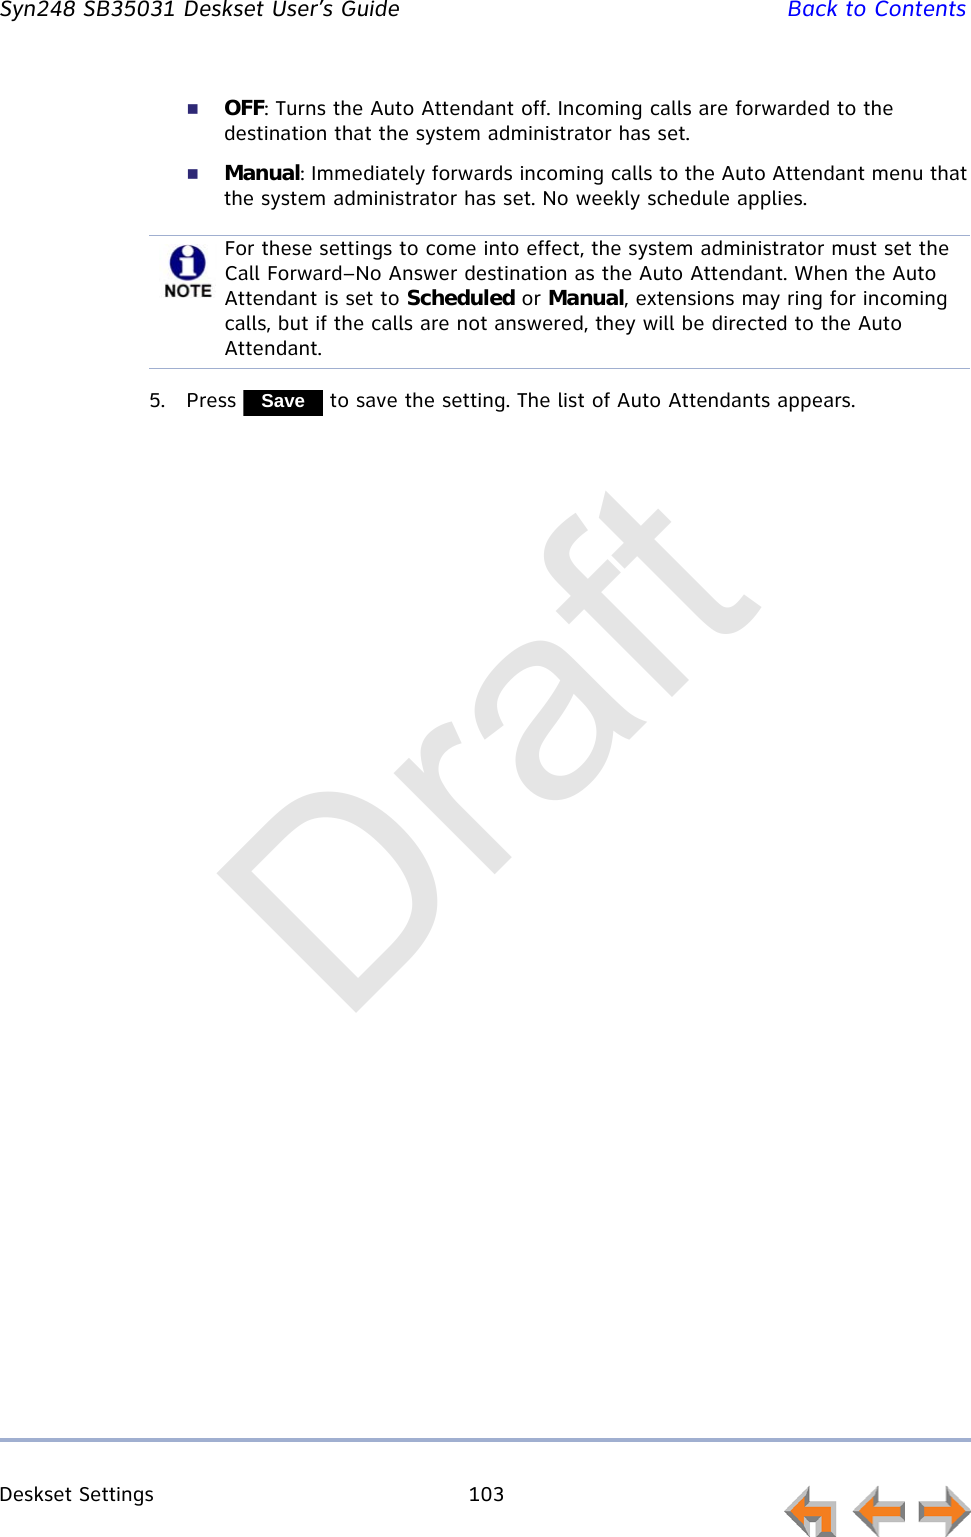
![Deskset Settings 92 Syn248 SB35031 Deskset User’s Guide Back to ContentsIntercom Auto AnswerYou can set the Deskset to automatically answer Intercom calls after a delay that you specify. Without touching the Deskset, you can speak to and be heard by people who call you. For example, employees in warehouses or shops may use this feature for quick conversations without having to interrupt what they are doing.To set Intercom Auto Answer:1. Press (MENU), then 2, and then 2. The Intercom Auto Answer screen appears.2. Press or to select either or .3. Press , and then or to select the delay before the Deskset automatically answers each Intercom call.4. Press to confirm the change. The User Settings menu appears.DND takes priority over Auto Answer.Intercom Auto Answer does not apply to outside calls that use an Intercom line after they were forwarded to your Deskset by a Phone Line Call Forward–No Answer setting.Intercom Auto AnswerDisabledDelay [5 sec]Use or to move highlight.Use or to cycle through options.Quick DialSaveAuto Answer Disabled Enabled SaveDraft](https://usermanual.wiki/VTech-Telecommunications/80-9300-00/User-Guide-2072387-Page-92.png)
![Web Interface 110 Syn248 SB35031 Deskset User’s Guide Back to ContentsTo edit Personal Directory entries:1. In the navigation menu at left, click Personal Directory. The Directory List page appears.2. Click [Edit] next to the entry to be edited. The Edit Personal Directory List Entry page appears.3. Complete the form with the desired information.4. Click to accept your changes or to reject the changes.To sort and delete Personal Directory entries:1. In the navigation menu at left, click Personal Directory to display the Directory List.2. To sort entries by last name, click . The button then changes to . This action only works during the current session. The sort order reverts to listing the names by first name when you log in the next time.3. To delete Directory entries:a. Click the check boxes for the entries you want to delete.b. Click . All of the selected entries are removed.Draft](https://usermanual.wiki/VTech-Telecommunications/80-9300-00/User-Guide-2072387-Page-110.png)