VeryKool USA I125 Mobile Phone User Manual
VeryKool USA Inc Mobile Phone Users Manual
UserManual.wiki
>
VeryKool USA
>
I125 User Manual
Users Manual
Navigation menu
Upload a User Manual
Namespaces
Wiki Guide
HTML
PDF
Info
Views
User Manual
Discussion / Help
Navigation
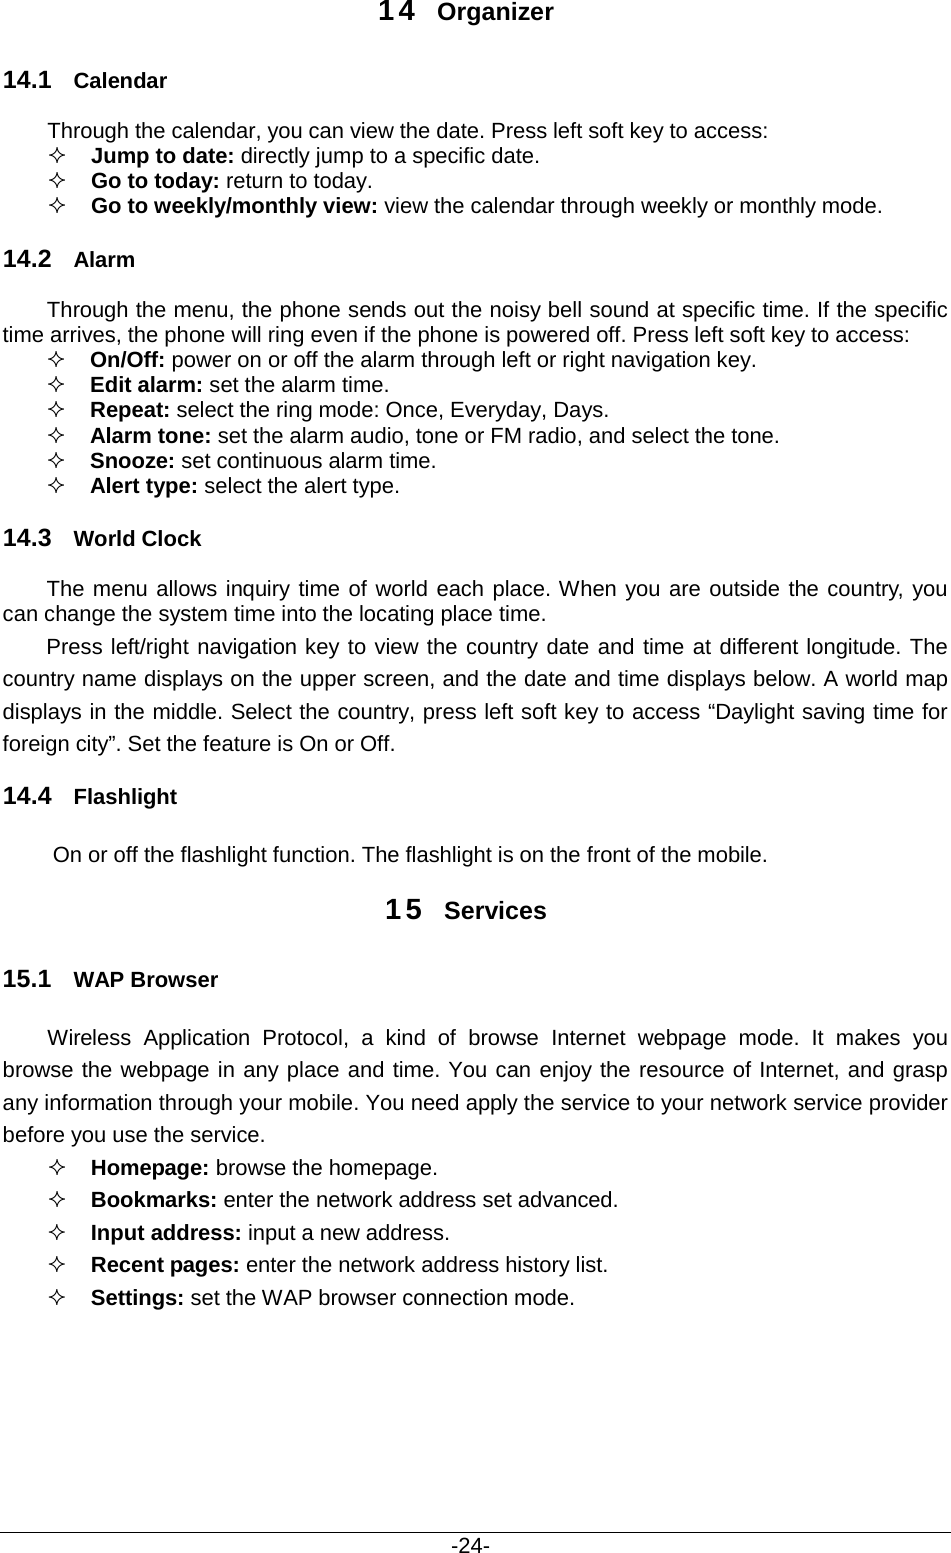
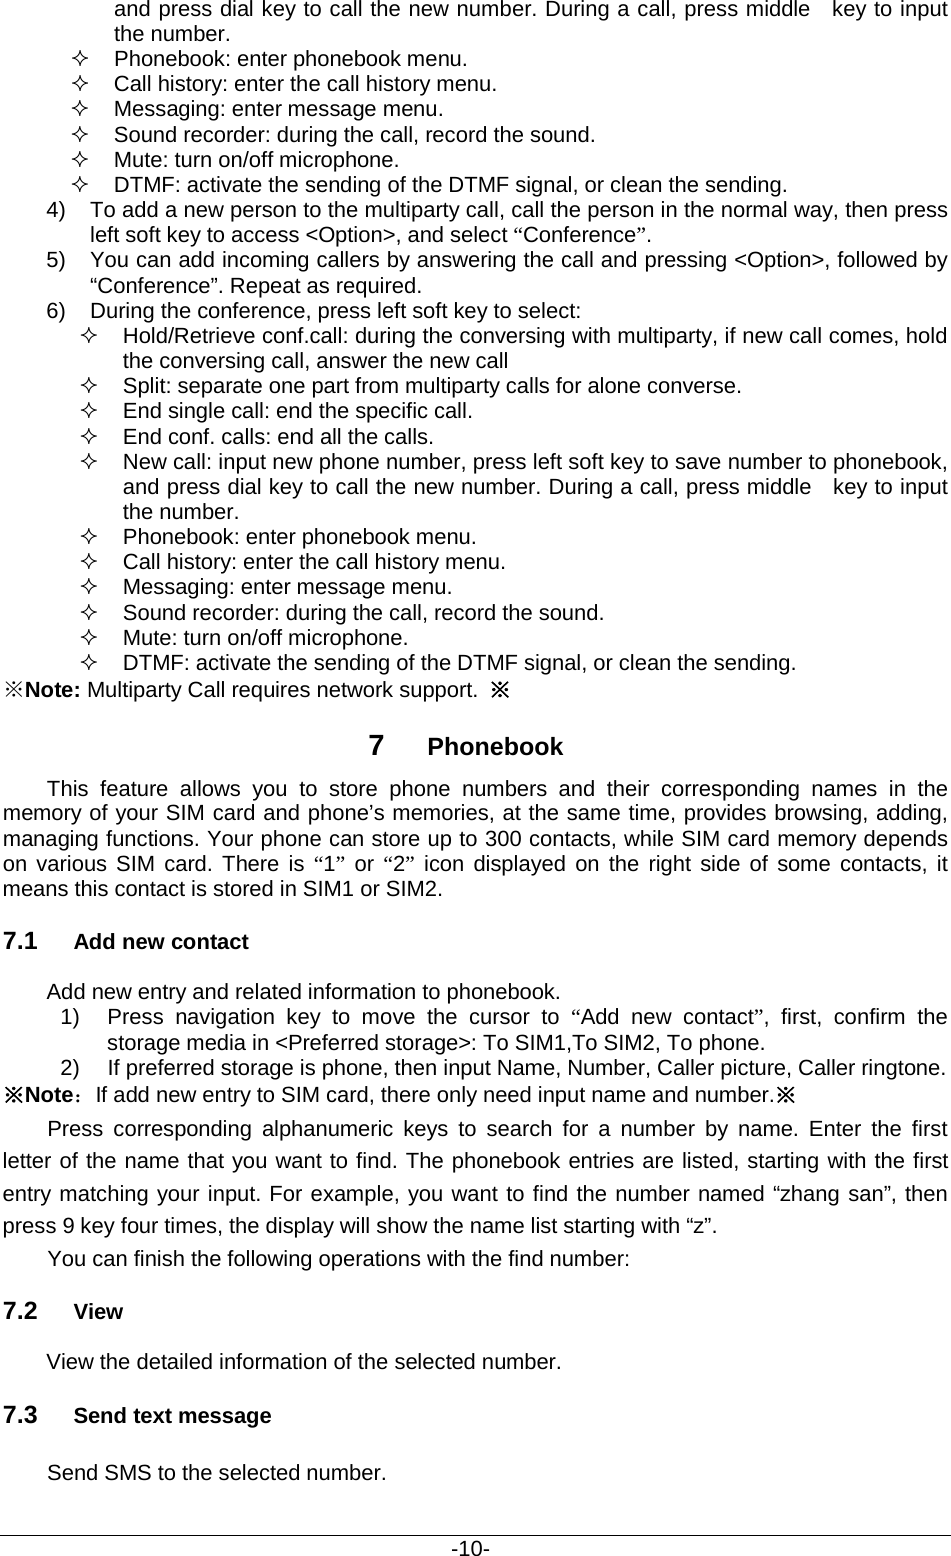
![-8- port. Select “My computer—movable disk”, can use the T-Flash function. Add or delete files in the music / video fold on the card. Stop the USB function on computer; disconnect the USB line with mobile. (*Note: Must stop the function on the computer firstly, then disconnect the line with mobile, otherwise the data will be lost*). 2) T-Flash card directory specification My Music: Save the MP3 music on the folder. The length of the music file is not limit. The quantity depend on the capacity of the T-Flash card.(The folder will be established automatically when select the music, such as add playing music, set alarm clock and so on) Photos: Save the photos through camera (The folder will be established automatically when taking picture). Videos: Save .3gp and .MP4 video files, and the film recorded.( The folder will be established automatically when making a video) Audio: Save the audio record files.(The folder will be established automatically when making a audio record) 5.5 Power On or Off Make sure the battery is already inserted: 1) Power On: Hold down end key until the phone-on image display. After power on, the phone searches for your network automatically. Some SIM card is protected by the PIN number, if you are asker for inputting the PIN number, please enter it, then press left soft key. 2) Power Off: Hold down end key until the power-off image display. ※ Note: (a) PIN is provided by your service provider. If the PIN is entered incorrectly three times, the SIM card is barred. (b) If the phone asks for an unlock code when switched on, enter the unlock code and press left soft key. ※ 6 Call Functions 6.1 Making a Call When you want a call, press the phone keypad to input the area code and phone number. Click left soft key to save, select To SIM1/2, or To phone. Press and hold down * key until character “+” appears, and then you can dial an international number. (The ‘+’ stands for international dial code.) Press dial key to dial the number. If the number is stored with a name, it appears on the display when you dial the number. Only in GSM system coverage, you can make an emergency call, even though the phone is locked, without SIM card, or cannot enroll to the system. ※Note: This phone, like any wireless phone, operates using radio signals, wireless, and landline networks as well as user programmed functions, which cannot guarantee connection in all conditions. Therefore, you should never rely solely on any wireless phone for essential communications like medical emergencies. Check with local service providers to make an emergency call.※ Quick making a call i) Enter [Menu]- [Phonebook], select Browse and find the required number; ii) Enter [Menu]-[Call center]-[Call history], select corresponding SIM card, select Missed calls, Dialed calls, Received calls list. Scroll the navigation keys to find the required number; iii) In standby mode, press right soft key to enter phonebook. iv) In standby mode, press dial key to display the last number dialed. v) Press dial key to make a call. ※Note: You can quickly search numbers from [Phonebook] via navigation keys and alphanumeric keys. Use navigation keys to move through pages; Use alphanumeric keys to](https://usermanual.wiki/VeryKool-USA/I125/User-Guide-1560208-Page-13.png)
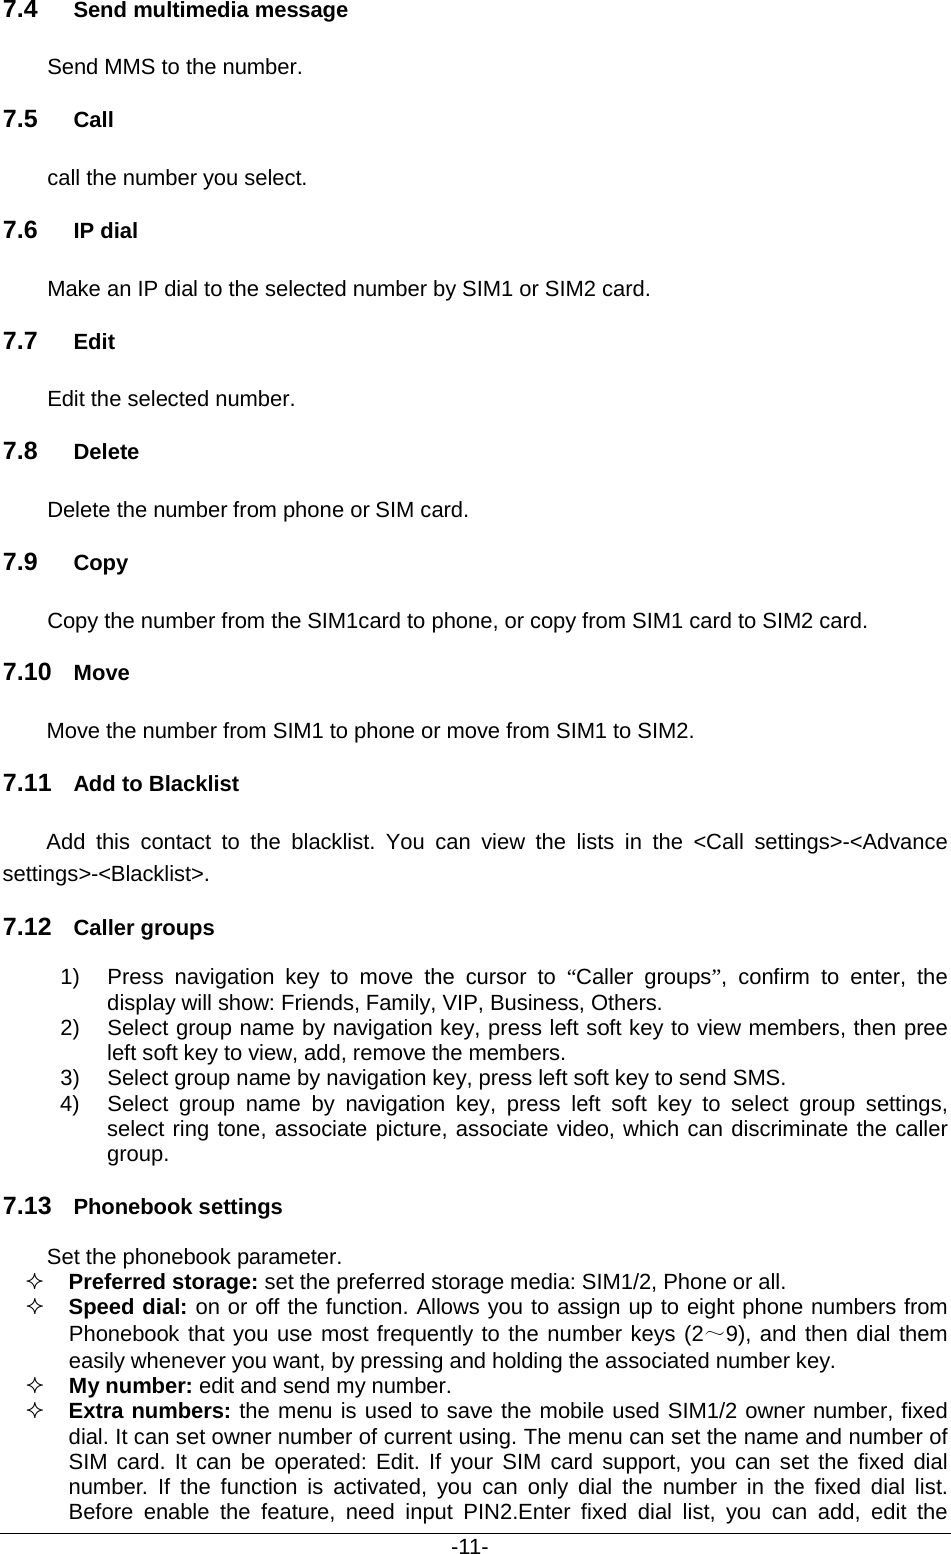
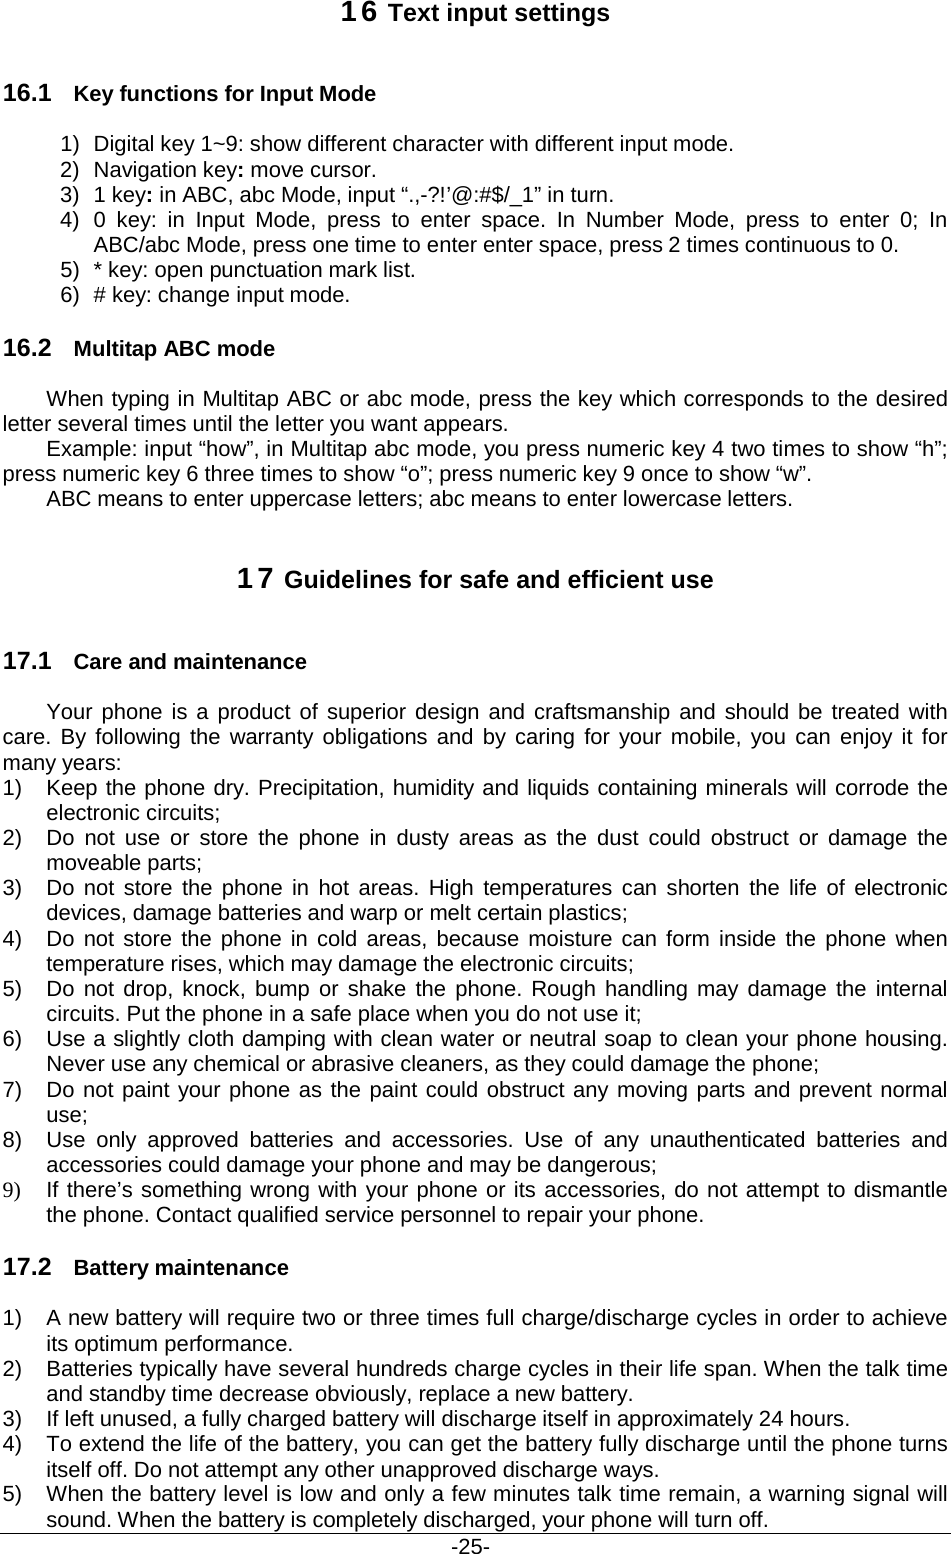
![-13- Add video: insert the video file that saved on the phone or memory card into the message. Add subject: input the message subject. After adding the subject, there will show the “Edit subject” after the menu. Preview MMS: view the edited MMS message. Slide options: Add slide before: add new slide before the current slide, and edit new message content. After add the slide, there will show “Delete slide” and “Next slide” after the menu. Add slide after: add new slide after the current slide, and edit new message content. After add the slide, there will show “Delete slide” and “Next slide” after the menu. Slide timing: set the slide time. Advanced: Add attachment: insert the attachment that saved on the phone or memory card into the message. After adding the attachment, there will show the “Edit attachment” and “Remove attachment” after the menu. Add bookmark text: add website address into the message. Save to Drafts: not send the message, and save it on [Drafts] folder. After editing the message, select “Send to” and select the number, press left soft key to access: Send: send the message to the selected numbers. Send options: set the sending parameter, such as validity period, Delivery report, Read report, Priority. Edit recipient: edit the number. Remove recipient: delect this number. Remove all recipients: delect all the numbers. Change to Cc: change the send mode of this number to Cc. Change to Bcc: change the send mode of this number to Bcc. If you input bcc number, the MMS message will send by encryption mode. Save to Drafts: save the message to draft of SIM1 or SIM2. 8.2 Inbox Through the menu you can read received SMS and MMS messages of SIM1 and SIM2. There is “1” or “2” icon displayed on the right side of every messages, it means this message is received by SIM1 or SIM2. To the message list, select one and open it, press left soft key: View: view the message content. Reply by SMS or MMS: replay the message. Call sender: call the number that sends this SMS. Forward: send the message to others. Delete: delete the selected message. Delete all: delete all messages. Save to Phonebook: save this new number to the phone or replace existing. Advanced(SMS): Copy to phone/Copy to SIM: copy the message to phone/SIM1/2. Move to phone/Move to phone: move the message to phone/SIM1/2. Copy all: select the copy mode then copy all the messages. Move all: select the move mode then move all the messages. Details(MMS): show the details of the MMS message. 8.3 Drafts Select a draft message, press left soft key to select the menu: View, Send, Edit, Delete, Delete all, Advanced. The operation details please refer to [Write message]. 8.4 Outbox The outbox stores any messages that you have failed to delivery. For the messages in this box, you can access options: View, Resend, Edit, Delete, Delete all, Advanced. The details refer to [Inbox].](https://usermanual.wiki/VeryKool-USA/I125/User-Guide-1560208-Page-18.png)

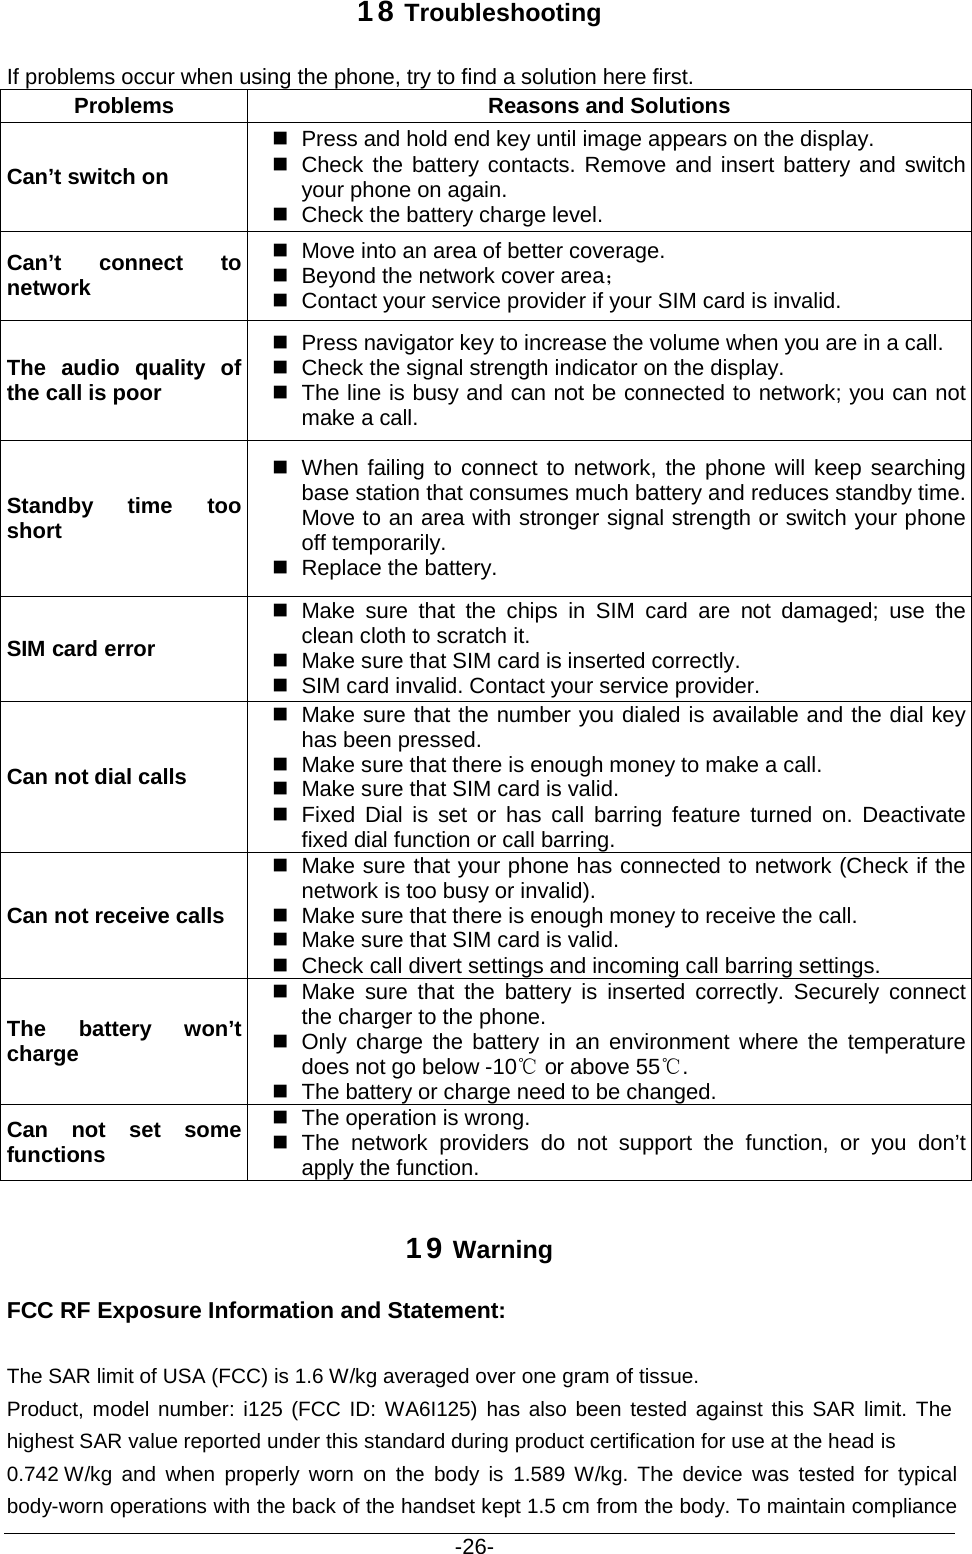
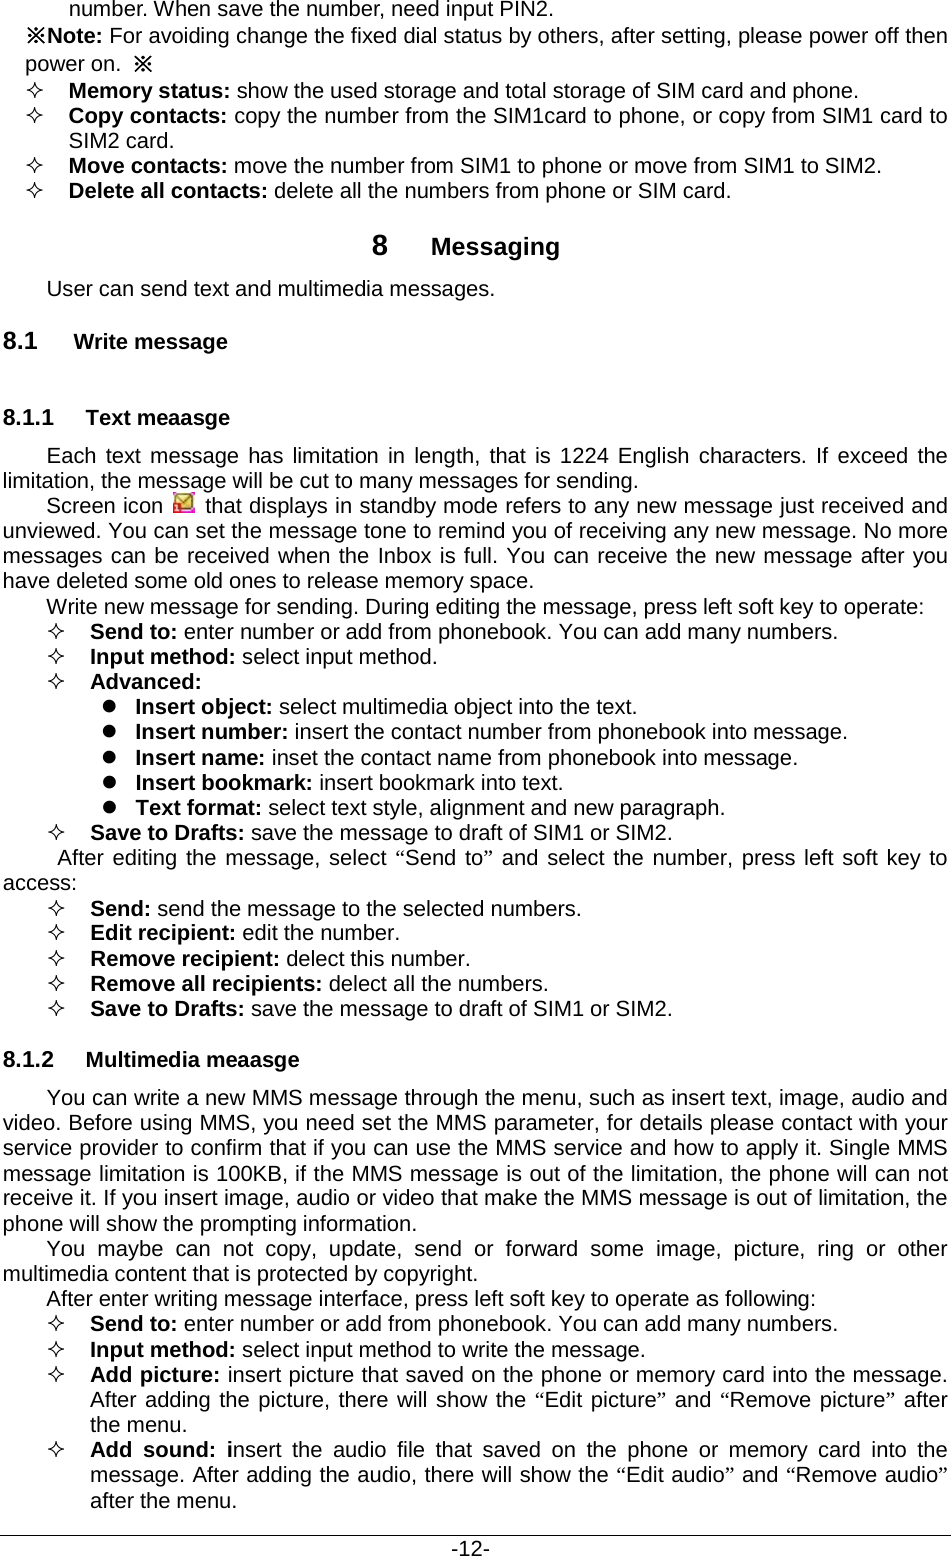
![-20- 11 Multimedia 11.1 File manager For saving more information, the phone support memory card. The card can be installed at any time. The menu can manage the files on the phone. Enter File Manager menu, show storage media list. Select one, the total storage and used storage will be shown on the up display, and an icon shows use proportion on the left-up. 11.1.1 Phone 1) Select “Phone”, press left soft key to access [Options]: Open: open the folder and show the file list. Format: format the phone memory. ※Note: After formatting, all date saved on the phone will be lost forever.※ 2) Select one folder, press left soft key to access: Open: open the folder and show the file list. New folder: create a new folder under the current folder. Rename: Rename the selected folder. Delete: delete selected folder. Sort by: sort the selected folder. 3) Select one file under the folder, press left soft key to access: View: view the photo, the menu is valid to image file. Play: play the video file. The menu is valid to audio, video file. Open ebook: open the e-book file. The menu is valid to e-book file. Use: if the selected file is a ring, then send it to profile. Send: send it to MMS or bluetooth. Details: show the file details. Rename: rename the selected file. Copy: copy the file to specific folder. Move: move the file to specific folder. Delete: delete the selected file. Delete all files: delete all files of the folder. Sort by: sort the file on the current folder. 11.1.2 Memory card If the phone is inserted into memory card, the display will show “Memory Card”. Select the menu, press left soft key to access: Open: open the folder and show the file list. Format: format the phone memory. Rename: Rename the selected folder. Details: show the file details. ※Note: After formatting, all date saved on the memory card will be lost forever.※ The operation of the folder and file, please refer to the details of chapter “Phone”. Note:Our phone supports USB2.0 standard. If your computer system is Windows2000 or Windows XP or above, the computer will recognize the USB automatically without installing driver. ※ 11.2 Camera With the phone camera feature, you can take picture at any time without carrying digital camera. Enter the menu, the display shows the preview image.](https://usermanual.wiki/VeryKool-USA/I125/User-Guide-1560208-Page-25.png)

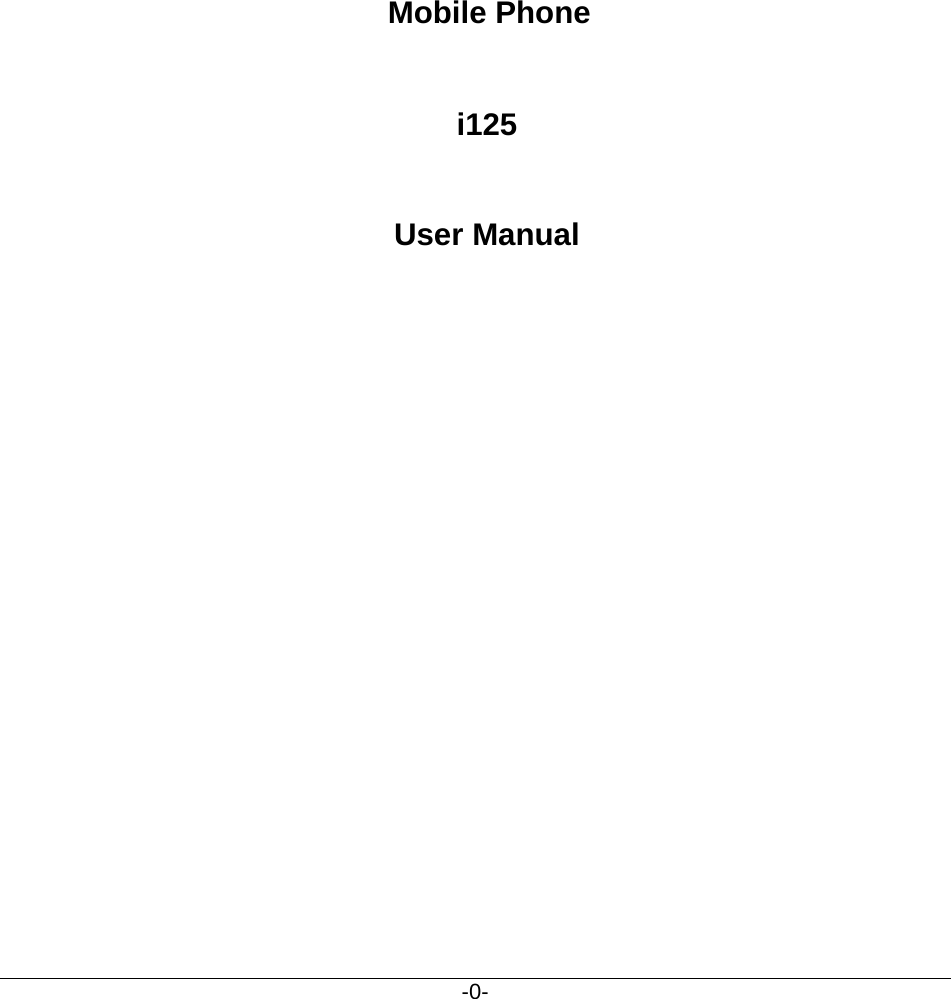
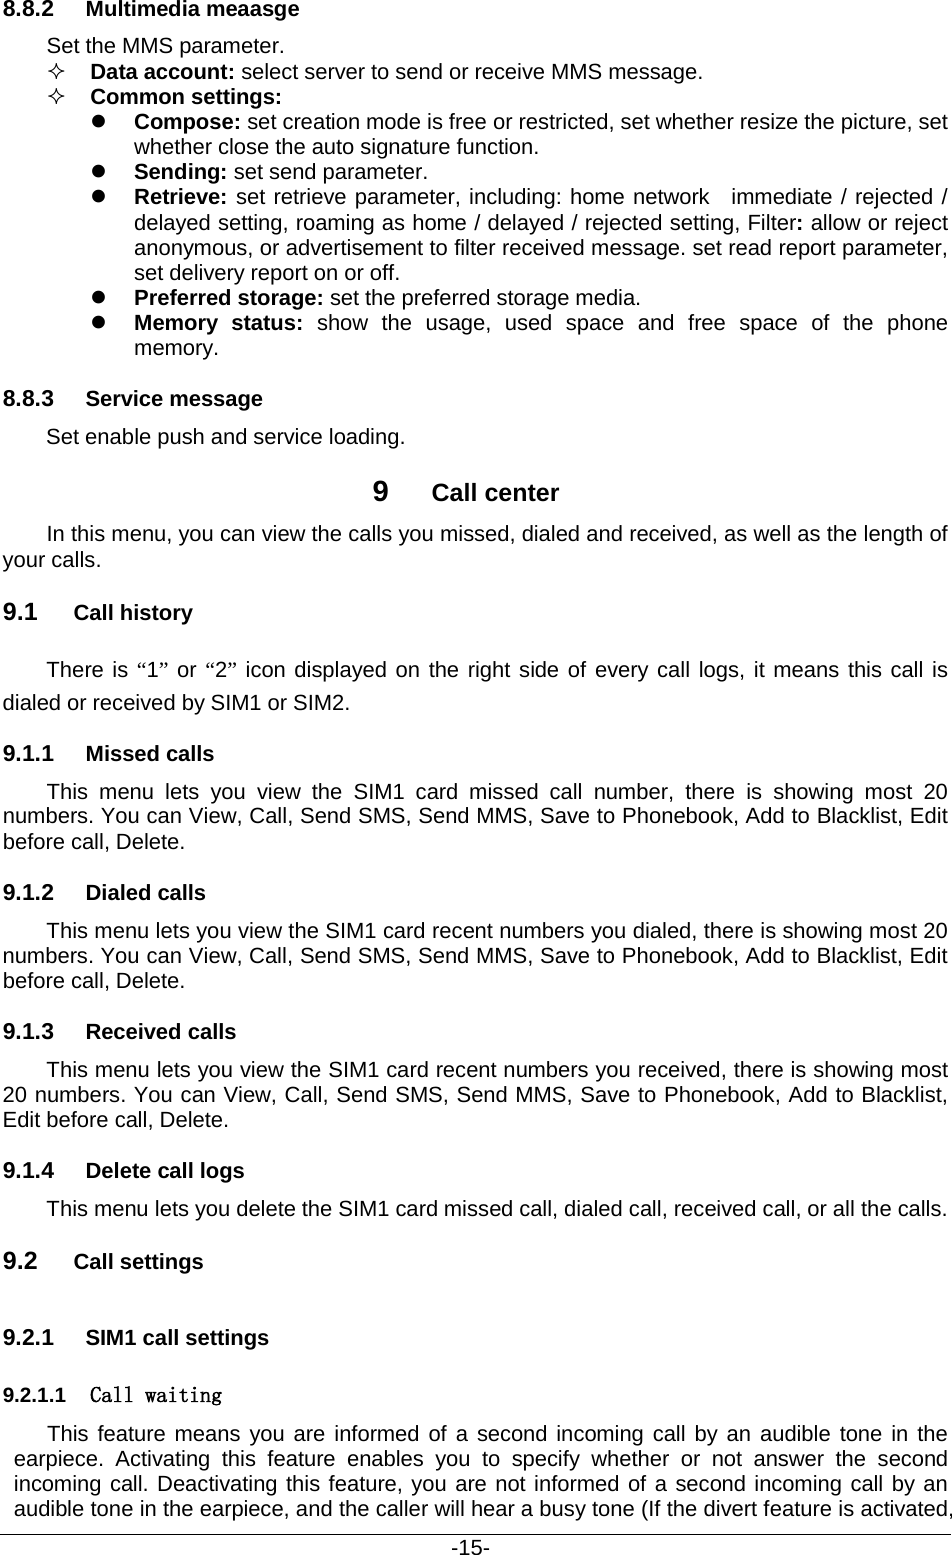
![-23- Delete: delete the record. Delete all files: delete all records. Use as: use to User profiles. Send: send the file as MMS or via Bluetooth. 11.8 FM radio Before starting FM radio, insert the earphone into left side of the phone. The earphone line equates in FM radio antenna. Please let it hang freely. Open the FM radio, the phone will show the channel frequency that the phone searched automatically. You can press left/right navigation keys to change the channel frequency. Press up and down navigation key to adjust volume. Press middle key to on/off the loudspeaker. And press right soft key to exit, and press left soft key to operate: Channel List: show all radio channels. Press OK key to edit the frequency, the value is among 87.5MHZ and 108.0MHZ. Manual Input: input channel manually. Auto Search: search channel automatically. Settings: set the radio player parameter 12 Entertainment For making some funny, the phone designs some games. The details of operation please refer to game help file. 13 User profiles The menu allows setting different prompt mode for call and message in different environment. Press left soft key to access, select profile through up/down navigation key. 13.1 General Set the phone ring tone and other prompt mode as your prefer. 1) Activate: activate and set as default mode. 2) Customize: Set Alert type, Ring type, SIM1/2 incoming call, Power on, Power off, SIM1/2 Message tone, Keypad tone and the volume of Ring tone, Key tone. 3) Reset: reset to default settings. 13.2 Silent Activate silent mode. 13.3 Meeting Operation details are same with [General]. 13.4 Outdoor The ring tone volume is 7 levels, and Ring type is “Repeat”. Operation details are same with [General]. 13.5 My style Set your own style settings, and rename it.](https://usermanual.wiki/VeryKool-USA/I125/User-Guide-1560208-Page-28.png)