VeryKool USA I800 GSM/GPRS/EDGE/WCDMA/HSDPA Hand hold Phone User Manual i800 User Manual V0 1 5 FCC
VeryKool USA Inc GSM/GPRS/EDGE/WCDMA/HSDPA Hand hold Phone i800 User Manual V0 1 5 FCC
Contents
- 1. User Manual V0 1 5 FCC
- 2. i800 User Manual V0 1 5 FCC
User Manual V0 1 5 FCC
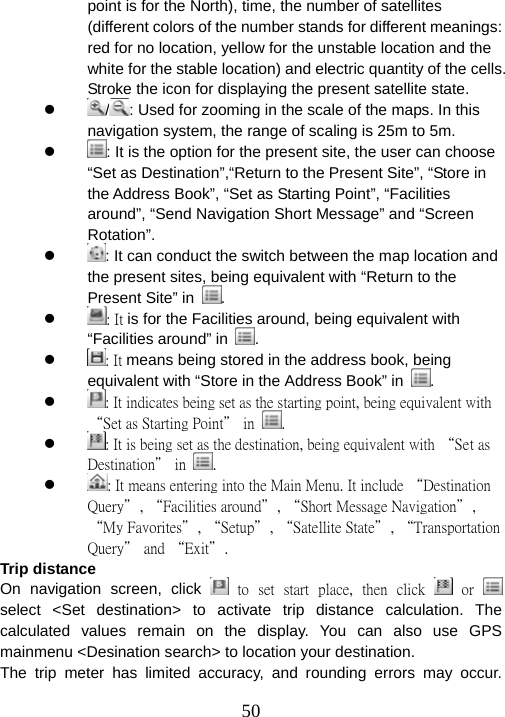
![1About this Guide About this guide This User’s Guide provides you with condensed information about how to use your phone. To quickly learn the basics for your phone, please refer to “Quick Start Guide”. An introduction to operation To access function menu, this guide shows the path in following way: Operate through: Main Menu Æ Messages. This case shows: In the standby mode, press centre key; the phone displays main menu, you choose [Messages] to highlight it; Press centre key to open message menu. An introduction to phone interface To describe phone interface, this guide shows in following way: [ ] Main Menu interface display <> Buttom About the instruction icons Following instruction icons appears to provide special information: Indicates that you need to pay careful attention. A service or feature requires network service or registered service support. Contact your network service provider for more information.](https://usermanual.wiki/VeryKool-USA/I800.User-Manual-V0-1-5-FCC/User-Guide-1010625-Page-1.png)

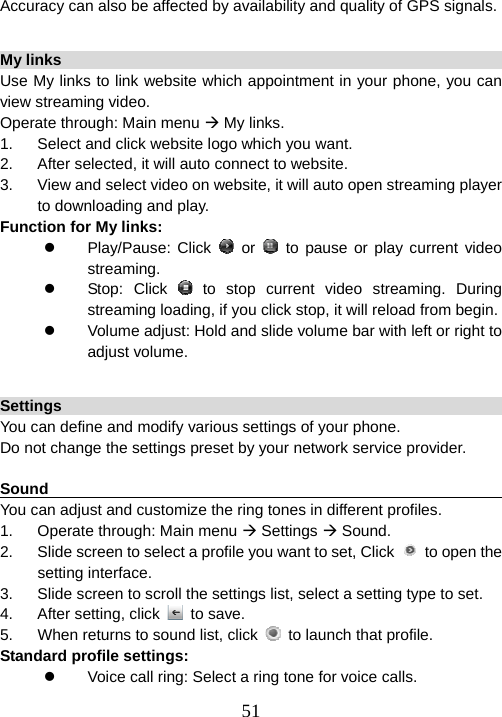
![27Make sure if there is restriction by local law or regulation on the use of Bluetooth. If restricted, deactivate Bluetooth please. Bluetooth technology allows free wireless connections within a range of 10 meters and no obstacles between the devices. The tolerable Bluetooth data size will be adjusted by the phone according to local restrictions, therefore the upper limit of distance between devices may be different. Bluetooth connection 1. Operate through: Main menu Æ Settings Æ Connection Æ Bluetooth. 2. Slide , to activate Bluetooth. 3. When Bluetooth was activated, it will auto searching device. The phone will search other Bluetooth devices in the valid area and display in the devices list. 4. Select the Bluetooth device you want to connect. Click to confirm the connection. 5. If necessary input the compatible passcode. If input passcode is compatible to the passcode of waited Bluetooth device, the Bluetooth devices will be connected. 6. Click , to setup device visibility, dial up, and device name. Press <Save> to save Bluetooth settings. Transmit data via Bluetooth 1. Click device which you select, it will open the applied program in which the file you want to transmit is stored. For instance, to send an image, open [My stuff]. 2. Select the file you want to send. 3. If the device requires pairing, input the compatible passcode. 4. After connected, the device will display the prompting of data transmission. Pair devices To pair devices means identity verification. To pair devices, both parties supporting Bluetooth should reach assent on the passcode and input the identical passcode in respective devices.](https://usermanual.wiki/VeryKool-USA/I800.User-Manual-V0-1-5-FCC/User-Guide-1010625-Page-27.png)

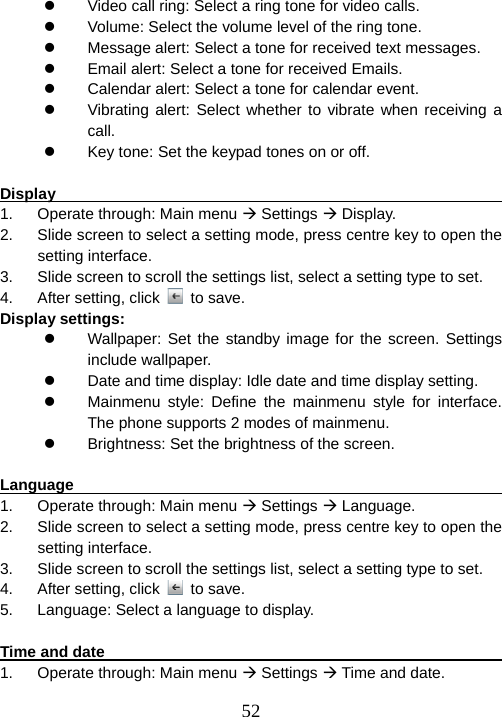
![29 Function menu To access in menu, click on idle sreen. All menu function introduction as below: STK To use STK function, you need a SIM/USIM card supporting SIM applied tools and providing services such as entertainment, mobile IM, weather report, etc. To enter STK menu, press home key in standby mode and select [SAT] in the main menu. My pictures You can via camera or picture album to browse image in your phone. View picture list 1. Operate through: Main menu Æ My picture. 2. Slide screen and view picture thumbnail in your phone. 3. You can also view picture from <Camera> photo album. View picture 1. Operate through: Main menu Æ My picture. 2. Click picture to picture detail screen. Funciton for picture detail: z Picture manage: Click to open picture manage option menu. You can use this picture to email photo, set as wallpaper, assign to contact thumbnail and rename. z View previous/next: Click to turn to picture previous or next. Or you can slide left/ right screen to move picture for previous or next view. z View as full screen: To view full screen picture, click or touch photo area once. Retrieve normal view, touch photo](https://usermanual.wiki/VeryKool-USA/I800.User-Manual-V0-1-5-FCC/User-Guide-1010625-Page-29.png)

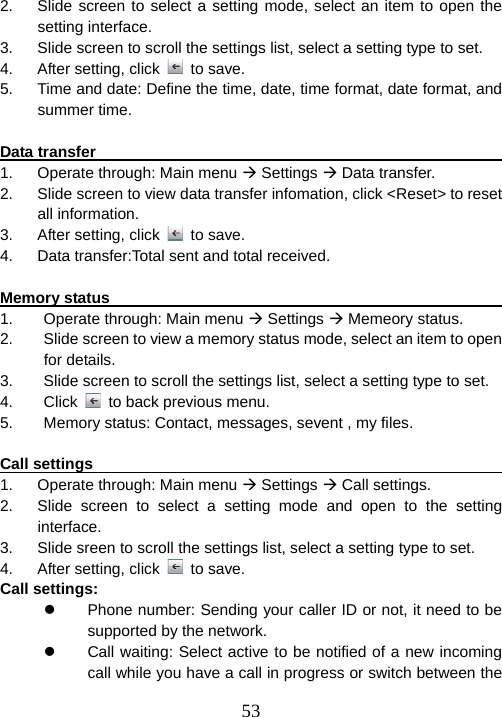
![43z Channel list: To select the list of saved channels. z Search all frequencies: To automatically and maully search the available frequencies at your location. z Handset & Speaker: Click or to listen to the radio using the loudspeaker or headset. Keep the headset connected to the device. The lead of the headset functions as the radio antenna. z AF: Click to enable or disable.AF. AF will auto search and location better frequency when the frequency signals turn to low. z TA: Click to enable or disable AF. When you can’t receive frequency signal in different place, enable TA function to auto search same type channel. z RDS: Click to enable or disable RDS. Enable RDS, it can receive channel name, frequency, programmer name information on current radio screen. TV out Your phone can output phone screen to TV through a s-video calbe. You can apply this function to exhibition, business meeting or product presentation, ect. Operate through: Main menu Æ Multimedia. 1. Slide to active on TV out. 2. When screen show “Please insert connect table” window, then insert s-video with RCA port to TV’s RCA port. 3. After cable connect, please swich your TV to video. You will see phone picuture on your TV. 4. Now you can control your phone on TV, include make/receive call, message, etc. 5. To stop TV out, please pull out connect cable. Tools Tools include: Alarm, Calculator, Recorder, World time, Contact manager. To use tools menu, press centre key in standby mode and select [Tools]](https://usermanual.wiki/VeryKool-USA/I800.User-Manual-V0-1-5-FCC/User-Guide-1010625-Page-43.png)

![56z Visibility: Show or hide the phone to other Bluetooth devices. z Dial up: Switch on or off the dial up mode. z Device name: Enter a name for the phone. Bluetooth connection 1. Operate through: Main menu Æ Settings Æ Connection Æ Bluetooth. 2. Slide , to activate Bluetooth. 3. When Bluetooth was activated, it will auto searching device. The phone will search other Bluetooth devices in the valid area and display in the devices list. 4. Select the Bluetooth device you want to connect. Click to confirm the connection. 5. If necessary input the compatible passcode. If input passcode is compatible to the passcode of waited Bluetooth device, the Bluetooth devices will be connected. USB connection 1. Operate through: Main menu Æ Settings Æ Connection Æ USB Æ PC sync/USB/Dial up. 2. Connect the phone and devices with USB port, such as computer. 3. When the phone requests whether to launch flash disc, PC synchronization, or mode, select one to confirm. PC synchronization and modem need PC TOOLS supported. Please download and install it on website [Client supply URL]. The software includes help information for synchronization and modem launch. Connecting phone to computer 1. Download and install PC tools with your phone. 2. Make sure your phone is turned on and connected to the computer via USB cable. 3. Start your PC tools application on your computer. When the installation is done, you can synchronize information or browse the internet on a computer using the phone as a modem. Data account settings](https://usermanual.wiki/VeryKool-USA/I800.User-Manual-V0-1-5-FCC/User-Guide-1010625-Page-56.png)