Contents
- 1. Users Manual 1
- 2. Users Manual 2
Users Manual 2

Part number: 600-1030-00
A
ViVOpay 3000 Installation Guide
for VeriFone Ruby
May 2004 Version 1.0
ViVOtech®, Inc.
451 El Camino Real
Santa Clara, CA 95050
Ph: 408.248.7001, ext.105
Email: info@ViVOtech.com
www.vivotech.com

Copyright 2004, ViVOtech, Inc. All rights reserved.
ViVOtech, Inc.
451 El Camino Real
Santa Clara, CA 95050
Phone: (408) 248-7001
Written and designed at ViVOtech, Inc.
This paper, as well as the software and hardware described in it, is furnished under
license and may be used or copied online in accordance with the terms of such
license. The content of this paper is furnished for information use only, is subject
to change without notice, and should not be construed as a commitment by
ViVOtech, Inc. ViVOtech, Inc assumes no responsibility or liability for any errors or
inaccuracies that may appear in this document.
Except as permitted by such license, no part of this publication may be reproduced
or transmitted by electronic, mechanical, recording, or otherwise, or translated into
any language form without the express written consent of ViVOtech, Inc.
ViVOtech, ViVOwallet, ViVOcard, ViVOpay, ViVOplatform Dynamic Strip,
ViVOsmartcable and ViVOgiftcard are trademarks or registered trademarks of
ViVOtech, Inc. All other products or name brands are trademarks of their
respective holders.
May 2004
3 VeriFone Ruby Installation Guide V 1.0
VeriFone Ruby Installation Guide 1
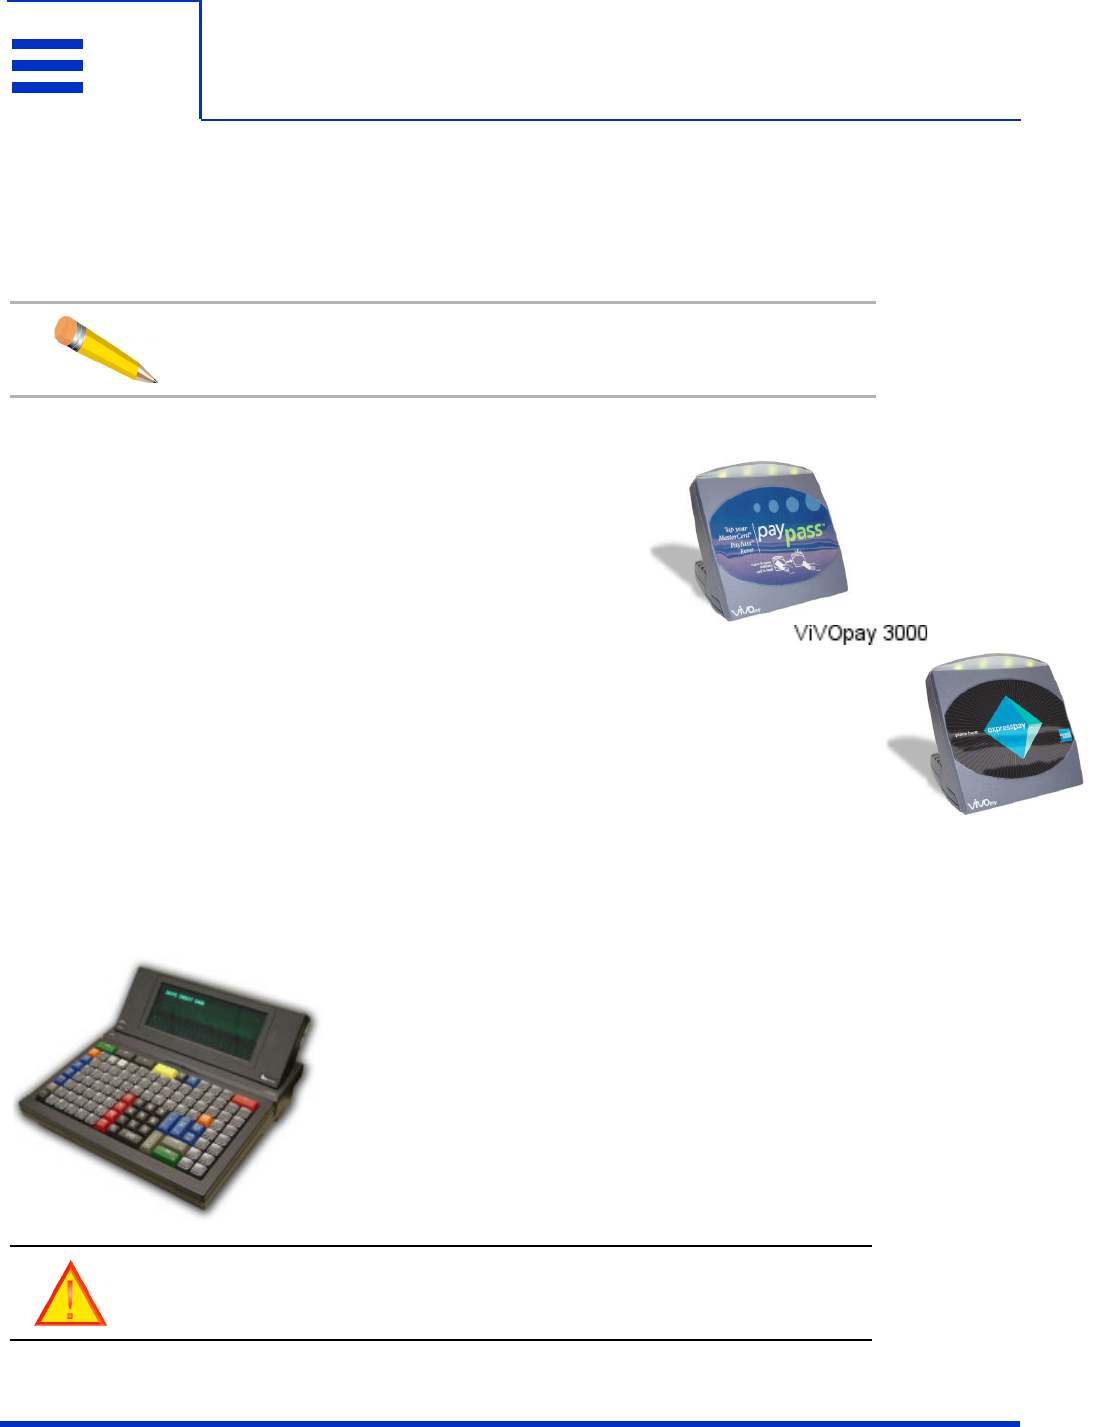
The ViVOpay 3000™ patent-pending Dynamic Strip™ technology enables
contactless payments without hardware or software changes to existing POS
devices at minimum cost.
This document assumes that installers are familiar with their host POS system.
Obtain the necessary components by removing the following ViVOtech products
from the shipping carton:
• ViVOpay power adapter
•Dynamic Strip
• Alcohol Wipe
• Cable support clip
• ViVOpay 3000
Obtain the following products from your work area:
• Your POS terminal, turned on
• Ruby, powered up
• Serial link cable
•Pencil
The Plug-and-Play application is installed as follows:
1. Clean the terminal
NOTE: It is highly recommended that you review the procedure
at least once prior to exposing the adhesive mounting tapes.
Use the alcohol wipe to clean the POS terminal
case. Wipe the top and side areas around the
magnetic strip where the cable clips will be attached.
CAUTION: Do not push the pad into the strip!
4 VeriFone Ruby Installation Guide V 1.0
It is important that these areas be clean of any oily or greasy residue that will
interfere with the adhesive mounting tapes. Allow the terminal to air dry.
2. Power up the ViVOpay unit in strip test mode
Continue to hold the button for five seconds until a continuous beeping is audible.
The ViVOtech unit is now in strip test mode. In the test mode, the ViVOpay unit's
LED will flash approximately every two seconds to indicate the strip test mode. The
ViVOpay unit will automatically transmit factory-installed test data to the POS
terminal strip to allow the installer to correctly position the strip on the magnetic
head.
3. Initiate the magnetic strip test on your POS terminal
It is necessary to set the POS terminal in the Card Reader Diagnostics (test) Mode
in order to precisely position the Strip.
a. Press the "Function" and "7" keys simultaneously to exit the credit card payment
application. Enter the password 1 <alpha> <alpha> 66831.
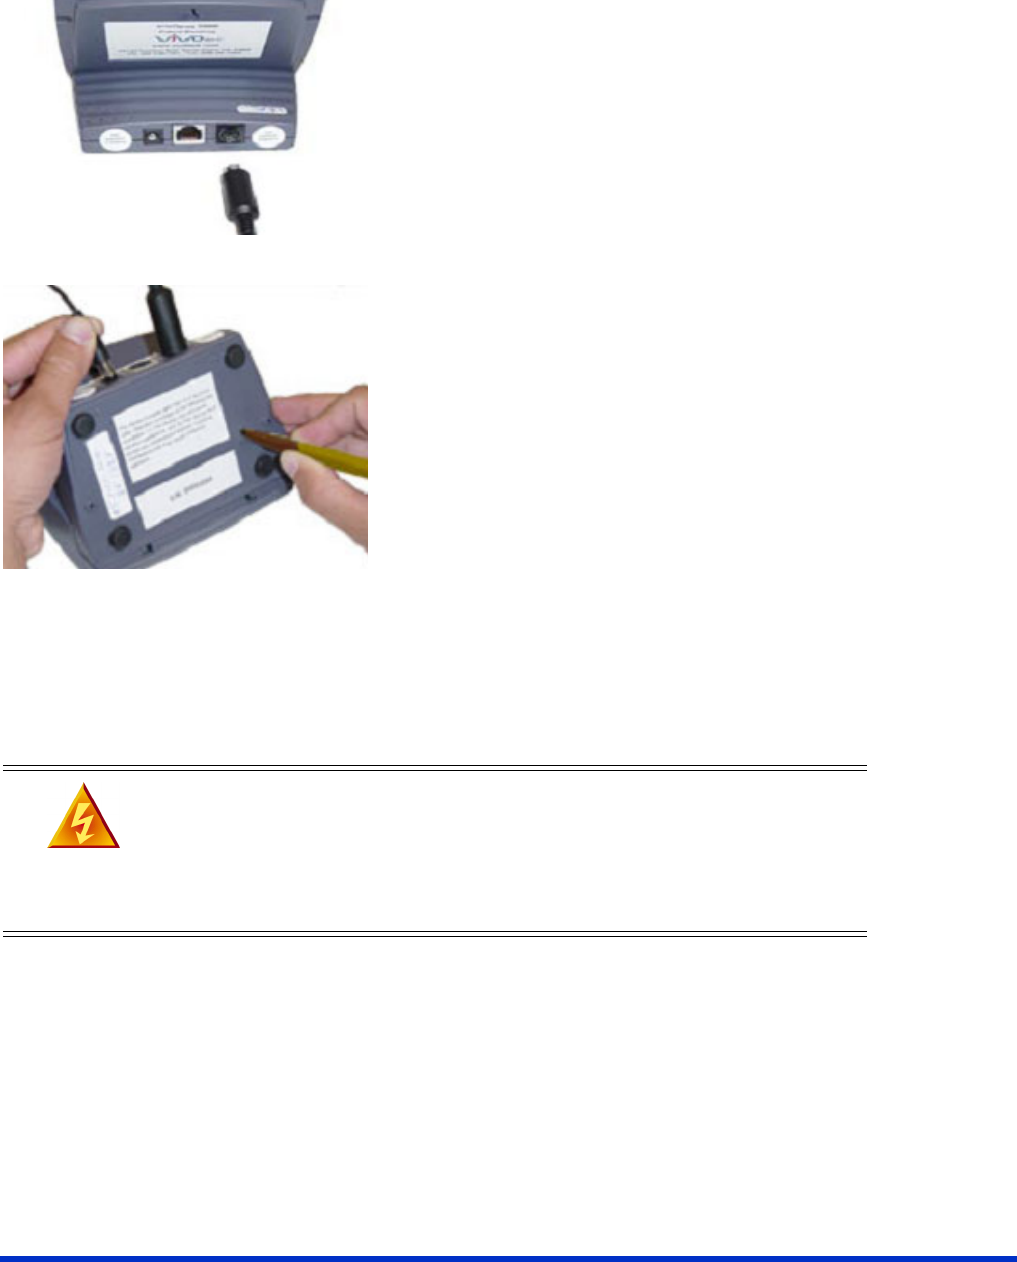
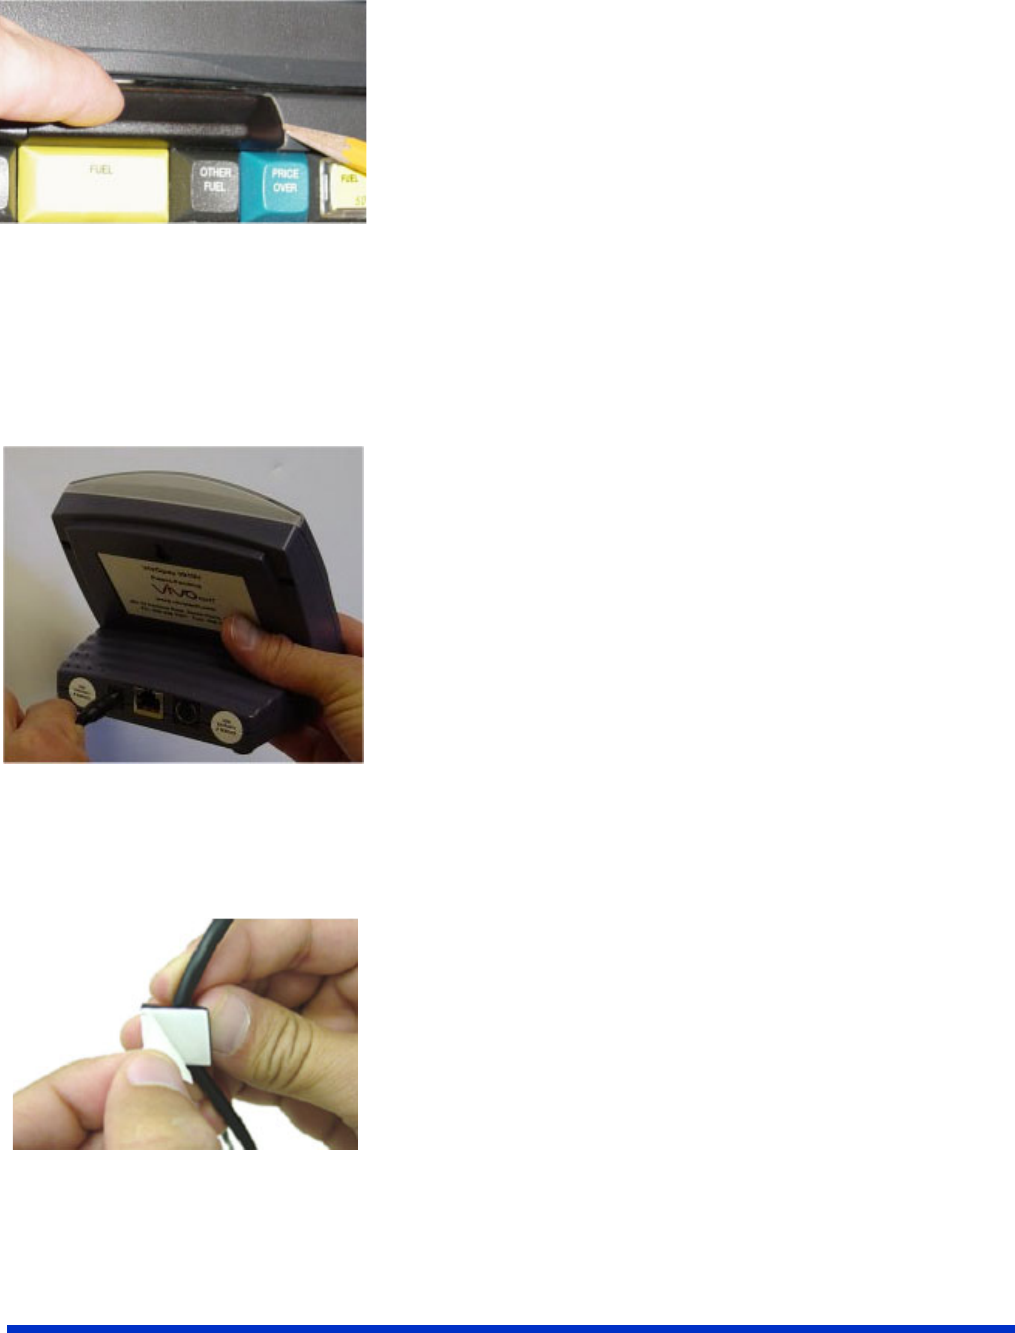
Connect the Dynamic Strip cable to the back of
the ViVOpay unit. Connect the AC adapter into
an AC power outlet.
Simultaneously press the button at the rear of
the reader with the pencil and insert the power
connector from the AC adapter into the socket
on the back of the ViVOpay unit.
WARNING: Do not disassemble the AC adapters. Only
qualified technicians may service the adapters. The AC
adapters are intended for indoor use only; do not expose to rain
or snow. Do not immerse the AC adapters or the terminal in
fluid.
5 VeriFone Ruby Installation Guide V 1.0
b. While in the card-reader test mode, the terminal will display the track data being
transmitted from the magnetic card or Dynamic Strip being used on your terminal.
c. Plug the power cables into the power ports on the Ruby device and the printer.
d. Connect the printer to the Ruby. The coiled cable plugs into the printer's COM4
port on the back of the Ruby.
e. Plug power supply cable into an AC outlet.
f. Wait until the Ruby boots up. It will take a few minutes.
g. When the Ruby prompts for a cashier number, enter 1 and press enter.
h. For the password, enter 123 and press enter.
i. The Ruby will display 'Ready for sale'. You can now process transactions.
j. Key in a dollar amount (e.g., 100 for $1.00). Press the FUEL key (located in the
top row of keys near the right). If you enter a value of $20.00 or greater, the
device will prompt for an Air Miles card later in the transaction.
k. Press enter to select the BRONZE fuel type.
l. Enter a pump number when prompted to (any number) and press enter.
A non-fuel sale product has is also available. At the 'Ready for sale'
prompt, key in 10 and press enter. You can repeat to add more items.
m. Press the TOTAL key.
n. Press the CREDIT key. You will then be prompted to swipe a credit /debit card.
4. Position the Dynamic Strip and mark the correct position
NOTE: If the Ruby does not have an application loaded, press 4
twice.
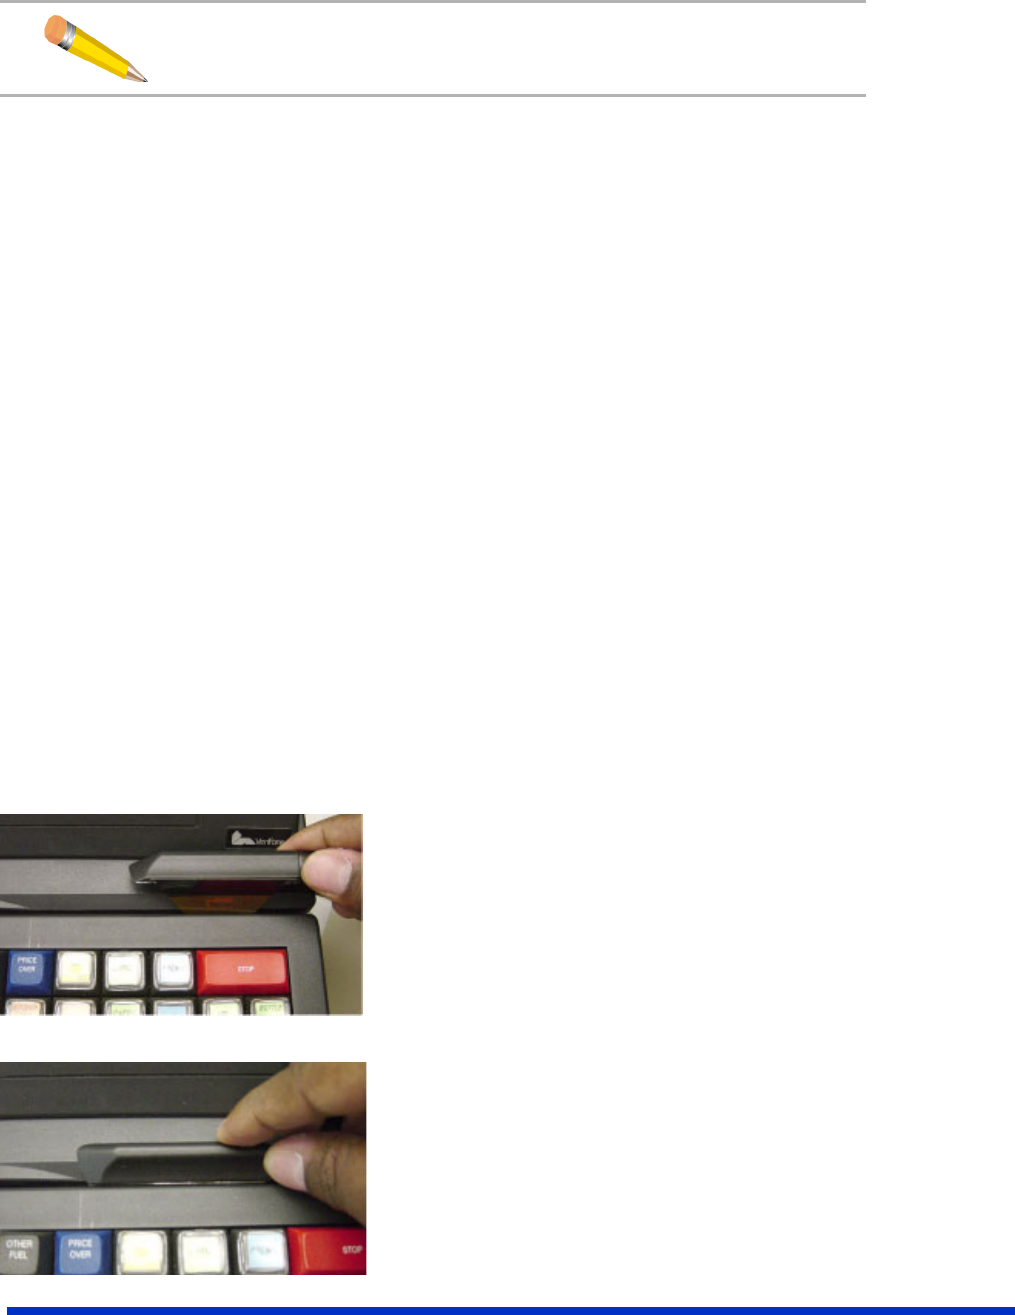
Carefully insert the strip into the card-reader
slot from the top of the terminal.
Move the strip towards the center of the card-
reader in small increments while observing
changes on the display as the ViVOpay unit
continuously sends test data.
6 VeriFone Ruby Installation Guide V 1.0
5. Remove the protective covering from adhesive tab and affix Strip firmly in
place
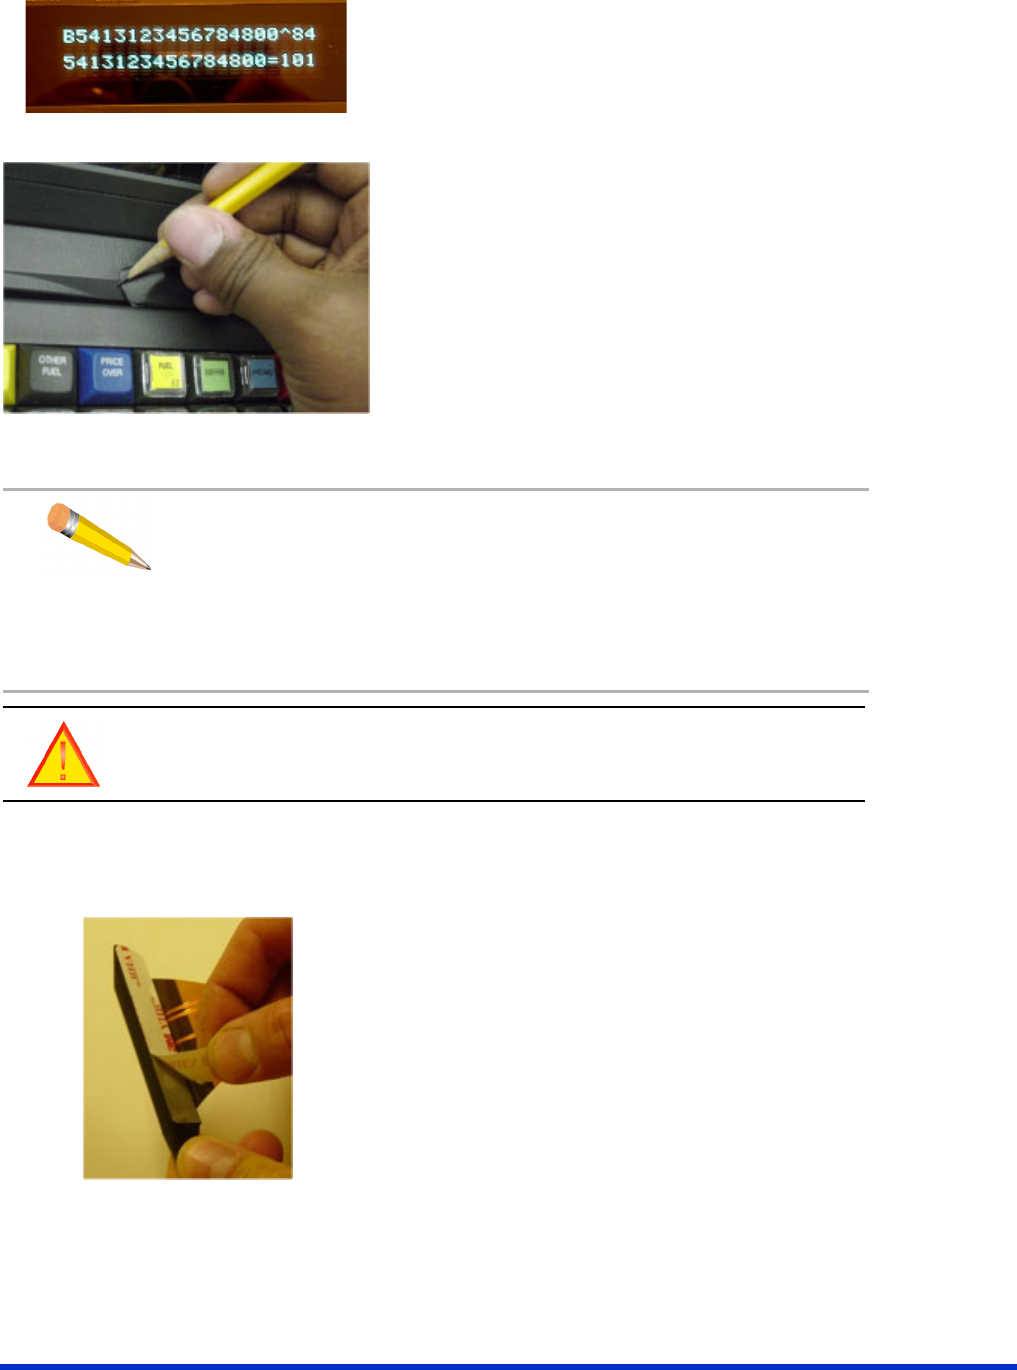
When the Strip is correctly positioned, the
screen on your POS terminal will display data
for Tracks 1 (top) and 2 (bottom).
Mark each side of the Dynamic Strip with a
pencil. You now have a range where the strip
transmits data correctly.
NOTE: There may be multiple ranges where data is displayed
correctly on the screen. If this happens, select the middle
range.
If Track 1 data and Track 2 data display in different locations,
select the location that displays Track 2 data. Track 2 is the
bottom row on the display.
CAUTION: Once the Strip is installed, it cannot be removed without
damaging the Strip. A new Strip will be required.
Remove the protective covering from the plastic
adhesive mounting tabs of the Strip.
7 VeriFone Ruby Installation Guide V 1.0
6. Verify the installation and terminate the test
The Strip is correctly installed if your POS terminal continues to display successful
readings after the Strip has been affixed.
7. Install the cable support clips
Carefully position the strip into the slot exactly
in the middle range of the two pencil marks.
When the strip is in position where the POS
readings are successfully displayed, press the
top of the strip against the terminal to ensure
the adhesive holds tightly.
Re-start the ViVOpay by removing and
reinserting the power plug.
Swipe a standard credit or debit card
backwards (so that no transaction occurs)
through the card swipe slot to make sure there
is no excessive friction.
To attach the support clip to the Strip cable,
remove the protective covering from the
adhesive on the bottom of the clip.

8 VeriFone Ruby Installation Guide V 1.0
Installation is now complete.
Press the Strip cable into the clip. Position the
clip on the right side of the POS terminal to
guide the cable to the back of the POS terminal.
Press the clip down to adhere it in place
ensuring the cable is routed away from areas
where it may be snagged.