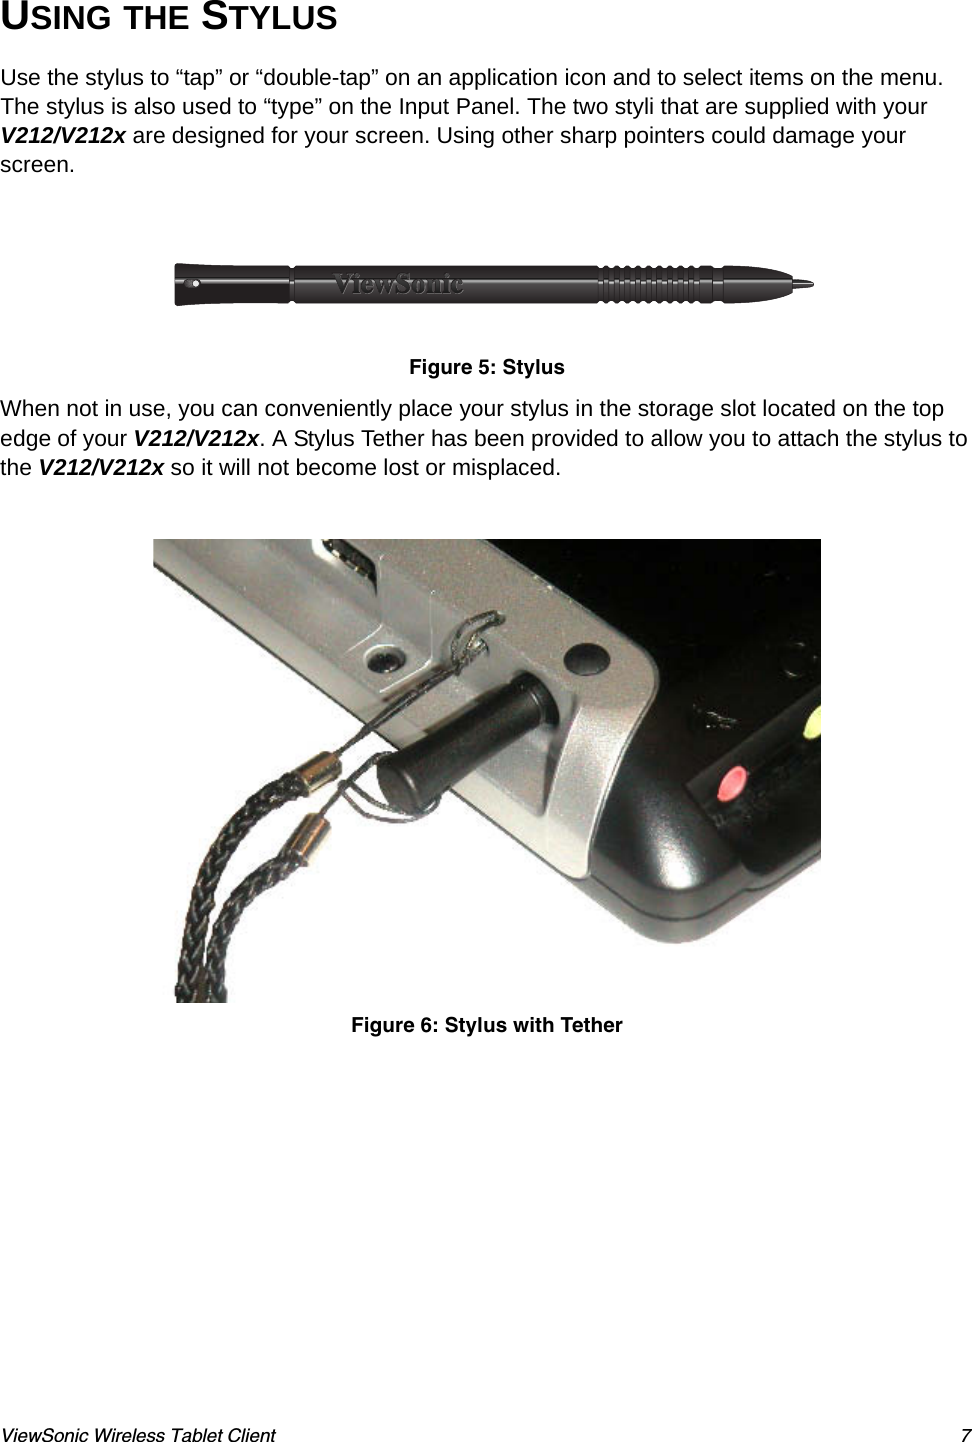
ViewSonic VS11297 Web Pad User Manual V212 UG
ViewSonic Corporation Web Pad V212 UG
UserManual.wiki
>
ViewSonic
>
VS11297 User Manual
Users Manual
Navigation menu
Upload a User Manual
Namespaces
Wiki Guide
HTML
PDF
Info
Views
User Manual
Discussion / Help
Navigation

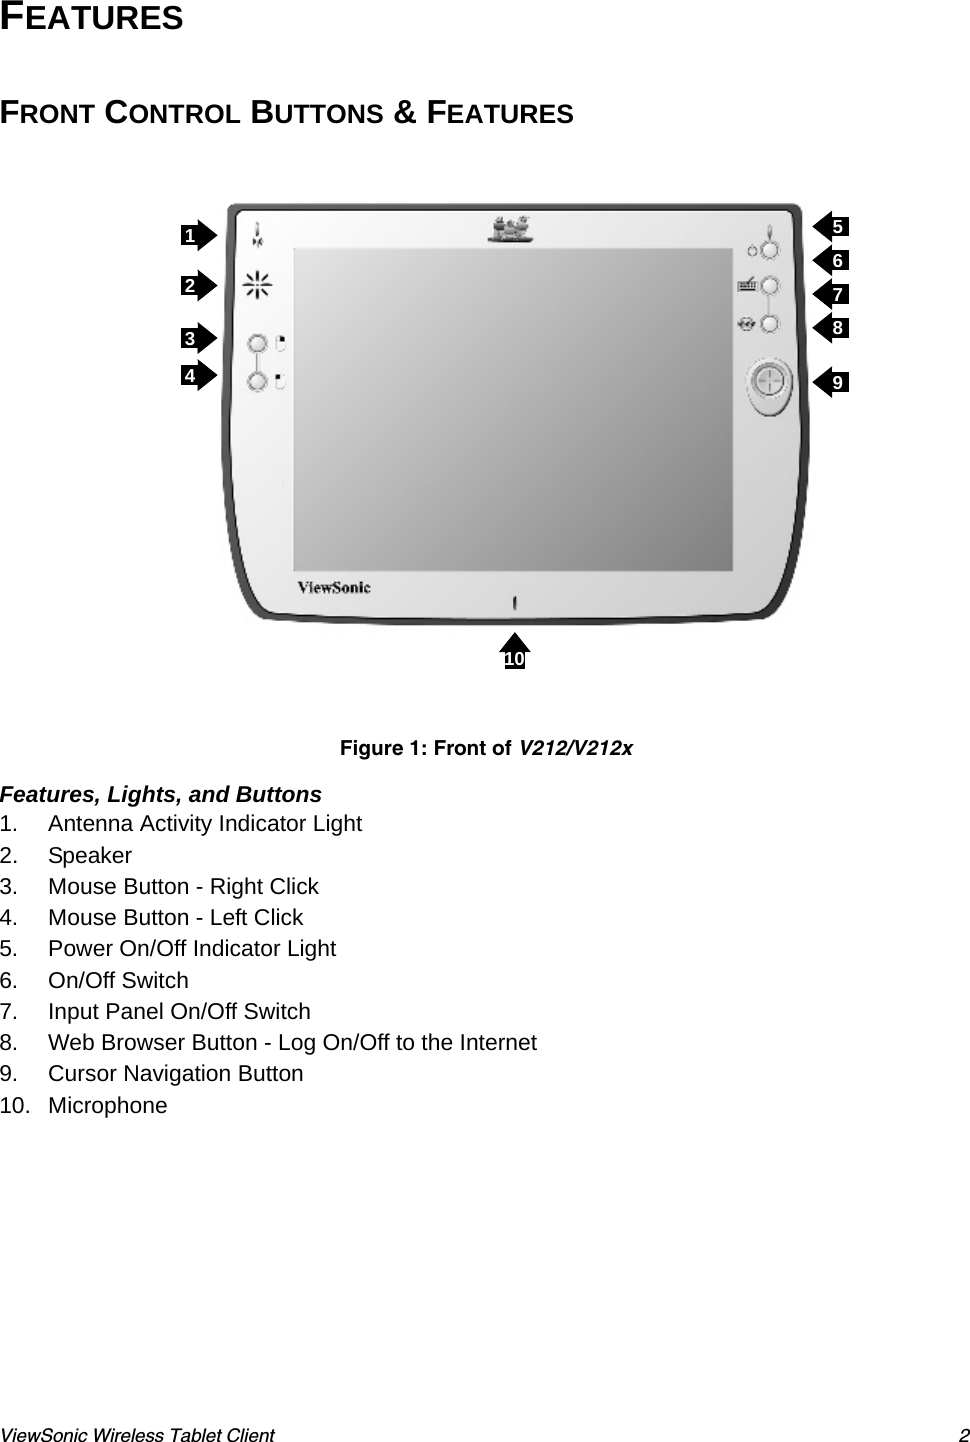
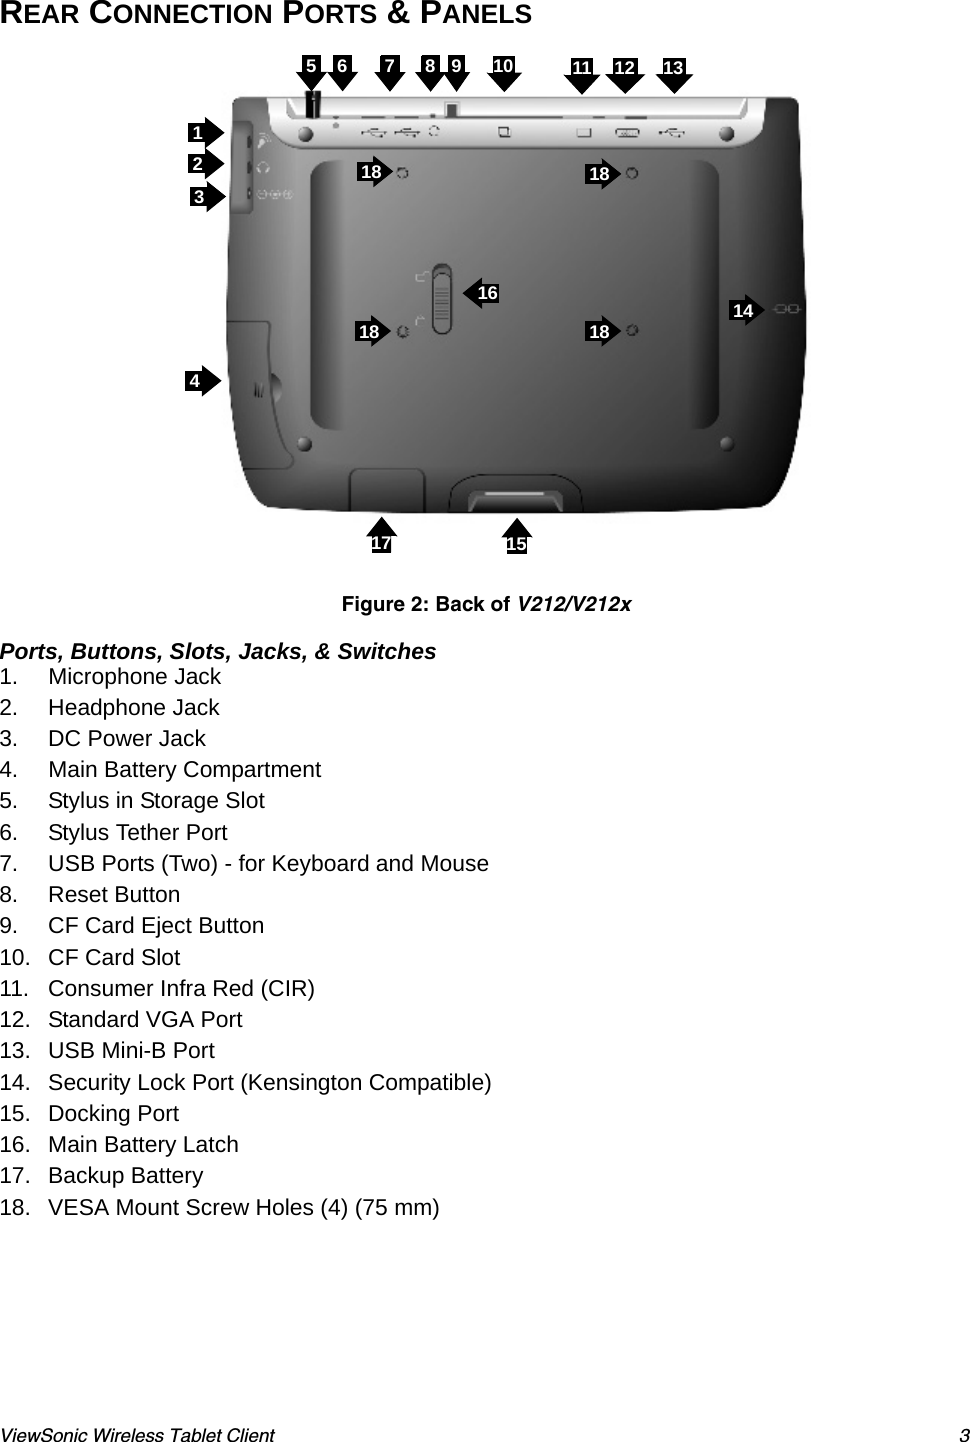
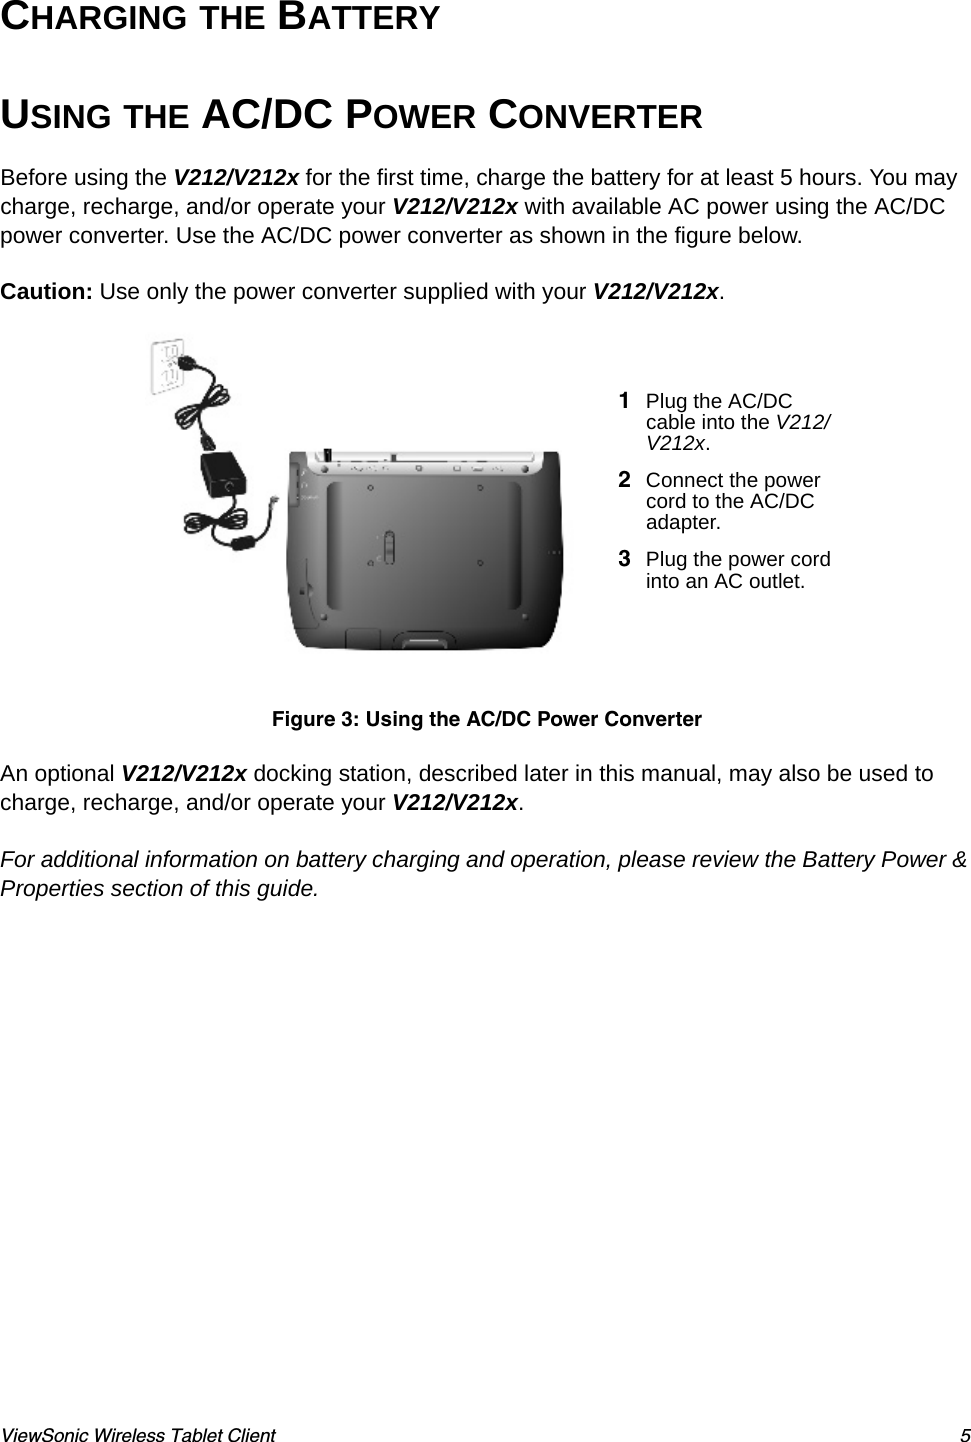


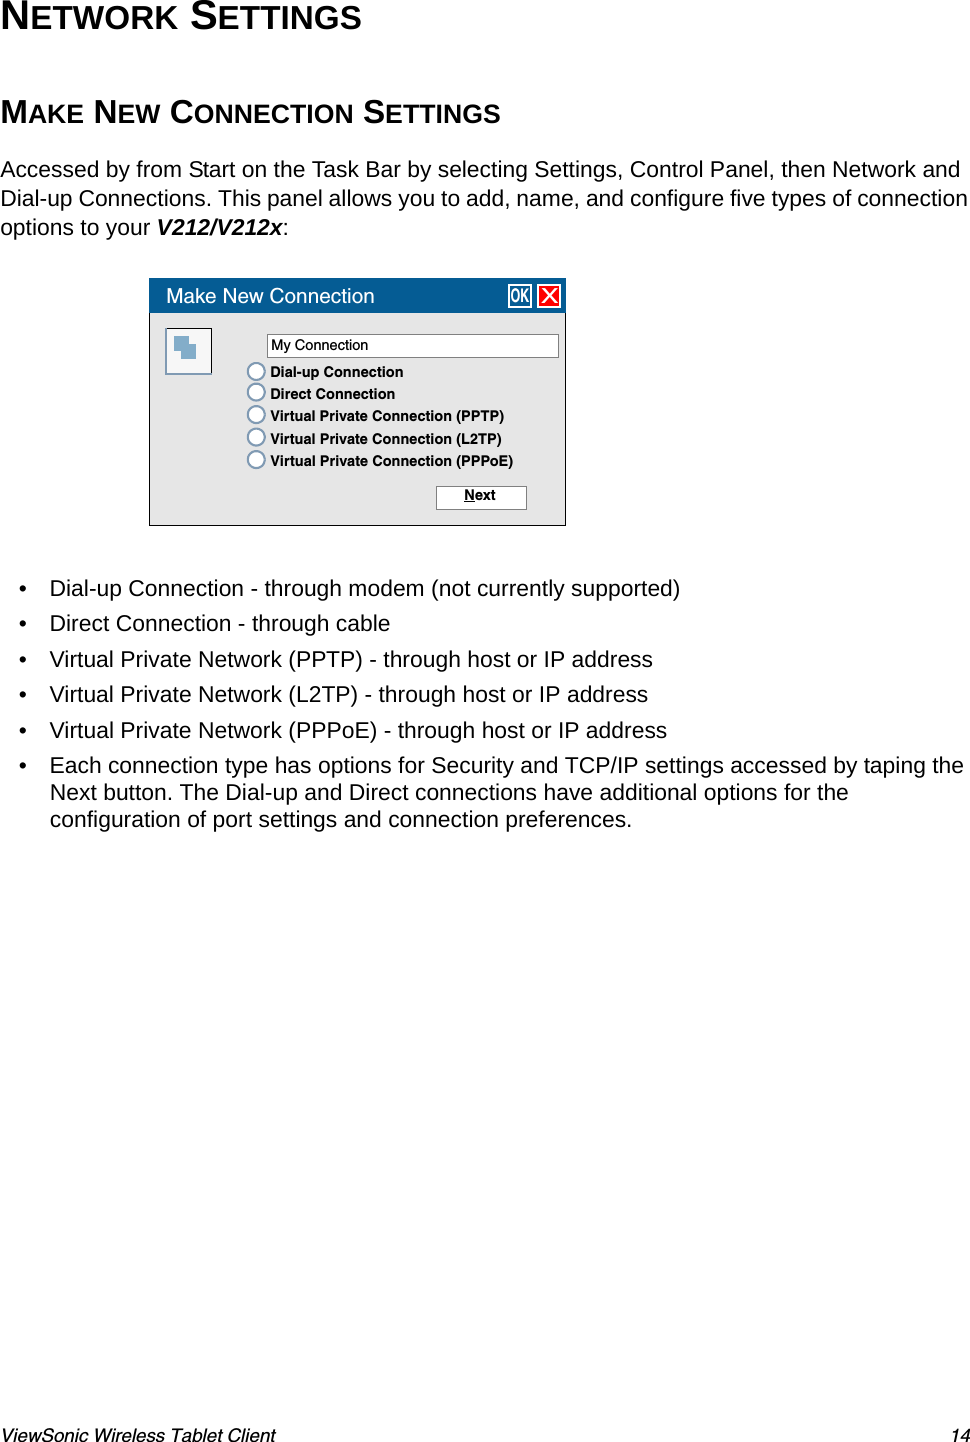
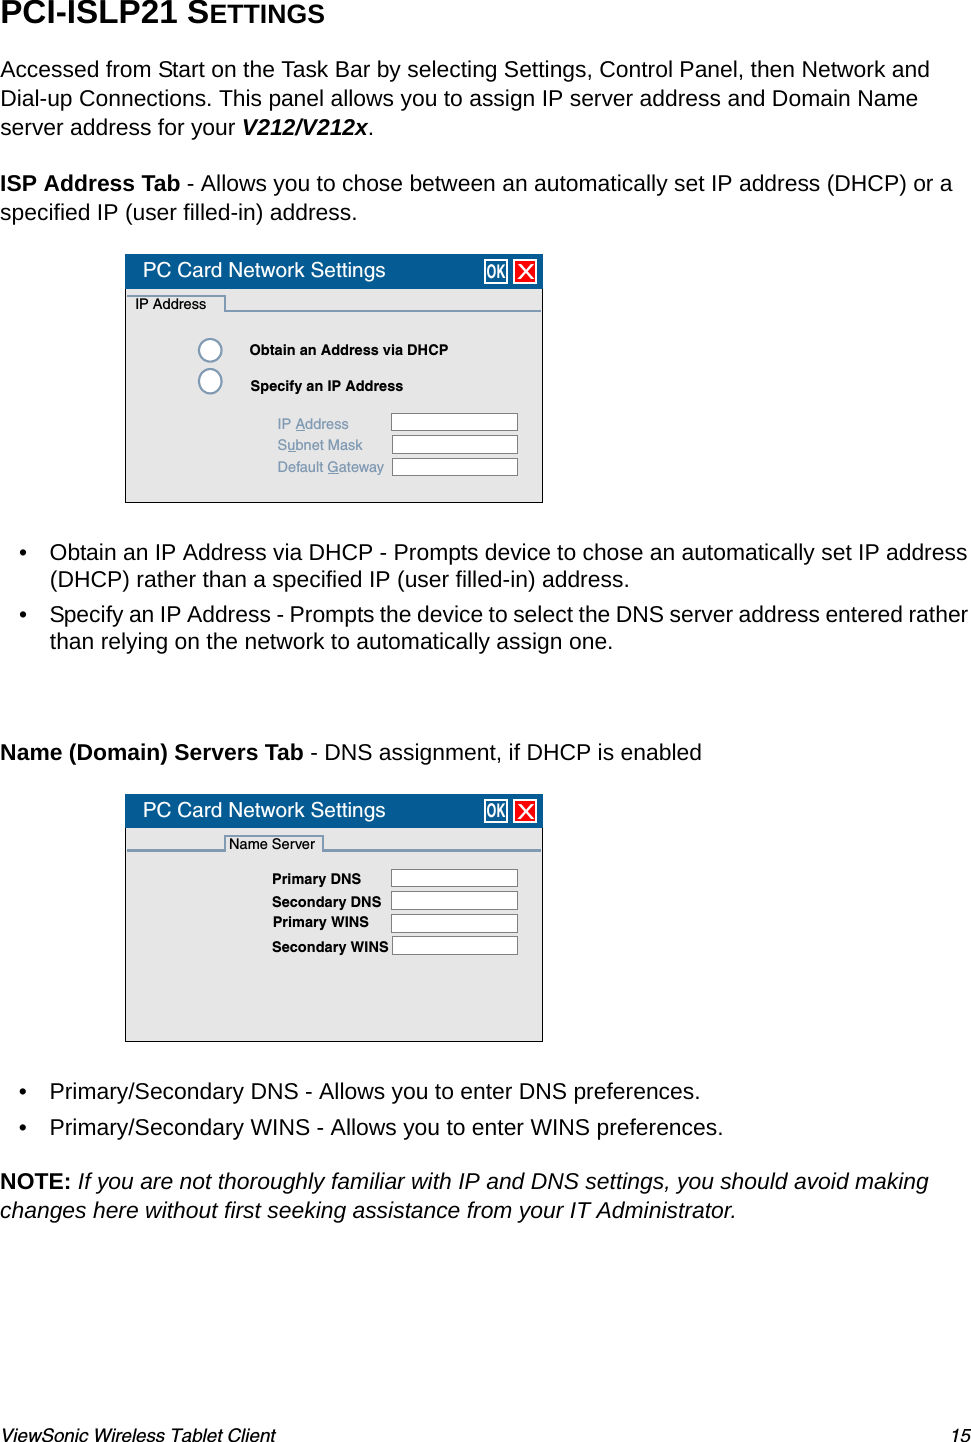
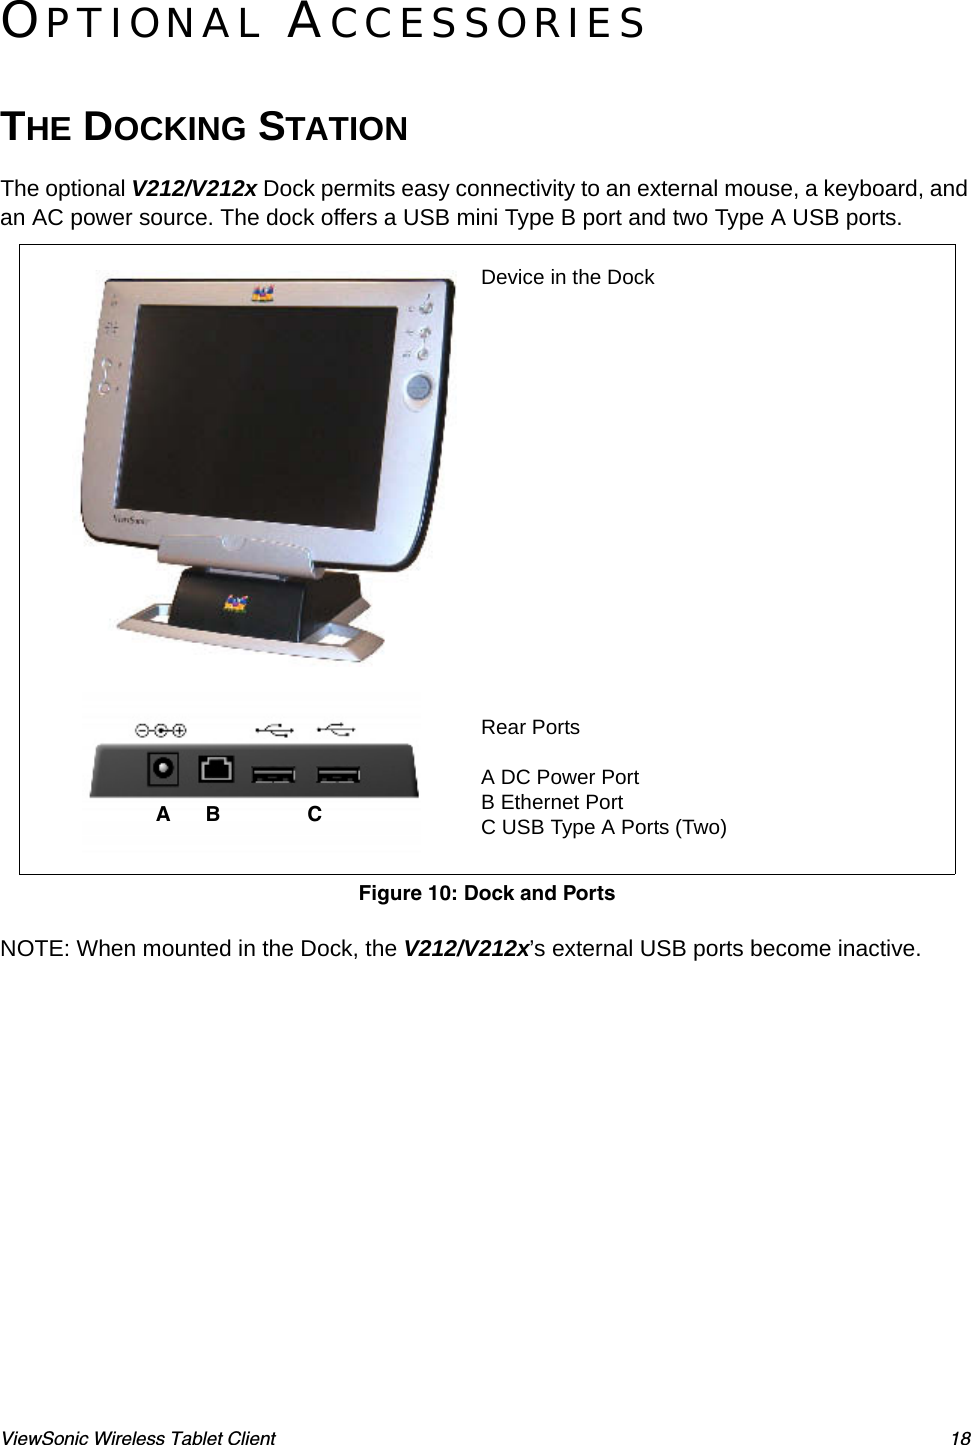
![ViewSonic Wireless Tablet Client 13CONNECTION INFORMATION Accessed from the Task Bar by double-tapping the Nethood icon . The PCI\ISLP21 information window opens displaying three tabs: IP Information Tab - Displays current IP settingsIPv6 Information Tab - Displays additional current settingsWireless Information Tab - Automatic IP address assignmentThe Wireless Information tab window lists all Wi-Fi networks available to the V212/V212x, allowing you to choose a connection. It also allows you to alter and control connections to available networks:•Add New - opens the Wireless Network Properties window allowing you to set up a new network and provides settings for network name, encryption type, and authentication options.•Advanced - Allows you to set a hierarchy of connections in order of preference. Should one connection become unavailable, the device automatically cycles down the list to the next connection on the list.•View Log - opens the Wireless Network Log window which displays the success or failure of the most recent made attempts to connect to available networks.NOTE: If you are not thoroughly familiar with network types, you should avoid making changes to your Advanced settings without first seeking assistance from your IT Administrator.Notify me when new wireless networks are availablePVI \ ISLP21Wireless InformationAdvanced✔OKXView Log...ConnectSignal Strength: HighStatus: Connected to V212/V212xSelect a network and press connect or right-click for moreoptions. To add a new network, double-click ‘Add New’.Add New...[V212/V212x]](https://usermanual.wiki/ViewSonic/VS11297/User-Guide-733114-Page-16.png)