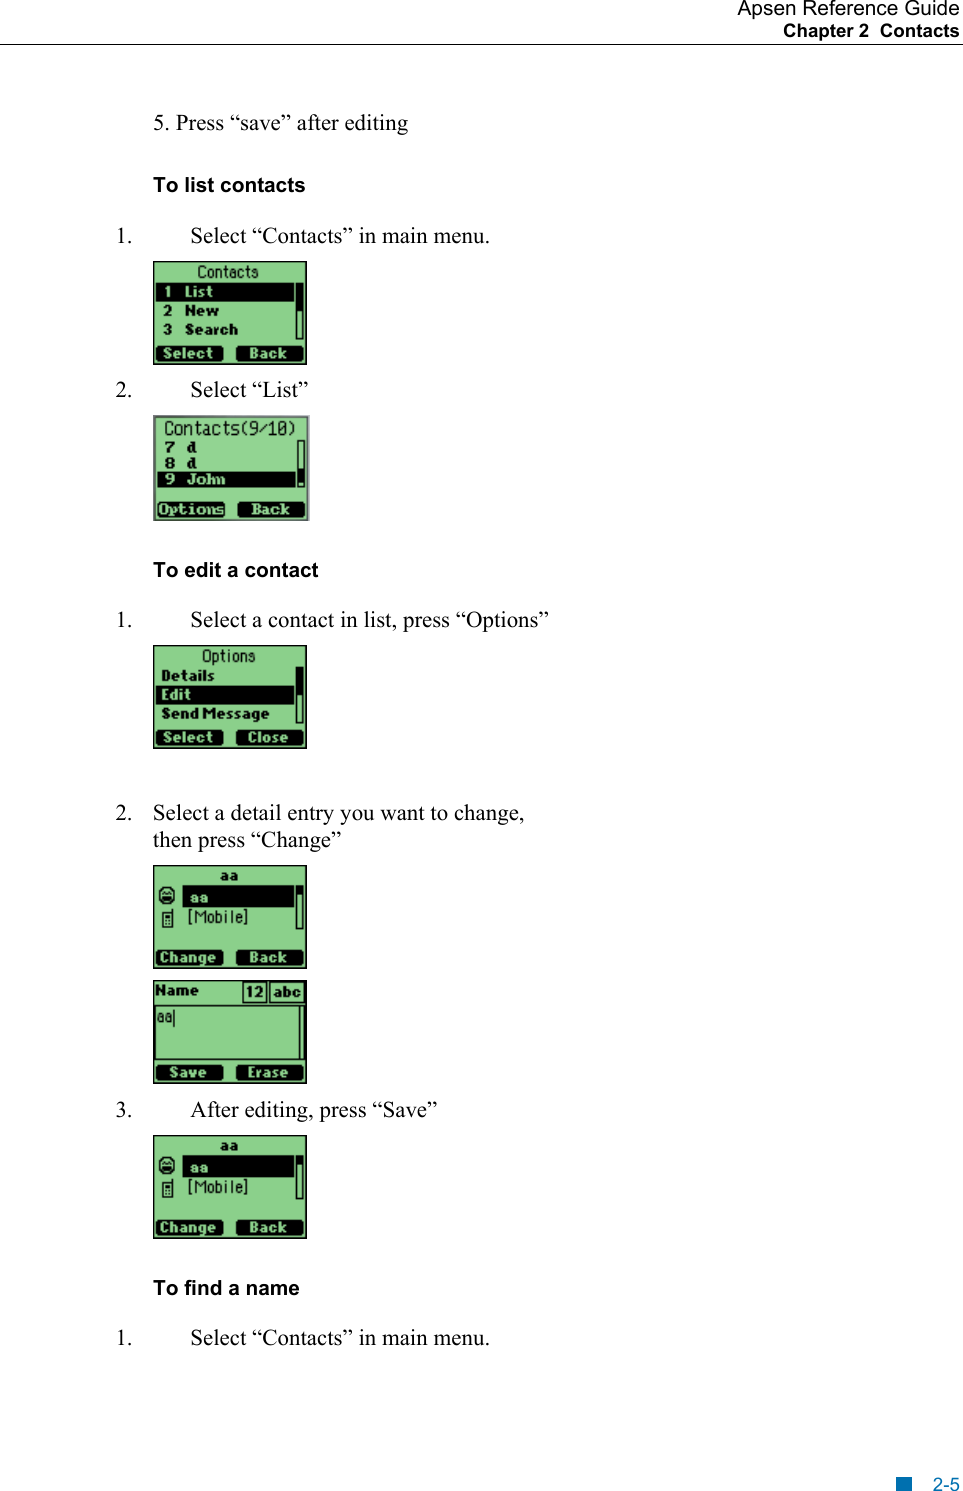
Vitelcom Mobile Technology USA TSM201 Single Band CDMA Cellular Phone User Manual Users guide
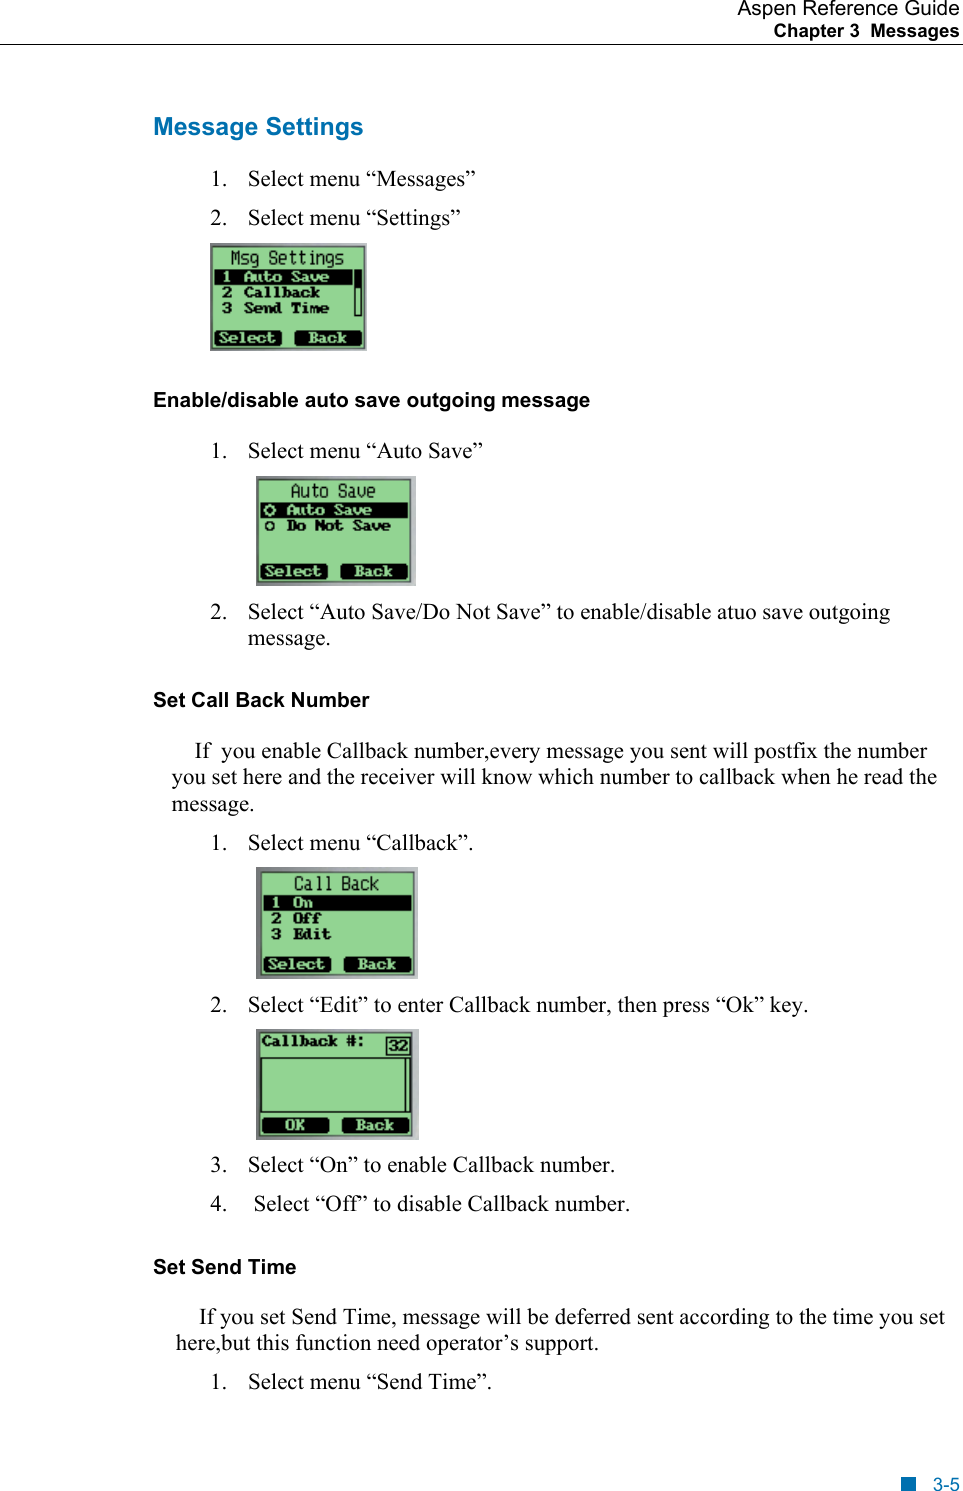
Vitelcom Mobile Technology USA, Inc. Single Band CDMA Cellular Phone Users guide
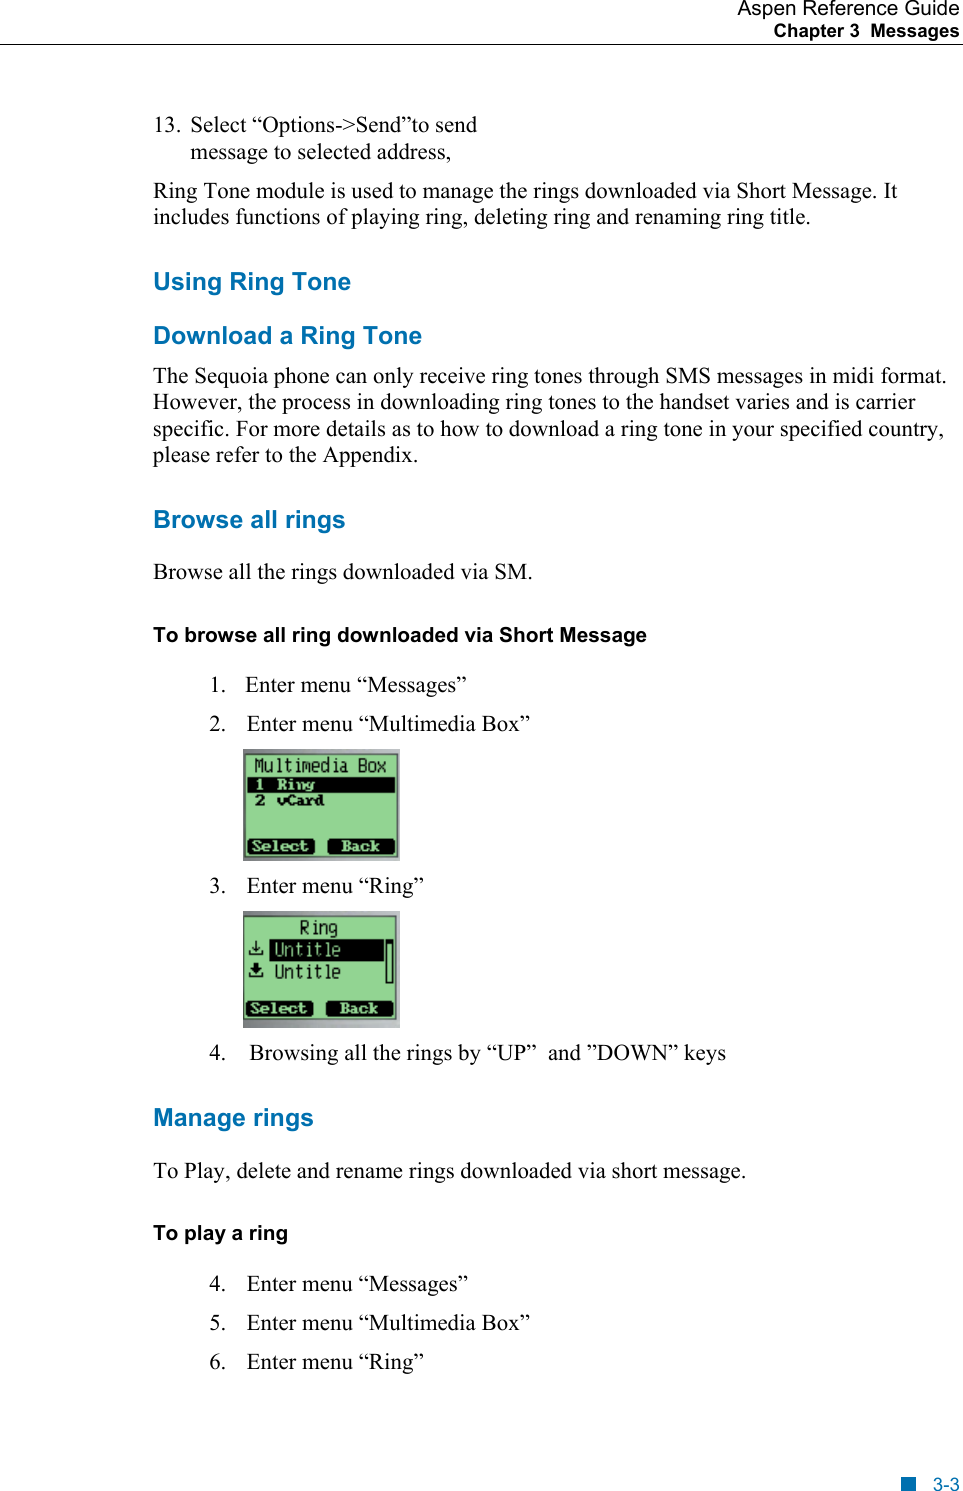
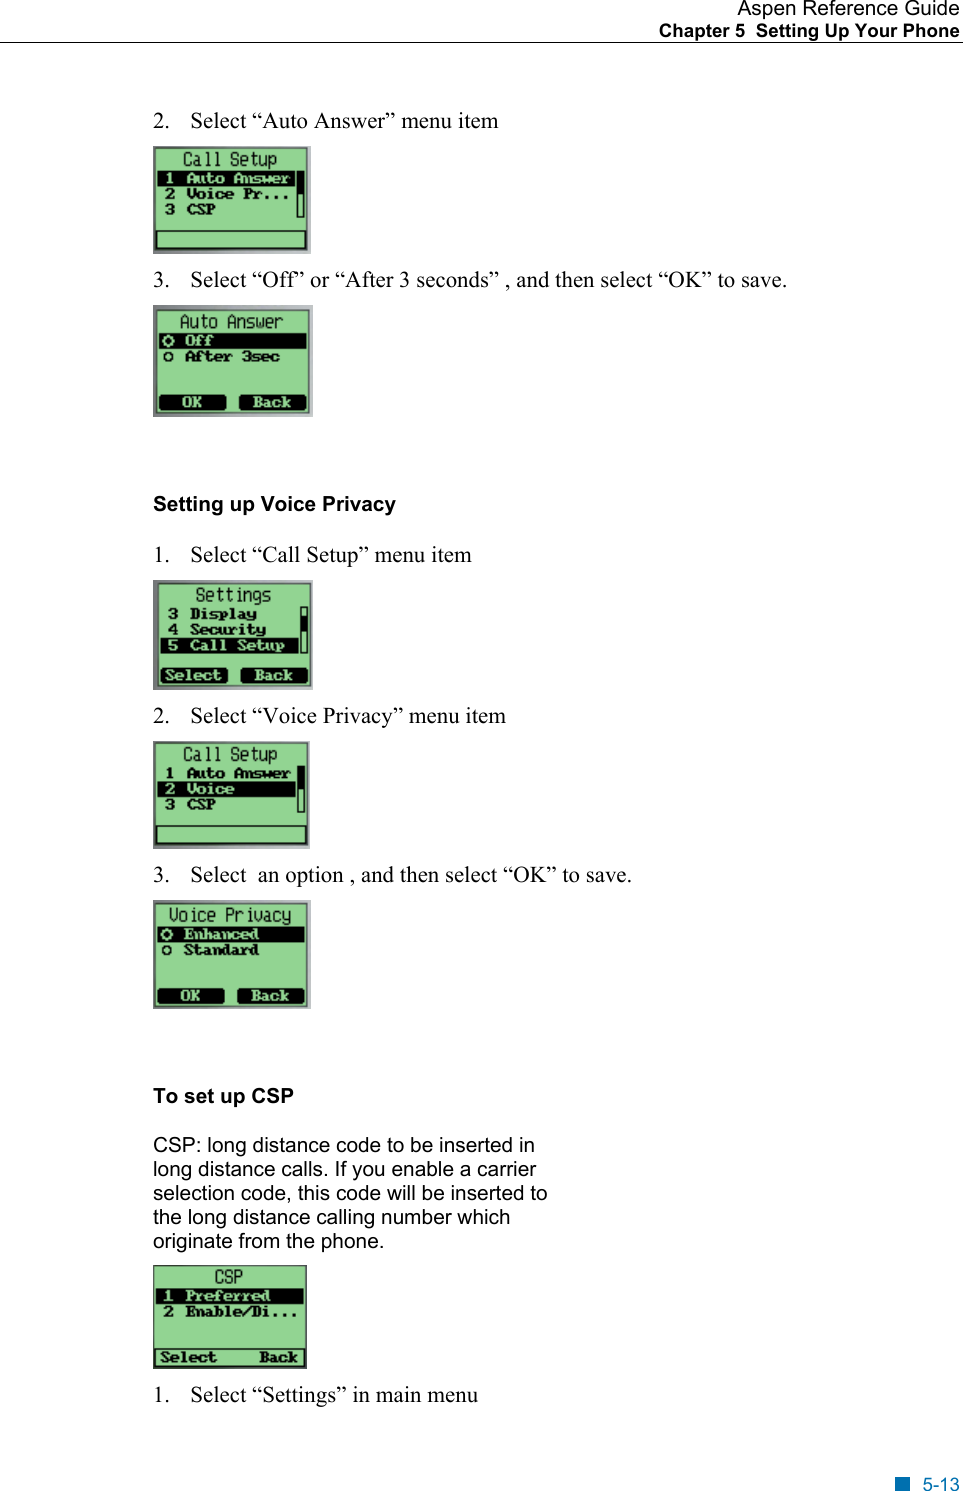
UserManual.wiki
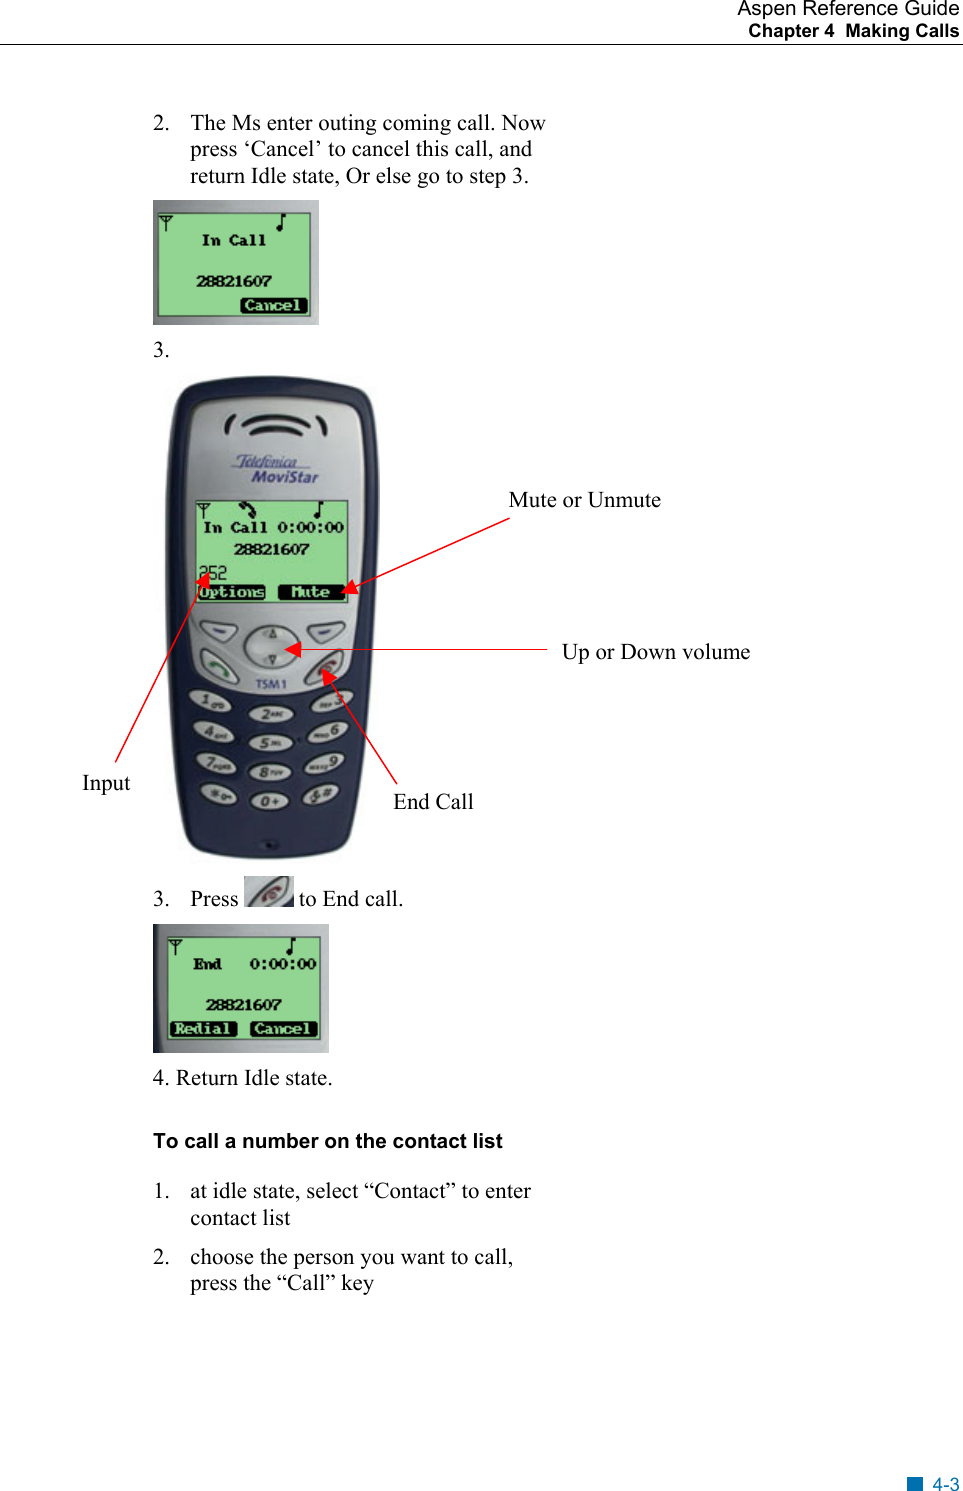
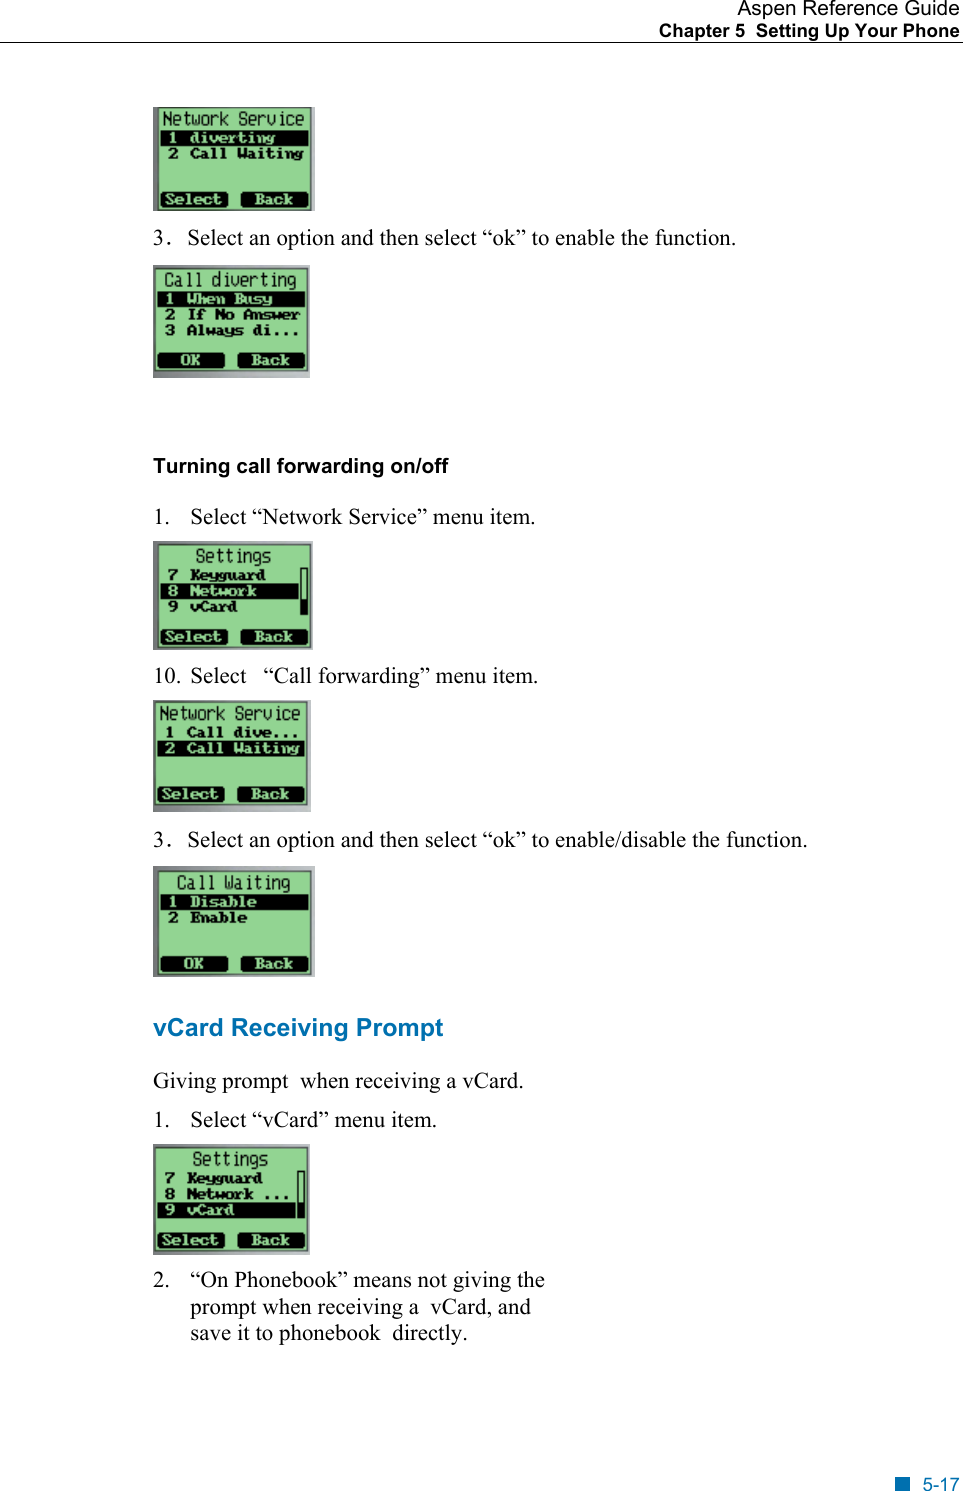
>
Vitelcom Mobile Technology USA
>
TSM201 User Manual
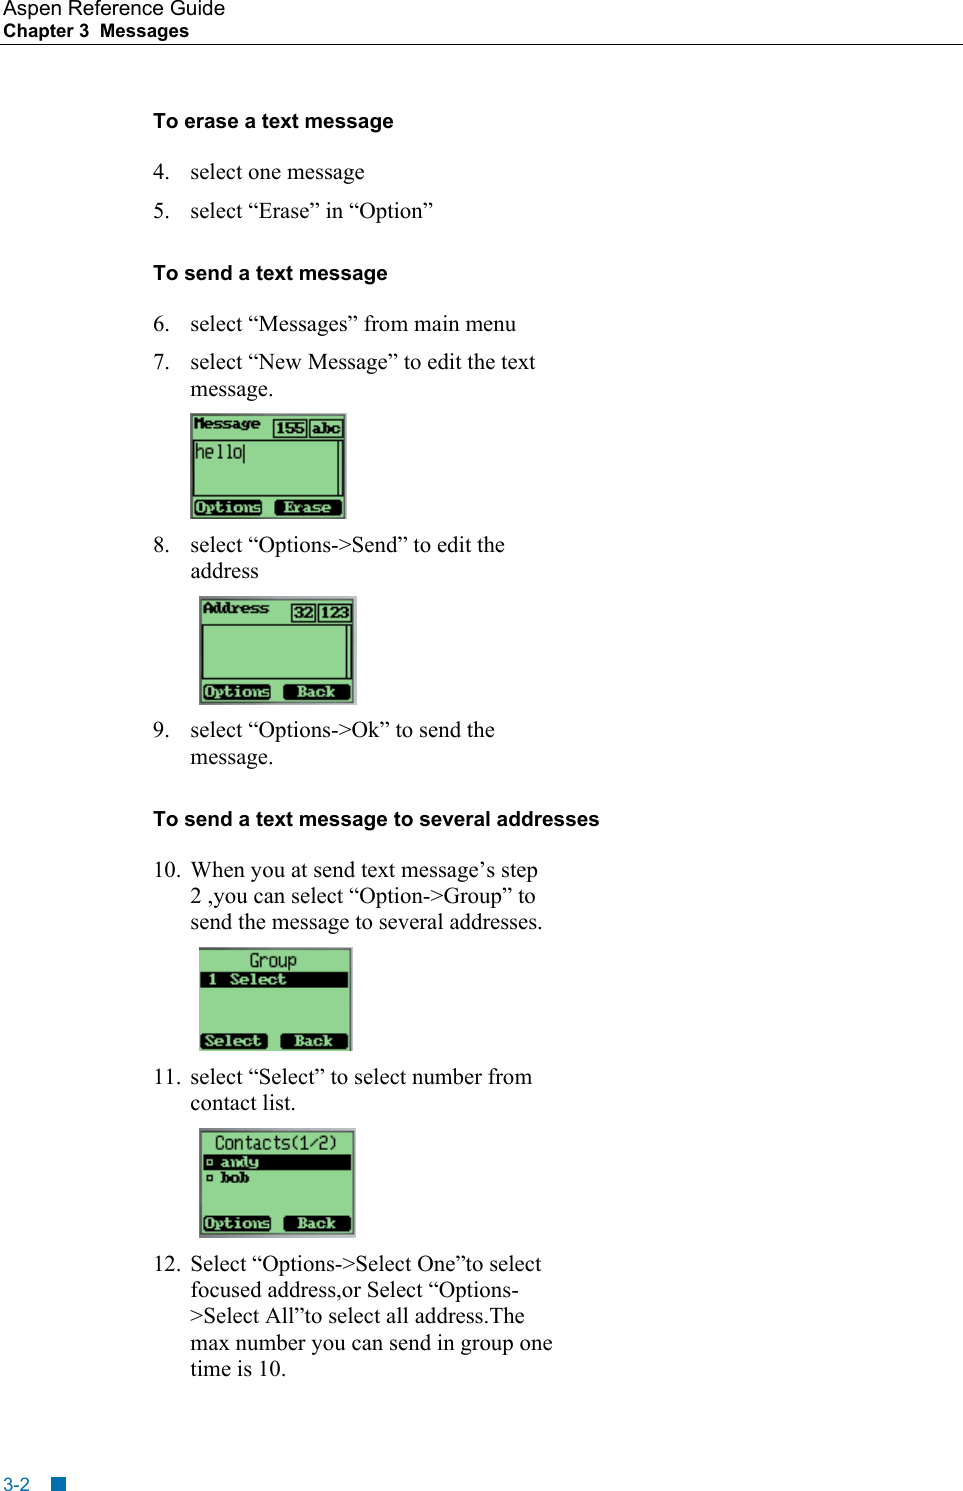
Users guide
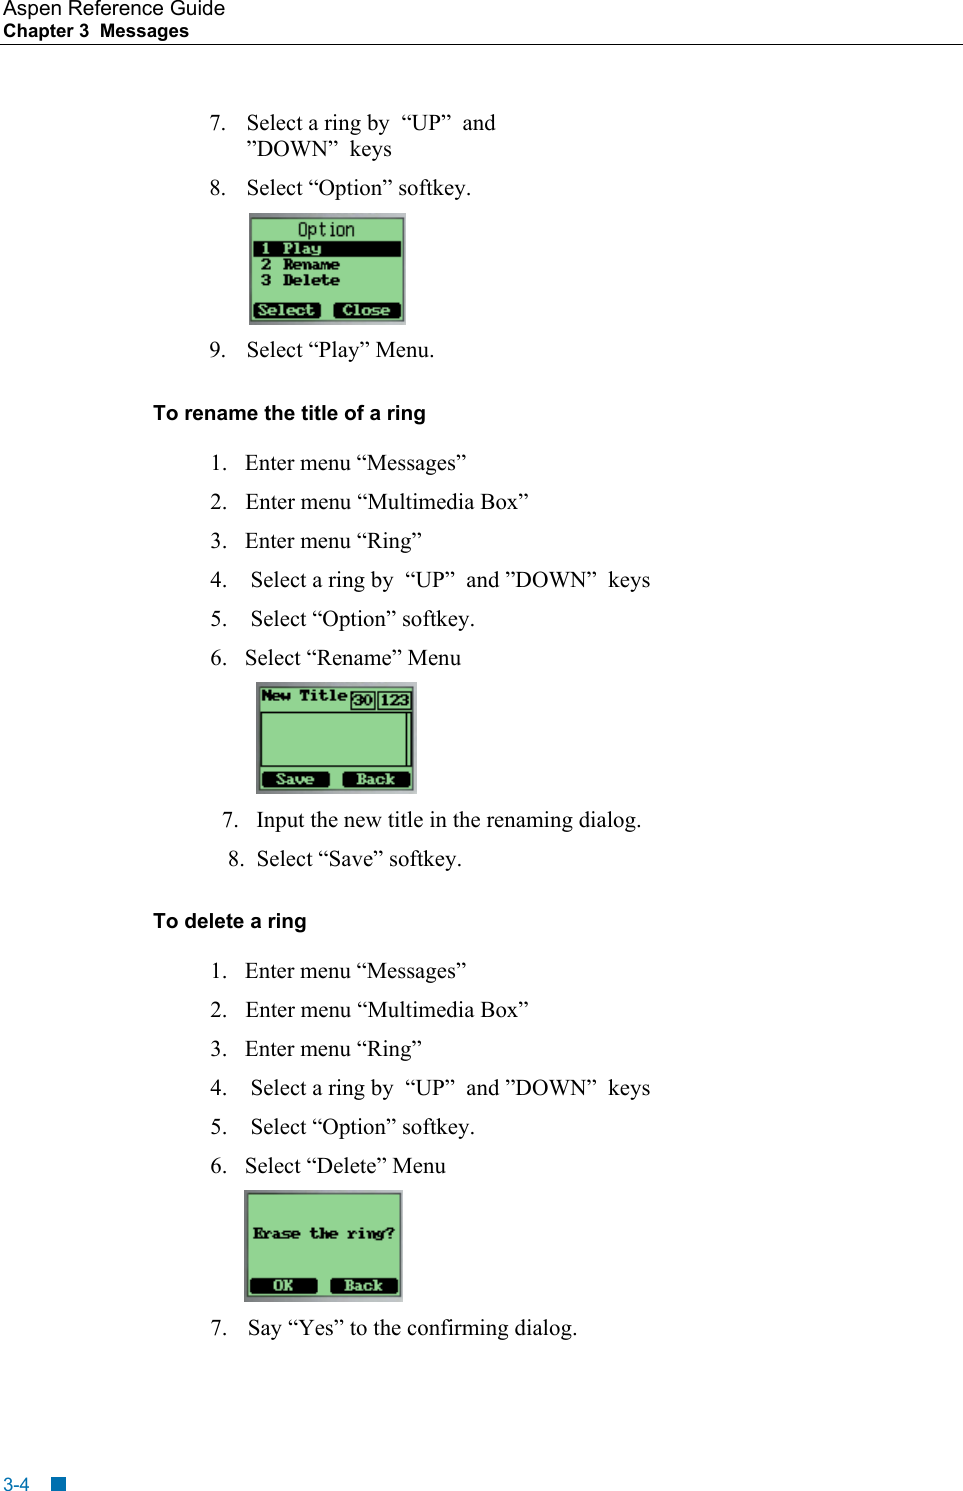
Navigation menu
Upload a User Manual
Namespaces
Wiki Guide
HTML
PDF
Info
Views
User Manual
Discussion / Help
Navigation

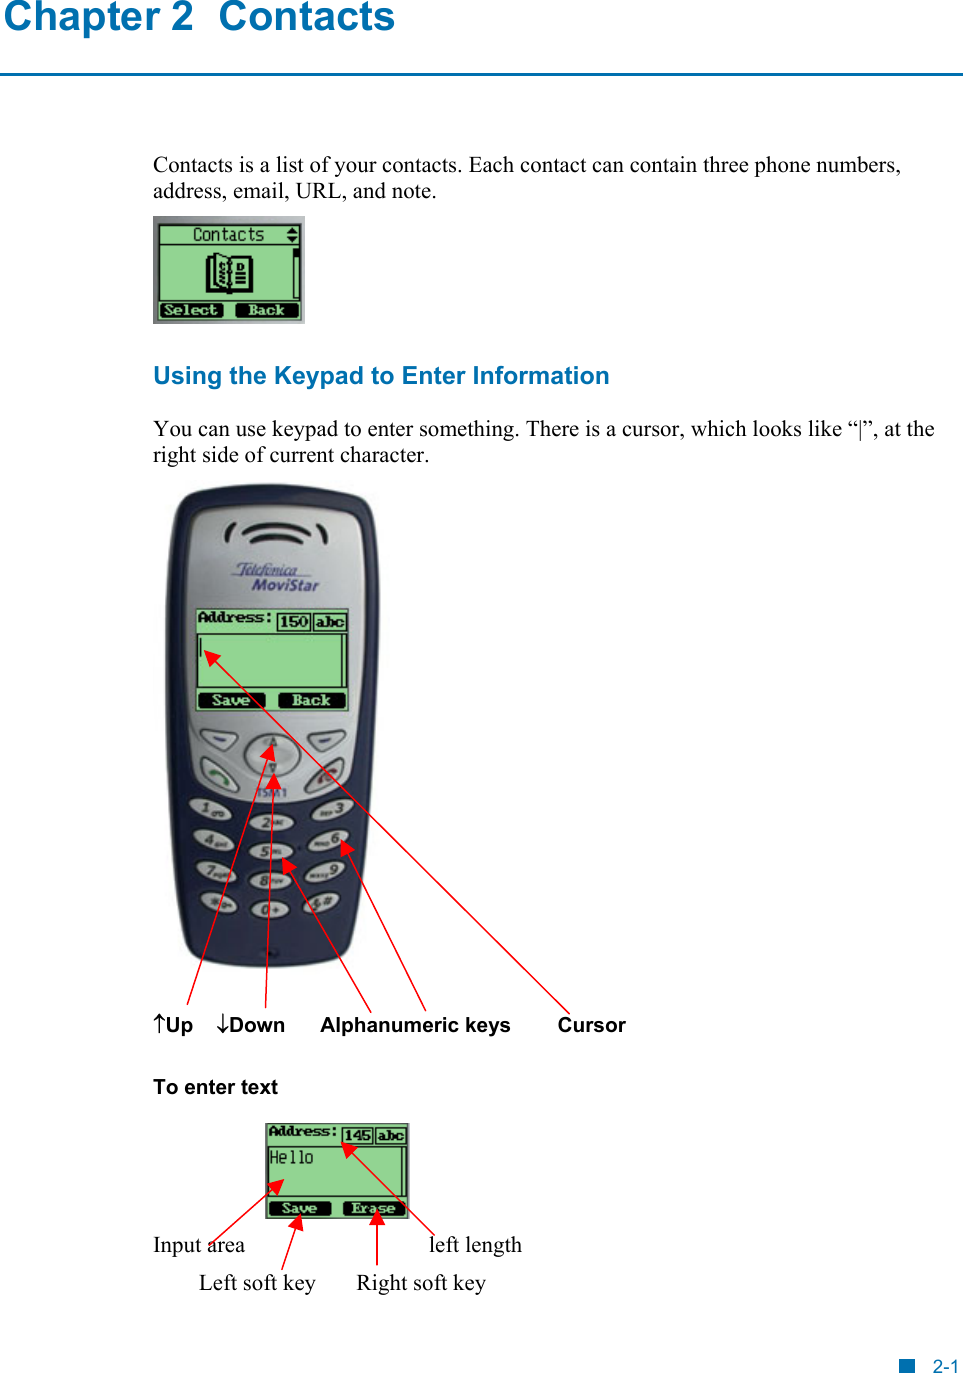
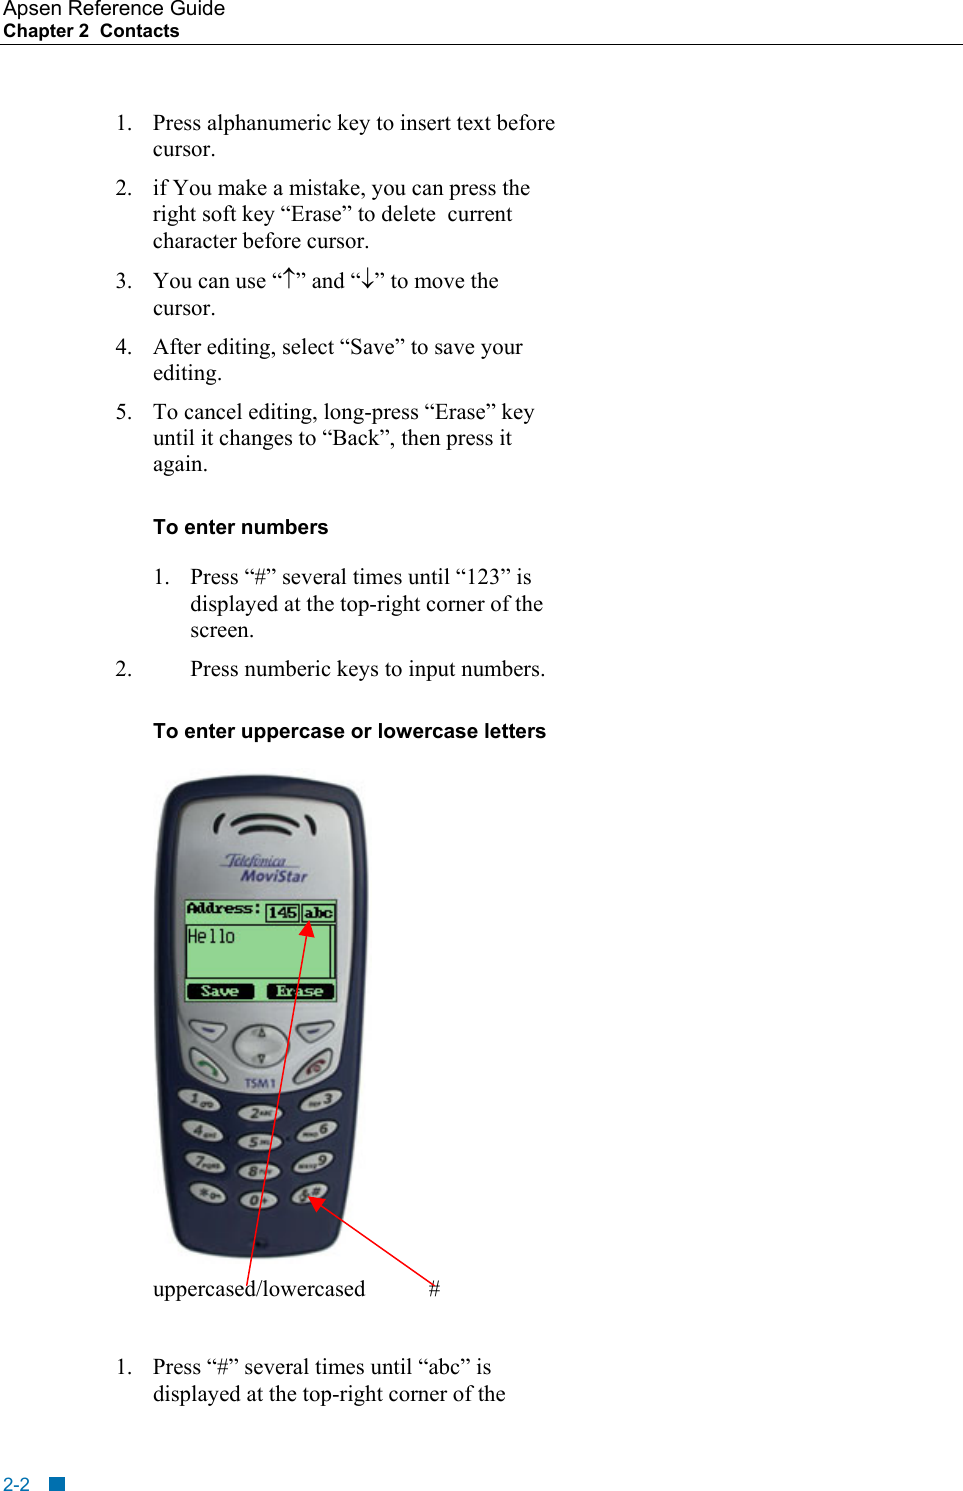
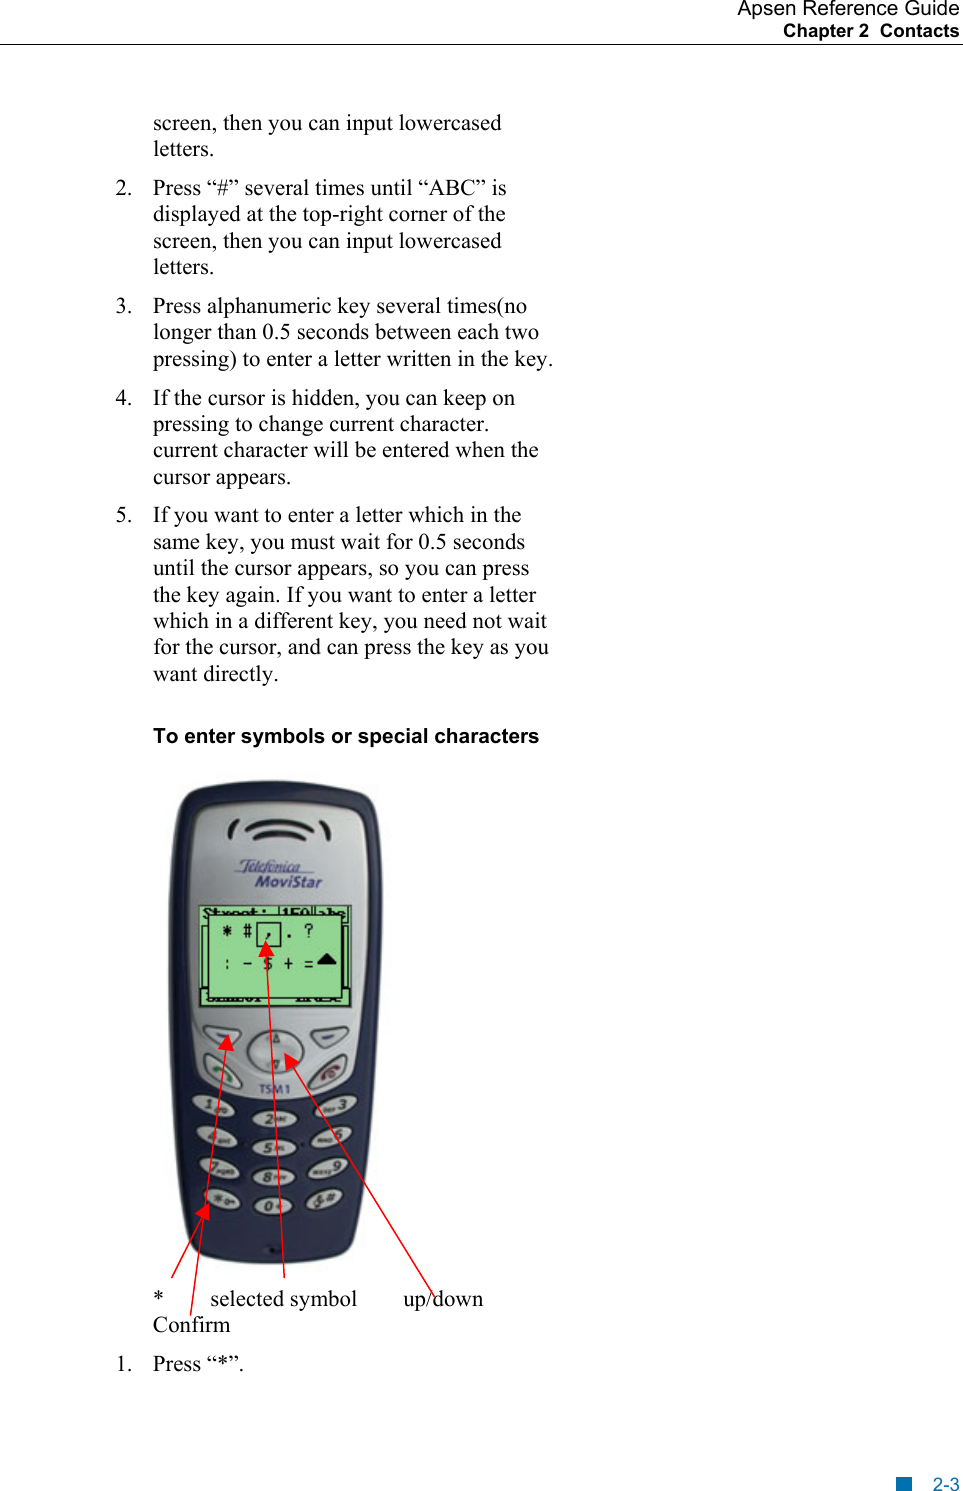
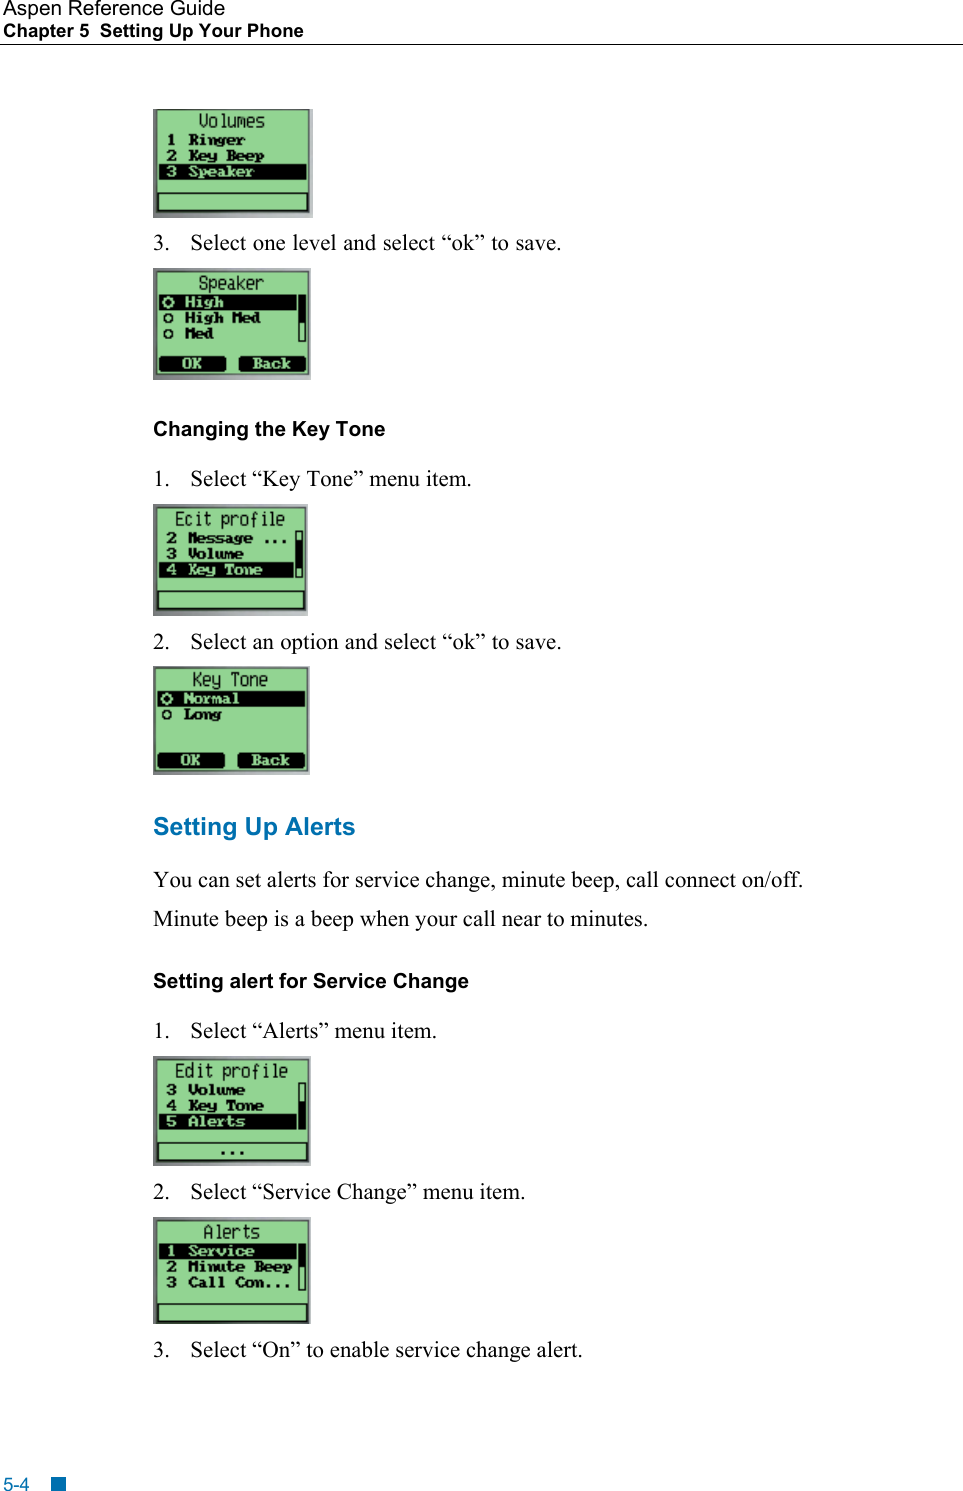
![Apsen Reference Guide Chapter 2 Contacts 2. Use “up” and “down” to select the symbol you need. 3. Press the left soft key to confirm. To change the language 1. Select “Settings” in main menu 2. Select “Display” 3. Select “Language” 4. Select the language you want. 5. If you set your phone to another language which you cannot read, you can press 5,3,3 after entering the main menu, then select the correct language. Entering and Editing Contacts To add a new contact 1. At the main menu, select “Contacts”. 2. Select “new”. 3. Input the contact name, press “Save” 4. Choose [mobile], press “change” 2-4](https://usermanual.wiki/Vitelcom-Mobile-Technology-USA/TSM201/User-Guide-551151-Page-17.png)