Vitelcom Mobile Technology USA TSM401 SINGLE BAND CDMA MOBILE PHONE User Manual Camera
Vitelcom Mobile Technology USA, Inc. SINGLE BAND CDMA MOBILE PHONE Camera
UserManual.wiki
>
Vitelcom Mobile Technology USA
>
TSM401 User Manual
users manual
Navigation menu
Upload a User Manual
Namespaces
Wiki Guide
HTML
PDF
Info
Views
User Manual
Discussion / Help
Navigation
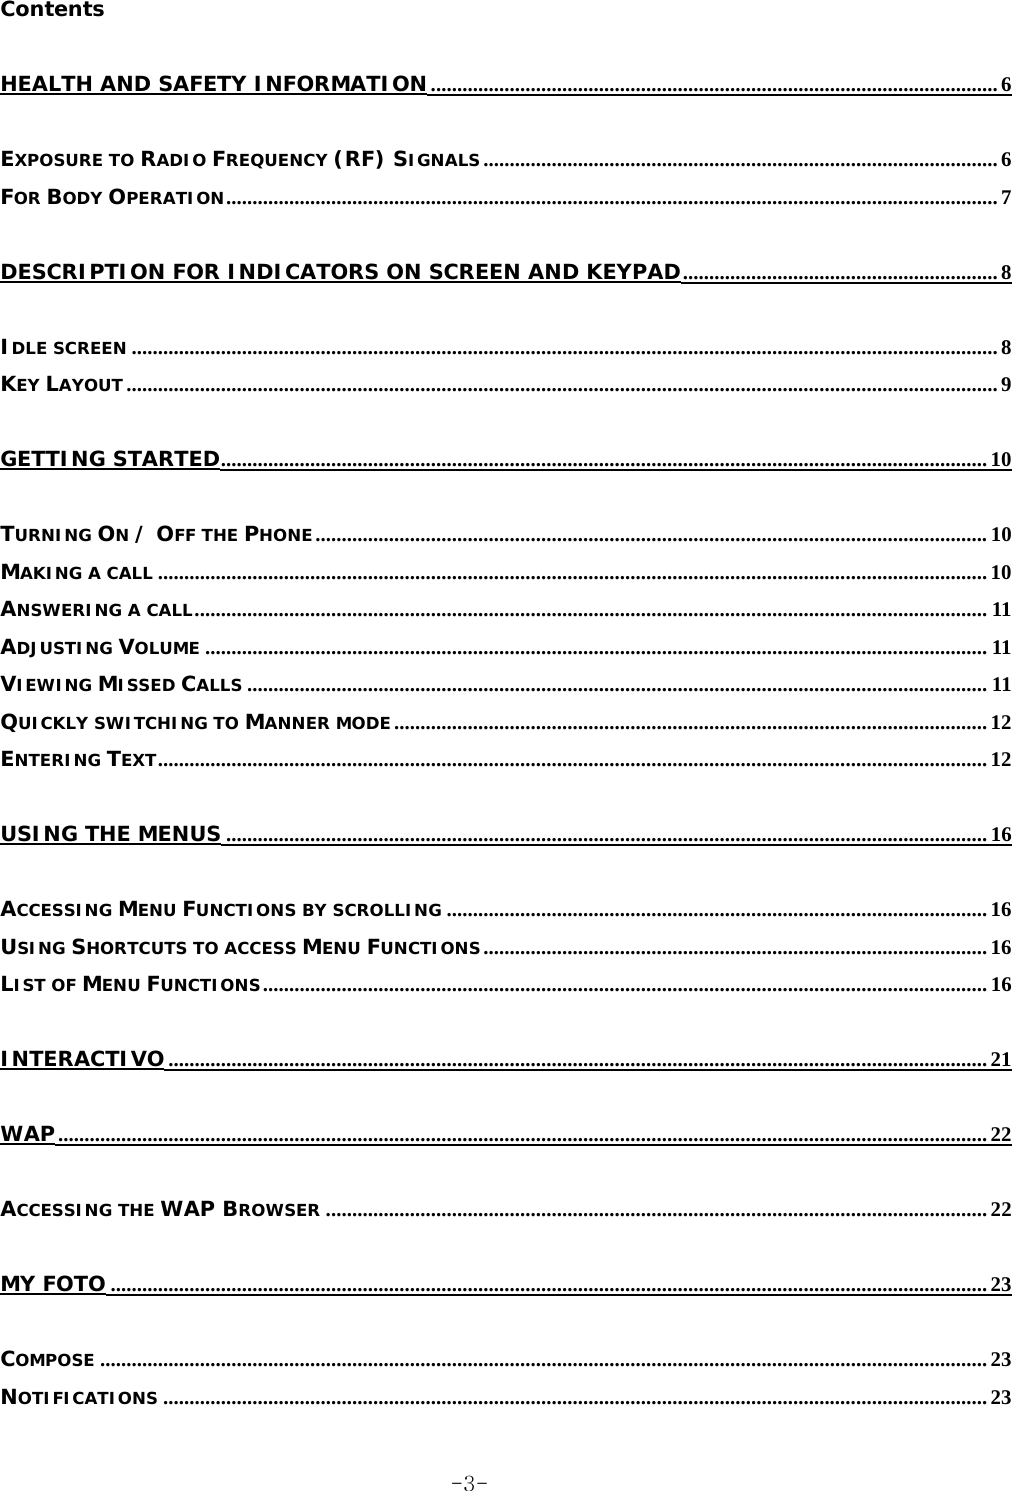


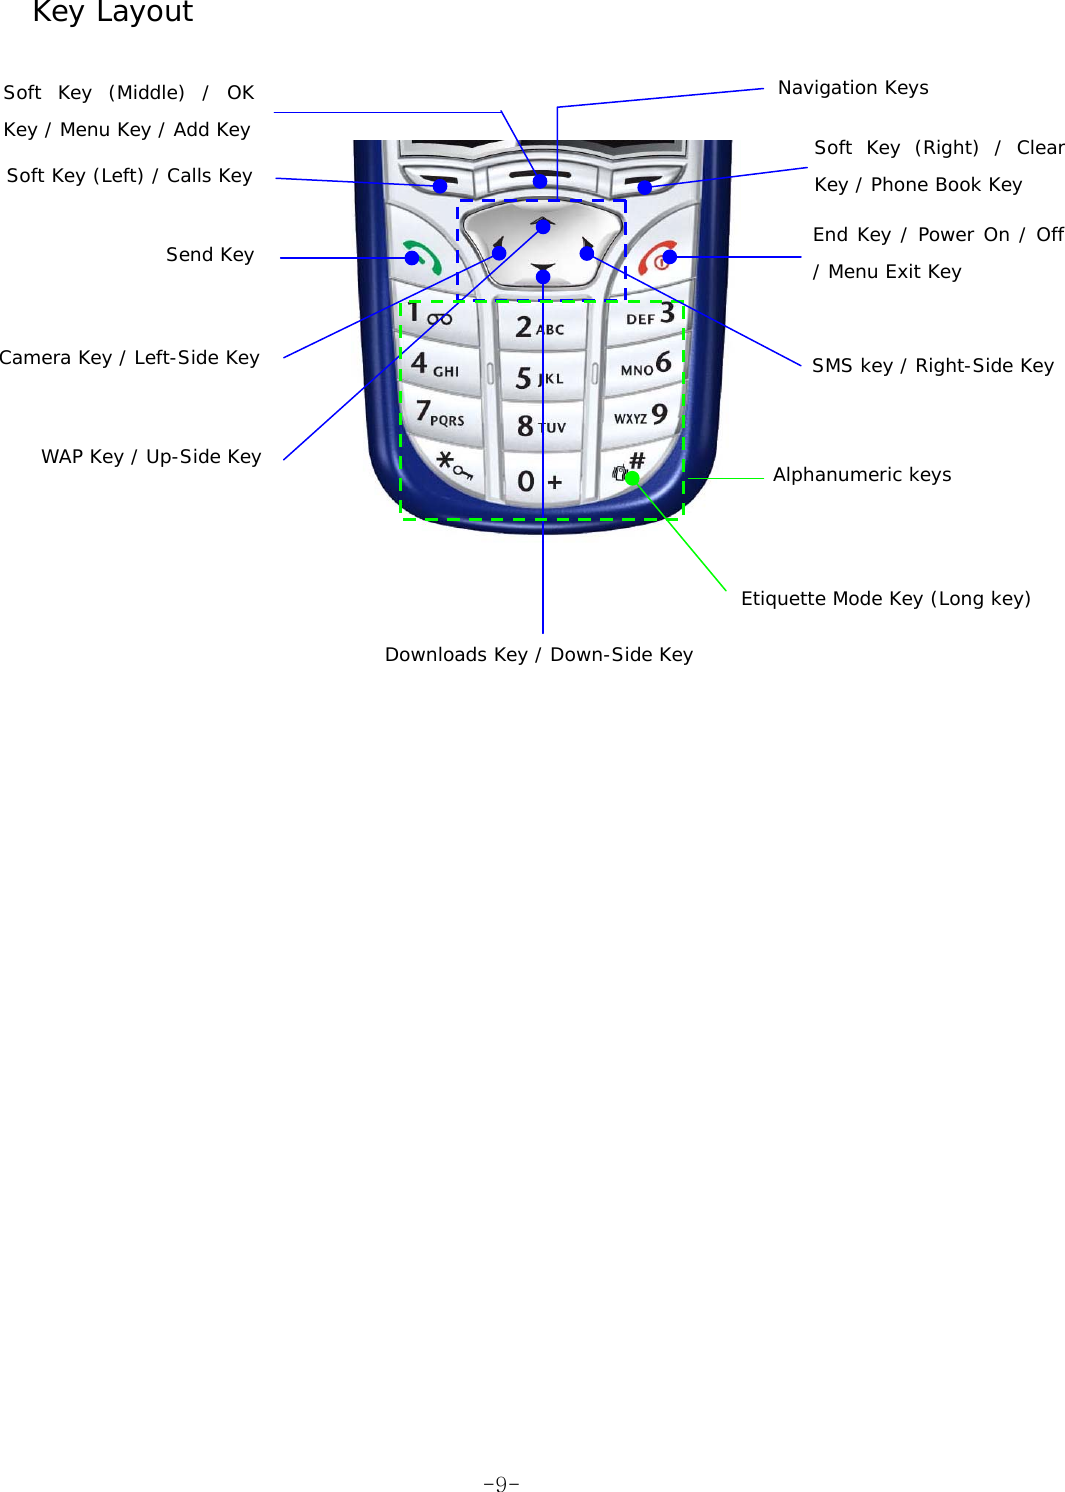
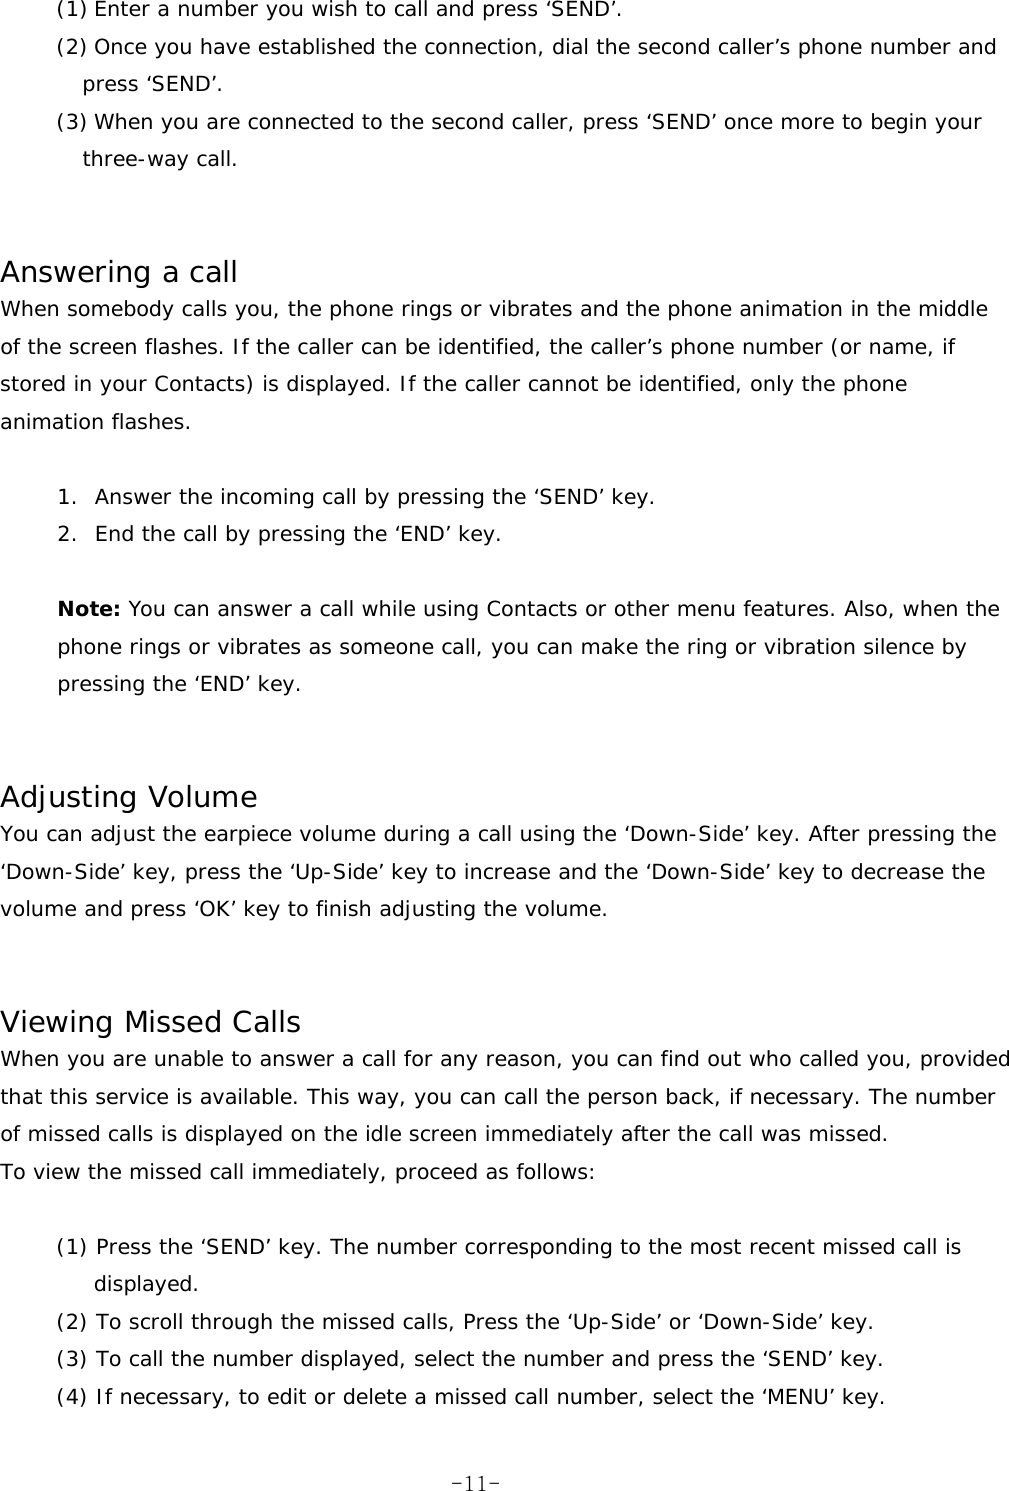
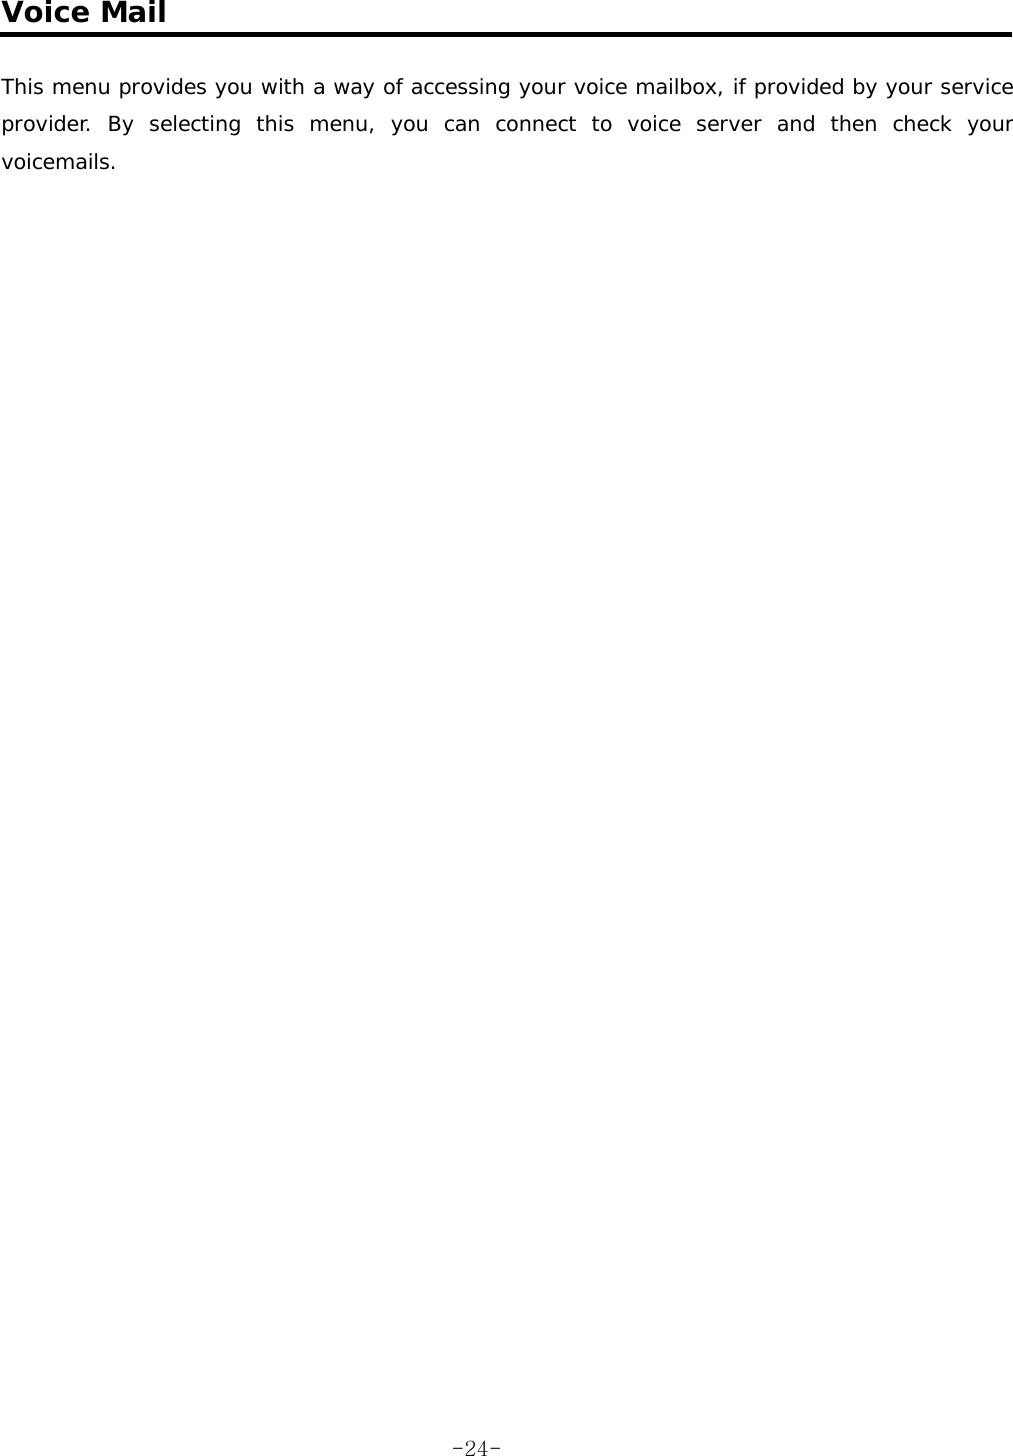
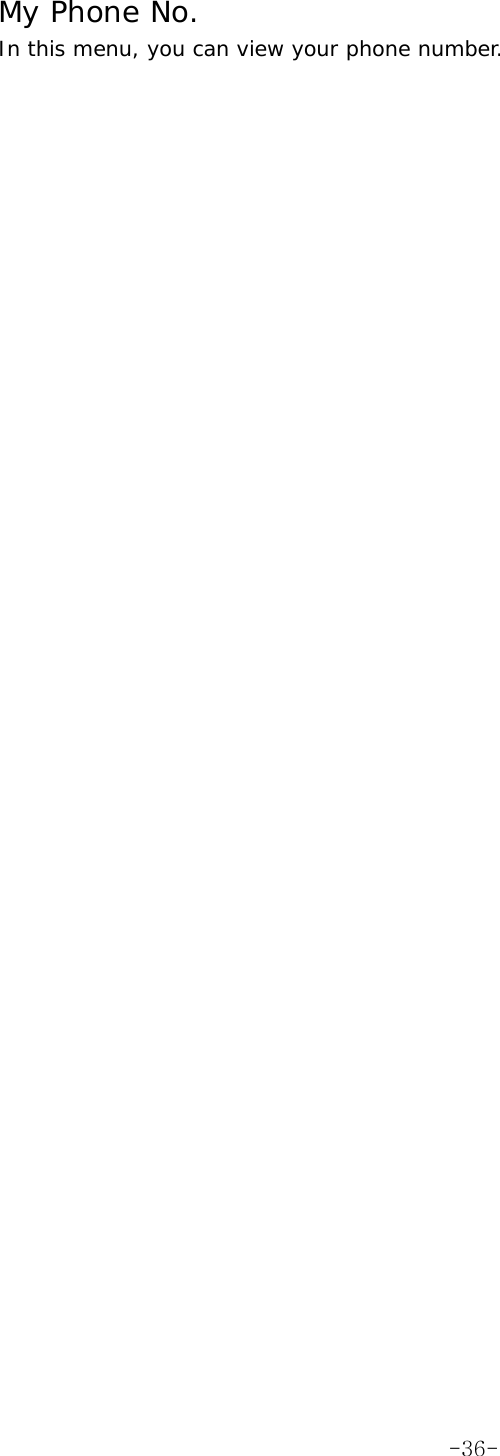
![Character Chart Key Upper Case Lower Case 0 0 Chapter of Symbols 0 1 1 . , @ ¿ ? ¡ ! ’ “ - + * / % ( ) [ ] < > _ € $ £ ¥ … 2 A B C 2 Á Ã Â À Ç a b c 2 á ã â à ç 3 D E F 3 É Ê d e f 3 é ê 4 G H I 4 Í g h i 4 Í 5 J K L 5 j k l 5 6 M N O 6 Ó Õ Ô Ñ m n o 6 ó õ ô ñ 7 P Q R S 7 p q r s 7 8 T U V 8 Ú Ü t u v 8 ú ü 9 W X Y Z 9 w x y z 9 # Space * Switch on the mode such as ‘ABC’ or ‘Abc’ or ‘abc’ (Short Pressing) eZi Mode or Multitap Text Input Mode (Long Pressing) 1. Using the eZi Text Mode The eZi predictive text input mode allows you to key in any character using single keystroke. (1) When you are in the eZi predictive text mode, start entering a word by pressing keys ‘2’ to ‘9’. Press each key only once for one letter. (2) 4 ~ 7 candidate words will be displayed in English mode. (3) Navigate through the list of candidates shown on the bottom of the screen with ‘Left-Side’ and ‘Right-Side’ keys. Use the ’Down-Side’ key or ‘0’ key to refresh list of candidates. Use the ’Up-Side’ key or ‘Clear’ Key to return to the previous list of candidates. (4) If the word you want to input is displayed, select the candidate and press the ‘OK’ key. (5) To enter a non-alphanumeric character, press the ‘1’ key. (6) To delete a character or a space, press ‘Clear’ key and to delete the complete text, press and hold the ‘Clear’ key. -13-](https://usermanual.wiki/Vitelcom-Mobile-Technology-USA/TSM401/User-Guide-616500-Page-13.png)
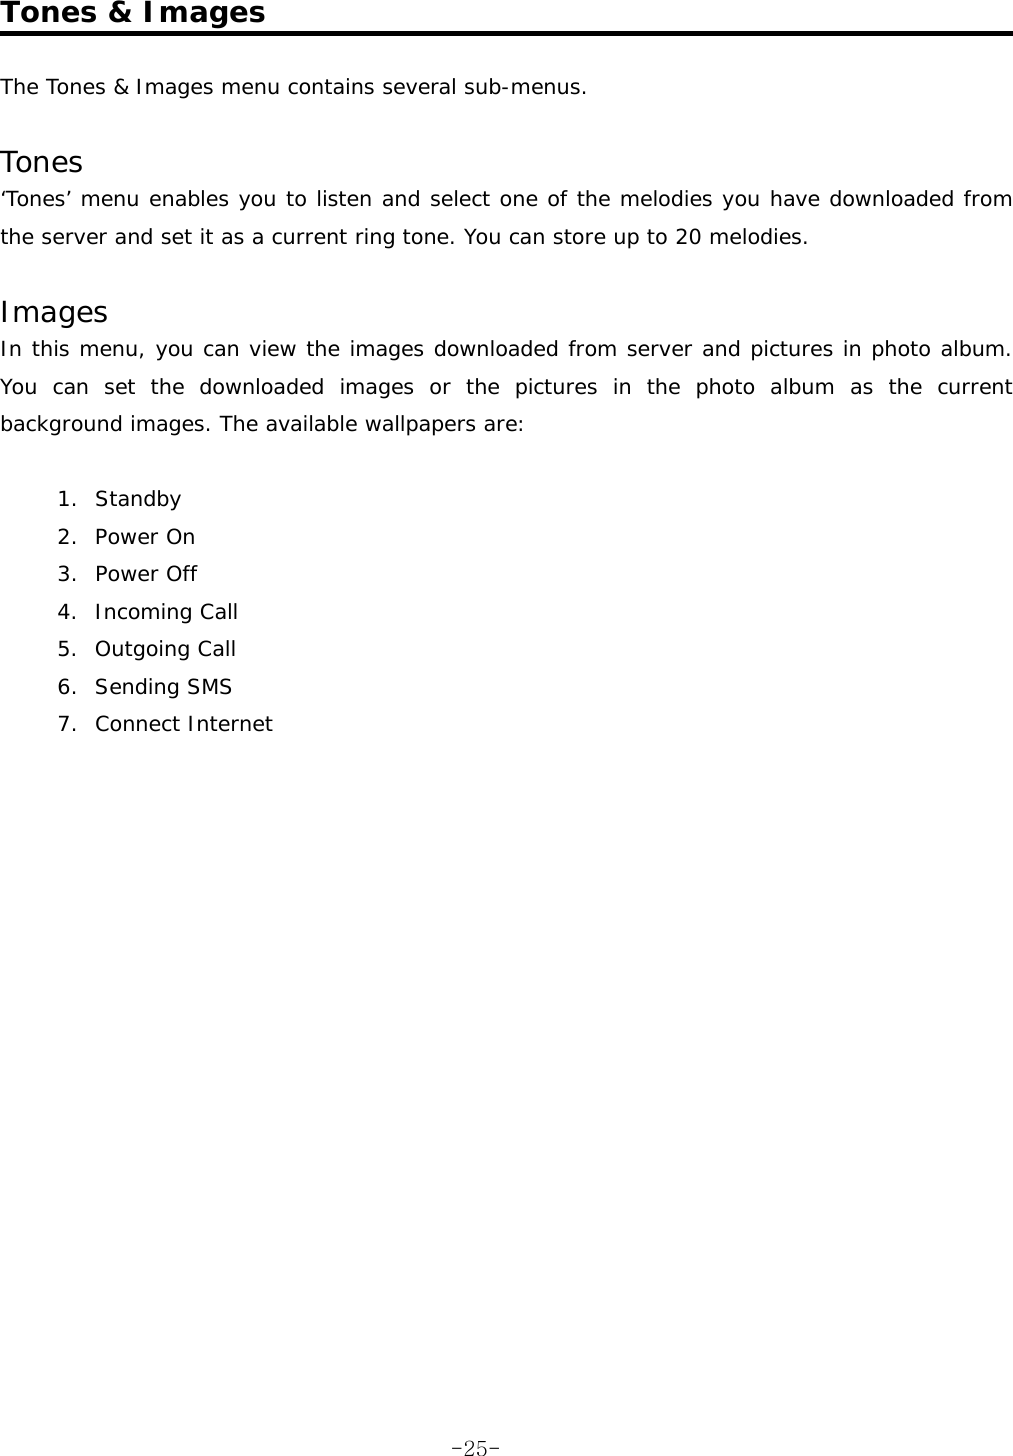
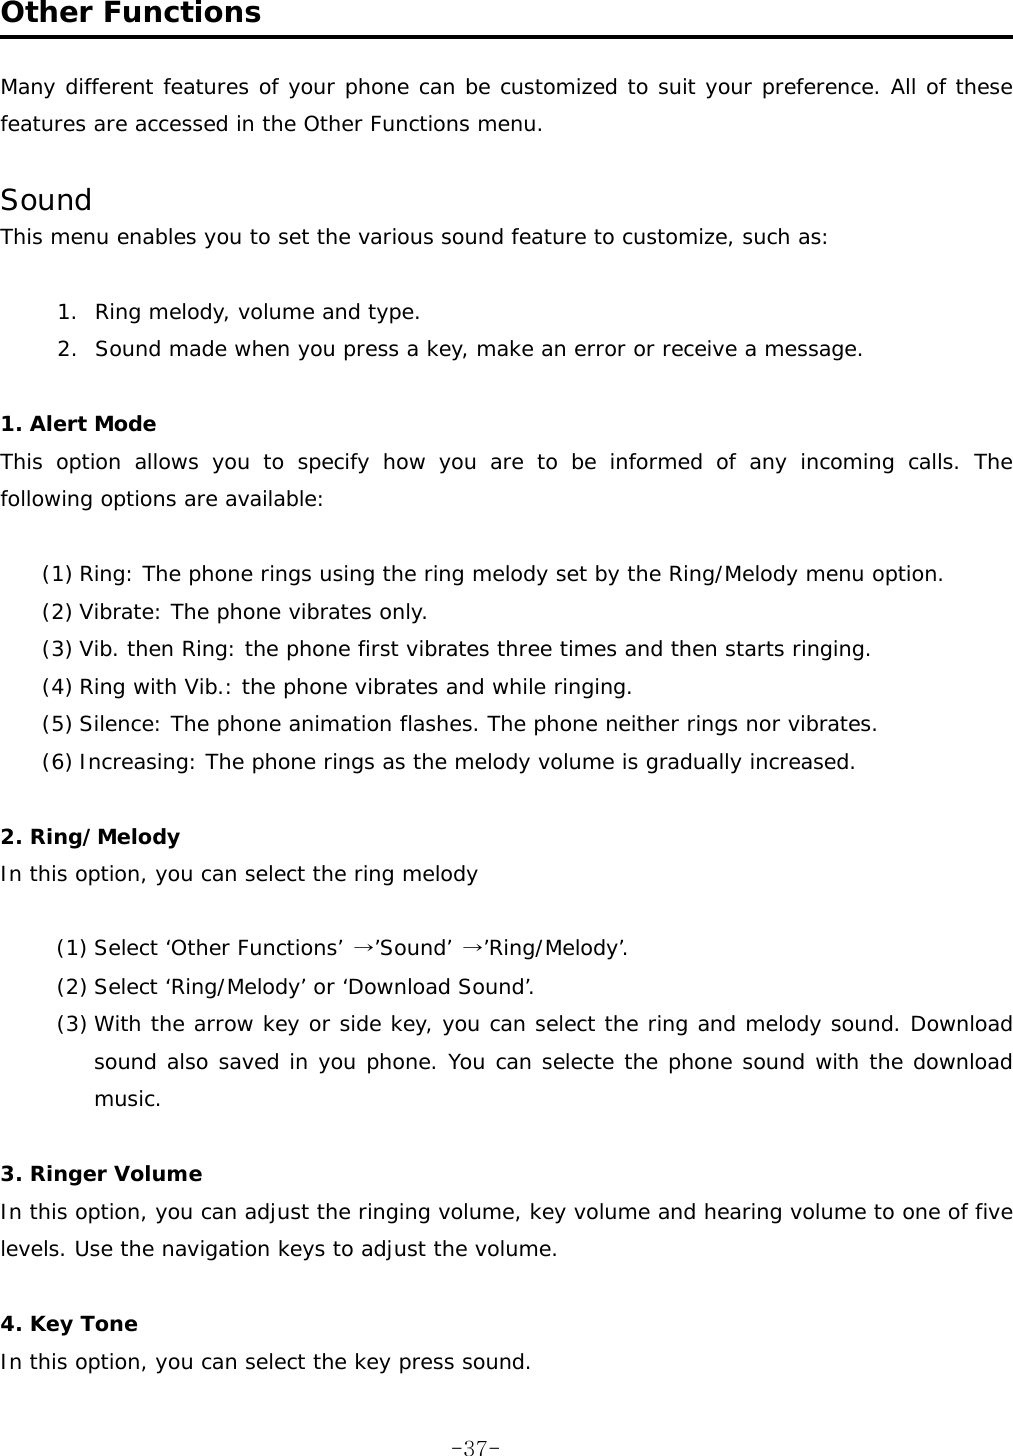
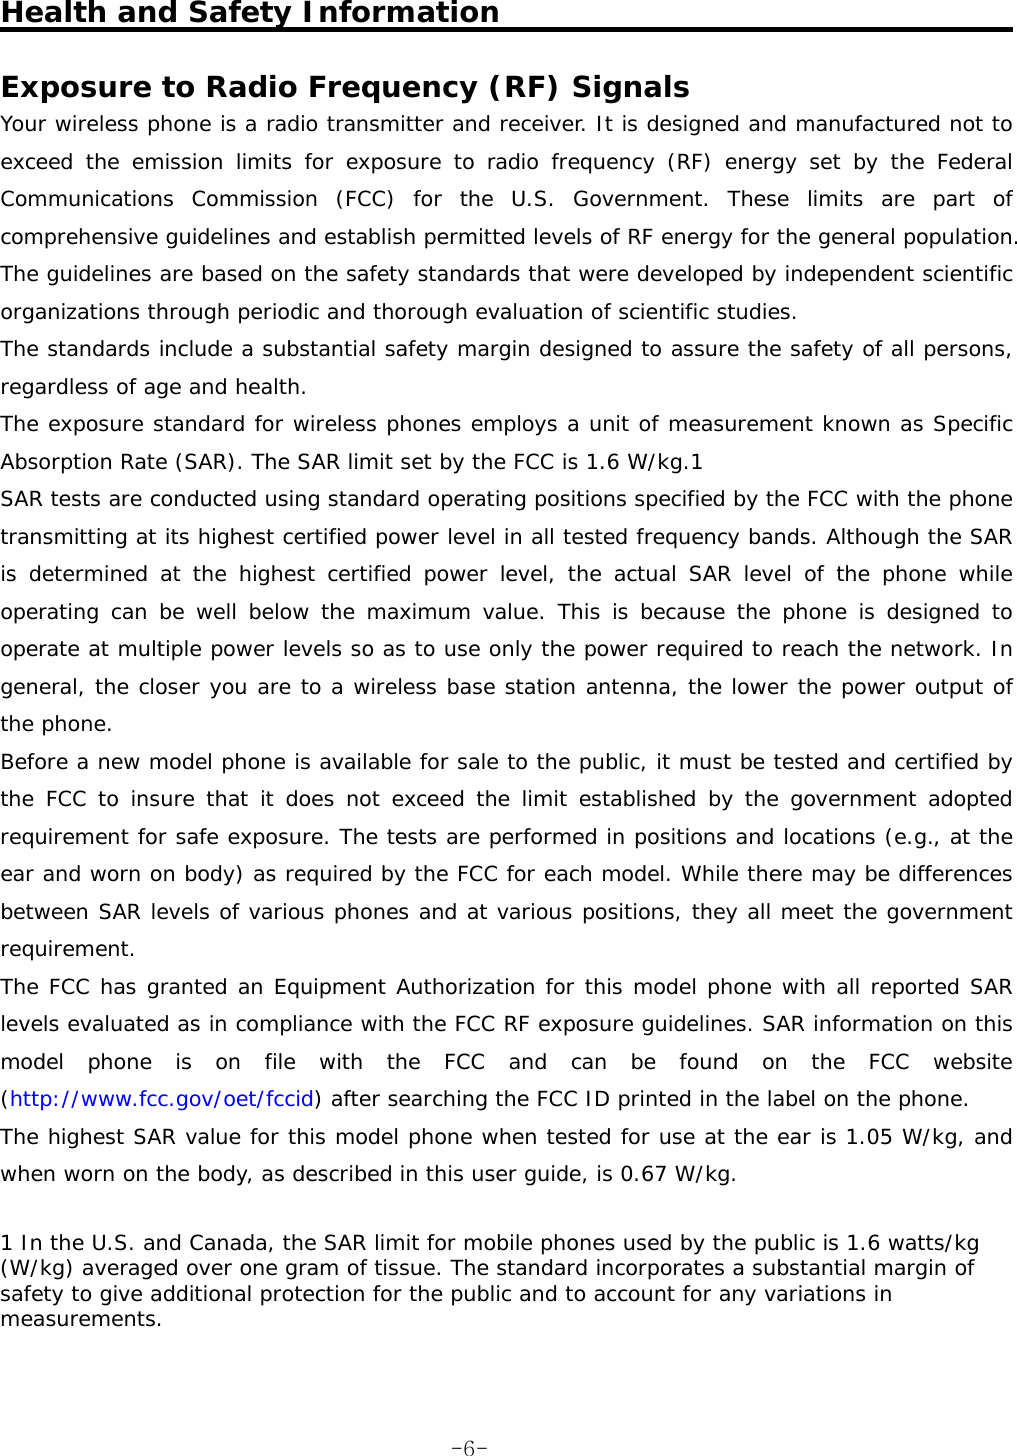
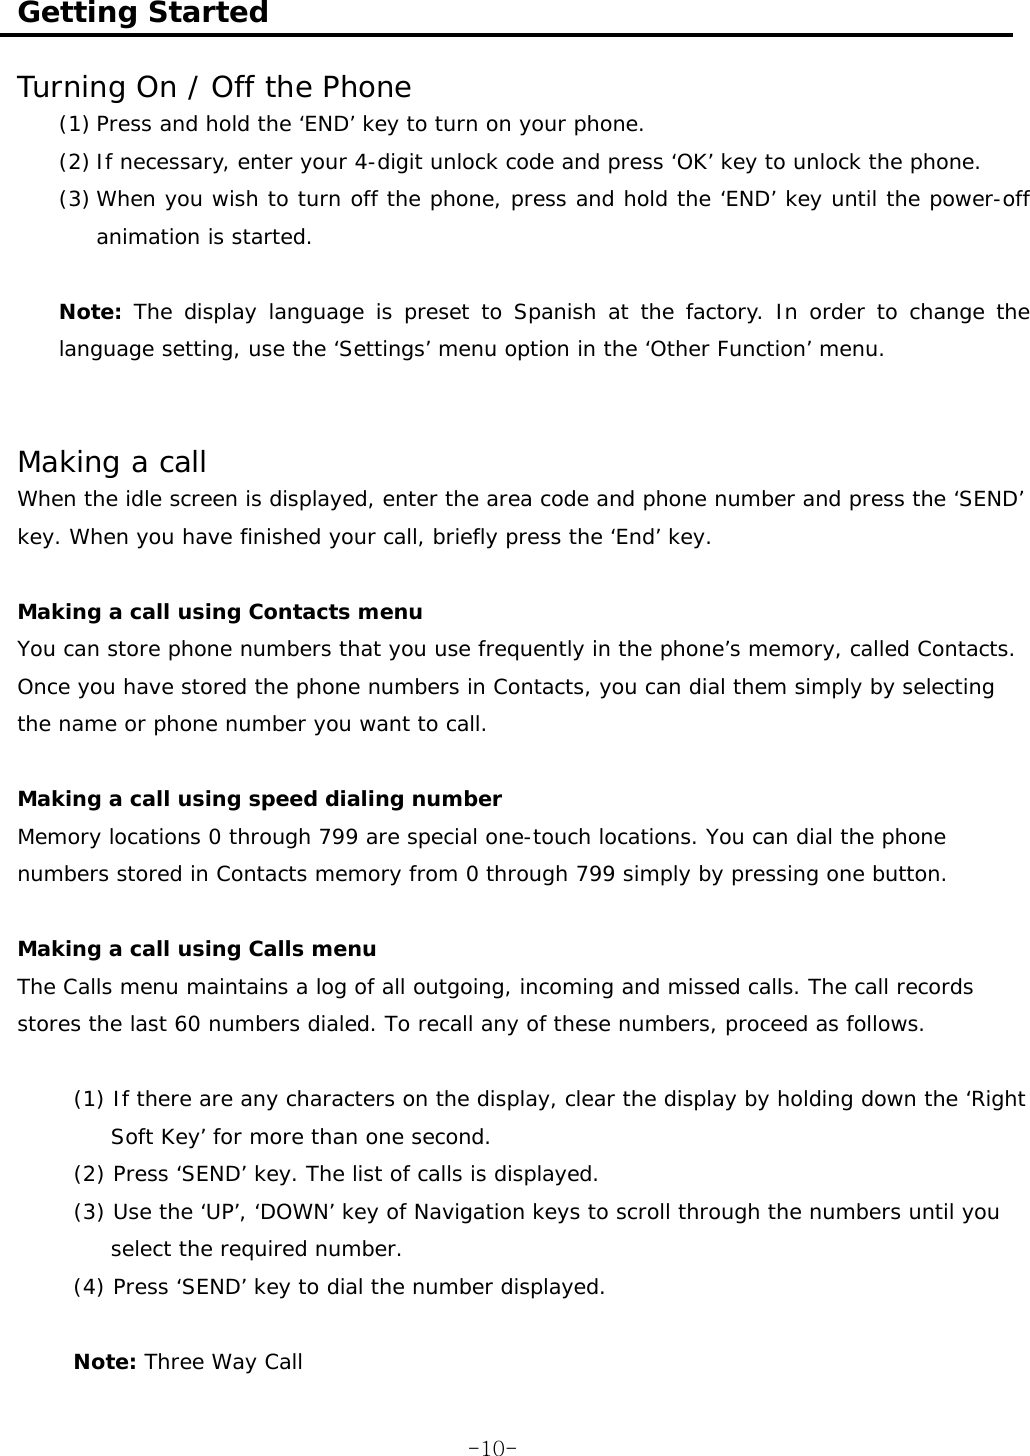
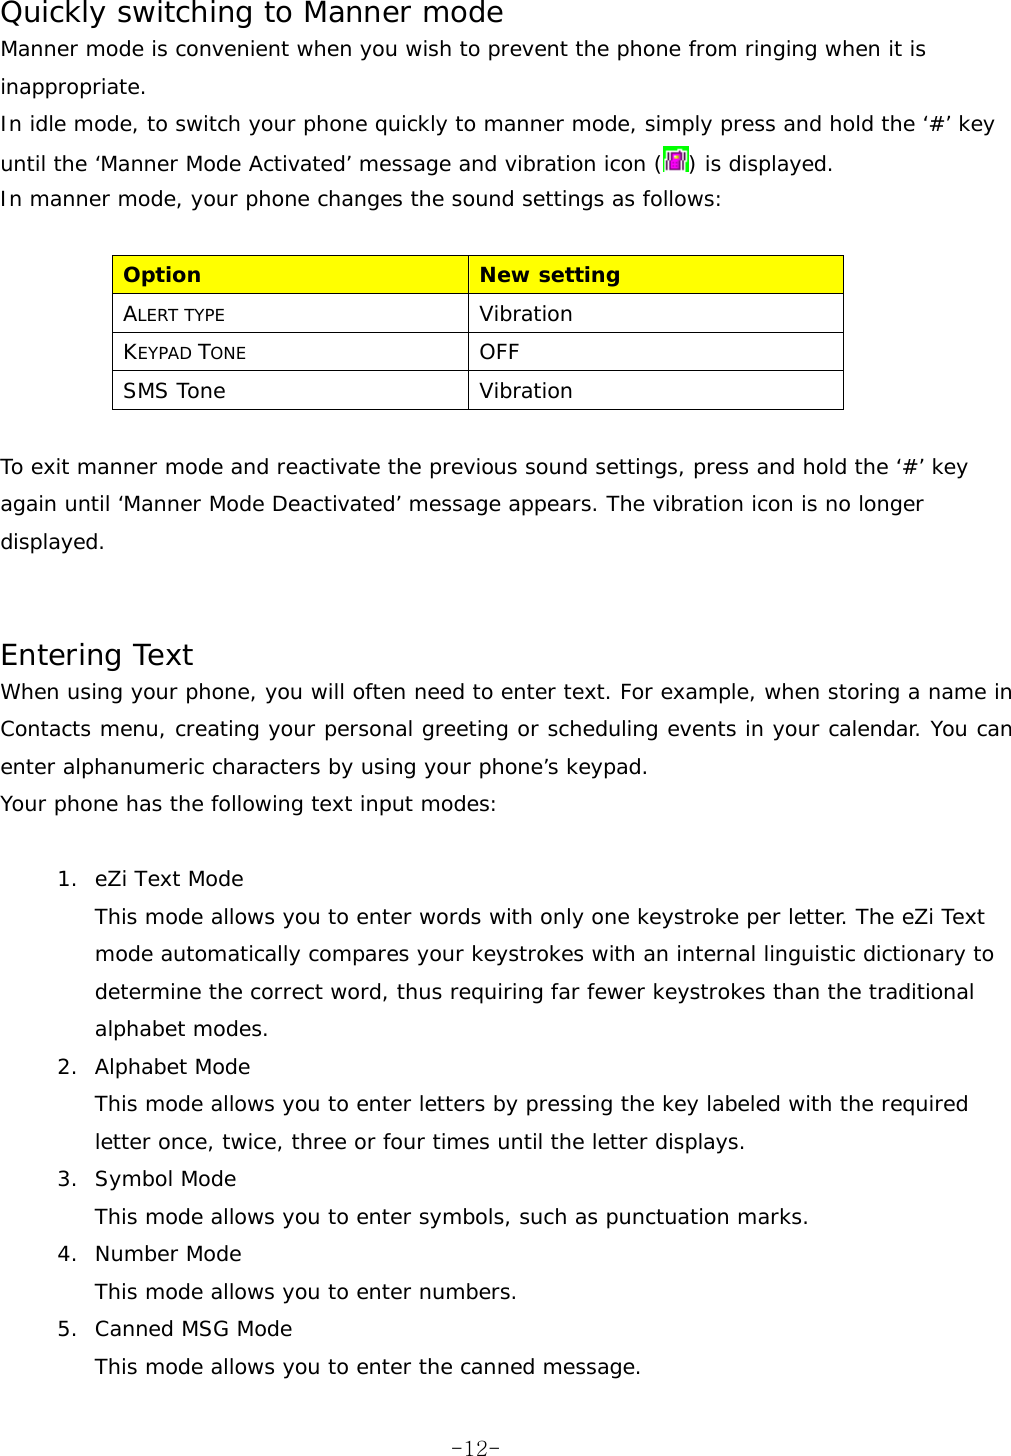
![(3) Use the navigation keys to scroll to the desired symbol and then press ‘OK’ key (Middle Soft key). ※ Symbol Chart - General Mode (Contacts, schedule and so on) ! " # $ % & ' ( ) * + , - . / : ; < = > ? @ [ \ ] ^ _ ` { | } ~ ¡ ¢ £ ¤ ¥ ¦ § ¨ © ª « ¬ - ® ¯ ° ± ² ³ ´ µ ¶ · ¸ ¹ º » ¼ ½ ¾ ¿ × ÷ ※ Symbol Chart - Only when you input new messages in SMS Mode ! " # $ % & ' ( ) * + , - . / : ; < = > ? @ [ \ ] ^ _ ` { | } ~ 4. Using the Number Mode Press the keys corresponding to the numbers. 5. Using the Canned MSG Mode The Canned MSG enables you to easily enter frequently used words or sentences. (1) Press the ‘MENU’ key (Left Soft key). (2) Select ‘5.Canned MSG’ and press ‘OK’ (Middle Soft key). (3) Select the desired word or sentence on the list. Note: This pop-up menu is shown only when you edit SMS messages. -15-](https://usermanual.wiki/Vitelcom-Mobile-Technology-USA/TSM401/User-Guide-616500-Page-15.png)