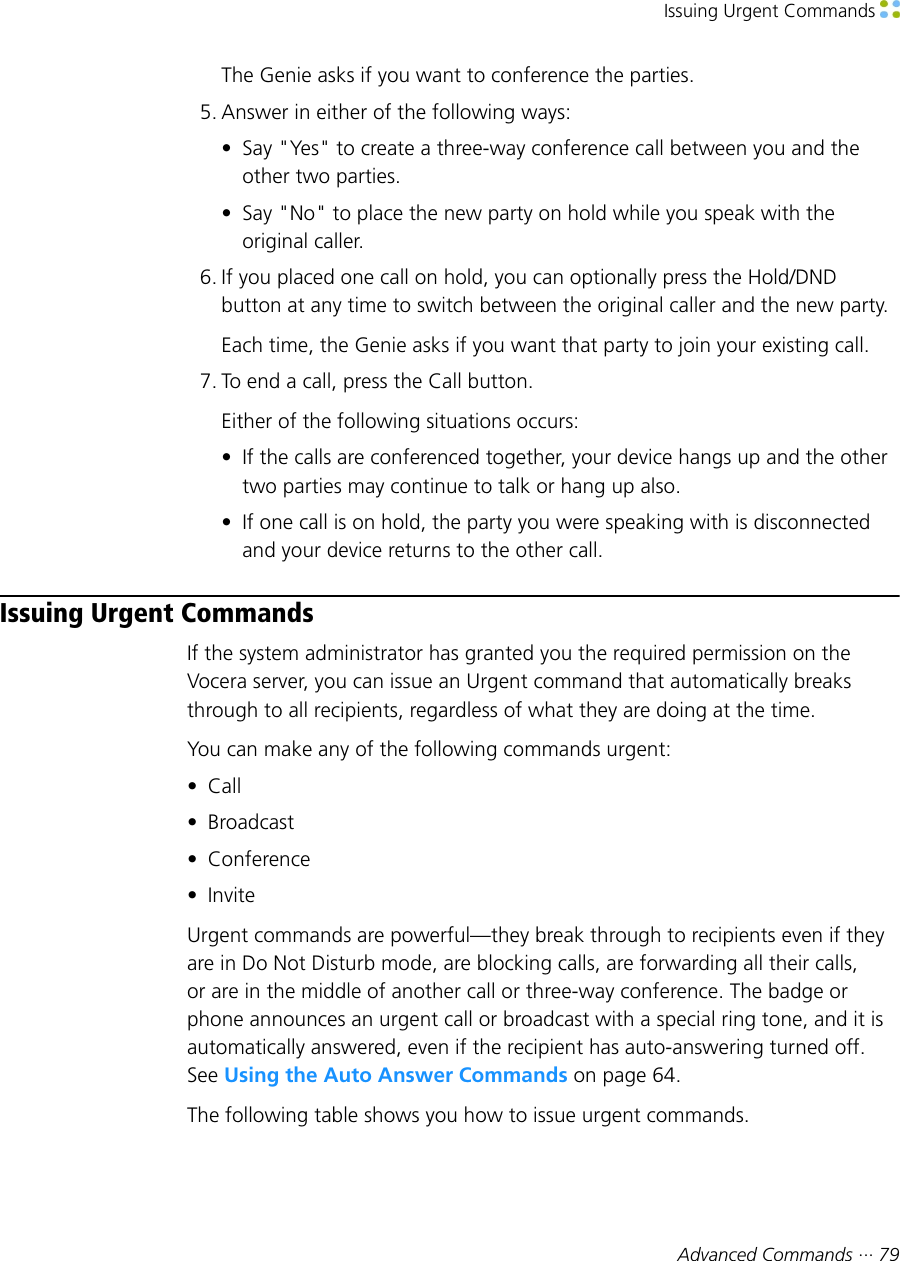
Vocera Communications B3000N B3000N Communication Badge User Manual Vocera Badge User Guide Version 4 x
Vocera Communications B3000N Communication Badge Vocera Badge User Guide Version 4 x
UserManual.wiki
>
Vocera Communications
>
B3000N User Manual
>
User Manual
Contents
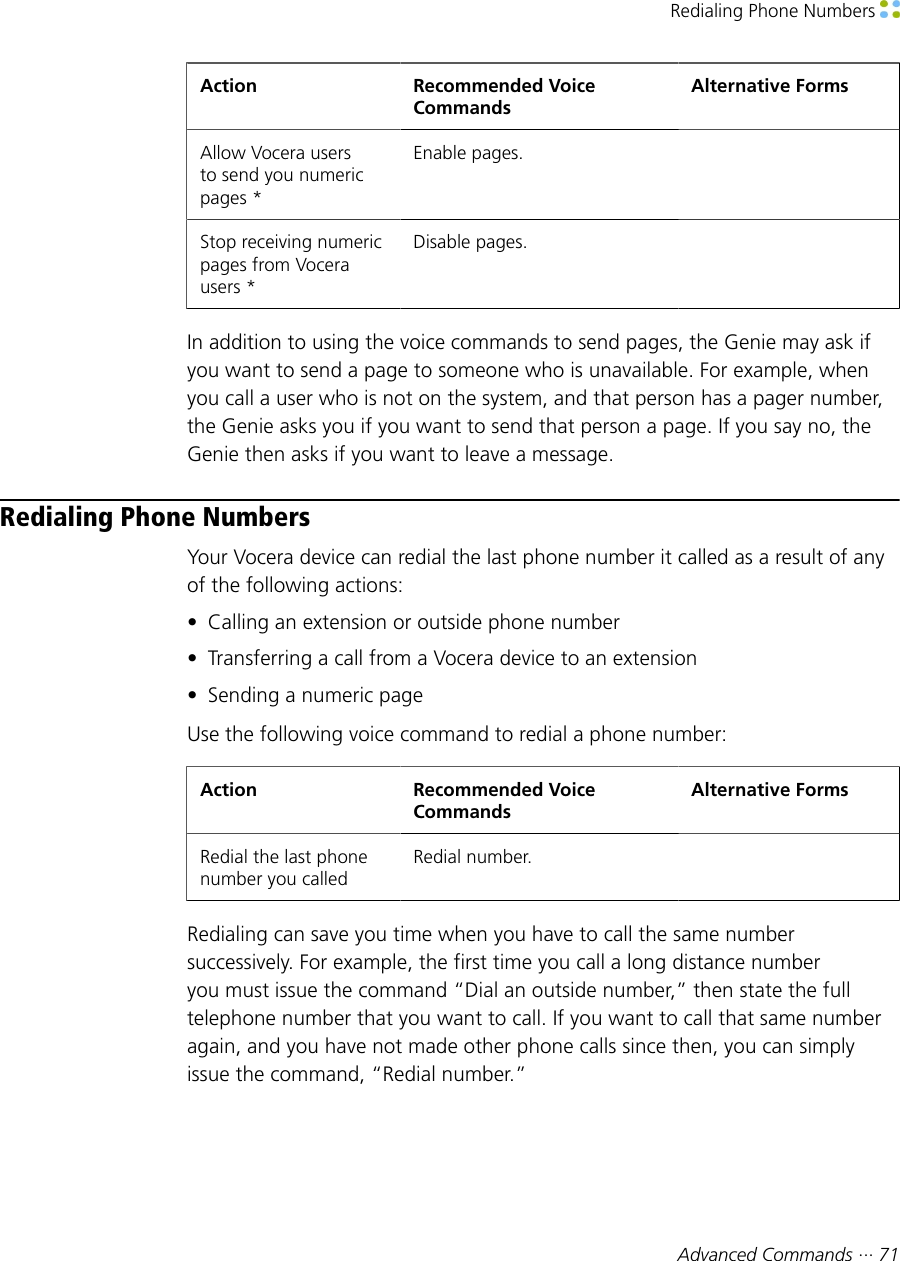
1.
User Manual
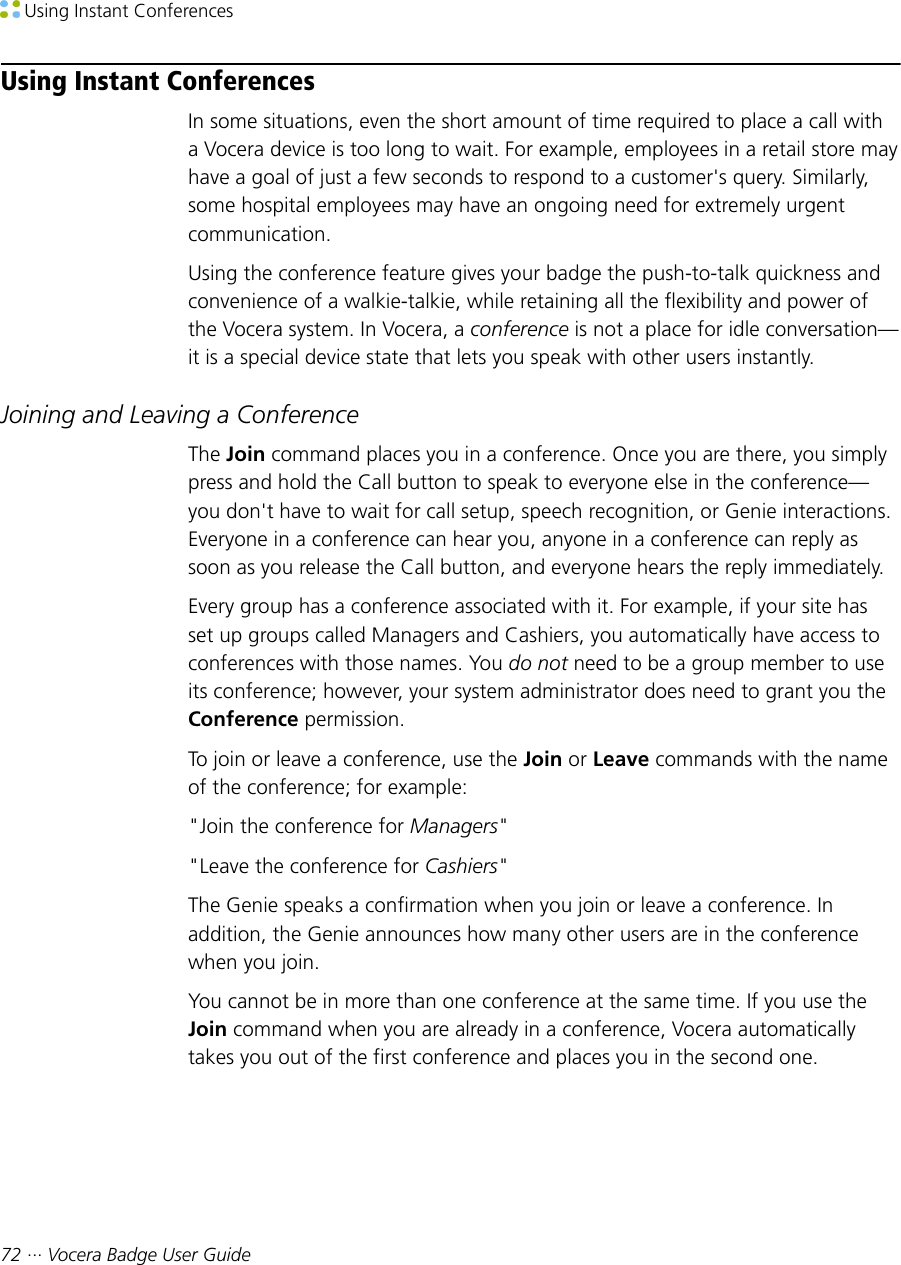
2.
Users Manual
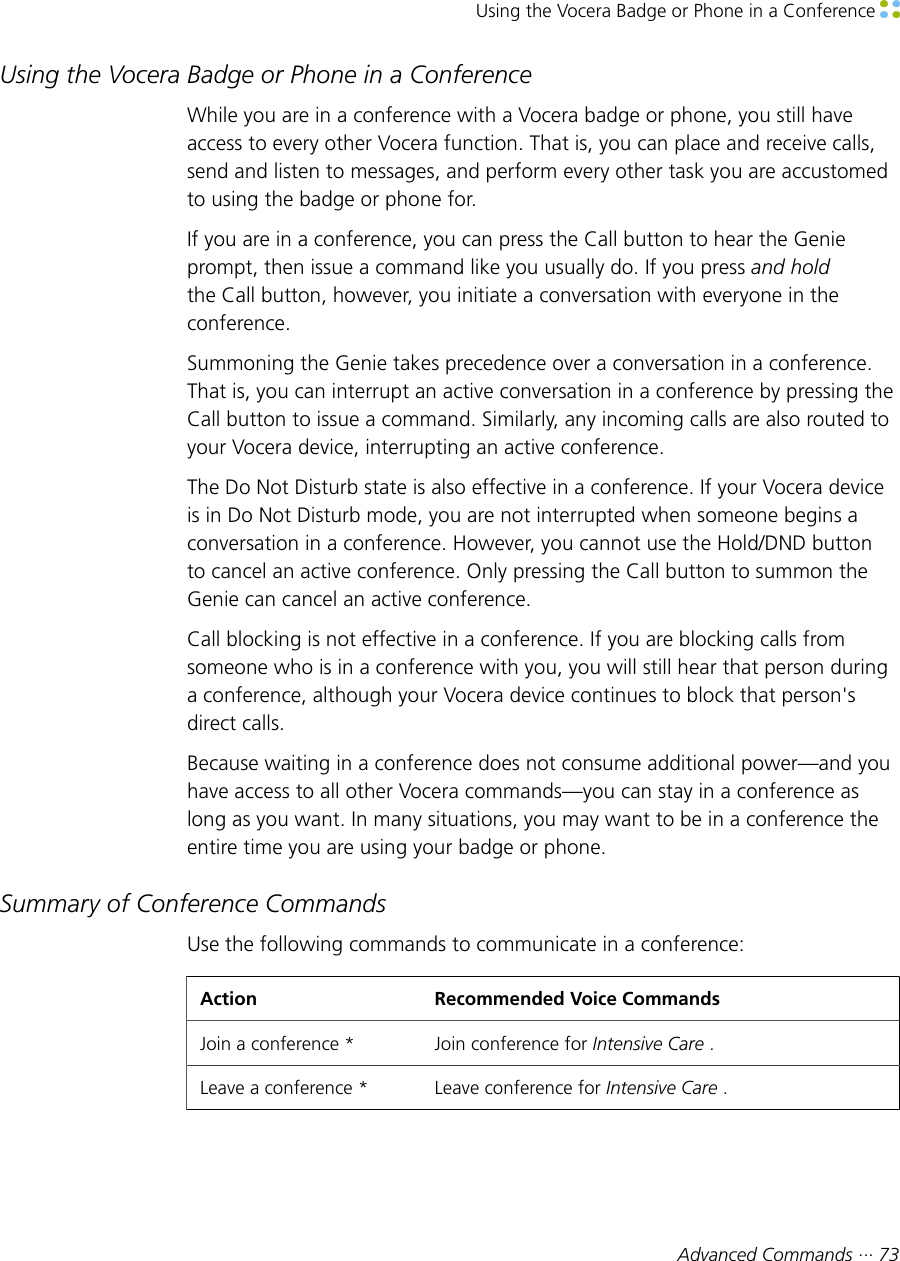
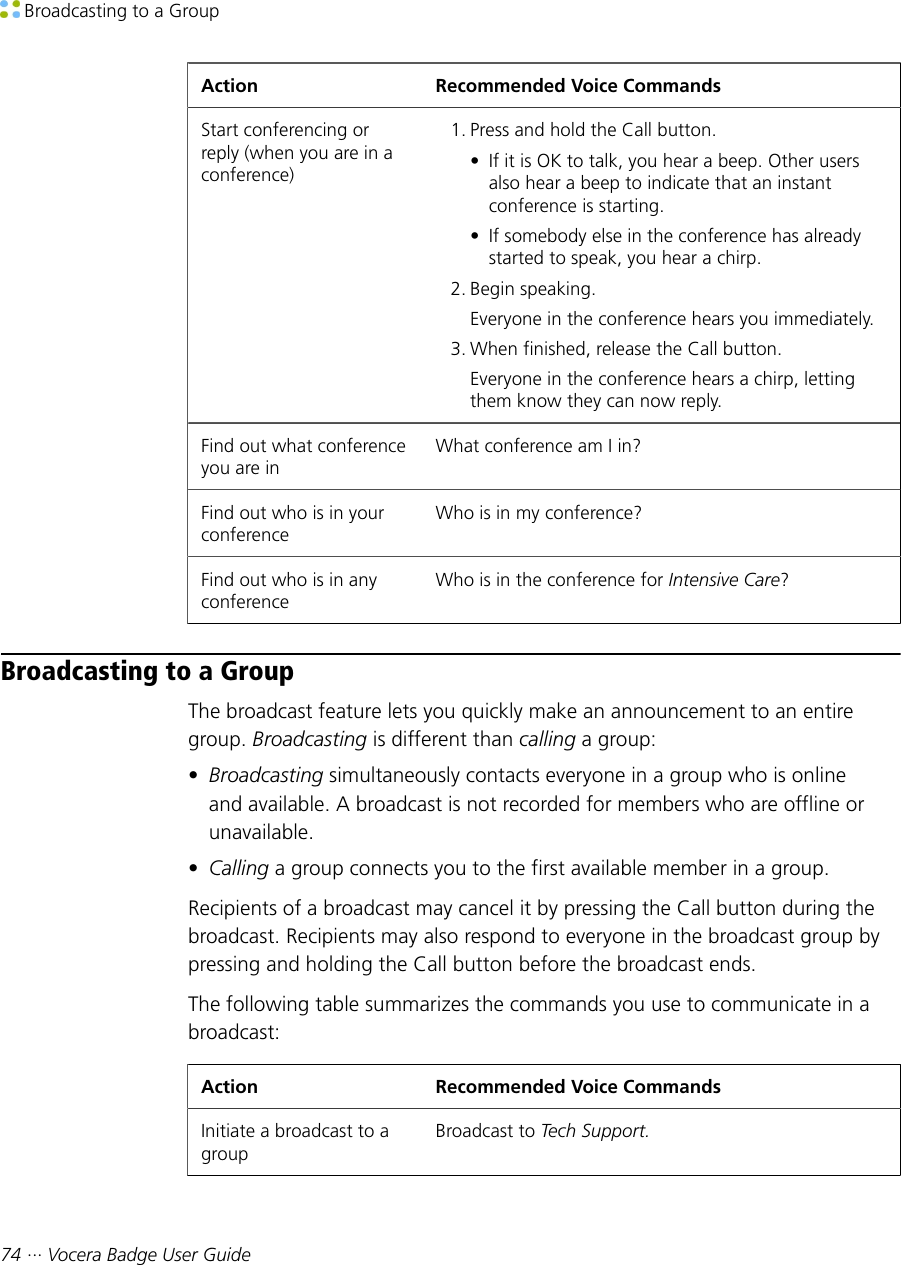
User Manual
Navigation menu
Upload a User Manual
Namespaces
Wiki Guide
HTML
PDF
Info
Views
User Manual
Discussion / Help
Navigation

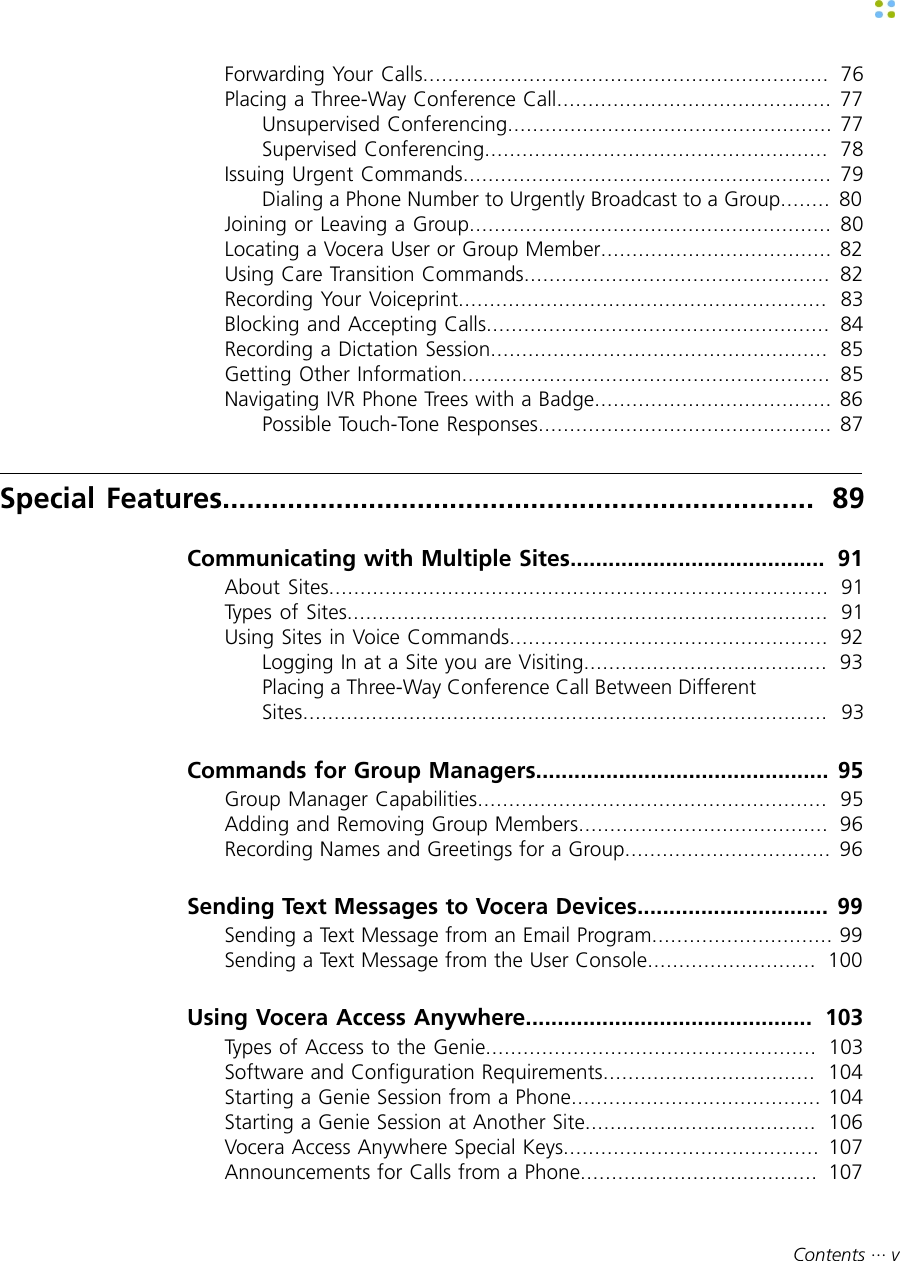

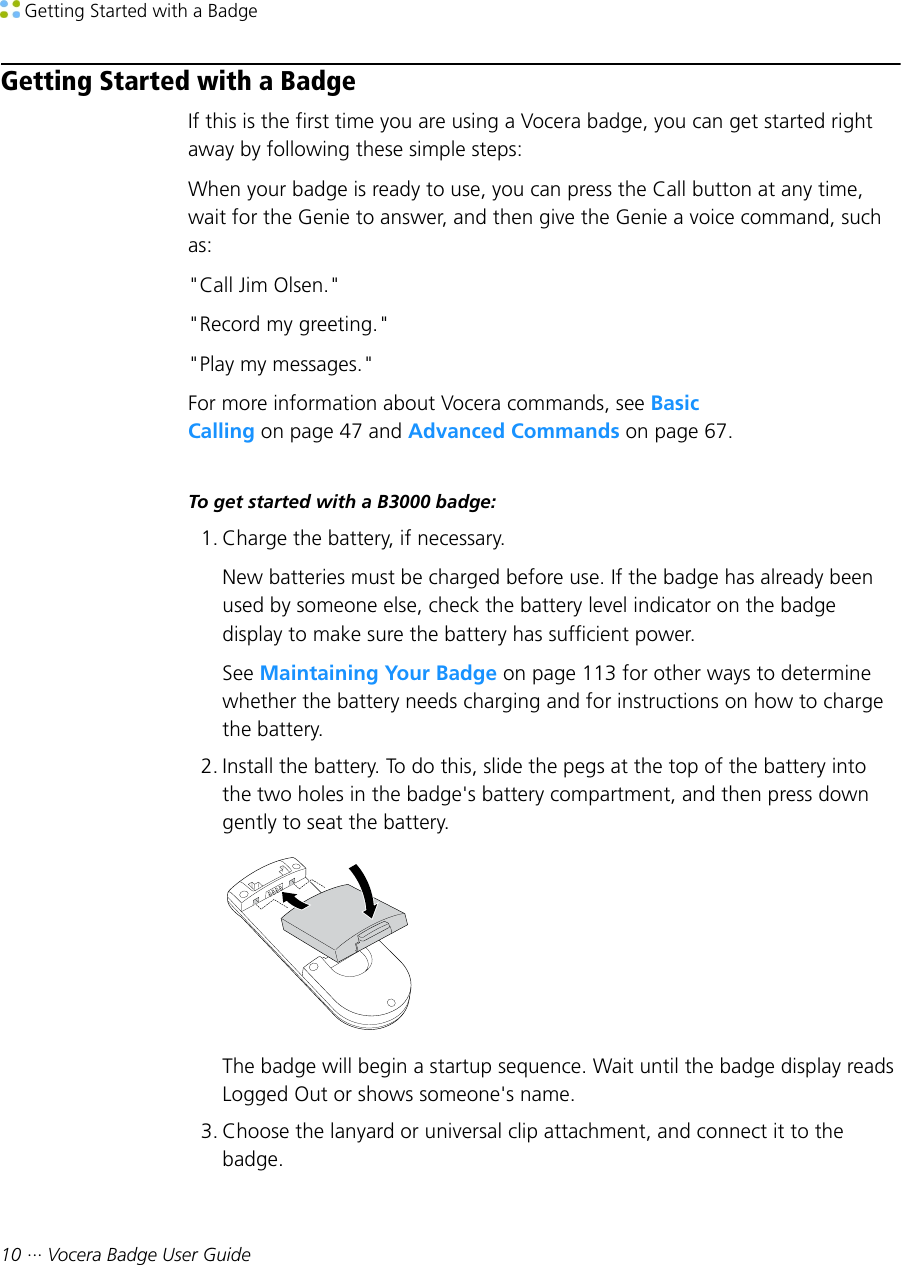

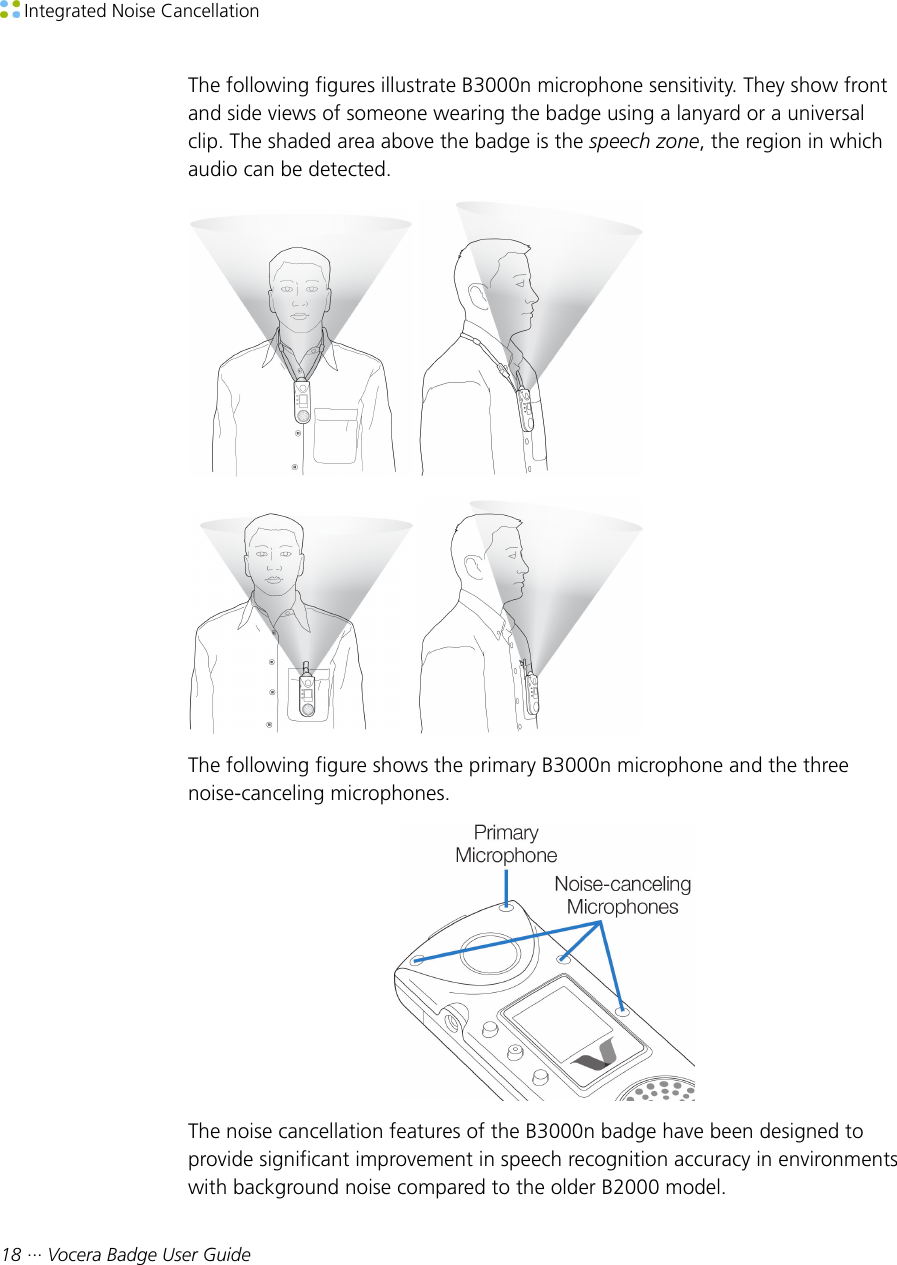


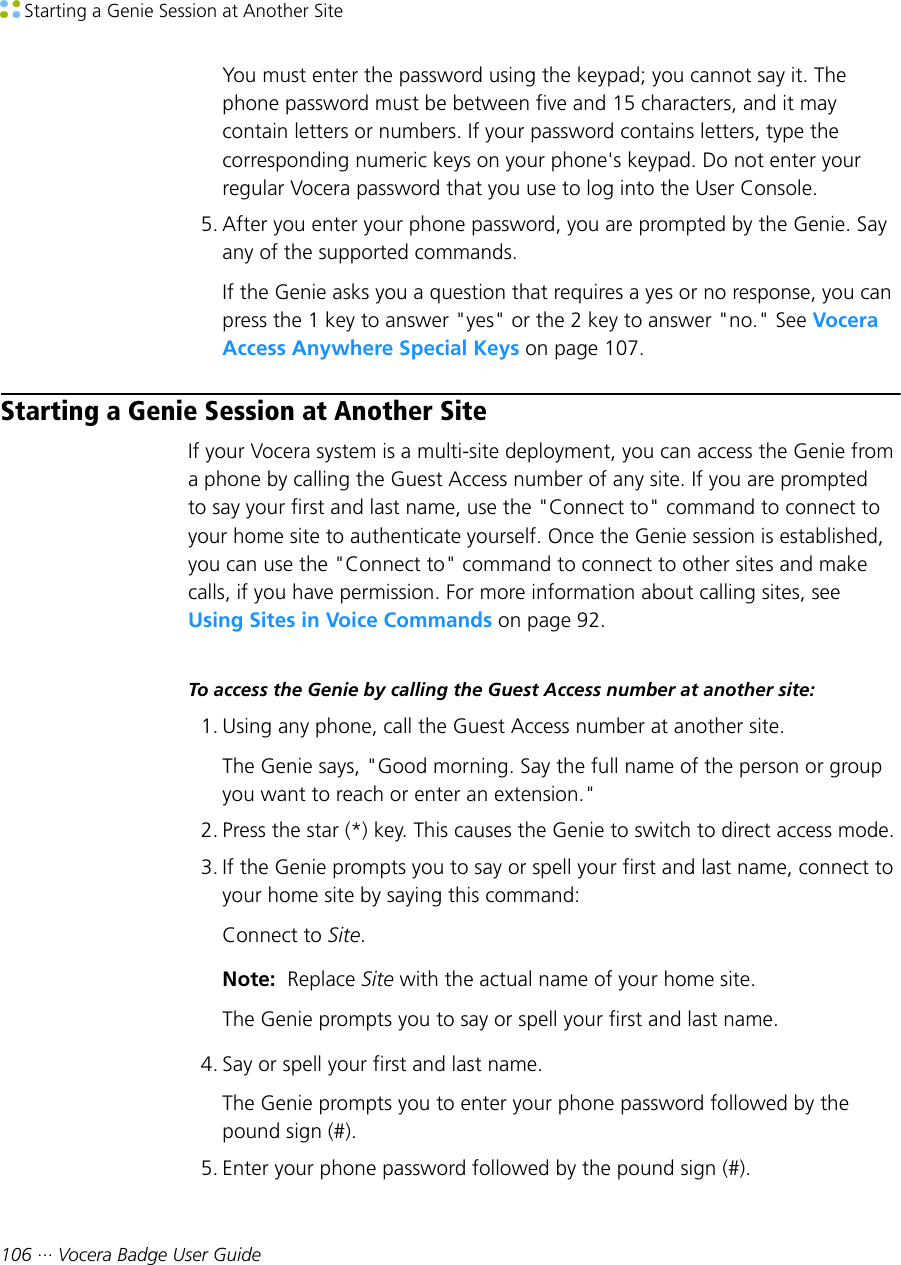
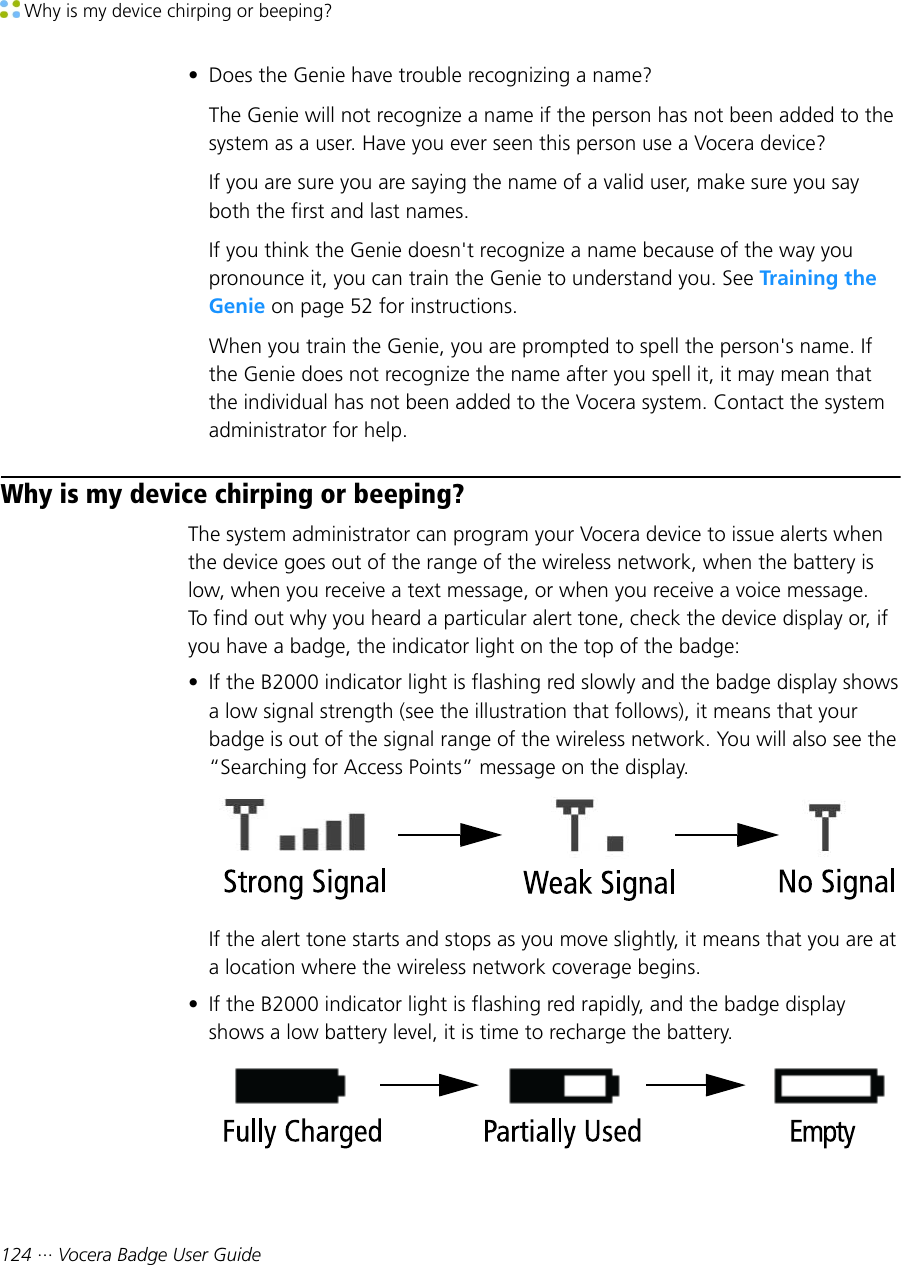
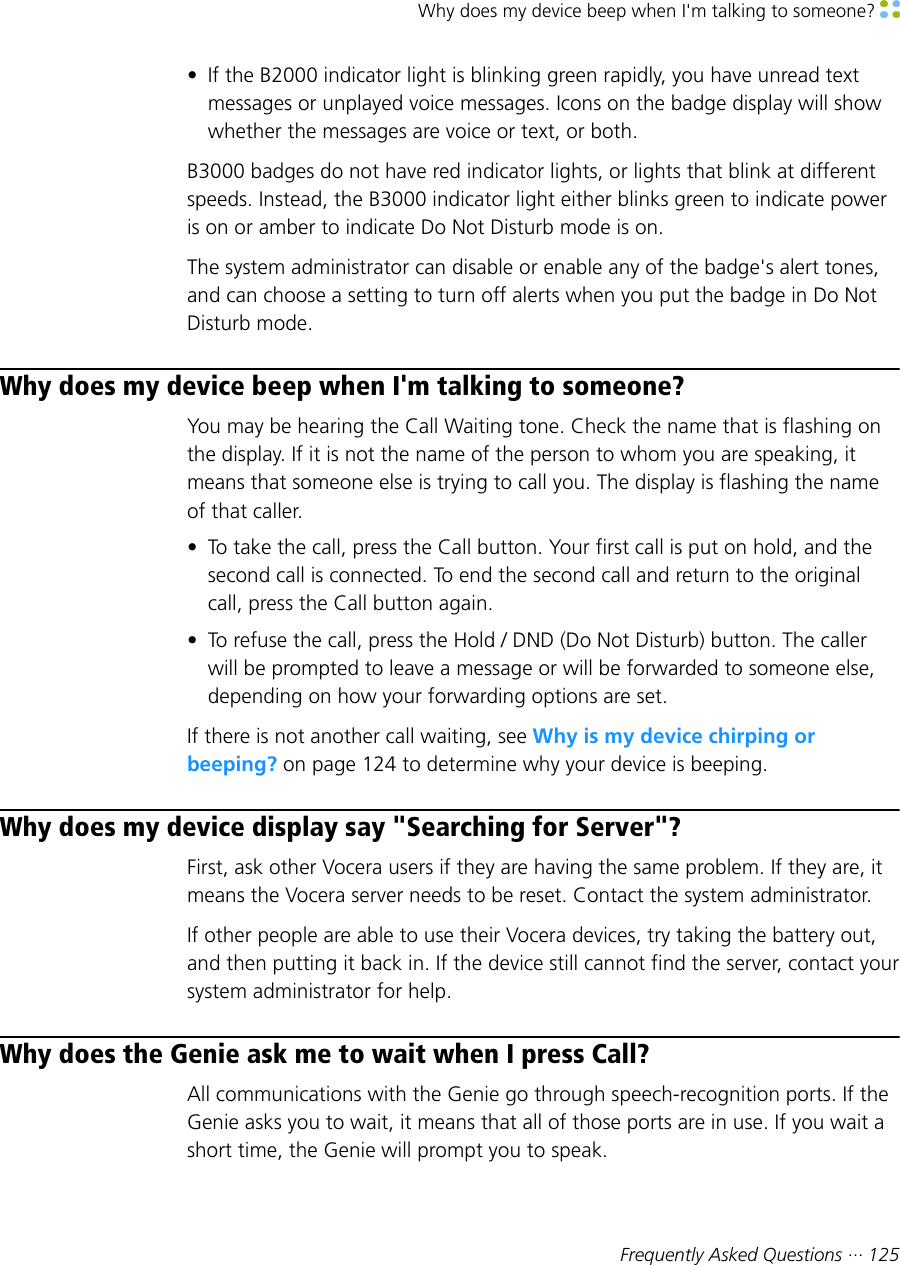
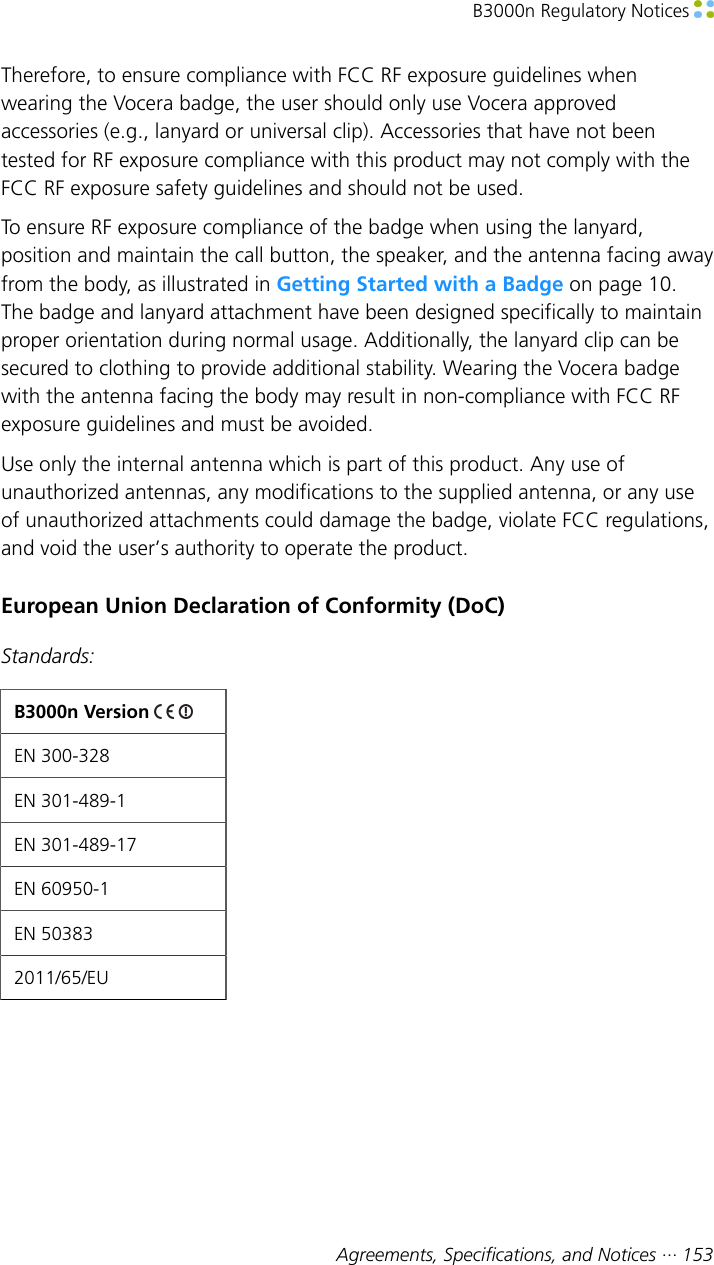
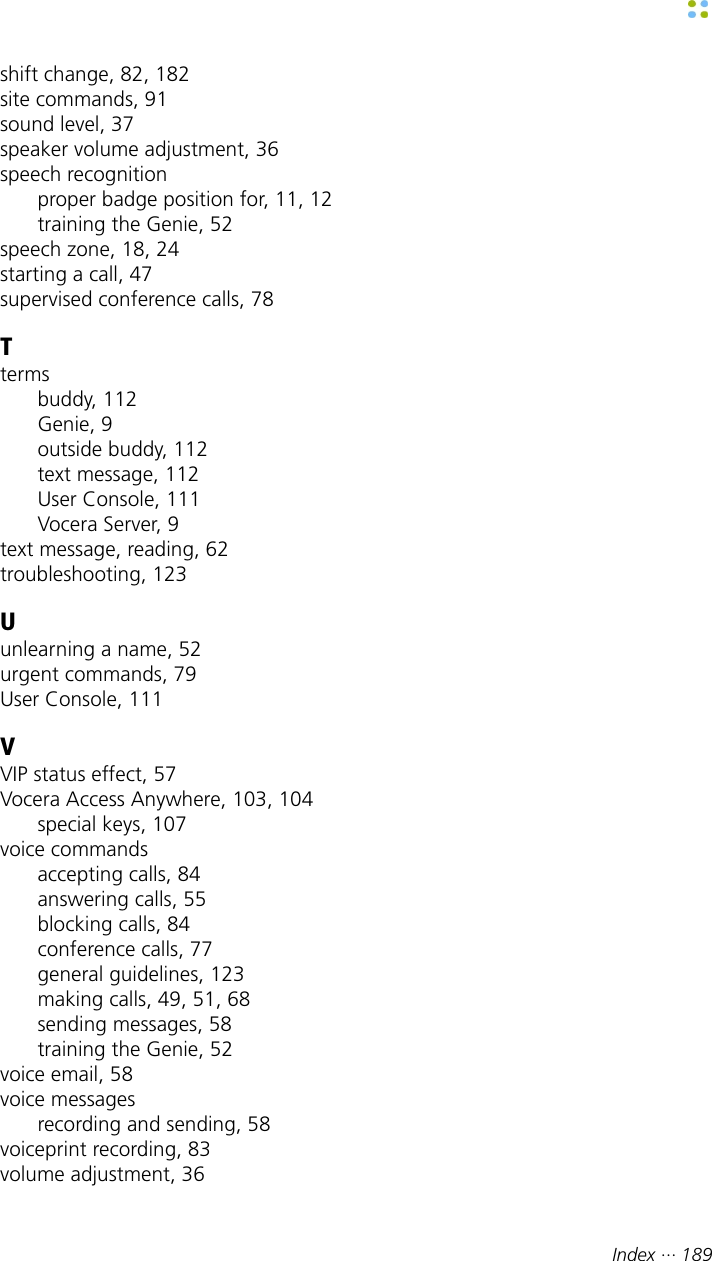
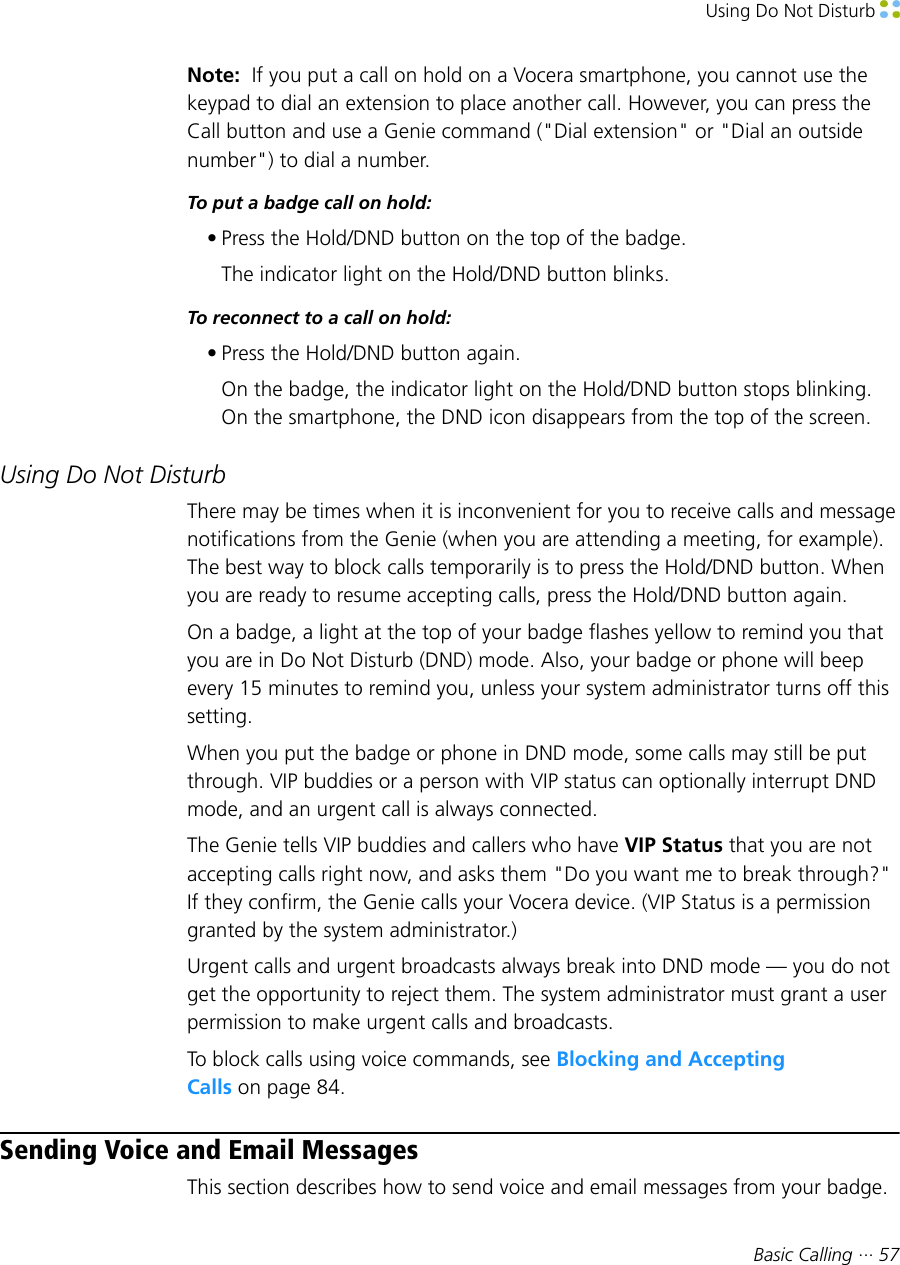
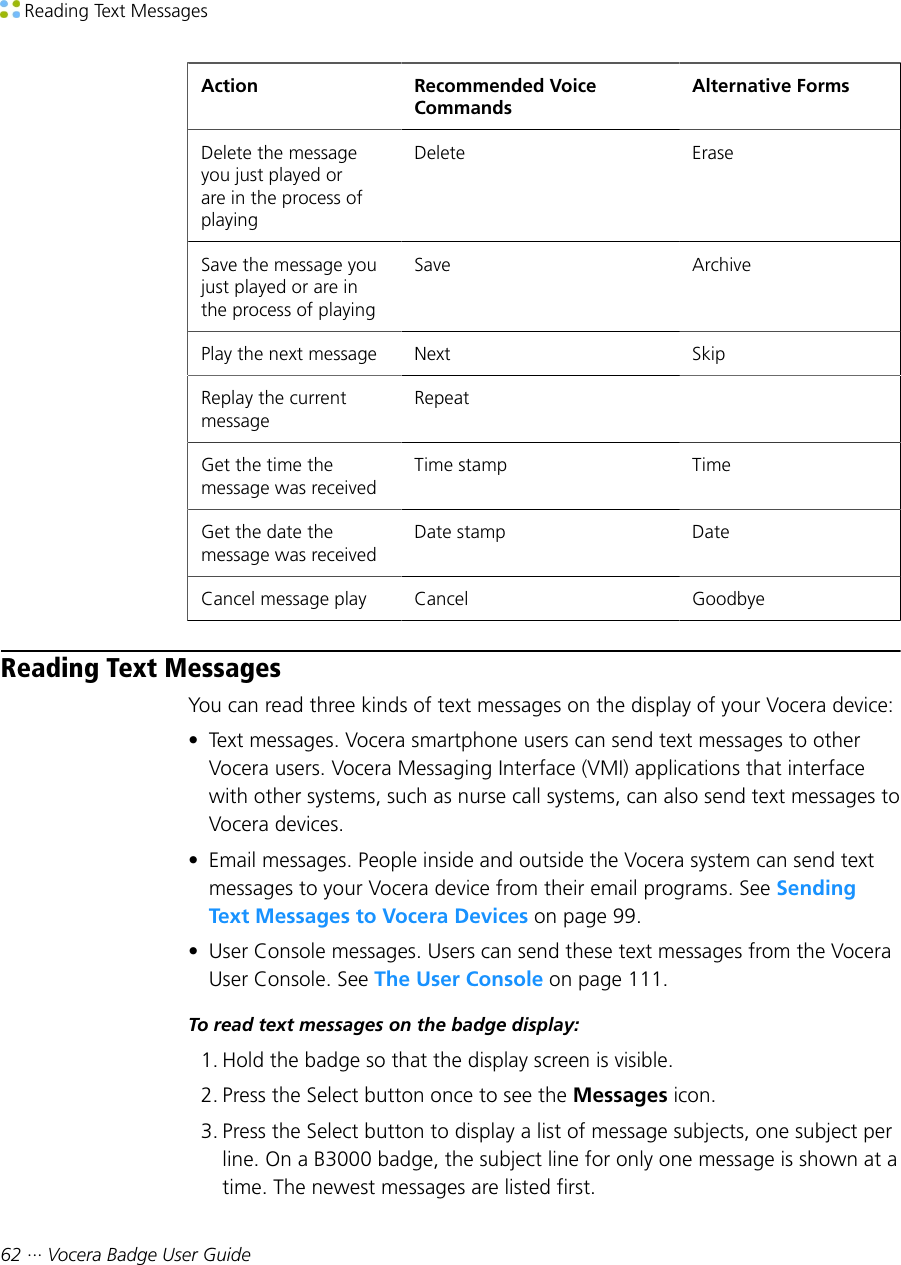
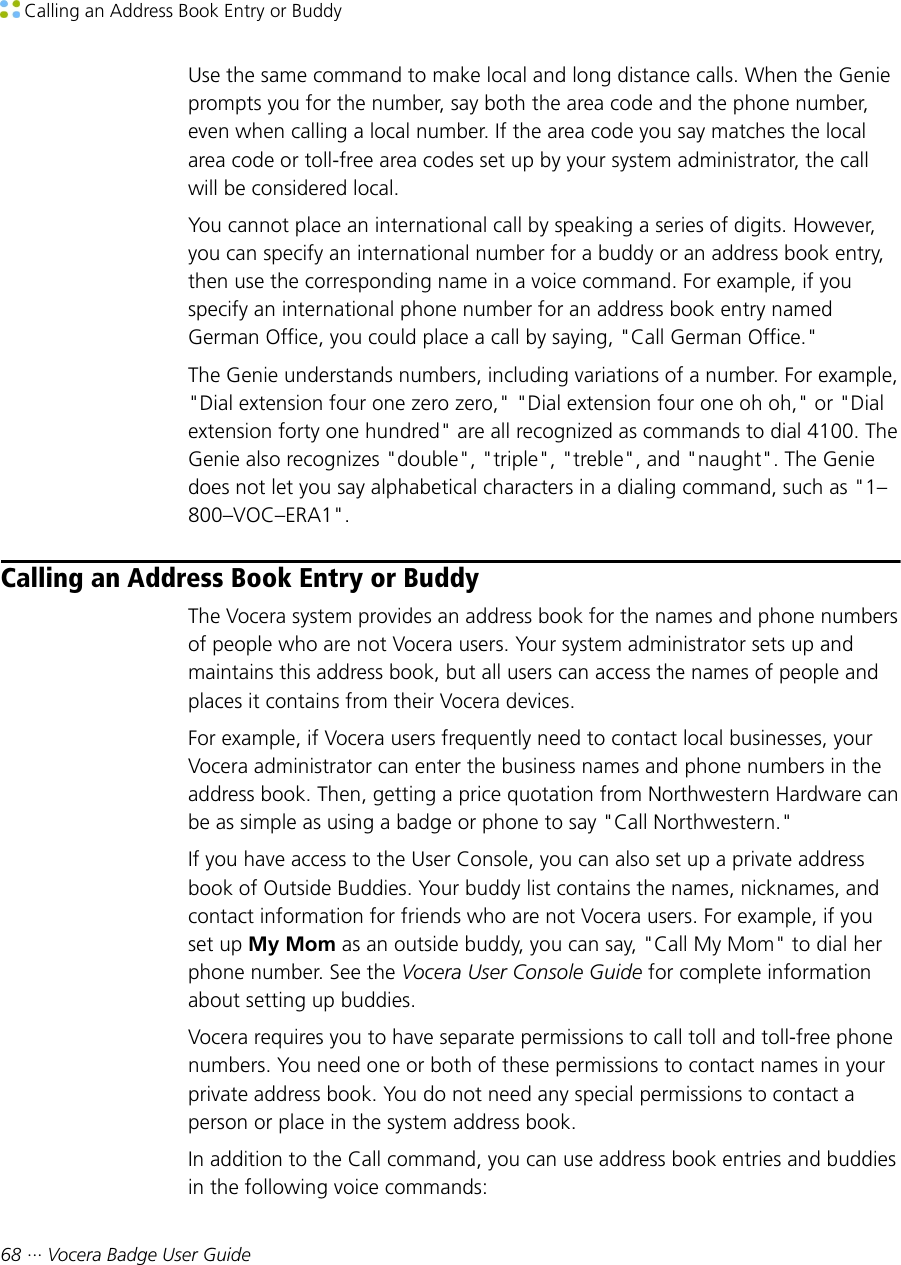
![The Badge Menus34 ··· Vocera Badge User GuideThis screen also displays the signal-to-noise ratio (SNR) of the connection andplays a beep for the built-in survey tool.• SSID. The SSID of the access point the badge is connected to.Power Off MenuPower Off turns off all power to the badge and the badge display to preservethe battery charge when you are away from the network.Press the Call button to turn the power on again.Messages MenuYour badge can display text messages that were sent from email accounts, theVocera User Console, or an application that integrates with the Vocera system,such as a nurse call system.When you select Messages, the display shows one subject line for each textmessage. On a B3000 badge, the subject line for only one message is shown ata time. A closed envelope symbol next to a subject means you have not yet readthat message; an open envelope means you have already read that message.An [S] means you have already read and saved that message. See Reading TextMessages on page 62 for more information.Settings MenuThe Settings menu (available only on B3000 badges) displays the followingsubmenus for personal settings: Volume, Font, Handset, Group Mode, FlipScreen, and Return Home. The Vocera Server preserves these settings wheneveryou log into a different B3000 badge.Return Home CommandThe Return Home command (available only on B3000 badges) returns to themain screen.Volume MenuThe Volume menu independently adjusts the sound level for speakerphone andheadset modes. On B3000 badges, you can also set the volume for handsetmode. See Adjusting the Volume on page 36 for instructions.](https://usermanual.wiki/Vocera-Communications/B3000N.User-Manual/User-Guide-2423783-Page-34.png)


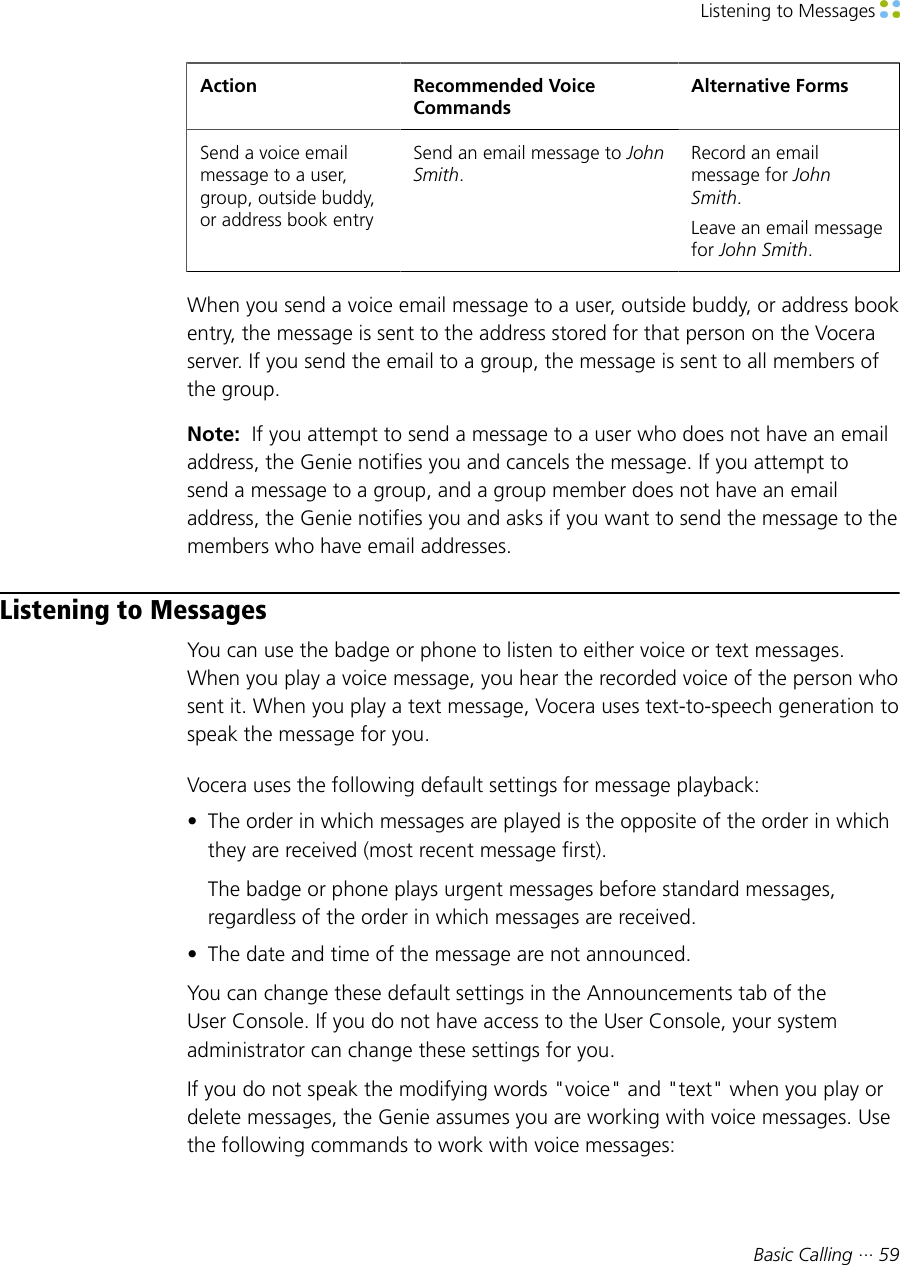
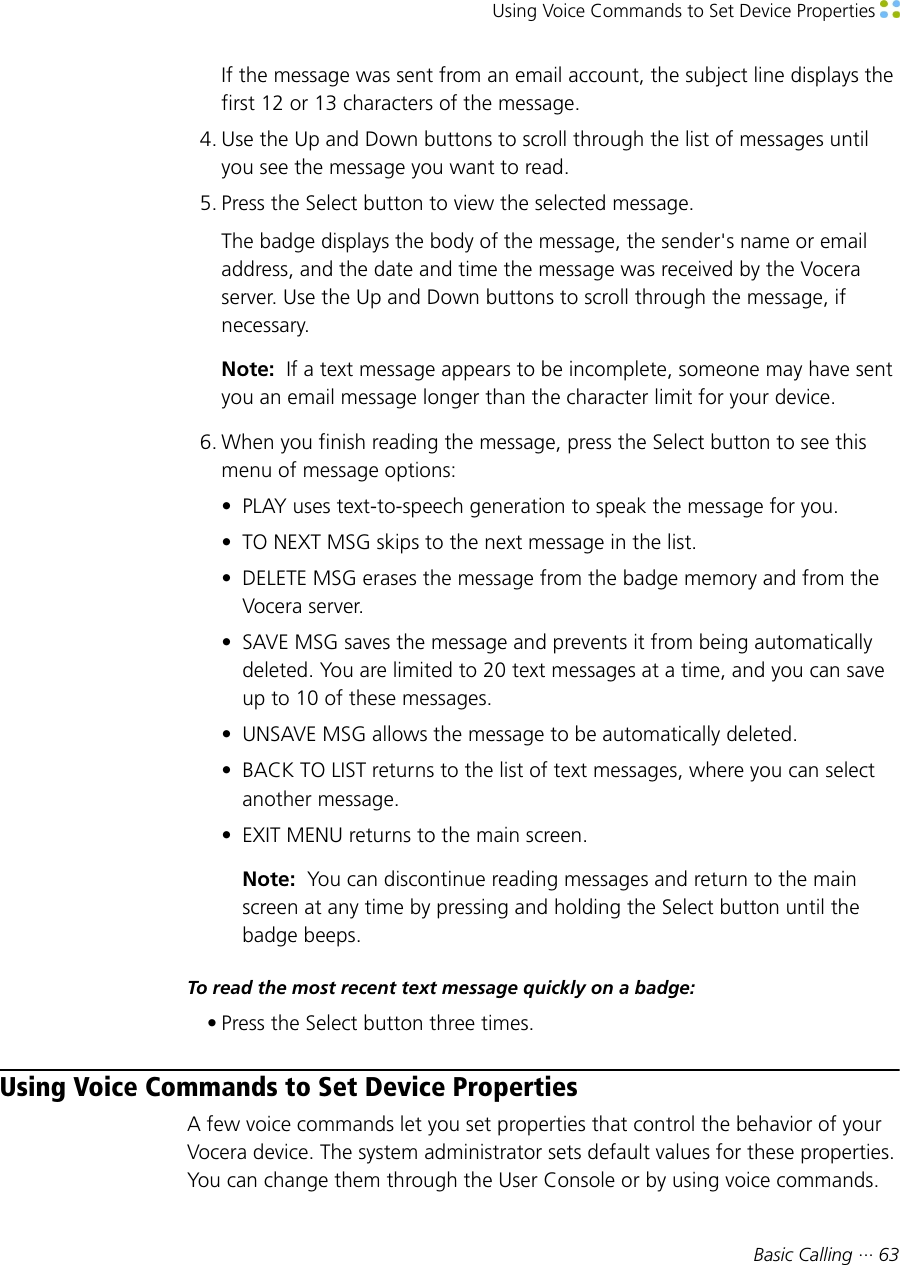

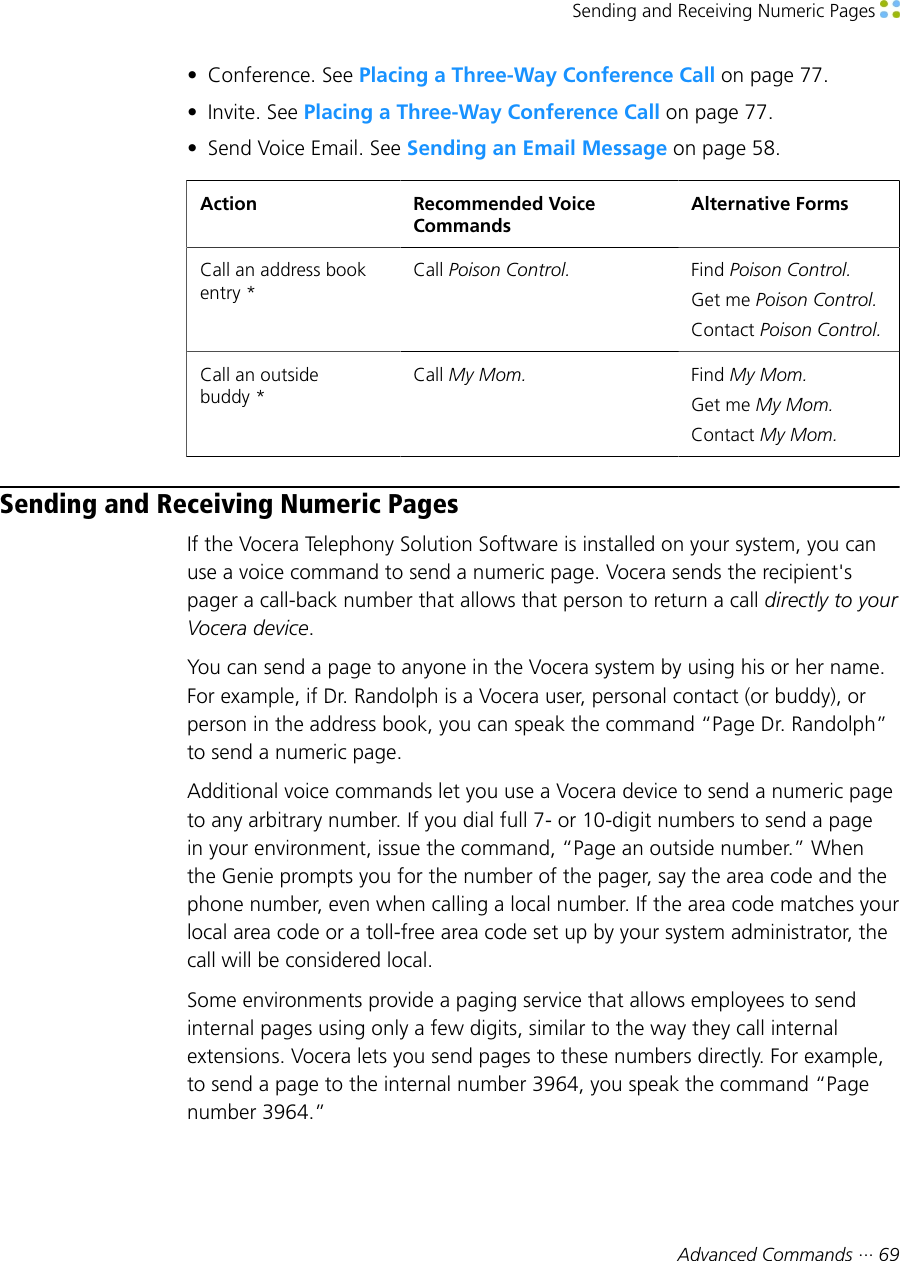


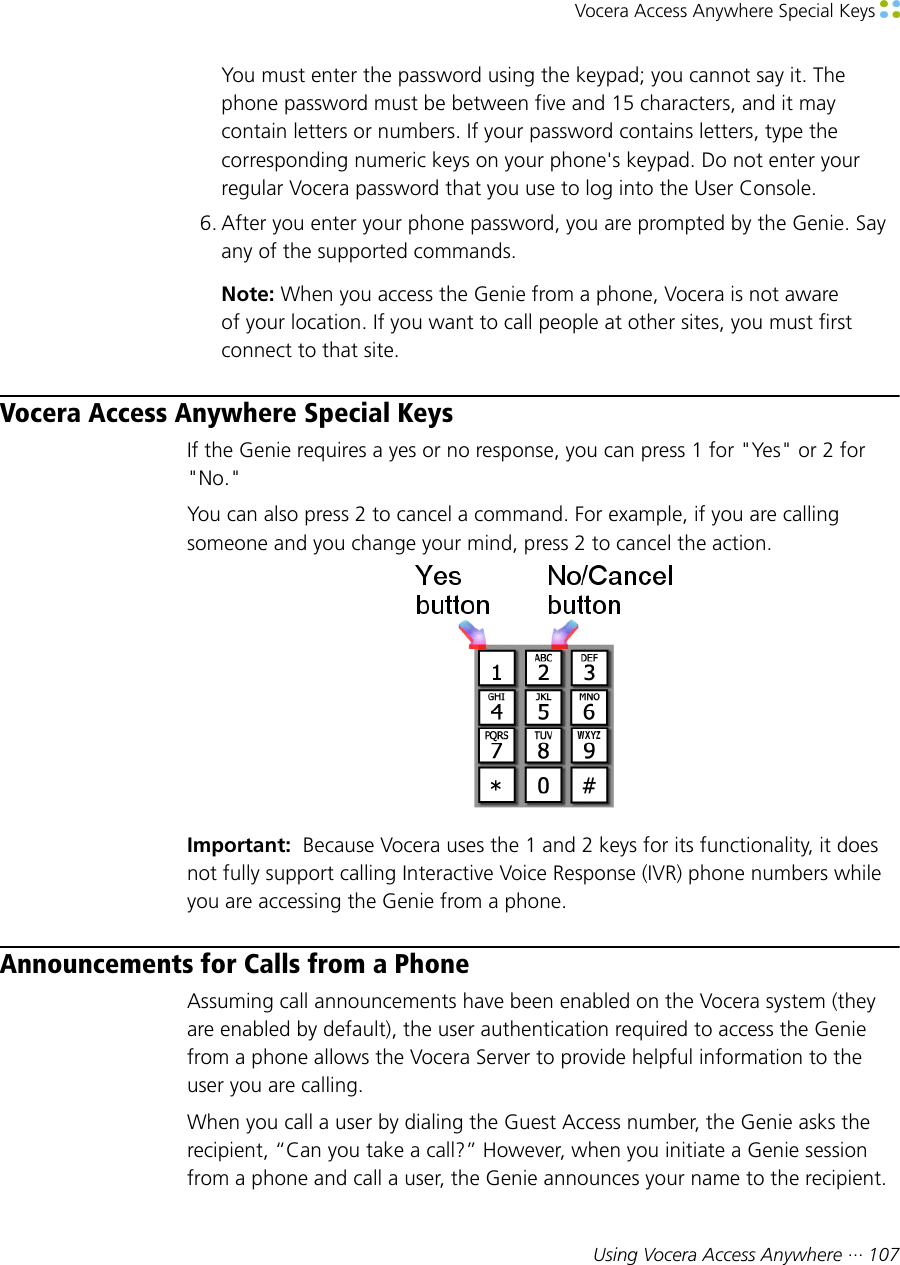
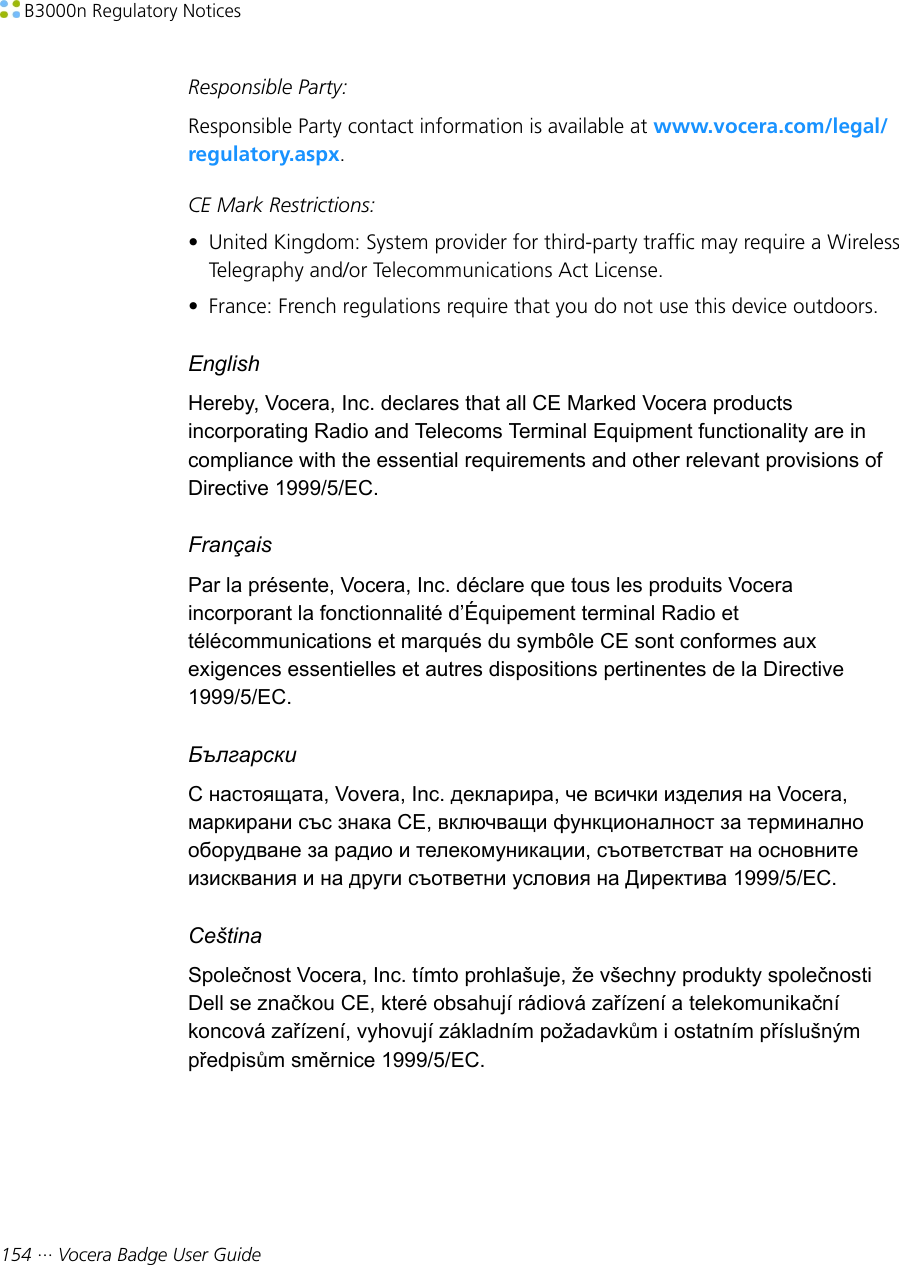
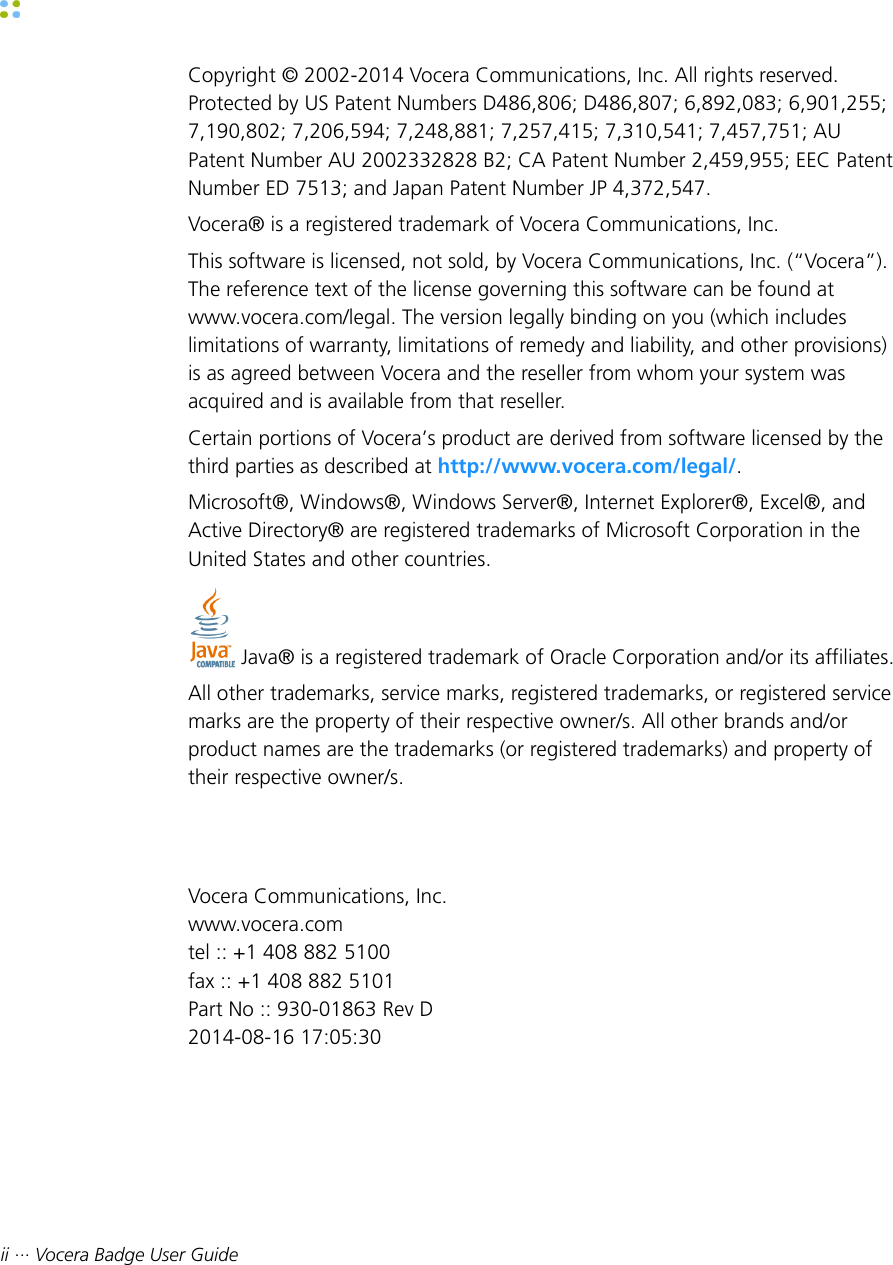
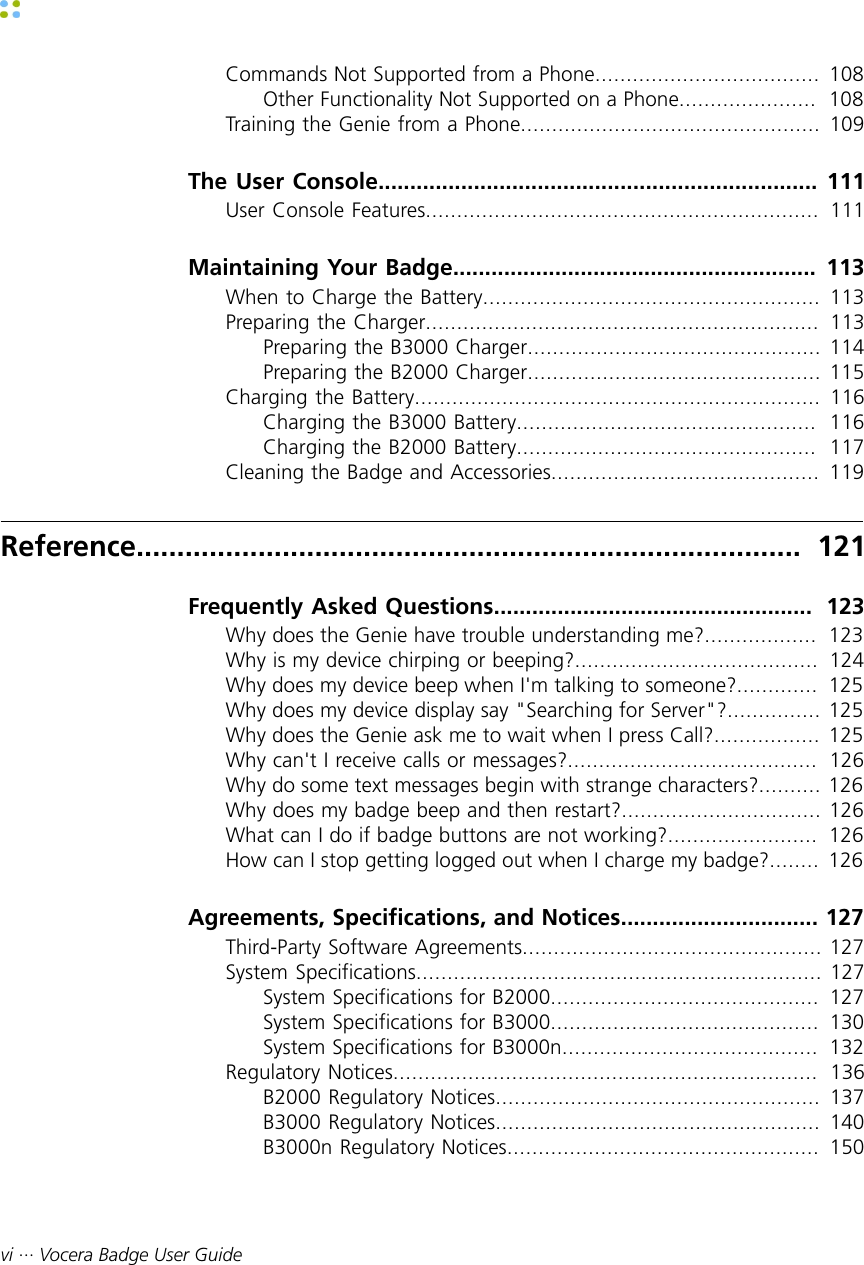
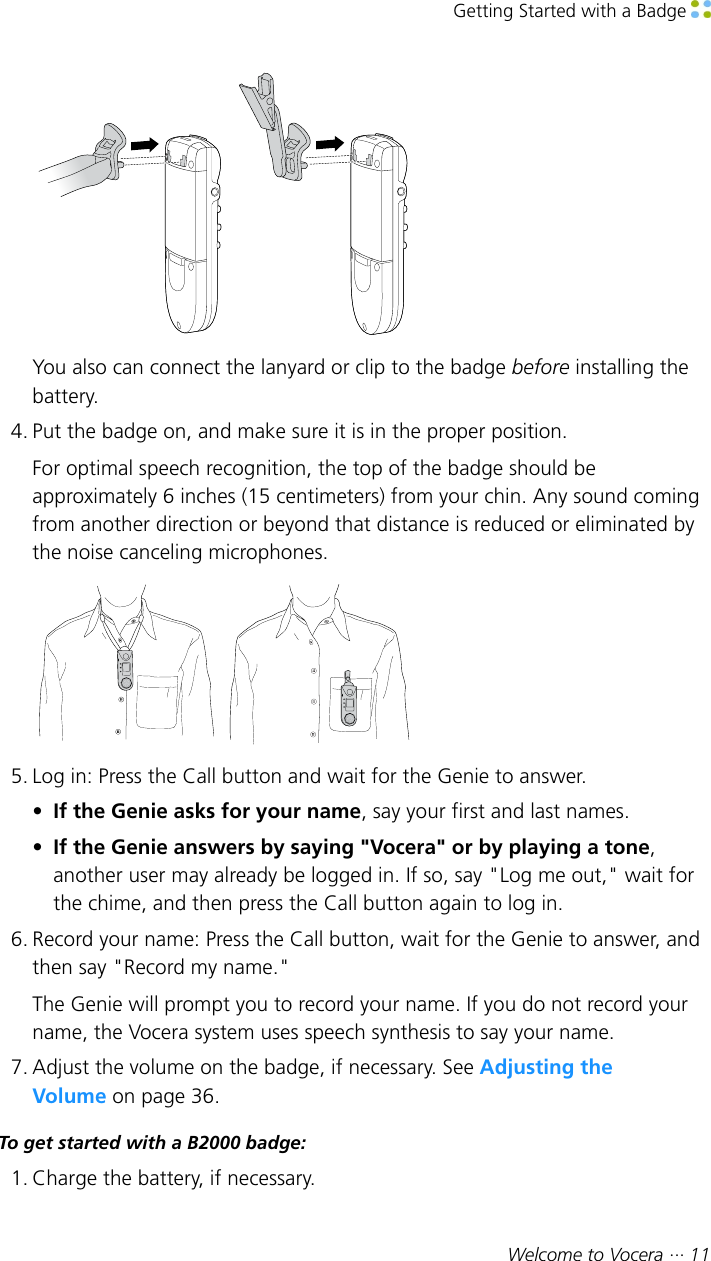
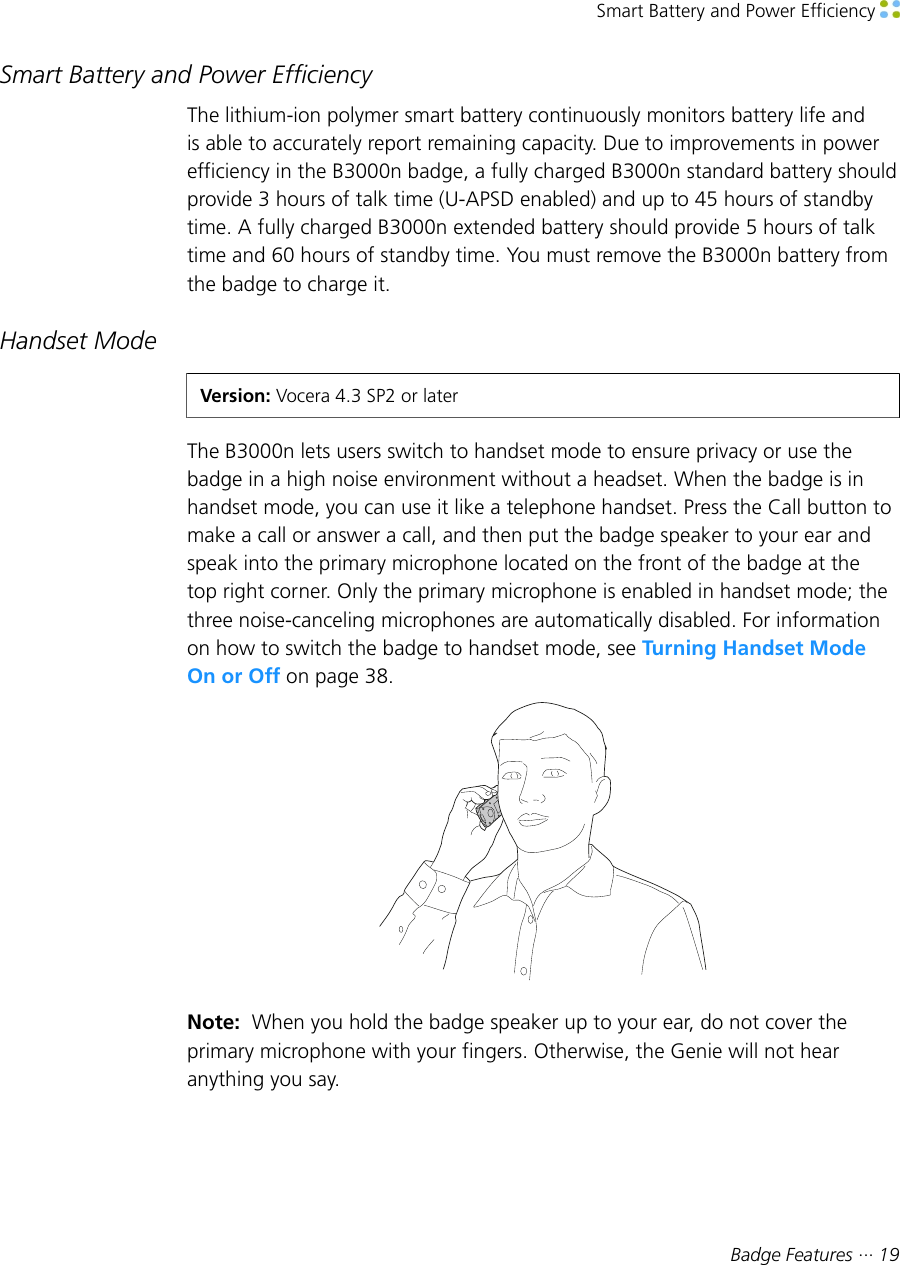
![Sending a Text Message from the User Console100 ··· Vocera Badge User GuideTo send a text message to Vocera devices from an email account:1. In your email program, start a new message.2. In the To: field, enter the email address of the Vocera system.3. In the Subject: field, specify the message recipient using one of thefollowing formats:• The user ID of a Vocera user. For example:jbatista• The name of a group, if the group is in the global site. For exampleI C U Nurses• The name of a group and its site, if the group is in any other site. Specifythe group name in brackets, followed by the site name in braces. Forexample:[I C U Nurses] {West Wing}• With Vocera 4.3 (or later), you can send an urgent text message via email.To send an urgent message, include the string **urgent** anywherein the subject, and specify the ID of a Vocera user or a group name inbrackets. If the user or group is not in the Global site, also specify the sitein braces. For example:[jbatista] **urgent**[I C U Nurses] {West Wing} **urgent**4. In the message area, type your message. Be brief, because the messagewill be limited to 223 characters on B3000 and B2000 badges orsmartphones, and 236 characters on a Cisco Unified Wireless IP Phone(7900 series). Additional characters will not be displayed.Note: When the recipient views the list of text messages, the entry for anemail will show the first thirteen characters of the message.5. Make sure the email message is formatted as plain text; HTML and RTFformats are not supported.6. Send the email message in the usual way.Sending a Text Message from the User ConsoleThe User Console is a Vocera utility that runs in a web browser. See The UserConsole on page 111 for a brief summary of the User Console, or see theVocera User Console Guide for a complete description of its features. Not allorganizations allow access to the User Console.](https://usermanual.wiki/Vocera-Communications/B3000N.User-Manual/User-Guide-2423783-Page-100.png)

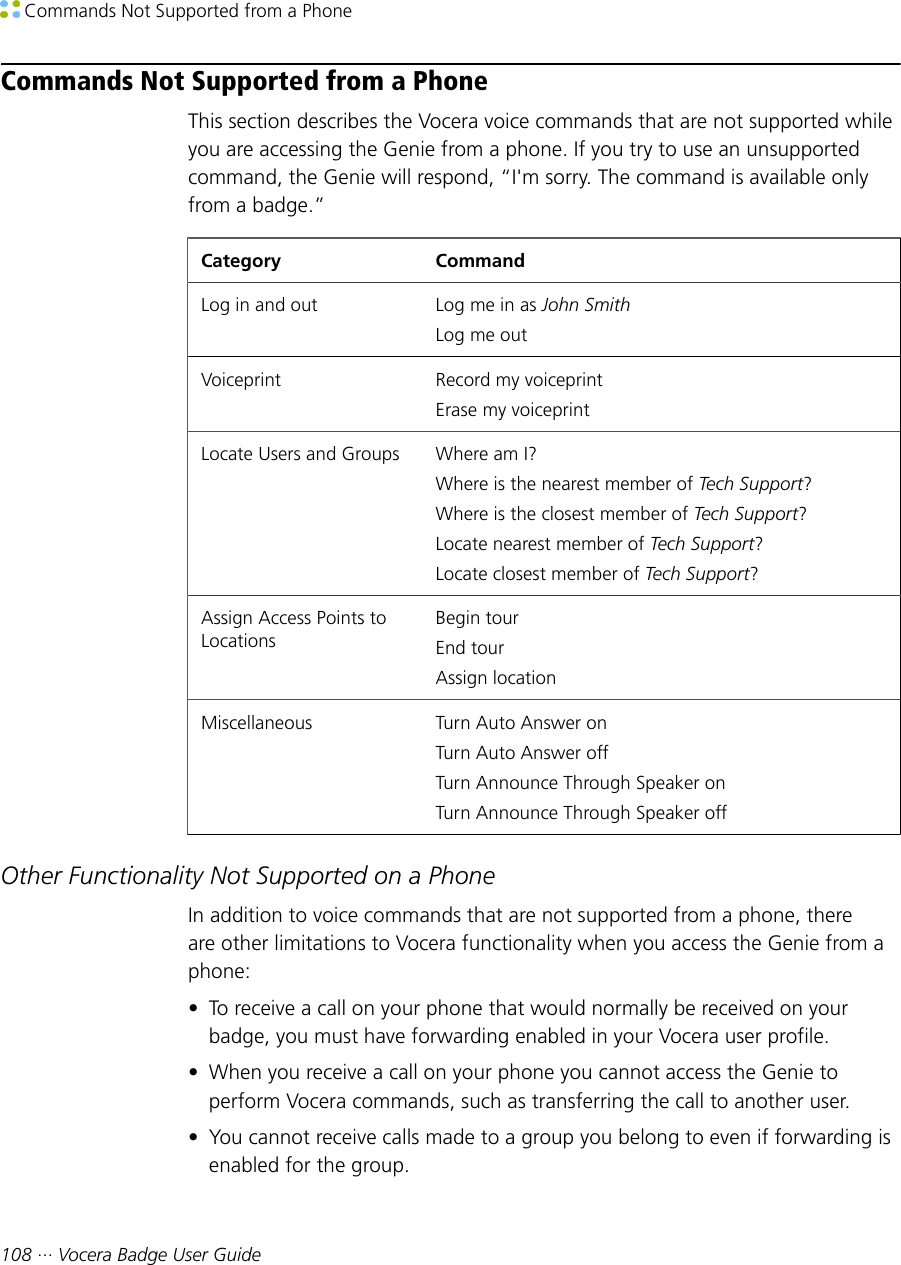
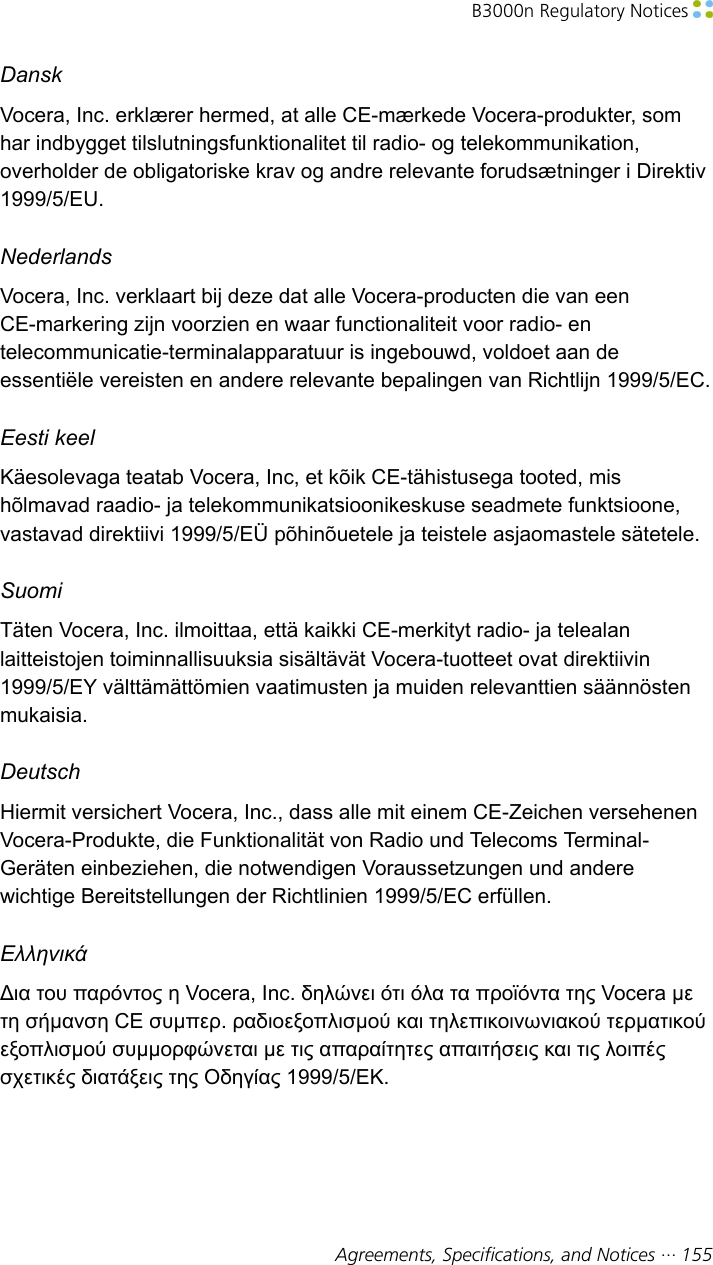
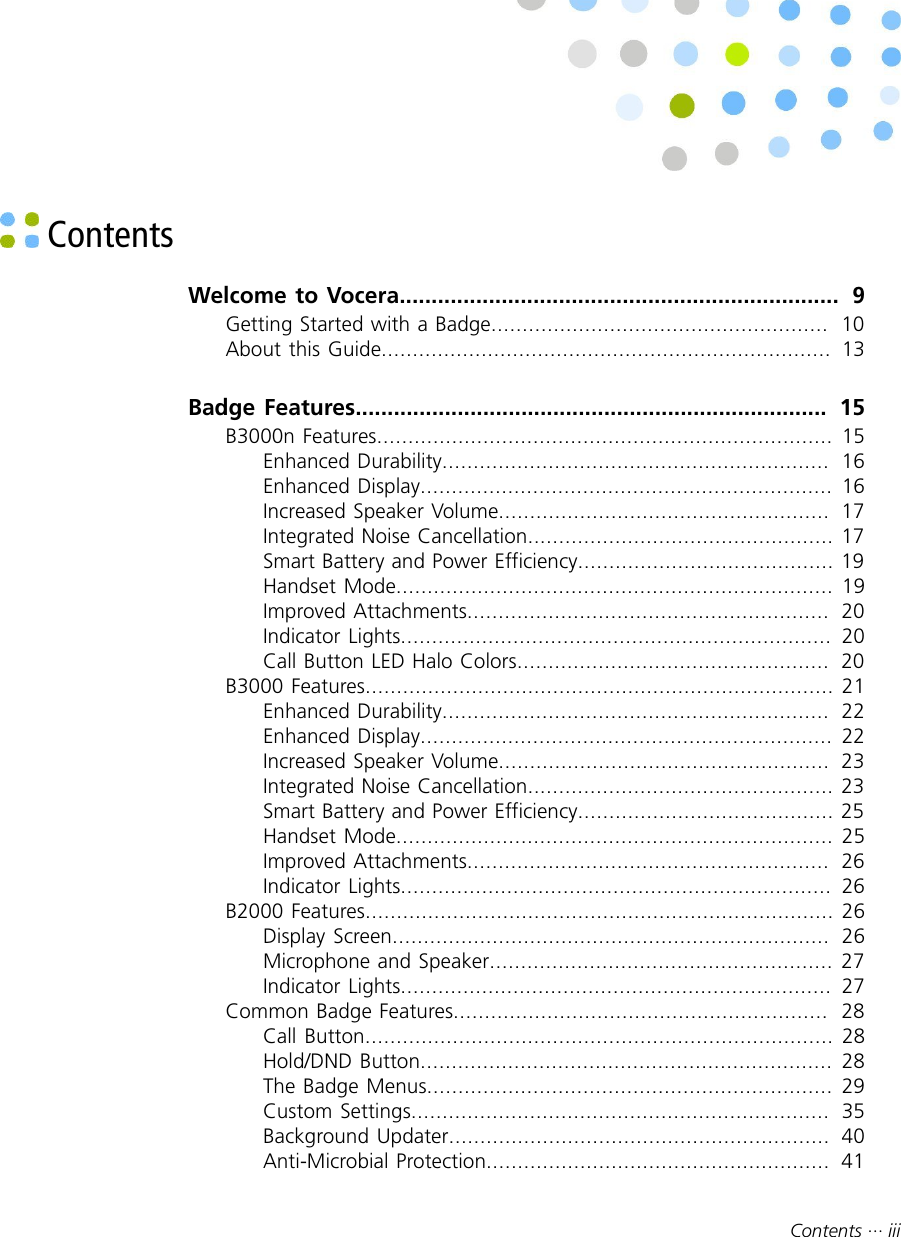
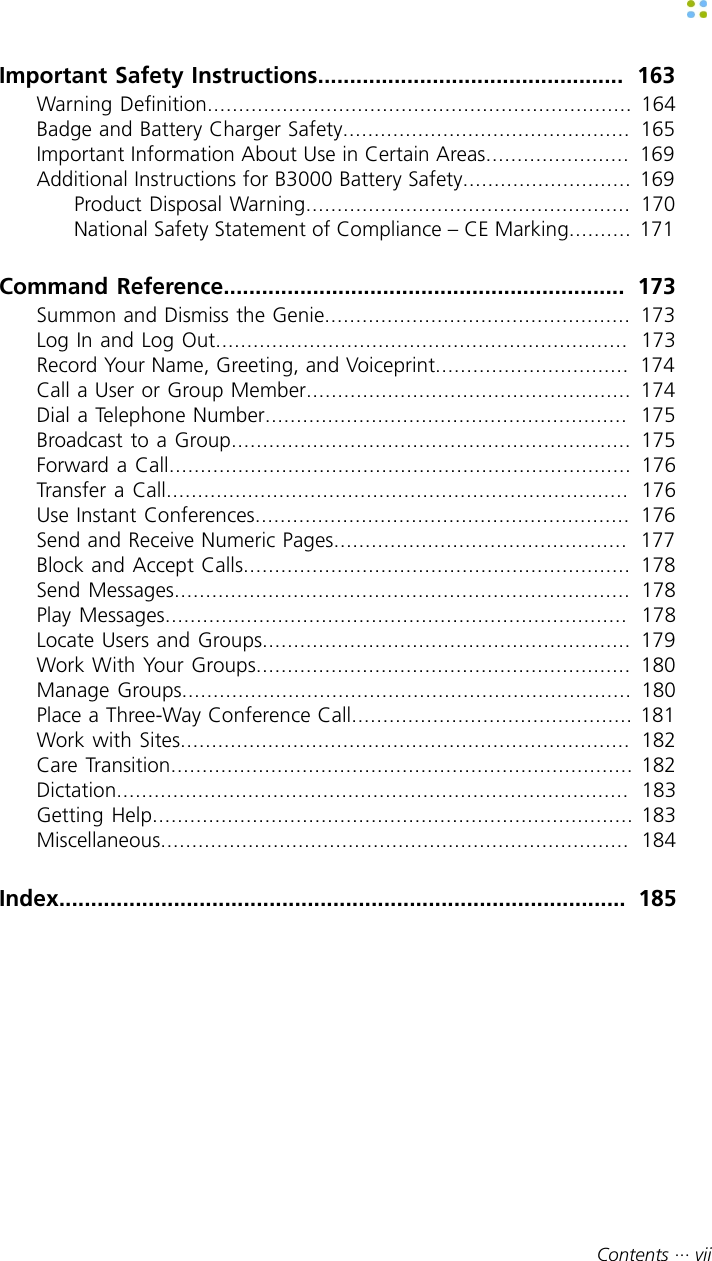
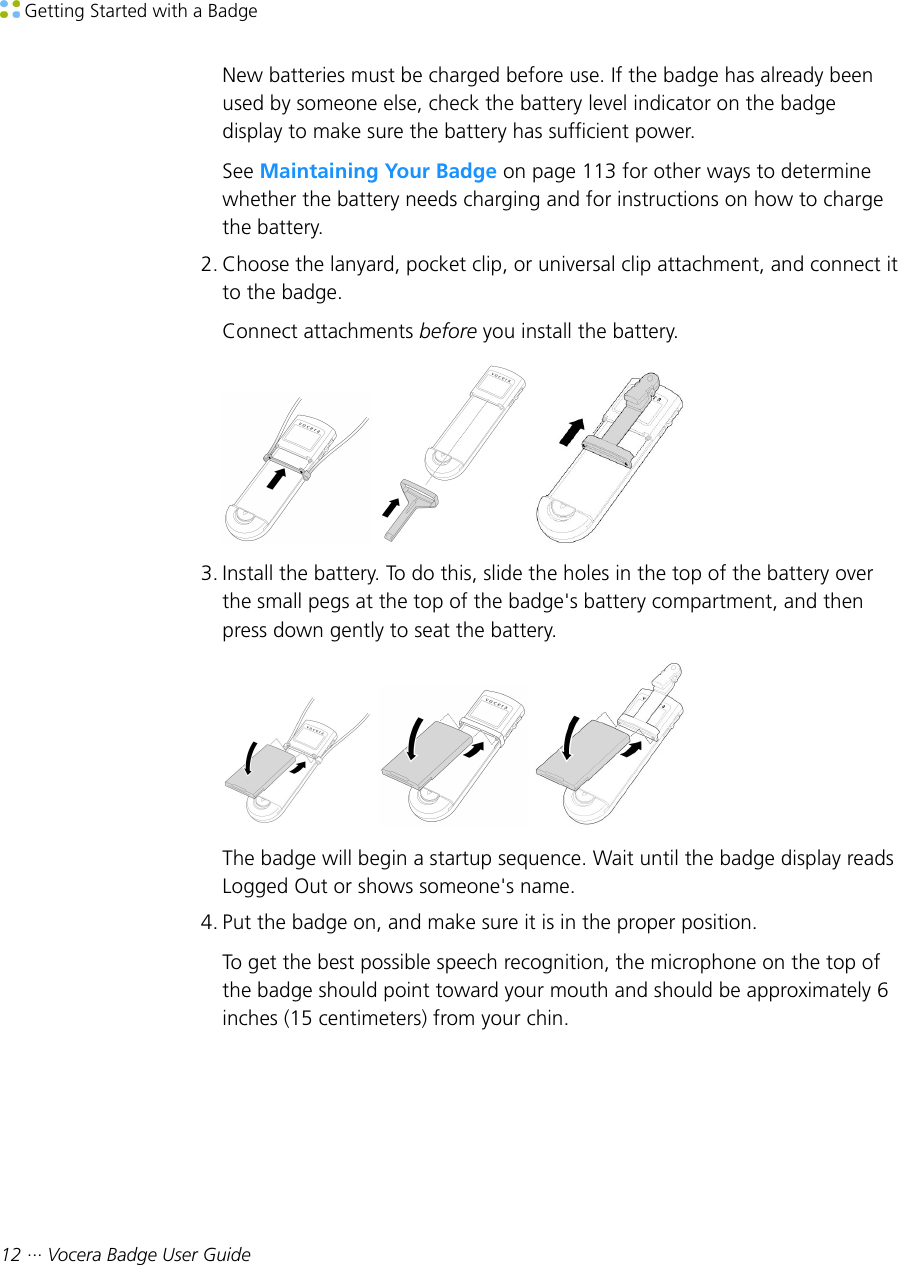
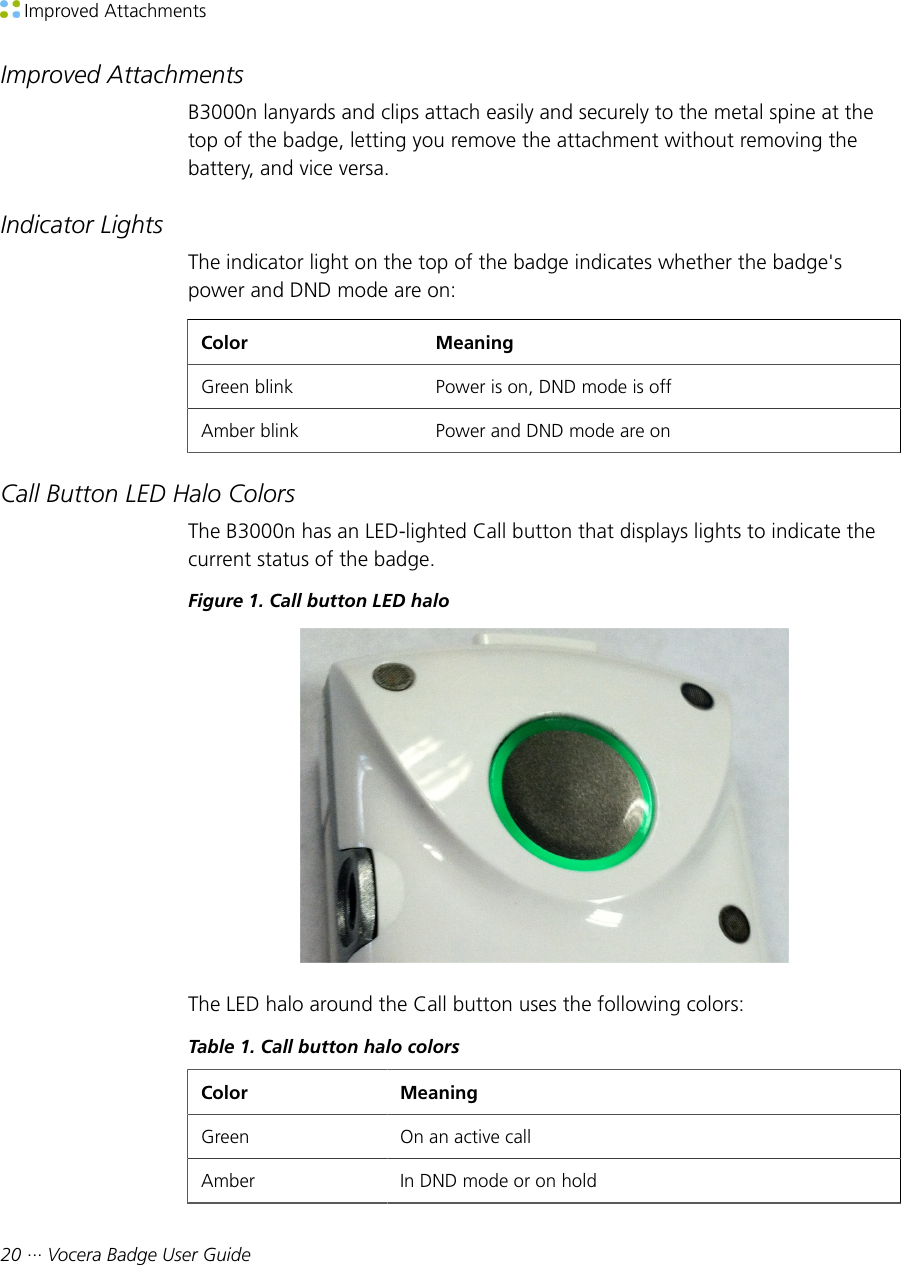
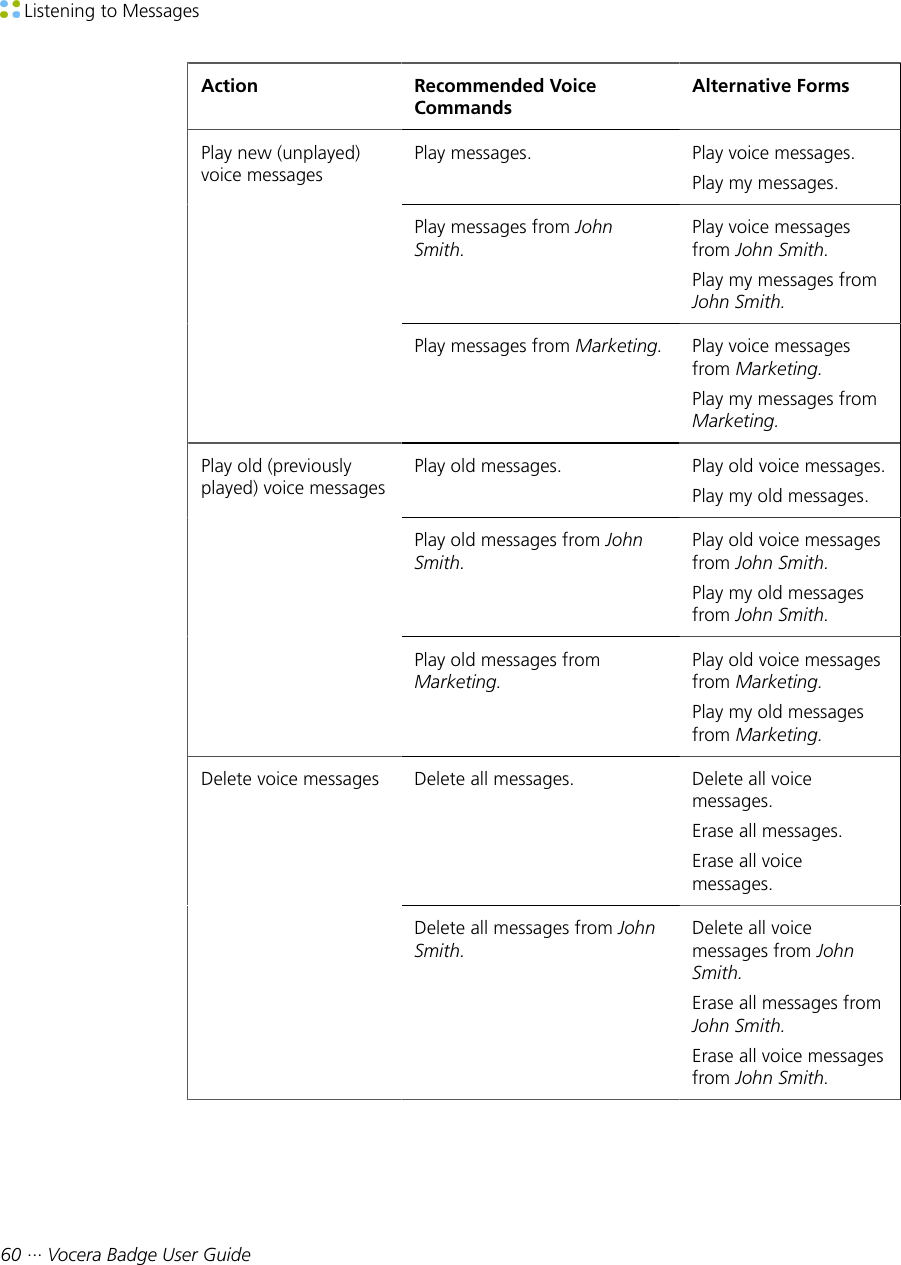
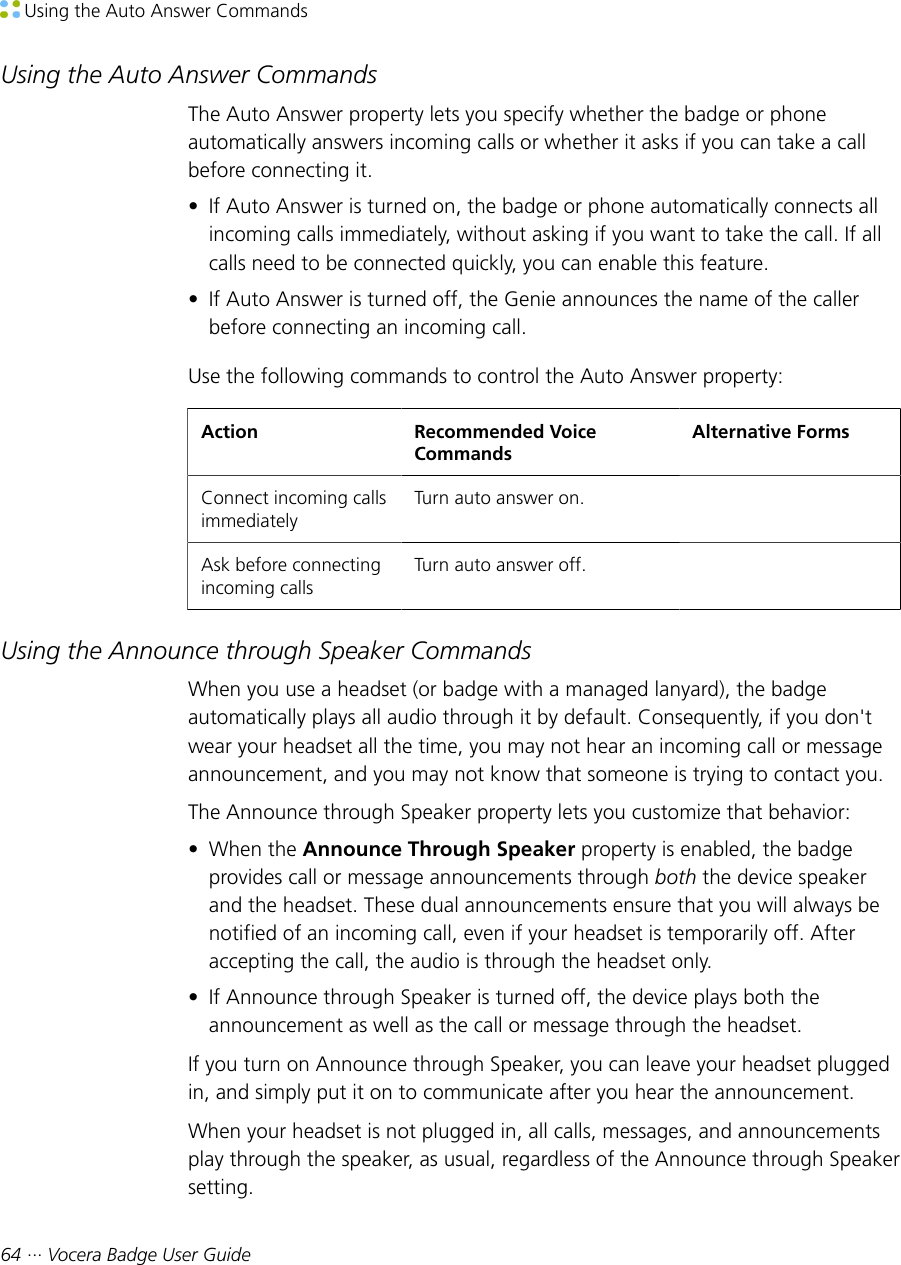
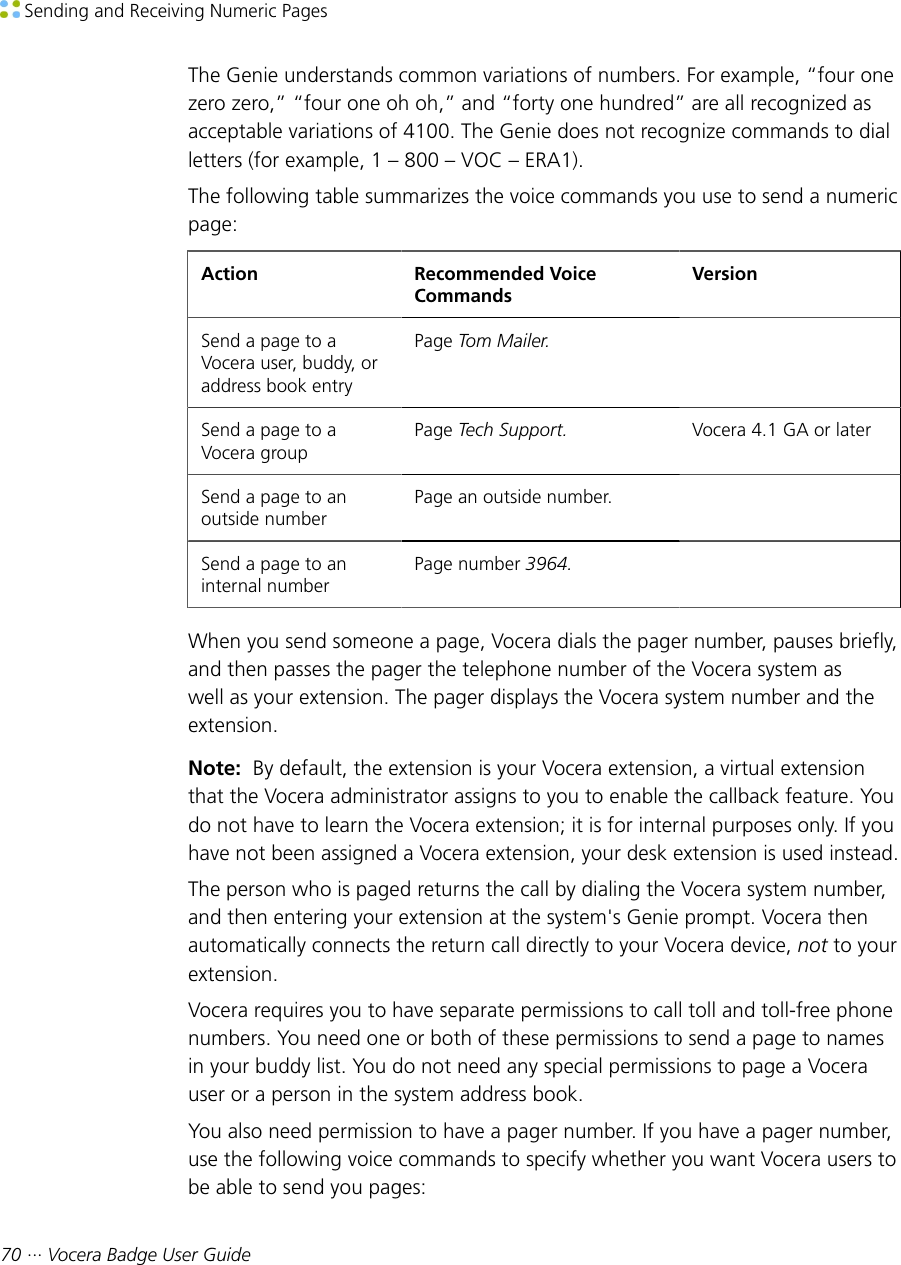
![Starting a Genie Session from a Phone Using Vocera Access Anywhere ··· 105When you access the Genie from a phone, you are not logged into the Vocerasystem. You are simply establishing an authenticated Genie session. You canaccess the Genie from a phone even when you are currently logged in from abadge.If Caller ID is not supported on your Vocera system, you can start a Geniesession from a phone by calling the Guest Access number of your home siteand then pressing star (*).Note: If you try to start a Genie session from a phone when you do not havepermission, the Genie says, "I'm sorry. You need permission to access the Geniefrom a phone. See your administrator."To start a Genie session from a phone using Caller ID:1. Using either your desk phone or cell phone, call the Direct Access numberfor your home site.2. You should be automatically authenticated based on your Caller ID. TheGenie says, "Good morning, [FirstName]. [Chime] Vocera."Note: Depending on your Vocera permissions and the phone you used tomake the call, the Genie may prompt for your first and last name, and thenprompt for your phone access password.3. Say any of the supported commands.If the Genie asks you a question that requires a yes or no response, you canpress the 1 key to answer "yes" or the 2 key to answer "no." See VoceraAccess Anywhere Special Keys on page 107.To start a Genie session from a phone using your name and password:1. Using any phone, call the Guest Access number for your home site.The Genie says, "Good morning. Say the full name of the person or groupyou want to reach or enter an extension."2. Press the star (*) key. This causes the Genie to switch to direct access mode.The Genie prompts you to say or spell your first and last name.3. Say or spell your first and last name.The Genie prompts you to enter your phone password followed by thepound sign (#).4. Enter your phone password followed by the pound sign (#).](https://usermanual.wiki/Vocera-Communications/B3000N.User-Manual/User-Guide-2423783-Page-105.png)