Voyetra Turtle Beach TB2276 Ear Force XP400 RX User Manual XP400 User Guide US 12 28 11
Voyetra Turtle Beach, Inc. Ear Force XP400 RX XP400 User Guide US 12 28 11
UserManual.wiki
>
Voyetra Turtle Beach
>
TB2276 User Manual
Users Manual
Navigation menu
Upload a User Manual
Namespaces
Wiki Guide
HTML
PDF
Info
Views
User Manual
Discussion / Help
Navigation
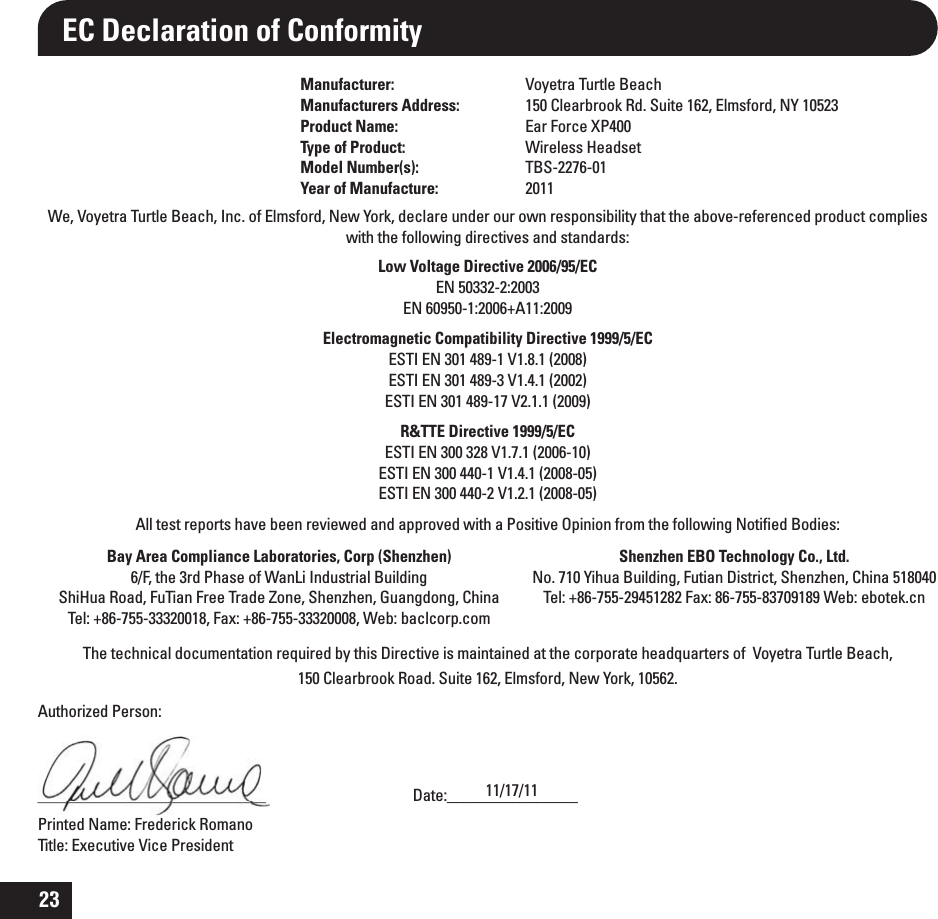
![25EC Declaration of ConformityManufacturer: Voyetra Turtle BeachManufacturers Address: 150 Clearbrook Rd. Suite 162, Elmsford, NY 10523Product Name: Ear Force XBAType of Product: Bluetooth DongleModel Number(s): TBS-2275-01Year of Manufacture: 2011We, Voyetra Turtle Beach, Inc. of Elmsford, New York, declare under our own responsibility that the above-referenced product complies with the essential requirements of Article 3 of the R&TTE1999/5/EC Directive and standards:Electromagnetic Compatibility 2004/108/EC [Article 3.1(b) of the R&TTE Directive] comprising the harmonized standardsESTI EN 301 489-1 V1.8.1 (2008-04)ESTI EN 301 489-17 V2.1.1 (2009)EN 61000-4-2:2001 EN 61000-4-3:2006EN 55022:2006 All test reports have been reviewed and approved with a Positive Opinion from the following Notified Body: SGS Taiwan LimitedNo. 134, Wu Kung Road, Wuku Industrial ZoneTaipei County, Taiwan 248Tel: +886-2-2299-3279Fax: +886-2-2298-2698The technical documentation required by this Directive is maintained at the corporate headquarters of Voyetra Turtle Beach, 150 Clearbrook Road. Suite 162, Elmsford, New York, 10562.Authorized Person:____________________________ Date:________________Printed Name: Frederick Romano Title: Executive Vice President7/13/11](https://usermanual.wiki/Voyetra-Turtle-Beach/TB2276/User-Guide-1651974-Page-27.png)