Win Accord 35FXBTDPF PART 15 CLASS B COMPUTING DEVICE PERIPHERAL User Manual
WIN ACCORD LTD., PART 15 CLASS B COMPUTING DEVICE PERIPHERAL Users Manual
UserManual.wiki
>
Win Accord
>
35FXBTDPF User Manual
Users Manual
Navigation menu
Upload a User Manual
Namespaces
Wiki Guide
HTML
PDF
Info
Views
User Manual
Discussion / Help
Navigation
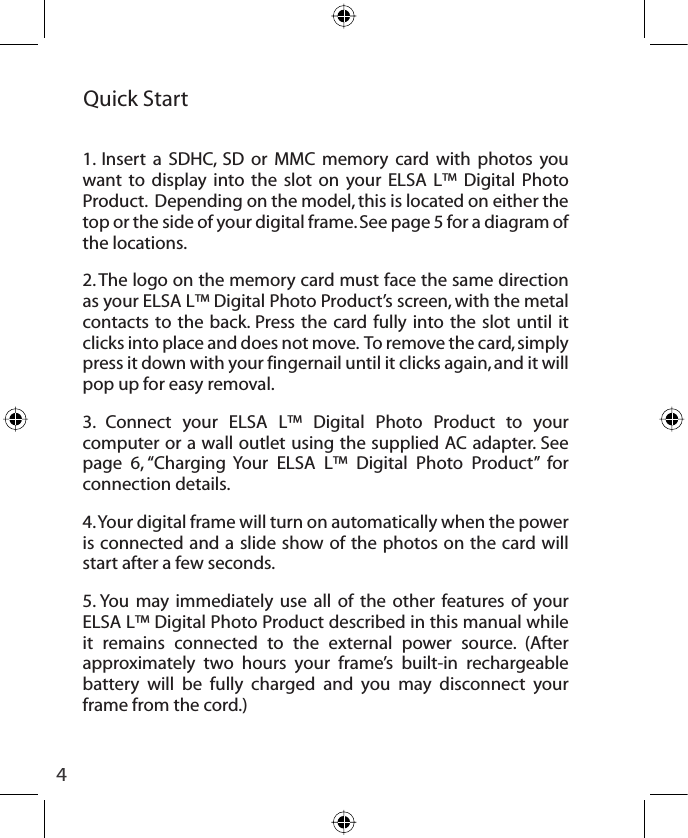
![ELSA L Ý'LJLWDO3KRWR3URGXFWVUSER’S MANUALÝ'LJLWDO3KRWR2UJDQL]HUÝ'LJLWDO3KRWR'HVNWRS2UJDQL]HUÝ'LJLWDO3KRWR/HWWHU6RUWHUÝ'LJLWDO3KRWR3HQFLO&XS™](https://usermanual.wiki/Win-Accord/35FXBTDPF/User-Guide-1171163-Page-1.png)