Win Accord 35FXBTDPF PART 15 CLASS B COMPUTING DEVICE PERIPHERAL User Manual
WIN ACCORD LTD., PART 15 CLASS B COMPUTING DEVICE PERIPHERAL Users Manual
Users Manual
EL
S
A L
Ý'
L
J
L
WD
O
3
K
RWR3UR
G
XFW
V
USER’S MANUAL
Ý'LJLWDO3KRWR2UJDQL]HU
Ý'LJLWDO3KRWR'HVNWRS2UJDQL]HU
Ý'LJLWDO3KRWR/HWWHU6RUWHU
Ý'LJLWDO3KRWR3HQFLO&XS
™
Federal Communications Commission (FCC) Statement
You are cautioned that changes or modifications not expressly approved by the part responsible for compliance
could void the user's authority to operate the equipment.
FCC-Class B
This equipment has been tested and found to comply with the limits for a Class B digital device, pursuant to Part 15
of the FCC Rules. These limits are designed to provide reasonable protection against harmful interference in a
residential installation. This equipment generate, uses and can radiate radio frequency energy and, if not installed
and used in accordance with the instructions, may cause harmful interference to radio communications. However,
there is no guarantee that interfence will not occur in a particular installation. if this equipment does cause harmful
interference to radio or television reception, which can be determined by turing the equipment off and on, the user
is encouraged to try to correct the interference by one or more of the following measures:
--Reorient or relocate the receiving antenna.
--Increase the separation between the equipment and receiver.
--Connect the equipment into an outlet on a circuit different from that to which the receiver is connected.
--Consult the dealer or an experienced radio/TV technician for help.

1
Table of Contents:
Page 2
Page 3
Page 4
Page 5
Page 6
Page 7-8
Page 9
Page 10
Page 11
Page 12
Page 13-14
Page 15
Page 16-17
Page 18
Page 19
Page 20
Page 21
Page 22-23
Intro..........................................................................................
What’s Included in Box......................................................
Quick Start.............................................................................
Device Controls and Inputs.............................................
Charging your Digital Photo Product...........................
Screen/Mode Overview.....................................................
Select Card Screen...............................................................
Thumbnail Screen................................................................
Still Photo Mode....................................................................
Slide Show Mode..................................................................
Display Settings and Tools Menu....................................
Miscellaneous Menu............................................................
Photo Management Menu................................................
Frequently Asked Questions.............................................
Product Info............................................................................
Technical Specifications.....................................................
Technical Support................................................................
Warranty...................................................................................
Note: For instructions in Spanish please refer to the back section.

2
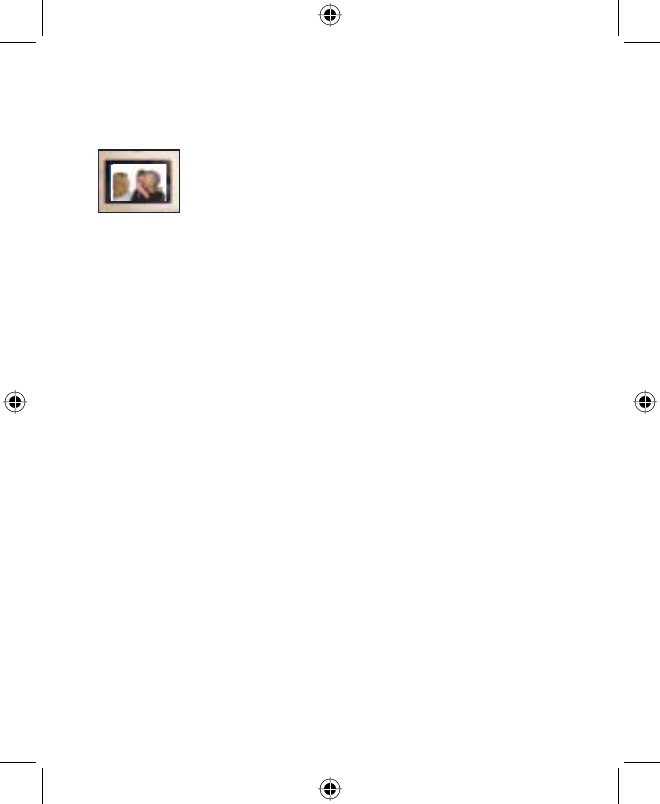
Congratulations !
Your new ELSAL L™ Digital Photo Product lets you easily
display your photos without a computer.
You can display your photos directly from your camera’s
memory card or from your ELSA L™ Digital Photo Product’s
built-in memory.
Your photos may be displayed in an automatic, continuous
slide show or as individual still photos.
You may zoom in or out on photos, change their orientation,
and display them as still photos.
Your digital frame product can be powered from your
computer, a wall outlet, or the built-in rechargeable battery.
3
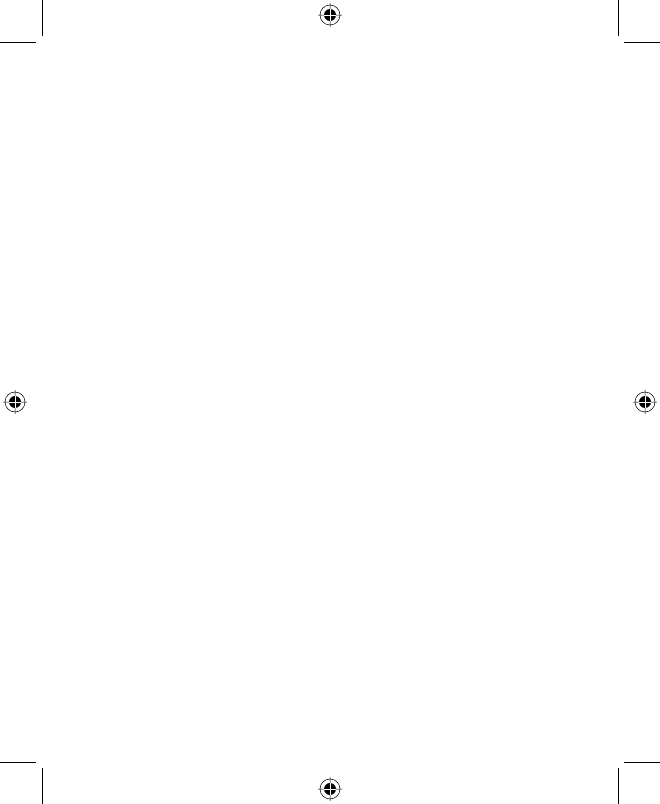
Product
Users Manual
AC Adapter
USB Cord
Chamois
What’s Included in the Box:

4
Quick Start
1. Insert a SDHC, SD or MMC memory card with photos you
want to display into the slot on your ELSA L™ Digital Photo
Product. Depending on the model, this is located on either the
top or the side of your digital frame. See page 5 for a diagram of
the locations.
2. The logo on the memory card must face the same direction
as your ELSA L™ Digital Photo Product’s screen, with the metal
contacts to the back. Press the card fully into the slot until it
clicks into place and does not move. To remove the card, simply
press it down with your fingernail until it clicks again, and it will
pop up for easy removal.
3. Connect your ELSA L™ Digital Photo Product to your
computer or a wall outlet using the supplied AC adapter. See
page 6, “Charging Your ELSA L™ Digital Photo Product” for
connection details.
4. Your digital frame will turn on automatically when the power
is connected and a slide show of the photos on the card will
start after a few seconds.
5. You may immediately use all of the other features of your
ELSA L™ Digital Photo Product described in this manual while
it remains connected to the external power source. (After
approximately two hours your frame’s built-in rechargeable
battery will be fully charged and you may disconnect your
frame from the cord.)

5
Device Controls and Inputs
Depending on the type of ELSA L™ Digital Photo Product you
own, the buttons, memory card slot and power connection are
located as shown below:
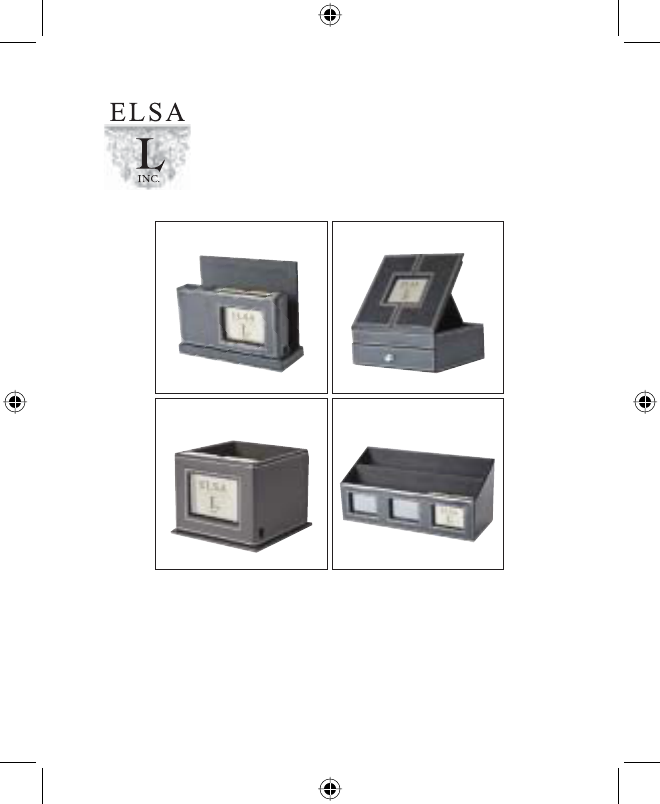
For the following products
3.5” Digital Photo Desktop Organizer
3.5” Digital Photo Letter Sorter
3.5” Digital Photo Pencil Cup
For the 3.5” Digital Photo Organizer
TOP VIEW
Power
SIDE VIEW
SIDE VIEW
Power
BACK VIEW
6
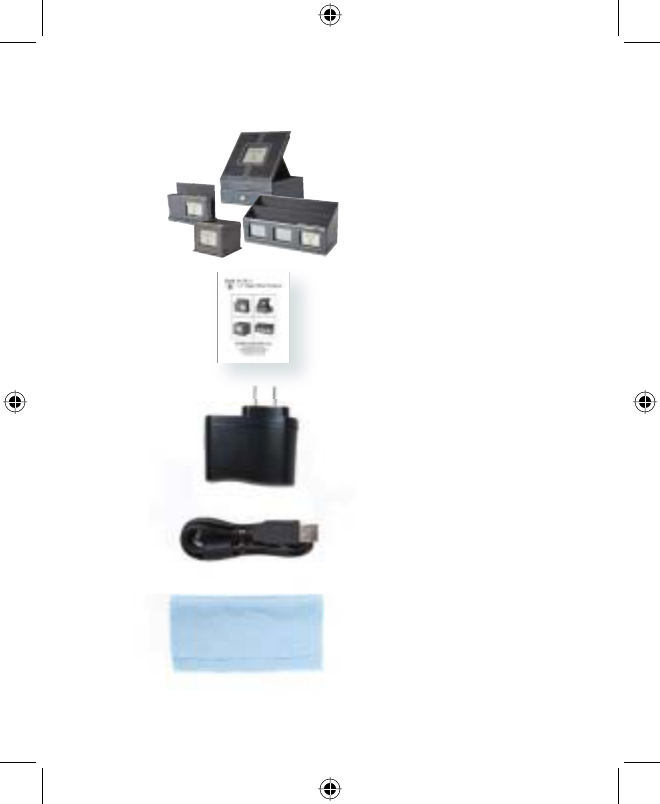
Indicates that the unit needs to be charged.
Indicates that charging is in process.
Indicates that charging is complete.
Charging Your Built-In Battery
Your ELSA L™ Digital Photo Product contains a built-in
rechargeable battery that allows you to display photos without
an external power source. The battery’s power level can be
determined only on the Select Card S creen, where you can see
the charging progress in the upper right-hand corner.
If there is no battery symbol of any kind in the upper right-
hand corner of the Select Card Screen, the battery is charged.
If there is an empty battery symbol in the upper right-hand
corner of the Select Card Screen, the charge is low and the
battery needs to be charged as soon as possible.
Your ELSA L™ Digital Photo Product can be charged in two
ways. First, plug the power cable provided into your digital
frame product’s power slot. Connect the other end of the
power cable to any USB port on your computer when your
computer is on or connect to the supplied AC adapter and plug
into a household wall socket. Once the product is fully charged,
it will run for approximately two hours.

7
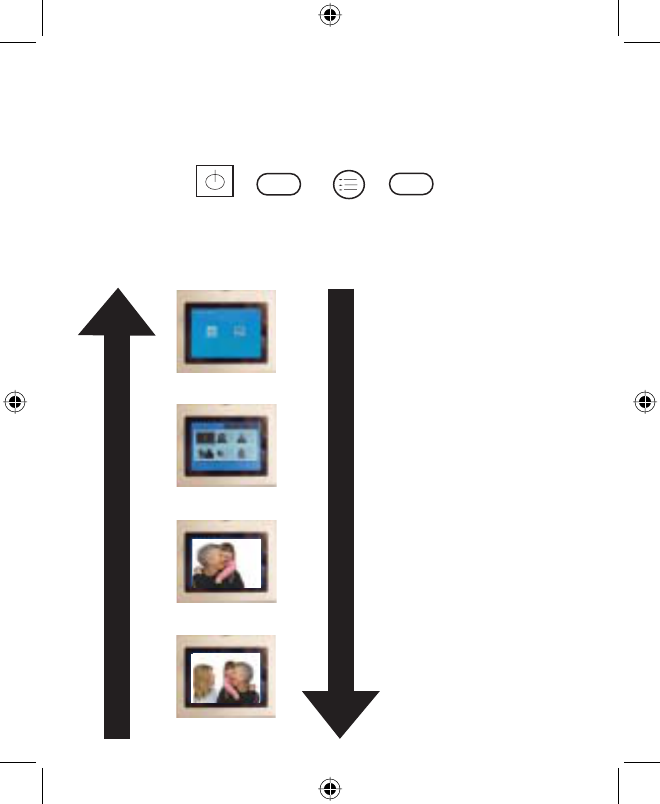
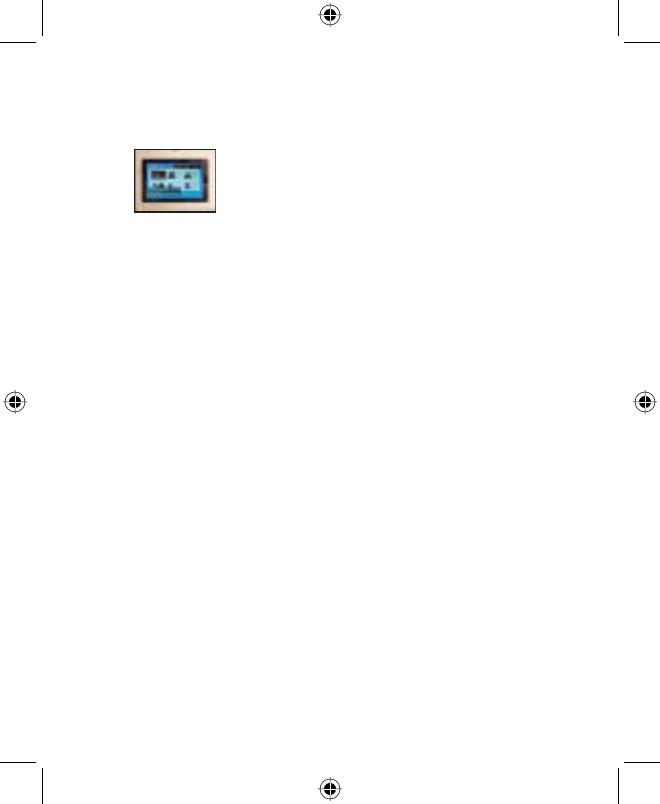
Screen/Mode Overview
When your ELSA L™ Digital Photo Product is on, it will display
one of four screens or “display modes:” the Select Card Screen,
the Thumbnail Screen,Still Photo Display Mode, or Slide
Show Mode. You can move between these screens or modes
by pressing and releasing the POWER/EXIT button or the
SETUP/SELECT button.
To stop the slide show, press POWER/EXIT button once, press
the POWER/EXIT button again to move to the Thumbnail
screen, press the POWER/EXIT button a third time to go to the
Select Card screen. To return to the previous screen you can
hit the SETUP/SELECT button.
Each time you press and release the POWER/EXIT button you
will move to the next screen or mode as shown for each button
by the arrows on the table on the next page.
By holding the SETUP/SELECT button you can call up one of
three available menus, the Display Settings and Tools Menu,
the Miscellaneous Menu, or the Photo Management Menu,
depending on which mode or screen you are in at the time. The
table on the next page indicates in the right hand column
which menu will be called up in each screen or mode.
(Note: If a memory card is in the frame when you turn on your digital photo
product, the Thumbnail Screen will be skipped as you move from the Slide
Show Mode to the Select Card Screen. Choose which memory location to use
on the Select Card Screen.)
8
POWER/EXIT
or
SETUP/SELECT
or
Slideshow Mode p. 12
Still Photo Mode p. 11
Thumbnail Screen p. 10
Select Card Screen p. 9
POWER/EXIT
The POWER/EXIT button moves you this way between Screens/Modes
Display setttings and Tools Menu
pages 13-14
Miscellaneous Menu
page 15
Photo Management Menu
page 16
Photo Management Menu
page 17
SETUP/SELECT
The SETUP/SELECT button moves you this way between Screens/Modes
Accessed Menus
(press and hold Setup/Select button
while in the Screen/Mode at left)
You can exit a menu by pressing and releasing the
POWER/EXIT button. Depending on the digital photo product
model you own, your buttons may look like this:
9
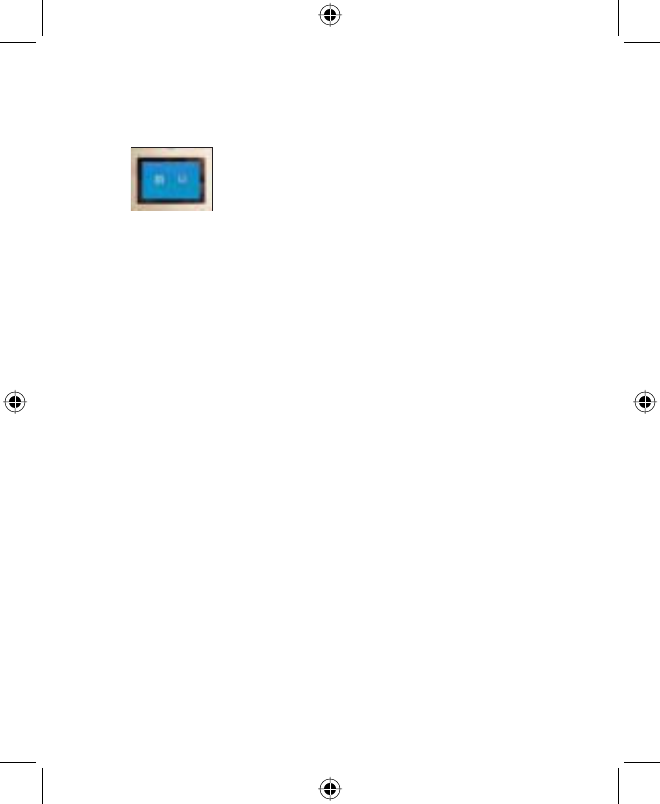
Select Card Screen
In the Select Card Screen, you can use the
left and right arrow keys ( ŻŹ ) to choose to
display the photos from your camera’s
memory card or your digital photo product’s
built-in memory.
The power level of your ELSA L™ Digital Photo Product’s
rechargeable battery will be shown on the Select Card Screen
in the upper right-hand corner. The various battery symbols
and their meaning are described under Charging Your ELSA L
™ Digital Photo Product’s Built-In Battery, page 6 of this
User’s Manual.
While in the Select Card Screen, if you press and hold the
SETUP/SELECT button you will bring up the Display Settings
and Tools Menu. The functions available from this menu are
described on pages 13-14 this User’s Manual.
Press and release the POWER/EXIT button at any time to exit
the menu and return to the Select Card Screen.
Select Card Screen
1
0
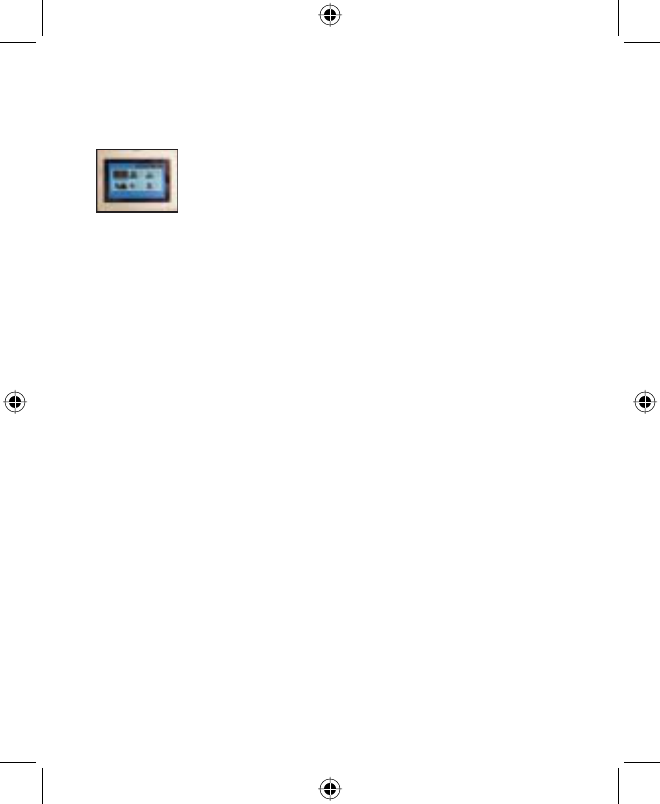
Thumbnail Screen
Thumbnail Screen
In the Thumbnail Screen, you will see small
versions of the photos that are stored on
either your camera’s memory card or your
digital frame’s built-in memory, whichever
you selected on the Select Card Screen.
Move between thumbnail screens with the left and right arrow
keys ( ŻŹ ).
Use the left & right arrow keys ( ŻŹ) to highlight each of the
photos in turn. Pressing and releasing the SETUP/SELECT
button will take you to Still Photo Mode and the highlighted
photo will be displayed in your ELSA L™ Digital Photo Product.
If you press and hold the SETUP/SELECT button while on the
Thumbnail Screen you will call up the Miscellaneous Menu.
This menu is discussed on page 15 of this User’s Manual.
Pressing and releasing the POWER/EXIT button will return you
to the Thumbnail Screen.
11
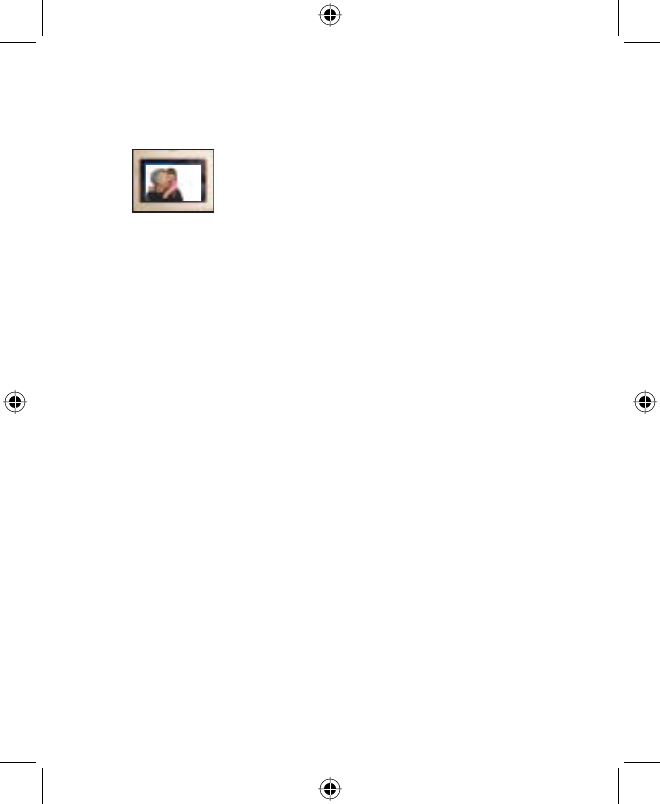
Still Photo Mode allows you to display a
single photo of your choosing in your ELSA L
Digital Photo Product. While in Slide Show
Mode, hit the POWER/EXIT button one time
to pause the slide show. Use the left and
right arrow buttons ( ŻŹ ) to display each of the photos that
are stored in your camera’s memory card or your ELSA L™
Digital Photo Product’s built-in memory.
Pressing and holding the SETUP/SELECT button while in Still
Photo Mode calls up the Photo Management Menu. For a
description of the selections and functions available on this
menu see pages 16-17 of this User’s Manual.
From the Photo Management Menu you may zoom in on a
photo and display the photo in that manner as long as you
remain in Still Photo Mode.
Press and release the POWER/EXIT button at any time to exit
the menu and return to the Still Photo Mode.
Still Photo Mode
Still Photo Mode
insert photo
1
2
When the unit is turned on, your ELSA L™
Digital Photo Product will automatically go
to the Slide Show Mode. You can move to
the other screens and modes by pressing the
POWER/EXIT button or the SETUP/SELECT
button as described in the Screen/Mode Overview on pages
7-8.
While in Slide Show Mode the left and right arrow keys (ŻŹ)
will rapidly move you through the photos in the slide show
each time they are pressed, and the slide show will resume at its
usual pace when the buttons are released.
Pressing and holding the SETUP/SELECT button while in Slide
Show Mode calls up the Photo Management Menu. For a
description of the selections and functions available on this
menu see pages 16-17 of this User’s Manual.
Press and release the POWER/EXIT button at any time to exit
the menu and enter Still Photo Mode. You may resume the
slide show by pressing and releasing the SETUP/SELECT
button.
Slide Show Mode
Slideshow Mode
insert photo
1
3
Display Settings & Tools Menu
In the Select Card Screen, press and hold the SETUP/SELECT
button until the Display Settings & Tools Menu appears.
Use your left & right arrow keys (Ż Ź) and highlight your
selection. Press the SETUP/SELECT button to make changes.
Press the POWER/EXIT button to exit a selected option
14
Description of
Operation
Picture will Display in its
original format.
Picture will be adjusted
to fit display screen
Select Transition Effect
Sub-Menu Option
Original
Optimal
Normal
Random
Top/Bottom
Curtain
Open Door
Cross Comb
Menu Option
Display Image Size
Slide Show
Transitions
Select Transition Speed
English is the default
language
Unit will automatically
shut down after time
specified.
Resets the unit to
factory settngs.
Fast
Medium
Slow
English
Spanish
15 Minutes
30 Minutes
60 Minutes
No Power Saving
Slide Show Speed
Language
Power Saving
Factory Default
15
Miscellaneous Menu
insert photo
Miscellaneous Menu
Holding down the SETUP/SELECT
button while on the Thumbnail
Screen brings up the Miscella-
neous Menu.
This menu displays three choices, 1) Start Slideshow, 2) Copy
Photo, and 3) Delete Photo. The Copy Photo menu choice is
only active if you are viewing thumbnails of photos from your
camera’s memory card. The Delete Photo choice is only active
if you are viewing thumbnails from your photo product’s
built-in memory.
The use of the Copy Photo and Delete Photo features are
described in detail under the Photo Management Menu on
page 16-17 of this User’s Manual.
Note: The sub-menu options that appear under Start
Slideshow are not active in these ELSA L™ Digital Photo
Products.
You may exit the menu and return to the Thumbnail Screen at
any time by pressing and releasing the POWER/EXIT button.

1
6
Photo Management Menu
In either Still Photo Mode or Slide Show Mode, press and
hold the SETUP/SELECT button to access the Photo Manage-
ment Menu. This menu allows you to adjust and control the
display of your photos in your digital photo product with the
following options:
Rotate Photo, Zoom Photo, Copy Photo, Delete Photo,
Adjust LCD Color.
Pressing the POWER/EXIT button at any time allows you to exit
the menu and enter Still Photo Mode.
Rotate Photo: Use your left and right arrow keys (Ż Ź) to
highlight “Rotate Photo.” Press the SETUP/SELECT button to
rotate the picture on the screen.
Zoom Photo: Use your left and right arrow keys (Ż Ź) to
highlight “Zoom Photo.” Press the SETUP/SELECT button to
zoom in and out of the picture on the screen. The zoom you
choose will remain as long as the picture is displayed.
Copy Photo: This function is only available when viewing
pictures from a memory card. Use your left and right arrow keys
(Ż Ź) to highlight “Copy Photo.” Press the SETUP/SELECT
button to copy the picture to the built-in memory of your
ELSA L™ Digital Photo Product.

17
Delete Photo: Use your left and right arrow keys (ŻŹ ) to
highlight “Delete Photo.” Press the SETUP/SELECT button
to delete the picture on the screen from your ELSA L™ Digital
Photo Product’s built-in memory.
Adjust LCD Color
Use your left and right arrow keys (Ż Ź) to highlight “Adjust
LCD Color.” Press the SETUP/SELECT button to adjust the
display. You will have the option to adjust brightness, contrast,
tint and color. Press and hold the Ż or Źbuttons to change
options from brightness to color. The selected option will be
highlighted in blue with a white border. Pressing and holding
the Ź button will increase the amount, and pressing and
holding the Ż button will decrease the amount. When you
release the button the changes will be saved.
Once you have made your adjustments, press and release the
POWER/EXIT button to exit the screen.

1
8
Frequently Asked Questions.
1. Why is there still no power after I have connected the
power cord from my ELSA L™ Digital Photo Product to my
computer’s USB port?
Your computer must be on for power to be supplied
by its USB port to your digital frame.
2. Will my ELSA L™ Digital Photo Product play short movies
from my camera or .MP3 music files?
No, your digital frame will display photos in JPEG
format.
3. I want to return my memory card to my camera. Can I still
view photos in my ELSA L™ Digital Photo Product?
Yes, up to 34 photos from your memory card, depend-
ing on the size of the photos, may be copied from the memory
card to the built-in memory. (See “Photo Management Menu”,
pages 16-17.) After copying the pictures you may return the
card to your camera. Your ELSA L™ Digital Photo Product will
automatically switch to its built-in memory when the memory
card is removed.

1
9
Important Product Information
1. Avoid touching the LCD screen. Fingerprints may be difficult
to fully remove.
2. Exposing unit to direct sunlight or high temperatures may
damage or shorten the life of your ELSA L™ Digital Photo
Product.
3. Do not place your ELSA L™ Digital Photo Product near heat
sources such as radiators, heat registers or other appliances
that generate heat.
4. Orient the unit away from direct sunlight to reduce glare.
5. Avoid exposing unit to rain, water, moisture or high humidity.
Do not place near a basin or a sink where it may come in
contact with water.
6. Do not place heavy or sharp objects on LCD panel, housing,
or cord.

20
© 2009 ELSA L™, Inc.
Technical Specications
3.5” Digital Photo Organizer
3.5” Digital Photo Desktop Organizer
3.5” Digital Photo Letter Sorter
3.5” Digital Photo Pencil Cup
Screen Size: 3.5 inches measured diagonally
Resolution: 320 x 240 pixel QVGA
Internal Memory: 4MB. Saves up to 34 photos at a low resolution.
File Format: JPEG only
Display Colors: 16.7 M Colors
Power: Li-ion battery, 3.7V lasts up to 2 hours when fully charged.
Charged by USB port connection to a computer or by AC adapter.
Certifications: FCC
21
Technical Support
Should you have a technical support question about your
ELSA L™ Digital Photo Product please contact us at the
following number 1.866.337.8165

22
Limited Warranty
The ELSA L™ Limited Warranty below is given by ELSA L Inc.
with respect to brand electronic products purchased and used
in the United States of America. Elsa L Inc. warrants this product
against defects in material or workmanship as follows:
LABOR: For a period of ninety (90) days from the date of
purchase, if this item is found to be defective, ELSA L Inc. will
repair or replace the product, at its option, at no charge. After
this ninety (90) day period, labor charges will be charged on a
case by case basis.
PARTS: For a period of ninety (90) days from the date of
purchase, if this product is found to be defective, ELSA L Inc.
will supply a new or rebuilt replacement parts, at its option, at
no charge. After this ninety (90) day period, parts will be
charged for on a case by case basis.
This warranty does not cover: (1) Customer Instruction, installa-
tion or setup; (2) cosmetic damage or damage due to accident,
misuse, abuse, or negligence; (3) commercial use of product; (4)
modification of any part of the product; (5) damage due to
improper operation, improper maintenance, or connection to
an improper power supply; (6) loss of data regardless of value
or format, that may result through proper and/or improper use

23
of product; (7) damage due to an attempted repair of the
product by anyone other than a facility authorized by ELSA L
Inc. to service this product; (8) consumables (such as fuses and
batteries.) This warranty is valid only in the United States.
This product must be accompanied by the original retail
purchase receipt. If no proof of purchase is attached, the
warranty will be void.
To obtain warranty services, please return to the place of
purchase. Furnish your name, address and telephone number
and proof of the original purchase (receipt) containing a
description of the product, purchase date, and appropriate
serial number.