WINIA Electronics 7NF22MO110N Microwave Oven User Manual KOR 2263SBF PEB7226 OM indd
Dongbu Daewoo Electronics Corporation Microwave Oven KOR 2263SBF PEB7226 OM indd
Contents
- 1. Users Manual
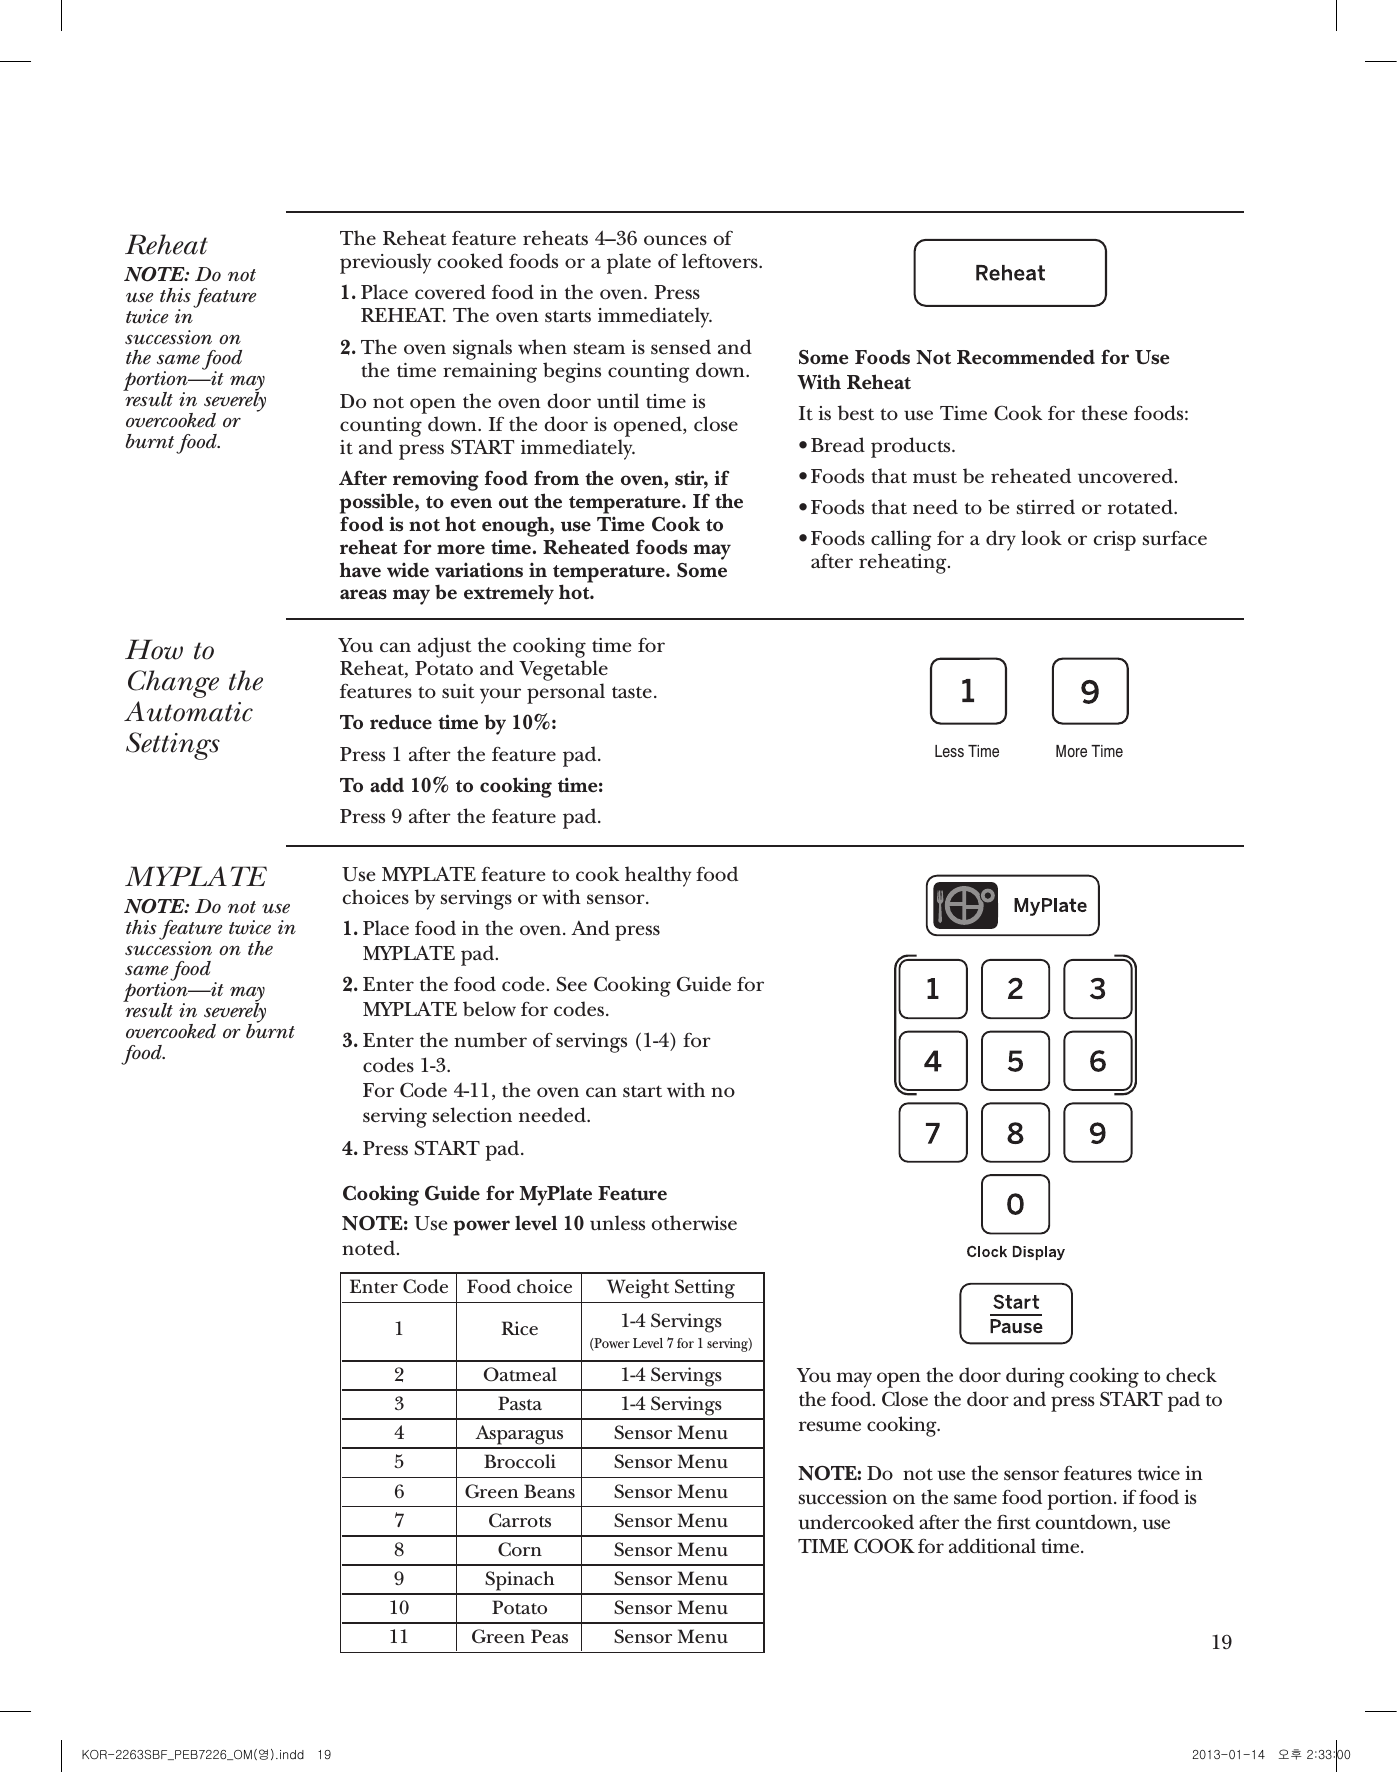
- 2. User Manual - Part 1
- 3. User Manual - Part 2
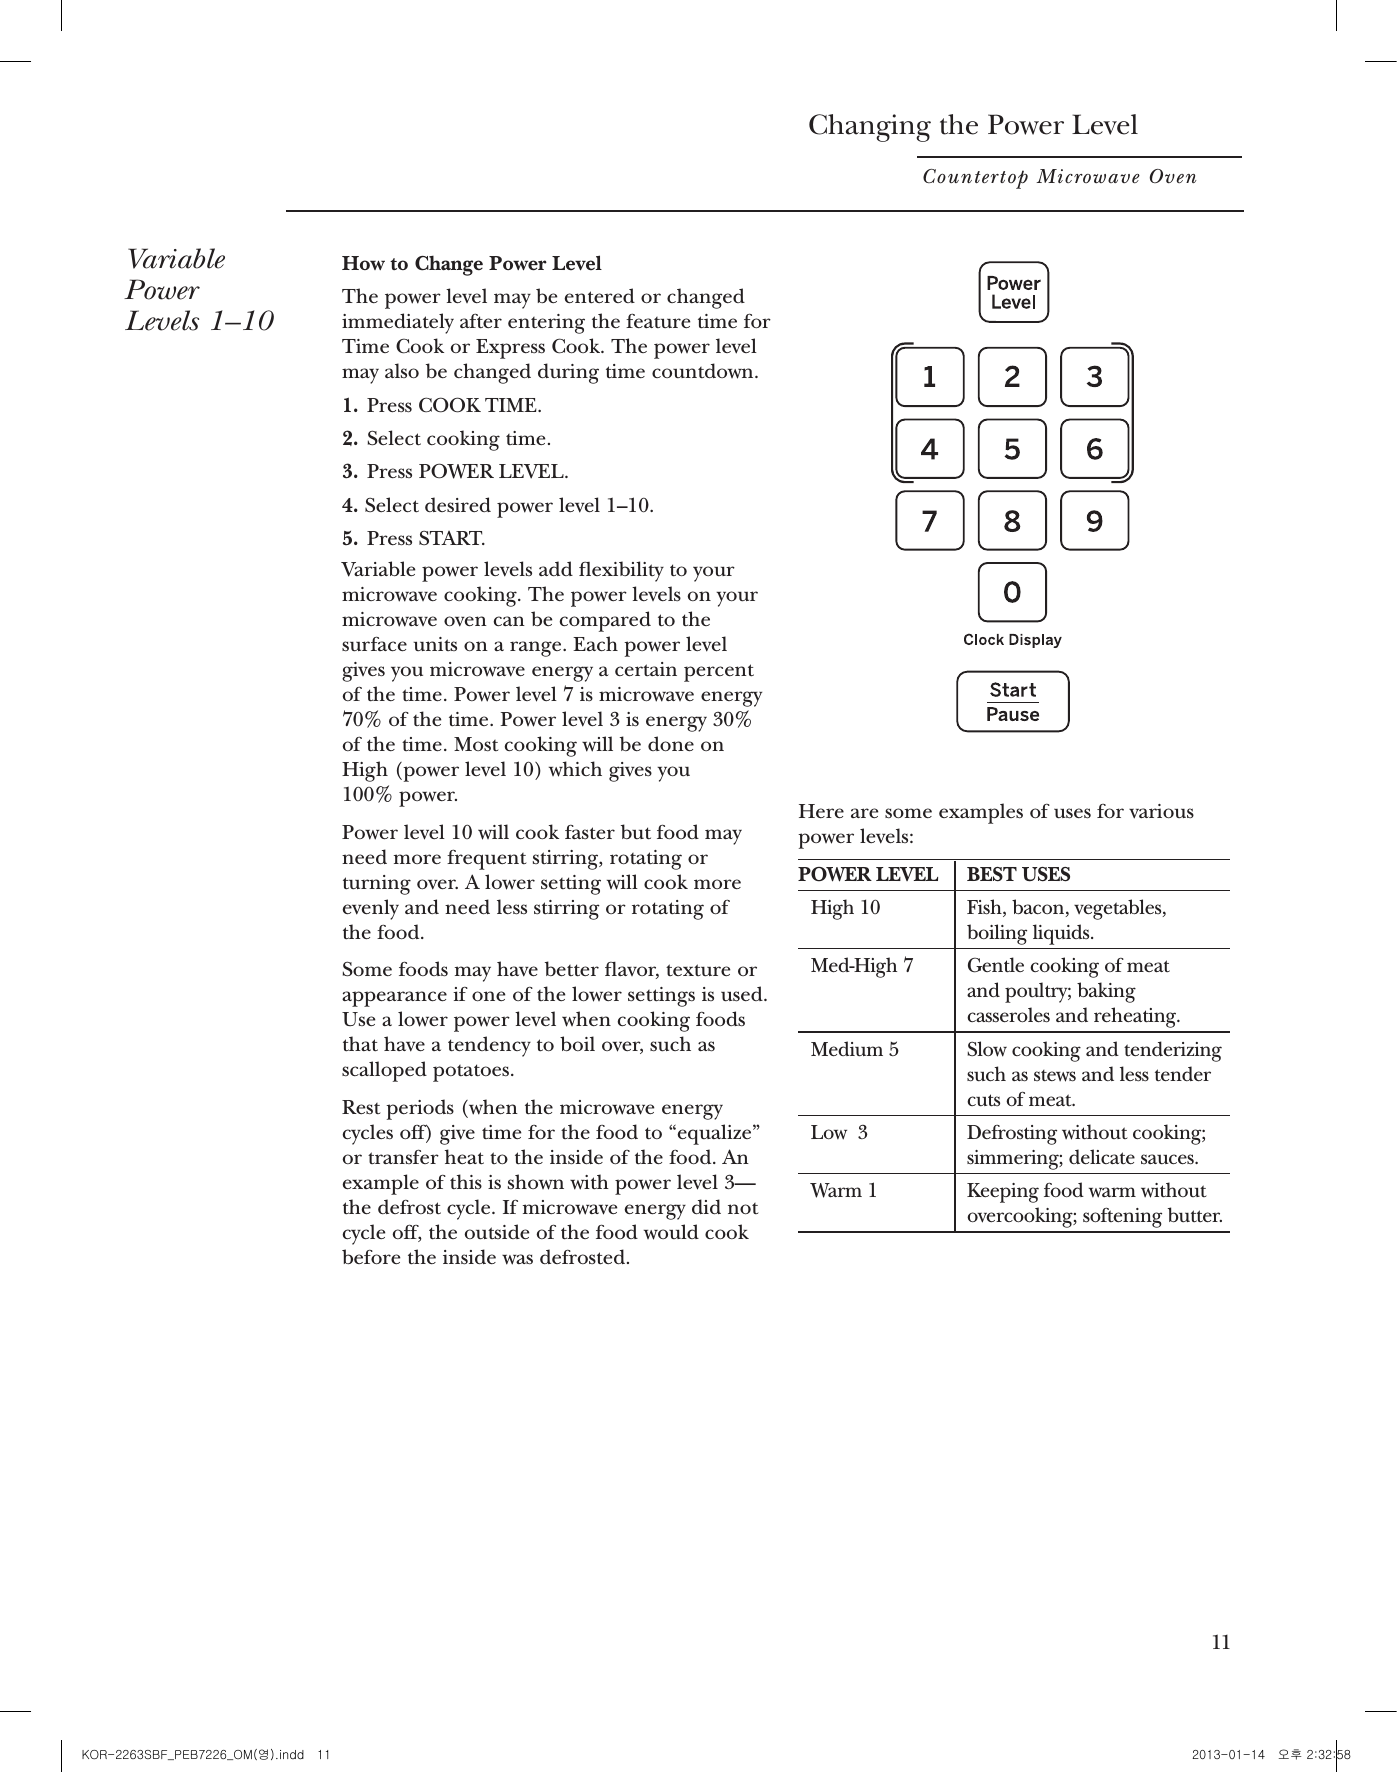
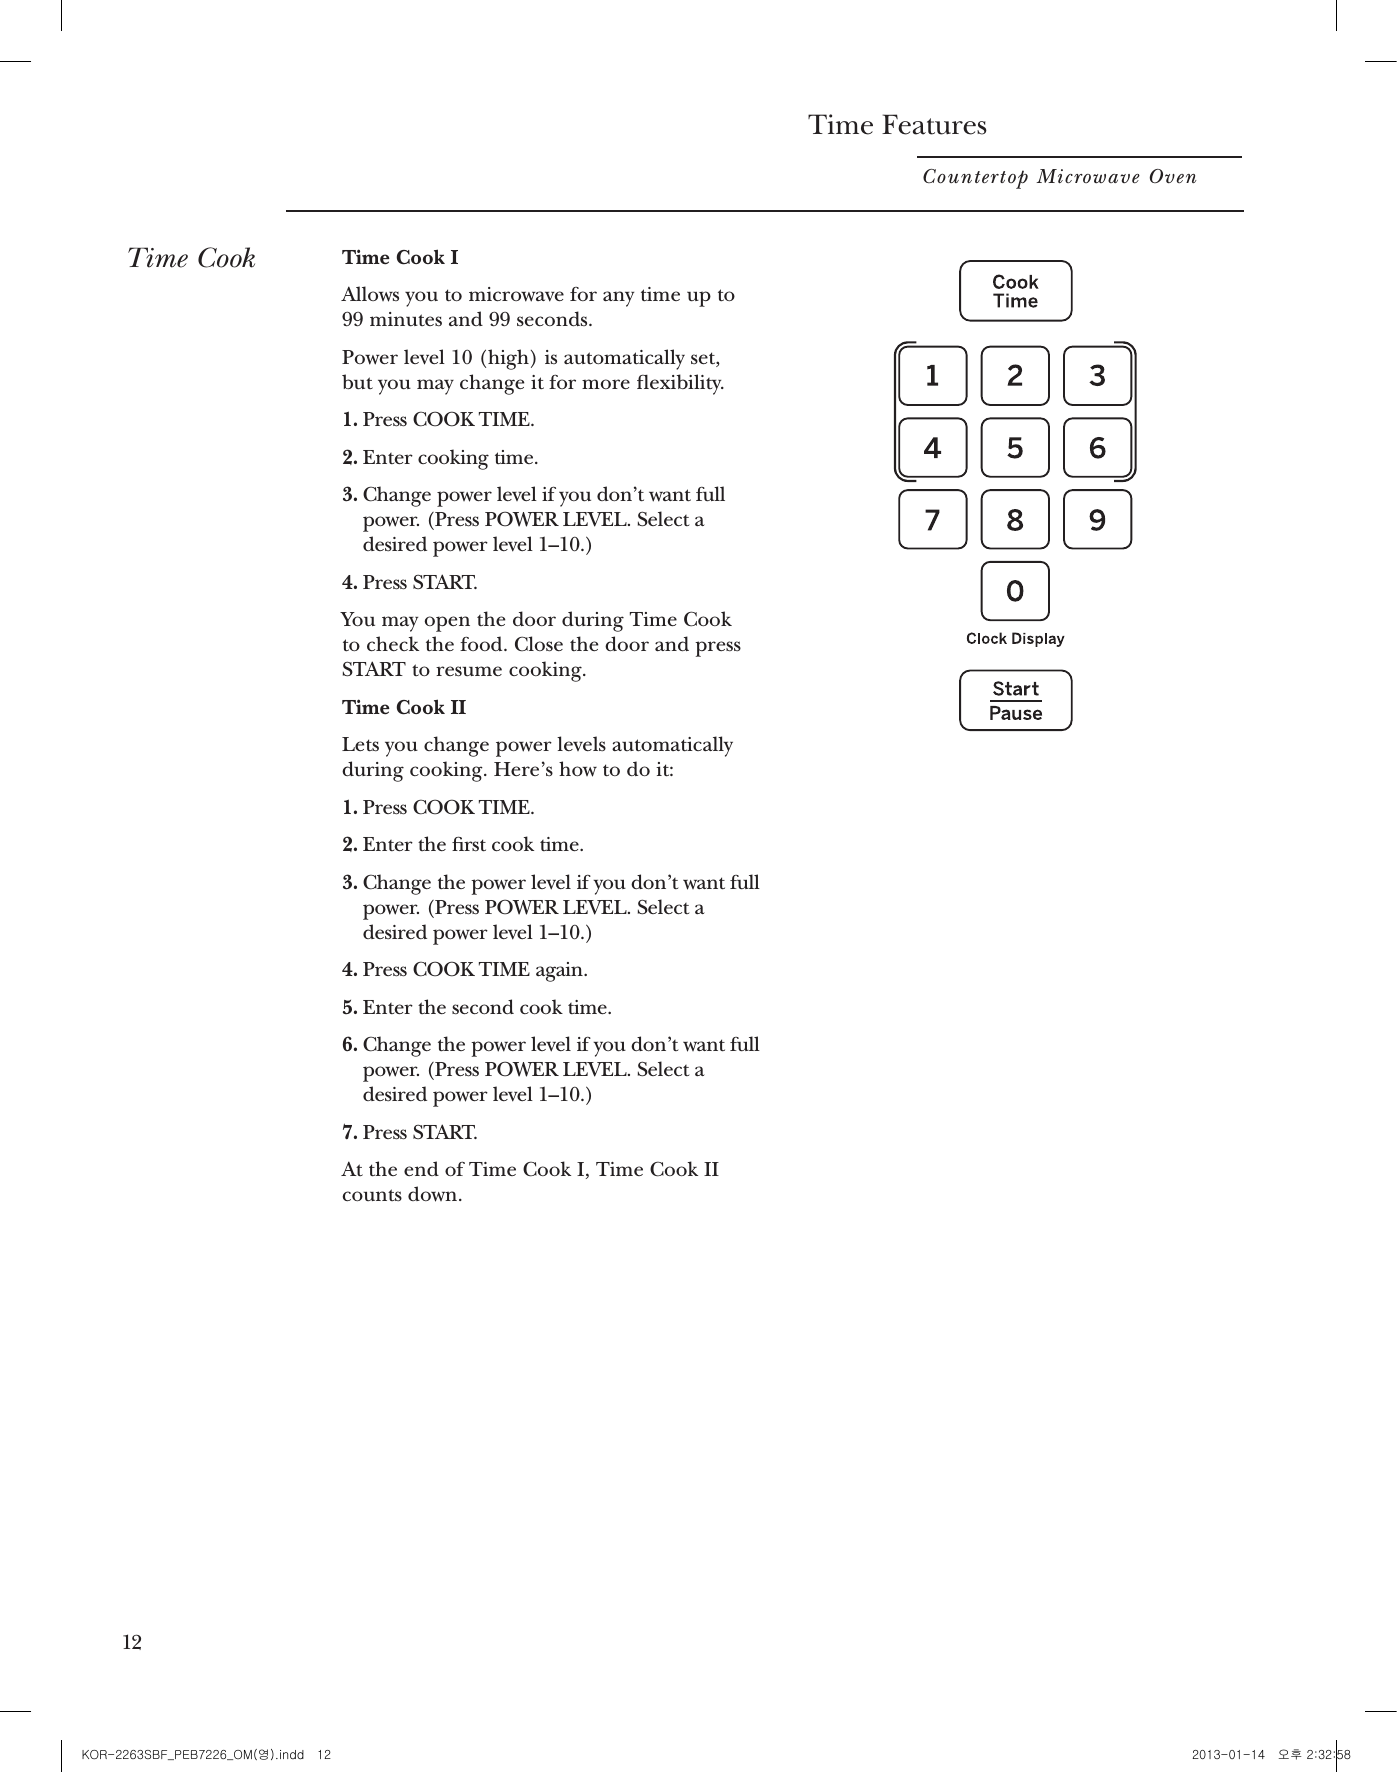
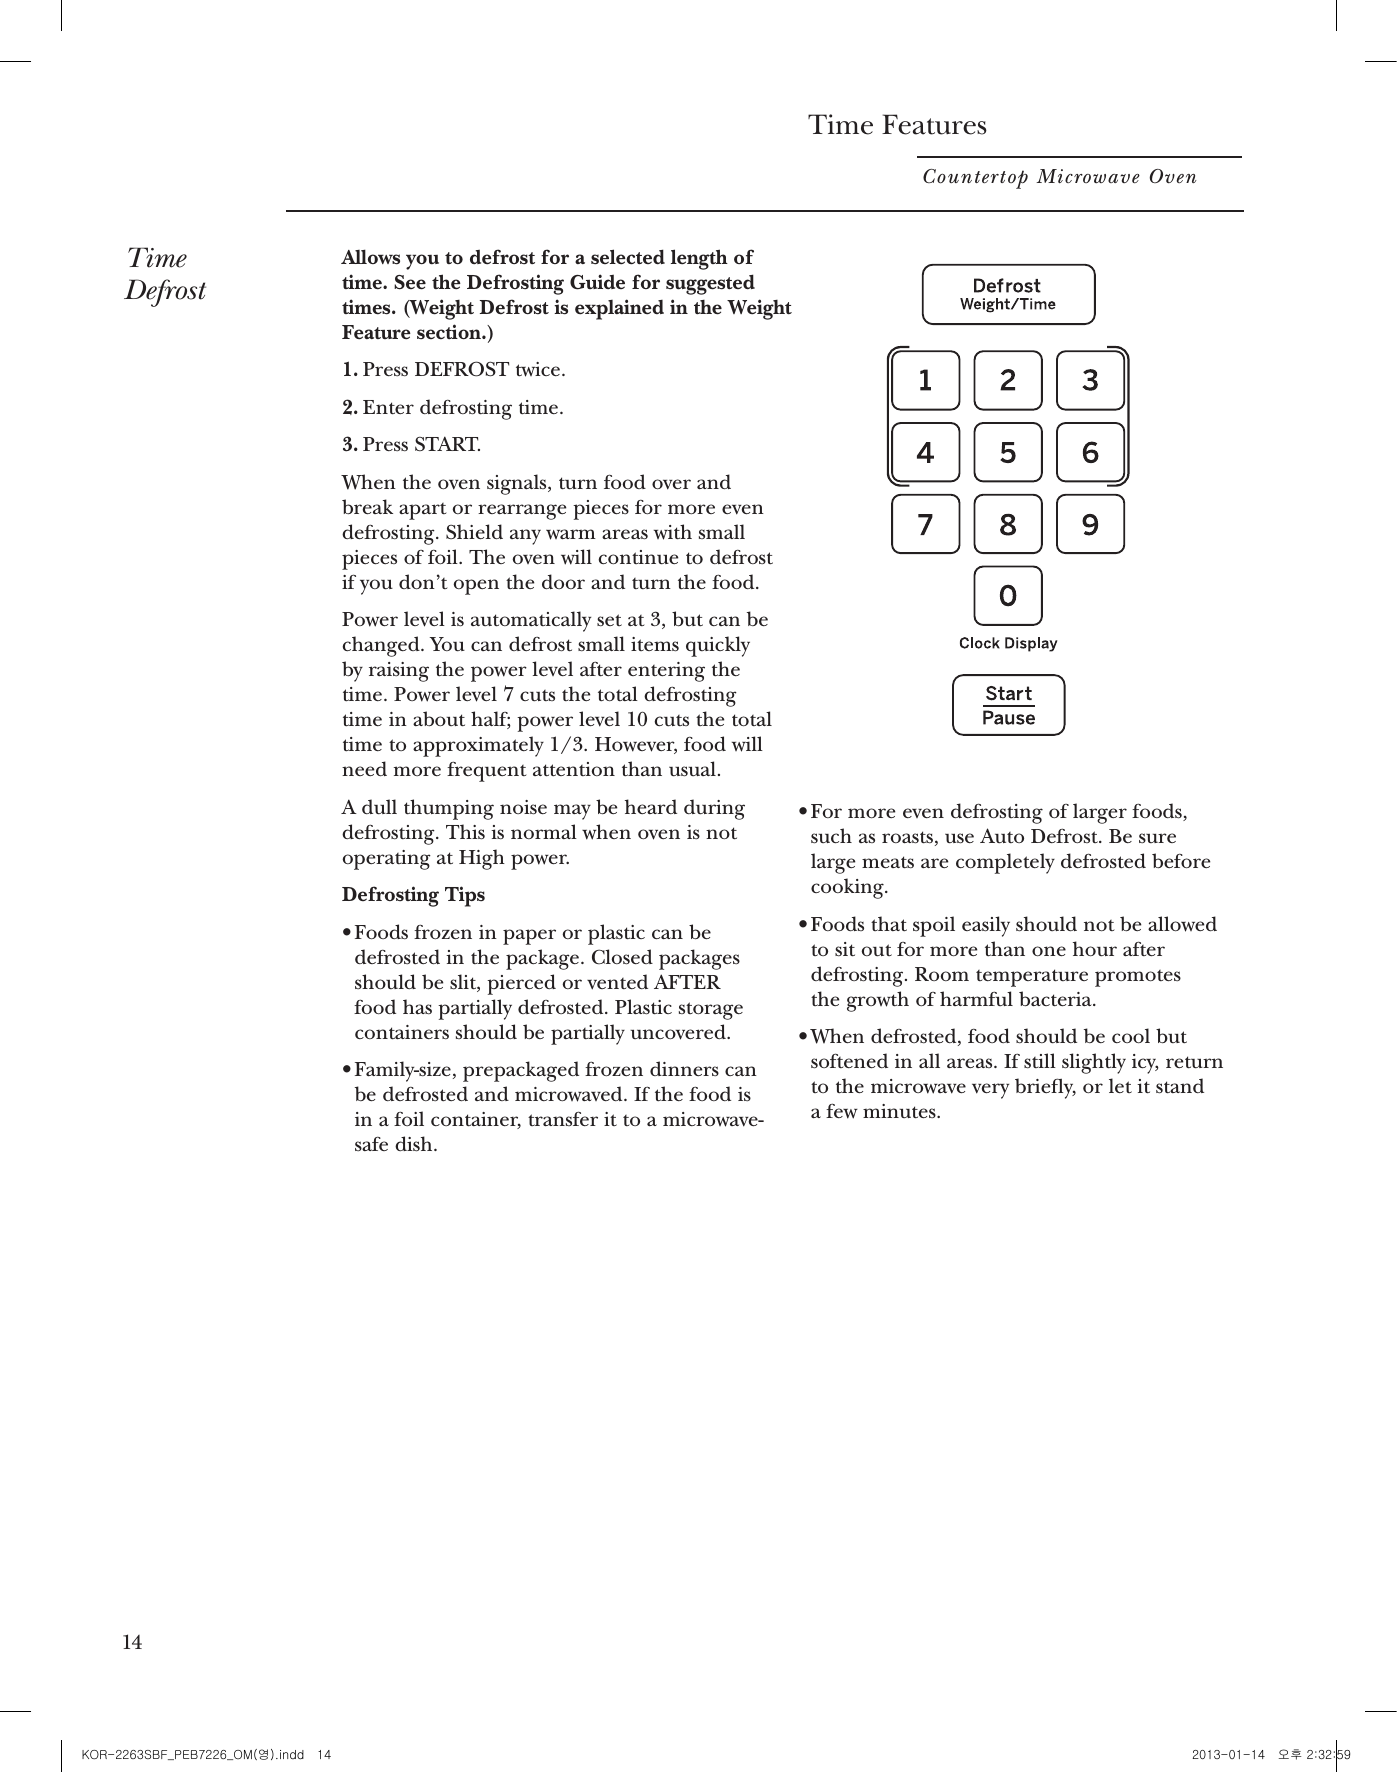
Users Manual