WeiHeng Digital HM-1048Q Tablet PC User Manual
WeiHeng Digital Company Limited Tablet PC Users Manual
UserManual.wiki
>
WeiHeng Digital
>
HM 1048Q User Manual
Users Manual
Navigation menu
Upload a User Manual
Namespaces
Wiki Guide
HTML
PDF
Info
Views
User Manual
Discussion / Help
Navigation


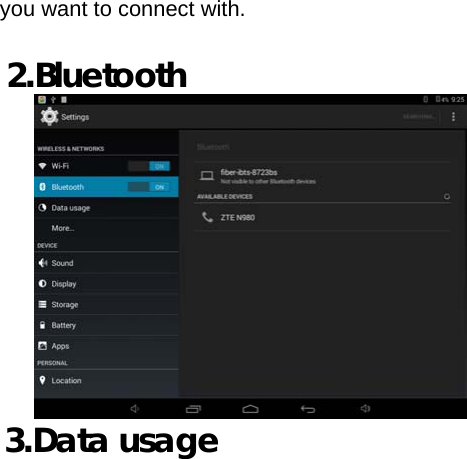
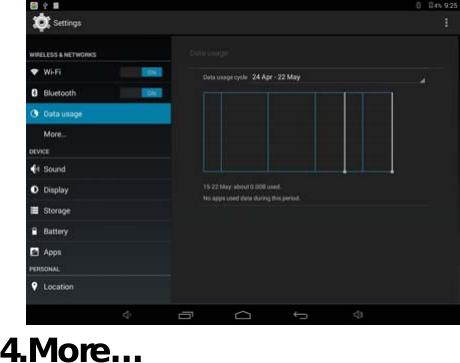
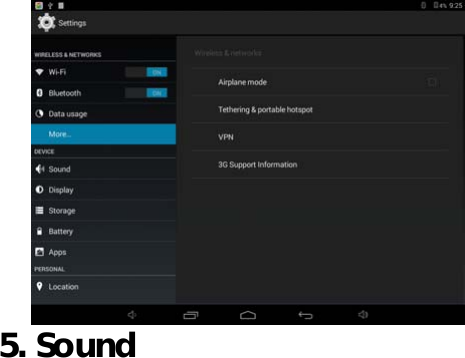


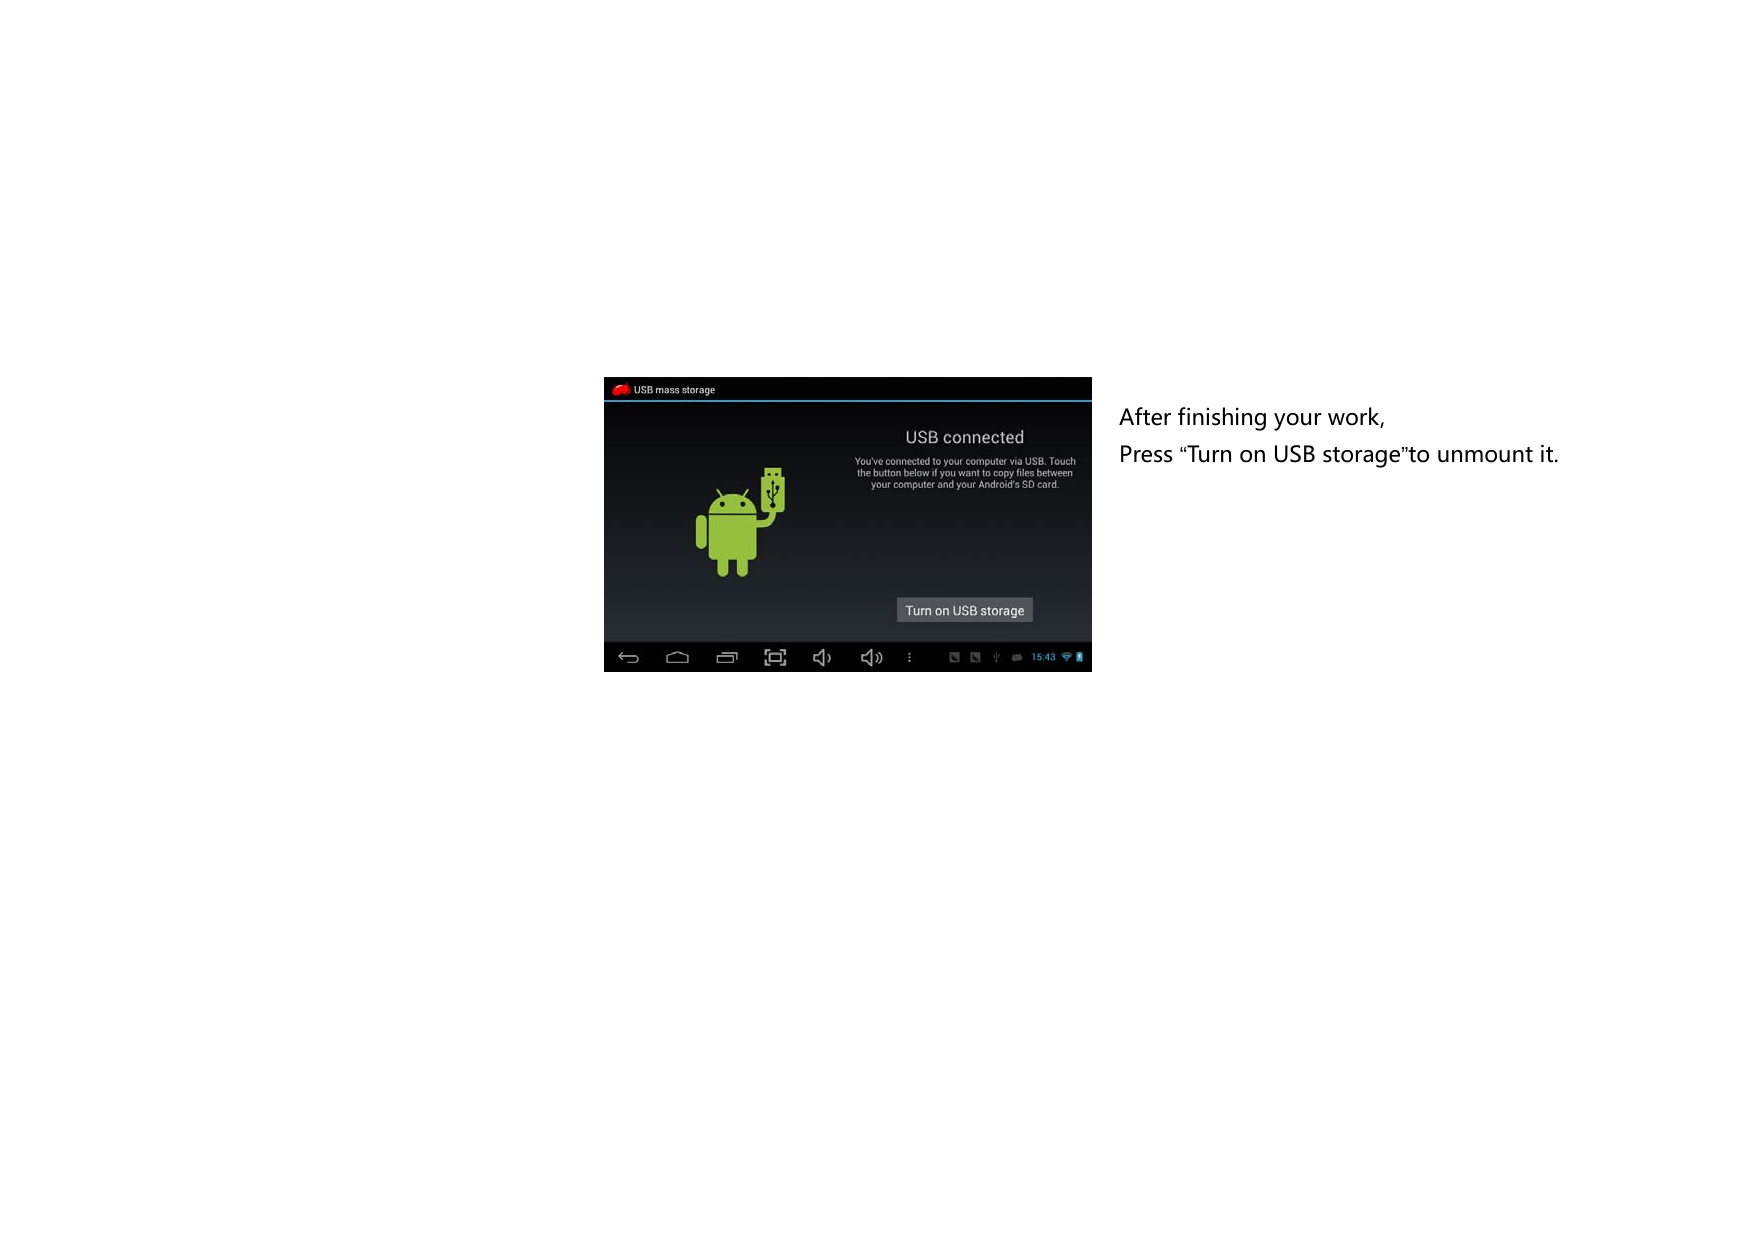
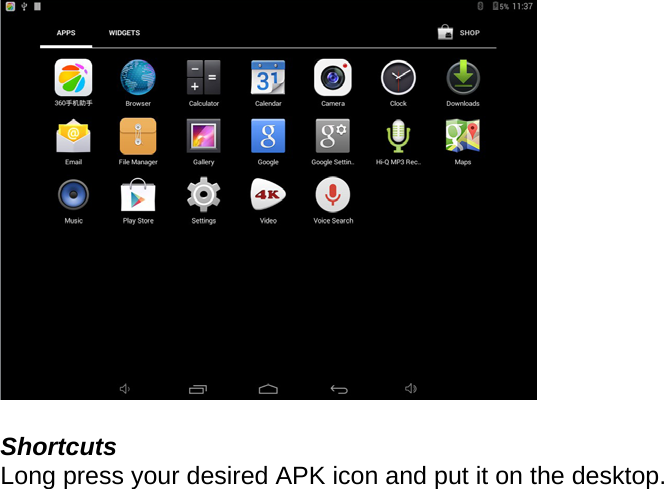
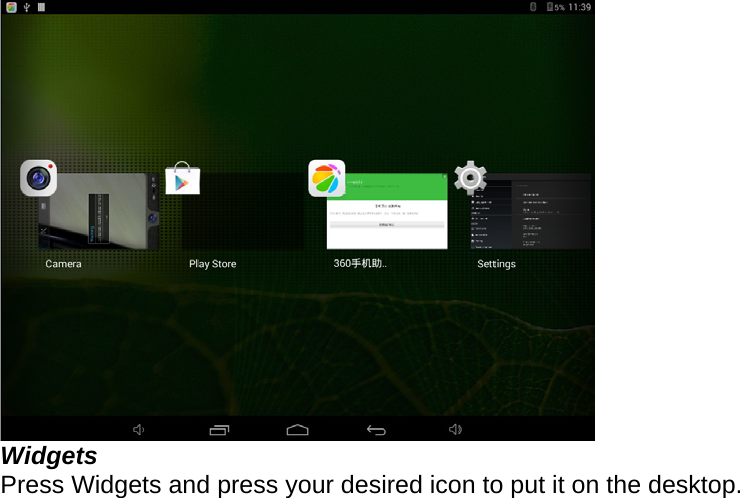
![How to install Applications(.apk file) into the device Method 1. 1. Connect the device with internet. See above [1.Wireless & networks] in order to connect internet. 2. Run “Getjar” and search the applications you want to install. 3. Follow the instruction on the screen for installation. Method 2. 3. Connect the device with your computer. See above [How to connect/disconnect the device with/from the computer.]](https://usermanual.wiki/WeiHeng-Digital/HM-1048Q/User-Guide-2522747-Page-35.png)