Widex A S UCIC Widex UNIQUE-CIC, Hearing aid with radio transceiver User Manual
Widex A/S Widex UNIQUE-CIC, Hearing aid with radio transceiver Users Manual
UserManual.wiki
>
Widex A S
>
UCIC User Manual
Users Manual
Navigation menu
Upload a User Manual
Namespaces
Wiki Guide
HTML
PDF
Info
Views
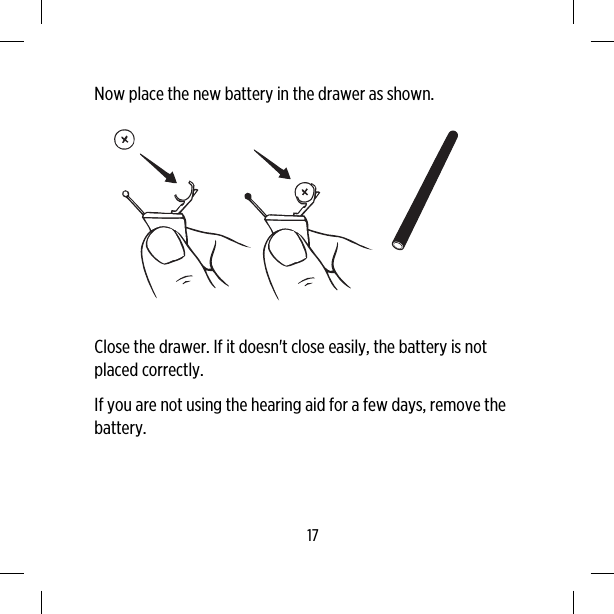
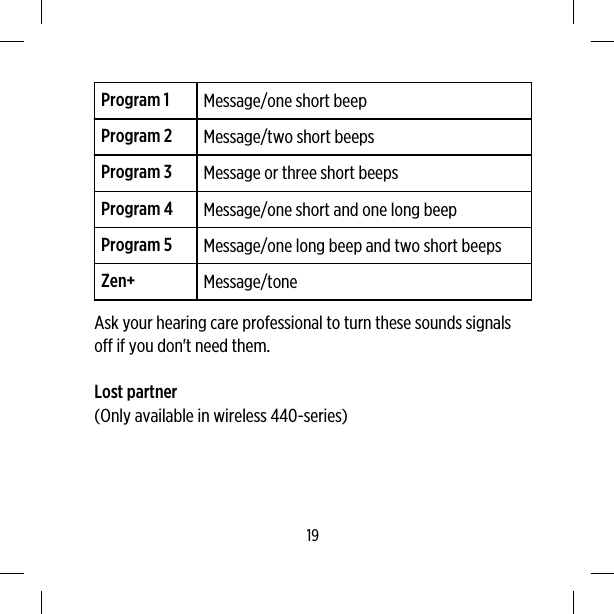
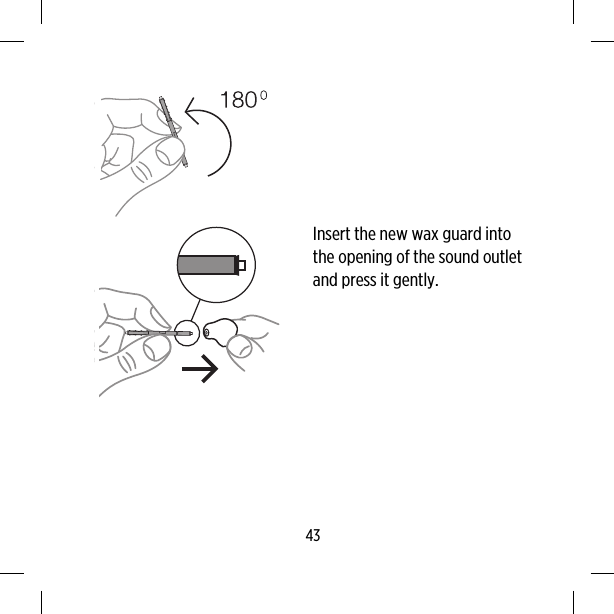
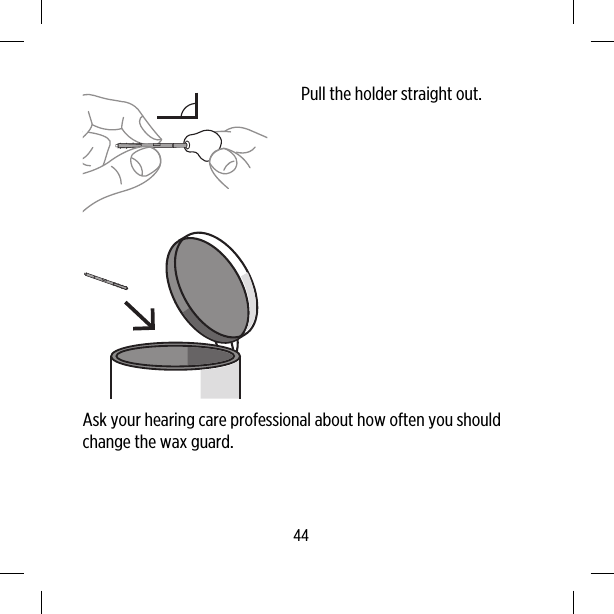
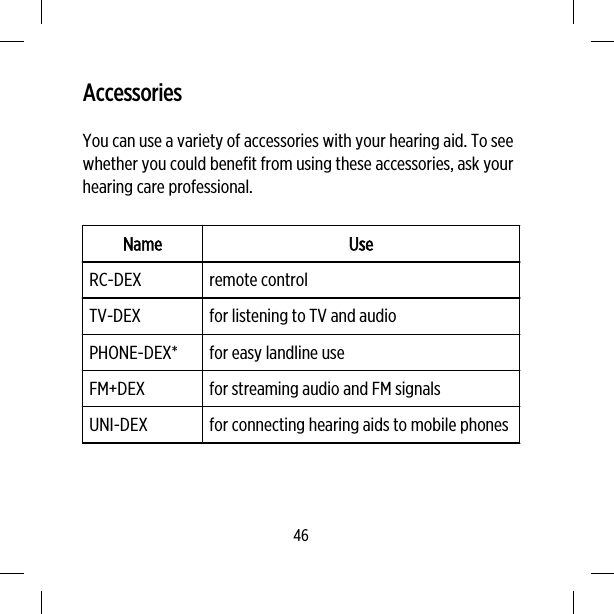
User Manual
Discussion / Help
Navigation